
Whether your ’van has an earlier or a later version of the Omnivent fan, dismantling it for cleaning is very simple. However, later models have a different internal surround, which must be removed to allow access to the screws holding the internal grille in place. To go through the process of cleaning, we’ll start by focusing on the earlier version.
For this task, you’ll need:
- Crosshead screwdriver
- 8mm spanner
- Warm, soapy water
- Cloth and/or small brush
First, make sure that all power to the Omnivent is safely turned off. Next, working inside the ’van, remove the four crosshead screws and washers that hold the internal grille in place. The grille will drop out. Carefully clean the grille, using soapy water. Don’t be too vigorous, because some of the plastic might well have become brittle over time.
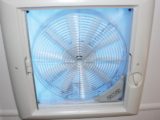
Cleaning the fan on older Omnivents
The next job is to remove the fan. Hold one of the blades to keep the fan still and undo the centre nut with the 8mm spanner. It should not be too tight. With the nut removed, the fan will simply drop out.
Clean it carefully. With the grille and the fan removed, wipe around the sides of the main unit using a damp soapy cloth.
Cleaning around the sides shouldn’t be a problem, but you need to be careful when you’re wiping the top grille. It’s not such a difficult job for the lower grille, but the upper one can present some challenges.
First, it is easier to clean the latter in situ than to remove it, but getting at its top surface requires access to the roof and the ability to reach into the Omnivent without putting too much pressure on the grille.
To do so, open the cover fully and wipe around the top grille with the damp soapy cloth. Dry it as well as you can. If you choose to remove the grille, you will need rooftop access anyway to remove (from above) the screws holding it in place and to disconnect the wires leading to the Omnivent’s motor.
Now, working back inside the vehicle and with all of the parts dry, replace the fan.
The spindle on the motor has two ‘flats’ on opposing sides, as has the hole in the fan. Line these up, slot the fan in place and replace the nut.
This needs to be nipped up, but make sure that you don’t overtighten it. Before refitting the inner grille, carefully test the fan on all settings.
Replace the inner grille and secure with the four crosshead screws. Test the unit to make sure that nothing is catching.
Lastly, if you opened the cover, make sure that you’ve closed it!
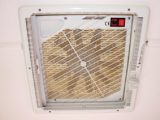
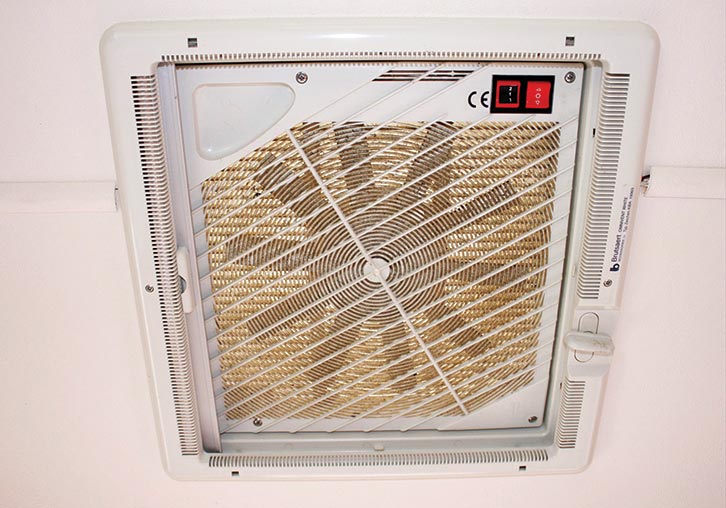
Cleaning a new Omnivent models
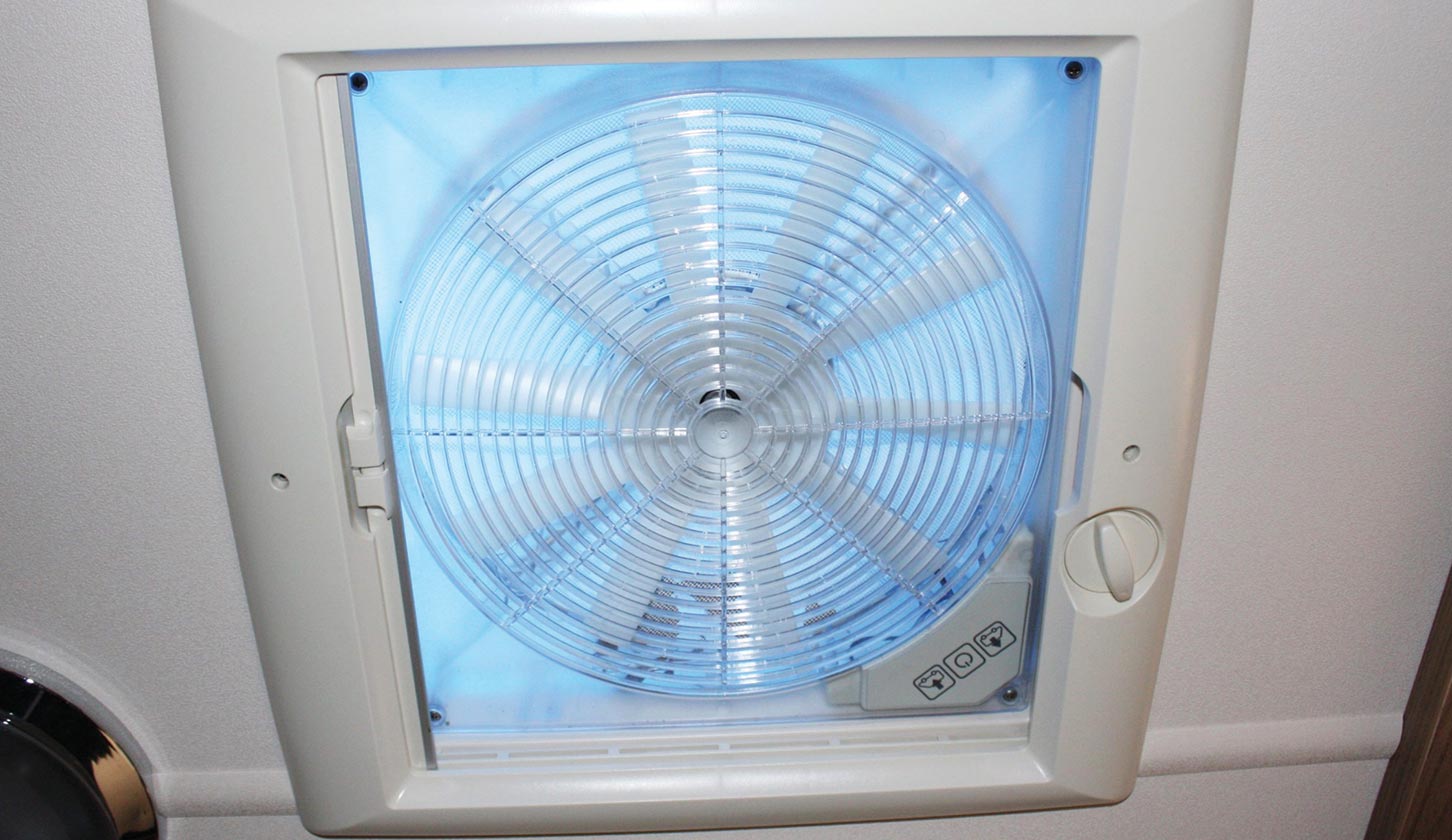
Now for later models of the Omnivent. In the example shown in our photograph below, you’ll see that access to the four crosshead screws is nearly impossible, owing to the chunkier surround.

You’ll struggle to get the grille out, even if you succeed in undoing the screws, so the first job is to remove the surround. Begin by removing the two crosshead screws securing the surround to the Omnivent unit.
One of these is near the cover winder and the other is located on the opposite side.
You’ll find that the surround does not drop freely when the screws are removed, because it is still held firmly in place.
To take it down, grip the side where the winder is and pull that down while pushing it outwards (away from the fan). It should then unclip on that side. Now slide the surround in the opposite direction, so it comes free from the clips on that side.
You’ll see that it has a mesh grille, rather than the slatted plastic one found on older models.
When replacing the surround, do so in the reverse of the order described above, because the clips on each side are different. Now you can follow the steps for cleaning the older version.
- You can also check out our guide on how to replace an Omnivent cover
After some more maintenance projects? Then take a look at these…
- We tell you how to fix a wobbly table leg.
- In this guide, we take a look at the steps you can take to care and repair your motorhome’s rubber seals.
If you’ve enjoyed reading this article, why not get the latest news, reviews and features delivered direct to your door or inbox every month. Take advantage of our brilliant Practical Motorhome magazine SUBSCRIBERS’ OFFER and SIGN UP TO OUR NEWSLETTER for regular weekly updates on all things caravan related.