

It might be a bit of a cliché, but prevention is definitely much better than cure. That’s certainly the case where even the best motorhomes are concerned, and spending an hour here and there on maintenance can save you a lot of time trying to rectify a problem further down the line – and in some cases, a lot of expense, too.
Admittedly, some of these tasks aren’t very glamorous, but they might stop a not-so-pretty job turning into a nightmare.
Two things that come to mind here are jammed windows, external locker doors and toilet blades. Having a window that won’t open is bad enough, but let’s not even try to imagine the scenario if you need to use the toilet, and you can’t open the blade to the cassette…
A bit of basic maintenance work now should help to prevent any of these situations.
Windows and doors
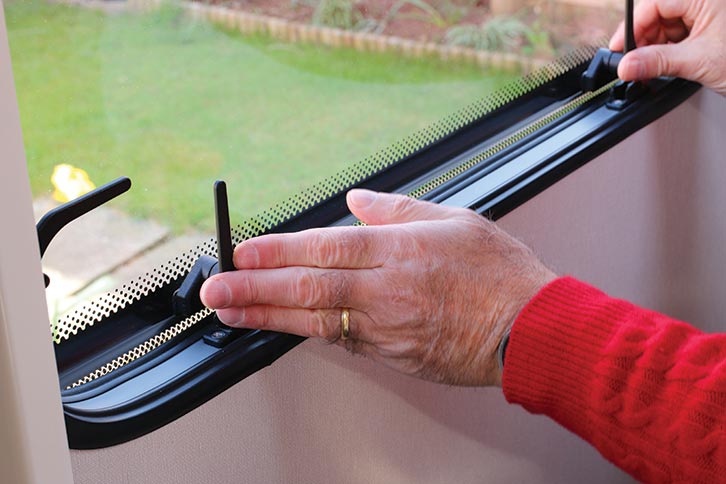
Let’s start with windows. It could be that your motorhome has been parked up for months in the winter, or perhaps some of the windows haven’t been opened in that time, even if you have been using the vehicle. You might find a window won’t open – it’s stuck against the rubber seal.
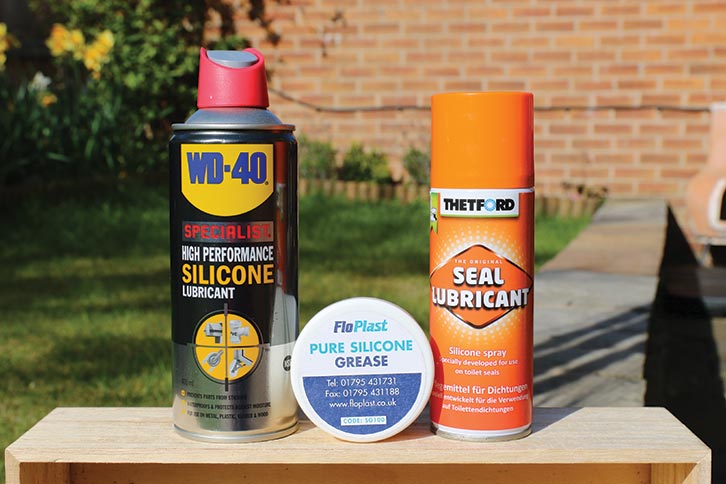
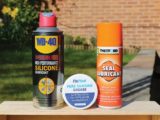
Whatever you do, don’t force it open, because you’re more than likely going to tear the seal, which would then need replacing to prevent leaks, and that isn’t a two-minute job. If you are faced with this problem, carefully spray silicone lubricant where it’s stuck and then leave it to soak for a while. If that doesn’t do the trick, give it another dose of the silicone and then leave it to soak again, this time overnight.
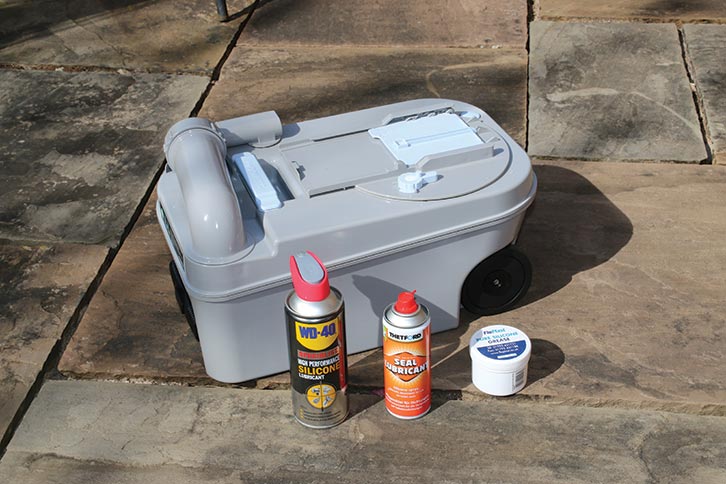
It’s important to note that you shouldn’t be tempted to use WD-40 multipurpose lubricant, because that could react with the rubber seal and cause even more problems. It must be a silicone lubricant, such as (rather confusingly) WD-40 Specialist High-Performance Silicone Lubricant, or Thetford Seal Lubricant.
Once you’ve managed to open the window and hopefully found there’s no damage, you’ll be able to proceed with essential maintenance steps.
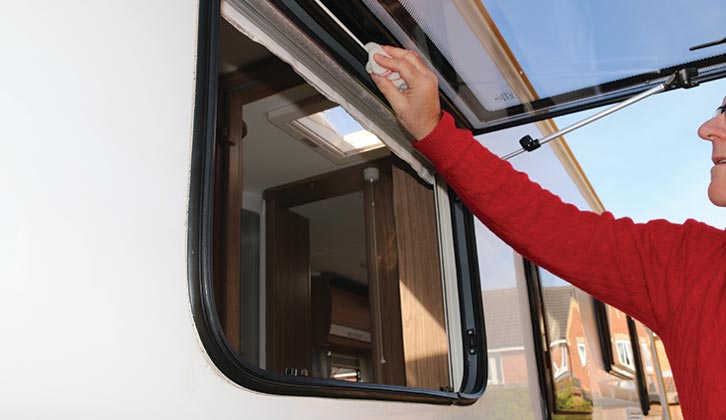
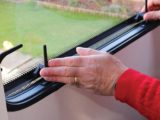
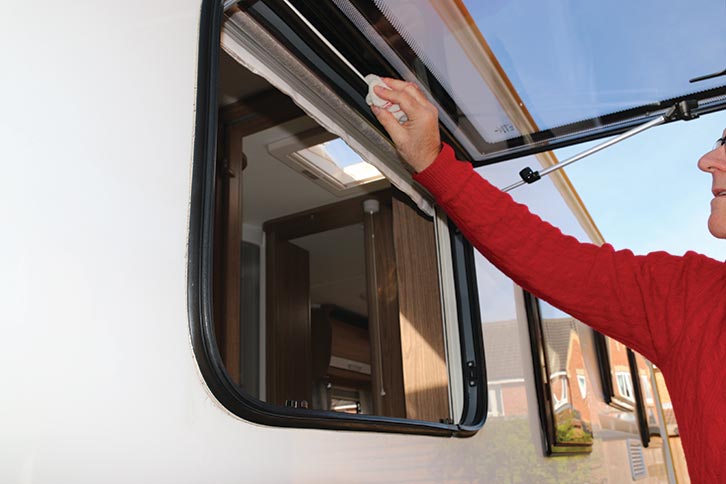
With any luck, all of the motorhome windows will open freely for you. So what needs to be done to keep them that way? Start by fully opening the window that you’re going to be working on.
Then, using only clean water and a cloth, clean the rubber seals carefully, wiping all the way around the window aperture.
Again, you shouldn’t use any kind of detergent (washing-up liquid or soap, for example) because these might react with the rubber, which will become sticky to the touch, either immediately or over a period of time.
While on that subject: if you find that any of the rubbers are sticky, there’s not a lot you can do in the long term, other than replace them, but a sprinkling of talcum powder might alleviate the problem in the short term. Chances are that if you do have a sticky seal, it’s been caused by someone previously using incorrect lubricants or detergent.
Having thoroughly cleaned the window rubber with clean water, simply allow it to dry.
Of course, you can work your way around the vehicle and clean all of the rubber seals before going on to the next stage of maintenance; but with the windows wide open, be careful that you don’t walk into any of them – it’s very easily done!
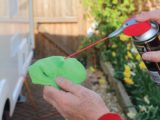
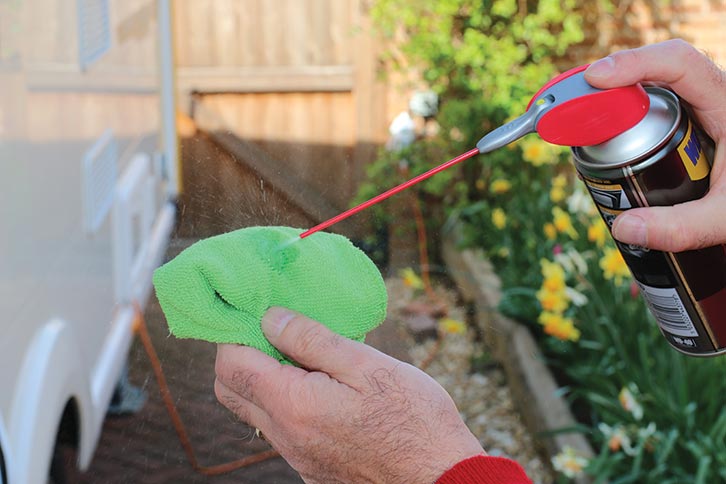
Lubricate the rubber seals by spraying silicone lubricant onto a cloth and wiping it around the seal. I recommend spraying this onto the cloth, as opposed to directly onto the seal, because the stuff tends to go everywhere if you’re not careful.
You don’t need much, and once wiped over the seal, it will leave a pleasing sheen. That should prevent sticking during the season’s touring.
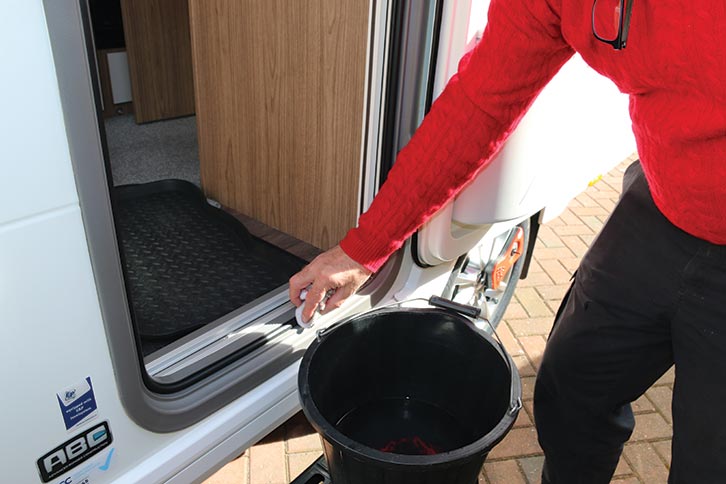
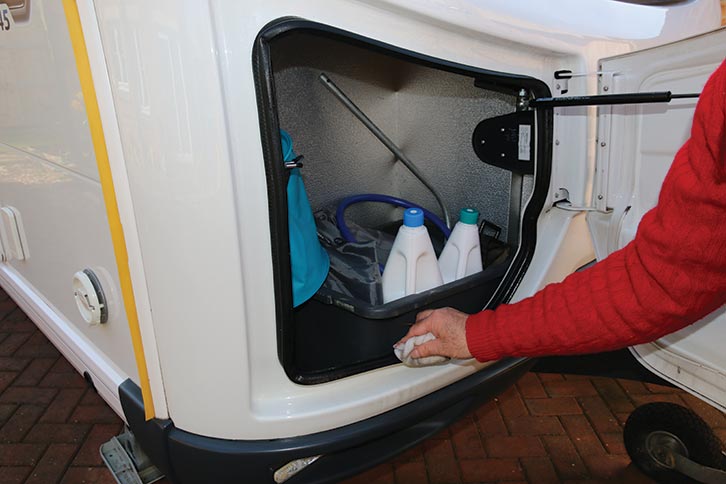
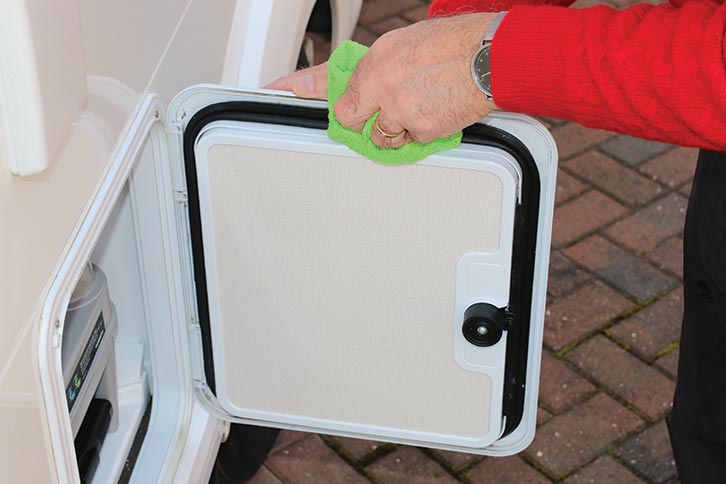
Don’t just do the window seals, though – all of the vehicle’s other external openings are likely to have a seal as well, including the entrance door, gas-locker doors, external hatches, and the toilet cassette door. Give all of them the same care, using clean water and silicone lubricant.
Toilet cassettes
For the past eight years, we’ve had a Dometic toilet fitted in our ’vans, and we’ve had no issue with them. They might perhaps require a little more maintenance than the Thetford models. However, much of what I’m about to outline below will be relevant to both brands.
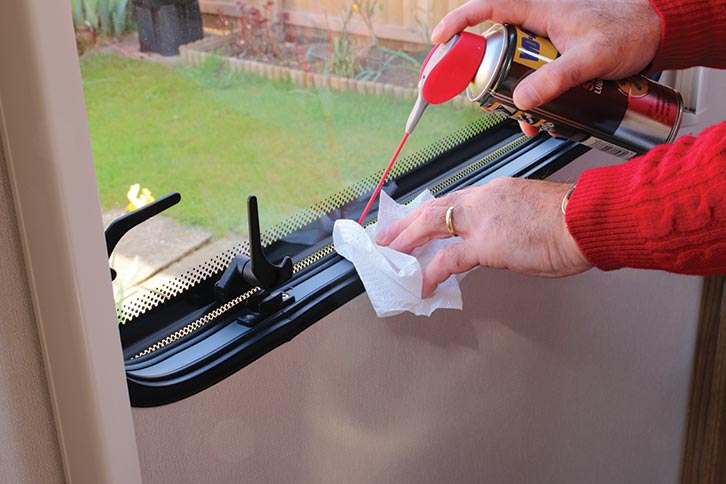
As with the windows, if you find that the first time you try to open the toilet blade, it is stuck (usually it sticks to the rubber seal), spray with silicone lubricant and allow to soak for a while. Hopefully, that will free it and it will open again.
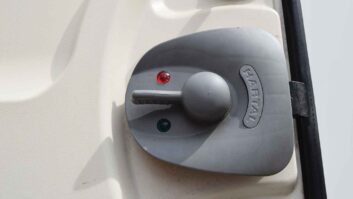
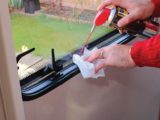
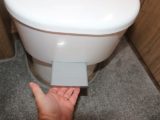
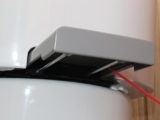
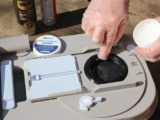
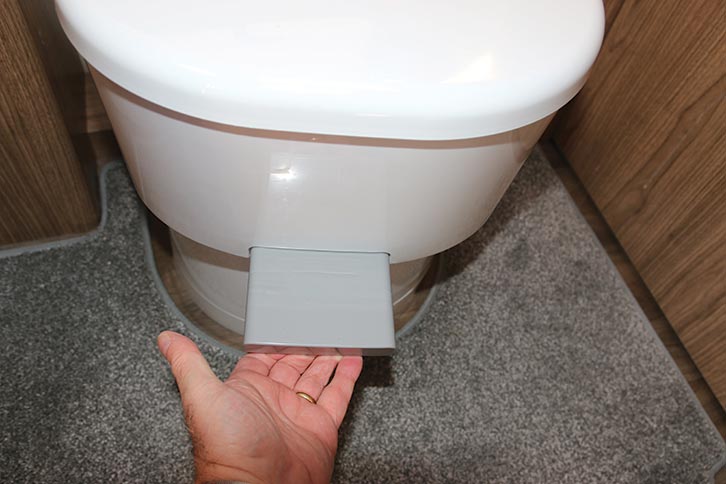
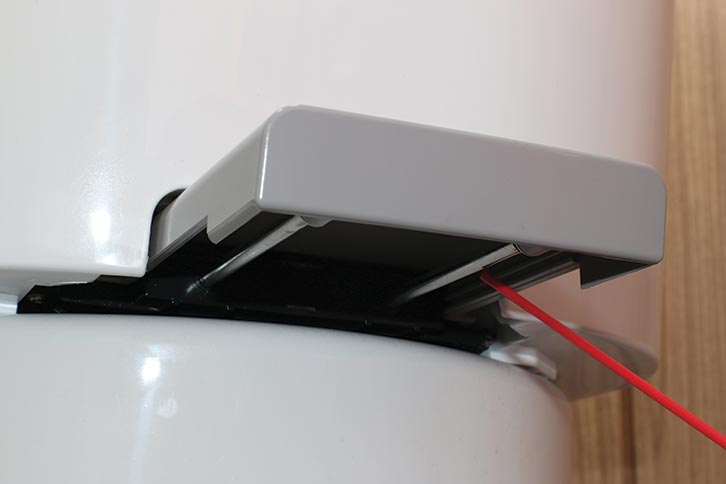
With the Dometic toilet, first pull out the lever to open the blade, and looking underneath, you’ll see two metal rods that the lever slides on. Give both of these a good squirt of silicone lubricant. It’s amazing how freely the lever will then slide.
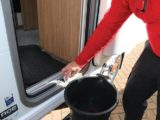
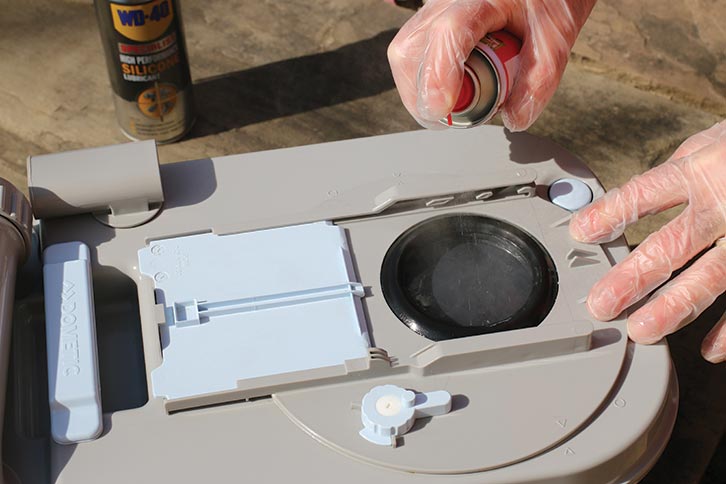
With everything closed again, remove the toilet cassette (this applies to Dometic and Thetford models), so that you can begin work on it.
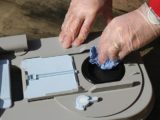
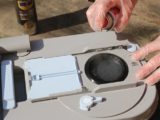
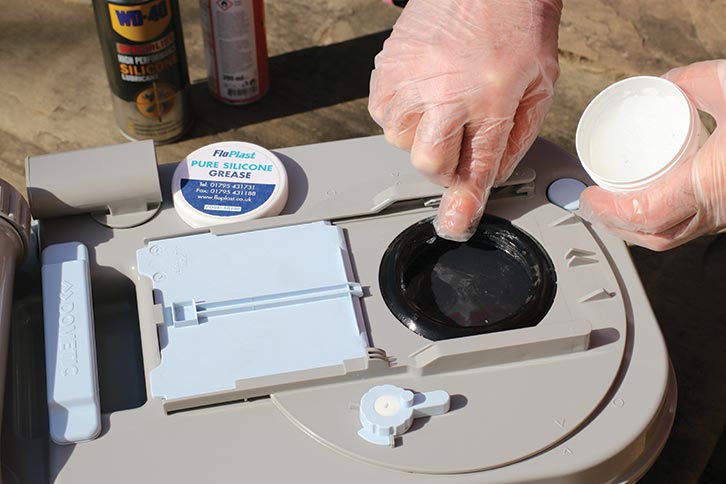
Start by wiping the top of the large rubber seal and make sure it’s clean. Then, open the blade and ensure the underside of the seal is clean, too. Give the top of the blade a good spray of silicone lubricant and open and close it several times to ensure that it operates freely.
Finally, smear the top of the large rubber seal with silicone grease (if you don’t have any grease, at least give it a spray with silicone lubricant, although the grease is better). As with the other rubber seals, only clean it initially with water if necessary and nothing else. I just tend to use a dry paper towel for this.
Now replace the cassette and check to ensure that everything is working smoothly.

Having adopted this basic maintenance regime several years ago, we’ve thankfully never had any difficulty with jammed ’van windows or problems with the toilet.
These tasks are best carried out before your trip, as part of your regular motorhome care.
After more motorhome maintenance tips? Then be sure to check these out:
- We take a look at how to repair a Birkholz window
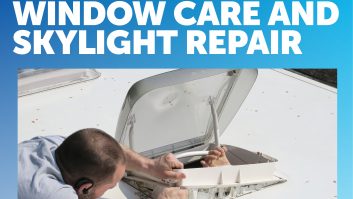
- We offer advice on how to repair a scratched window or damaged skylight
Future Publishing Limited, the publisher of practicalmotorhome.com, provides the information in this article in good faith and makes no representation as to its completeness or accuracy. Individuals carrying out the instructions do so at their own risk and must exercise their independent judgement in determining the appropriateness of the advice to their circumstances. Individuals should take appropriate safety precautions and be aware of the risk of electrocution when dealing with electrical products. To the fullest extent permitted by law, neither Future nor its employees or agents shall have any liability in connection with the use of this information. Double check any warranty is not affected before proceeding.
If you’ve enjoyed reading this article, why not get the latest news, reviews and features delivered direct to your door or inbox every month. Take advantage of our brilliant Practical Motorhome magazine SUBSCRIBERS’ OFFER and SIGN UP TO OUR NEWSLETTER for regular weekly updates on all things motorhome related.