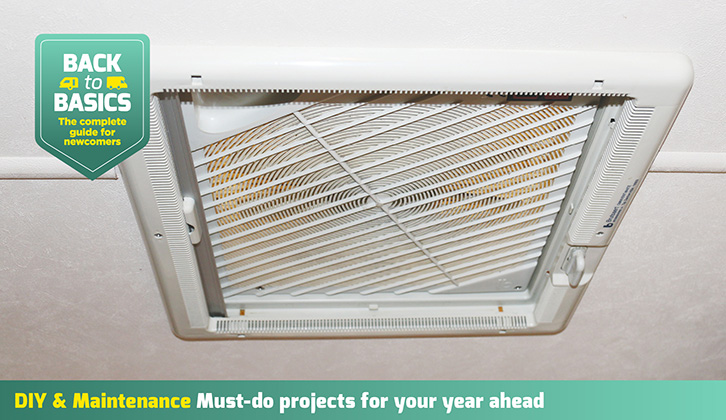
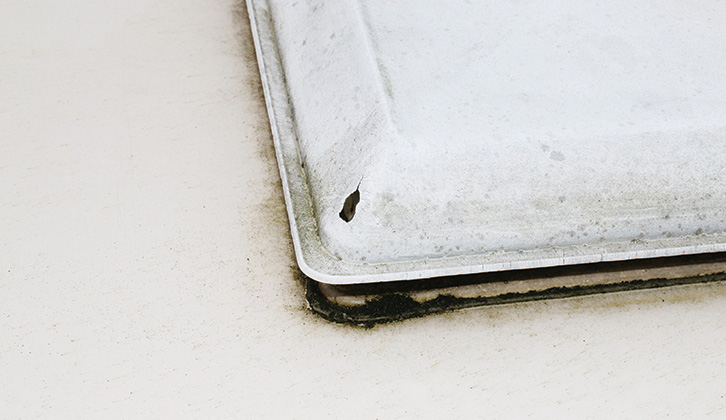
The Omnivent (incorporating a multispeed fan) on our project ’van must be at least 18 years old. Over the years, the weather has taken its toll on the outer cover, to the point that it looks the worse for wear, and a hole has appeared on one corner because the plastic is brittle.
There’s nothing wrong with the rest of the unit, other than the need for a good clean, so rather than replacing it, I looked at fitting a new cover.
Although the basic design of the Omnivent hasn’t changed much, I wanted to replace like for like, so needed an opaque cover, rather than one of the later, transparent ones.
First, find a cover
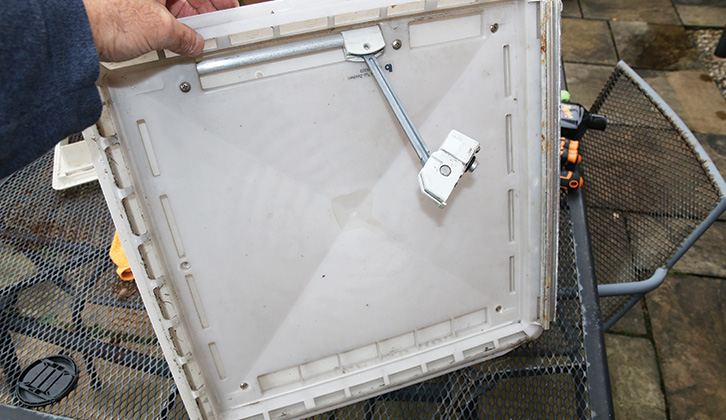
I started the hunt for a ‘new’ cover, which took me to SFM Caravans (www.sfmcaravans.co.uk) near Halifax, a vehicle salvage company.
They said, “How many do you want?” – they had dozens of them, cut from old models, with a small surrounding area of the roof.
It was useful to have the roof section, because I could then see exactly what needed to be done to get the old cover off the Omnivent in my ’van.
The good news is that replacing the external cover is easy, provided you can access both sides (left and right).
The tools and equipment needed for the task are equally straightforward, too. This is what you’ll need to have to hand:
- A basic selection of screwdrivers (screws in the same place on the ‘old’ and ‘new’ covers did vary between cross-head and slotted).
- A cloth (and possibly soapy water) to clean the various parts.
- Bathroom/kitchen sealant.
Rather than describe the removal of the cover from the replacement Omnivent (it’s the same procedure), I’ll focus on removing the one on the unit fitted to my ’van and replacing
it with the one from the salvage firm.
Although you’re not working with 12V electrics directly, switches and wires will be exposed, so you do need to disconnect any 230V mains supply and the battery from the motorhome before you start work.
On the inside
Working inside the ’van, the first job is to remove the internal trim that contains the blind (if fitted). To do this, remove the screws (one on either side) securing the trim.
Then ensure the finger-grip used to wind up the cover is turned, so that it covers the similarly shaped moulding above, because that remains in place when the trim is removed.
The trim will then unclip along the two sides that aren’t secured by the two screws that have been removed. There are two clips on each side.
With the trim panel removed, next remove the screws you’ll find at each of the corners, which will release the internal trim, bringing with it the finger-grip, but leaving the winding mechanism in place. Now you’ll see three screwheads with sealant around the part into which the square rod on the finger-grip slots. Remove the screws.
Then, using a flatbladed screwdriver inserted into the winding mechanism, wind up the cover so it’s fully open.
On the outside
Working outside the ’van with access to the Omnivent, you’ll see the top side of the winding mechanism.
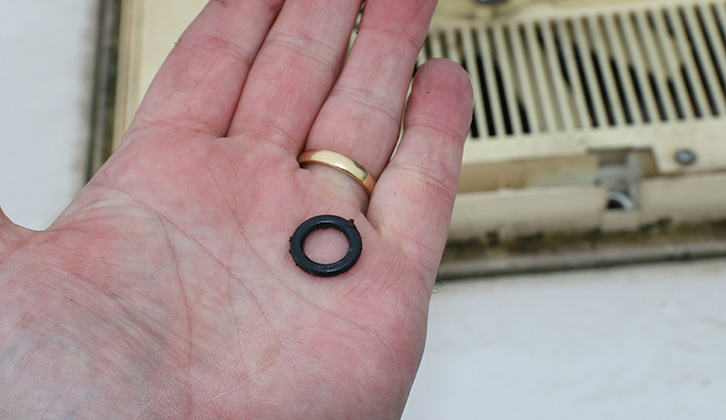
Lift this out of its seating, ensuring that the rubber O-ring stays on the mechanism or is retrieved. Now you know the mechanism is loose, you can temporarily replace it, so the cover is supported. It doesn’t need securing with the screws.
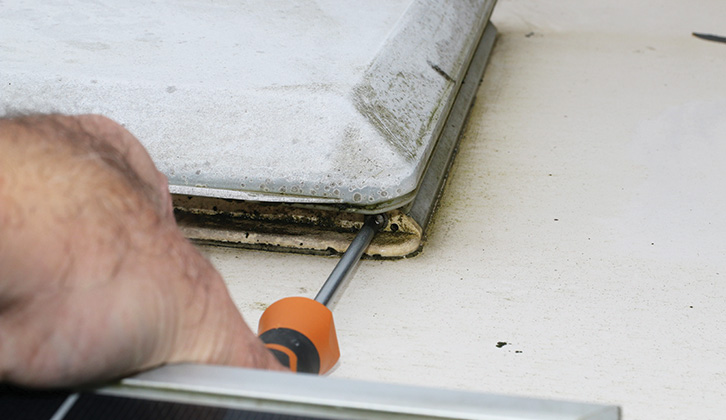
On either side of the cover’s ‘hinge’, there’s a screw. Remove these and retrieve screws and washers. Pull or prise up the hinge from the ’van roof.
You might find this appears to be fastened to the roof, but it isn’t, it’s just excess mastic holding it in place from the installation and isn’t needed to secure the hinge. The cover (and winding mechanism) will lift off and can be discarded.
With the Omnivent disassembled, you can clean the parts. Be gentle with the internal grille, because they can also become brittle with age.
Reassembly and replacement are pretty much a reversal of disassembly. You’ll probably find the metal hinge detaching itself from the plastic cover. This hooks back on, although it’ll keep wanting to drop off.
When it’s in place, offer it back to the roof and secure it with the screws on either side of the hinge. Slot the winding mechanism back into place, ensuring that the O-ring is in position.
Finishing up
Back inside the ’van, clean the old sealant from the three screws that hold the winding mechanism in place and add a small amount of new sealant just beneath the screwheads, then replace them in the unit. This will prevent any water dripping through from above.
Replace the internal trim, ensuring the finger-grip slots into the winding mechanism and none of the wires supplying power to the Omnivent is trapped. Test the cover opens and closes before securing with the four screws. Clip the trim containing the blind into place, making sure the blind isn’t trapped and works smoothly, and if all’s well, replace the two screws
Step-by-step guide
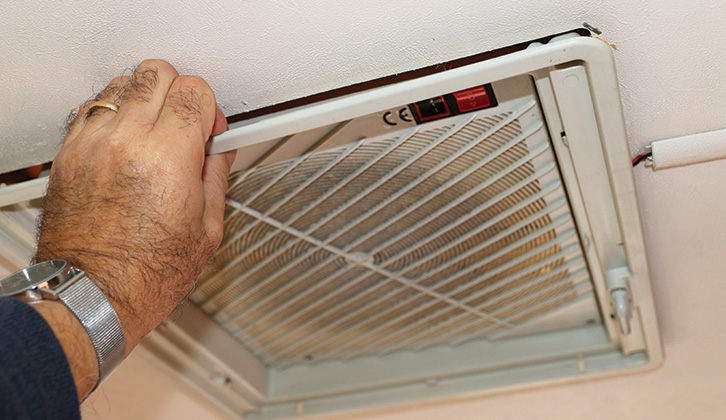
1 The first task is to remove the internal trim that keeps the blind in place.
2 Remove the second trim panel very carefully: you don’t want it to snap.
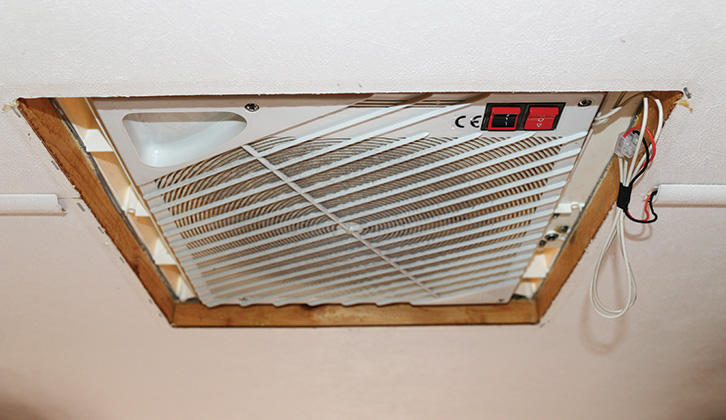
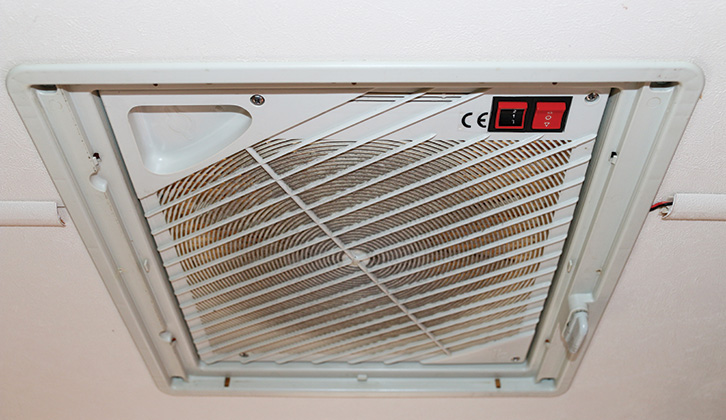
3 Here you can see the Omnivent unit after the whole trim has been removed.
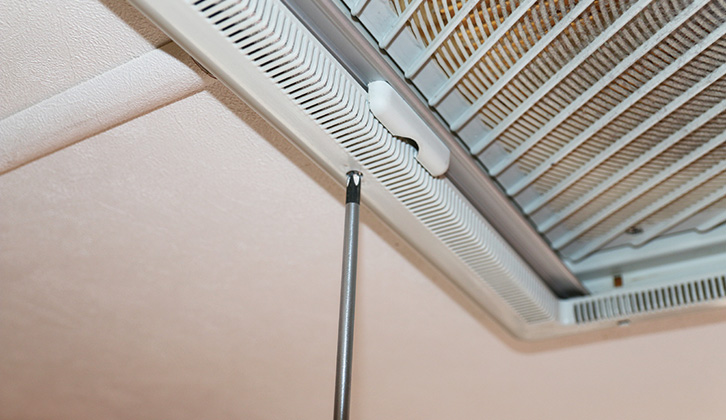
4 Taking out the screws securing the winding mechanism is the next step.
5 The original cover, looking rather worse for wear these days, especially that hole in the corner.
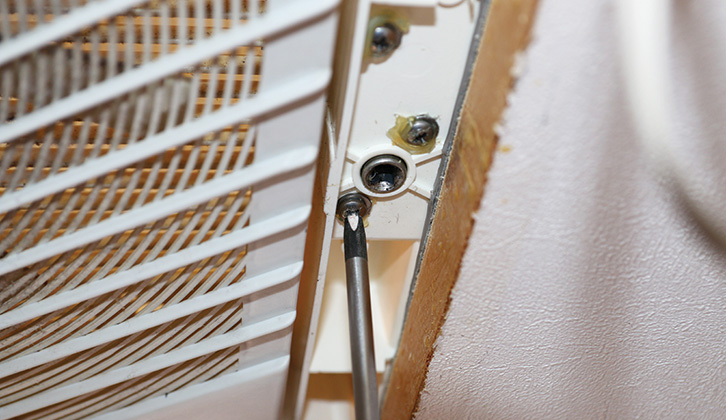
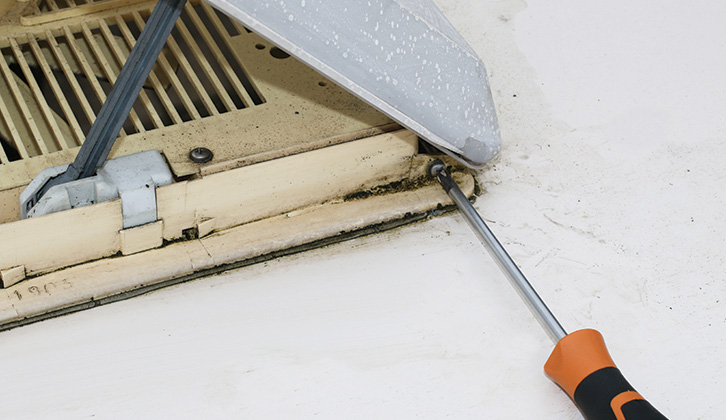
6 Now you need to unfasten the securing screws from each side of the hinge.
7 Lift the winding mechanism out and retrieve the O-ring if it’s left behind.
8 The ‘new’ cover, found at salvage firm SFM Caravans, near Halifax.
9 Securing the replacement cover, then attaching the internal trim.
10 Seal around the screws to secure the winding mechanism, and it’s job done!
Looking for more great DIY inspiration? Then be sure to head to our Back to Basics – DIY & Maintenance category, where we’re sharing simple projects that could make all the difference when you’re on tour!
Future Publishing Limited, the publisher of practicalmotorhome.com, provides the information in this article in good faith and makes no representation as to its completeness or accuracy. Individuals carrying out the instructions do so at their own risk and must exercise their independent judgement in determining the appropriateness of the advice to their circumstances. Individuals should take appropriate safety precautions and be aware of the risk of electrocution when dealing with electrical products. To the fullest extent permitted by law, neither Future nor its employees or agents shall have any liability in connection with the use of this information. You should check that any van warranty will not be affected before proceeding with DIY projects.
If you’ve enjoyed reading this article, why not get the latest news, reviews and features delivered direct to your door or inbox every month. Take advantage of our brilliant Practical Motorhome magazine SUBSCRIBERS’ OFFER and SIGN UP TO OUR NEWSLETTER for regular weekly updates on all things motorhome related.