Getting the most out of your holiday is really important and it pays to be able to carry a motorhome tool kit that can get you out of a fix and enhance the time spent in your leisure vehicle.
With motorhome weights a constant consideration and the ever-increasing pressures on payload, however, you do need to select what to carry with care. Filling the storage areas with items that you will never need or use is a waste of money and space.
To help you sift through the numerous products out there and focus on the key items you need for your motorhome tool kit, I’m outlining my must-haves here. So what would you pack?
Practical Motorhome is supported by its audience. When you purchase through links on our site, we may earn an affiliate commission. Learn more
What should the best motorhome tool kit have in it?
Socket set
Screwdriver set
Adjustable spanner
Multimeter
Jump start pack
Fire Safety Stick
Duct tape and cable ties
Self-amalgamating silicone tape
Tyre sealant and compressor
Solar panel
What should be in your tool kit for a motorhome:
Socket set
Before you skip straight to the next section, muttering “that’s what motorhome dealers are for”, it’s worth bearing in mind that when things go awry, you might not be close to a dealer or technician, instead, only having your motorhome tool kit to reach for.
Some of the best motorhome sites are in delightfully remote parts of the country, which are wonderful to tramp about in, but not exactly bristling with such urban conveniences as a dealer around every corner.
Worse still, if it’s late on a Sunday, they’re highly unlikely to be open.
While breakdown organisations can always help, waiting times can be long. A friend of mine was recently quoted a seven-hour wait for a repair vehicle – and she was a priority call, being a solo woman with a small child. People with their own accommodation are unlikely to be a priority.
So there are going to be times when it pays to be able to roll up your sleeves, reach for your motorhome tool kit and get some dirt under your nails, to save yourself a tediously long wait.
Being truly self-sufficient means you need to be capable of fixing basic motorhome maintenance problems. These might range from damaged habitation latches to some simple engine bay fixes.
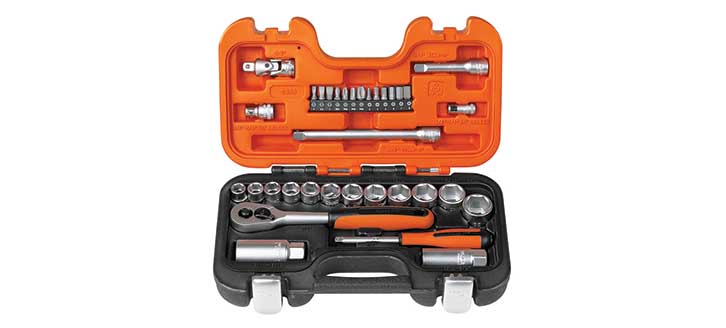
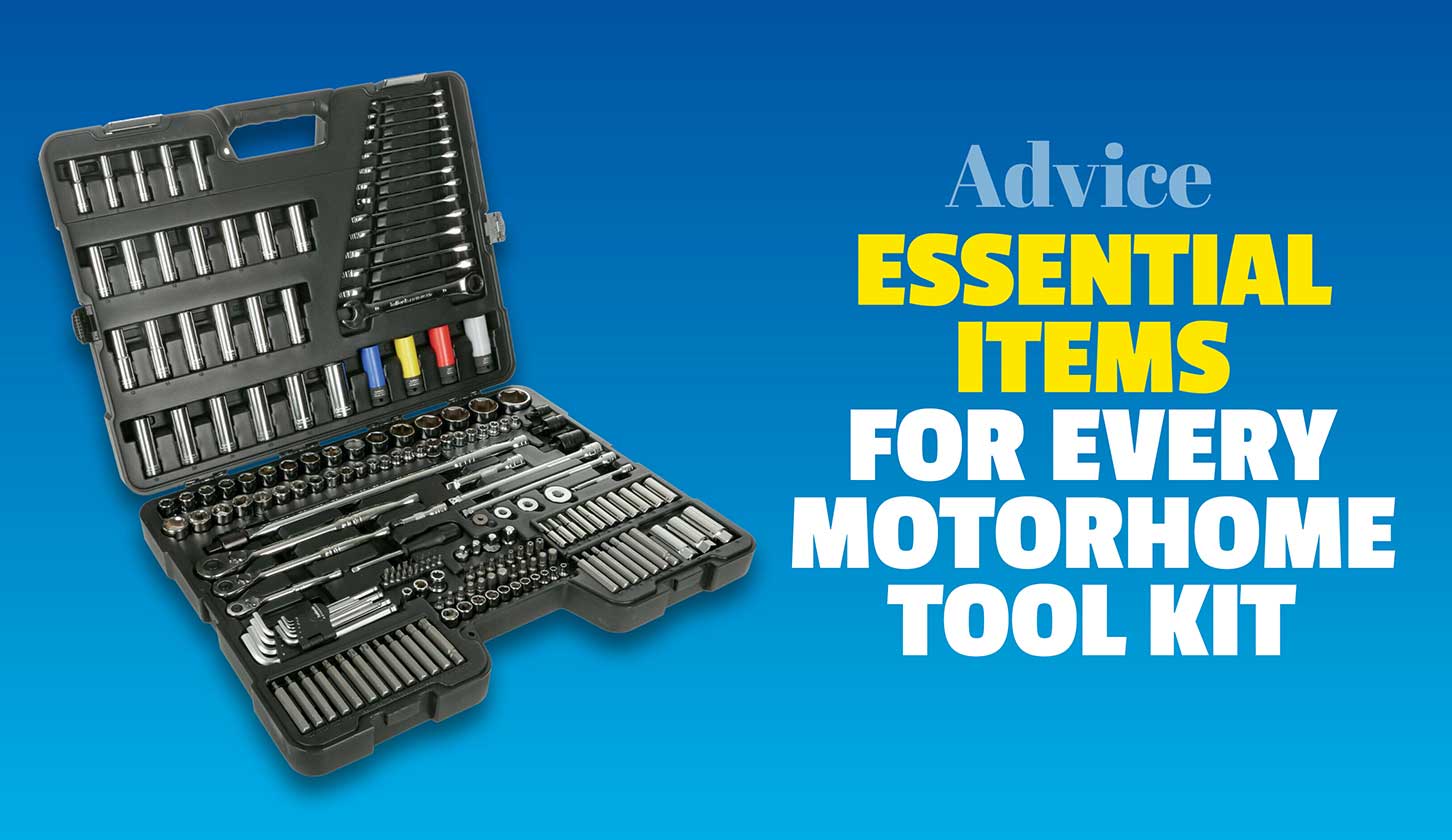
Bahco’s S330 socket set could almost have been designed specifically for automotive use, and it’s supplied in a blow-moulded case with sturdy latches. Inside, you’ll find a selection of flat-head, Phillips and hex bits (3-8mm), 10-22mm sockets (only 21mm is omitted), various extension bars, a universal joint, a 3/8 socket driver and a screwdriver with a ¼-inch adaptor end. It’s a compact size, so even if you have a small motorhome, shouldn’t be a problem to stash.
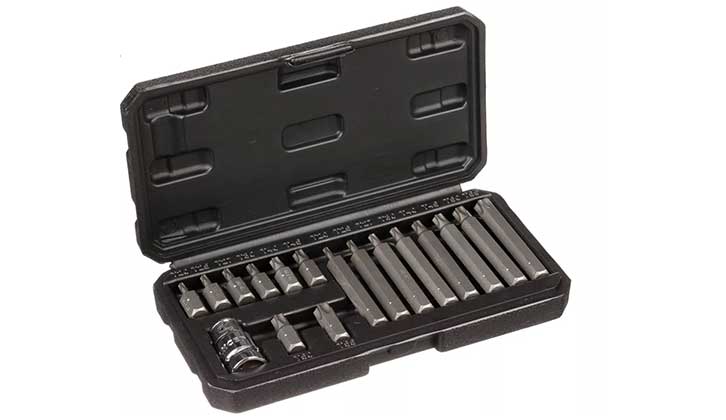
If you have a more modern vehicle with lots of Torx (or star fixings – named after their shape), you might also want to add a Torx bit set like the Halfords Advanced 17 Piece Torx Bit Set, or even buy a larger socket set with everything included.
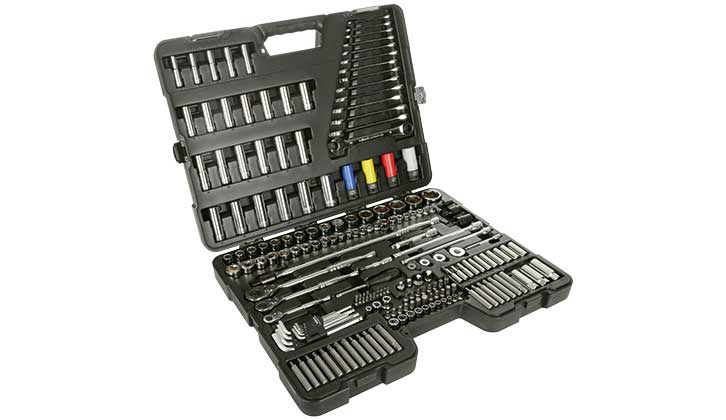
Larger sets, such as the Halfords Advanced 200-piece socket and ratchet spanner set, are all you’ll need for touring and should be packed in every garage. These have a lifetime warranty.
Screwdriver set
From reattaching wonky cupboard doors to replacing batteries in the children’s toys, screwdrivers are infinitely useful. Many socket sets will include a selection of bits and a screwdriver handle, but it can also be good to have a standalone set, because they are inexpensive and come in really handy for all sorts of things.
I would recommend looking at Wera sets, which are great quality and will last a lifetime, without breaking the bank. The laser-tipped sets are the ones to go for – these have tiny grooves cut into the tips, which help to grip the fixing, so they don’t easily come out.
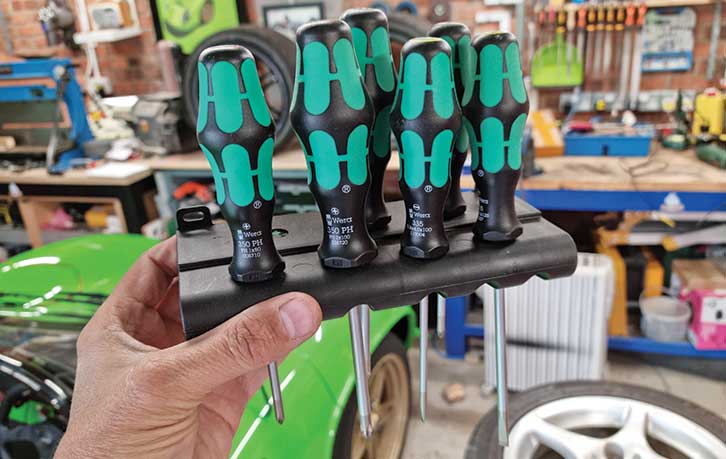
Screwfix sells a useful set of six Wera Kraftform Plus screwdrivers, with a neat holder, for £30. Yes, you can buy cheaper sets from around a tenner, but they won’t last you a lifetime.
If you have a Japanese camper, such as a Toyota Granvia, Toyota Alphard, Nissan Elgrand or Nissan Serena, it’s really important to invest in a set of Japanese Industrial Standard (JIS) screwdrivers. These vehicles use unique JIS screws for many of their body fixings and need to be unscrewed using the correct screwdriver tips.
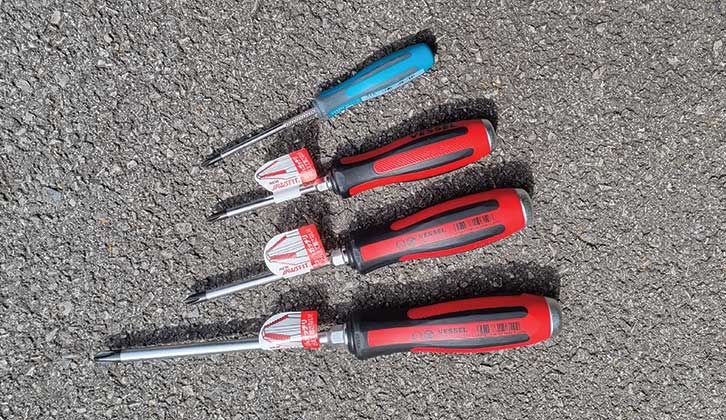
Many motorhomers are unaware of this and just use a regular crosshead screwdriver, which will invariably damage the screwhead and make them far more difficult to remove.
If you’ve ever struggled with the fixings on your Japanese campervan, now you know why! You’ll definitely need the right tools for this job.
An adjustable spanner
From undoing the (reverse thread) nut on your propane bottle to tackling all manner of engine bay jobs, adjustable spanners are an endlessly useful item to have in your motorhome tool kit.
Adjustables have traditionally had a bad press for spinning on fixings, but this is just a feature of the cheap, unbranded ones. If the jaws wobble at all, do not buy it, it’s garbage!
Quality branded ones work very well and save you carrying a bulky, heavy set of individually sized spanners.
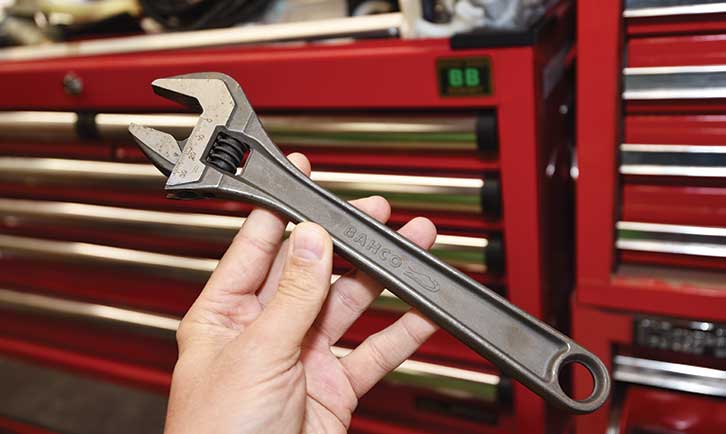
I like the Bahco 8072 10in adjustable, which has precise jaws that can tackle 0-30mm fixings and is great value too.
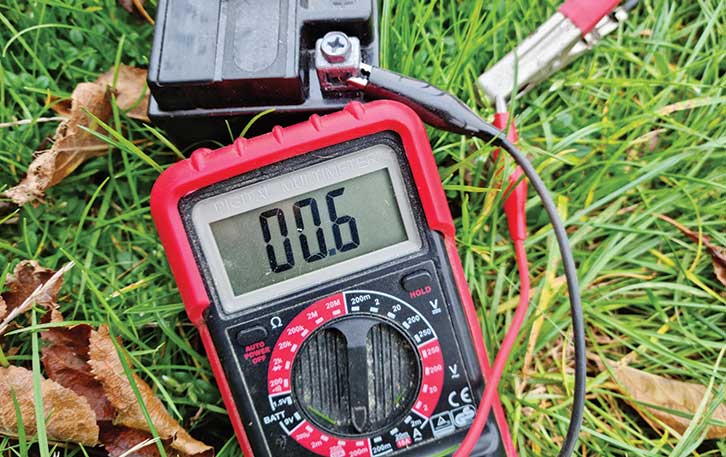
A multimeter
It always amazes us how few campers have a multimeter in their motorhome tool kit – it really is a vital electronic diagnostic tool. You can buy a suitable unit – we’d recommend a digital one for ease of reading – for less than £20 from Halfords, Machine Mart or even Lidl or Aldi, who often have great deals on them (at the time of writing, for example, Lidl had one for just £12.99). As well as allowing you to check the voltage of your habitation and leisure batteries precisely, they let you test fuses, relays, wiring and all 12V devices fitted in your vehicle.
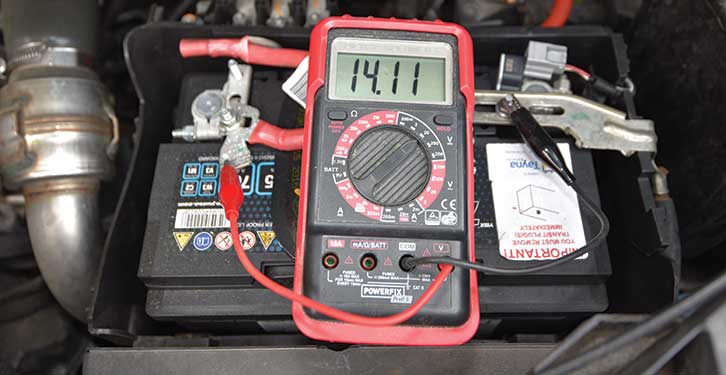
From measuring the current flowing from your solar panel to the battery, to determining if your alternator is working correctly, they’re endlessly useful. If you’re thinking, “But why do I need one if I have a control panel that displays voltage?”, we’d better explain.
While your control panel will already have readouts for the voltage of the habitation battery, being able to measure this accurately is key. Some basic control panels only show green, amber and red LEDs for voltage – nowhere near accurate enough.
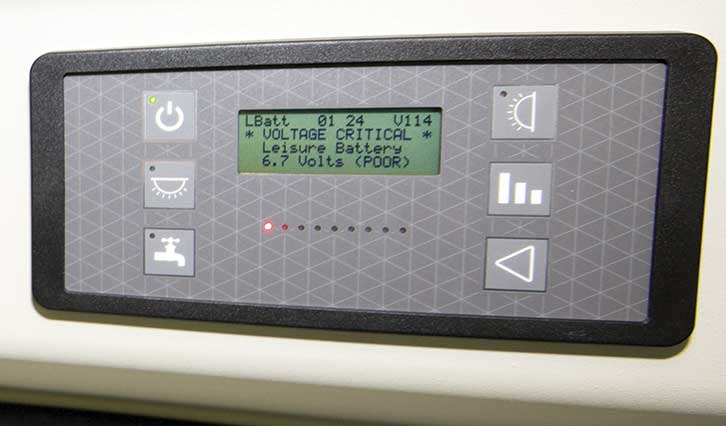
A reading of 12.9V means the battery is fully charged, while 12V means it’s flat. With just 0.9V separating full and flat, you can appreciate the need for accurate measurement. It provides a vital second opinion on battery levels.
On the base vehicle, voltage is equally important, but few feature a voltmeter as standard these days. While modern vehicles benefit from reliable computer-controlled engines and have diagnostic ports to download the error codes, the issue is that if the devices are playing up because of low voltage, they might not be displaying the correct information. Taking all of the error codes as faults before you’ve checked the voltage can send you off on a fool’s errand.
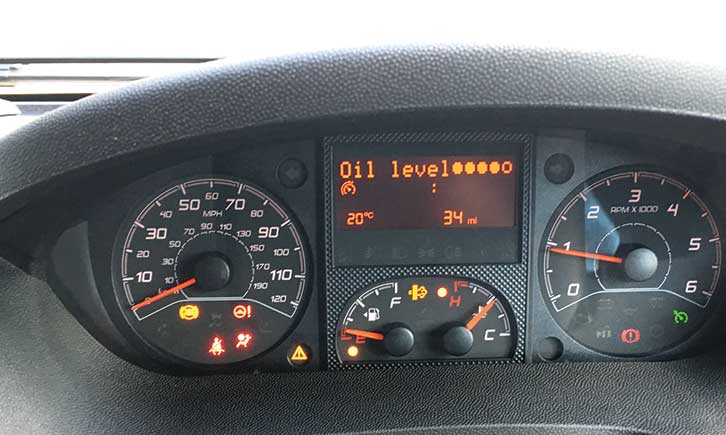
Every single time you get a dashboard warning light, always check the battery voltage as a first step. It’s step one with all electrical faults on the base vehicle. If there’s any doubt about the vehicle battery, it will need to be load tested and the alternator output properly verified.
Only after carrying out these steps and clearing the fault codes (to see if any reappear) can the dash warning lights be trusted. A multimeter really is the most useful tool you can carry to deal with electrical issues.
Jump start pack
We’ve all done it. Arrived at a campsite late at night and forgotten to switch something off while we’ve gone for a meal. The disappointing click of the starter motor in the morning is sure to be matched by the glare of disapproval from your passengers!
Although there should always be somebody on a campsite with a set of jump leads or a battery booster pack, that really won’t help you if you’re on an empty site in winter, or wild camping. And batteries always fail during the colder months. Often at night, when it’s raining…
Rather than having to rely on your site neighbours or having to wait an eternity for a breakdown service to arrive, it’s better to come prepared and count on a jump start pack in your motorhome tool kit.
These usually feature a lithium-ion polymer battery and can be surprisingly powerful for their compact size.
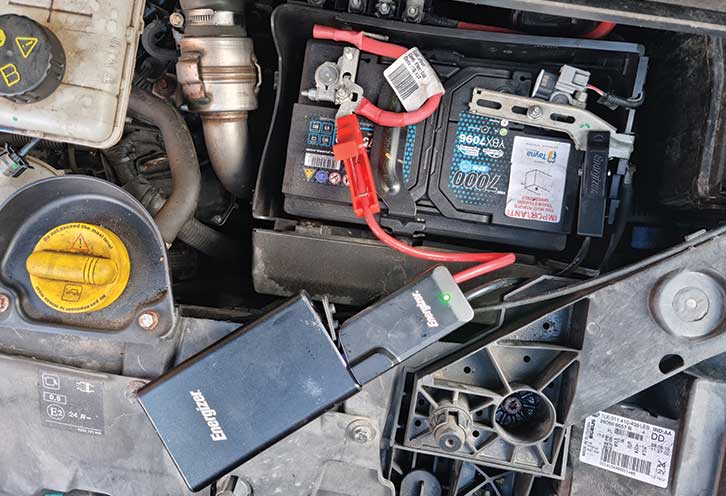
Although you can purchase cheap, unbranded ones online for less than £50, we’d highly recommend opting for a quality branded item from a UK retailer. We’ve used the 400A Energizer Power Bank successfully several times and it has started everything from a Ducato diesel to a 4.0-litre V8 Jaguar, so it has plenty of punch to start most vehicles (except RVs, which will need something more industrial). It retails for about £100 and is widely available.
Many of these units are also small and light enough to pack in a rucksack and use as a battery bank for phones or tablets, so they have a dual function.
Fire Safety Stick
Motorhome fires are mercifully rare, but they do happen, so you will want to ensure you have the best campervan fire extinguisher.
The main touring clubs recommend AFFF (aqueous film forming foam) extinguishers, but these can be quite bulky and heavy in a meaningful size of two litres and above.
A more modern solution is to opt for a Fire Safety Stick, which is a new kind of chemical fire extinguisher that can tackle almost all motorhome fires, including wood, textiles, flammable liquids, propane, butane, electrical fires and even fat fires.
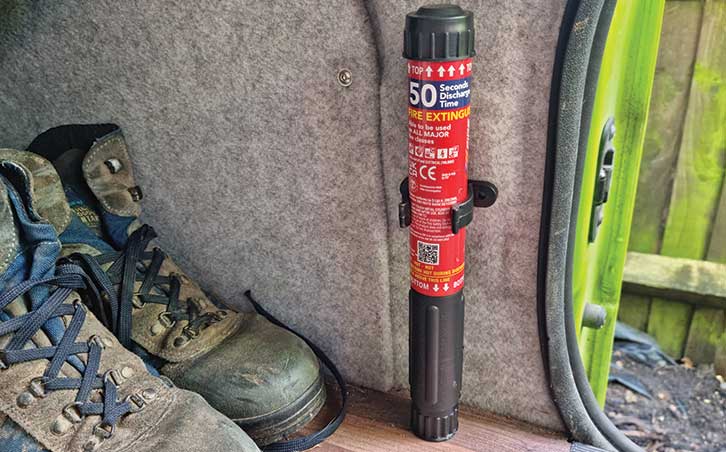
Of course, in all instances of fire, especially flammable liquids or gases, the priority is to get all occupants out safely before seeing if the fire can be tackled. Keep the stick near the exit door for this reason.
With a discharge time of at least 50 seconds (triple that of most AFFF extinguishers) the Fire Safety Stick is impressively compact, yet packs proper punch. Every ’van should have one.
Duct tape and cable ties
Duct tape is another of the must-have items that really should be packed in every leisure vehicle.
From patching damaged bodywork, to temporarily fixing a broken hinge or mending a tear in canvas, it can be used in all sorts of ways and can even allow you to create items you have mislaid – there’s a handy guide to making a temporary wallet online!
The key thing, as always, is to avoid the false economy of buying the cheap, unbranded stuff, which doesn’t work as well and often sits around for ages on the shelves, causing the adhesive to go off. Look for 3M products (Lidl often stock them for less than a fiver).
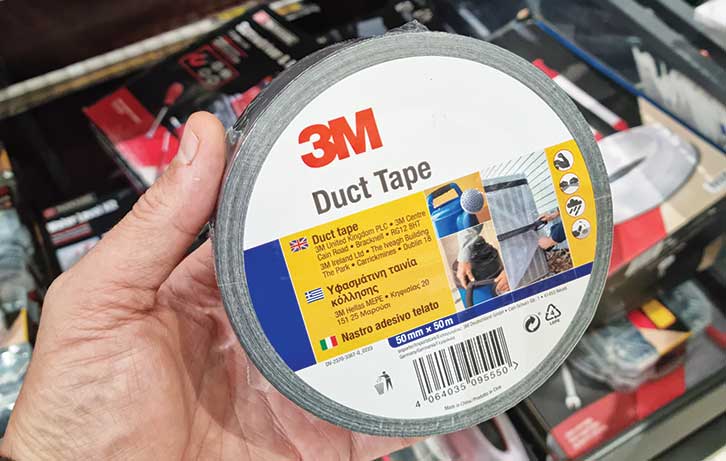
If you have a choice of duct or gaffer tape (which looks identical), always go for duct – it has a stronger adhesive.
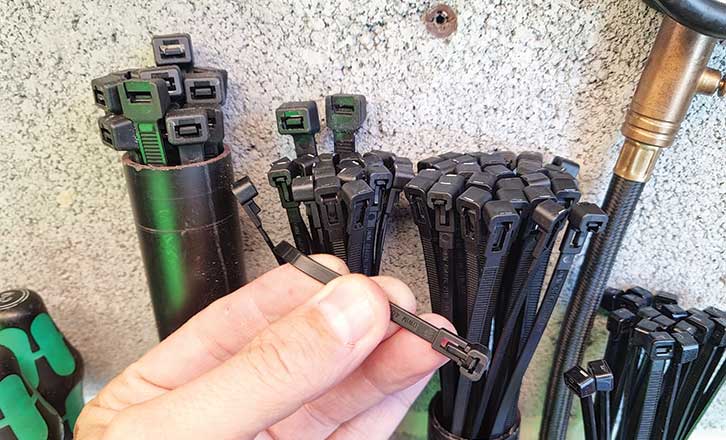
Cable ties need no introduction and are one of those things that you’ll use time and time again for all manner of jobs. From rigging temporary washing lines to securing bits of loose trim, they have a multitude of great uses.
I like the reusable nylon ones that are often sold in Lidl – it’s a bit greener being able to use them more than once.
Self-amalgamating silicone tape
This is a rather more specialist product, which many people might be unaware of, and is hard to find in regular shops, so it’s best ordered online.
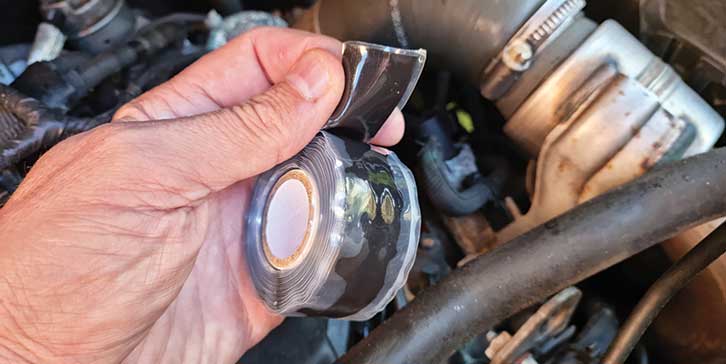
Basically, it’s a waterproof silicone tape that sticks to itself – incredibly useful if you have a leak in your ’van’s water system or in the cooling system of a vehicle. Wrap it tightly around the split hose or pipe and let it do its thing.
Self-amalgamating silicone tape is resistant to temperatures of up to about 260°C, so can be used safely on coolant hoses (not exhaust pipes) and on the hot-water system hoses in the vehicle.
Obviously, you will need to have a permanent repair done on any split coolant hoses or water-system pipes when you return from your holiday, but this tape can keep your vehicle functioning and avoid you having to cut short your break.
Look online to find various brands of self-amalgamating (aka self-fusing) silicone tape with prices starting from under £12 a roll. A small price to pay to keep your holiday on track!
Tyre sealant and compressor
Even if you have a spare wheel for your vehicle – and I would always highly recommend that you do carry one, or at least a tyre if you’re payload-limited – it’s still well worth packing a can of tyre sealant when you’re on tour.
This sealant comes in various forms, ranging from the under-£10 aerosols sold by motorfactors, to the combined compressor and sealant kits that are supplied by the manufacturers.
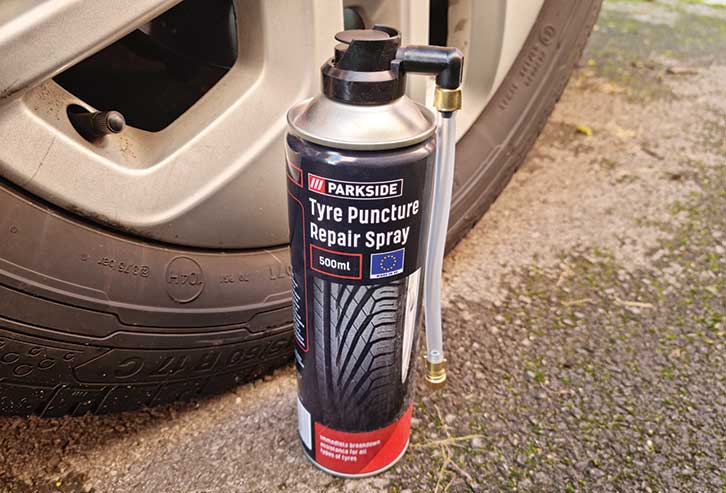
Both will work as a temporary fix on a small, pin-hole sized puncture (from a nail, thorn or screw, perhaps) and allow you to continue your journey until you can visit a tyre centre for a more permanent repair.
The aerosol type of sealant cans are the easiest to use, but they won’t have enough pressure to inflate the tyre back up to the correct motorhome tyre pressures, so you’ll need to visit a garage with an airline as soon as you can.
The kits that include a compressor will work better in this instance and are well worth having.
I would also recommend buying a standalone compressor to carry permanently in your motorhome.
These can either be the 12V-powered ones, such as the Ring RAC900, which clamp onto a battery and have a long airline, or the more modern cordless variety, which are sold by all of the major power tool brands and use a drill-style battery.
Not having to fiddle around with wires and long airline hoses makes the battery-powered versions the quickest and simplest to use.
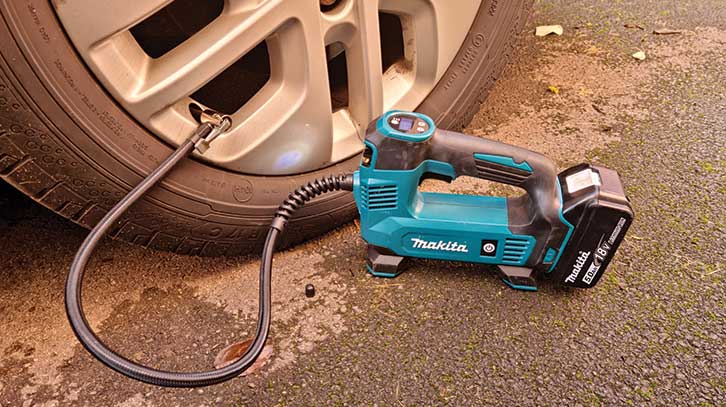
The Makita DMP180Z 18V cordless compressor, for example, inflates to around 121 psi (so it’s fine for motorhomes).
It is powered by the Makita drill battery, costing about £50 if bought separately, plus around £30 for the charger.
If you already own branded power tools, you can probably buy a compressor which uses the battery and charger system that you have. Milwaukee, Ryobi and Einhell, for example, all offer these.
In addition, you’ll find compressors and tyre sealant are not only useful on your motorhome – we’ve used them successfully with bicycle tyres (check the valve fits first, though), scooters, motorbikes and even garden tractors.
And don’t have any concerns about using sealant, either – one motorhomer told me they never used it, for fear of incurring extra clean-up costs at the tyre centre! If you need it, use it.
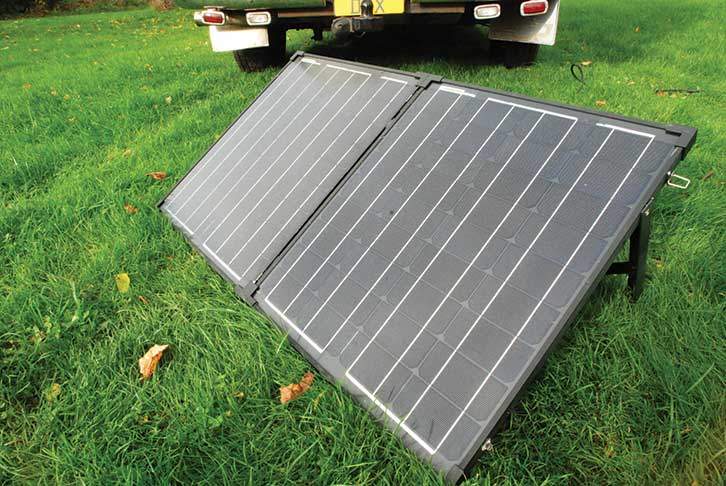
Solar panel
It may not be something you can pack away into your tool box but a solar panel can be a useful piece of kit to have. One of the things that can kill a battery is low voltage, and not having your battery on charge during the ’van’s winter lay-up is a surefire method for shortening its working life (see: winter battery care).
Lead acid batteries hate being run too low, while the more modern lithium ferrous phosphate models are much more tolerant of low voltages. But all batteries will last longer if they are kept properly topped up.
Batteries naturally lose a bit of charge over time, but this can be exaggerated if you keep going in and out of the vehicle without driving it anywhere. On modern vehicles, every time you press the remote fob, they immediately get ready to be driven and start powering up glow plugs and other ECU systems – this can soon drain the battery.
The best method over the winter is simply to plug into a mains hook-up and let your vehicle’s charging system keep the vehicle trickle-charged. Most modern vehicles are designed to let you do this (but check your owner’s manual for older motorhomes).
If you don’t have access to a mains hook-up, perhaps because your vehicle is stored in a separate storage facility, it’s well worth adding a solar panel to keep it topped up over winter.

To account for the reduced daylight hours and lower light levels in winter, install the largest panel that you can physically fit on your ’van roof.
In the winter, this should keep the batteries topped up, but ensure that it’s of sufficient capacity to stay on top of slow drains, such as aftermarket alarms and tracker systems.
If you use a motorhome cover, make sure it has a clear panel built into the roof, to allow the solar panel to work.
Finally, buy your solar panels from a trusted UK source and always use them with a regulator and a fuse. Do not buy panels on price alone and avoid the ones shipped directly from overseas. Many of these products don’t meet UK and European regulations and will be a false economy.
A good solar panel will help you to be more self-sufficient in summer, too, as they can often run a fridge for long periods and will produce reasonable amounts of current.
The final word on a motorhome tool kit
Being prepared isn’t hard and investing in a few of the items listed here could make all the difference to your holiday. You may never need to use some of them, but for peace of mind, it’s good to know you have them to hand in your motorhome tool kit, just in case.
Don’t miss out on the steps you can take to prolong the life of your motorhome either.
Future Publishing Limited, the publisher of Practical Motorhome, provides the information in this article in good faith and makes no representation as to its completeness or accuracy. Individuals carrying out the instructions do so at their own risk and must exercise their independent judgement in determining the appropriateness of the advice to their circumstances and skill level. To the fullest extent permitted by law, neither Future nor its employees or agents shall have any liability in connection with the use of this information. Double check any warranty is not affected before proceeding.
If you’ve enjoyed reading this review, why not get the latest news, reviews and features delivered direct to your door or inbox every month. Take advantage of our brilliant Practical Motorhome magazine SUBSCRIBERS’ OFFER and SIGN UP TO OUR NEWSLETTER for regular weekly updates on all things motorhome related.