


Motorhome manufacturers fit control panels in locations that are chosen for ease of use, which makes sense. After all, if you want to turn something on or off, or alter a setting, you want the controls to be close to hand, not tucked into a hidden corner, don’t you?
However, there are times when the siting of a control panel might not be in the best place for the most efficient functioning of other things, such as the inbuilt temperature sensor of an Alde heating system.
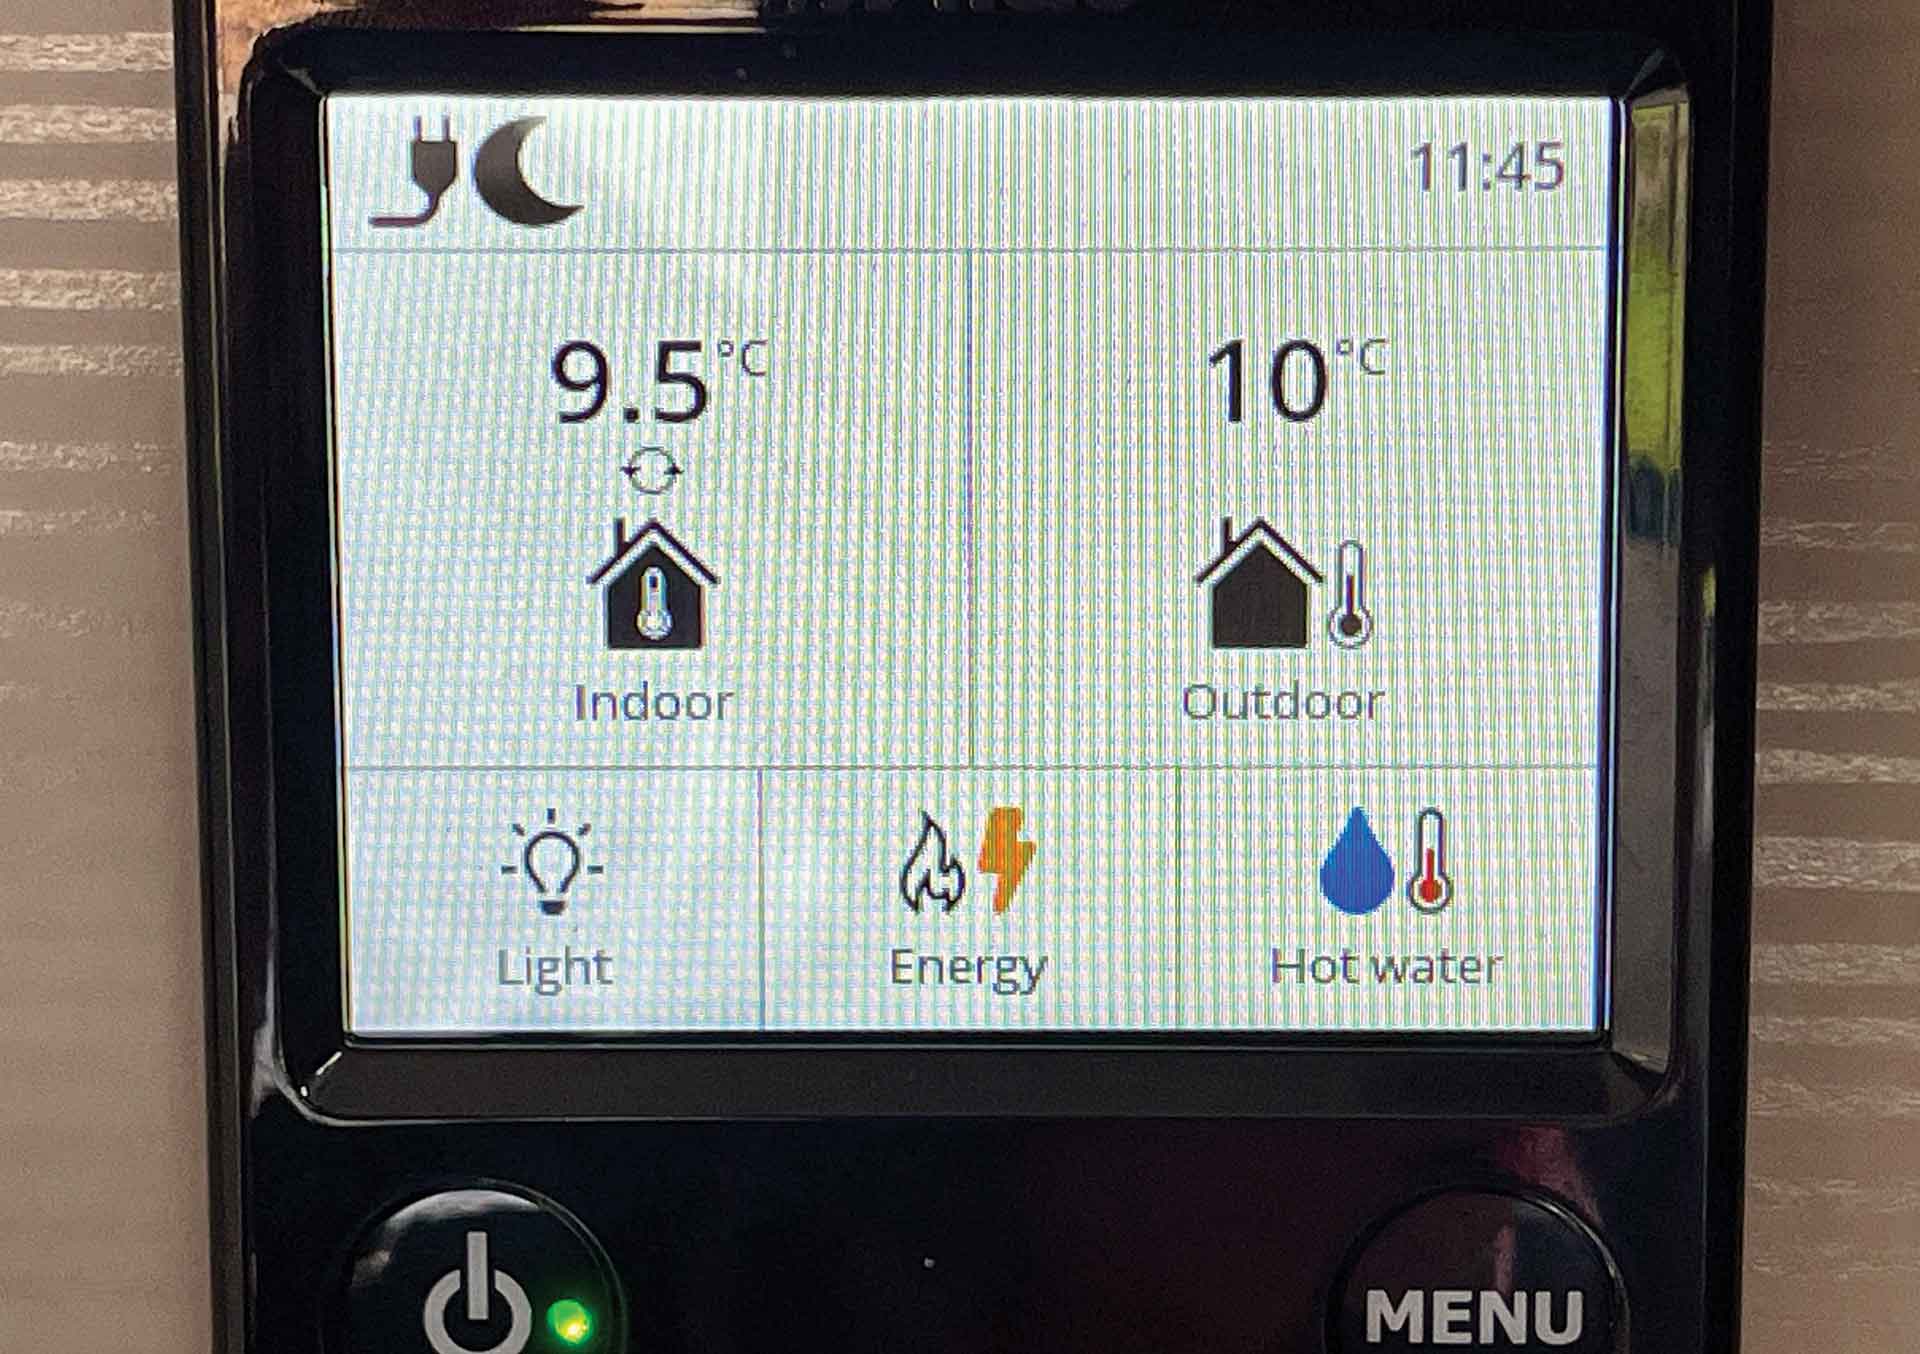
When an Alde system is installed, the control panel contains the sensor that measures the internal temperature of the vehicle, but if the panel is sited over the kitchen unit, or in a place where there might be temperature variations, then this will have an effect on how the system operates.
False readings
For example, in our vehicle, the Alde control panel is mounted above the door. The door itself doesn’t seem to have any effect on the temperature, but if it’s been a sunny day and the sun has been on that side of the ’van, we have noticed false high readings.
This means the system thinks that the internal temperature is higher than it actually is, so the heating might not come on, leaving the interior cooler than we would want – something that would not be ideal if we were thinking about how to keep a campervan warm.
Of course, a simple solution to the problem would be to turn up the heating, but then you’d need to turn it down again once the sidewall had cooled.
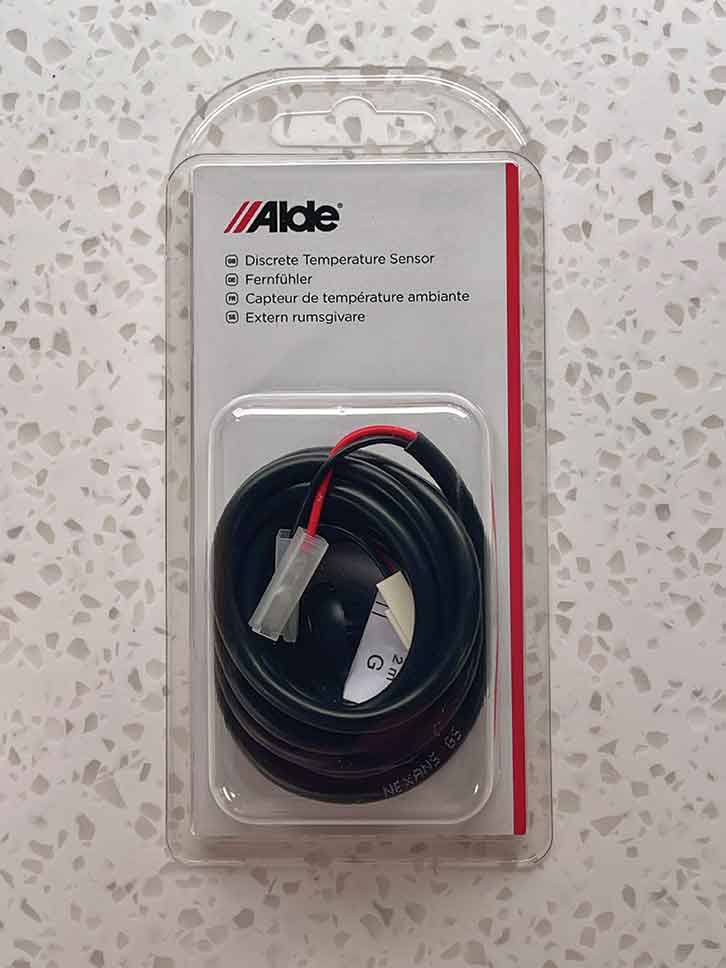
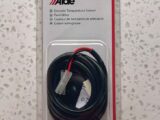
However, a more permanent answer to these false readings is to install Alde’s Discrete Temperature Sensor, which I recently did in our ’van. This is a simple job (in theory, which I’ll cover in due course), and when completed, should allow for more consistent heating.
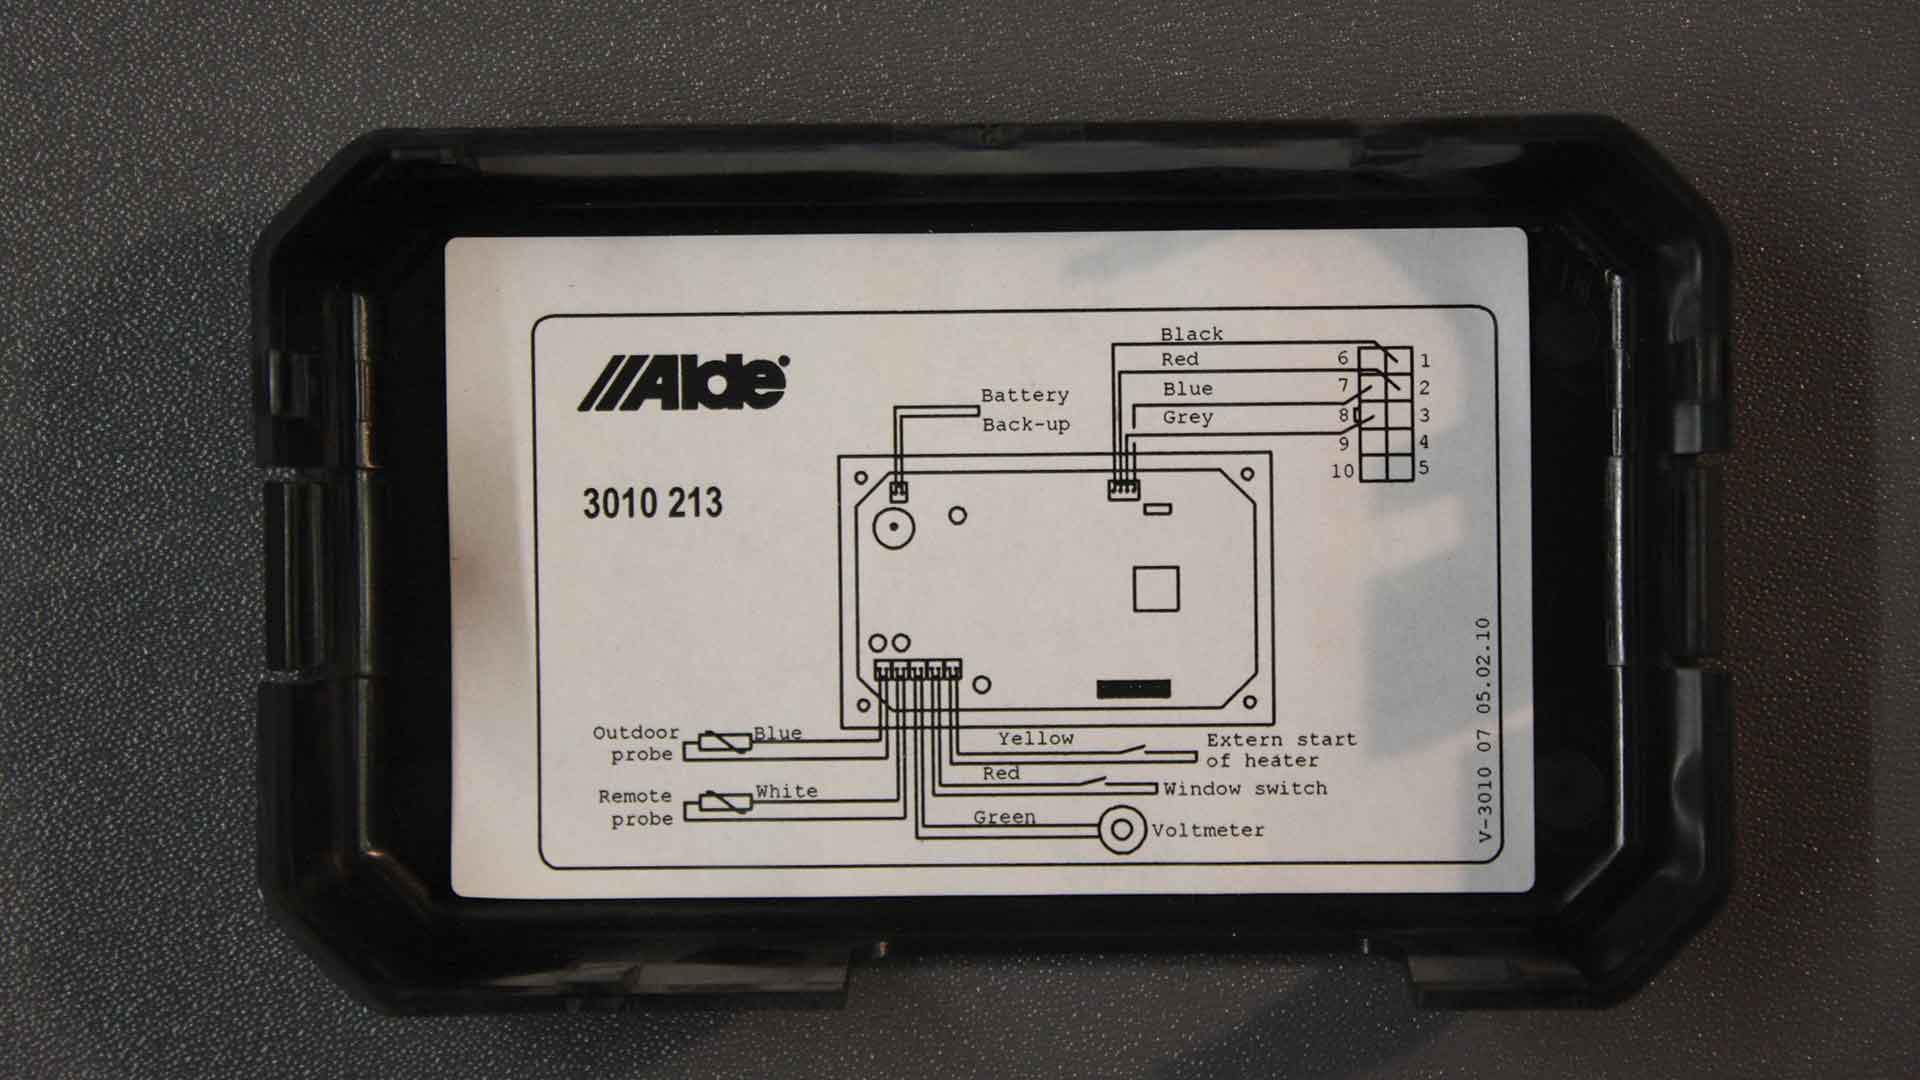
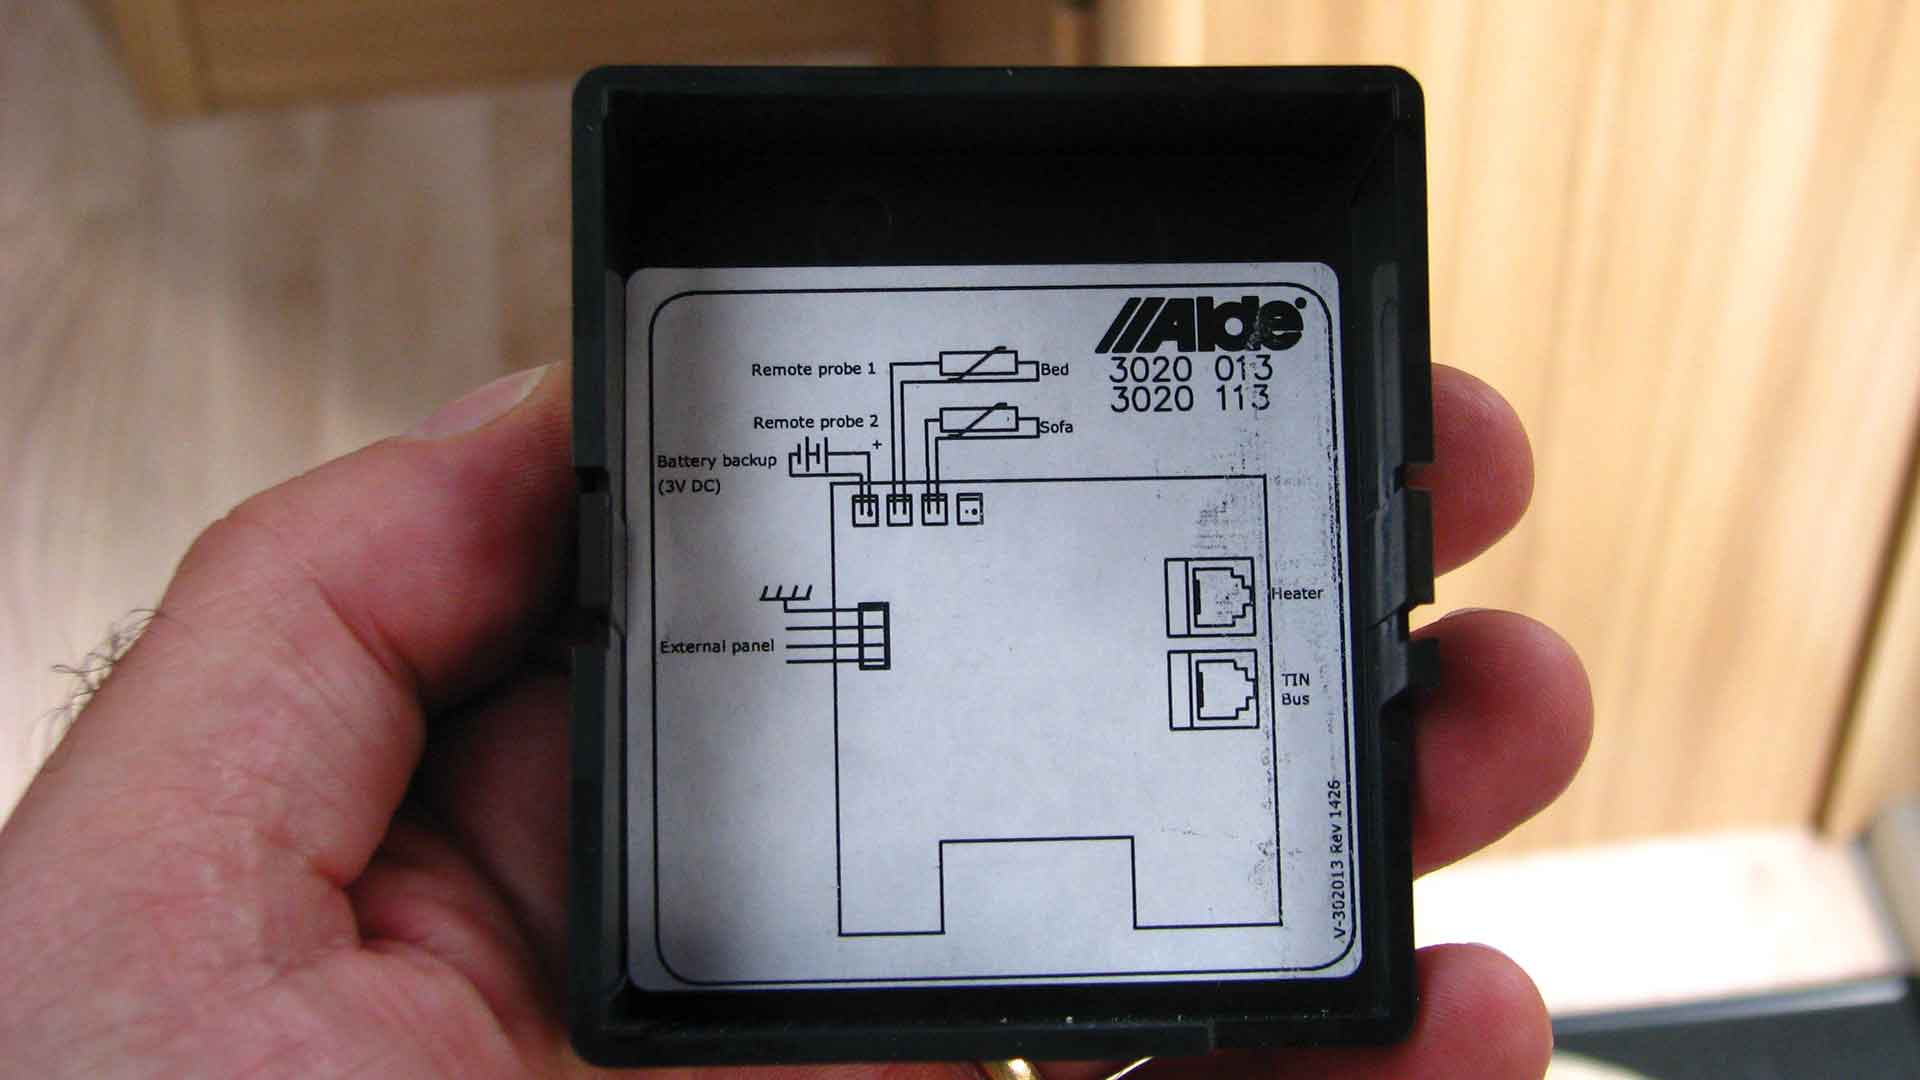
The Discrete Temperature Sensor will operate with all variants of the Alde system – 3010, 3020 and 3030 – just like an Alde Outdoor Temperature Sensor.
Ideally, the temperature sensor should be positioned as close to the centre of the ’van as possible. However, in practice, this isn’t always going to be feasible (as in our case).
The sensor comes with its own 2m-long lead, which must be plugged into the back of the control panel – so obviously, the sensor has to be mounted within the extent of that lead.
Choose a location
The first thing to do is to find a suitable location for fitting the sensor. In our vehicle, the table storage cupboard is just inside the entrance door, with a narrow shelf forming its top surface.
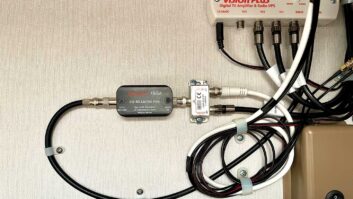
What I had hoped to do was to run the lead down from the control panel into the table cupboard via the part of the ’van’s furniture that houses 230V sockets, USBs and switches. But I had to rethink that initial plan, because there was a major obstacle.
The shelf continues all the way back to the ’van wall, and then the boxed-in section runs down to the floor inside the table cupboard.
So making a hole in the shelf, behind the boxed-in section, to feed the cable through, and then getting the lead out of the woodwork again would have been pretty much impossible.
I decided to consult the experts at Alde, who suggested that the Discrete Temperature Sensor could be mounted below the 230V sockets and just above the narrow shelf at the top of the table cupboard. So that’s what I decided to do, and here’s the step-by-step guide.
Installing the Alde Discrete Temperature Sensor
First, it’s most important to ensure the disconnection of any 230V and 12V supply before starting work.
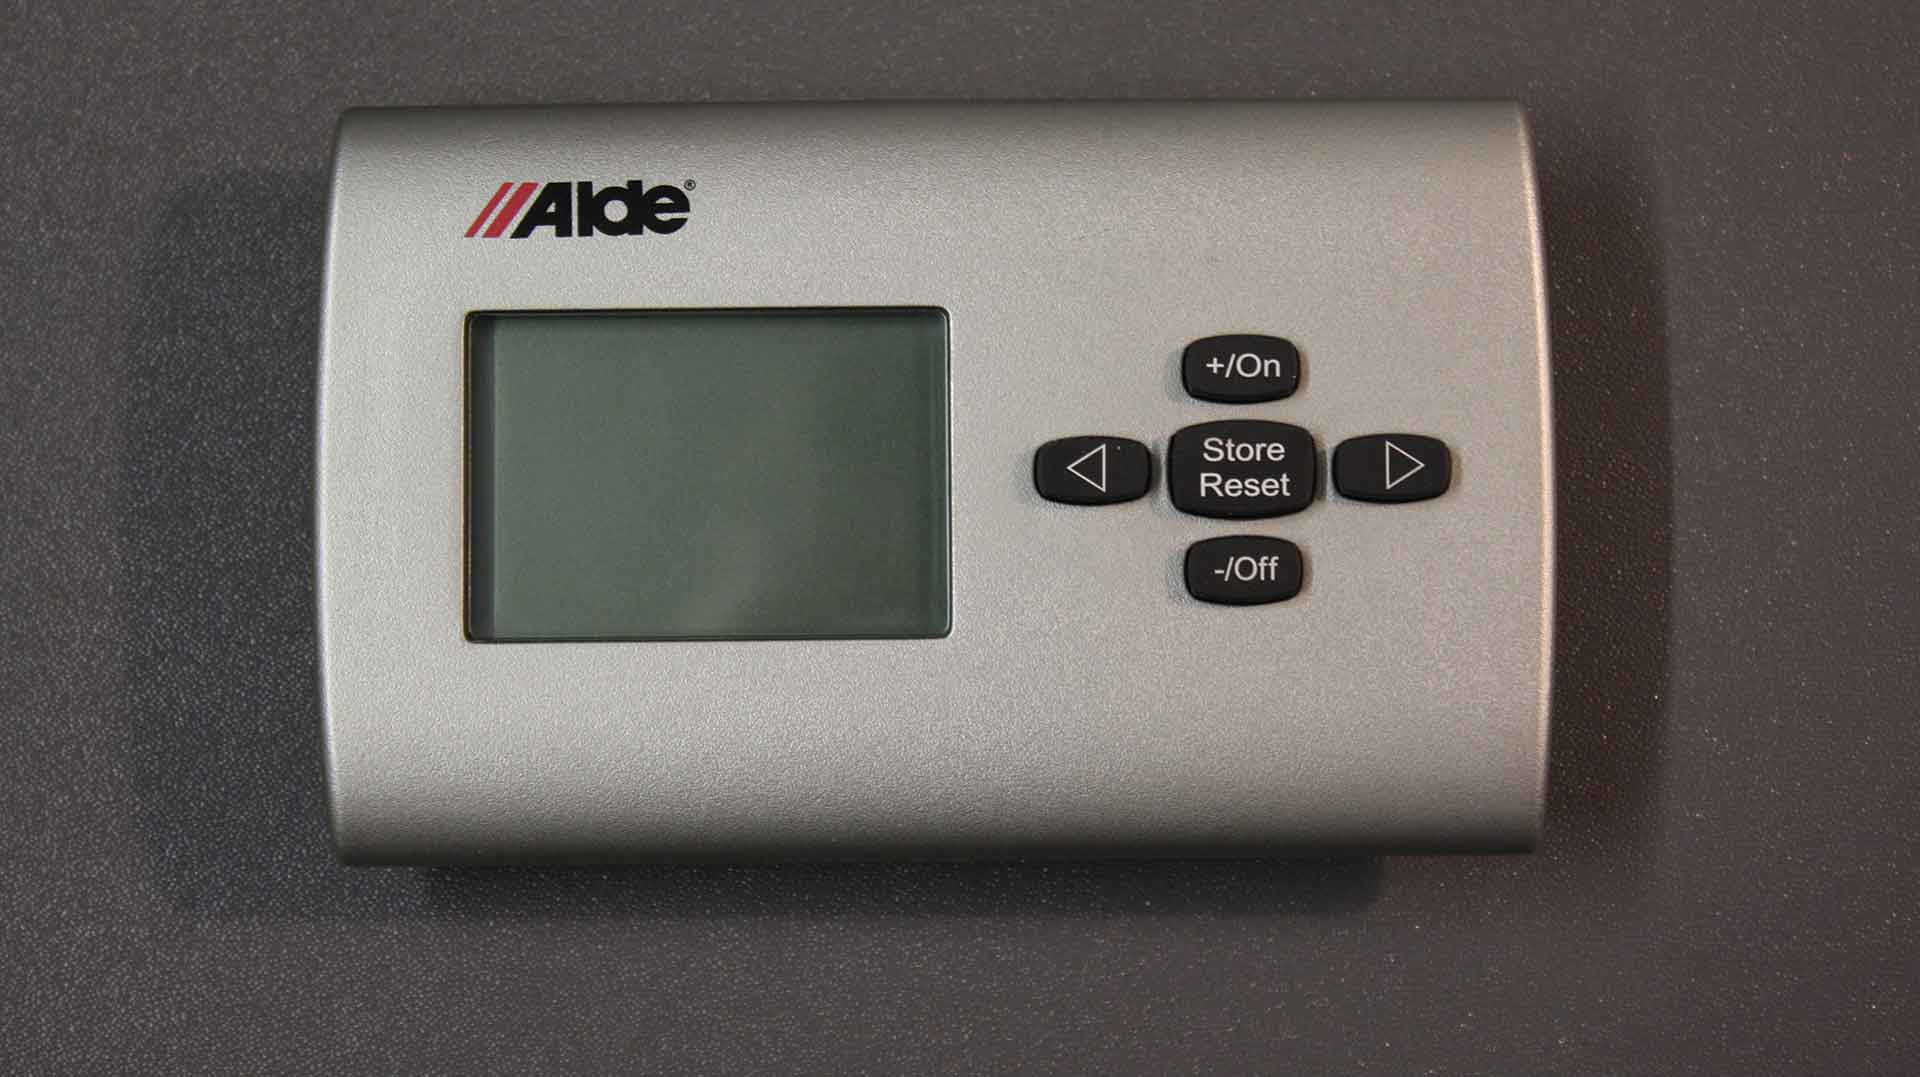
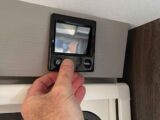
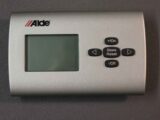
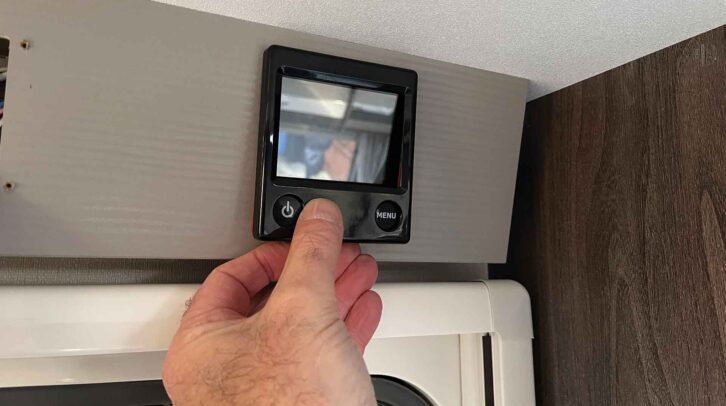
I began by removing the Alde control panel (whether you have the 3010, the 3020 or the 3030 panel, the procedure will be the same).
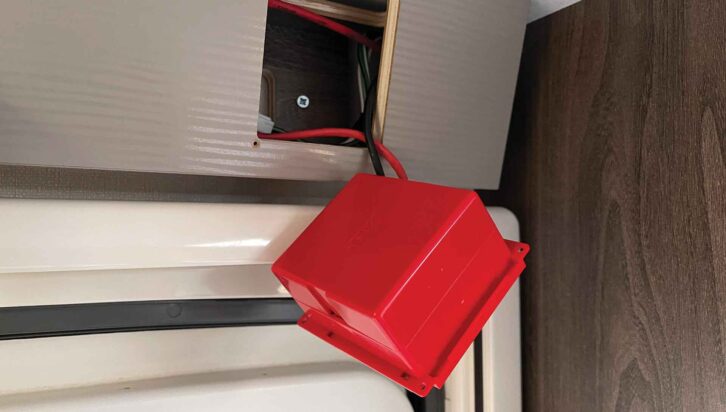
The fascia simply unclips, and then the four screws securing the panel to its mounting need to be removed. The panel will then slide out.
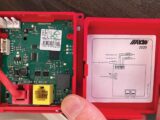
The back unclips to provide access to the various connections, and has a display inside.
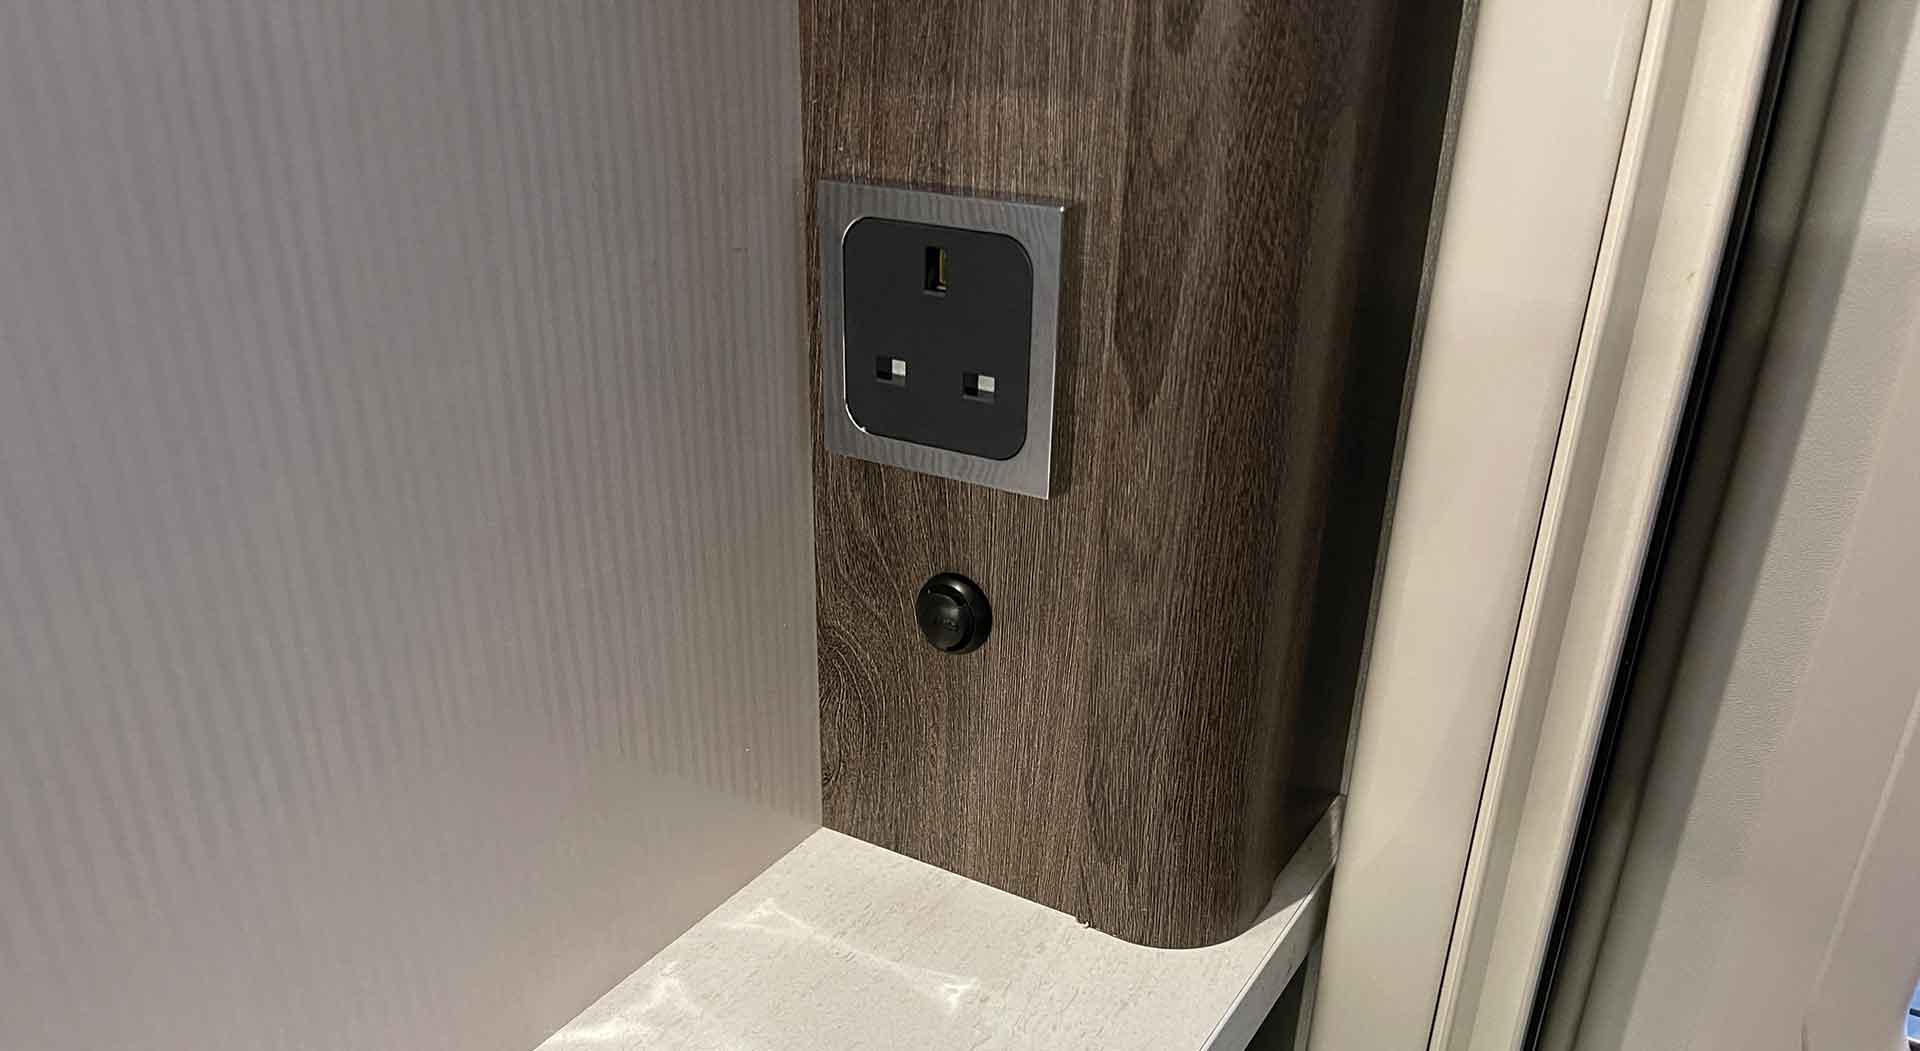
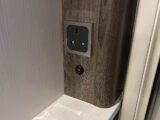
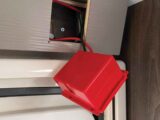
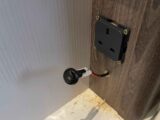
Next, I removed the lower of the 230V sockets, which was just above the intended position for the Discrete Temperature Sensor.
The ‘chrome’ surround is just clipped onto the socket, although they can be rather tight to remove.

I unscrewed the securing screws and pulled the socket from its housing, so I could get to the end of the sensor lead.
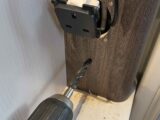
My next step was to mark up the location where the sensor was to be fitted, and then, after making sure that there was enough room behind (this will require 4-5cm), I reached for my motorhome tool kit so I could drill a 10mm hole.
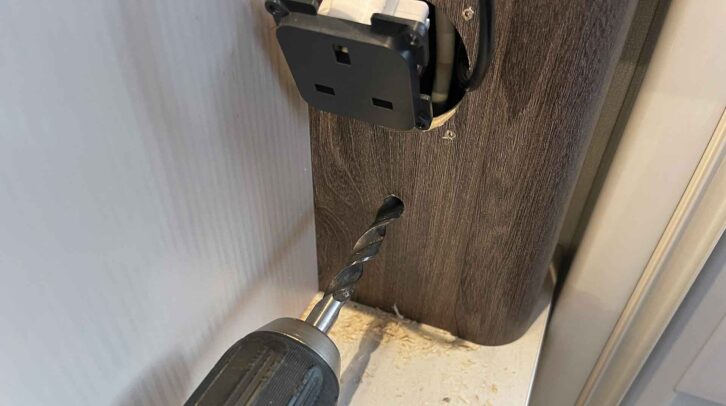
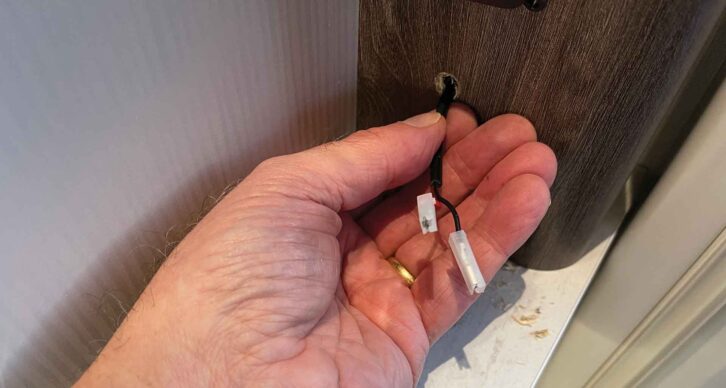
That allowed me to feed the cable from the control panel to and through the 10mm hole.
Wiring up the Alde Discrete Temperature Sensor
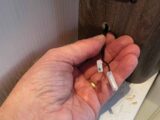
The red and black wires now need to be attached to the temperature sensor. Helpfully, there is a small red dot marked on the sensor next to one of the connections, so the red wire was attached to this and the black one to the other, unmarked terminal.
The temperature sensor can then be pushed into the 10mm hole (clips on the unit will help to keep it in place).
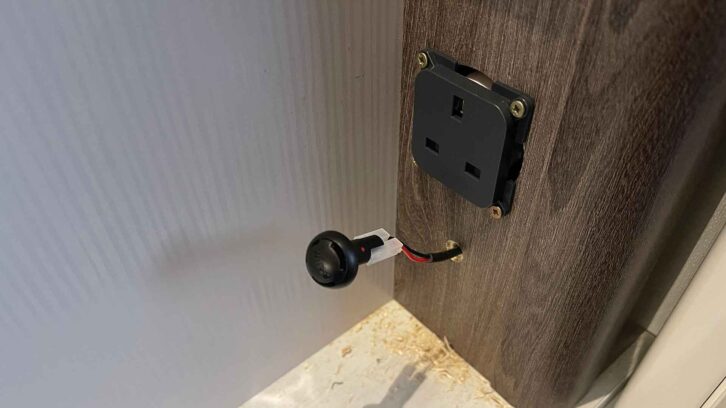
Finally, I reassembled all the things that had been removed beforehand, reconnected the power supply and turned on the Alde heating system.
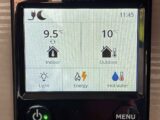
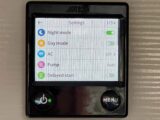
Now I needed to select the sensor via the settings on the control panel.
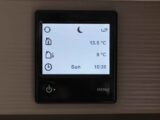
For the 3030
To do this on the 3030, you press the Menu button, then go to page 2/3. Select ‘Sensor Selection’ (which will probably be ‘Panel’) then ‘Sofa’ on the drop-down menu.
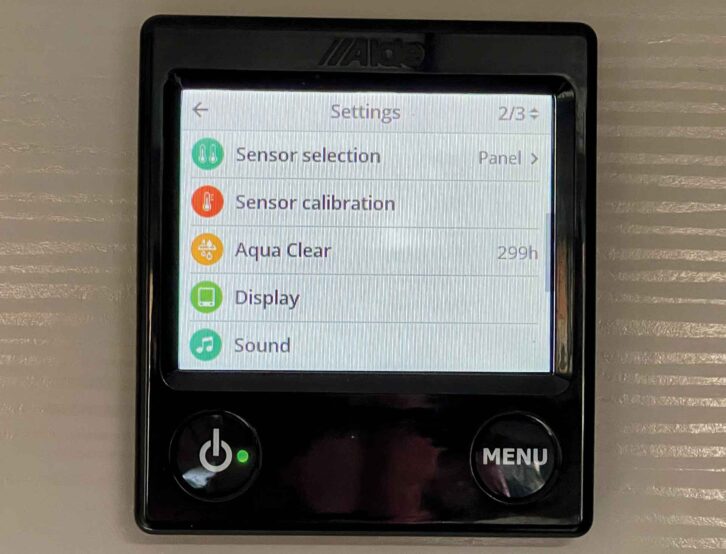
Press Menu twice to return to the Home screen. And that’s it.
At this point, you could also check the temperature with a thermometer, and if there’s a disparity, make any adjustments using ‘Sensor Calibration’ on page 2/3 of the settings.
If you have the 3030 system, don’t miss my guide on how to change the control panel screen display either.
For the 3020
For the 3020 control panel, press Menu, then touch the ‘Settings’ icon (bottom right corner). On page 1/4, you’ll see an icon like two thermometers. Touch this and select the appropriate sensor. Press the Menu button twice to return to the Home screen.
Again, you could use the sensor calibration adjustments if required.
A second sensor can be fitted to make the heating zonal – for example, in the sleeping area. Using the ‘Night-Time’ settings, that sensor can be selected to monitor the temperature.
Nigel Hutson is a Brand Ambassador for Alde International.
Don’t miss our guide to the new Truma CombiNeo heating system either – it will provide continuous hot water in your ‘van.
If you enjoyed reading this article, why not get the latest news, reviews and features delivered to your door or inbox every month? Take advantage of our brilliant Practical Motorhome SUBSCRIBERS’ OFFER and SIGN UP TO OUR NEWSLETTER for regular weekly updates on all things motorhome related.