

One of the things I’ve always added to the Alde heating system in our motorhomes over the years is an outside temperature sensor. These will work with both the Alde 3020 and the latest 3030 systems. They will also operate with the original 3010 unit, although the connection is different from what is being described here.
I don’t have a particular fascination with the weather (well, no more than your average Brit!), but as a point of interest, I do like to know what it’s doing outside the cosiness of our home-from-home, especially in the colder months.
Yes, I could open the door and await the cold blast, just before I hear the warning, “Close that door, you’re letting all the warmth out!”, but as I like clever gadgets and having some motorhome maintenance to do, fitting the sensor is the way to go.
Until recently, I thought that the Alde Outside Temperature Sensor was just that: a little add-on that displays what the weather outside is doing, and nothing else. However, following a recent conversation with Alde’s HQ in Sweden, I have learned that having the temperature sensor helps the heating system to function more efficiently.
If the system’s wizardry detects the outside temperature is dropping, it will monitor the internal temperature and turn on the heating before that internal temperature drops.
It also works in conjunction with Truma air conditioning, if you have that, and Alde heating (as they can be linked to give climate control), but in the opposite way, in that if the outside temperature starts to rise, the air conditioning unit will kick in sooner than it would without the Outside Temperature Sensor fitted.
I can’t claim from personal experience whether the above works or not, but I certainly wouldn’t argue with the technicians at Alde.
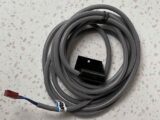
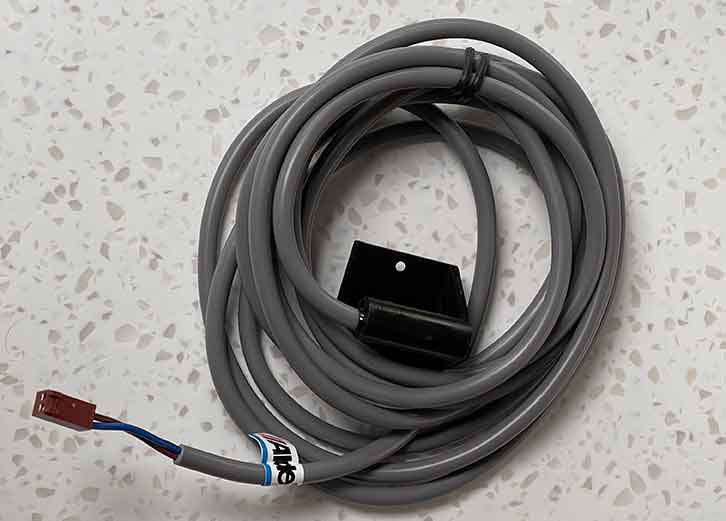
Fitting an Outside Temperature Sensor really is a very easy job. The unit is supplied with a 2.5m cable, with the sensor at one end and a plug at the other. The plug attaches to the boiler electronics, so when you are finding a suitable location for the sensor, do bear this in mind.
Fitting the sensor
Before starting, ensure that the 12 V battery and any 230V hook-up are safely disconnected.
Beginning with the sensor itself, this needs to be mounted where it will be away from any heat source or significant draught, both of which are likely to cause false readings.
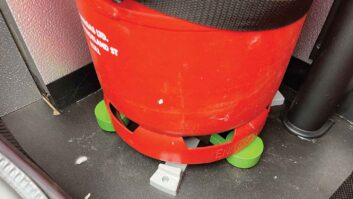
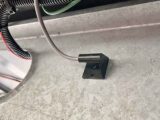
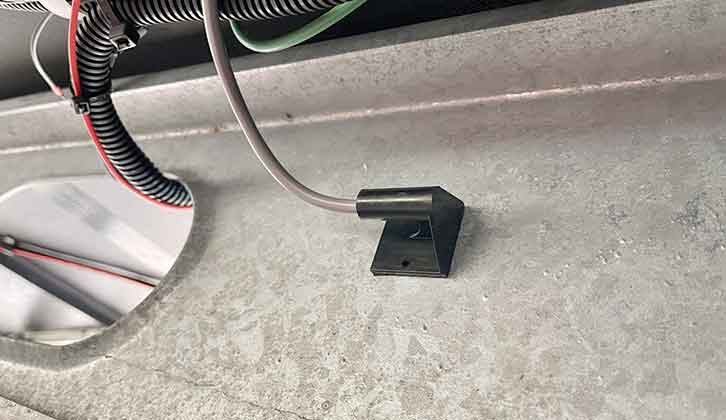
The unit has two small holes, so it could be screwed to the floor (as I have done in the past), but this time, I decided to mount it onto the chassis, using strong double-sided tape. Do
not drill screw holes into the chassis, as this would invalidate any warranty!
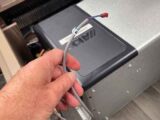
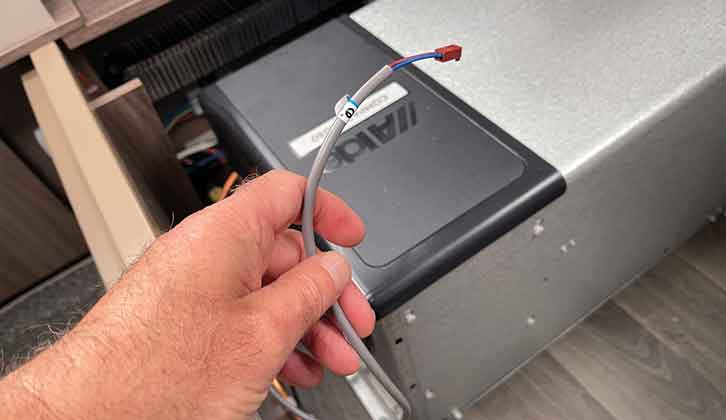
With the sensor mounted, the plug end of the cable needs to be fed to the Alde boiler. I simply pushed it through the hole in the floor with all the other wiring, ensuring it wasn’t pulled tight, but so that there was no loose cable outside.
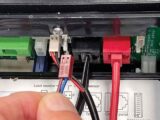
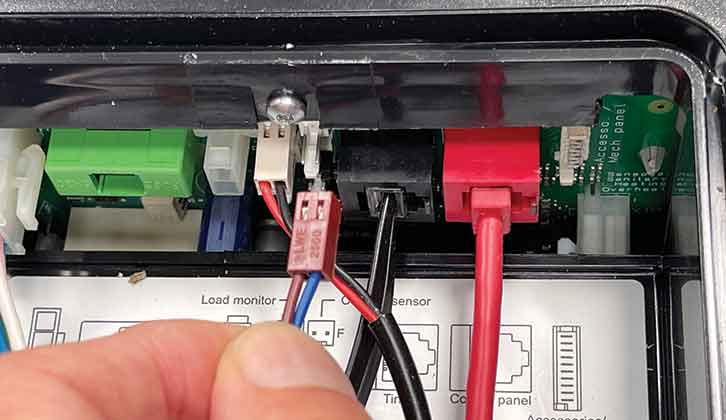
Next, lift off the black lid on top of the Alde boiler. This unclips where the cables go in and can then be lifted off. With the lid removed, you will see a diagram showing where the plug from the temperature sensor needs to go. Attach the plug and then clip the lid back into place.
At this point, reconnect the 12V battery and either the 230V mains hook-up and/or the gas (so that when you turn on the Alde system at the control panel, you won’t get a fault displayed). Next, turn on the system at the control panel.
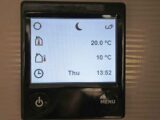
You should now be able to see the outside temperature displayed on the Home screen.
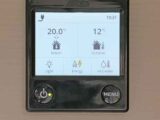
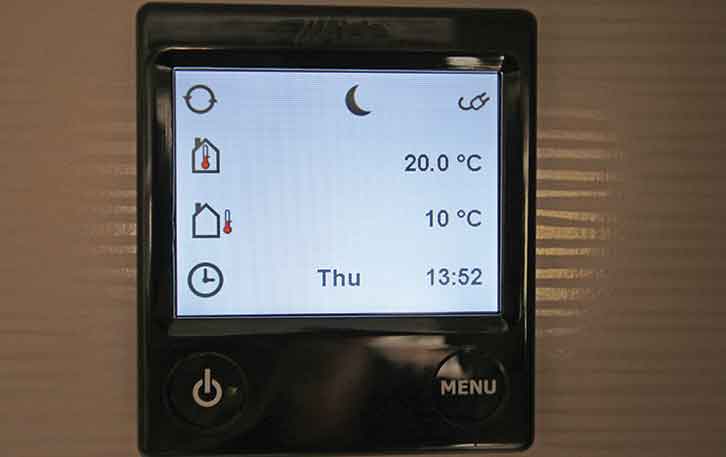
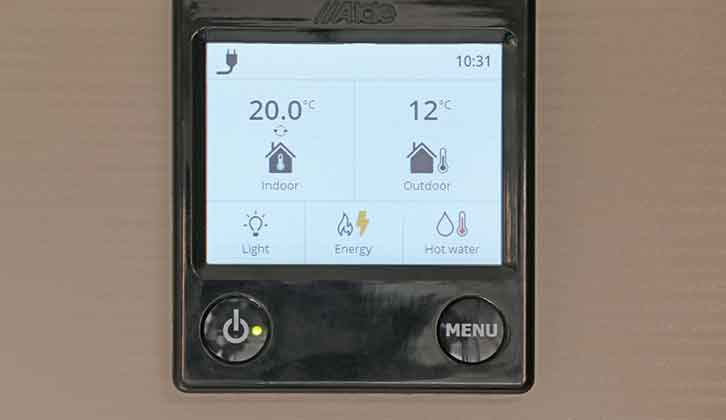
On the 3020 control panel, this will be in the form of a thermometer outside a house icon, with the temperature on the other side of the screen to the icon. On the new 3030, the temperature will be shown next to a fir tree icon at the bottom centre of the screen, and also on the control panel Display page (one press of the Menu button).
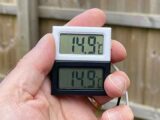
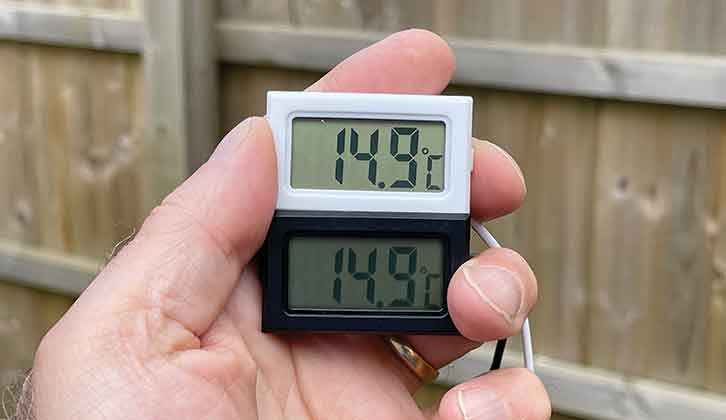
If all is well, cable-tie the lead from the Outside Temperature Sensor to any other cabling. I then used an accurate thermometer to check the temperatures shown. In our example, the outside temperature was 14.9°C (rounded up to 15°C), but the control panel was showing 12/13°C. There is an ‘offset’ facility on the control panel, so the display can be adjusted to reflect a more accurate reading.
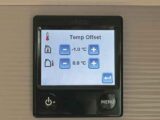
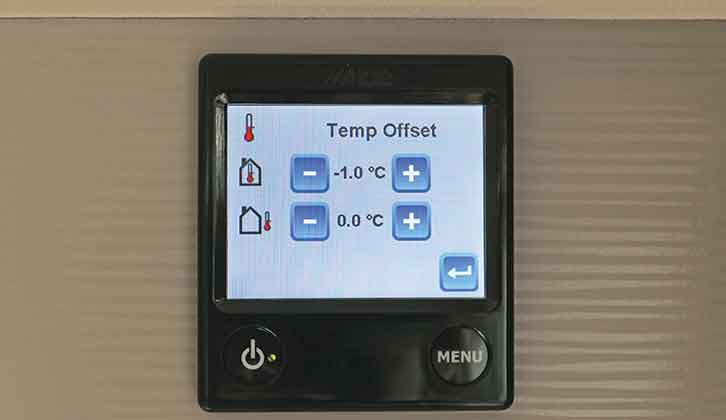
On the 3020 control panel, press the Menu button once and then touch the Settings icon (bottom right of the screen).
Scroll down to page 3 of 4, then touch the thermometer icon at the top centre. Using the + or – button, adjust the offset (if going from 13°C to display the more accurate 15°C, you’ll need to adjust by +2). Press the Menu button twice to return to the Home screen.
Calibrating the sensor
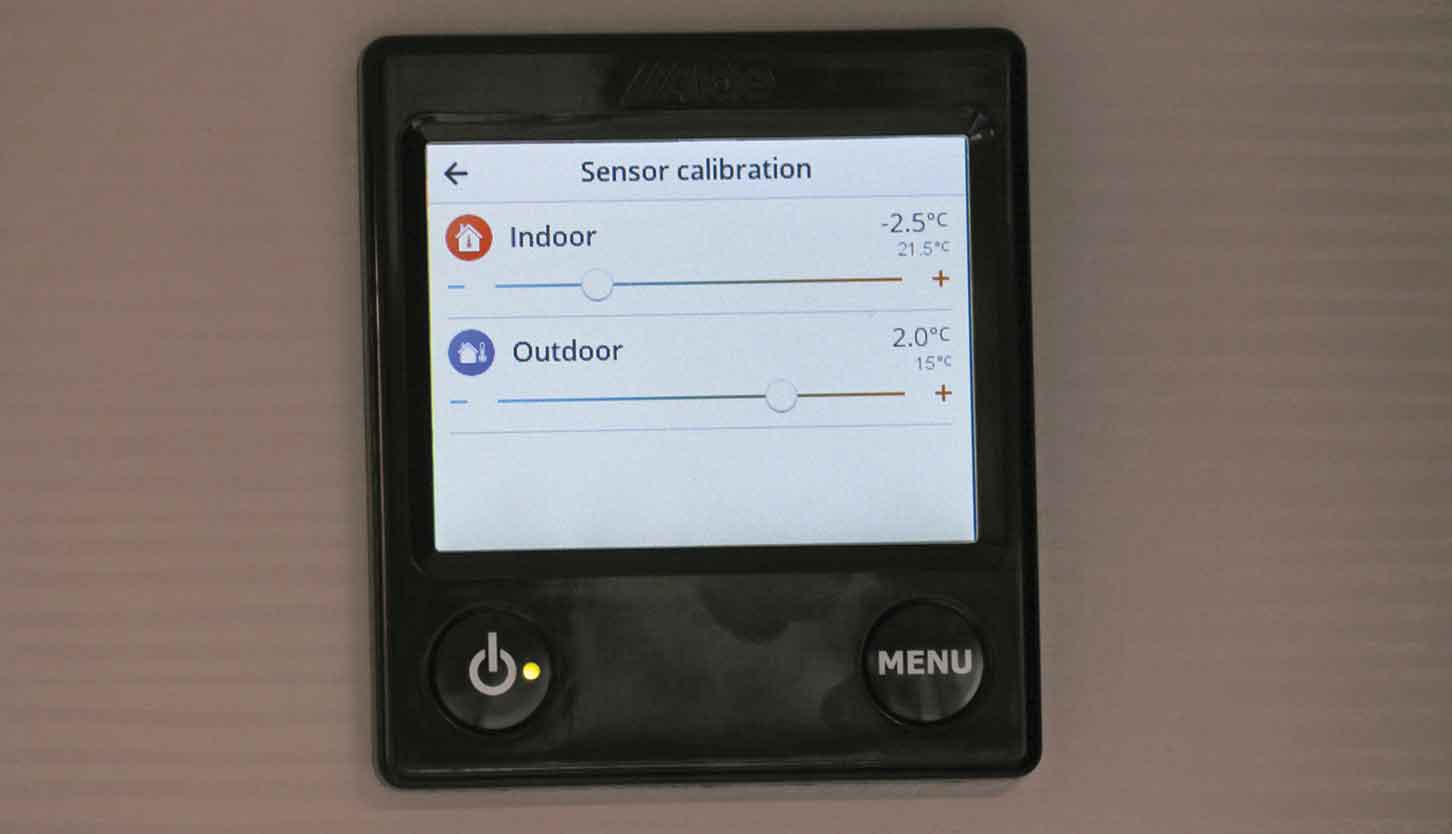
On the new 3030 control panel, press the Menu button twice to get to Settings. You’ll arrive at page 1 of 3. Touch the 1/3 icon at the top right of the screen once, to get to page 2 of 3.
Then touch the Sensor Calibration icon, and as with the 3020, adjust the offset accordingly. Press the Menu button twice to return to the Home screen. And that’s it: job done.
You can adjust the internal temperature in the same way, but be mindful that without a remote sensor, this sensor is built into the control panel, which is inserted into its mounting, so you might not get a very accurate reading. My advice is to set your thermostat at a comfortable temperature and simply leave it, whether accurate or not.
How to fit an Alde outside temperature sensor – a step-by-step guide
1. Alde Outside temperature Sensor.
2. Sensor taped to the chassis,
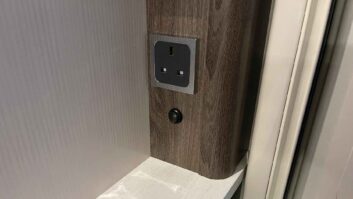
3. Plug end of lead.
4. Attaching plug to boiler’s electronics
5. Temperature displayed on the 3020 control panel.
6. Temperature displayed on the 3030 control panel.
7. Checking accuracy of the sensor reading.
8. Adjusting the offset on the 3020 control panel.
9. Adjusting the offset on the 3030 control panel.

Looking for some more DIY projects for your Alde system? Then take a look at these:
- We explain how to set the Alde 3020 night mode setting
- We talk you through how to set the Alde 3020 delayed start feature
- We explain how to invert an Alde control panel.
Future Publishing Limited, the publisher of Practical Motorhome, provides the information in this article in good faith and makes no representation as to its completeness or accuracy. Individuals carrying out the instructions do so at their own risk and must exercise their independent judgement in determining the appropriateness of the advice to their circumstances. Individuals should take appropriate safety precautions and be aware of the risk of electrocution when dealing with electrical products. To the fullest extent permitted by law, neither Future nor its employees or agents shall have any liability in connection with the use of this information. Double check any warranty is not affected before proceeding.
If you’ve enjoyed reading this article, why not get the latest news, reviews and features delivered direct to your door or inbox every month. Take advantage of our brilliant Practical Motorhome magazine SUBSCRIBERS’ OFFER and SIGN UP TO OUR NEWSLETTER for regular weekly updates on all things motorhome related.