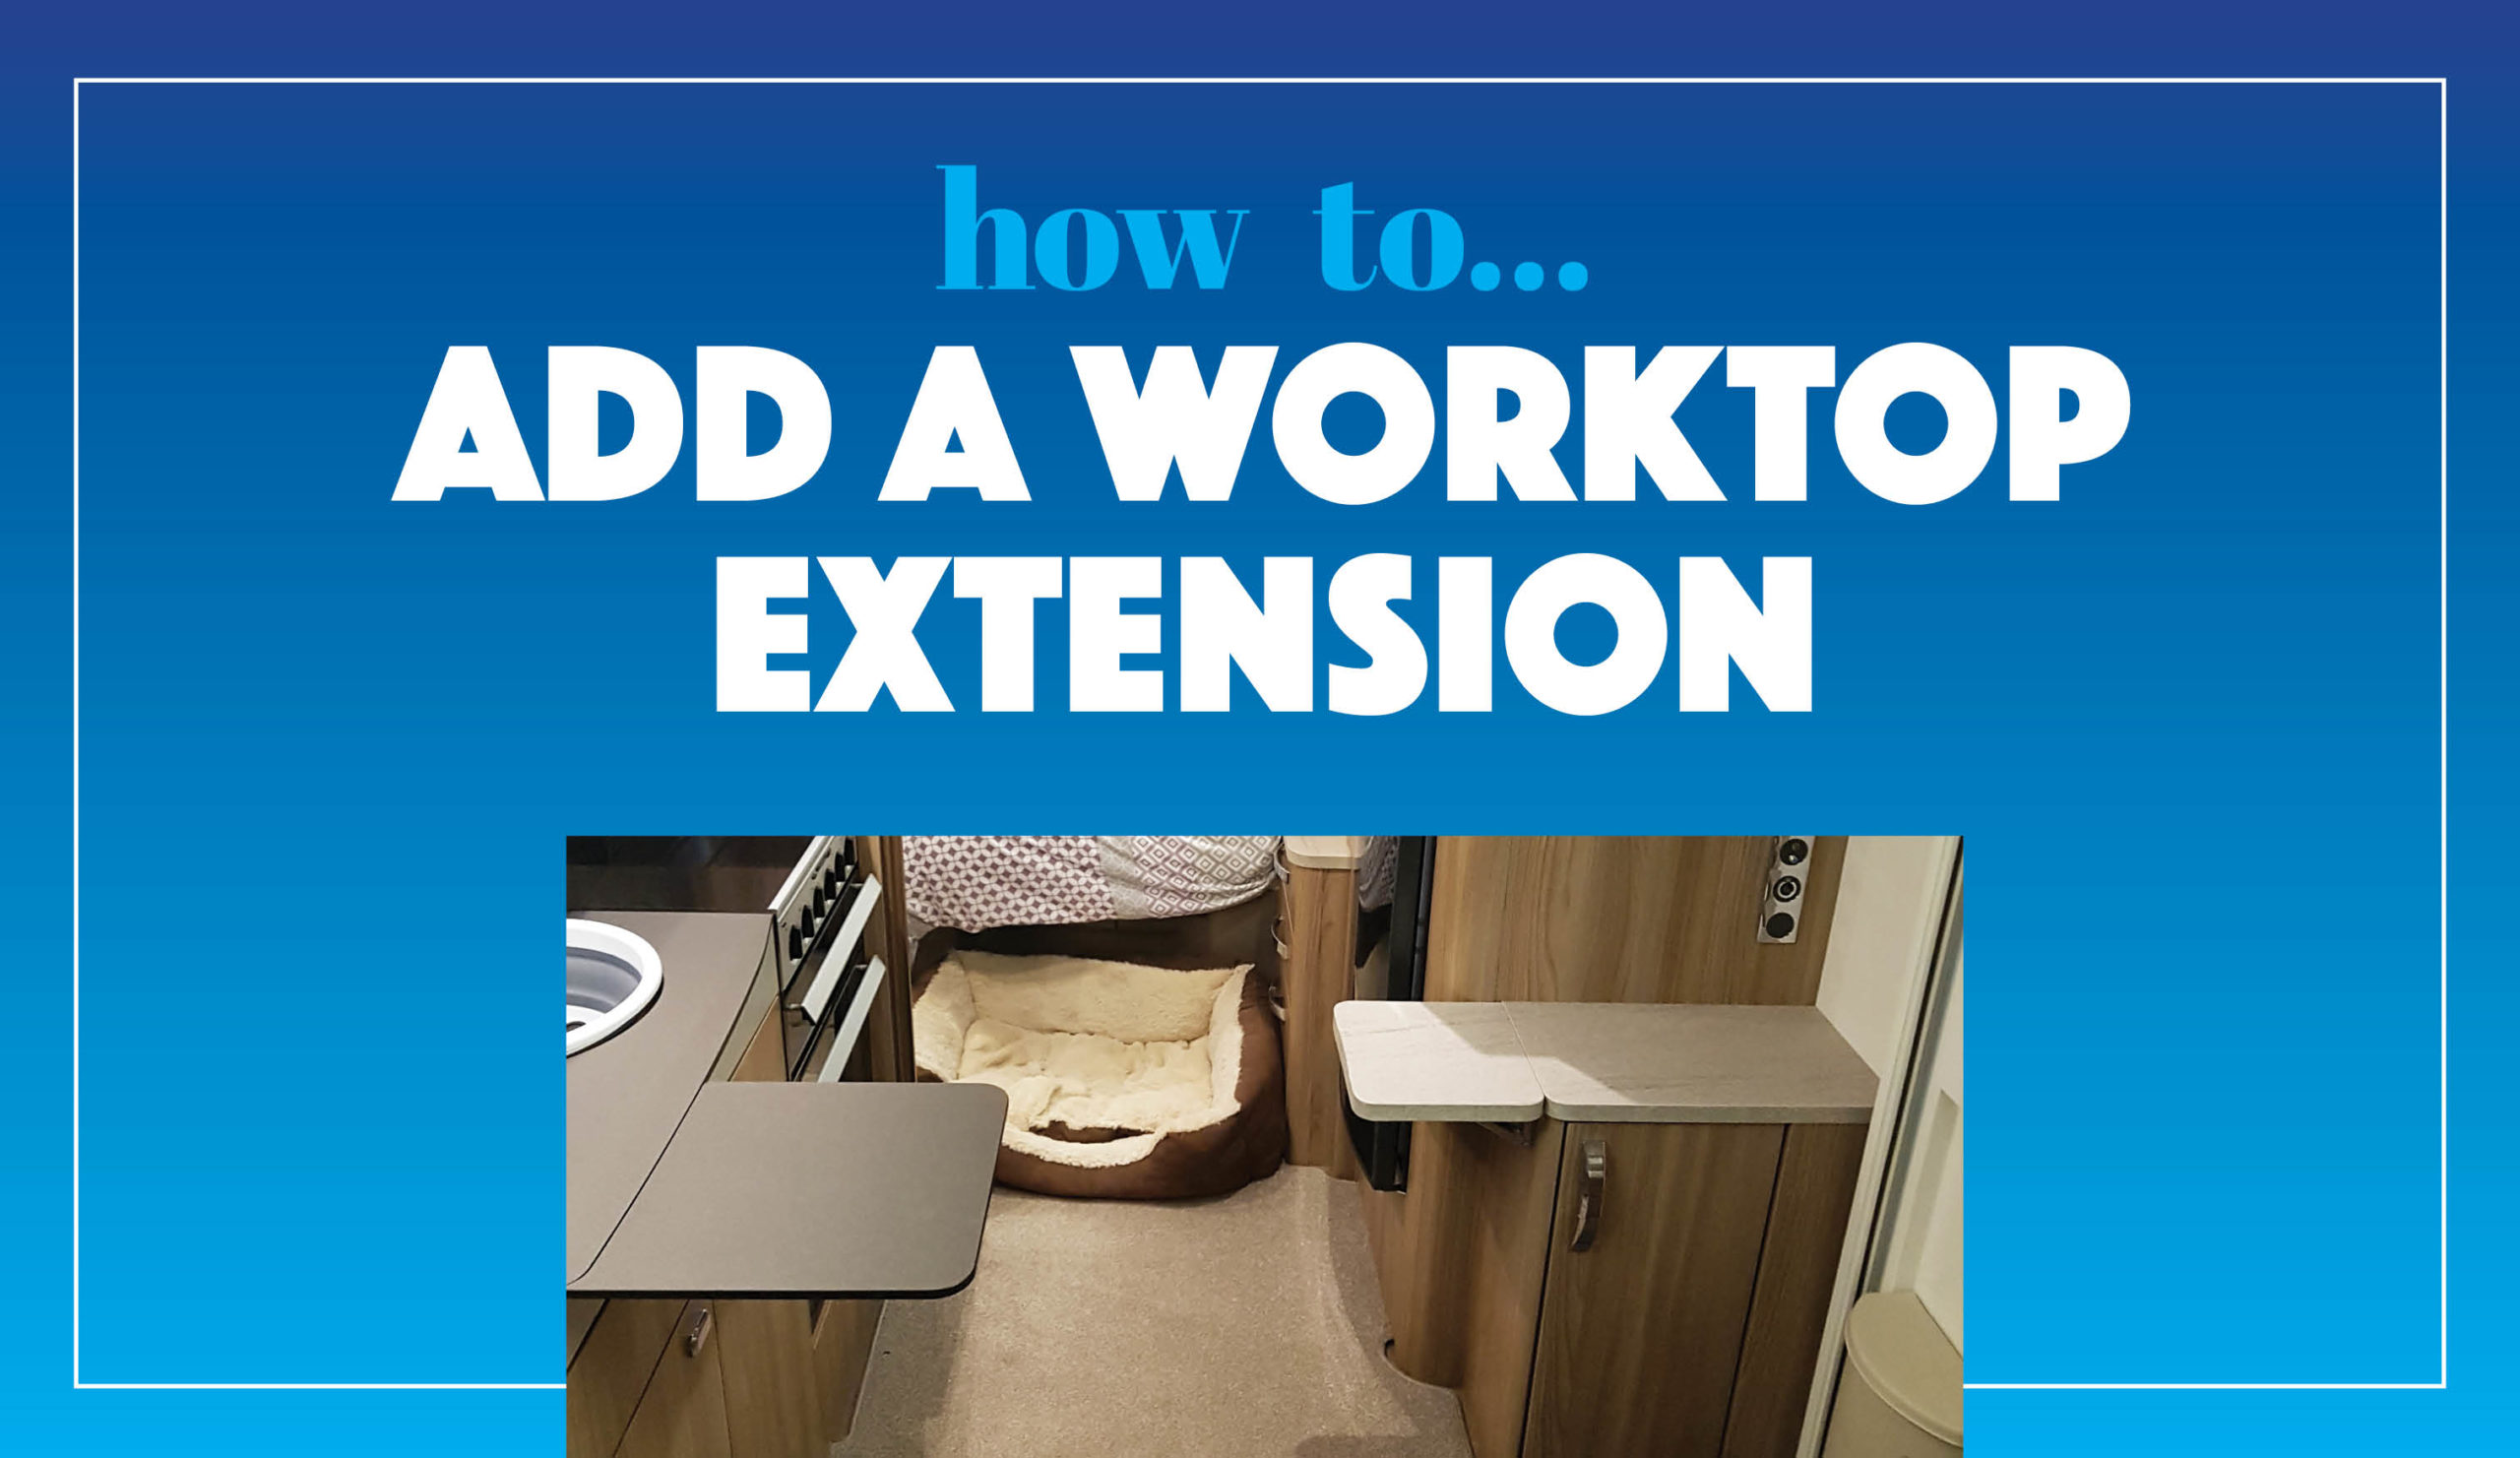


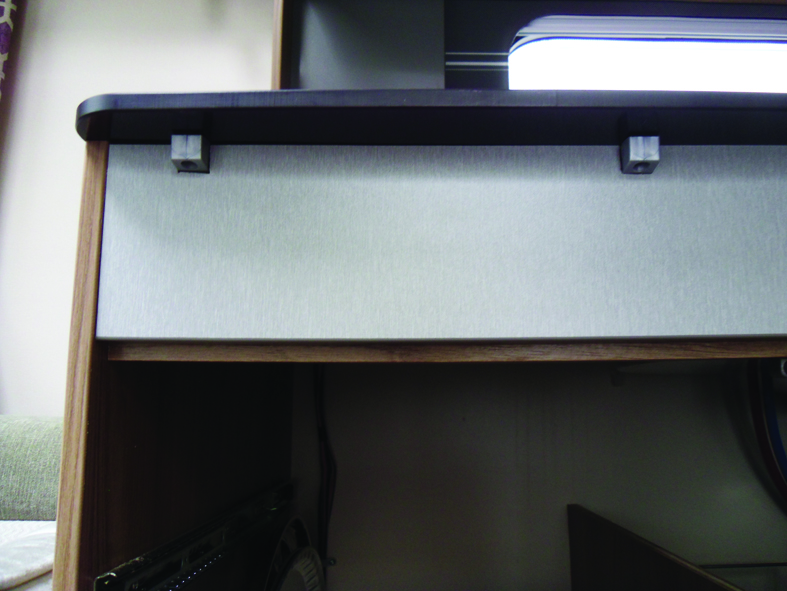


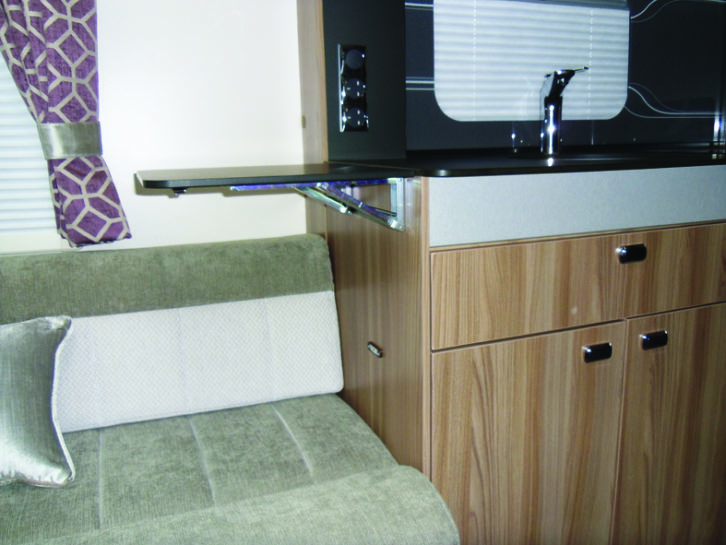
1 A simple flip-up worktop extension adds some handy extra space to your motorhome’s kitchen counter, without impinging on sofa space when dinner’s done and dusted. However, some motorcaravanners have problems with the position of these surfaces.

2 You have to be careful what you place on work surface extensions. They have a weight limit, and standard extensions are usually positioned right over the lounge upholstery, so any spillage could be diastrous. And if you want the extension in position, you’re in effect losing one seating space on the settee.
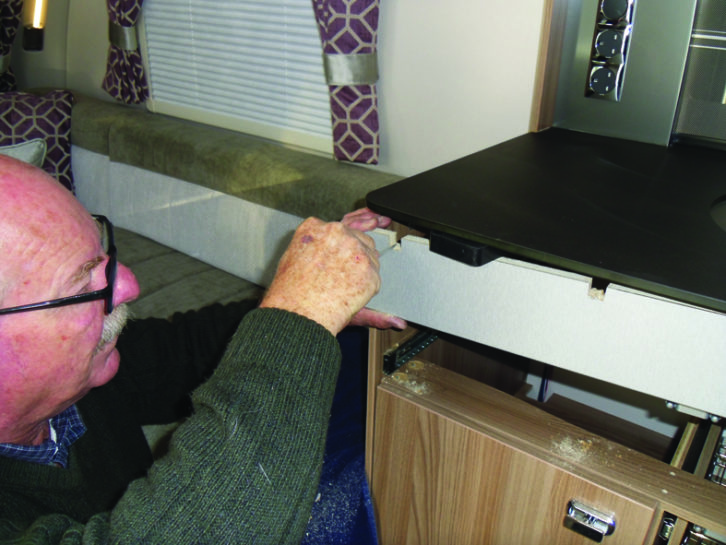
Rod decided to tweak his fold-up extension, to create extra seating space without losing any worktop. The aim was to create an L-shaped work surface, with the extension moved to the front rather than the side of the worktop. This protects the upholstery and creates more useable space around the cook. The first step is to remove the standard fold-up extension and fill the remaining holes with colour-matched filler.
Once done, he kept the worktop for this project and put the folding mechanism aside for use on another extension – for what wife Kim calls the ‘cocktail bar’.
3 Next, Rod reprofiled the folding extension, so it followed the curve of the work surface. He did this by clamping the extension underneath the edge of the worktop and scribing the curve perfectly.
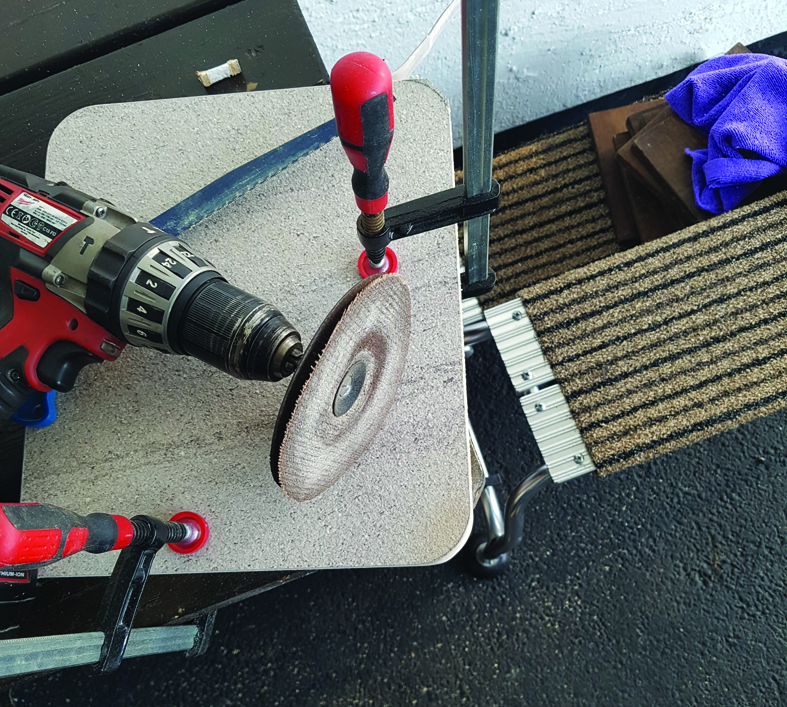
The worktop material, Fenix, is quite brittle and Rod was worried about chipping the edges if he used a jigsaw. Instead, he employed a fine-toothed hacksaw blade in a holder, and carefully cut along the scribed line.
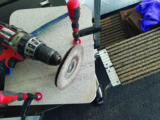
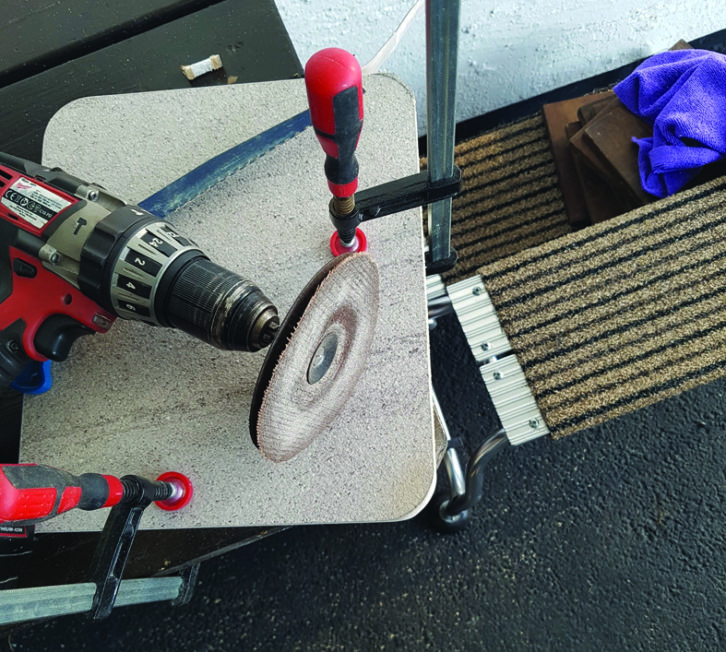
For the next step, he used a disc-sander attachment on a cordless drill, before hand-finishing the job and adding a bevelled edge.
“Take your time on this part,” Rod says. “If you rush, you’re likely to damage the surface. I also offered the new edge up to the worktop surface many times, to keep checking progress. But if you’re unsure about this part, you could consider getting your local kitchen fitter to do it for you.”

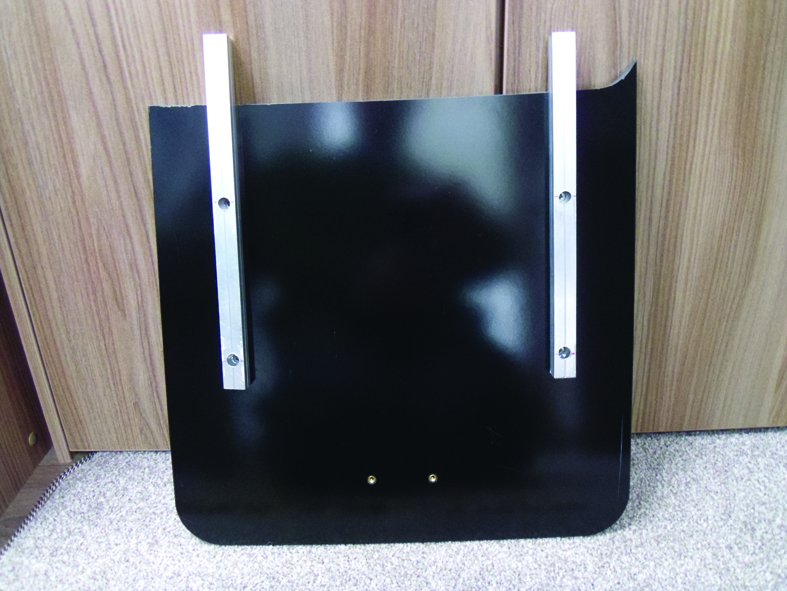
4 Rod discovered that aluminium, square-profile tubes sold at B&Q (£6-£7 per metre) came in 16mm and 12mm sizes, and the 12mm tube slid perfectly into the 16mm one. He used these as a support structure.
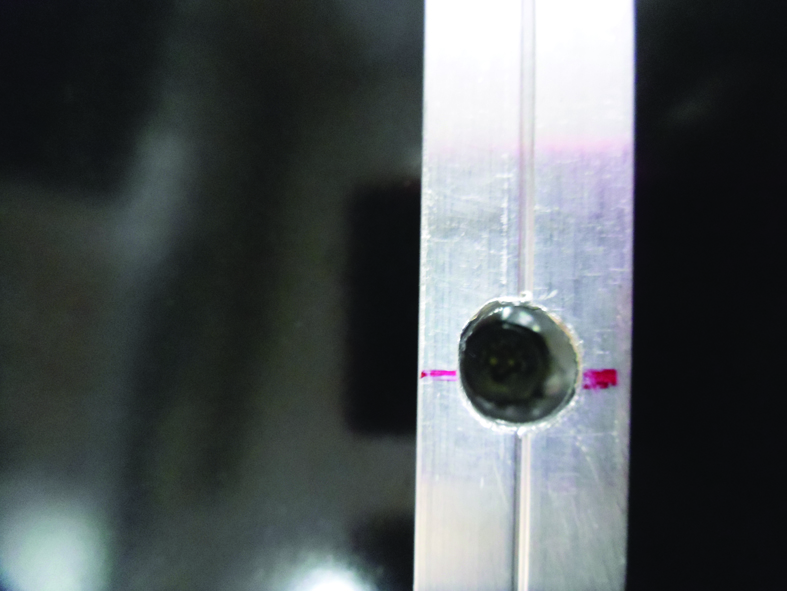
5 He started by fitting two of the 16mm tubes to the underside of the extension. It’s not recommended to screw into Fenix, so the manufacturers had bonded ‘female’ screw threads into it. Rod bought stainless-steel, countersunk machine screws to use in these.
To fit them, he had to drill enlarged holes in the ‘outer’ side of the square tube, to allow him to drill a smaller hole in the ‘inner’ side. The inner hole also had to be countersunk so the 12mm tube wouldn’t catch on the screw head when sliding inside the 16mm tube.
The next job was to screw the tubes to the underside of the extension panel.

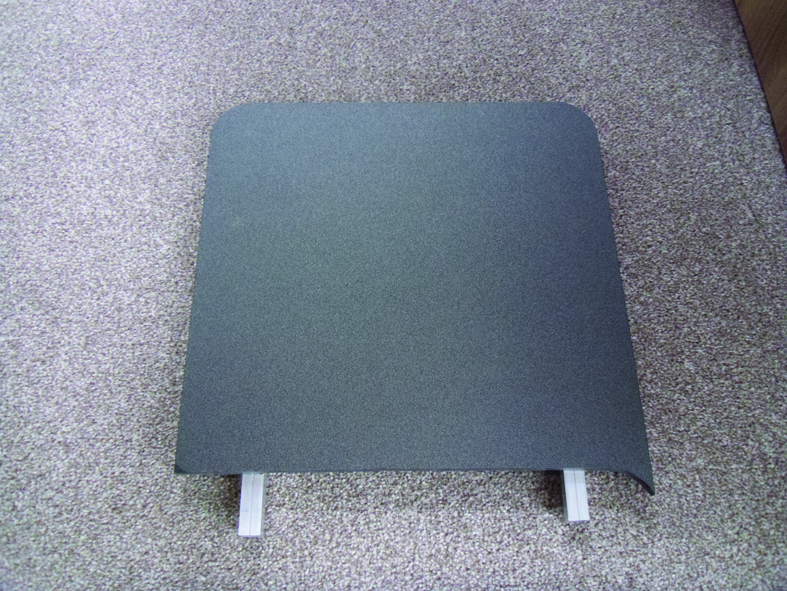
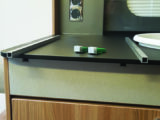
6 With both rails in place, the extension section is finished and the results look very good.

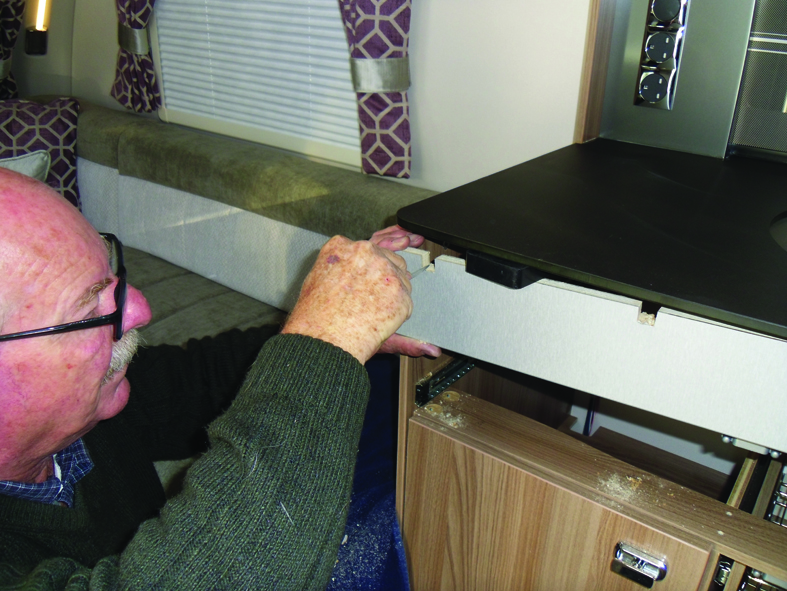
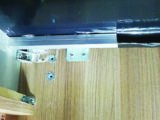
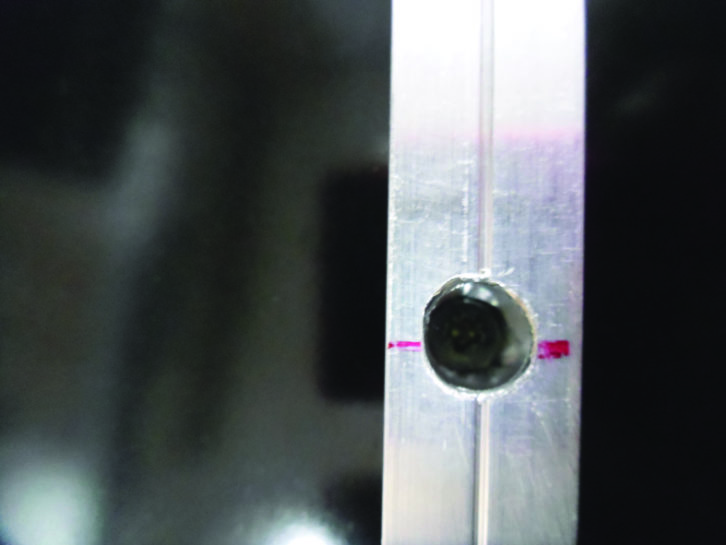
7 Next, Rod had to cut two small holes in the kitchen fascia panel, to allow the guide tubes to slide through. Here, he is finishing off with a hand file.
Rod had calculated that, owing to the lever effect, all of the weight on the extension would press down on the fascia and up on the underside of the worktop.
He therefore decided to reinforce the fascia and worktop with a drilled aluminium strip and an aluminium-block corner-bracket respectively.
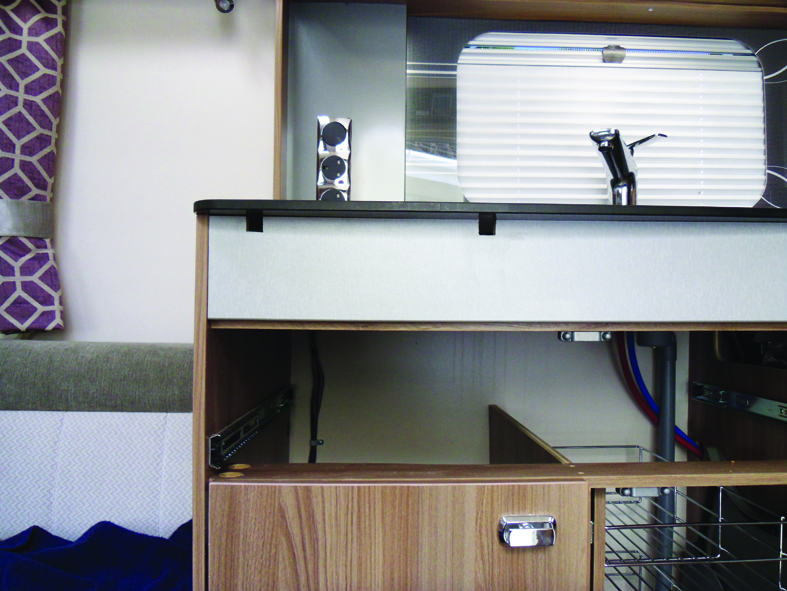
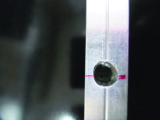
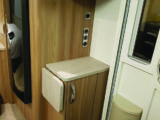
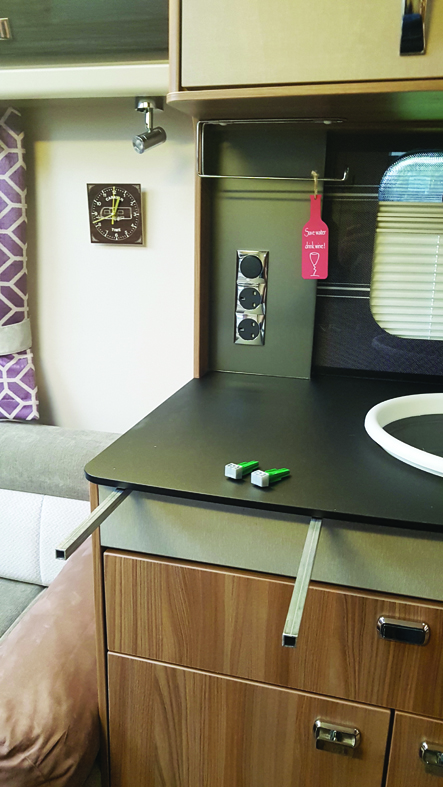
8 The holes were discreetly positioned under the worktop. This ensures the extension will be perfectly level with the work surface, and means the holes are pretty much invisible.

9 Next, Rod fitted the (female) 16mm square tubes under the kitchen counter. These were aligned with the holes in the fascia, then bonded in position with No Nails adhesive. He supported them with gaffer tape while the adhesive went off.
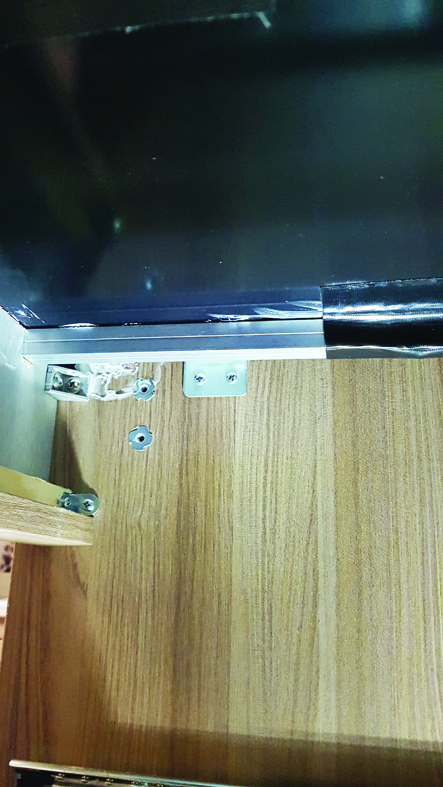
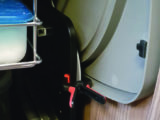
10 The second under-counter tube was fixed close to the sink. The screw you can see isn’t a fixing, but a stopper to prevent the 12mm tube sliding straight through. In fact, this tube was bonded in position.

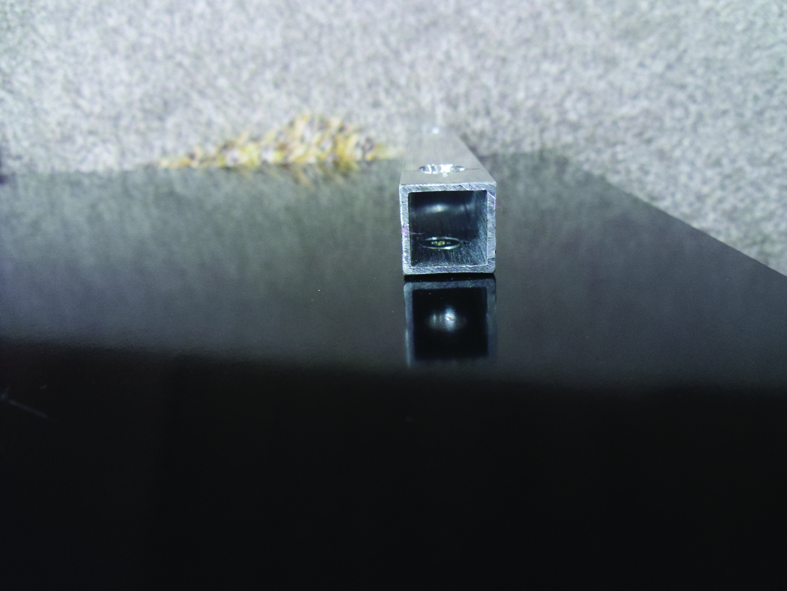
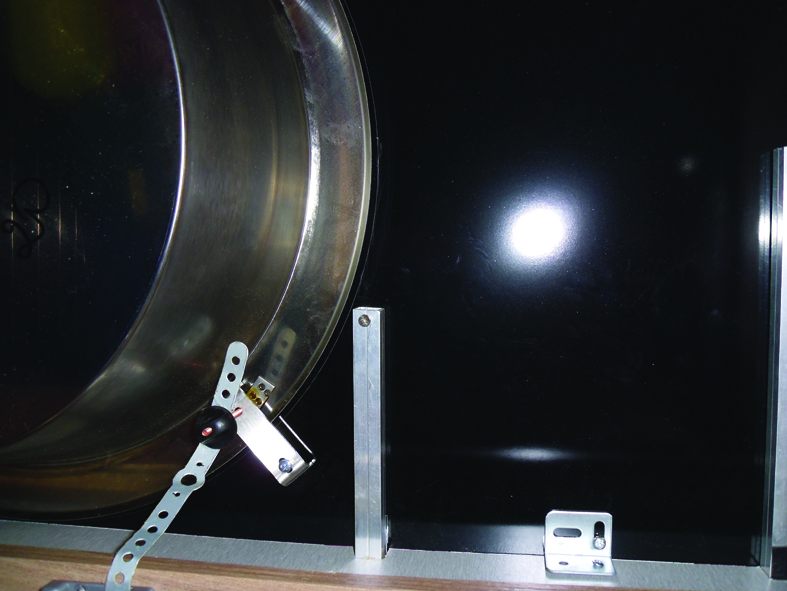
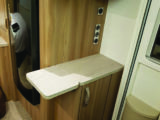
11 The 16mm (female) ‘receiver’ tube sits neatly in the hole that Rod cut in the fascia. The 12mm-diameter square tube will slide into this.

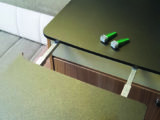
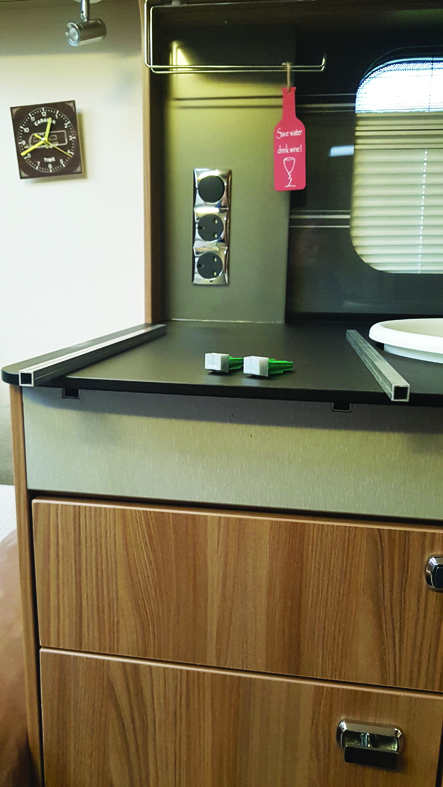
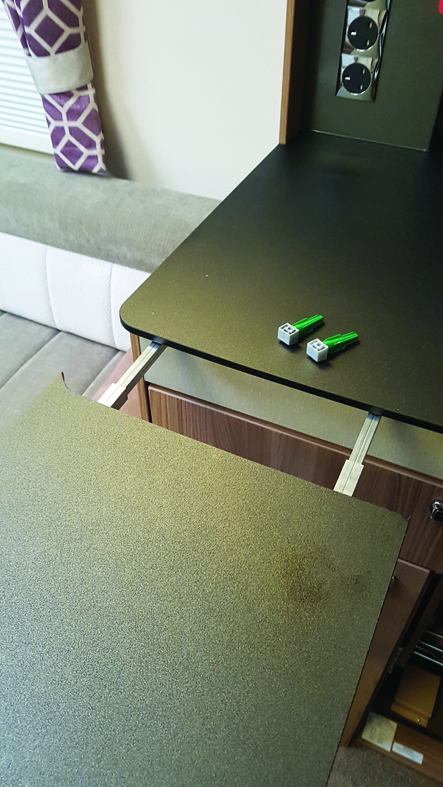
12 The 12mm tubes slide into the 16mm ‘receiver’ tubes and then protrude about 15cm and 20cm. The extension’s 16mm tubes will slide very neatly onto these.
13 Rod uses two stoppers that were left over from a domestic kitchen installation to fill the guide tubes when the extension is not in use.

14 The 12mm rails will slide into the 16mm undercounter guide rails, to provide a strong base for the extension.
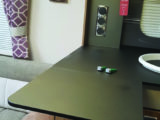
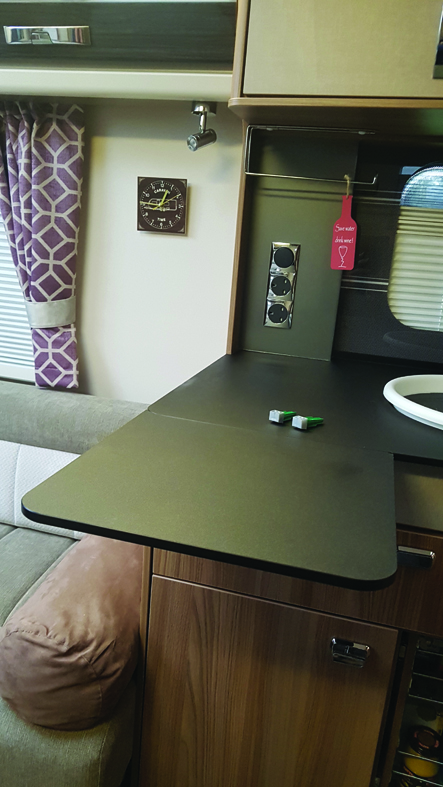
15 The worktop slides onto them and pushes up to the main work surface.
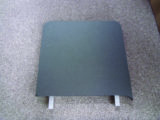
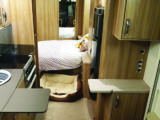
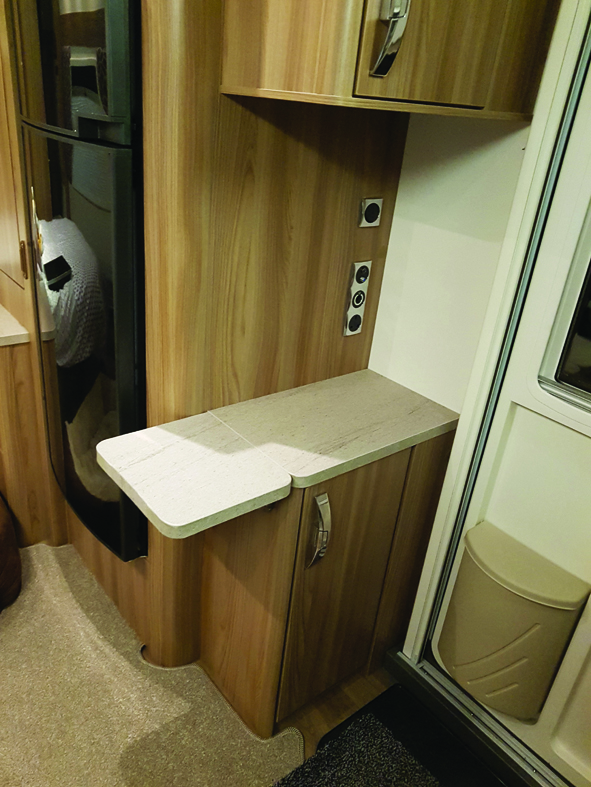
16 The finished extension looks ‘factory fresh’, is very strong and provides useful extra working space for the cook.
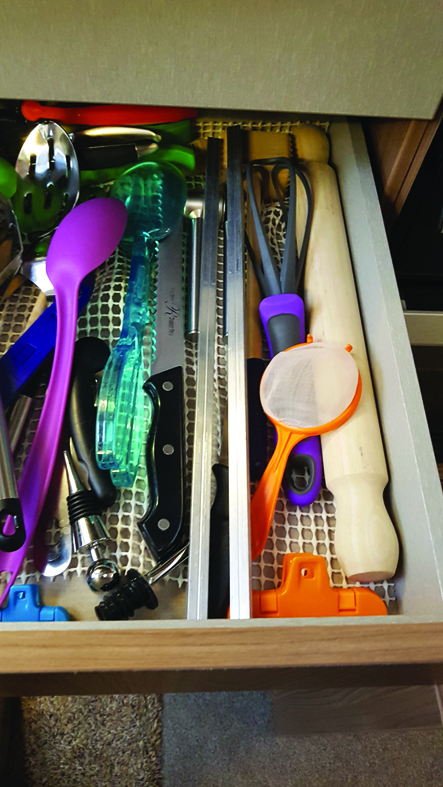
17 When they’re not in use, the extension rails live in the kitchen drawer…
18 … and the worktop extension slides neatly into a kitchen cupboard.

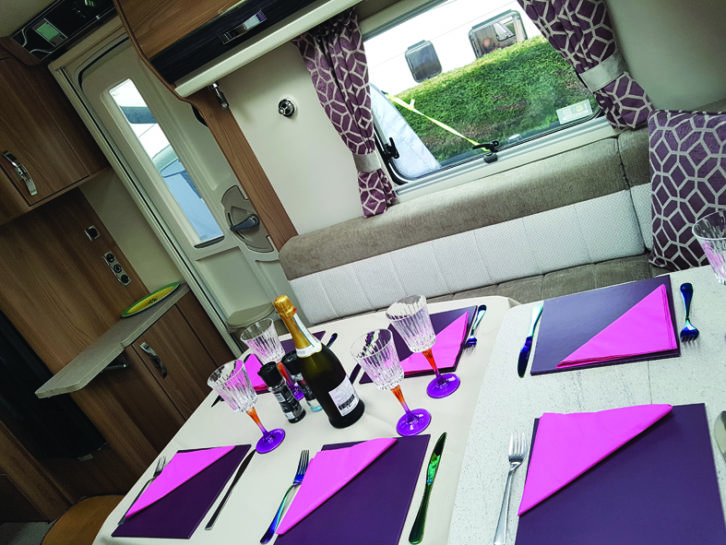
19 The benefit of all this DIY activity is the ability to cater for and seat six people for dinner!
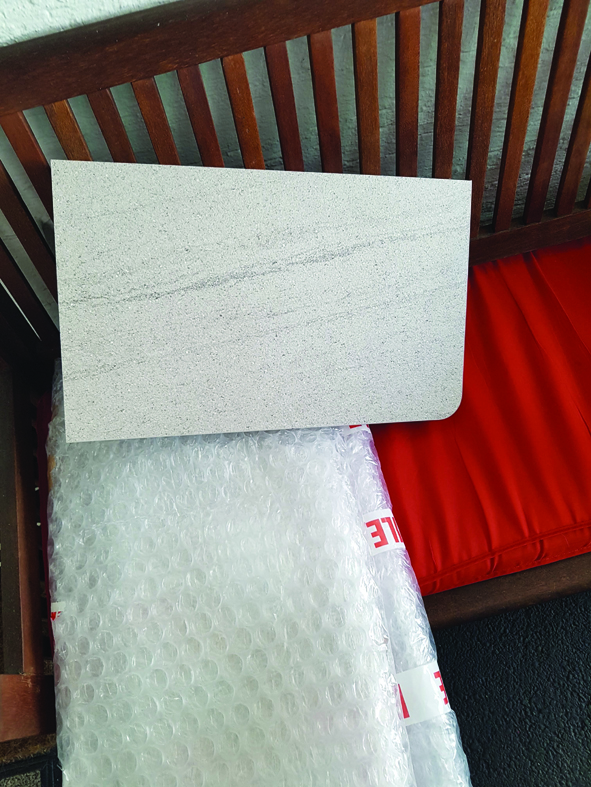
20 Rod bought an extra piece of matching worktop material (pricey, but worth it) to create an extension for the cocktail cabinet just opposite the kitchen: £88 from Swift.
21 This was cut to size and sanded to shape, with curved corners.
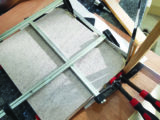
22 Matching edging strips were glued in place and carefully clamped until the adhesive had gone off.

23 The cannibalised fold-up mechanisms were screwed to the side of the cabinet and the extension section. Rod used ordinary self-tappers and adhesive for a secure fix.

24 The new extension is finished, creating valuable extra work surface.
25 When both additions are extended, they create a neat symmetry.
If you like this… READ THESE:
How to customise your crockery storage
Future Publishing Limited, the publisher of Practical Motorhome, provides the information in this article in good faith and makes no representation as to its completeness or accuracy. Individuals carrying out the instructions do so at their own risk and must exercise their independent judgement in determining the appropriateness of the advice to their circumstances. Individuals should take appropriate safety precautions and be aware of the risk of electrocution when dealing with electrical products. To the fullest extent permitted by law, neither Future nor its employees or agents shall have any liability in connection with the use of this information. Double check any warranty is not affected before proceeding.
If you’ve enjoyed reading this article, why not get the latest news, reviews and features delivered direct to your door or inbox every month. Take advantage of our brilliant Practical Motorhome magazine SUBSCRIBERS’ OFFER and SIGN UP TO OUR NEWSLETTER for regular weekly updates on all things motorhome related.