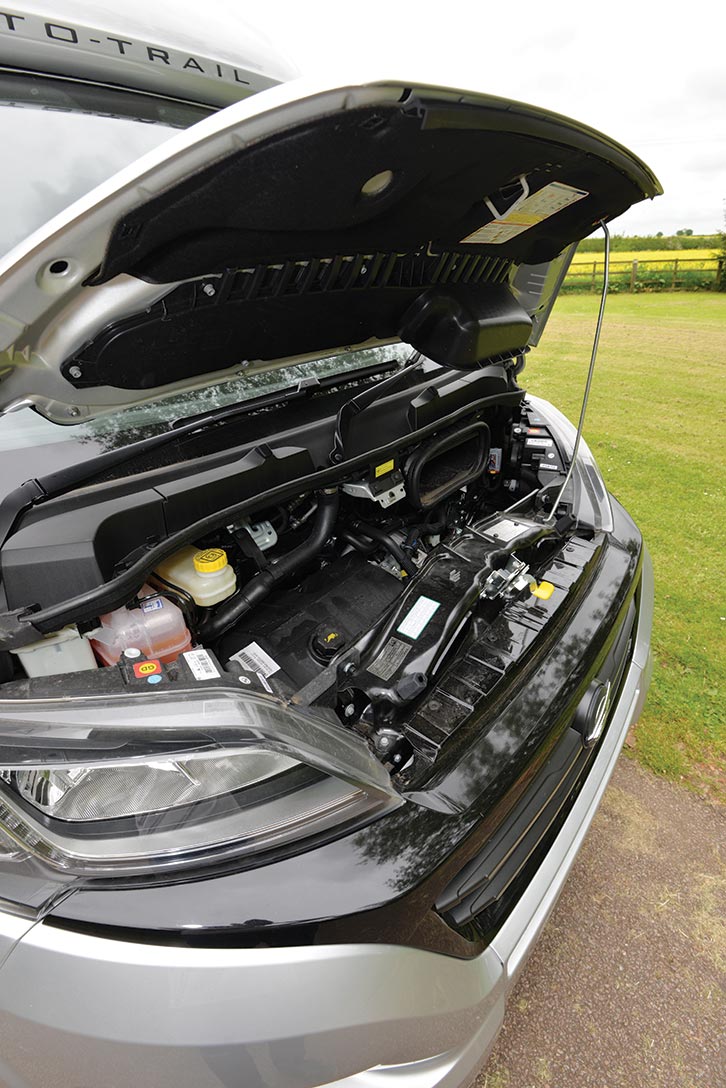


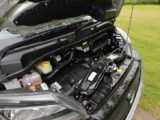


If you’re one of those motorhome owners who never opens up the bonnet, viewing it as the territory of the garage, you’re exposing yourself to the risk of big bills if a fault occurs
in the year or two between services. It’s a similar story with the technical stuff inside the vehicle. Getting into the habit of carrying out some quick DIY motorhome checks every few months or so – or at least before significant trips – can help you spot problems early, before they develop into a failure or an expense.
Now, with lead times on many parts extended, you might miss your holiday entirely if the parts are on back order. And many, many things are (ask anyone who has recently ordered an electric vehicle!).
So it’s more important than ever to look after your stuff and maximise its longevity. Even if these motorhome maintenance tasks do mean venturing under the bonnet…
Motorhome DIY checks: the base vehicle
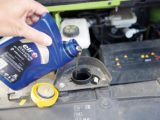
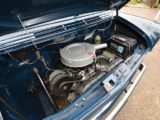
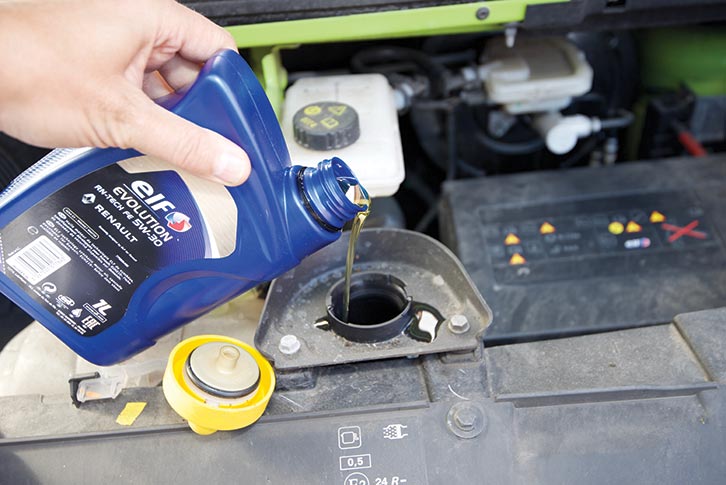
Topping up oil
Keeping your vehicle fluids topped up is key to its longevity, and maintaining a watchful eye on the fluid levels also serves as an early warning indicator of any problems.
Engine oil is one of the most important fluids to get into a habit of monitoring regularly, and it’s vital to use the grade of oil recommended in your owner’s manual. The manual is the definitive guide – always follow that printed advice over anything you read on the internet or in well-meaning (but often misguided) forums.
Oil used to be so simple. Back in the good old days, your mineral engine oil had only one grade – monograde. You simply selected the correct grade for summer and then changed to a slightly thinner grade in the winter months.
Then along came this newfangled ‘multigrade’ oil, which could exhibit different viscosities, depending on temperature, removing the need to change your oil in the colder winter months. So far, so good.

Fast forward to 2022 and oil is now far more technical. As well as grade, you have to consider the detergent packages in it, diesel or petrol, long-life or normal service intervals, manufacturer approvals and emissions. Just heading out to Halfords for five litres of 5W 30 isn’t quite so simple these days – I counted nine types of their own-brand oil in my local store!
Most oil is specified in terms of its SAE International (formerly the Society of Automotive Engineers) grade.
This will typically be expressed as a number next to a ‘W’ (for winter) together with a higher number, for example, 0W 30. The zero relates to the oil’s viscosity at -17.8°C, while the 30 is its viscosity at 100°C.
The lower rating is to allow the oil to circulate around bearing surfaces and flow easily when the engine is started. Once the engine warms to operating temperature (after five minutes or so), the lower number isn’t really relevant and the oil will be thickening towards its upper ‘30’ viscosity.
Manufacturers don’t specify just one oil grade for an engine, but a variety of grades, depending on the region the vehicle will be operating in. The UK is generally classed as a colder climate and manufacturers favour thinner oils.
For a Ducato, Fiat recommends Fiat 9.55535-S1 grade oil or ACEA C2 grade oil – simply look for these numbers on the packaging.
‘ACEA’ (the European Automobile Manufacturers’ Association) means the oil is designed for vehicles with DPF filters and three-way catalysts, and has set criteria for viscosity. Choose any brand that has either specification on the packaging – in the correct grade – and you will be using the right oil.
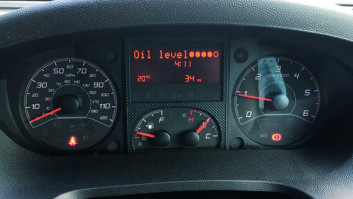
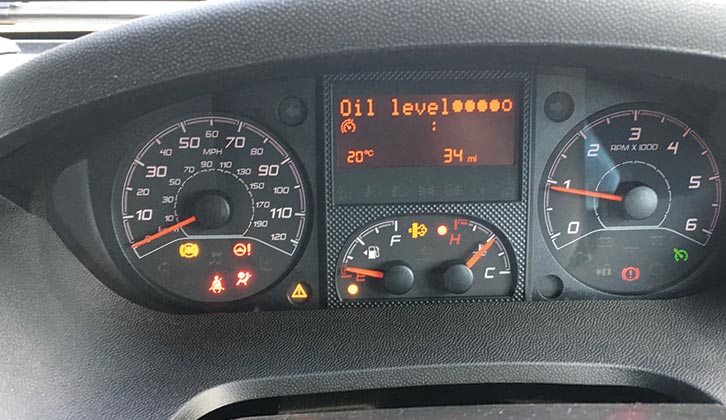
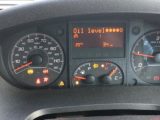
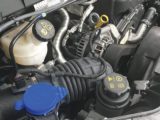
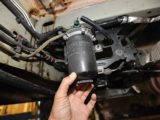
Engine oil levels
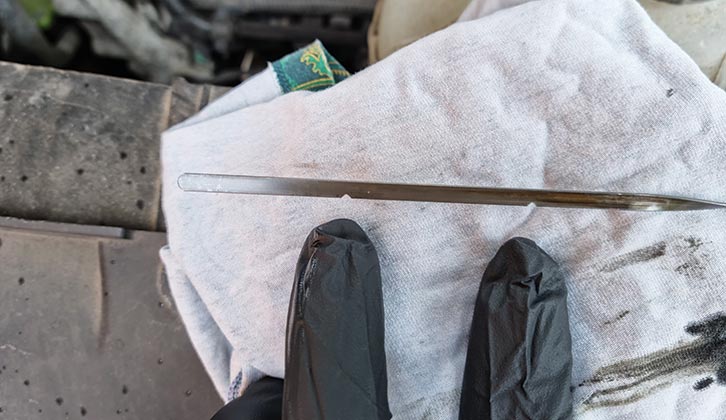
Oil in your engine always needs to be at the maximum fill level on the dipstick – if it’s halfway down, you have less oil circulating and more chance of having cooling or lubricating problems. Some people only top up when the oil is at the lowest point, but this is unwise.
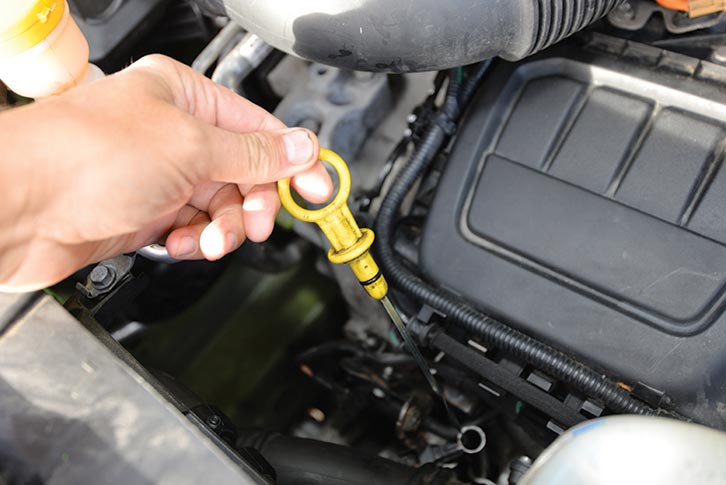
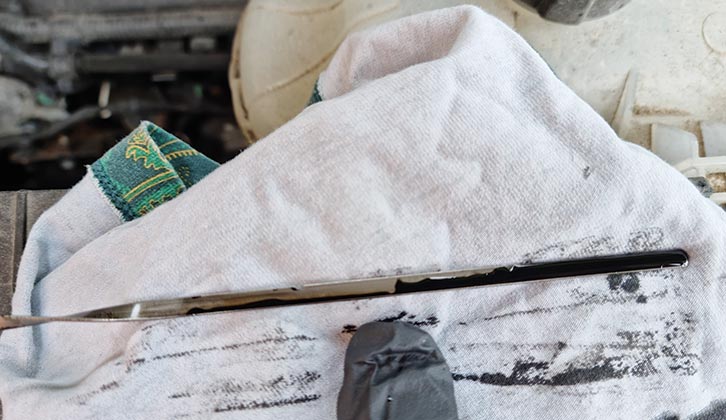
Even brand-new engines can use oil – sometimes it depends on their design or how the vehicle is used. Diesel oil always turns black very quickly, even straight after an oil change, so don’t worry about that – just make sure it’s topped up to the maximum mark.
Low-mileage user?
If you don’t do a lot of miles in your motorhome, it’s particularly important to change your oil regularly, perhaps annually, rather than following the long-life servicing schedules.
This is because, unlike a van that might do 100,000 miles in three years at varying speeds, motorhomes tend to be driven more gently and are often used for short journeys.
Five 20-mile journeys will see more soot and particulates from the diesel fuel contaminating the oil than one non-stop 100-mile trip. The more start-ups from cold a vehicle has,
the more the oil is contaminated.
Every time you start the engine from cold, the gaps in the piston rings will not be fully sealed. Piston rings are circular rings of very hard metal with a gap in them, which closes when the engine is at operating temperature. The gap is to allow the metal to expand owing to the heat of combustion.
This is also why low-mileage engines often fail emissions tests and tend to be more coked up than high-mileage diesels. Keep your diesel healthy by using it regularly and keeping up the revs. Diesel engines hate low revs and lots of cold starts. Also, if you’re interested in increasing the performance or economy of your diesel-powered ‘van, our guide to motorhome engine remapping could be of interest.
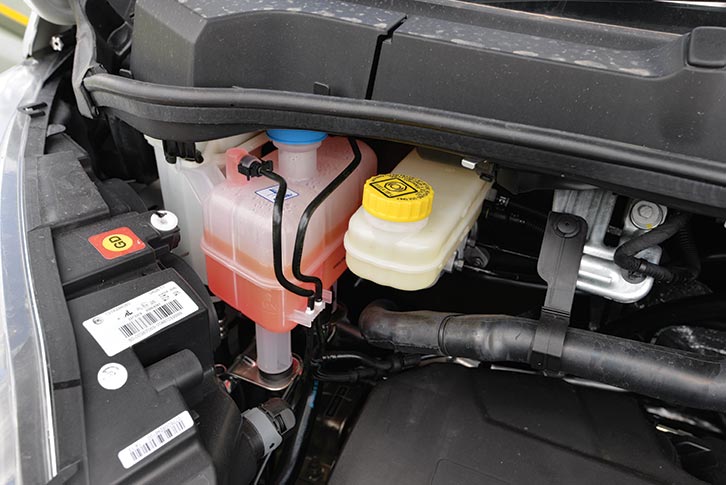
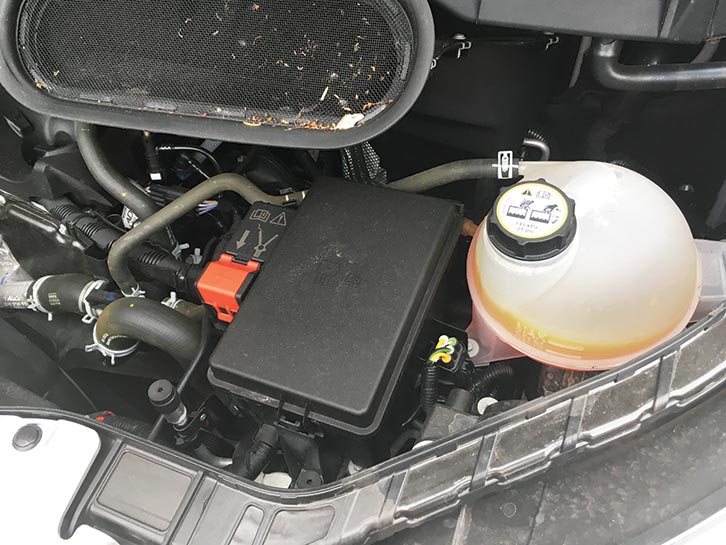
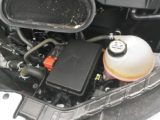
Coolant (aka antifreeze)
Coolant, used in the cooling system, is as important as engine oil. It comes in various grades and it’s vital to use the grade recommended in the owner’s manual (for example, Fiat classification 9.55597 for a Ducato).

Different types of coolant should not be mixed – it is colour-coded to make this obvious. If the coolant you plan to buy is a different colour to that in the vehicle, don’t use it.
Most coolant is concentrated and needs to be mixed with water (Fiat suggests 50/50 for down to -35°C and up to 60% antifreeze for even colder weather). It used to be the case that tap water couldn’t be used, only distilled. These days, it depends on the coolant brand – some are designed to cope with the minerals in tap water, others are not. Read the label. If you do need distilled water, you can buy 20-litre tubs cheaply from most motor factors.
Coolant is highly toxic to pets (and people), so wipe up spills immediately.
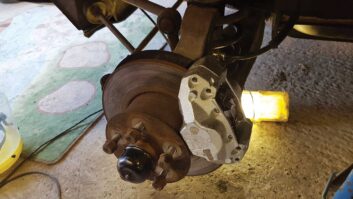
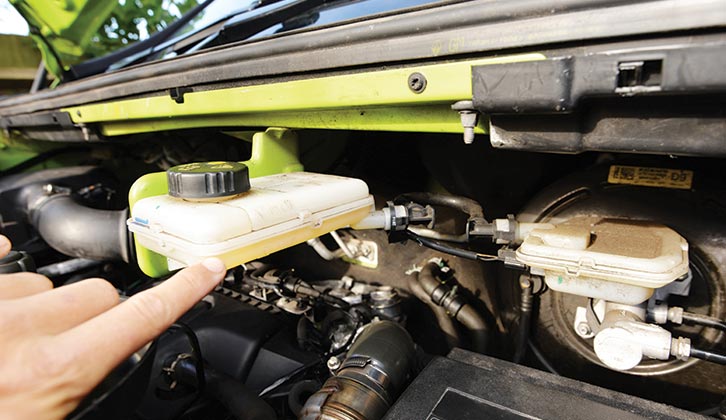
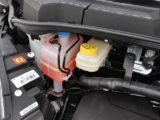
Brake and clutch fluid
Brake fluid is simpler and most Ducatos simply need DOT 4 specification fluid, which is widely available and cheap.
It’s essential to change brake fluid every couple of years because it absorbs moisture from the air over time (the filler cap is vented) and these droplets tend to migrate to the wheel cylinders.
While water doesn’t compress, at the disc/pad face, temperatures can be in the hundreds of degrees, so any water present will turn to steam, creating small bubbles in the fluid.
This gives a spongy feel to the brakes. At its worst, the brake pedal will go to the floor and you’ll need to pump the pedal to create pressure at the brake calipers – no fun at all.
Your dealer will advise you when to change the brake fluid, or you can ask for it to be checked with a service. Even the best motorhomes are big, heavy beasts and take a great deal of braking, so don’t skimp on this.

If you’re planning a trip into the mountains, it’s advisable to have the fluid replaced and the front and rear brakes checked before you go. It’s quite exciting enough navigating those twisty mountain passes, without the worry of spongy brakes on the way down!
The brake fluid level will normally drop slightly as the brake pads/shoes wear, but any large falls, or a level below the minimum markings on the reservoir, need urgent investigation.
Clutch fluid is generally the same as brake fluid and most manufacturers use the same type in each reservoir.
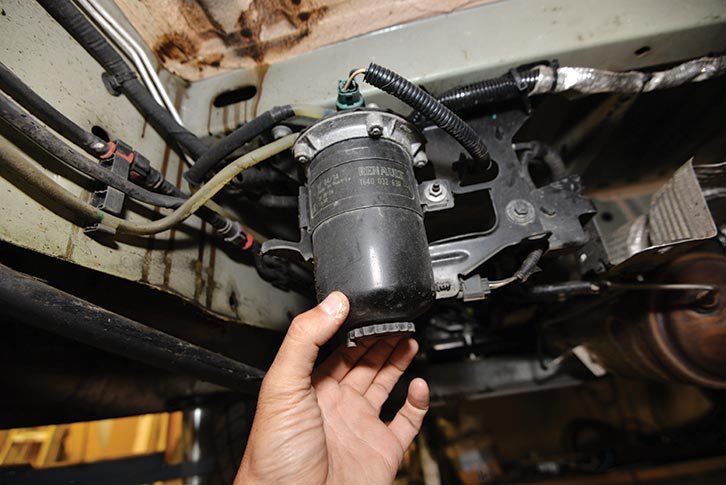
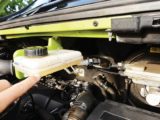
Power-steering fluid
Power-steering fluid doesn’t often need topping up, but if it drops significantly, it will be obvious, because the pump will start making grumbling noises. The question is, where has it gone?
Generally, a drop in level means that either a hose is weeping, or a seal has failed – but whatever the cause, it will require investigating. Most Ducatos need to use ATF Dexron III, which is a widely available grade.
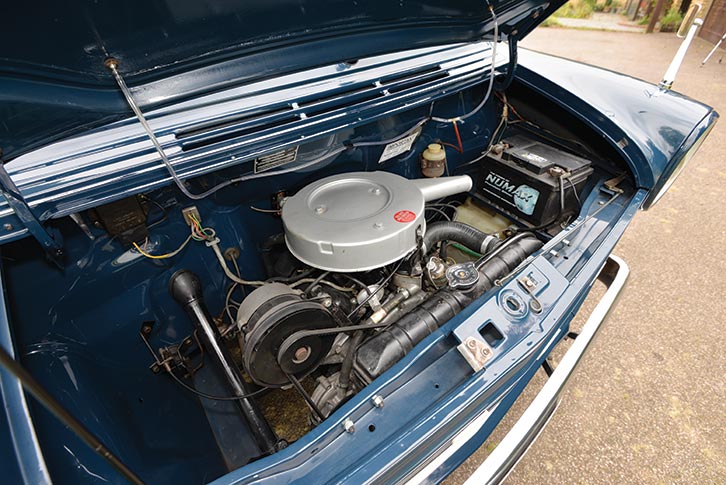
Automatic gearbox?
If you’re one of those lucky devils with just two pedals in your cab, you’ll need to check your automatic gearbox fluid.
Generally, this relates to older ’vans: many modern automatics are sealed for life or best topped up by your dealer as there’s no external reservoir.
Automatics don’t usually need topping up unless something is wrong, so if you notice the levels dropping, book it into a dealer and have it checked. A sign of problems is if gear changes get jerkier, or the gearbox slips or struggles to engage drive. These could be down to a low oil level, contaminated oil and gearbox oil filter, or the wrong grade. Manual gearboxes don’t need top-ups.
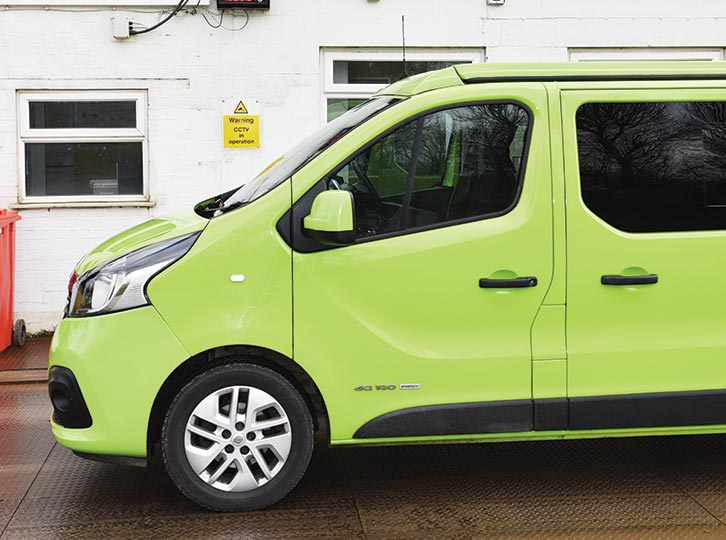
Tyre checks
When it comes to tyres, the first thing to do is to physically check them over. On the tread pattern, look for even wear across the tread. If they have worn down evenly across the width of the tread pattern, that tells you the tracking and alignment of the vehicle are set correctly and the tyre pressure probably isn’t far out.
Wear in just the central section of the tread means the pressure is too high, while wear on both outer edges means the tyre needs inflating.
If the wear is only at one edge, or unevenly across the width of the tread, that suggests the tracking or alignment might be out. It can also indicate wear on suspension components, such as the rubber bushes holding wishbones in place, or wear on the spring and dampers. Don’t just replace the tyre without having this investigated, as you’ll prematurely wear out the tyre and won’t solve the problem.
A sign of suspension or tracking issues is strange handling. If it changes direction under braking or seems to have a mind of its own in the corners, it’s a sure sign of worn suspension components or misaligned tracking. It’s not uncommon and can be caused by clouting a kerb with a wheel.
To set your tyre pressure, the usual method is to visit a weighbridge and weigh your front axle and rear axle separately, to give you individual axle weights. Then pass these weights on to your tyre manufacturer and ask for their recommendations.
Many tyre centres and manufacturers are recommending that you only run at the maximum weight stamped on the sidewall of the tyre (this assumes that most motorhomes are overweight). This can result in a very hard ride, so you’re better off tailoring the pressure to the actual weight of your vehicle, rather than its perceived maximum.
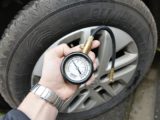
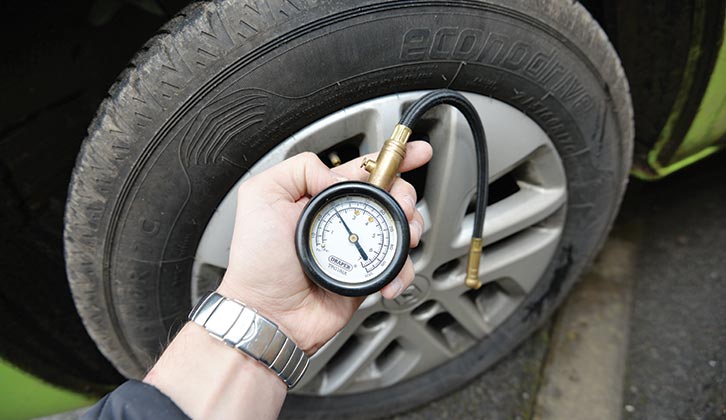
Air naturally escapes through rubber tyres, and sidewall flexing can also help to squeeze out air while the vehicle is in use, so you need to get into the habit of regularly checking tyre pressures.
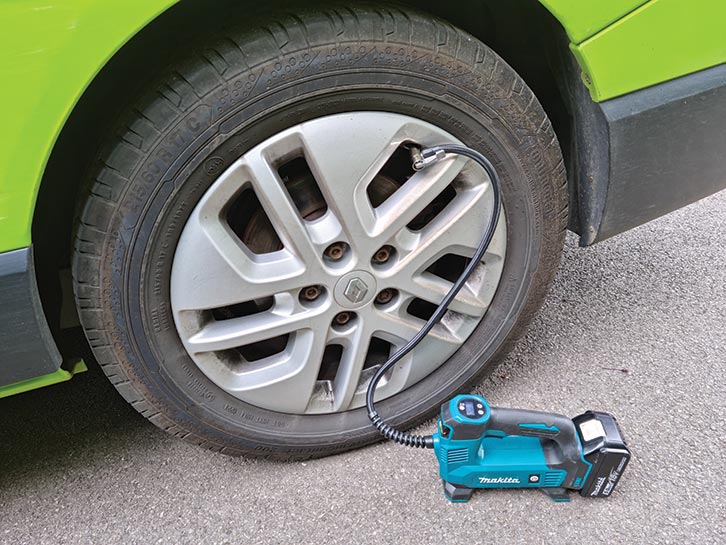
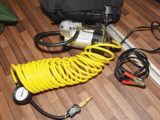
You can buy 12V compressors (for example, the Ring RAC900, about £80), as well as excellent portable models that run off drill batteries.
The Makita 18V LXT inflator goes up to 120psi and costs around £60 for the bare tool – you just use one of the batteries from your drill system. You can get these inflators for other tool brands, so stick with whichever brand you are currently using.
Whichever inflator you use, make sure you set the tyre pressure with an accurate tyre pressure gauge, rather than relying on the inflator’s built-in gauge – they are not always accurate (especially on cheap, unbranded ones).
Habitation area DIY checks
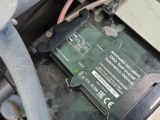
Leisure batteries
We’ve said it many times before, but we’ll say it again – 12V power is crucial for running all of the elements in your motorhome and with a flat battery, all you have is a 230V extension cable on wheels. Unless you’re plugged into the mains, nothing will work.
That 12V leisure battery powers the lighting circuit, the water pump, the toilet flush, the fridge, the motorhome heating systems and the cooker/hob ignition. While some systems are designed to work without power (for example, piezo ignition on gas hobs), not all can function that way.
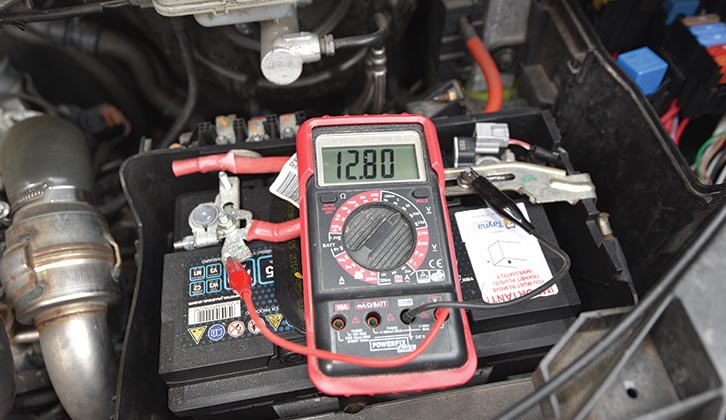
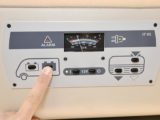
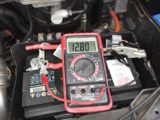
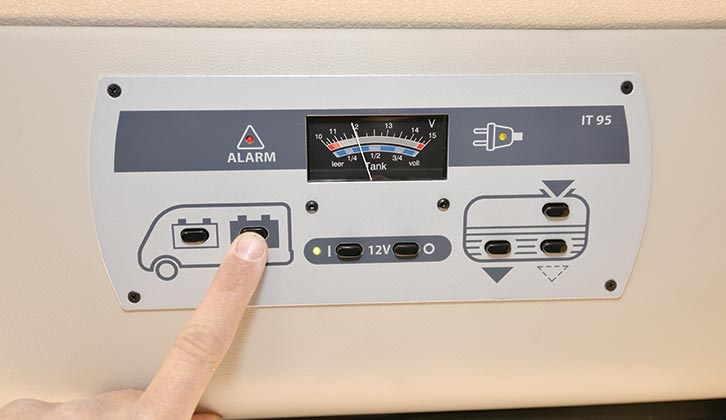
Accurately checking your leisure battery for voltage and condition should become second nature.
Ideally, you need to invest a tenner in a multimeter – especially if you have a basic control panel that only has LEDs or LCD segments indicating voltage. These are simply not precise enough – 0.9V can be the difference between a fully charged battery and a flat one. A fully charged leisure battery should be around 12.9V when full. Anything under 12V is cause for concern and needs urgent recharge.
If you don’t fancy messing about with a multimeter, there are lots of options available on the market that allow you to remotely monitor battery voltage with an app.
These can be short-range devices that transmit a few metres, for around £20, or posher versions that will set you back several hundred quid.
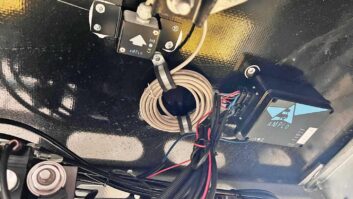
An alternative option is to fit a DIY tracker unit. These cost from £35 (plus around £70 a year subscription) and allow you to monitor battery voltage remotely, as well as being able to pinpoint your ’van’s location – this is a must if you store your vehicle away from your house.
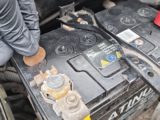
Old batteries can fail over time – they don’t last forever – but there are a couple of things to look for.
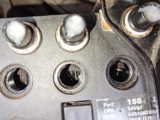
First, if you have lead-acid batteries, you need to check the acid level. Wear gloves (vinyl ones are best for acid) and remove the caps covering the cells (a coin is usually fine for this). Make sure that liquid is covering all of the lead plates inside – this can be difficult to see, so use the torch on your phone.
If they need topping up, use distilled water, which is available from motor factors. Don’t use tap water, as the minerals can degrade the electrolyte.
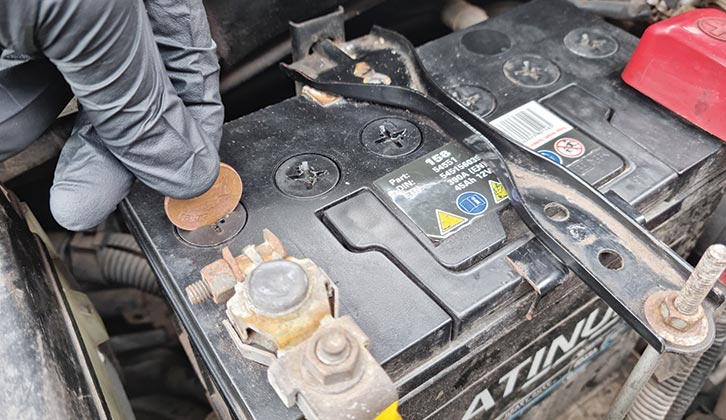
The other thing to look for is any damage to the casing – a battery that is failing will often start to bulge at the sides. If there is any evidence of bulging, the battery must be isolated and removed urgently – they can fail quite spectacularly if left in place.
While lead-acid, AGM, gel and lithium batteries do not need regular maintenance, they still need checking for casing bulges or splits.
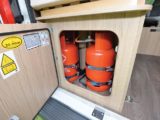
Gas systems
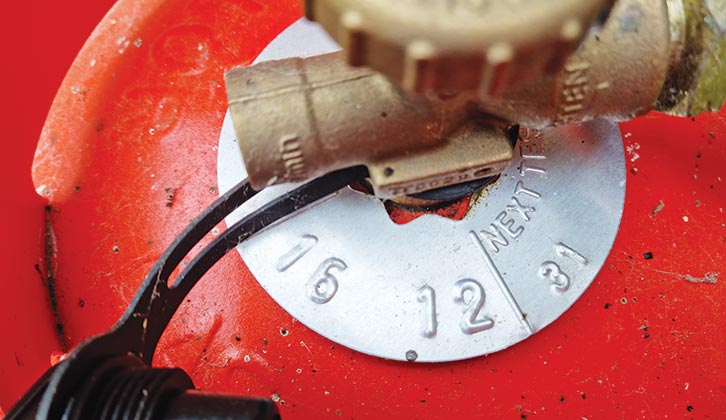
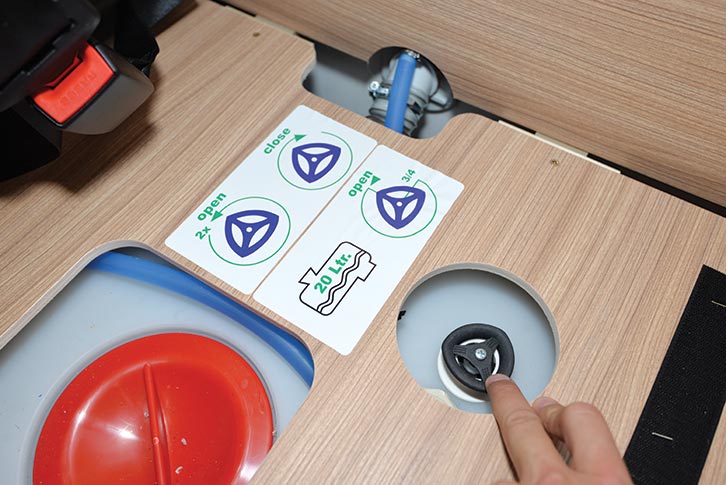
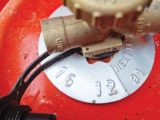
You’ll soon know if you run out of gas, because the hob will stop working. Before you get to this point, it’s worth checking the weight of your gas bottle. This is the most reliable way of working out how much gas is left in the tank.
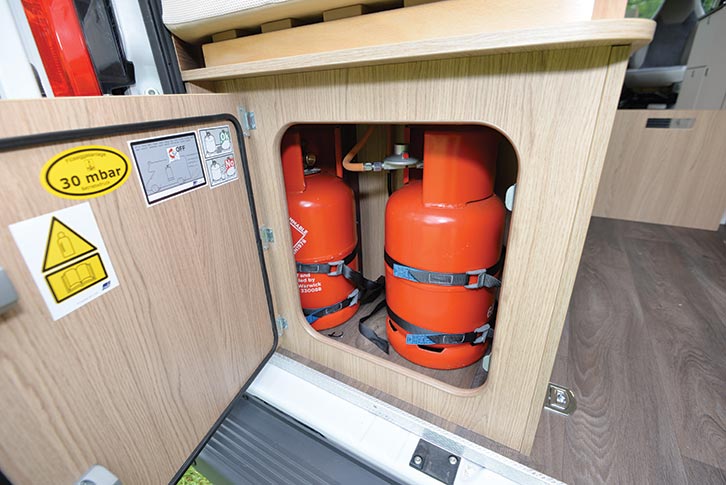
The tare weight is the empty weight and is often stamped on an aluminium collar around the tap on the bottle.
A 6kg Calor propane cylinder weighs 7.3-10.9kg empty and 15-17kg when full. A 13kg cylinder is around 13kg empty and 25-30kg full.

One method to weigh the cylinder is to remove it from the vehicle. Next, you stand on the bathroom scales and note your weight in kilos. Then holding the gas cylinder, stand on the scales again and note the extra weight. The difference is the weight of the bottle plus any remaining gas.
Gas level is difficult to measure – you have both liquid and gas to deal with, in a pressurised system. There are lots of gadgets designed to work out gas pressure, but some are more accurate than others, so seasoned motorhome owners don’t rely on gauges too much.
Obviously, if you have a fixed LPG tank, there is no option but to trust the gauges. Always switch off the gas at the bottle when it’s not in use.
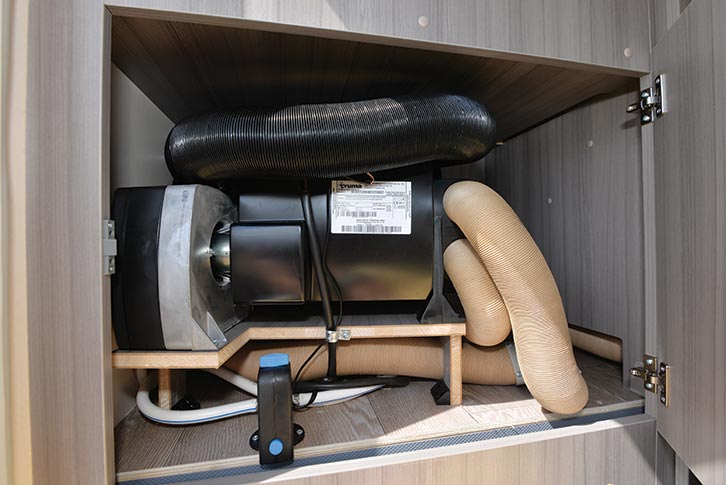
Gas systems are best checked annually as part of a habitation check – it’s well worth getting this done each year, as it ensures the integrity of the system and ultimately, your family’s safety.
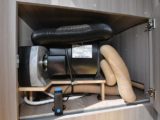
Water systems
Water is the enemy of the motorhome. From external bodywork leaks, which can wreak havoc on internal wooden battens or fibreboard, to internal leaks from the plumbing system, keeping water confined to where it’s supposed to be is critical to preserve the healthy longevity of your vehicle.
External leaks are not always obvious, so it pays to have a damp check carried out annually as part of the habitation check. This can nip simple leaks – such as a failed rooflight seal or a rubber seal perishing around a window – in the bud and save you a fortune in the long run. Coachbuilt and A-class motorhomes are more prone to external leak damage than steel-bodied van conversions, but both need regular checking.

Once a leak has developed into a stained patch on the ceiling, or the floor or cabinets have gone spongy, the damage is done.
Equally, your nose is a great tool for sniffing out leaks. A ‘wet dog’ smell or excessive internal condensation or mould are red flags – always buy used vehicles with your nose!
Plumbing leaks because of frost damage or piping problems tend to be more obvious – either you’ll see a puddle or hear the water pump running flat out. Switch it off and investigate immediately.
If you can’t see anything obvious, dump the fresh-water tank’s contents and book the van in with your dealer. It’s usually hose clamp connections around taps, joints, connector blocks or water pumps that fail and often, a simple tighten with a screwdriver will fix them.
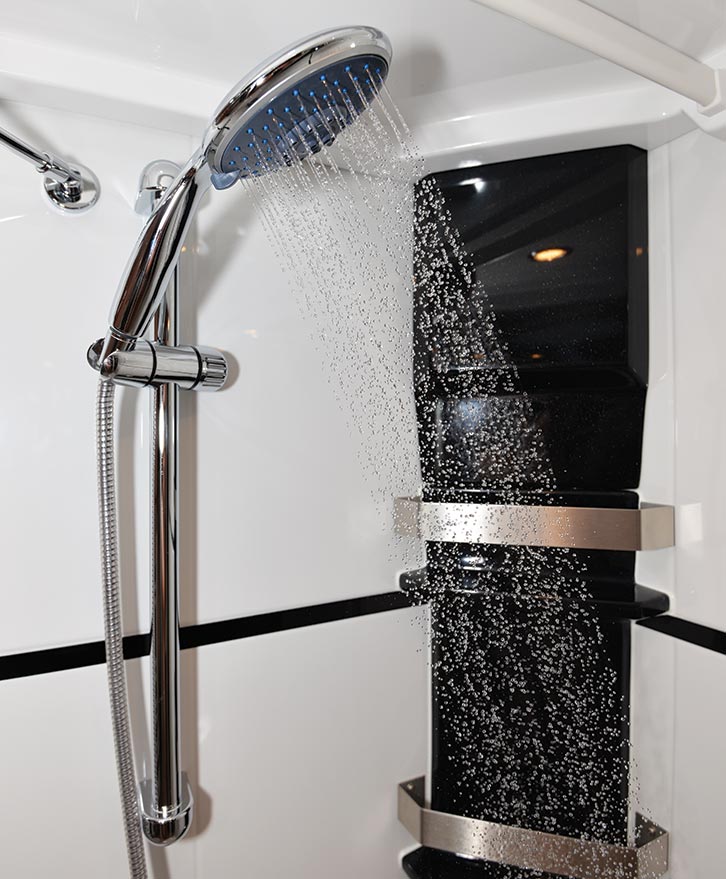
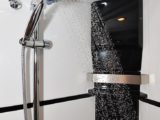
The other point to make about water is that at 20-60°C, it can be a breeding ground for legionella bacteria. This can lead to Legionnaires’ disease, a form of pneumonia that can be fatal.
Clean and sterilise your fresh-water tanks at the start of every season and try to avoid inhaling misted droplets of water (that’s how the bacteria can enter your lungs and cause trouble). If you’re a smoker or elderly, you’re far more susceptible to it.
One study carried out in the US tested 20 leisure vehicle water tanks on a campsite and found that 20% of them contained legionella bacteria. So don’t go thinking it’s some rare, exotic bug – it’s not uncommon.
Legionella doesn’t survive above 60°C, so always set your hot water boiler to this temperature and don’t drink water from the tank unless it has been boiled (tea and coffee are fine).
If you enjoyed finding out about motorhome DIY checks, why not take a look at these:
- Peter Baber fills us in on Grade 3 insulation and what it means for your motorhome
- We find out about motorhome security, and the steps you can take to protect your ‘van
If you’ve enjoyed reading this article, why not get the latest news, reviews and features delivered direct to your door or inbox every month. Take advantage of our brilliant Practical Motorhome magazine SUBSCRIBERS’ OFFER and SIGN UP TO OUR NEWSLETTER for regular weekly updates on all things motorhome related.