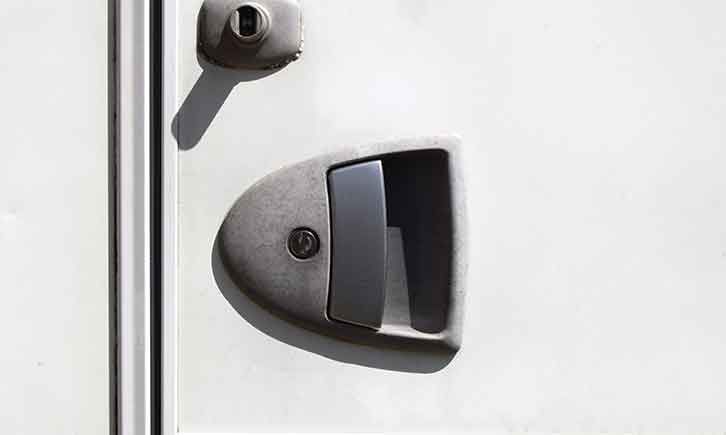
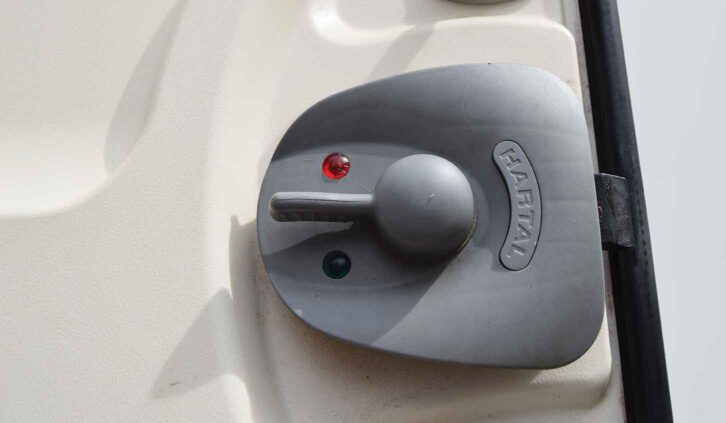
Many leisure vehicles, including mine, are fitted with a Hartal door-lock assembly. Over recent months, the lock’s internal mechanism has become stiff, making it difficult to open and close the door.
As a result, I have become worried that the process of locking and unlocking the door might result in the key snapping off in the lock – not a scenario any motorhomer would wish to encounter, if at all avoidable.
According to one or two online forums, this is a common problem with this type of Hartal door lock. It is caused by the central shaft of the inner assembly binding in its plastic guide housing.
A money-saving solution
Given that many of you might be experiencing a similar problem with this kind of door lock, I thought that it would be worthwhile to explain how to carry out some DIY so you can strip down the assembly and rectify the malfunctioning lock.
Of course, fitting a new door-lock unit would resolve the situation, but at around £100 for a complete assembly, a simple and relatively easy repair that will return the lock to an ‘as-new’ operational condition makes a lot of sense, particularly if you’re motorhoming on a budget.
Before we go through the procedure, here’s my list of six things to watch out for while you are doing the work:
1. When taking out the screws that hold the two parts of the lock assembly together, make sure each of them goes back in the same place it came from, as mixing them up could cause damage.
2. Take care when you’re removing the spring that returns the door catch, as it is inclined to jump out and get lost (I speak here from experience!).
3. After sanding down the components, make sure you remove any plastic ‘dust’. If you don’t, this could form a paste with the applied grease and exacerbate the problem.
4. I removed plastic from both the handle shaft and the guide in which it rotates with a piece of rolled-up sandpaper, because gaining access to the upper part of the shaft is difficult.
5. It is essential that the knob is turning freely in its guide before reassembly. If it’s not, it won’t when it is back in place on the door either, and you will just have to start all over again!
6. When reassembling the parts, press the two halves of the assembly together before making sure it operates correctly. Only then should you screw them back together.
I applied a little grease to all moving parts. Don’t use oil, which tends to run off over time, making a recurrence of the problem more likely.
You will need:
Tools
- You’ll need the conventional toolkit, including a Pozidriv screwdriver, pointed piercing tool and so on
- A pair of external circlip pliers
Expendables
- Grease (I used a lithium-based product)
- Fine sandpaper
Overhauling your Hartal door lock – a step-by-step guide:
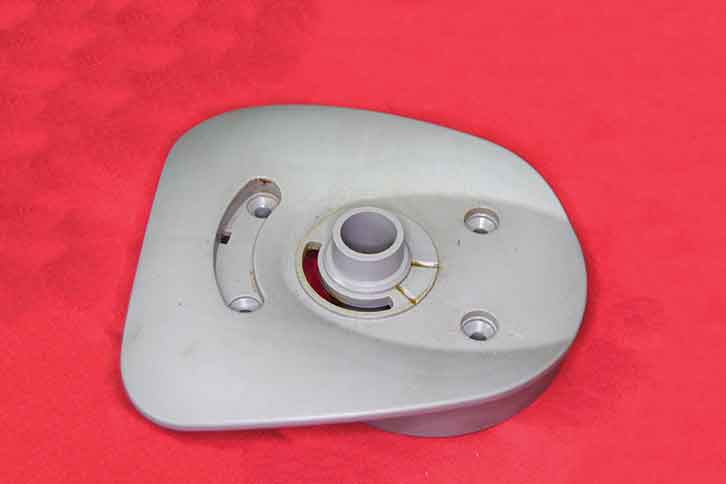
1. The xterior handle.
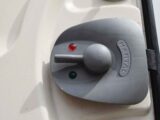
2. The interior handle.
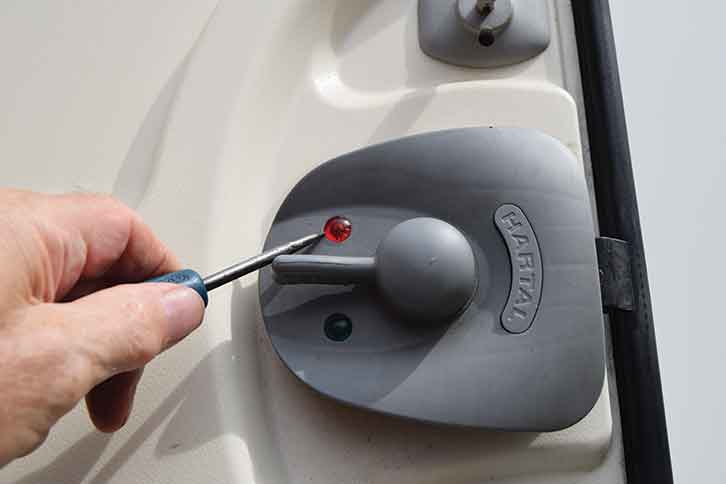
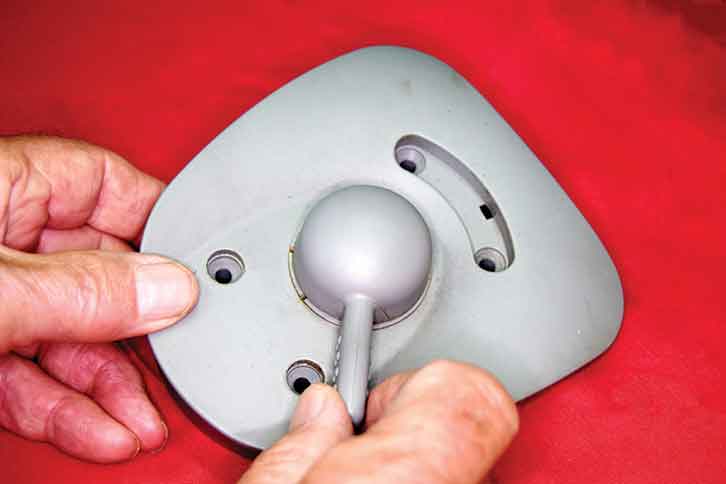
3. Using a pointed tool, carefully remove red and green screw caps.
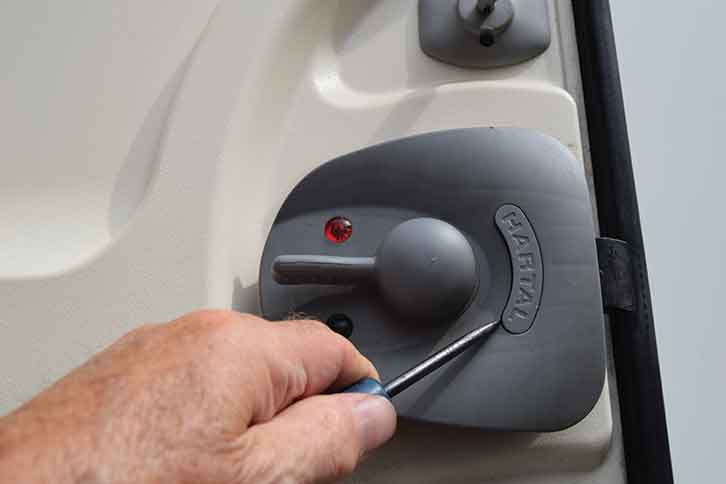
4. Using the same tool, gently lift off secondary Hartal screw-cap panel.
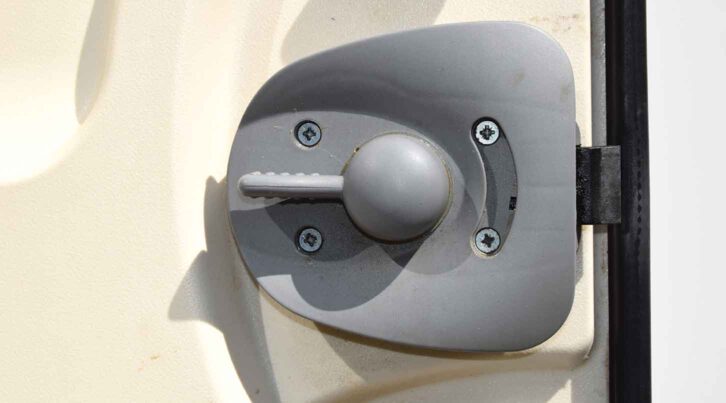
5. Securing screws are compatible with Pozidriv screwdriver.
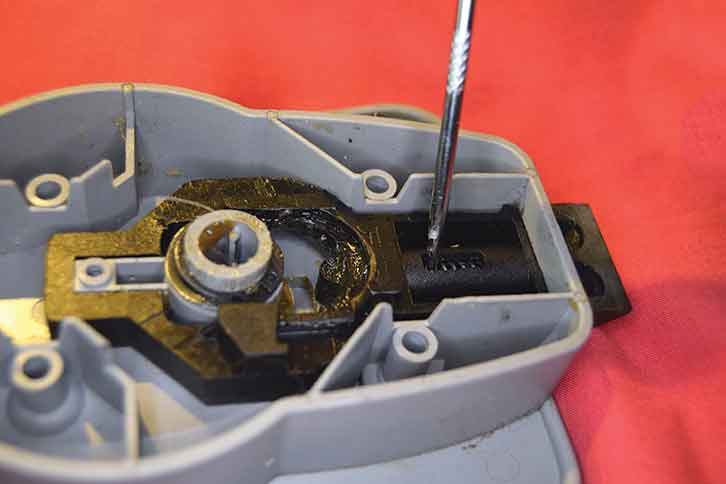
6. The lock tongue bar is secured with its own screw, which should be removed.
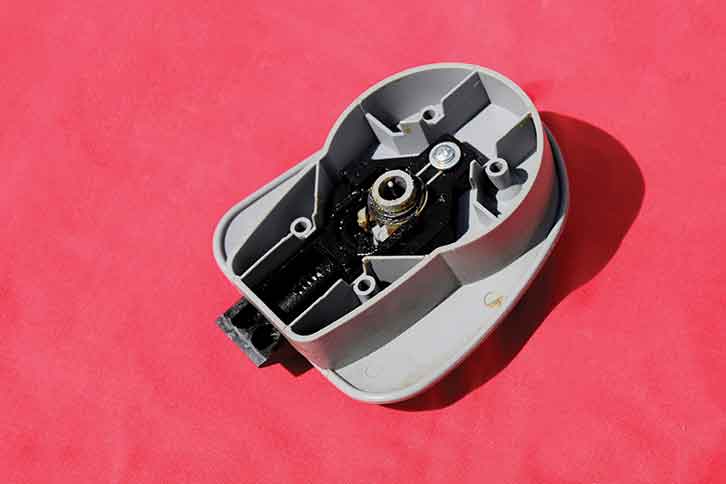
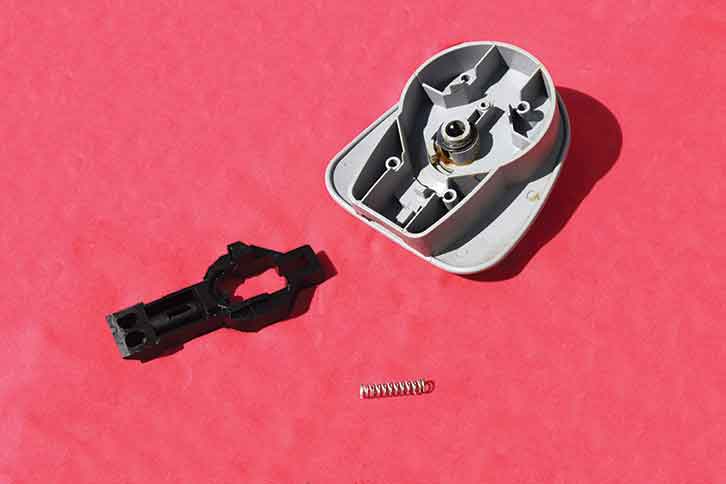
7. This is how the assembly looks with the lock tongue and spring removed.
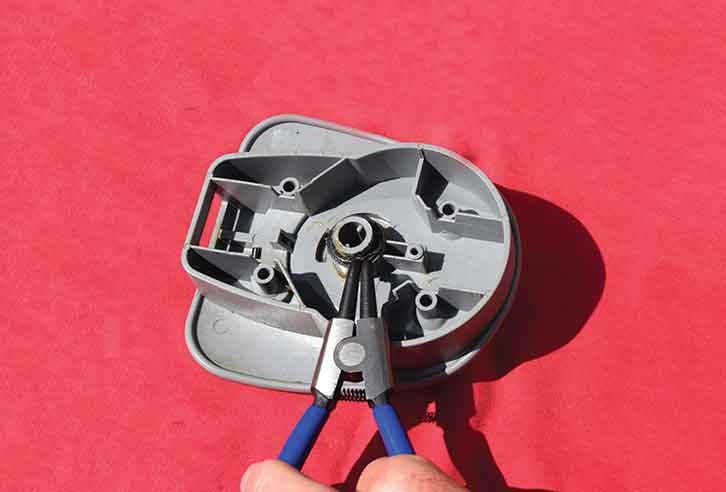
8. Remove circlip and crinkle washer with external circlip pliers.
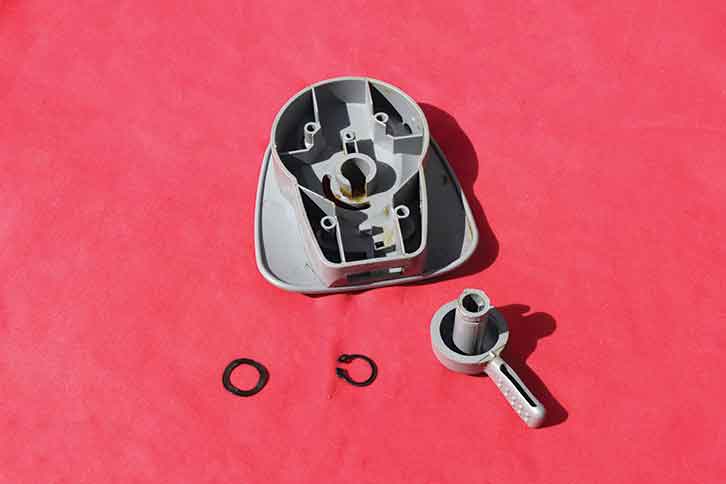
9. Once you have removed the circlip and washer, you can take out the handle.
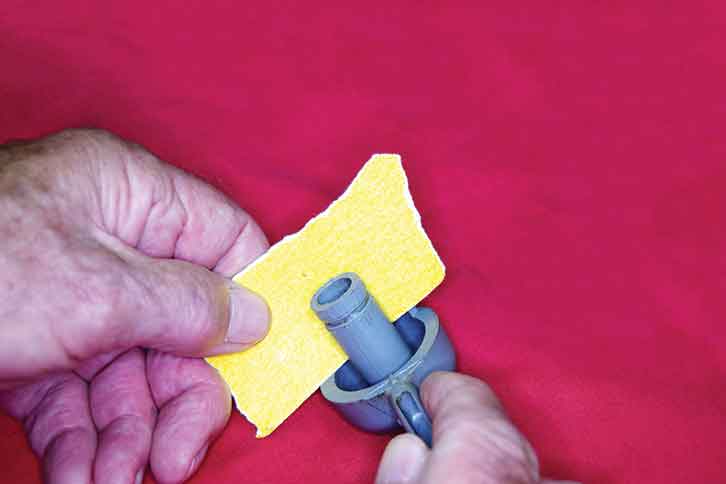
10. It may be necessary to remove some of the plastic from the inside of the knob guide with rolled-up sandpaper – this will be the case if the upper part of the shaft is scraping against the knob guide.
11. Try to sand down the plastic from the shaft mechanism evenly all round.
12. Check that the handle turns freely before screwing the mechanism back together.
13. Once you have checked the handle action, replace the tongue and lock it in place with its screw.
Looking for some more DIY projects for your motorhome? Then take a look at these:
- We talk you through how to maintain and repair the rubber seals of your ‘van.
- We explain how to solder.
- We tell you how to fit an external TV antenna socket.
Future Publishing Limited, the publisher of Practical Motorhome, provides the information in this article in good faith and makes no representation as to its completeness or accuracy. Individuals carrying out the instructions do so at their own risk and must exercise their independent judgement in determining the appropriateness of the advice to their circumstances. Individuals should take appropriate safety precautions and be aware of the risk of electrocution when dealing with electrical products. To the fullest extent permitted by law, neither Future nor its employees or agents shall have any liability in connection with the use of this information. Double check any warranty is not affected before proceeding.
If you’ve enjoyed reading this article, why not get the latest news, reviews and features delivered direct to your door or inbox every month. Take advantage of our brilliant Practical Motorhome magazine SUBSCRIBERS’ OFFER and SIGN UP TO OUR NEWSLETTER for regular weekly updates on all things motorhome related.