


Jack excavates layers of bodged DIY work as he sets out to renew the Auto-Sleeper’s floor covering – but ends up fixing the wipers!
Life is never dull with Peanuts. Something both its owner Kate and I have realised is that you’ll never be short of someone to talk to if you own a similar old-timer. Peanuts is far from restored, just a well-worn survivor, really, and this fact alone endears her to folk passing by. Some stop to reminisce about when they owned something similar; others are fascinated to hear that you can ‘live the dream’ for remarkably little dosh.
This month we set ourselves the task of renewing the floor covering – a process that revealed a lot about Bird-Brain, a previous owner, and turned into an excavation worthy of Time Team!
Here’s what happened …
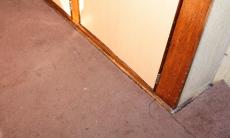
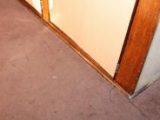
[tl:gallery index=1 size=230×138]1. Surplus bedroom carpet (in quite small pieces) had been the floor covering of choice for the last owner. Kate and her son Kyle are keen surfers, boarders and allotment gardeners, so it quickly became stained in the ‘van’s role as a general load lugger.
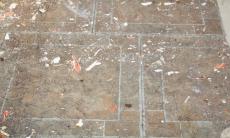
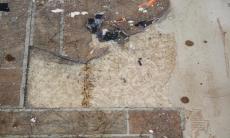
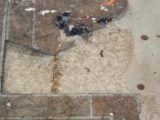
[tl:gallery index=2 size=230×138]2. The carpet came up lickety-split! But underneath were some manky self-adhesive Marley tiles (right) which need to be lifted – and underneath was the original Auto-Sleepers vinyl, stuck to plywood (below). All layers were too damaged to cover up, so I’d have to remove them (below right).
[tl:gallery index=3 size=153×92][tl:gallery index=4 size=230×138]
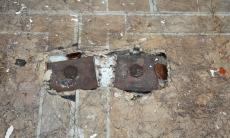
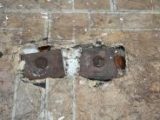
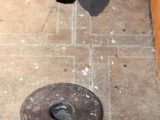
[tl:gallery index=5 size=230×138]4. Scraping off the top layer revealed the spreader plates and fixing bolts for the tow-bar. I found 3p in the double ones in the middle of the floor!
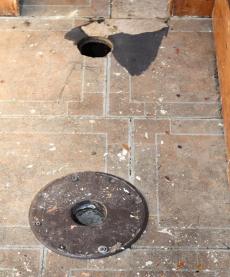
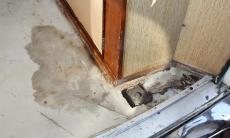
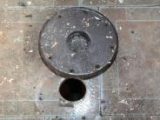
[tl:gallery index=6 size=230×277]5. As I moved towards the front of the ‘van, the reason for Kate and Kyle feeling a cold spot on the carpet became apparent. Bird-Brain had moved the table leg socket and just left the hole as… a hole!
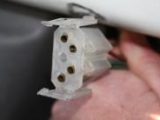
[tl:gallery index=7 size=230×138]6. We had to remove the socket to strip all the flooring. It only had half the proper number of screws holding it, and each was different. Another masterpiece of engineering from B-B.
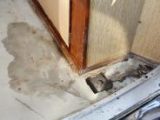
[tl:gallery index=8 size=230×138]7. Once it was stripped, it was time to make good the floor and lay a new covering. But a corner of the floor had rot and damp from a roof leak that I’d repaired a year ago. It has to dry out so you’ll have to wait until next month for the floor to be completed.
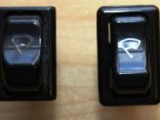
Replacing the windscreen wiper switch
[tl:gallery index=9 size=230×138]Meanwhile the windscreen wipers had stopped working. I traced the problem to the switch itself. It lasted for 35 years with ham-fisted owners, so it was due for replacement, and I decided that it was time to replace the switch for the lights, too. Here’s how I did it:
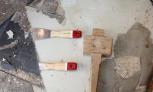
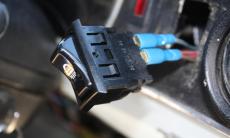
[tl:gallery index=10 size=230×138]1. The connector at the back of the switch needed to be squeezed firmly at the top and bottom in order to release it from the switch body.
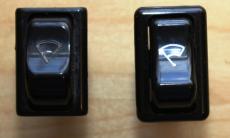
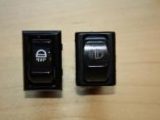
[tl:gallery index=11 size=230×138]2. Lucas 159 series switches are interchangeable, but the symbol can be 90 degrees out – for example, the headlamp switch is used horizontally in old Minis, but vertically in Sherpas and Land Rovers.
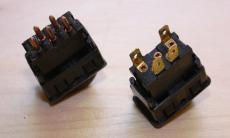
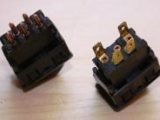
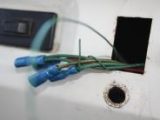
[tl:gallery index=12 size=230×138]3. Some 159 switches have pins on the rear (‘poles’ or ‘rods’), while some have Lucas spade terminals. We couldn’t get one with pin terminals so we cut the wires close to the redundant block connector and crimped to each an insulated spade connector. I labelled each wire with its pin number.
[tl:gallery index=13 size=230×138]
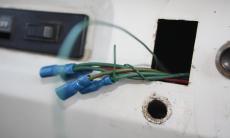
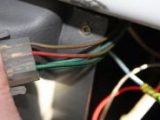
4. Top tip Bundle up the cables and leave the end out of the hole; if one [tl:gallery index=14 size=230×138]cable slips back inside the dashboard, it’s a fiddle to fish out. We bought switches from www.autoelectricsupplies.co.uk, 01584 819 5521.
[tl:gallery index=15 size=230×138]5. Finally, we tested the switch operation thoroughly before pushing it back into the dashboard aperture.
The wipers now work a treat and we’ve averted light switch failure: job done!
Project Peanuts: the story so far
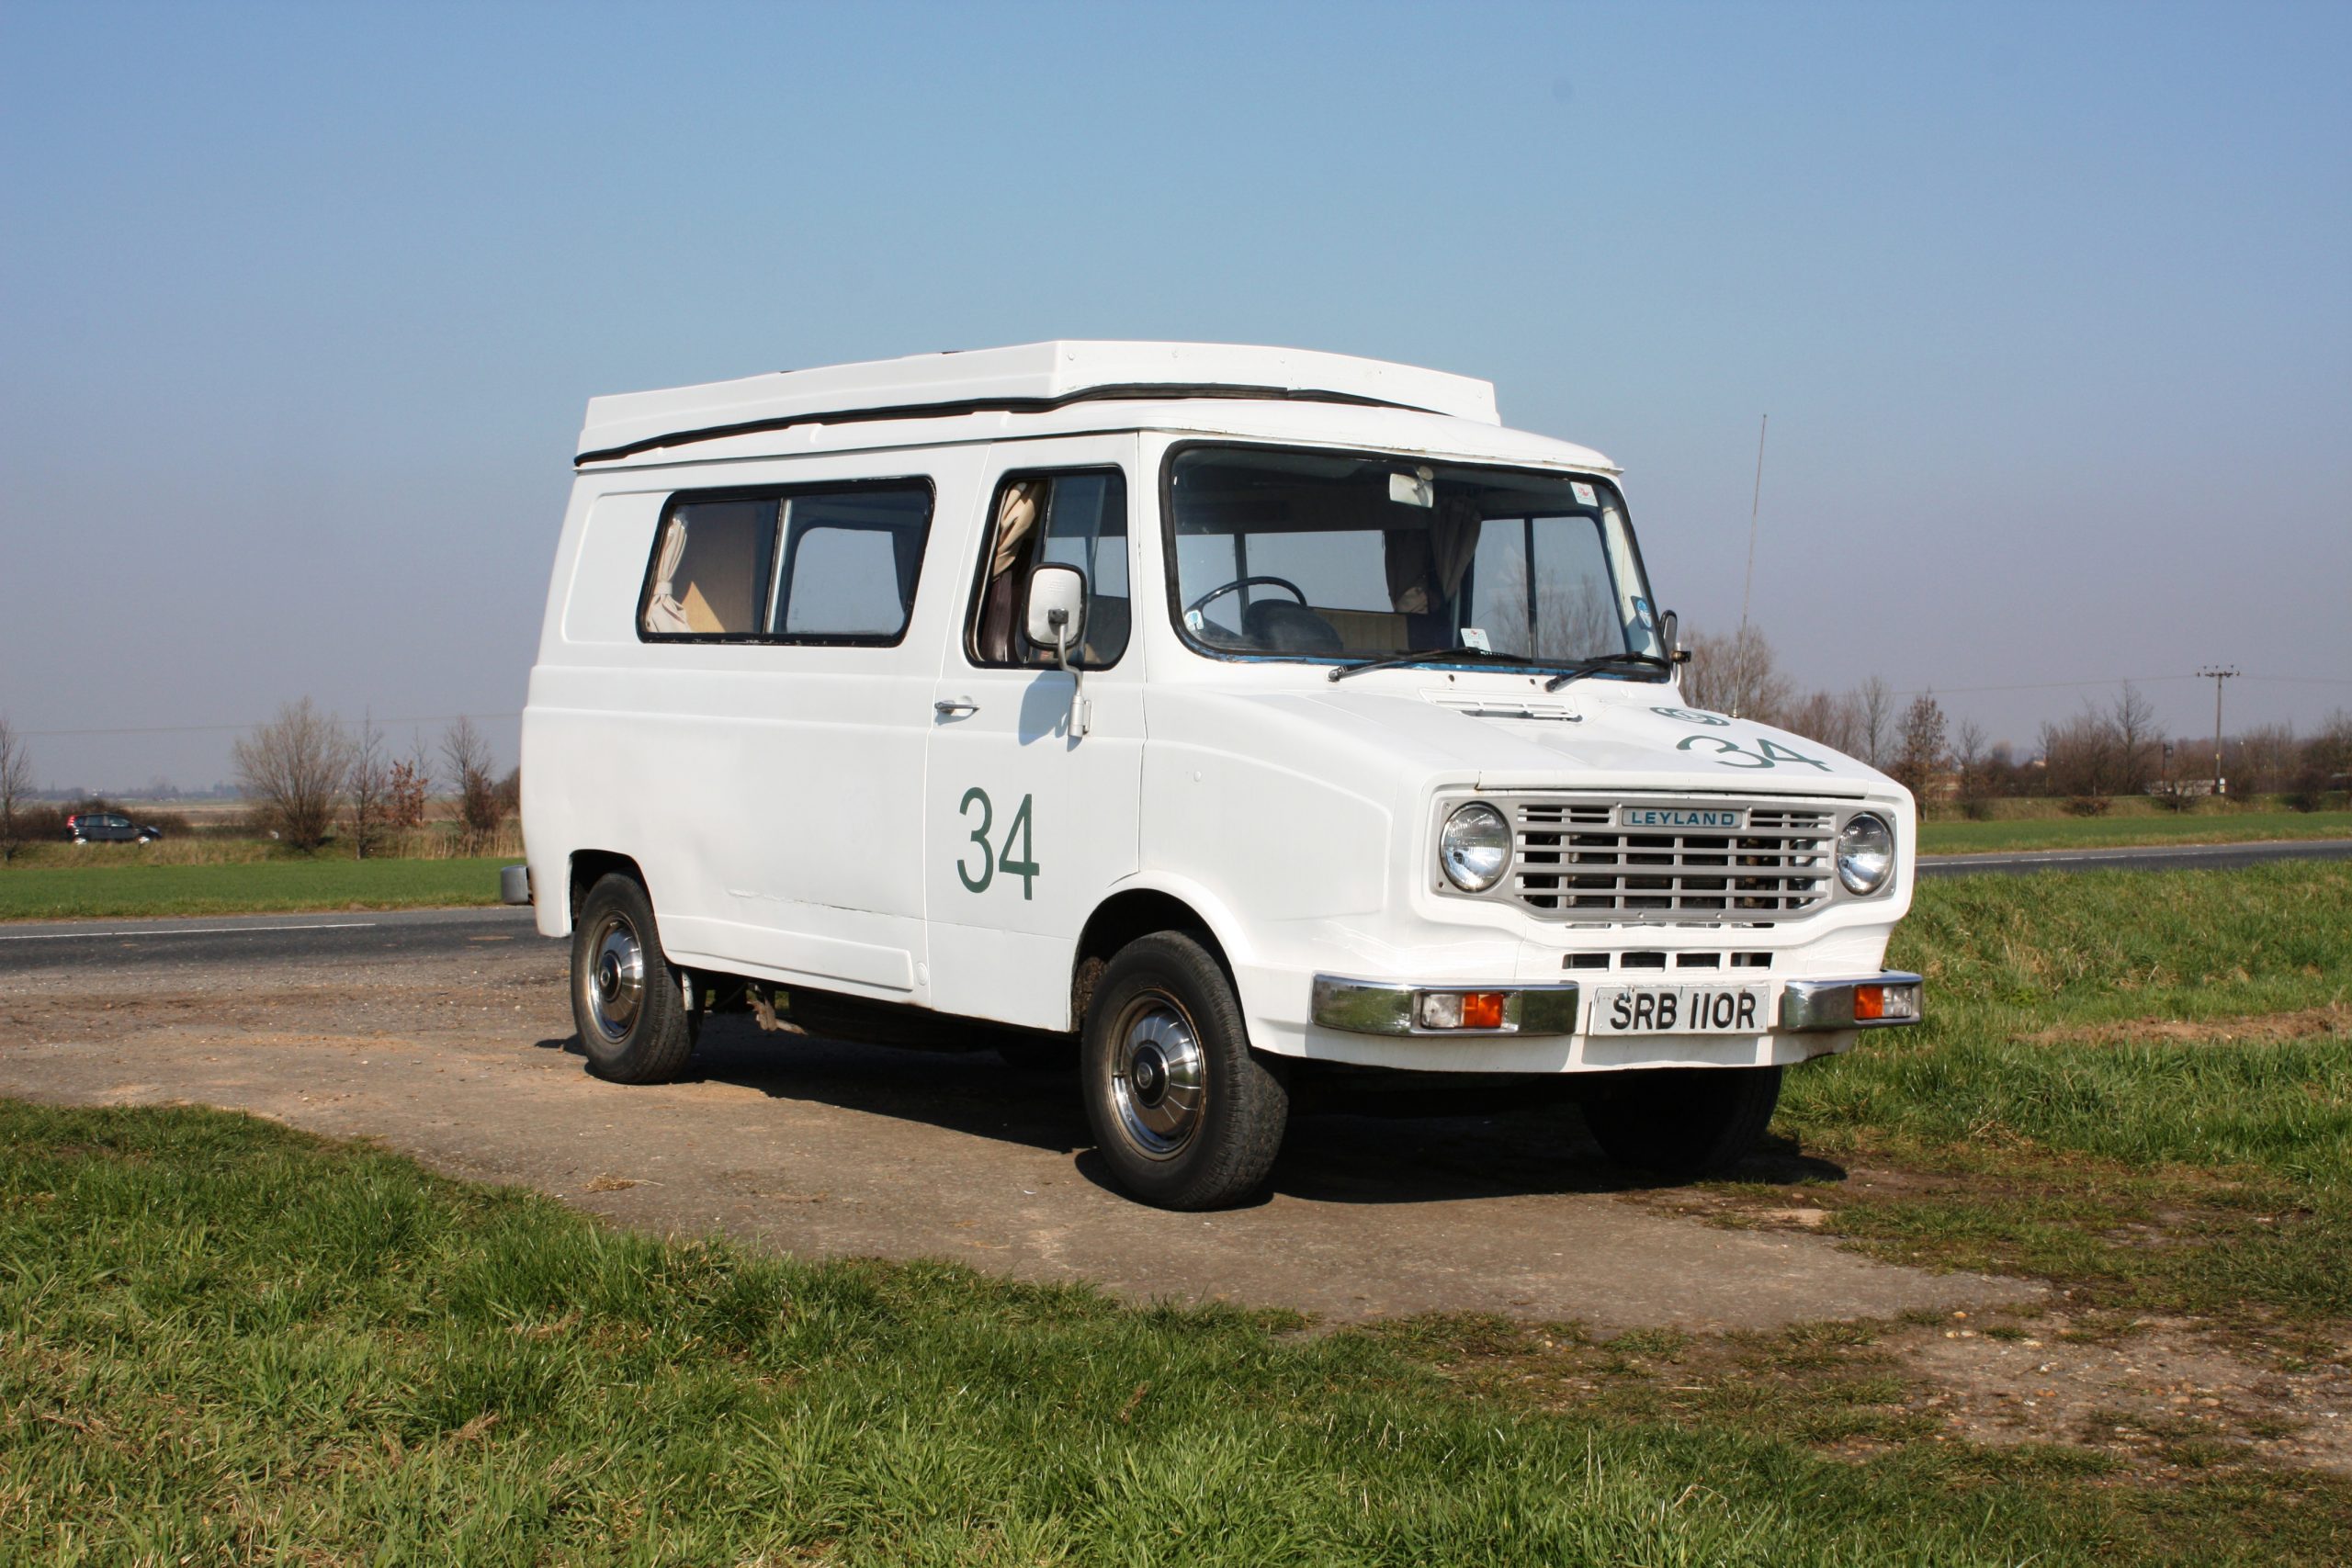
Gentleman Jack set out to show you can live the dream for less than £2000 in our ‘Project Peanuts’ series. This 1977 Auto-Sleeper Leyland Sherpa cost just £825. Jack manages it for single mum Kate and her son Kyle, who enjoy regular trips away in it. Each month, Jack writes about his tasks, packing his tale with DIY and ownership tips.
Starter-van to-do list
Shake down DONE
Urgent mechanical repairs DONE
Mechanical safety check, lubrication service DONE
Repair elevating roof DONE
Habitation safety check DONE
Service and refit gas and 12V equipment DONE
Fit new rear door cards DONE
Refinish cabinetwork DONE
Soft furnishings upgrade DONE
Roof-trim and floor repair DONE
230V/12V power upgrade DONE
Bodywork makeover
Time spent
Previously 67 hours
This month 4 hours
TOTAL SO FAR 71 hours
Money spent
Fixed costs:
Motorhome purchase £825
One year’s road fund licence (tax disc) £205
Insurance £176.24
MoT Test £39.95
Repairs and uprgrades:
2 x wiper blades £5.98
Top-up fluids £10.00
Workshop manual £5.96
Overdrive actuating solenoid assembly £81.50
Roof seals £19.97
Hinges and screws £6.25
New ‘van battery £70.00
Brake adjustment £40.00
Gas and 12V consumables, including three-way manifold, new fuse box, etc £72.74
Wood, glue, screws and screw covers £15.00
Anti-freeze, new jubilee clips, second-hand 230V unit and fire blanket £40.97
Indicator/lights/horn stalk switch assembly £33.99
Beech-effect vinyl £20.98
2 x Lucas panel switches, inc p&p £35.99
TOTAL SO FAR £1705.52
Missed the earlier articles? Click on the links below to catch up:
- Part 1: buying a van – your options
- Part 2: more buying tips and insurance
- Part 3: safety check, towbar and rear step
- Part 4: essential roof repairs
- Part 5: making safe old DIY horrors
- Part 6: refitting the hob, fridge and some wiring
- Part 7: general improvements to the interior
- Part 8: making new door cards
- Part 9: ‘wiring’ for 230V and winter prep
- Part 10: repairing faulty indicators
- Part 11: touching-up the cabinetwork
Ask Jack …
If you have any queries relating to this series, feel fee to contact Gentleman Jack at [email protected].