
I’m all for the easy life, especially when we are away in our ’van. After all, this is supposed to be a time for relaxation and being lazy if you want, isn’t it?
We have a motorhome TV in our ’van, which we use for occasional viewing, when there is something specific that we want to watch, or on those days when the weather turns miserable.
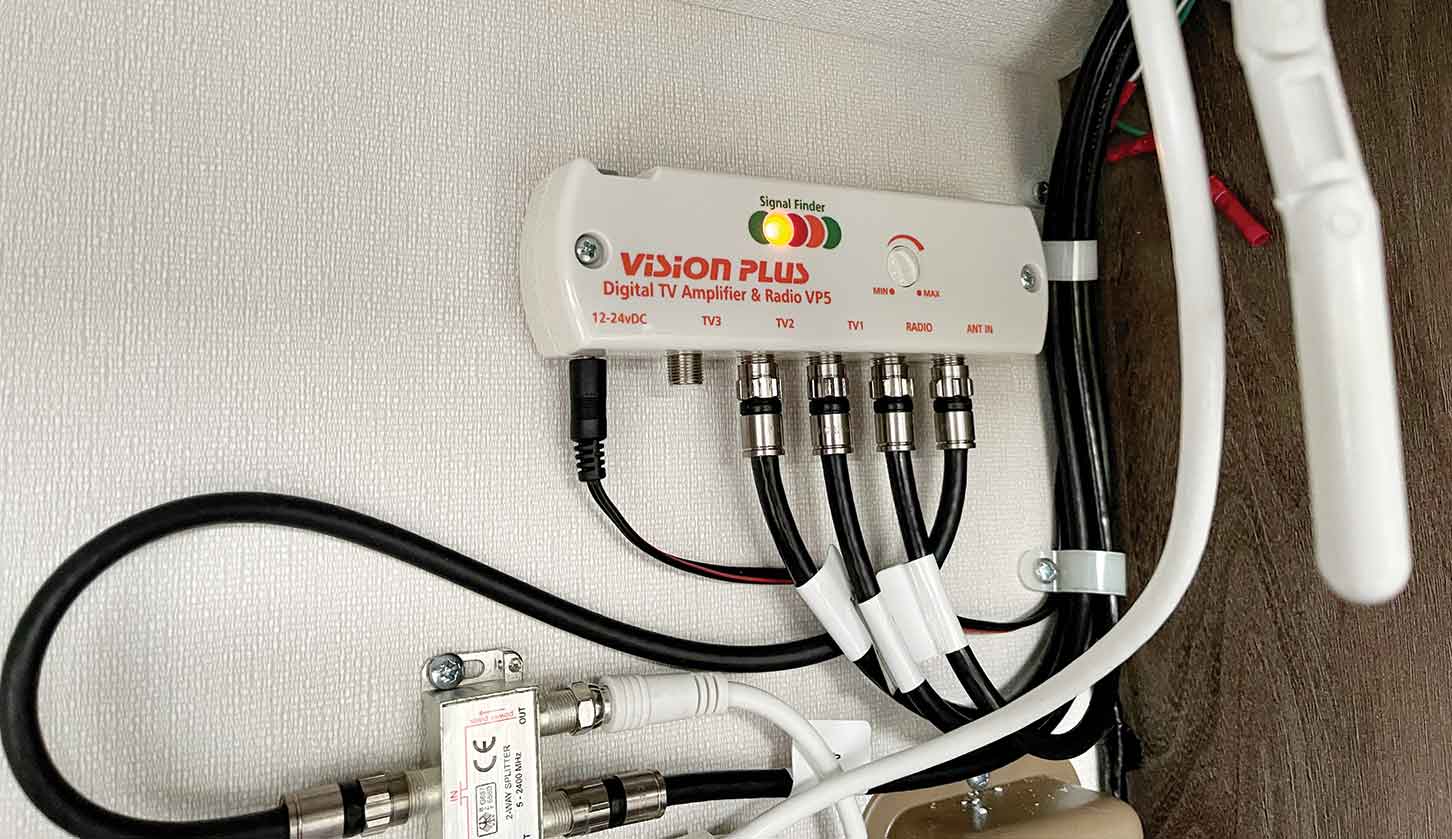
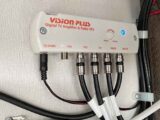
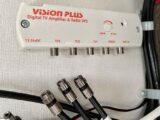
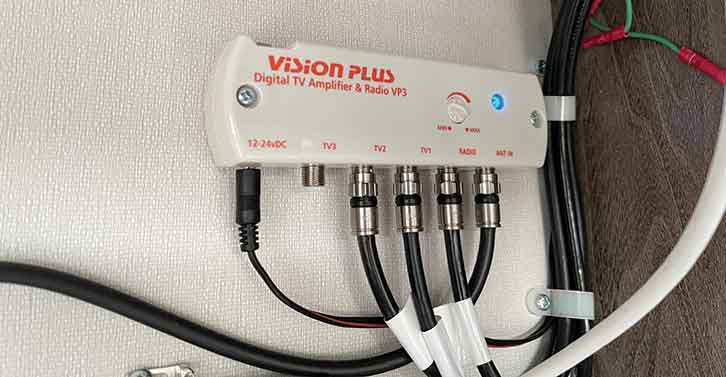
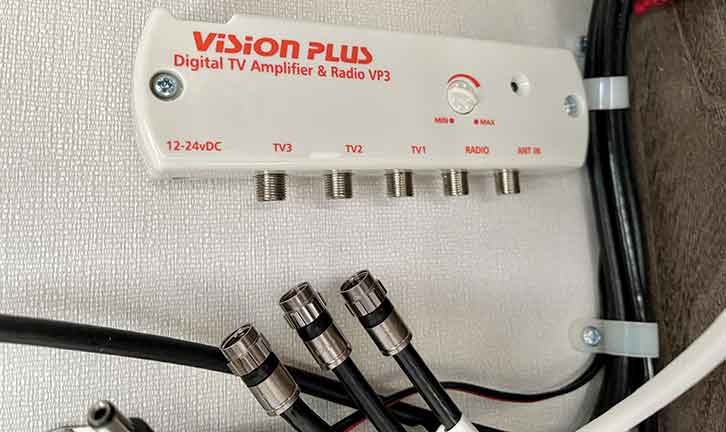
Our latest ’van came fitted with the Vision Plus VP3 Digital TV and Radio Amplifier, which was fine, but with the VP3, it’s a case of switching it on and a blue light illuminating to show that it is indeed on, but nothing else. Getting the best TV signal means doing one of two things.
If you’re looking for an aerial for your ‘van too, be sure to take a look at our best motorhome TV aerial guide, where we share our top picks on the market.
Achieving a good picture
You’ll either be slowly rotating the Status antenna while it’s connected to the TV and then waiting until you get the best picture – and sometimes that means doing this with the antenna in the horizontal position, then the vertical.
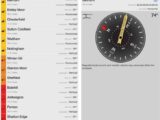
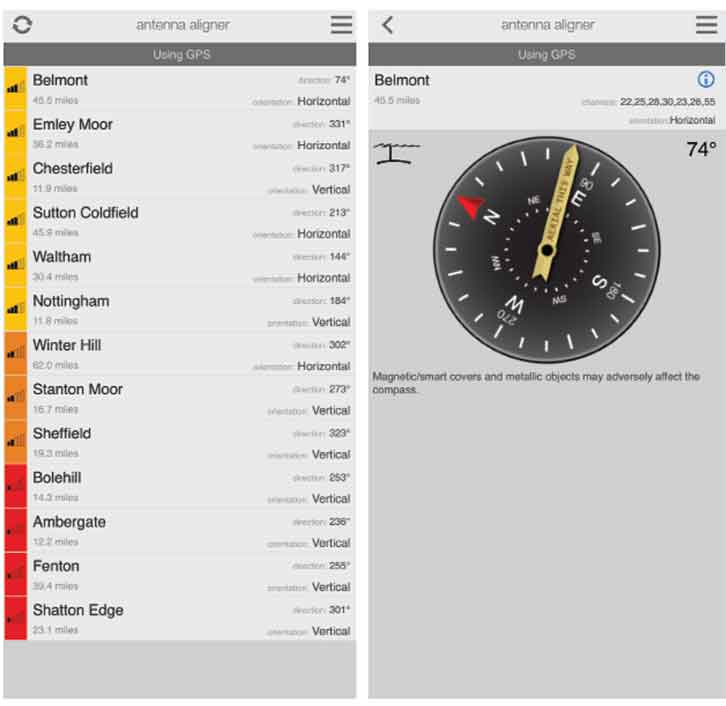
Otherwise, you can use a handy phone app, Antenna Aligner, which will tell you where the best signal is at your motorhome site, and whether the TV antenna needs to be placed in the horizontal or the vertical position, and in which direction it needs to be pointing.
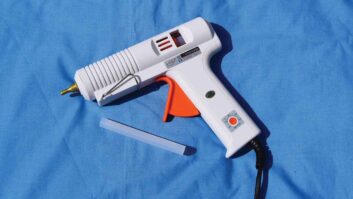
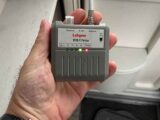
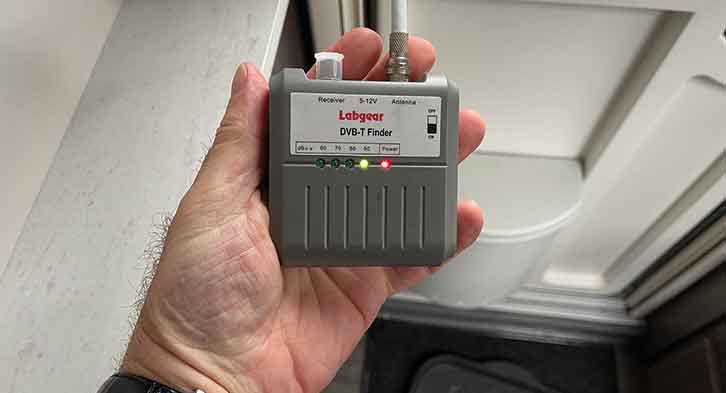
I’ve also used the Labgear DVB-T signal finder, which has a series of LEDs (the more that light up, the better the signal).
Although the latter system should give the best signal, the problem is that you’ll need so many hands to operate it – one to turn the antenna, one to hold the phone to see the direction to point the antenna in, and a third to hold the signal finder so you can watch the LEDs!
Signal finder
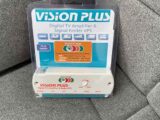
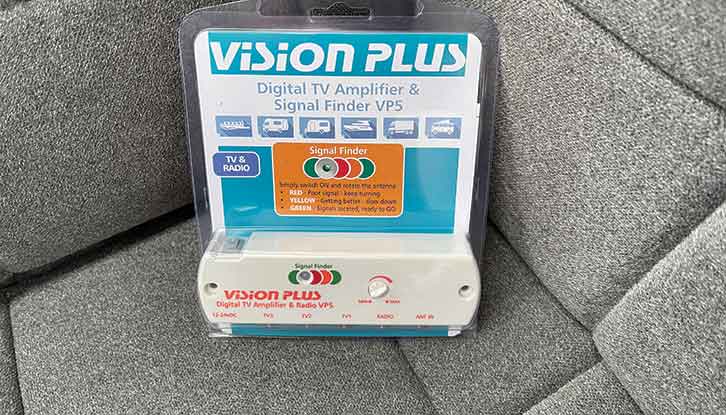
These methods for getting a TV signal are fine, but given my lazy nature, there is a better way. I still use the phone app, but I recently swapped the Vision Plus VP3 for the same company’s VP5, which has a built-in signal finder.
After checking the app to see which orientation the antenna needs to be in, and obtaining a rough indication of where the best signal will be, with the VP5, it’s simply a case of turning on the unit and then rotating the antenna into the best position, using the built-in LED as indication.
When the signal is poor, the LED is red, going to yellow as it improves, and finally to green where the signal is strongest.
Sometimes, however, the signal in some areas is weak, so the best you’ll get is yellow, but even with that, you should get a picture on the TV.
If your ’van is fitted with the Vision Plus VP2, a direct replacement for that, with the signal finder, is the VP4 unit.
Changing a VP2 for a VP4, or a VP3 for a VP5 (or as I did on our previous ’van, a VP2 for a VP5) is a simple task, taking a few minutes.
Prepare the swap
Start by safely disconnecting the leisure battery/batteries and any mains supply, and remove the fuse from the solar panel if fitted. Unscrew all of the leads into the amplifier. Sometimes these will need the help of a pair of thin-nosed pliers or a 10mm spanner, although I’ve usually found that they will be no more than finger tight.
There could be up to five, although ours had four: antenna in, radio, TV1 and TV2 (the fifth is TV3). In our unit, TV1 is the feed to the lounge, and TV2 to the bedroom.
You can mark each lead as you undo them (masking tape will do), or as was the case with ours, they simply remained in the order in which they were removed. The plug that
powers the unit needs to be removed, too. This will just pull out.
Although the VP5 unit is also supplied with a new plug, there is no need to change anything – it’s exactly the same as the one for any of the other units and it’s already wired in.
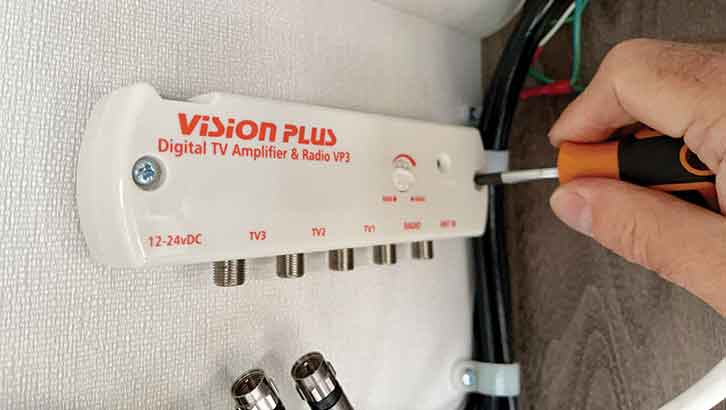
With all of the leads, including the power lead, removed, it’s time to remove the two screws (one at either end) of the VP3 unit and remove the ‘old’ unit from its mounting (usually just into the inner wallboard of the ’van).
Fitting the VP5
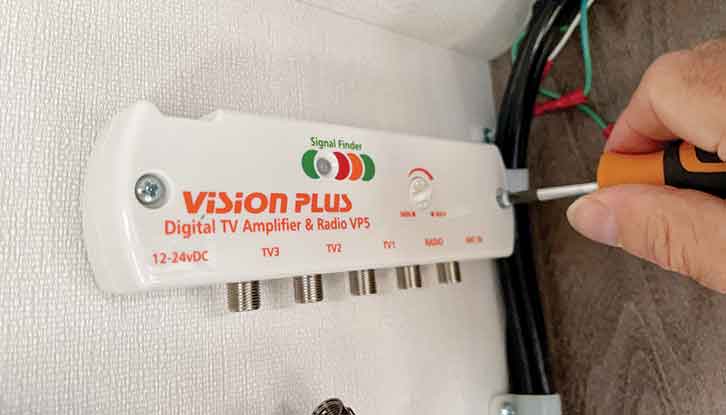
Installing the VP5 is simply the reverse procedure for removing the VP3. Start by attaching the unit to the mounting. If it is into the ’van wallboard, be careful not to overtighten the screws.
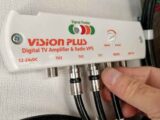
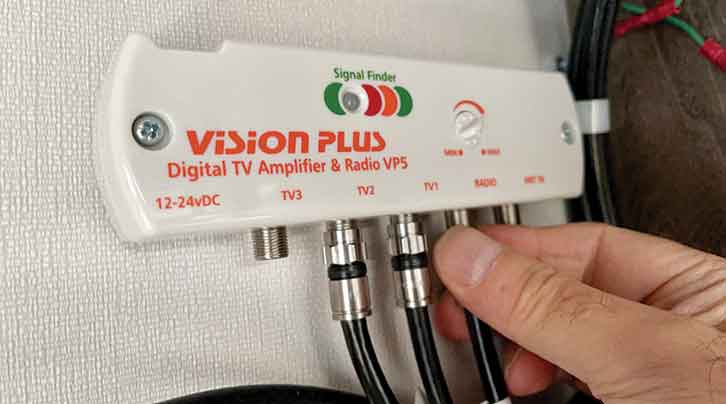
Attach each of the leads to their respective connections. Finger tight is often enough, but I also gave each of ours a tweak with a pair of small pliers (I didn’t have a suitable spanner to hand). Finally, plug in the unit’s power lead.
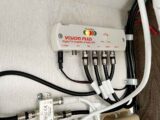
With the leisure battery reconnected and the fuse to the solar panel reinserted, it was now time to test the VP5.
Unfortunately, we live in an area with a fairly weak signal, but the LED did change from red to yellow, before going back to red, as I rotated the antenna. Even when the LED was yellow, the signal was still good enough to receive a pretty decent picture on the TV.
When I then checked the new unit against the handheld signal finder, it was reassuring to see that both the VP5’s indicator and the handheld unit corresponded.
Job done! And now I can simply tune in the TV with one hand, while holding a glass of my favourite tipple with the other…
After an alternative to a TV in your ‘van? A projector could be the way to go – see what we made of the Nebula Mars 3 Air when we put it to the test.
How to upgrade a TV amplifier – a step-by-step guide:
1. The VP3 as fitted in Nigel’s current ’van.
2. Labgear DVB-T signal finder.
3. Antenna Aligner smartphone app.
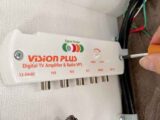
4. The new Vision Plus VP5 unit.
5. Remove all leads, including power plug.
6. Next, remove the mounting screws.
7. Mount the VP5 with same screws and holes (be sure not to overtighten).
8. Attach the various leads to the VP5 and nip them up with a small pair of pliers.
9. Testing the VP5 shows the LEDs are functioning.

After some more DIY projects to try? Then take a look at these:
- Nigel Hutson explains how to fit a Truma 65 WP Solarset solar panel kit to your ‘van.
- Knowing how to set the Alde 3020 delayed start function can help you cut your heating costs.
- Minor adjustments can make a big difference to a motorhome, as Diamond Dave explains.
Future Publishing Limited, the publisher of Practical Motorhome, provides the information in this article in good faith and makes no representation as to its completeness or accuracy. Individuals carrying out the instructions do so at their own risk and must exercise their independent judgement in determining the appropriateness of the advice to their circumstances. Individuals should take appropriate safety precautions and be aware of the risk of electrocution when dealing with electrical products. To the fullest extent permitted by law, neither Future nor its employees or agents shall have any liability in connection with the use of this information. Double check any warranty is not affected before proceeding.
If you’ve enjoyed reading this article, why not get the latest news, reviews and features delivered direct to your door or inbox every month. Take advantage of our brilliant Practical Motorhome magazine SUBSCRIBERS’ OFFER and SIGN UP TO OUR NEWSLETTER for regular weekly updates on all things motorhome related.