
I asked my local fire brigade for some advice before fitting fire equipment to my motorhome, and they said, “Don’t fight the fire, just get everyone out.”
No-one would disagree with this, but most cooks would be prepared to throw a fire blanket over a flaming pan once everyone else had left.
After that, most people would also be prepared to operate an accessible fire extinguisher from outside the motorhome, in the hope of limiting the flames until help arrived. While such actions must be without risk to life and limb, anything that improves the chance of turning off and removing the gas bottles reduces the likelihood of quite a serious explosion.
The Caravan and Motorhome Club recommends a fire blanket to BS EN 1869; it must be within easy reach of the cook and if possible, between the cooker and the exit door.
Although I obviously value my fire blanket, I don’t want to have to look at it all the time. My way of keeping it out of sight, yet accessible, was to find a small but convenient space where it could be neatly recessed.
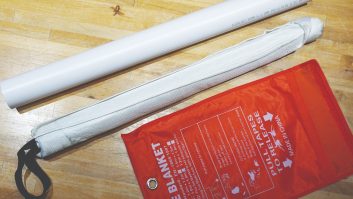
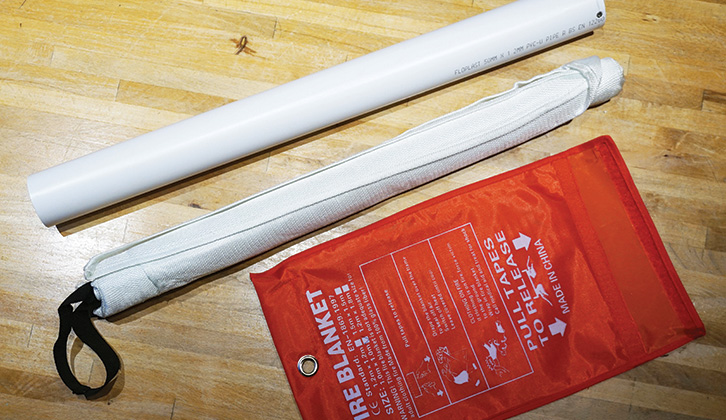
First, I took the blanket out of its bag, rolled it and pushed it into a plastic tube. The tube size will depend on your blanket, but mine went inside a 540mm length of 50mm white plastic wastepipe, with a plug at the inside end.
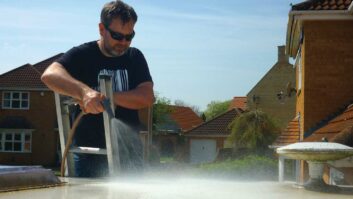
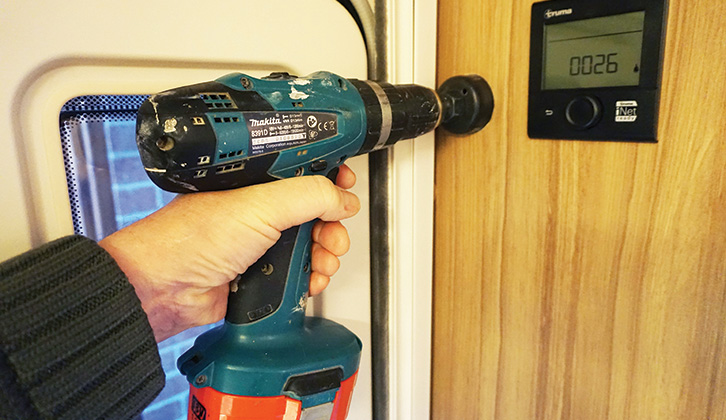
After checking behind the panel, I used a 50mm holesaw to cut a hole in a wooden partition to hide the tube inside a cupboard with just the end exposed, by the kitchen.
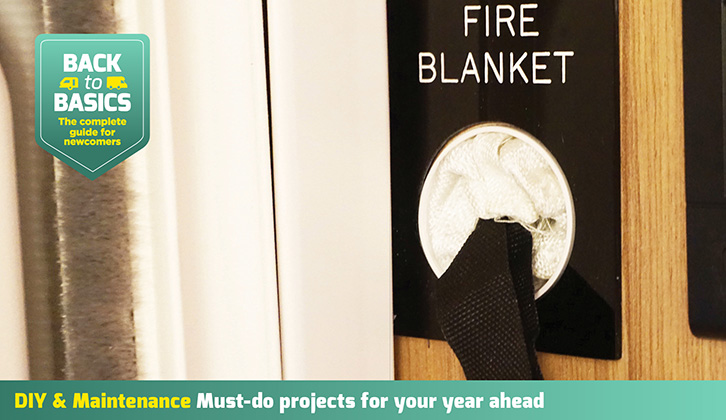
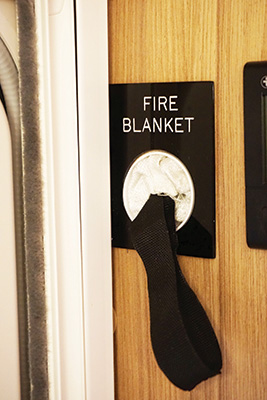
The offcut of black Perspex, clearly labelled ‘Fire Blanket’, was the finishing touch.
1 The fire blanket is supplied in a red bag, but was rolled up and fitted into a piece of white plastic wastepipe.
2 A 50mm holesaw was used to make a hole to accommodate the plastic pipe.
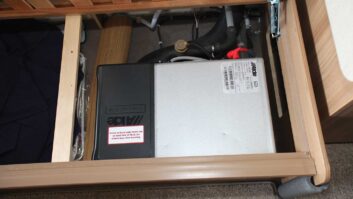
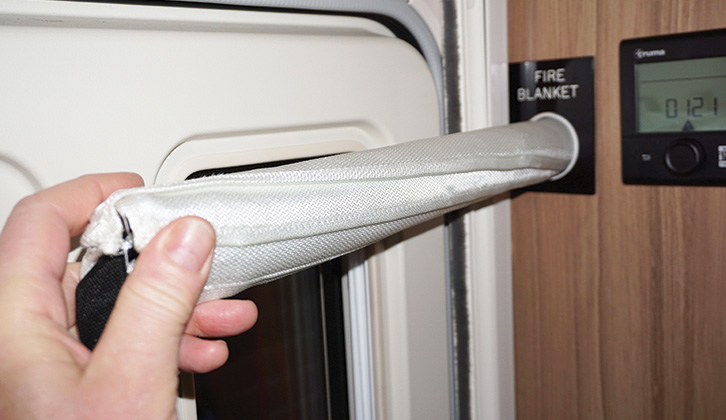
3 Now the fire blanket is easily inserted into, and removed from, its neat new home.
4 The finishing touch was to glue black Perspex trim on the front.
Looking for more great DIY inspiration? Then be sure to head to our Back to Basics – DIY & Maintenance category, where we’re sharing simple projects that could make all the difference when you’re on tour!
Future Publishing Limited, the publisher of practicalmotorhome.com, provides the information in this article in good faith and makes no representation as to its completeness or accuracy. Individuals carrying out the instructions do so at their own risk and must exercise their independent judgement in determining the appropriateness of the advice to their circumstances. Individuals should take appropriate safety precautions and be aware of the risk of electrocution when dealing with electrical products. To the fullest extent permitted by law, neither Future nor its employees or agents shall have any liability in connection with the use of this information. You should check that any van warranty will not be affected before proceeding with DIY projects.
Find out about the various campsites you can head to in our guide to the best motorhome parks, where we reveal our top picks for the places to stay at.
If you’ve enjoyed reading this article, why not get the latest news, reviews and features delivered direct to your door or inbox every month. Take advantage of our brilliant Practical Motorhome magazine SUBSCRIBERS’ OFFER and SIGN UP TO OUR NEWSLETTER for regular weekly updates on all things motorhome related.