


Of all the resources that are carried on board your motorhome, battery power is probably the most vital. Reduced leisure battery power will mean the heating, fridge, water pump and eventually even the lighting malfunction.
All electronic devices – no matter whether they’re AC or DC – rely on a certain voltage to function and if they don’t see it, they might not work correctly. As a result, after investing in the best campervan leisure battery, it pays to keep your it properly topped up at all times.
Increasing demand for power
Batteries have a tough time in motorhomes, having to cope with a combination of deep steady drains over long periods as well as high-output spikes of power from devices such as inverters.
These days, given all of the additional electronic gadgets that are packed into modern motorhomes – everything from coffee machines to electric bike chargers – the humble battery has a lot to do, which means that it’s now more important than ever to consider how best to recharge it.
Consider the time of year
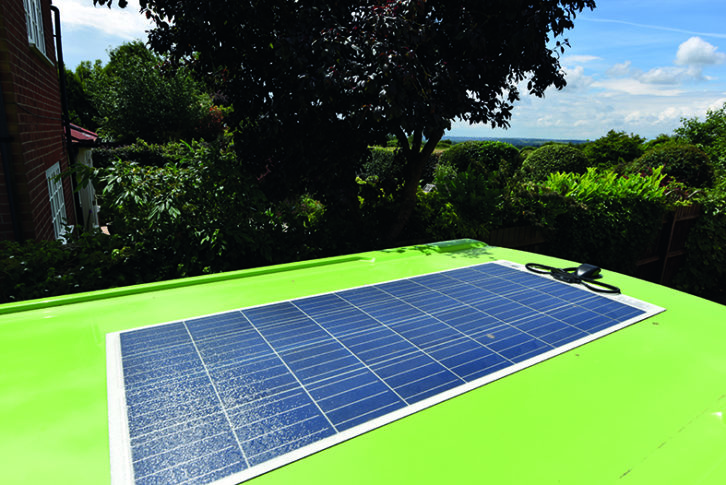
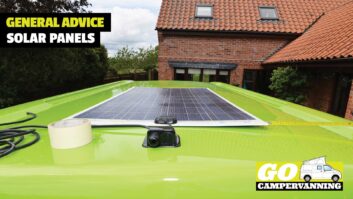
In summer, when you’re using your vehicle, you’ll probably be plugged into a mains hook-up or getting reasonable output from your solar panel. In winter, perhaps when the vehicle is laid up, the solar panel output will be dramatically lower.
This is because the angle of the sun reduces that output and daylight hours are shorter. Cloudy skies can also cut output by as much as 90%. In my own campervan, I’ve seen output from the 150W panel fall to as little as 0.5A in winter; this isn’t really sufficient to keep two 100Ah batteries topped up.
So in periods of winter lay-up, your batteries are going to need a helping hand – and that applies to both leisure and vehicle batteries.
Vehicle battery problems
The battery that starts up your motorhome in the morning has a hard time in the winter months.
These batteries generally live in the engine bay, so they get cold over winter and this reduces their capacity. The amp/hour (Ah) rating on the battery label is usually measured at 25°C. At 0°C it reduces by around 20%, so in effect, your vehicle’s 80Ah battery drops to 64Ah or lower in cold weather.
There are also some constant drains on the vehicle battery – preset radio stations, ECU settings, alarms and tracking devices all nibble away at its capacity.
Engine oil can become more viscous in winter (especially non-synthetic oils in older vehicles), as can the coolant. So as well as having less battery capacity because of the cold and numerous small electrical drains, you then turn the key and demand several hundred amps out of the battery to crank the starter motor. This is why the AA reports that around a quarter of its call-outs from December to February are battery-related.
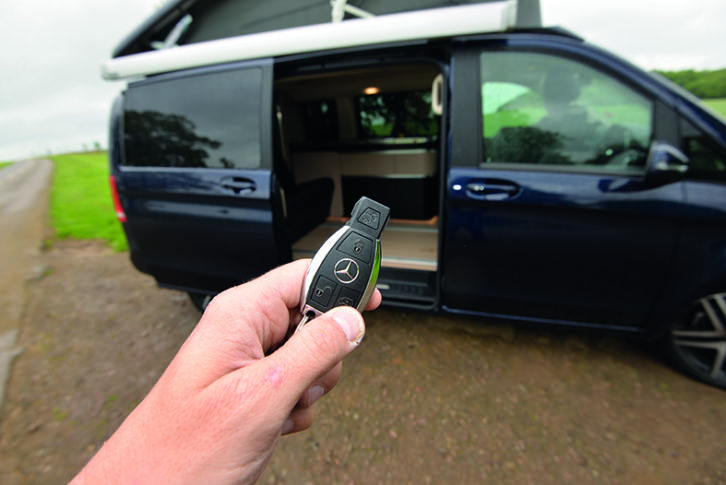
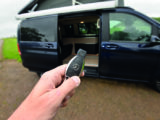
Another thing that people might not realise is how modern vehicles work. If your motorhome has a remote key fob, as soon as you ‘plip’ it to unlock the vehicle, it will wake up the ECU and get the ‘van into a ready-to-run state.
All of this takes power out of the vehicle battery, so if you regularly go in and out of the ‘van without starting it up, you’ll accelerate the battery drain.
Once you start up your vehicle, of course, the alternator is switched on and this will generate electricity to power all of the motorhome’s devices, as well as keeping the vehicle battery topped up.
Some owners (wisely) fit a battery-to-battery charger, which diverts excess power into the ‘van’s leisure batteries. These are far more efficient than voltage-sensing relays and the old-fashioned split-charge relays, and can recharge a leisure battery rapidly at between 20A and 60A.
However, for your engine battery to be fully topped up, as well as the leisure batteries, you will need to travel further than the local shops. A journey of less than 10 miles with the lights and heater on in winter doesn’t really put much charge back into the batteries, so your vehicle might still need an energy top-up.
Some people disconnect the vehicle battery over winter or add a battery isolator switch, but this isn’t a good idea if your vehicle has an alarm or tracker fitted – many insurers insist on these devices remaining powered up in winter, and this could invalidate your insurance in the event of a claim.
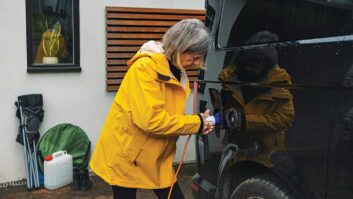
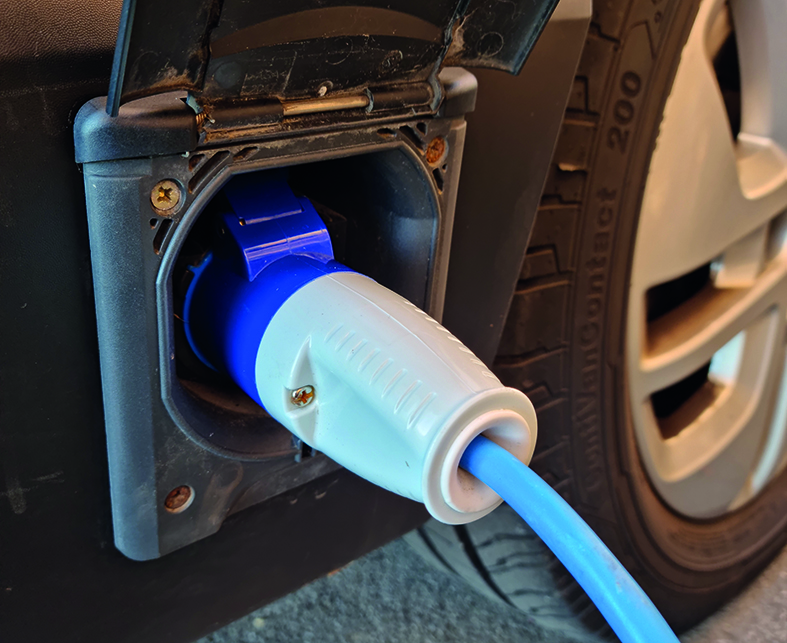
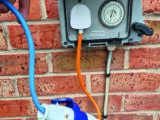
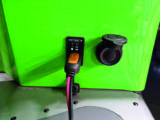
Add an exterior waterproof socket
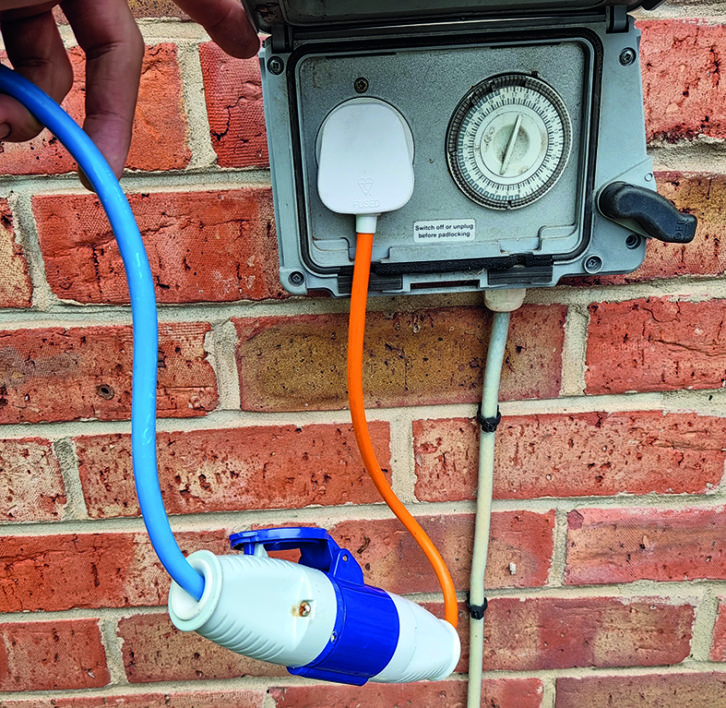
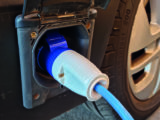
To keep your vehicle powered up over winter, it’s wise to have an external power socket fitted outside your home. While you can fit a campsite-style blue plug outlet, it gives you more options if you use a regular three-pin domestic socket. From power washers to holiday lighting, a waterproof external socket has multiple benefits.
You can get waterproof exterior sockets from all major DIY stores for under £30, and it’s not expensive to have them wired into a domestic ring main or added via a fused spur.
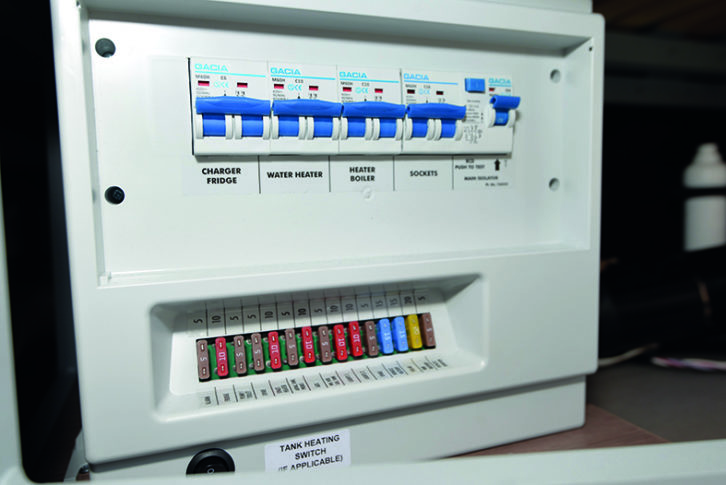
Does your ‘van have a battery conditioner?
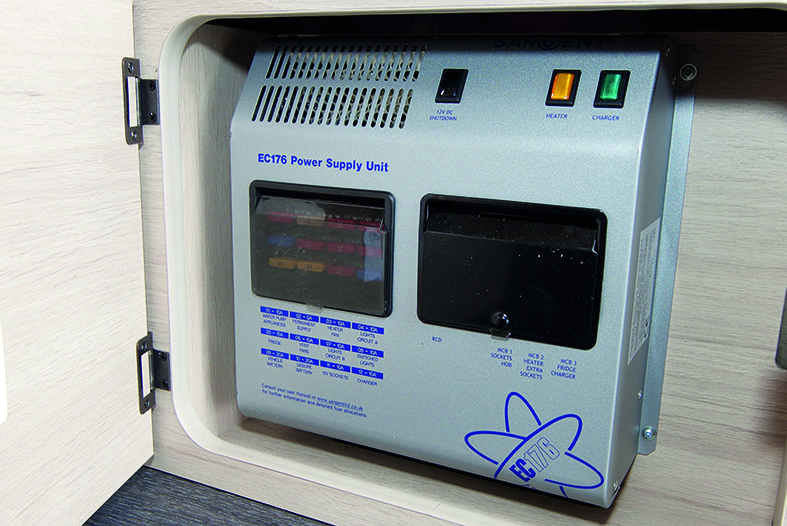
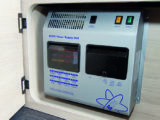
Some modern motorhome charging systems are quite sophisticated and have a battery-conditioning circuit built into them.
In this case, it’s simple over winter: just keep your motorhome plugged into a mains hook-up and the onboard electronics will monitor battery health and keep them at the perfect voltage.
However, many motorhomes, especially older vehicles, tend to have a basic charger that simply puts voltage into the battery at a set rate and then switches off when it’s full. These work very well on campsites, where you tend to be draining the batteries down and they need constant topping up, but it isn’t always the best for the long-term health of the batteries.
Having said that, this is, of course, far better than allowing your batteries to run flat.
Plugging batteries into the mains for a few weeks at a time is fine, but for several months at a time, a battery conditioner works best.
Do you have a starter battery charger?
Not all motorhome leisure battery chargers have an additional charging circuit for the vehicle batteries. Most simply take charge from the battery when the engine is on and few put charge back into the vehicle battery.
Some do have a switch on the charging system that allows you to switch to the vehicle battery to recharge it, but the danger with manual switches is that if you forget to switch back to the leisure battery setting in spring, you can unintentionally flatten the vehicle battery.
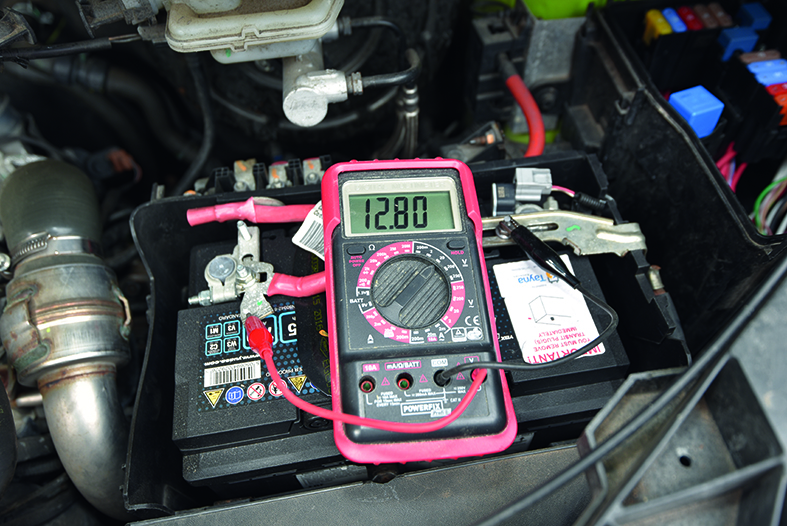
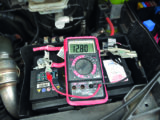
To check whether your motorhome has a charging circuit for the vehicle battery, simply plug in your hook-up cable and measure the battery voltage across your starter battery with a multimeter. if the voltage doesn’t increase when you’re plugged into the mains, you don’t have a charging circuit to the vehicle battery.
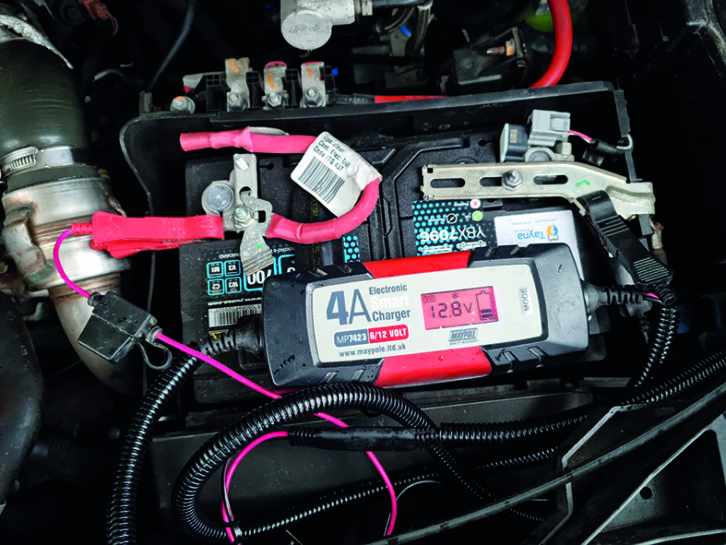
If your vehicle battery isn’t charged from your motorhome charger, there are a number of things you can do. You can add a mains-powered battery conditioner to it, or add an automatic charging device to your vehicle.
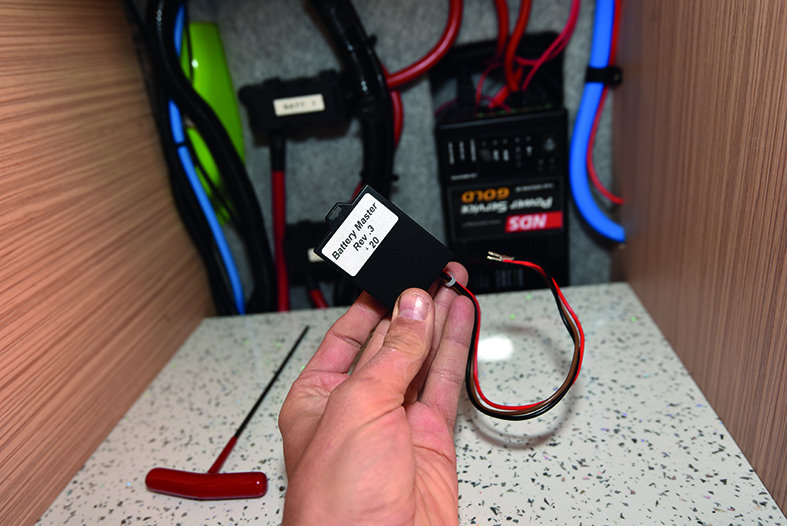
These devices – such as the Van Bitz Battery Master and the Sterling Battery Maintainer – simply transfer a small amount of charge (usually 1A-3A) from the leisure batteries to the vehicle battery. They can’t draw any power from the vehicle battery, only top it up.
The beauty of this arrangement is that no matter how the leisure battery is being charged – from the mains, a solar panel or a generator – they will divert any excess power into the vehicle battery. They work well with battery conditioners, too.
What does a battery conditioner do?
Batteries hate going flat, and anything below 12V is considered to be flat, while anything above 12.6V is generally considered to be fully charged (13V for AGM). So they operate in quite a narrow voltage window. If you regularly dip below this window to, say, 11.5V, which is considered fully discharged, your battery’s lifespan will be reduced. All batteries are rated in terms of the number of cycles they can be recharged from flat.
A basic motorhome battery charger will simply charge the battery at a constant rate – often around 20A – until its built-in voltage meter sees that the voltage is at 12.7V, or whichever cut-off point the manufacturer has built in. An AGM battery will be higher (12.8V-13V), which is why it is important to select the correct battery type if your charger is fitted with a manual switch.
The problem with on/off fixed-rate charging over the long term is that it isn’t always what the battery needs. Sometimes it could require a trickle charge and at other times, it might need a pulsing charge (of varying voltage and current) to help remove the sulphate from its lead plates and restore its capacity.
Modern ‘smart’ battery conditioners can provide as many as eight styles of charging to keep your batteries in tip-top condition, and the best ones even come with a temperature-sensing problem, so they can monitor the batteries’ temperature and tailor their charging regimes more precisely.
These are very clever bits of kit and far more sophisticated than the chargers found in many motorhomes (especially older ones). They can even help recondition damaged batteries and are designed to be permanently plugged into a battery.
They undoubtedly aid battery longevity, and a good battery conditioner can be transferred from vehicle to vehicle and will soon pay for itself.
My previous kit car was still sporting its original AGM battery, which was well over 10 years old and still held charge efficiently. If you’ve ever had a failure in a motorhome battery that was less than three years old, you need to take a good look at your charging methods.
Buying a battery conditioner

If you’re specifying a motorhome from new, it’s worth having a battery-to-battery charger and a charging system with conditioning circuits built in for both leisure and vehicle batteries.
This makes life easy – in summer, the solar panel will keep everything topped up and in winter, you can simply plug into the mains and then not worry about a thing until spring.
However, most motorhomes tend to have pretty basic chargers and need a helping hand over winter and this is where a plug-in battery conditioner can help. There’s a wide range of these on the market, at prices to suit all pockets, and the key thing to look for is one that suits your battery types.
Ideally, you want to choose a model that can switch between lead-acid and AGM batteries – which is what the majority of motorhomes use – with a variety of charging settings.
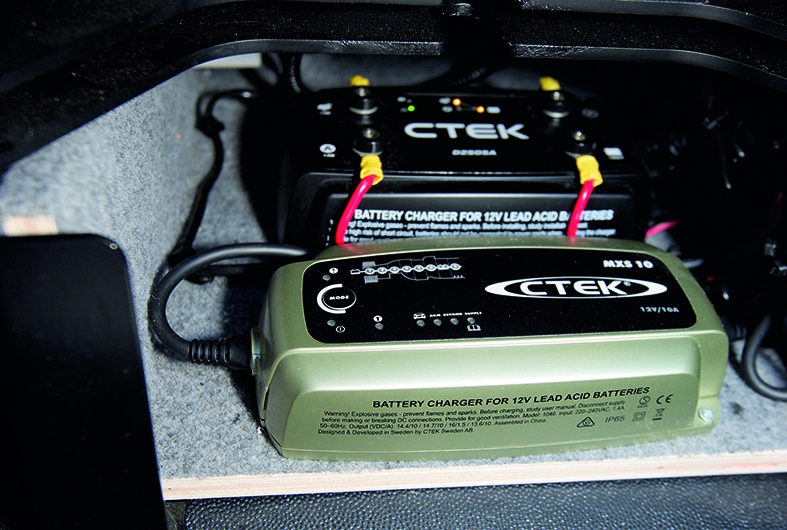
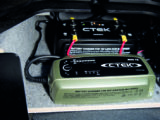
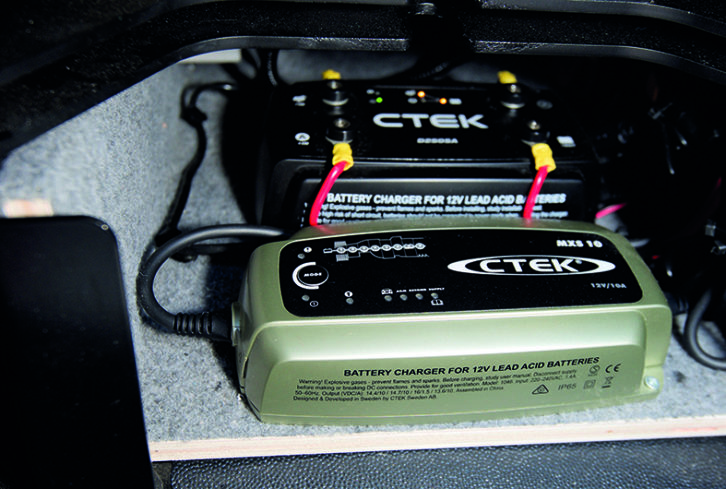
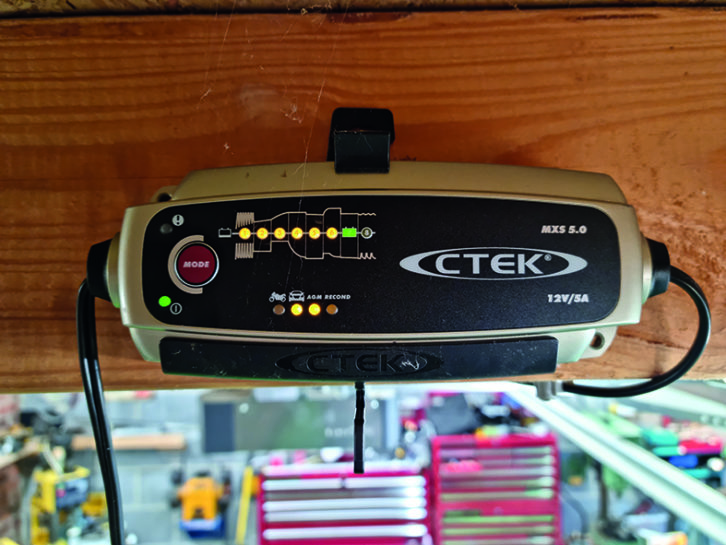
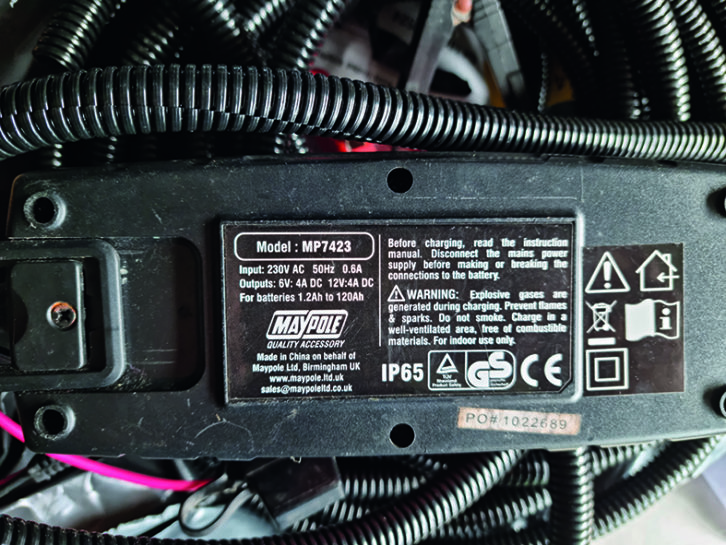
It’s worth buying a good-quality conditioner, or a couple of them, if you have several other vehicles. For example. I also have a kit car with an AGM battery that is permanently plugged into a Ctek charger, and an old grey Fergie tractor with a lead-acid battery that is kept connected up to a Maypole charger.

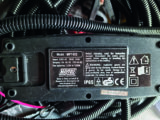
Ctek offers one of the widest ranges of battery conditioners and they are an excellent place to start if you want a fully automatic fit-and-forget model. Most are IP65 rated, too.
With any battery conditioner, the key is to ensure it is powerful enough to recharge the batteries you have. For one battery of around 100Ah, a 5A battery charger will be fine, while for larger battery banks, such as a 300Ah set-up, you need at least 10A.

A more powerful battery conditioner can recharge batteries faster and might have additional functions, such as battery recovery modes.
With any battery charger, buy from a well-known UK retailer and be sure that it carries CE or TUV markings. It’s best not to buy online direct from China – this could be used by suppliers to bypass UK and European safety testing. It might pass CE safety testing, it might not. It’s a lottery.
Got lithium iron batteries?
If you’re one of the lucky few with lithium iron phosphate (LiFePo4) leisure batteries, the charging regimes are different and are often built into the battery’s electronics, so you’ll need to refer to the manufacturer’s suggestions.
Some can be recharged with a conditioner, and Ctek offers the Lithium XS for this purpose – but check the battery manufacturer approves its use.
Safety tips
Leisure batteries can give off gas when they are charging, so if you’re adding a charger to your leisure batteries, make sure the vent tubes are connected to each battery and vent externally.
This is important – lead-acid batteries can emit hydrogen sulfide gas when they are being charged and this is highly explosive (as well as smelling very unpleasantly like rotten eggs).
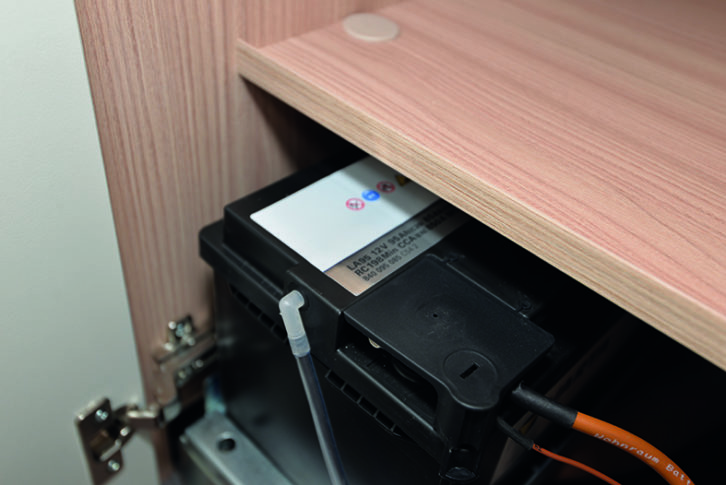
All good motorhome manufacturers will do this with lead-acid batteries. Some maintenance-free batteries do not have vents, and AGM and lithium iron batteries do not need them.
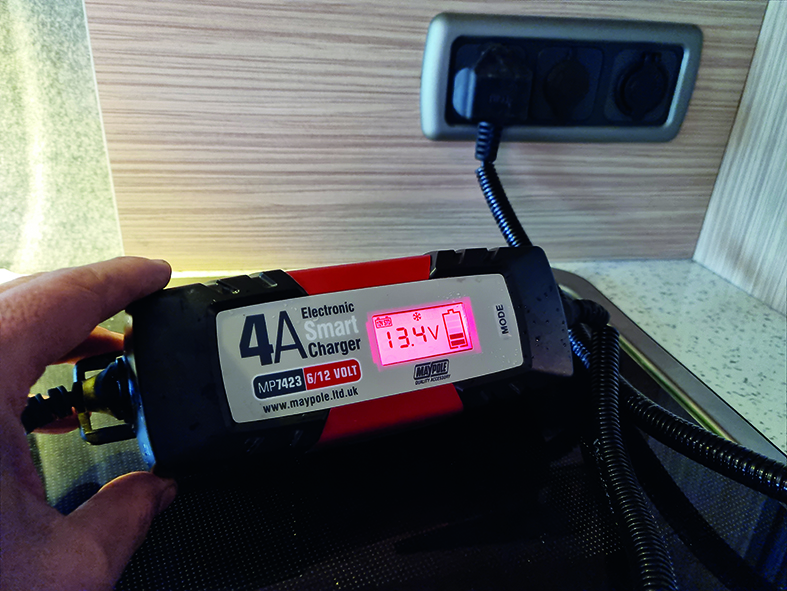
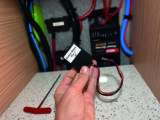
No matter which battery conditioner you use, it’s wise to power it from a socket inside your ‘van (switch off the vehicles regular charger or remove the fuse, to avoid it double-charging). An inside socket will keep the charger protected from adverse weather and this is usually the best place for it.
You can use chargers outside if they’re IP rated. The first digit of the IP rating is how dust-tight the item is – with six being the highest – while the last digit indicates its water-ingress resistance. You’ll need a charger that is rated above four for outside use – IP65 or higher is better.
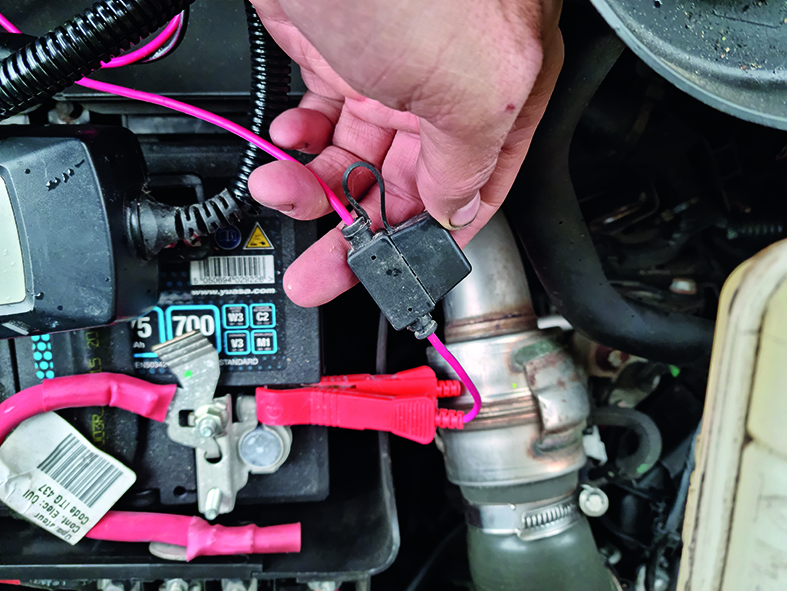
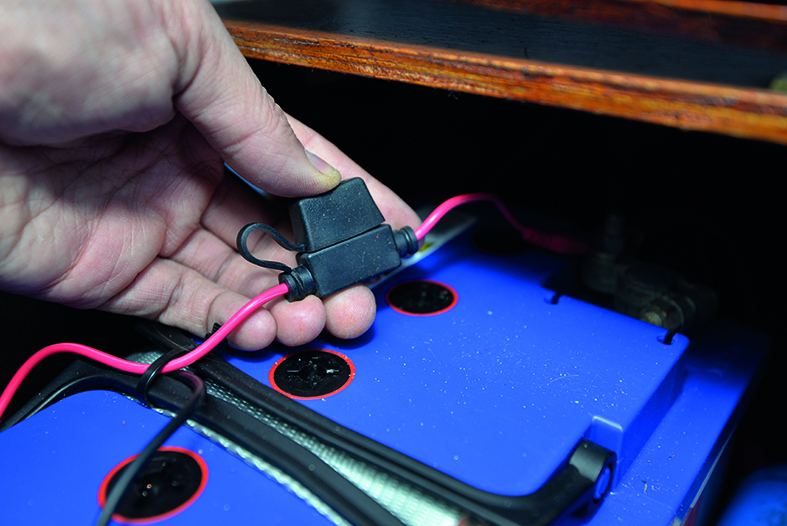
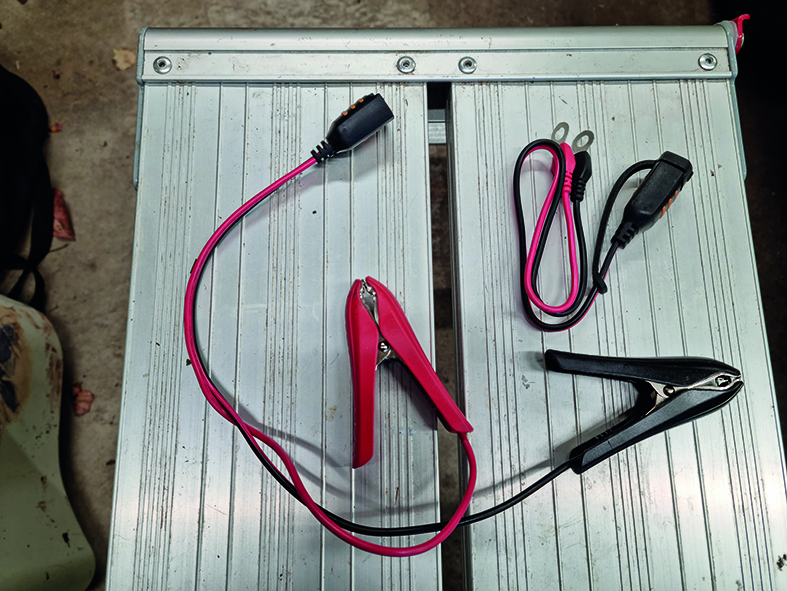
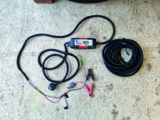
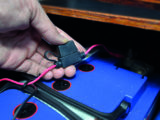
The leads to the battery charger must be fused for long-term use (many supplied with crocodile clips are not) and if one is not supplied, you must add a fuse to the charging circuit.
This can be on either the negative or the positive lead, but it is more common on the red positive wire. This protects the leads between the battery terminals and charger from catching fire in the event of a short. Ideally, you want sparkless fuses in a waterproof cover, for example, from Halfords.
It’s better to use the bolt-on eyelets supplied in the box with many battery conditioners. These are designed for long-term use of months or years and tend to have fuses built in. You can get these in versions that can be panel-mounted and in various devices – pick the style that will be easiest and neatest to site in your motorhome.
Some feature built-in LEDs to indicate the battery voltage, but these are generally best viewed as a rough guide. Multimeters are better.
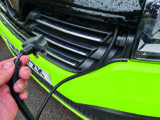
If the battery leads have to run outside the vehicle to reach the engine bay, it’s a good idea to protect them from UV with some conduit – split tubing is easiest to fit and cheaply available online. Make sure cabling is kept clear of walkways, so it’s not a trip hazard, and any contractors are aware of it. It’s all too easy to chop through a cable with a spade.
On most ‘vans, you can run cables through the cab doors and under the bonnet, but take care not to pinch the cables in the doors or bonnet openings. It’s better to add a battery-charging socket for long-term use inside the cab.
It’s also a good idea to leave a reminder on the steering wheel that the charger and mains cable are connected, to avoid the embarrassment and damage caused by driving off with them still connected. Just don’t ask me how I know this….
If you liked this… READ THESE:
Best motorhome TV: our top picks
If you’ve enjoyed reading this article, why not get the latest news, reviews and features delivered direct to your door or inbox every month. Take advantage of our brilliant Practical Motorhome magazine SUBSCRIBERS’ OFFER and SIGN UP TO OUR NEWSLETTER for regular weekly updates on all things motorhome related.
Future Publishing Limited, the publisher of practicalmotorhome.com, provides the information in this article in good faith and makes no representation as to its completeness or accuracy. Individuals carrying out the instructions do so at their own risk and must exercise their independent judgement in determining the appropriateness of the advice to their circumstances. Individuals should take appropriate safety precautions and be aware of the risk of electrocution when dealing with electrical products. To the fullest extent permitted by law, neither Future nor its employees or agents shall have any liability in connection with the use of this information. You should check that any van warranty will not be affected before proceeding with DIY projects.
No matter which battery conditioner you use, it's wise to power it from a socket inside your motorhome. An inside socket will keep the charger protected from adverse weather