


Having Wi-Fi in a motorhome may not seem like the most pressing of DIY jobs, but having access to the internet when we were on the road made sense for us.
We work full-time and are hybrid workers, so having the freedom to finish our working weeks at a campsite was an attractive prospect. However, to do this, we’d need reliable access to the internet in a motorhome.
Of course, you could opt to tether to your phone, but for those who need a more reliable connection, a dedicated mobile SIM card and a router makes sense as a motorhome upgrade.
This type of setup gives you the flexibility to pick the network provider who will have the best coverage in the area you’re visiting. It also gives you the freedom to connect your laptop and tablet to the internet and stream television on the best motorhome TV or campervan projector without draining your battery and mobile data.
Setting up a wireless router in your motorhome is surprisingly simple and in fact, there’s no need to make this a permanent installation if you prefer to have a flexible option.
In our case, though, we did want a fixed set-up. Campsites often have patchy mobile signals, but a dedicated router with a SIM card is much better at picking up reception than a phone.
If you go for a router with an external antenna, you stand a very good chance of getting a signal even in areas where your phone struggles.
Then, after connecting, you will have a Wi-Fi network to use as you see fit. Here’s how we went about setting up our motorhome Wi-Fi.
Practical Motorhome is supported by its audience. When you purchase through links on our site, we may earn an affiliate commission. Learn more
Why to choose a router for a motorhome
The main advantage of a dedicated router over phone data is flexibility. For instance, if you’ve decided between the ferry or Eurotunnel and are travelling in Europe and the kids want to use their iPads, rather than racking up hefty roaming fees, you can pick up a local pay-as-you-go SIM with prepaid data and let them browse away to their heart’s content.
For us, it’s particularly useful at rural music festivals, where often, only one network has data coverage. A little research before setting off means we can grab a SIM for the right network and stay connected, whether that’s for work, catching up with family, or just streaming tunes.
Choosing the Wi-Fi router
Many SIM card routers are low-power devices that use mains power, but actually run at 12V, so can be powered by the best campervan leisure battery.
It’s all too easy to spend a great deal of money on mobile Wi-Fi set-ups, but we wanted something simple that could improve our chances of getting a signal, while allowing us to switch networks as and when needed.
A search on eBay revealed dozens of MiFi devices – small, portable routers that connect multiple devices to the internet through a mobile network – but we wanted a 4G-compatible model that could support an external antenna and provide better reception when we were staying in remote locations.
Another key requirement was that the modem needed to run off the ’van’s leisure battery, so checking its voltage compatibility was essential.
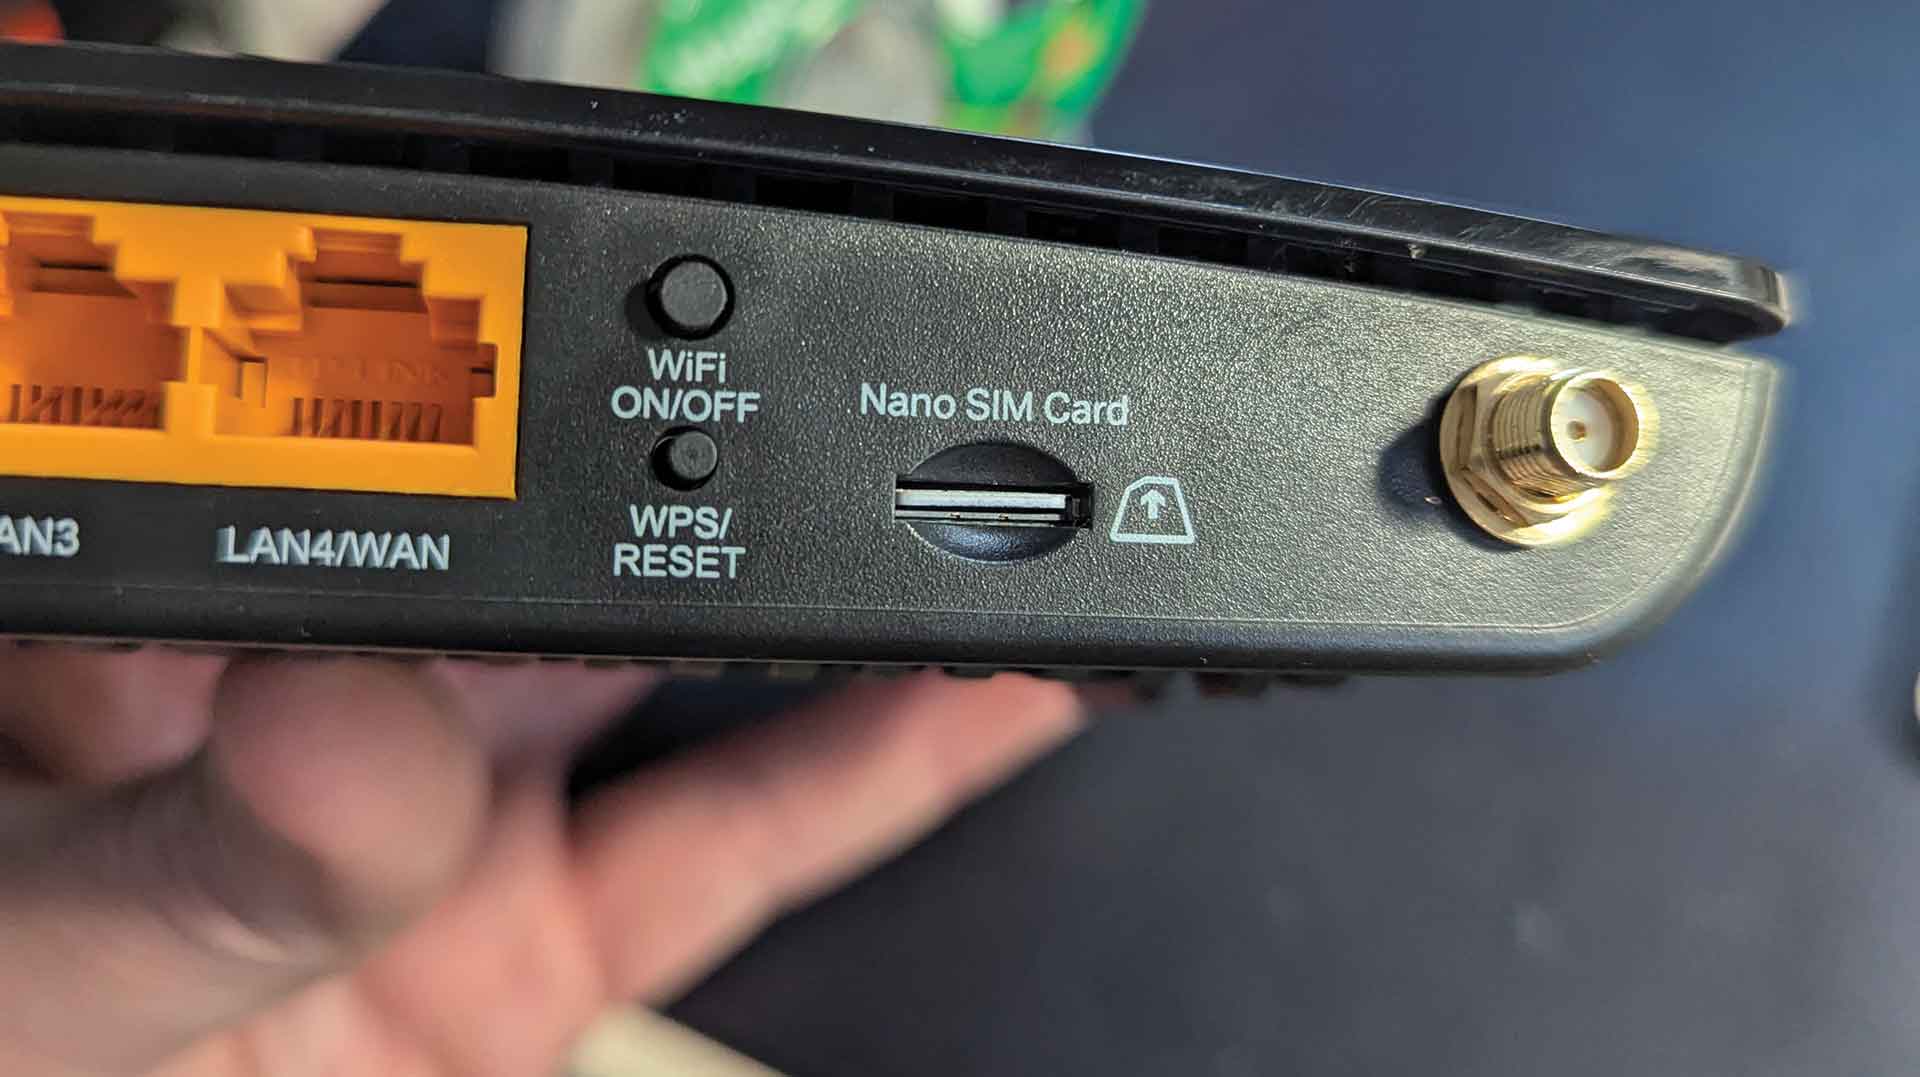
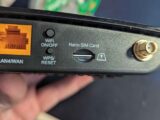
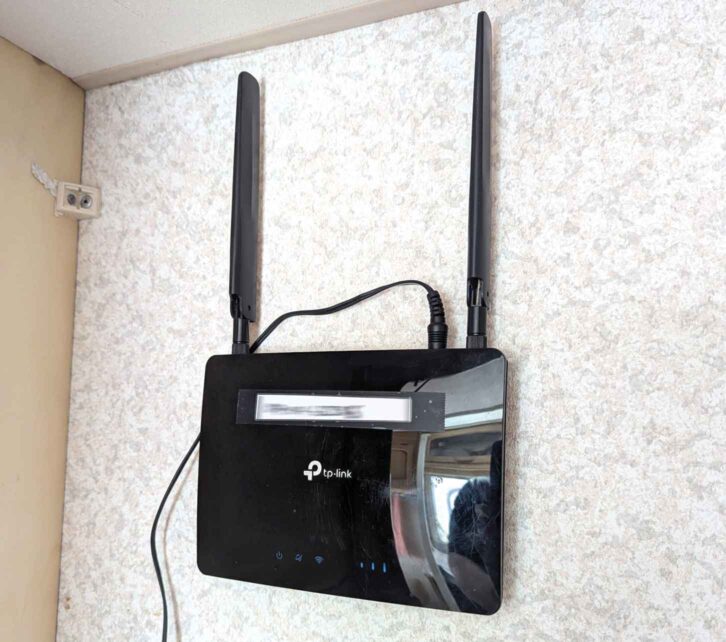
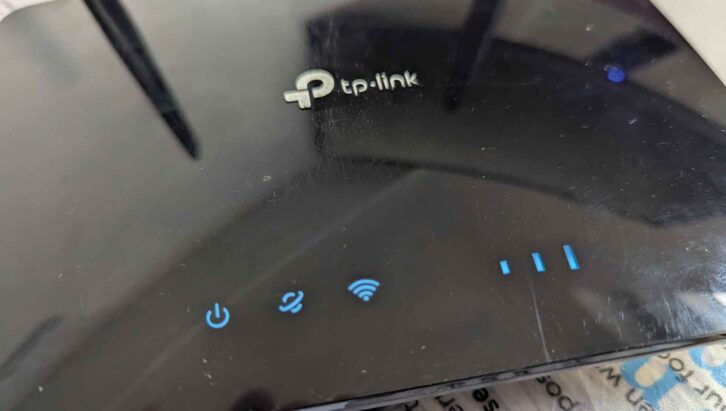
After some research, the TP-Link MR6400 stood out as a good choice. This 4G router is widely available, has twin external aerial sockets, operates on a 9V power supply and takes a standard nano SIM card.
It uses 4G LTE technology, which will provide a solid data connection wherever coverage is available.
Installing the modem does require a little forward planning, but it’s no more complicated than any other 12V project. The modem needs a power supply and must be placed away from microwaves or other electronics, to avoid any interference.
Mounting it higher up also tends to improve reception. While we’re not installing an external antenna just yet, we’ve chosen a location with space above, which will allow us to upgrade later if we decide that’s needed.
Although some devices can tolerate running at 12V, doing so could cause them to overheat and fail. To avoid this risk, we decided to buy a DC-to-DC voltage stabiliser, which steps the 12V leisure battery output down to the router’s preferred 9V.
The stabilisers are cheap and readily available online. They are fit and forget components, so we also bought a small enclosure to house ours out of the way.
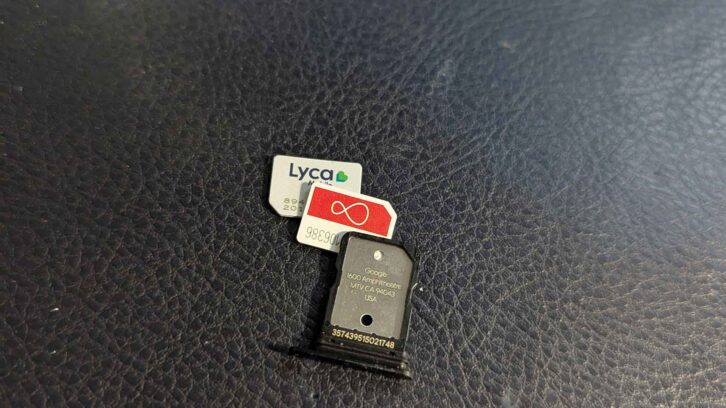
The final thing you’ll need is a SIM card. With so many companies offering cheap data plans, there’s no need to spend a fortune. We chose a rolling monthly data SIM that costs £2.50 for the first few months, rising to £5 thereafter for 10GB of data per month. There’s no contract, so we can cancel it at any time if we’re not using it.
The SIM card uses the EE network, which neither of our phones do, so hopefully, we’ll get a good connection for streaming Spotify wherever we are.
Setting the router up
There were two stages of the installation progress. Firstly, assembling the wiring on the workbench, and secondly, fitting it.
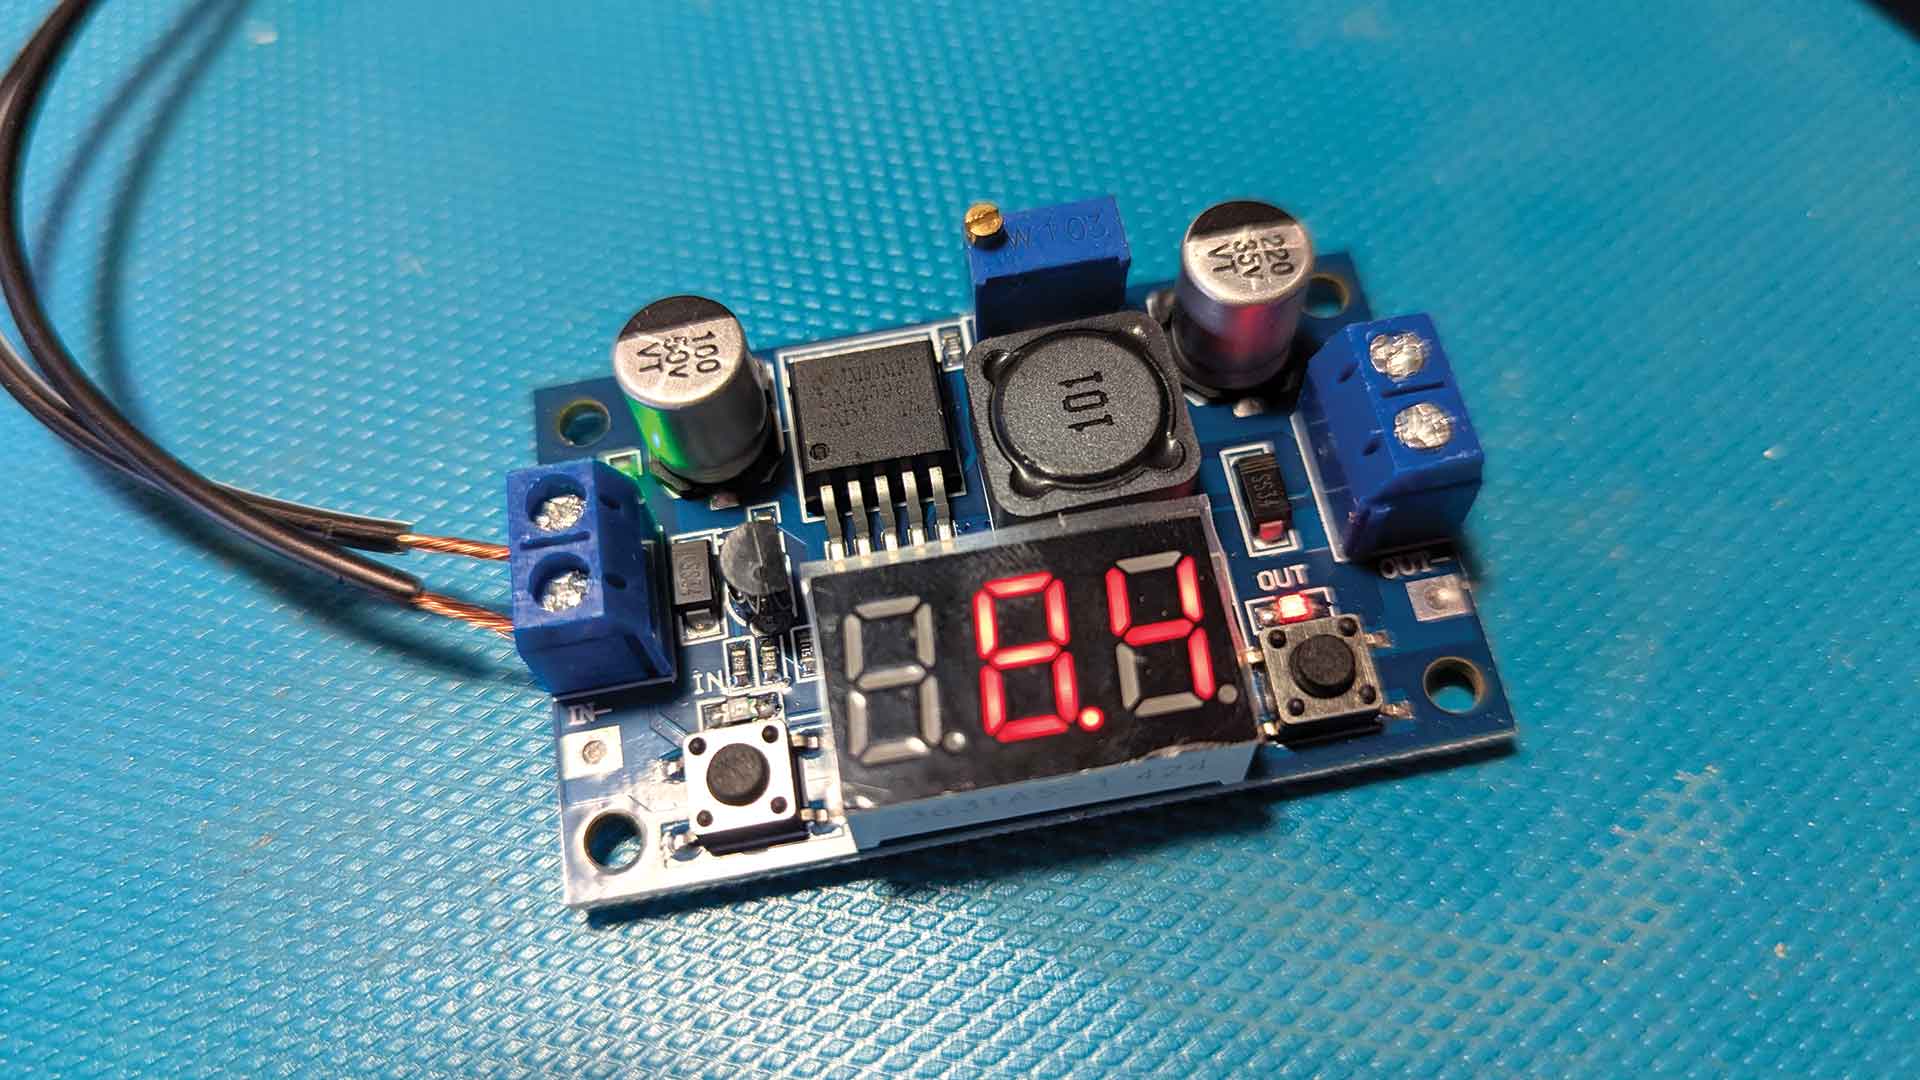
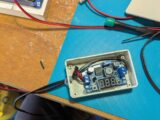
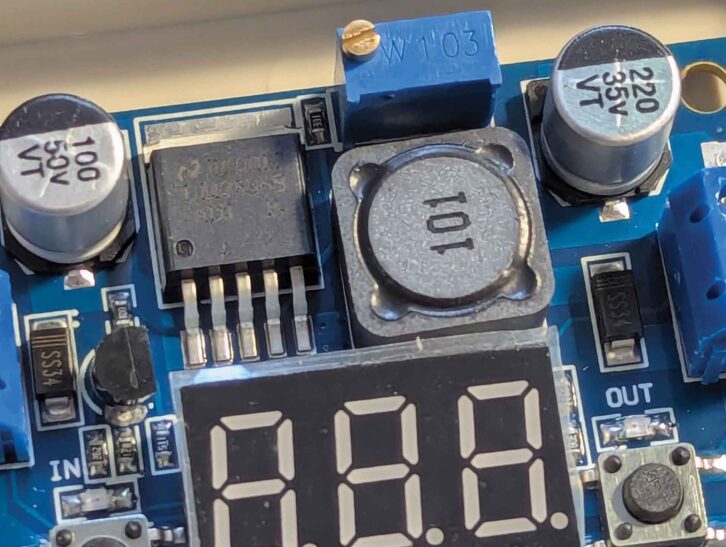
We needed to step the voltage down from 12V to 9V. We tracked down an adjustable DC-DC voltage module on Amazon for £8 for a pack of two – always handy for future projects! We also bought a plastic enclosure to house the module once it had been configured
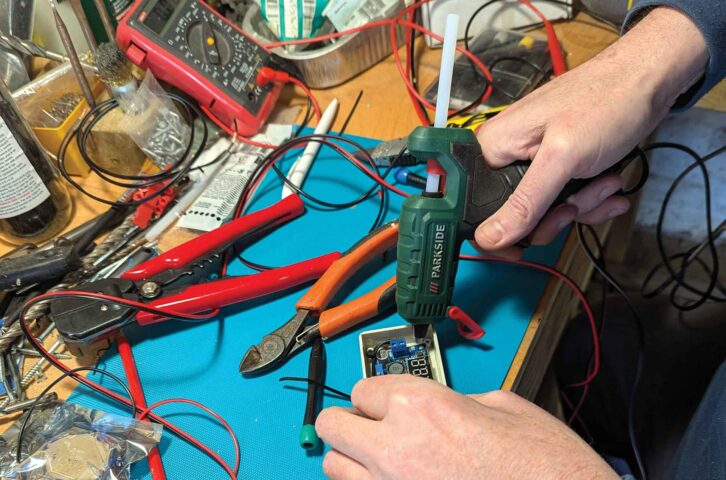
The instructions provided were pretty terrible, but thankfully, some Amazon reviewers had shared helpful guidance. The module allows voltage adjustment via a small screw or buttons, with a display showing the output voltage.
However, we found the display was unreliable – when it was reading 8V, our multimeter showed 11V. Using the screw adjuster rather than the buttons gave us a more accurate result.
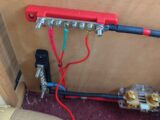
Once we had obtained the correct voltage, we attached the cables to the module, fed them through a freshly drilled hole in the enclosure, and secured the module using a hot glue gun, to prevent rattling on the road.
With the module ready, we then routed the power cables – one to the 12V supply and the other to the router’s power plug. We connected the power supply to existing busbars, using an inline fuse for protection. This isn’t the tidiest set-up as it stands, but we’re already planning a future project that will neaten things up.
The router requires a 5.5mm power plug. Rather than cutting off the one on the mains adaptor, we decided to buy a plug and cable for £4 on eBay.
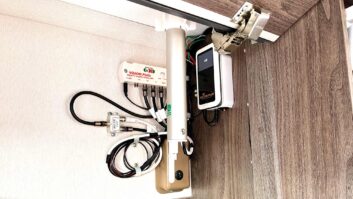
This was connected to the voltage module’s output, with enough length to reach the router, which we mounted high up inside the wardrobe using a couple of screws and a strip of Velcro for additional support.
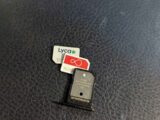
With everything wired up, it was now time to pop in the SIM card and power up the router. We had chosen a Lebara SIM on a discounted £2.50 per month plan. Although this only includes 5GB of data, it can be topped up when needed.
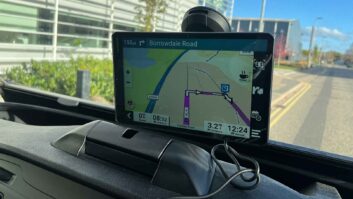
We created a Wi-Fi network, and a speed test showed that we had 10Mbps download, which is more than enough for streaming music or even a bit of Netflix on a rainy evening.
Lead image: Getty Images
Future Publishing Limited, the publisher of Practical Motorhome, provides the information in this article in good faith and makes no representation as to its completeness or accuracy. Individuals carrying out the instructions do so at their own risk and must exercise their independent judgement in determining the appropriateness of the advice to their circumstances. Individuals should take appropriate safety precautions and be aware of the risk of electrocution when dealing with electrical products. To the fullest extent permitted by law, neither Future nor its employees or agents shall have any liability in connection with the use of this information. Double check any warranty is not affected before proceeding.
If you’ve enjoyed reading this article, why not get the latest news, reviews and features delivered direct to your door or inbox every month. Take advantage of our brilliant Practical Motorhome magazine SUBSCRIBERS’ OFFER and SIGN UP TO OUR NEWSLETTER for regular weekly updates on all things caravan related.