


Have you ever taken your motorhome out of storage to find that it is covered in green algae, black smears, bird deposits and leaves?
Perhaps there’s a dull tone to the paintwork.
This is a good time to give your ’van a thorough wash and polish, ready for your next tour.
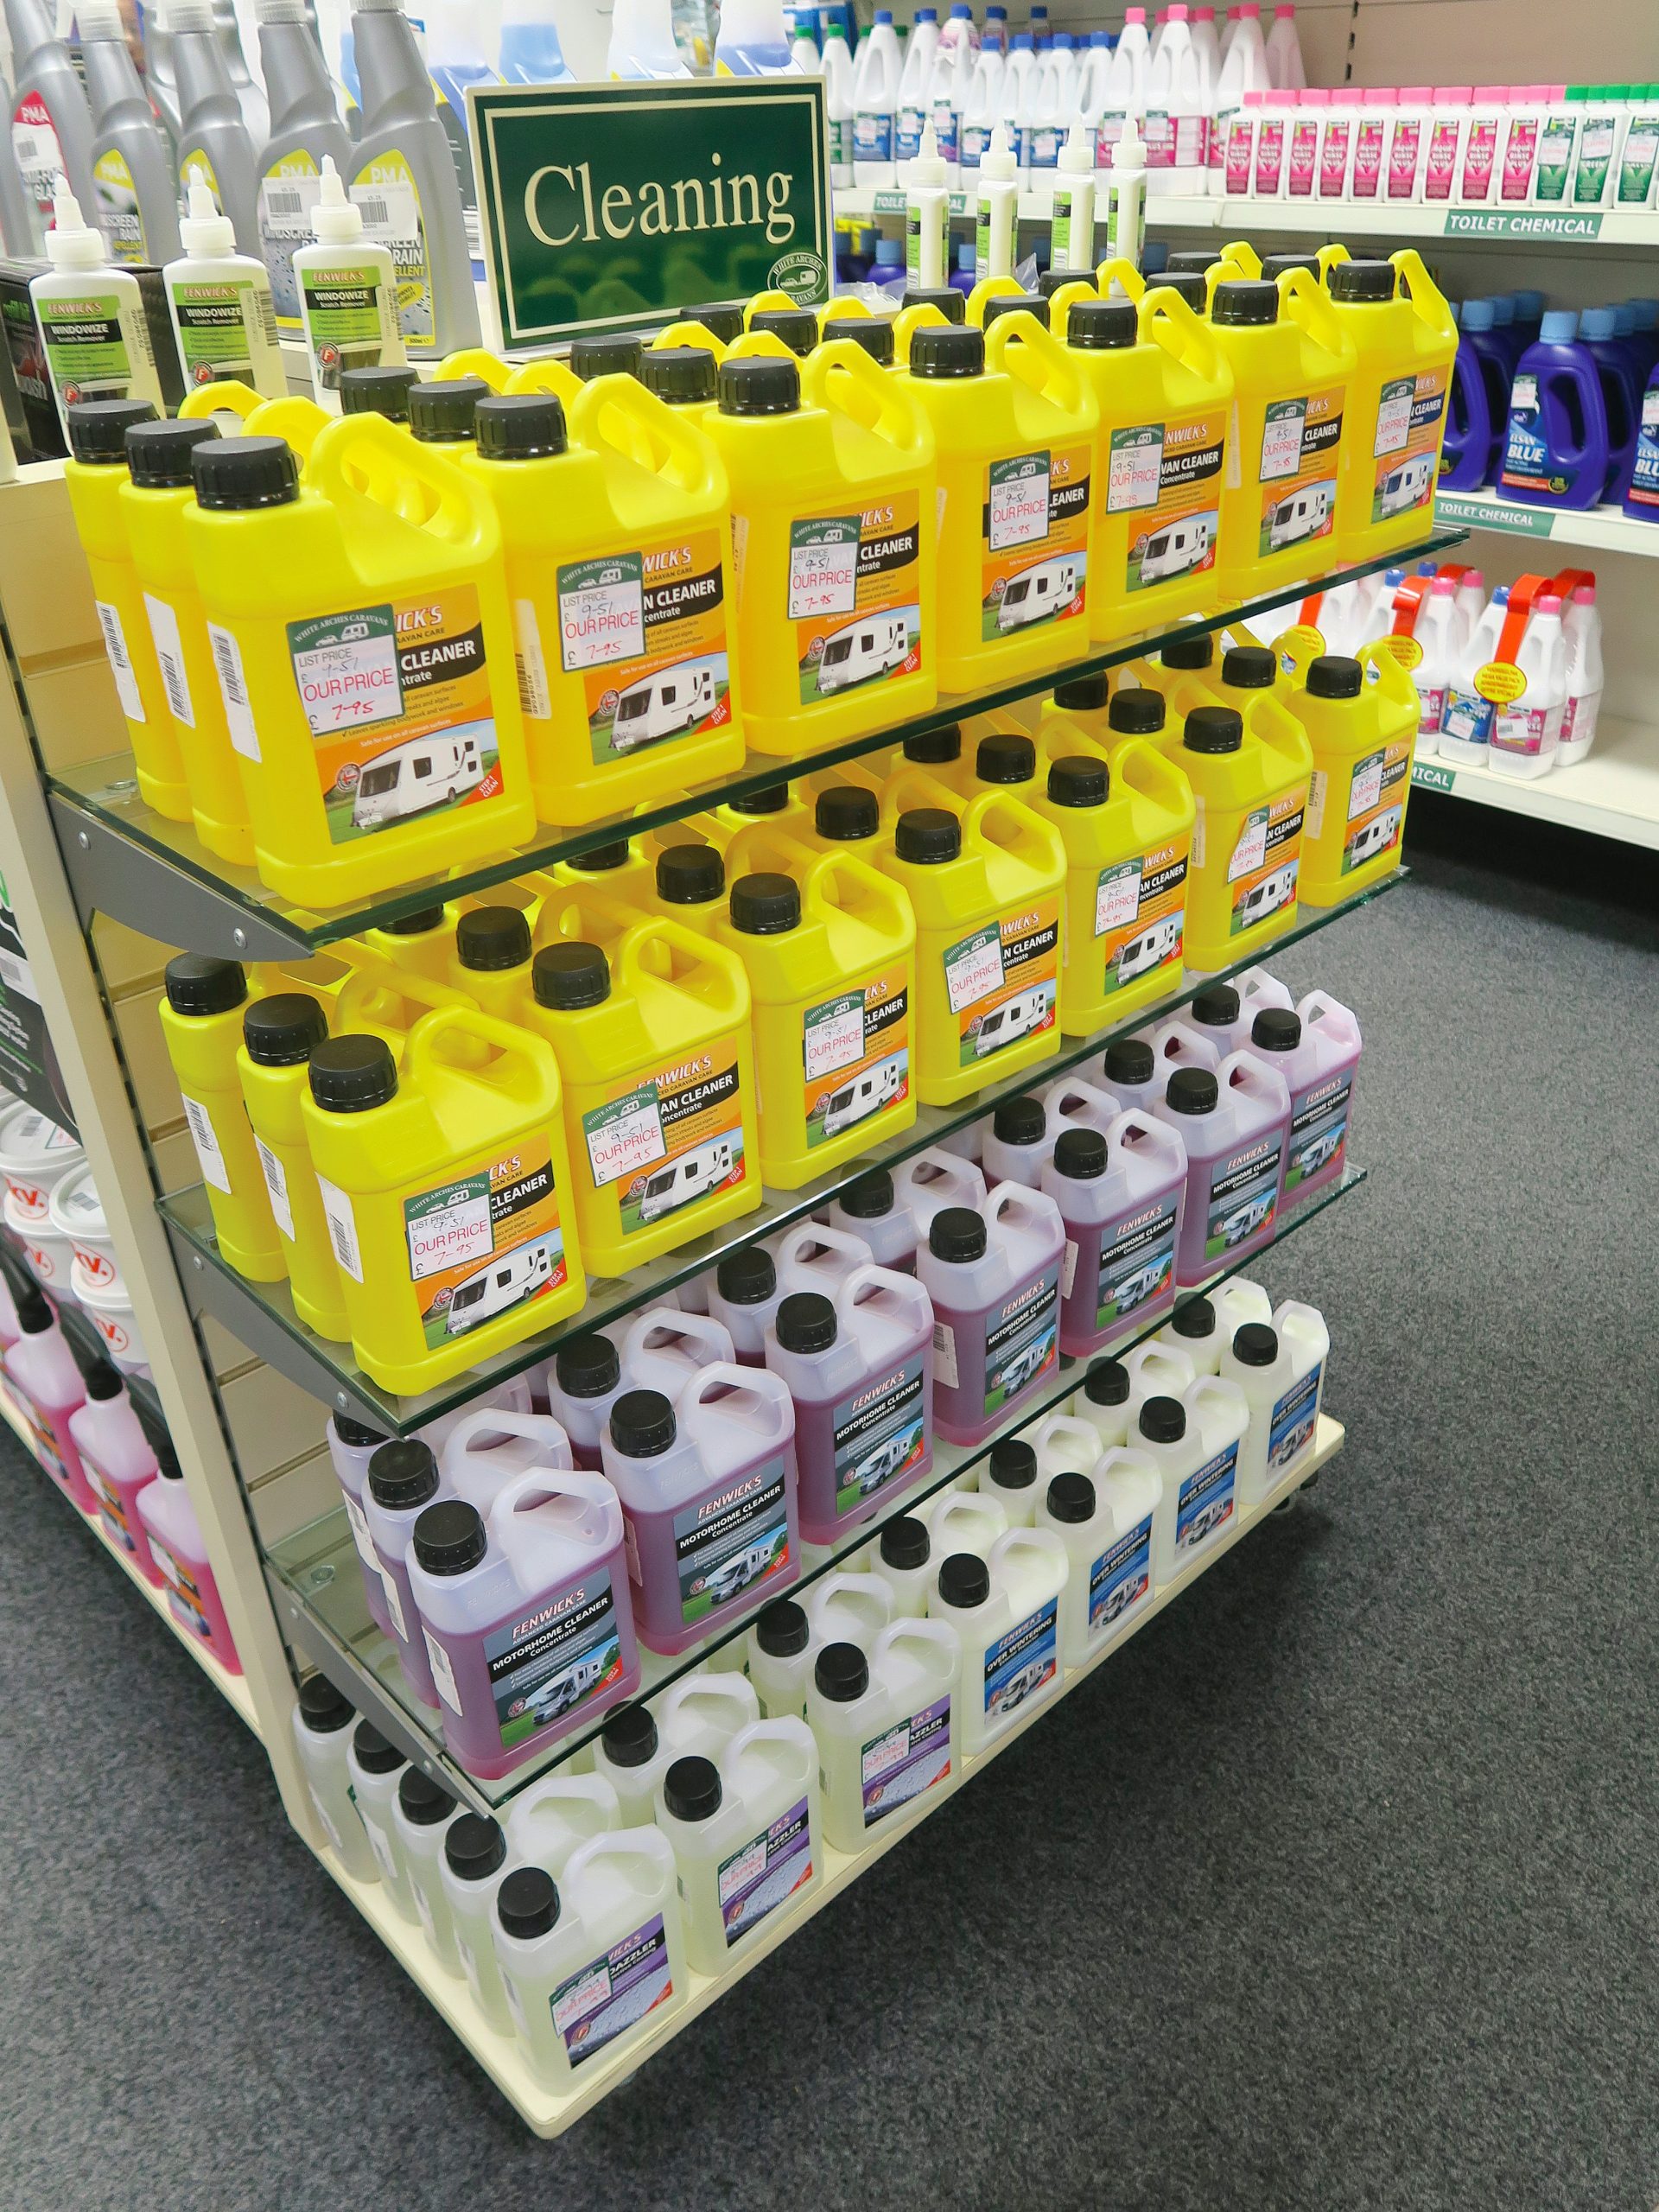
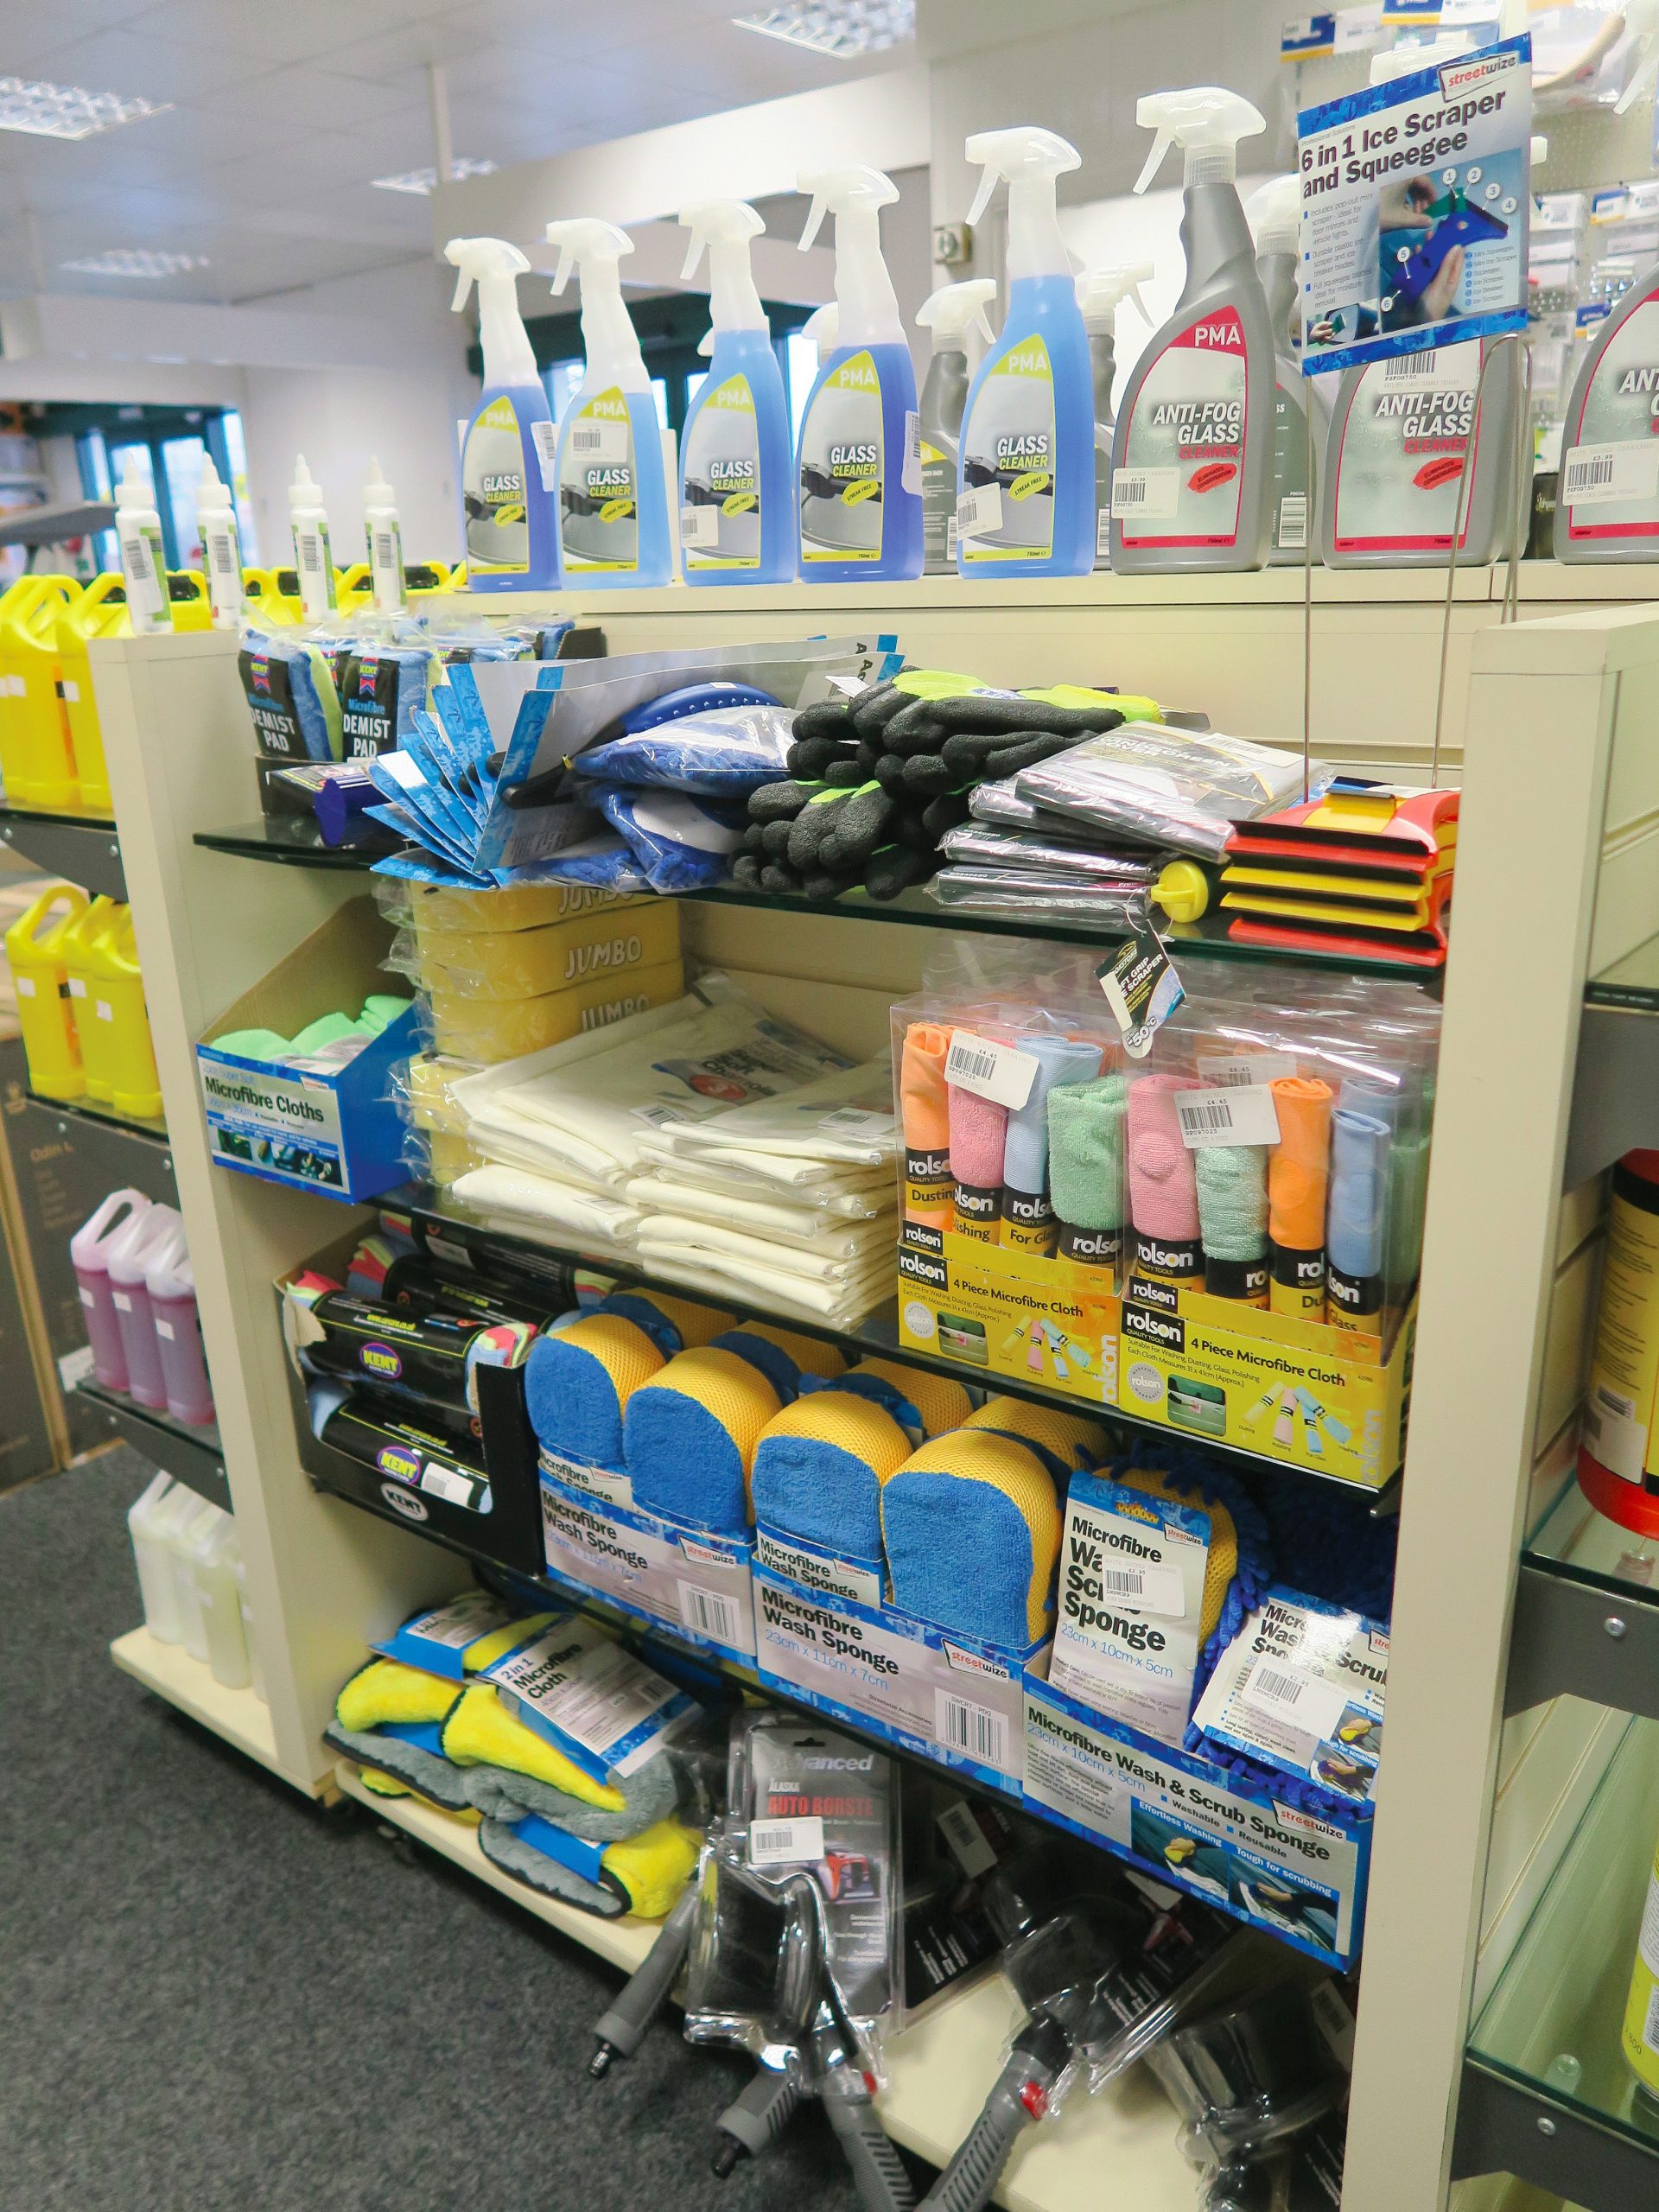
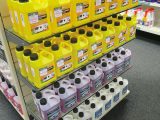
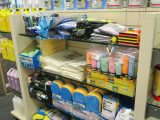
There are many valeting products to choose from – Autoglym, Fenwick’s, Care-avan and Muc-Off, to name but a few – so it comes down to personal preference when choosing which to buy. If you are unsure, visit a national show and speak to the experts.
For this article, a ’van was brought in to Autoglym’s Training Academy, to show the stages of a professional clean using Autoglym products.
Follow the instructions on the packaging for other cleaning agents.
Stage 1: Prepare
It really is all in the preparation.
Begin by positioning your motorhome so there is room to walk around it.
Ideally, the front should be lower than the rear (or vice versa), to allow water to run off more easily.
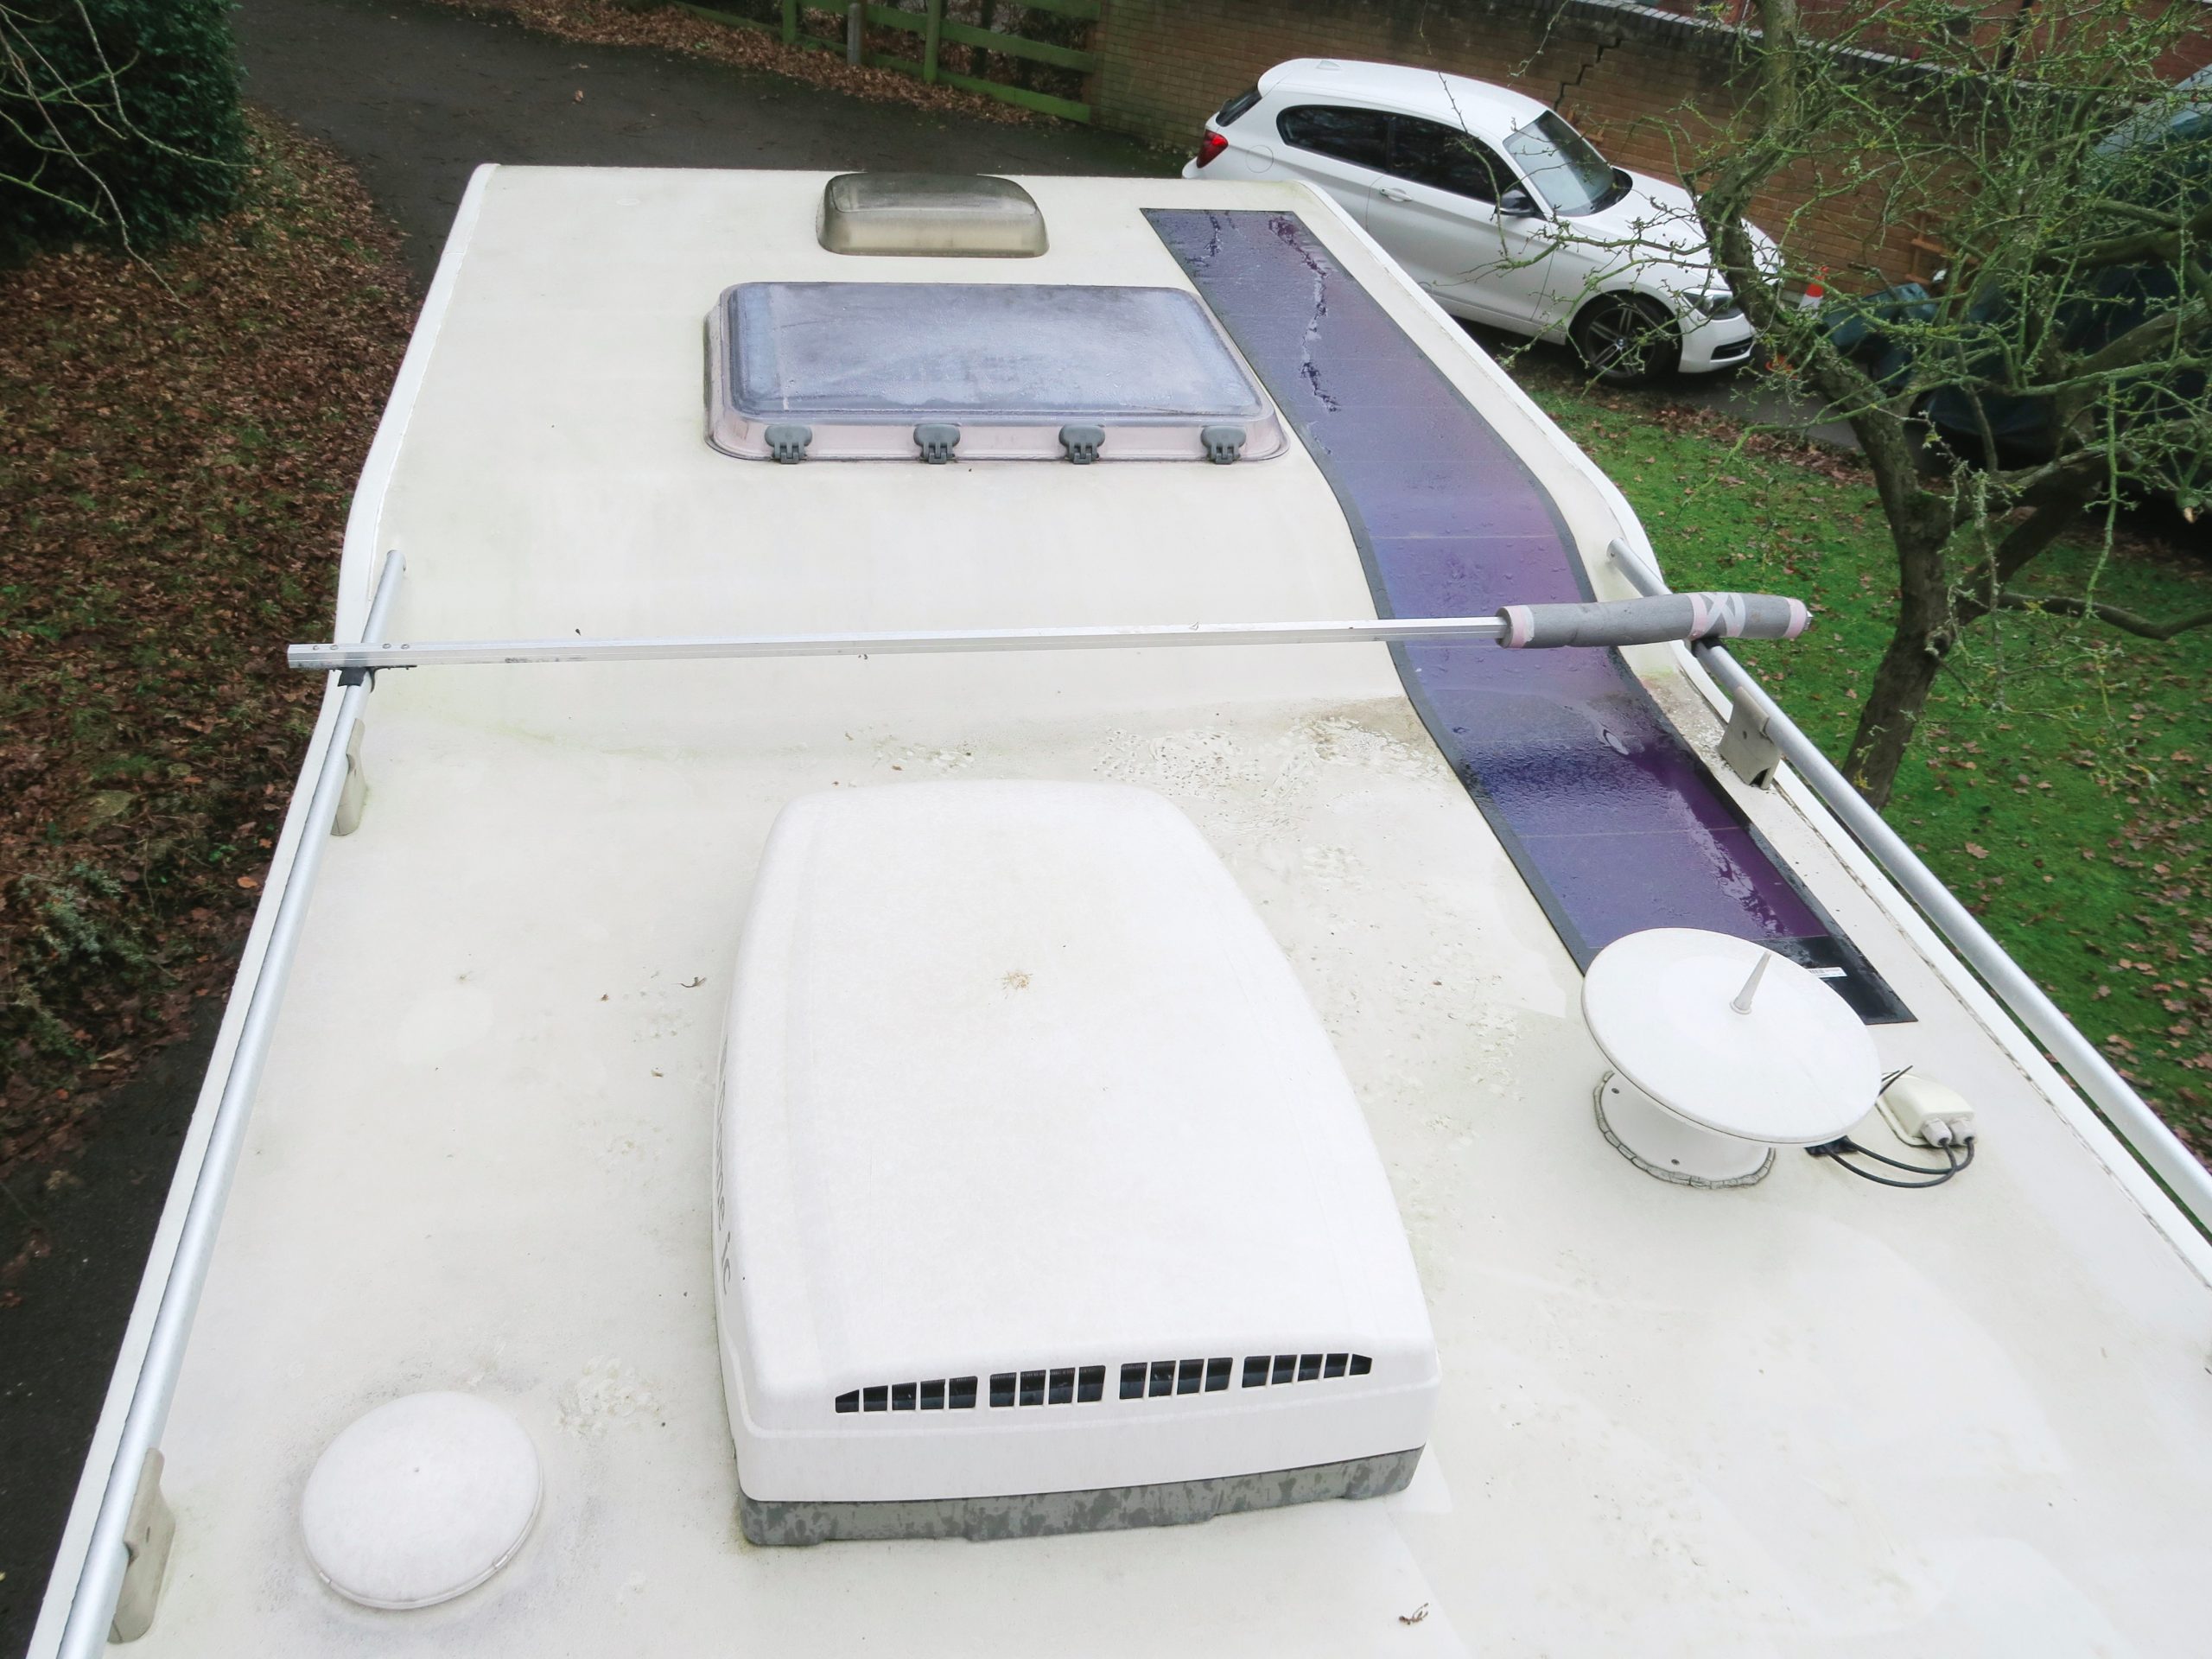
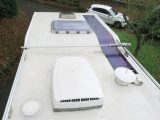
Starting from the top down is recommended, and by top, I mean the roof. This is where algae and dirt are most likely to be found, and where leaves will accumulate.
I would advise against walking on the roof: it can be slippery when wet, and not all ’vans can take the weight.
Safety is paramount, so use a sturdy stepladder or invest in a work tower.
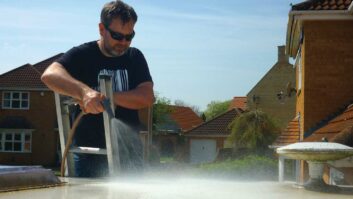
Stage 2: Clean
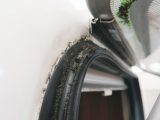
Wash the entire motorhome, using a hose, to remove any loose items such as moss, leaves and grit. The last thing you want to do is grind grit into the paintwork when cleaning.
Avoid using a pressure washer, unless you can control the water pressure. Too high a flow will remove silicone from around areas such as the TV antenna and could damage window seals, resulting in water ingress.
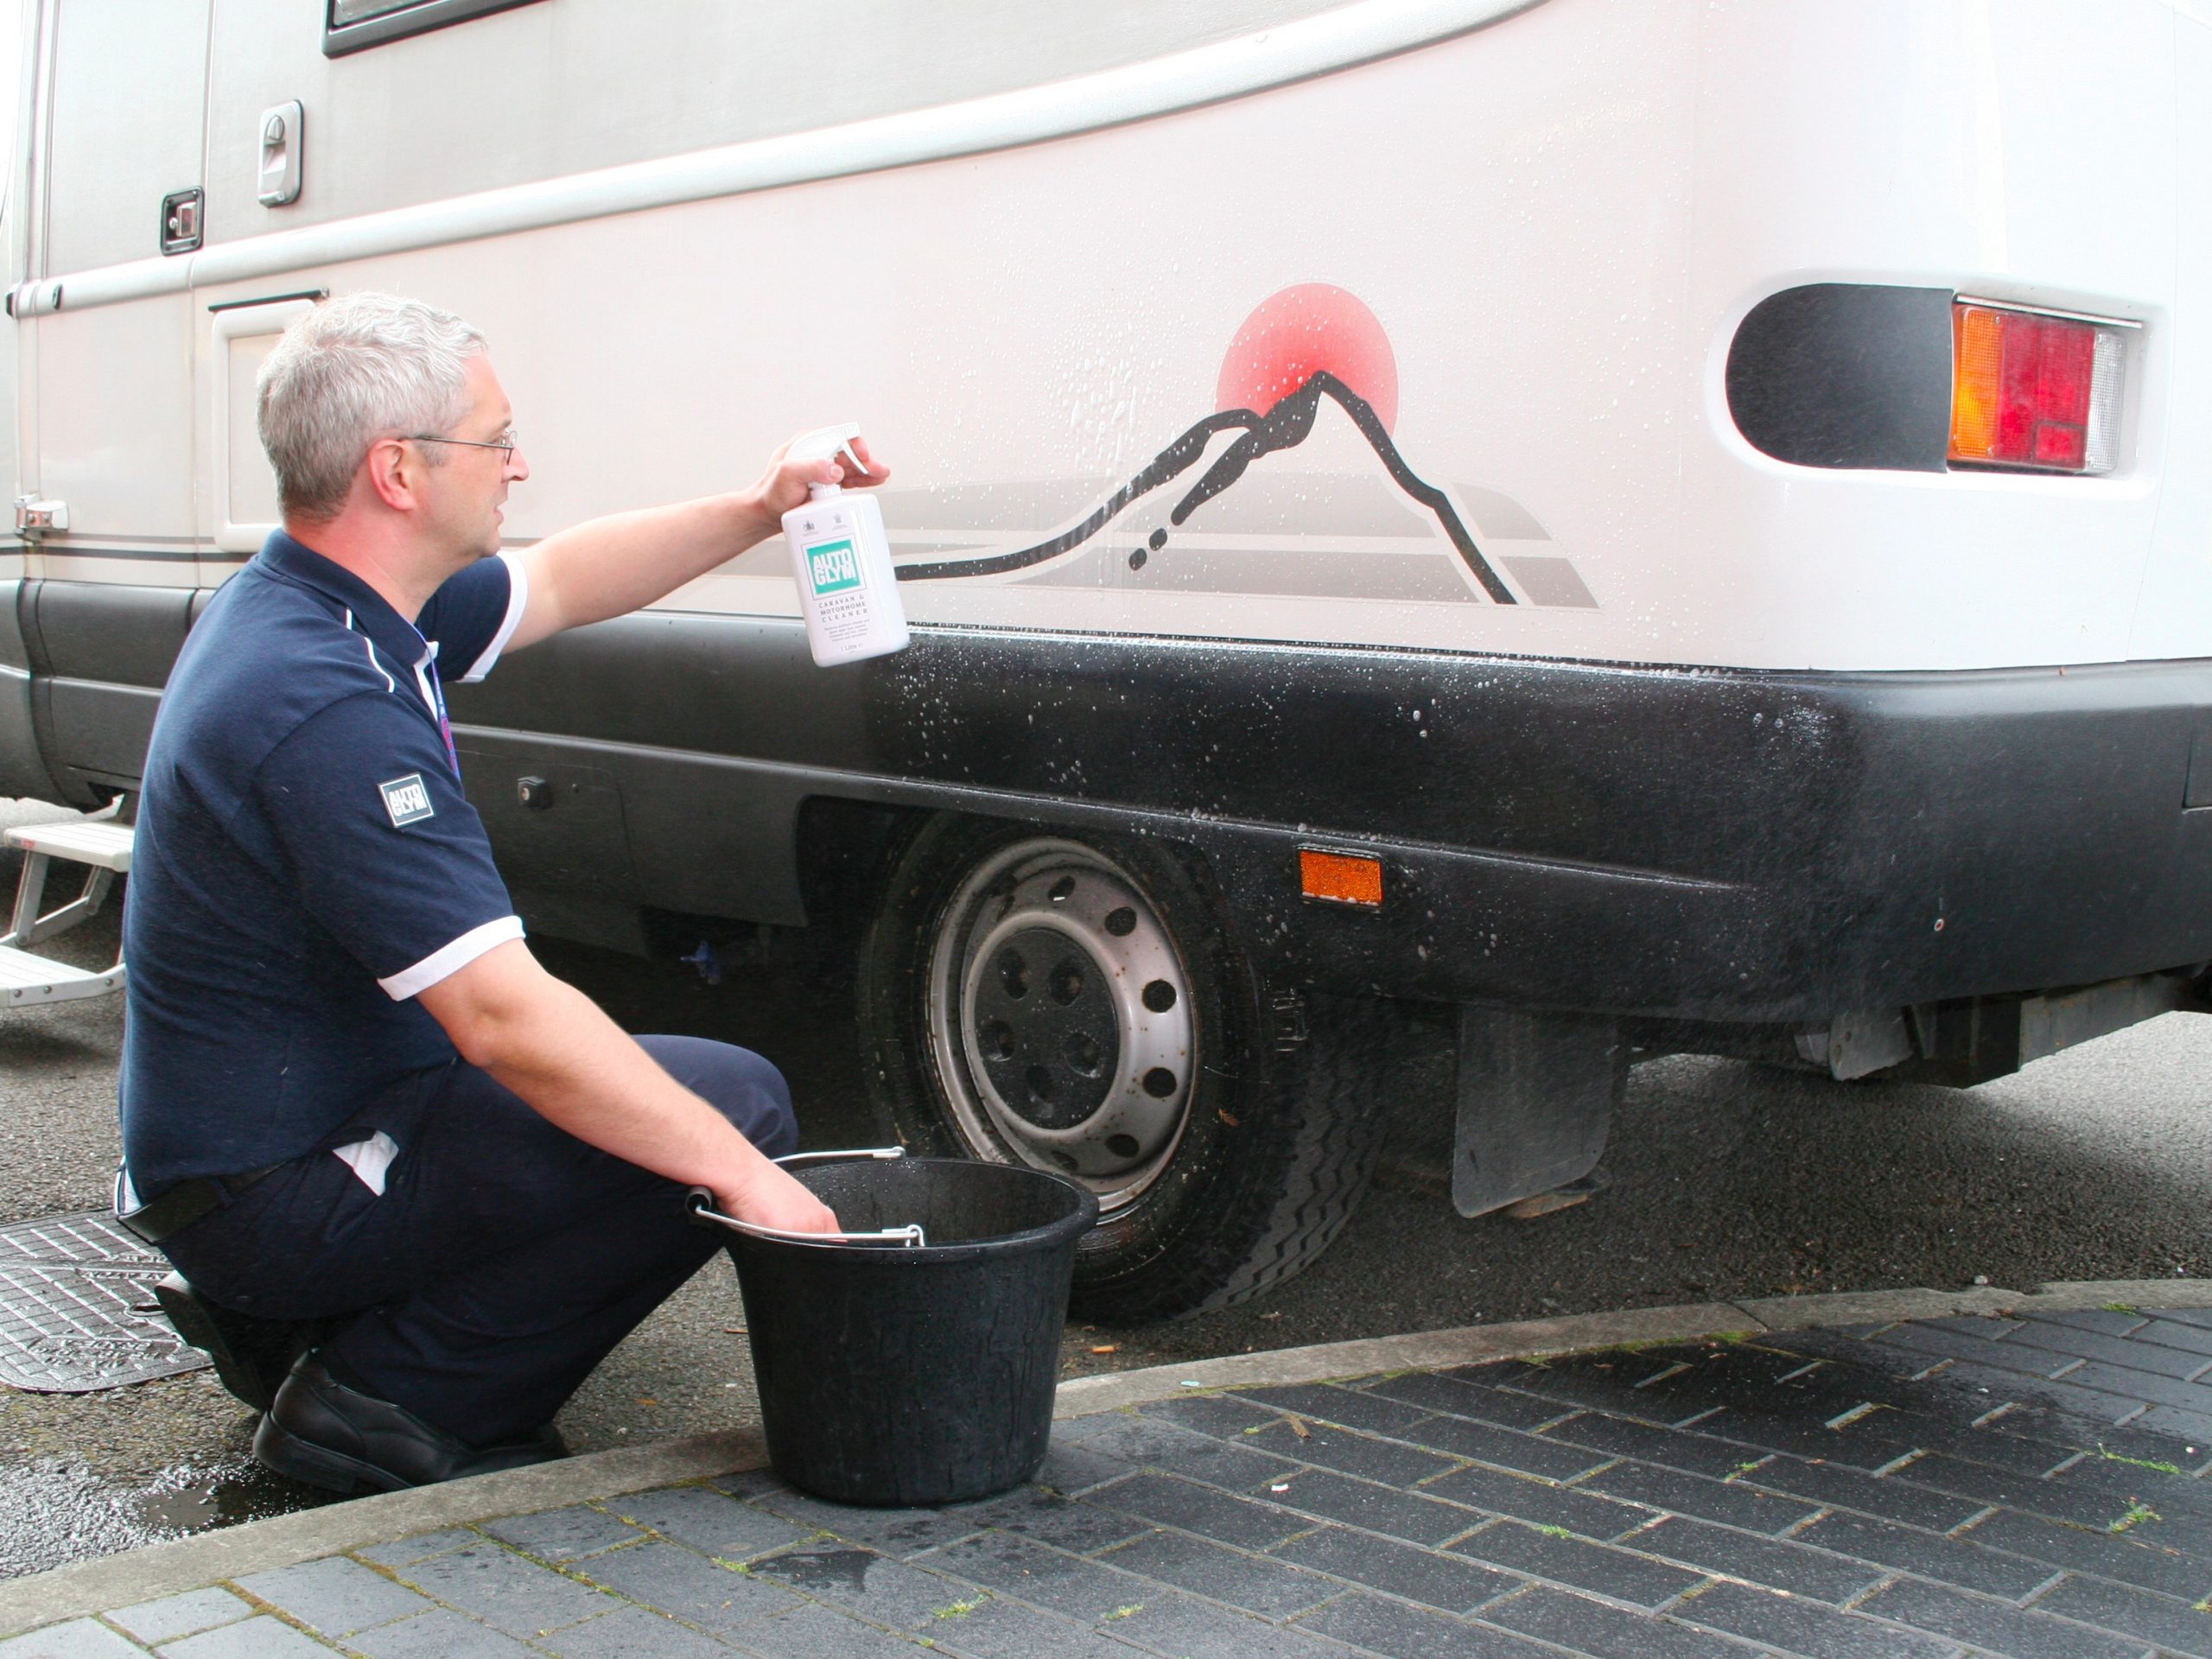
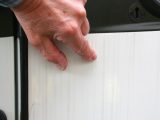
Using a motorhome or caravan cleaning product, spray on in sections and rub in using a sponge or brush. Do not allow it to dry.
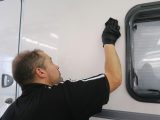
Don’t forget to open windows and skylights to reach hidden areas.
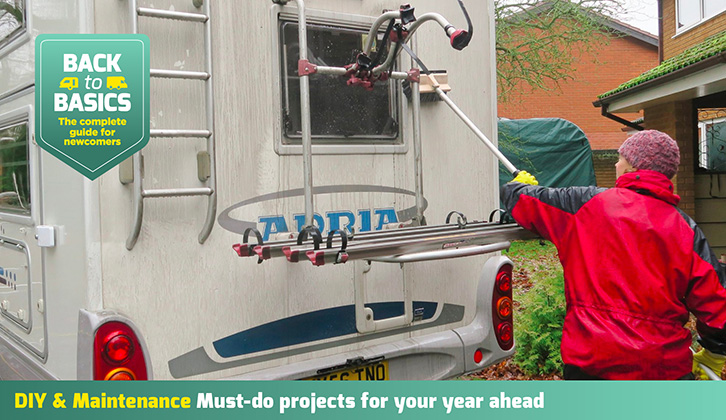
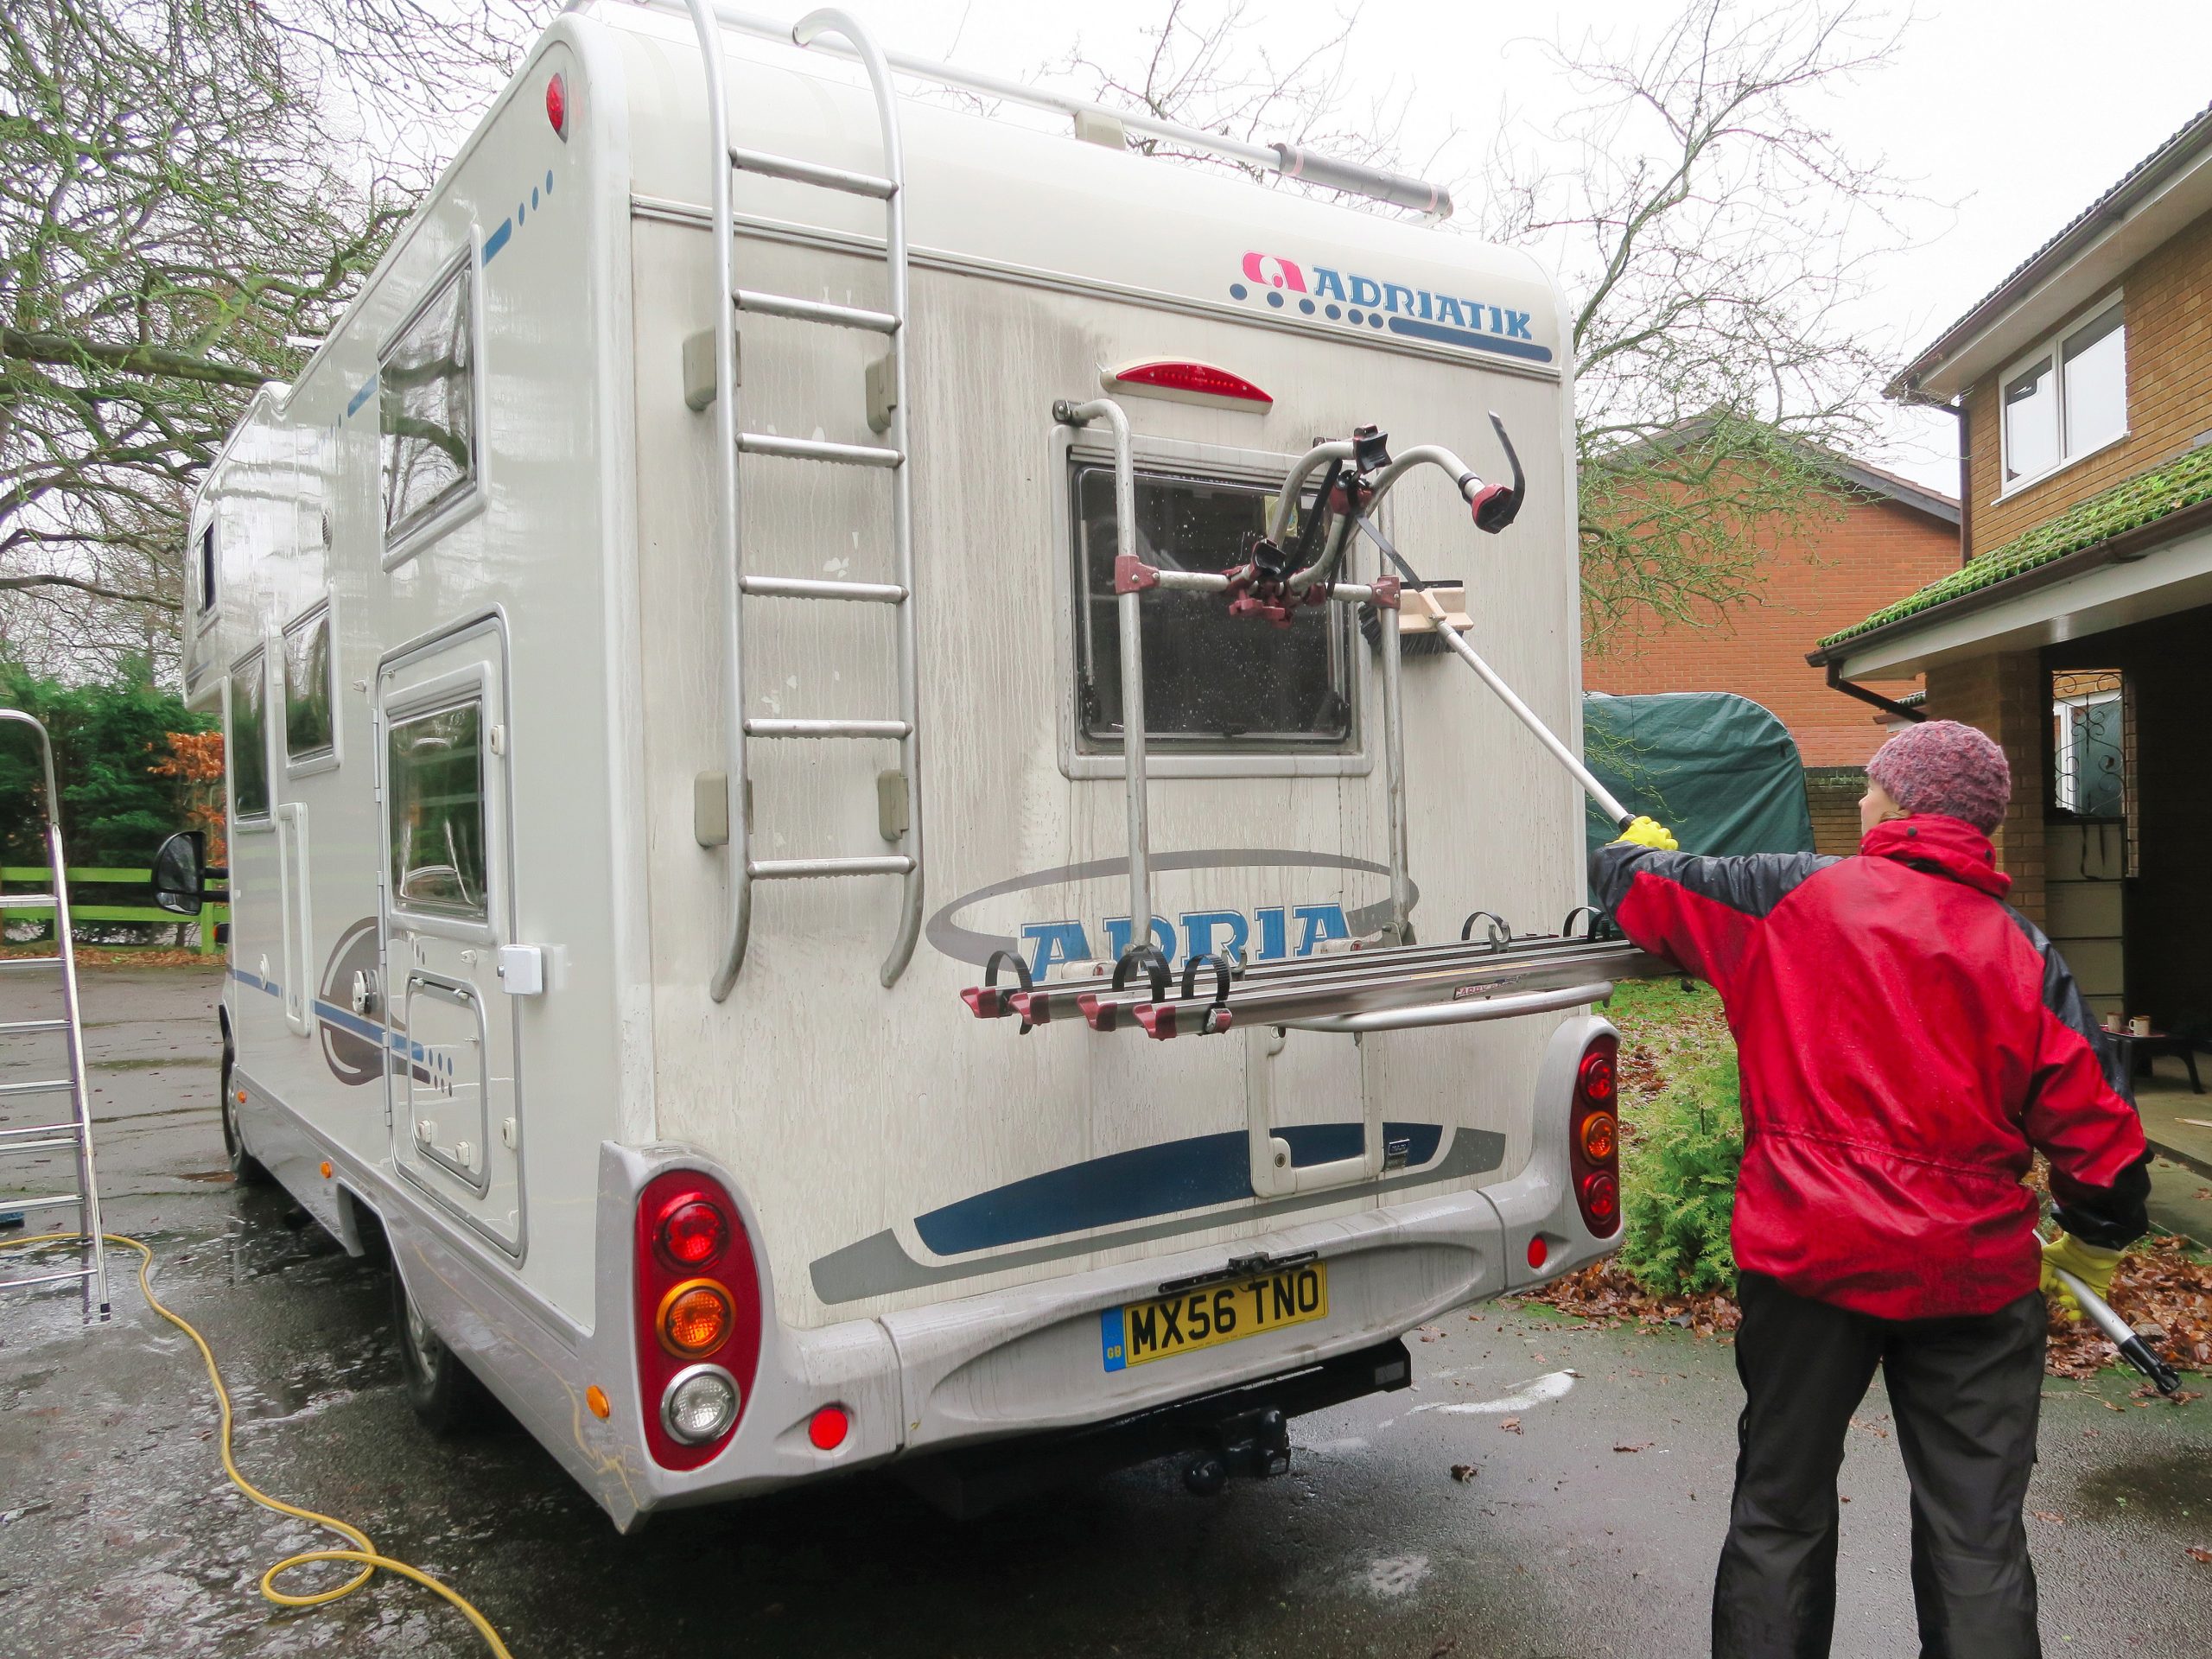
Wash off with clean water and move on to another section until the whole motorhome has been covered – a telescopic water-fed brush is great for hard-to-reach places.
The soft bristles avoid damaging the paintwork and acrylic windows, and the brushes are available in various lengths.
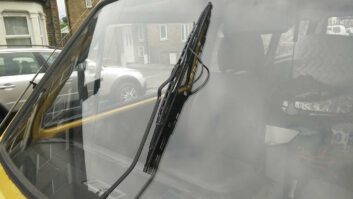
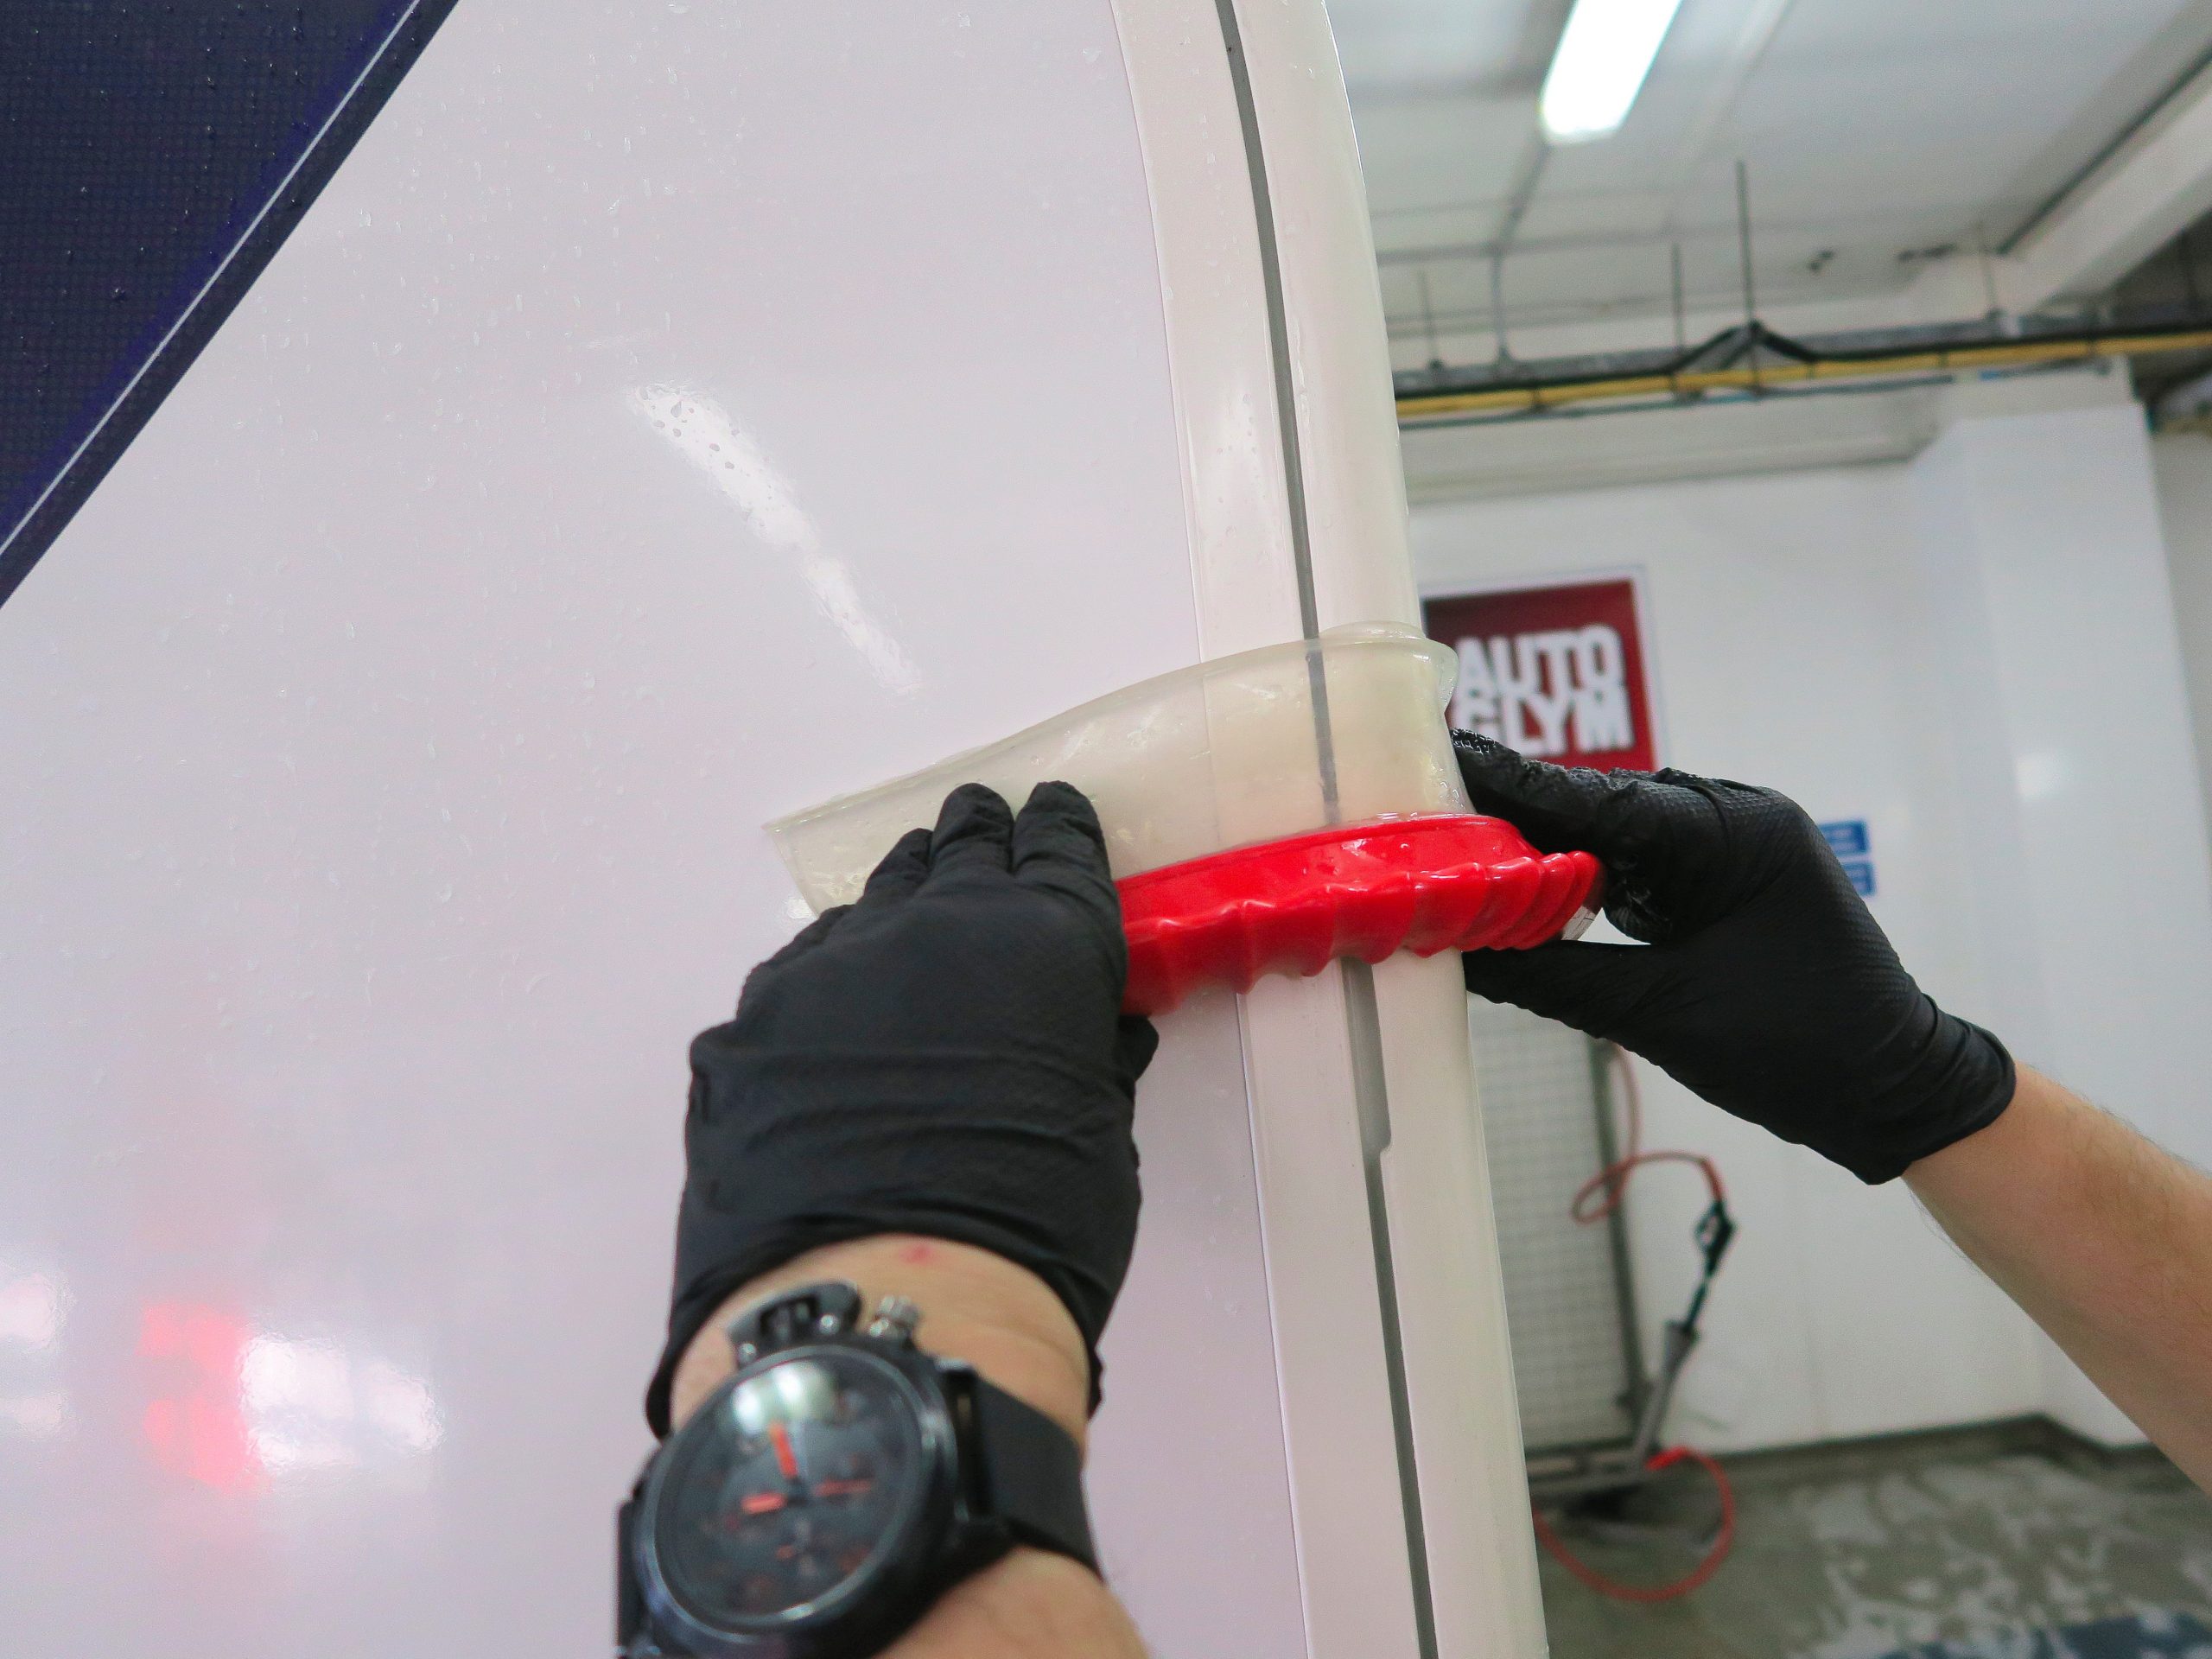
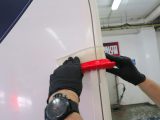
Then use a flexible silicone blade to remove excess water. But avoid using the blade to dry your windows – use a microfibre cloth instead.
Stage 3: Polish
If your motorhome lacks shine, it will need a polish.
The dullness (or bloom, as it is called in the industry) is caused by the paintwork oxidising in the sun’s UV rays.
Polishing products also have a cleaning action, which is used to correct the oxidisation. This process only needs to be done once a year.
Pour a small amount of polish onto an applicator and apply a thin layer to the paintwork in overlapping circles, trying to avoid rubber seals and textured plastics/trim. Marks or scratches can be removed by increasing the pressure.
Once the polish has been applied, leave for 15-20 minutes, then buff with a Hi-Tech Finishing Cloth.
Stage 4: Wax
The final stage is waxing (not the same as polishing – they achieve different results).
Wax has no cleaning action and is used purely to protect paintwork and act as a barrier, to keep the dirt out and the shine in.
The procedure here is similar to that for polishing – a thin layer is applied, then buffed.
But it is recommended to leave the product on for 30 minutes before buffing.
Windows and wheels
Most modern motorhome windows are made of acrylic (except in the cab area), which is a material susceptible to scratching. Be aware that the tiniest piece of grit can cause a lot of damage.
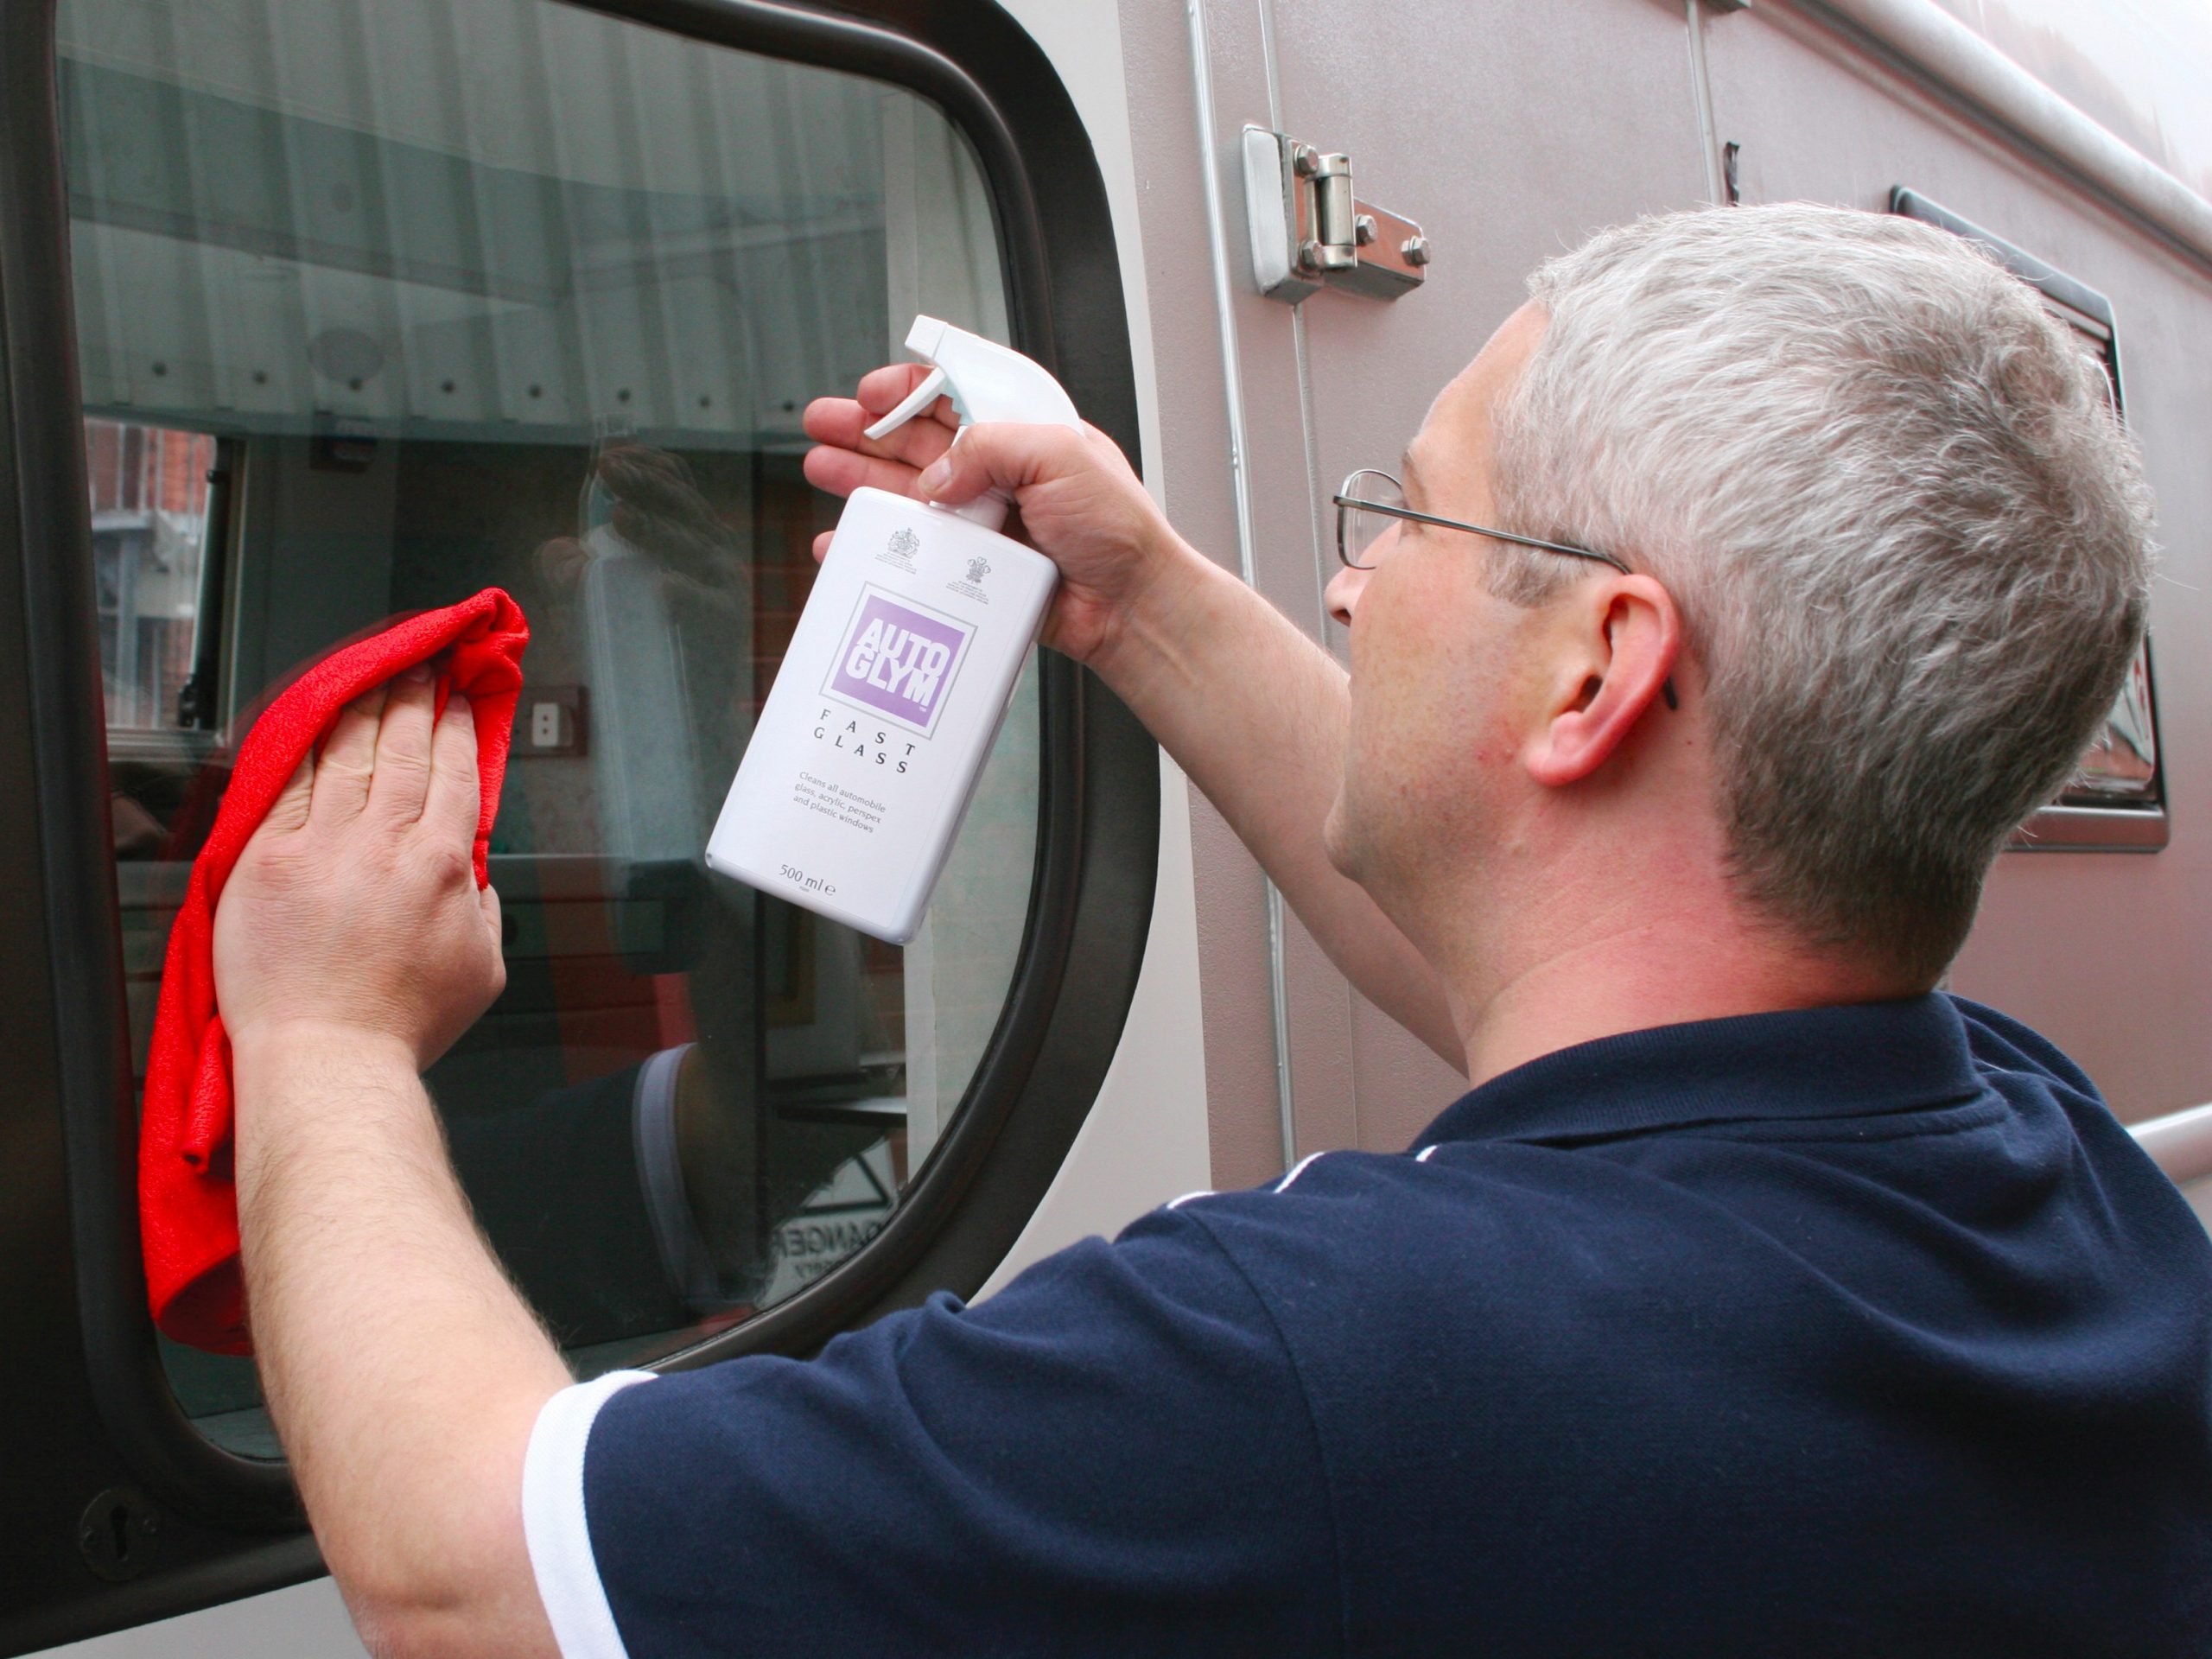
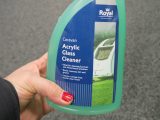
On the market there are many specialised window-cleaning products that are kind to acrylic.
Simply spray on the window of your motorhome and wipe off using a microfibre or cotton open-weave cloth.
Avoid using cloths that contain lint, because this can be abrasive.
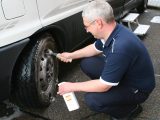
Finally, don’t forget the wheels. Use a brush on any hard-to-reach areas and finish with Autoglym Instant Tyre Dressing (or similar), to give them that showstopper look.
In summary
Bearing in mind that it is all in the preparation, make sure you choose the right tools and products for the job before you get started.
It really will pay dividends if, once a year, you give your motorhome the full works.
This involves time and elbow grease, but not only will your ’van be protected from bugs, bird deposits, tar, algae and leaf rot, it will also be much easier to clean the next time.
As well as that, you will prolong the life of its exterior and add to its resale value.
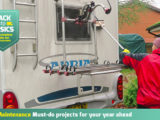
Looking for more great DIY inspiration? Then be sure to head to our Back to Basics – DIY & Maintenance category, where we’re sharing simple projects that could make all the difference when you’re on tour!
Having the right cleaning product also makes a big difference when you’re getting your ‘van back to its sparkling best – our guide to the best motorhome cleaners will help you pick out the product for you.
Future Publishing Limited, the publisher of practicalmotorhome.com, provides the information in this article in good faith and makes no representation as to its completeness or accuracy. Individuals carrying out the instructions do so at their own risk and must exercise their independent judgement in determining the appropriateness of the advice to their circumstances. Individuals should take appropriate safety precautions and be aware of the risk of electrocution when dealing with electrical products. To the fullest extent permitted by law, neither Future nor its employees or agents shall have any liability in connection with the use of this information. You should check that any van warranty will not be affected before proceeding with DIY projects.
If you’ve enjoyed reading this article, why not get the latest news, reviews and features delivered direct to your door or inbox every month. Take advantage of our brilliant Practical Motorhome magazine SUBSCRIBERS’ OFFER and SIGN UP TO OUR NEWSLETTER for regular weekly updates on all things motorhome related.
It really will pay dividends if, once a year, you give your motorhome the full works