


Many motorhomes don’t have their wheel arches insulated on the inside. This can make a really big difference to the cosiness of your ‘van, especially for those who like to tour in autumn and winter, because the thin, plastic wheel arch liner offers very little barrier against those often freezing temperatures outside. Just as you have motorhome floor insulation, it can make a difference to protect the wheel arches, too.
As a thrifty, year-round motorcaravanner, Rod is not one to waste gas and battery power on unnecessary heating, so he set about adding extra insulation to make his motorhome more energy efficient.
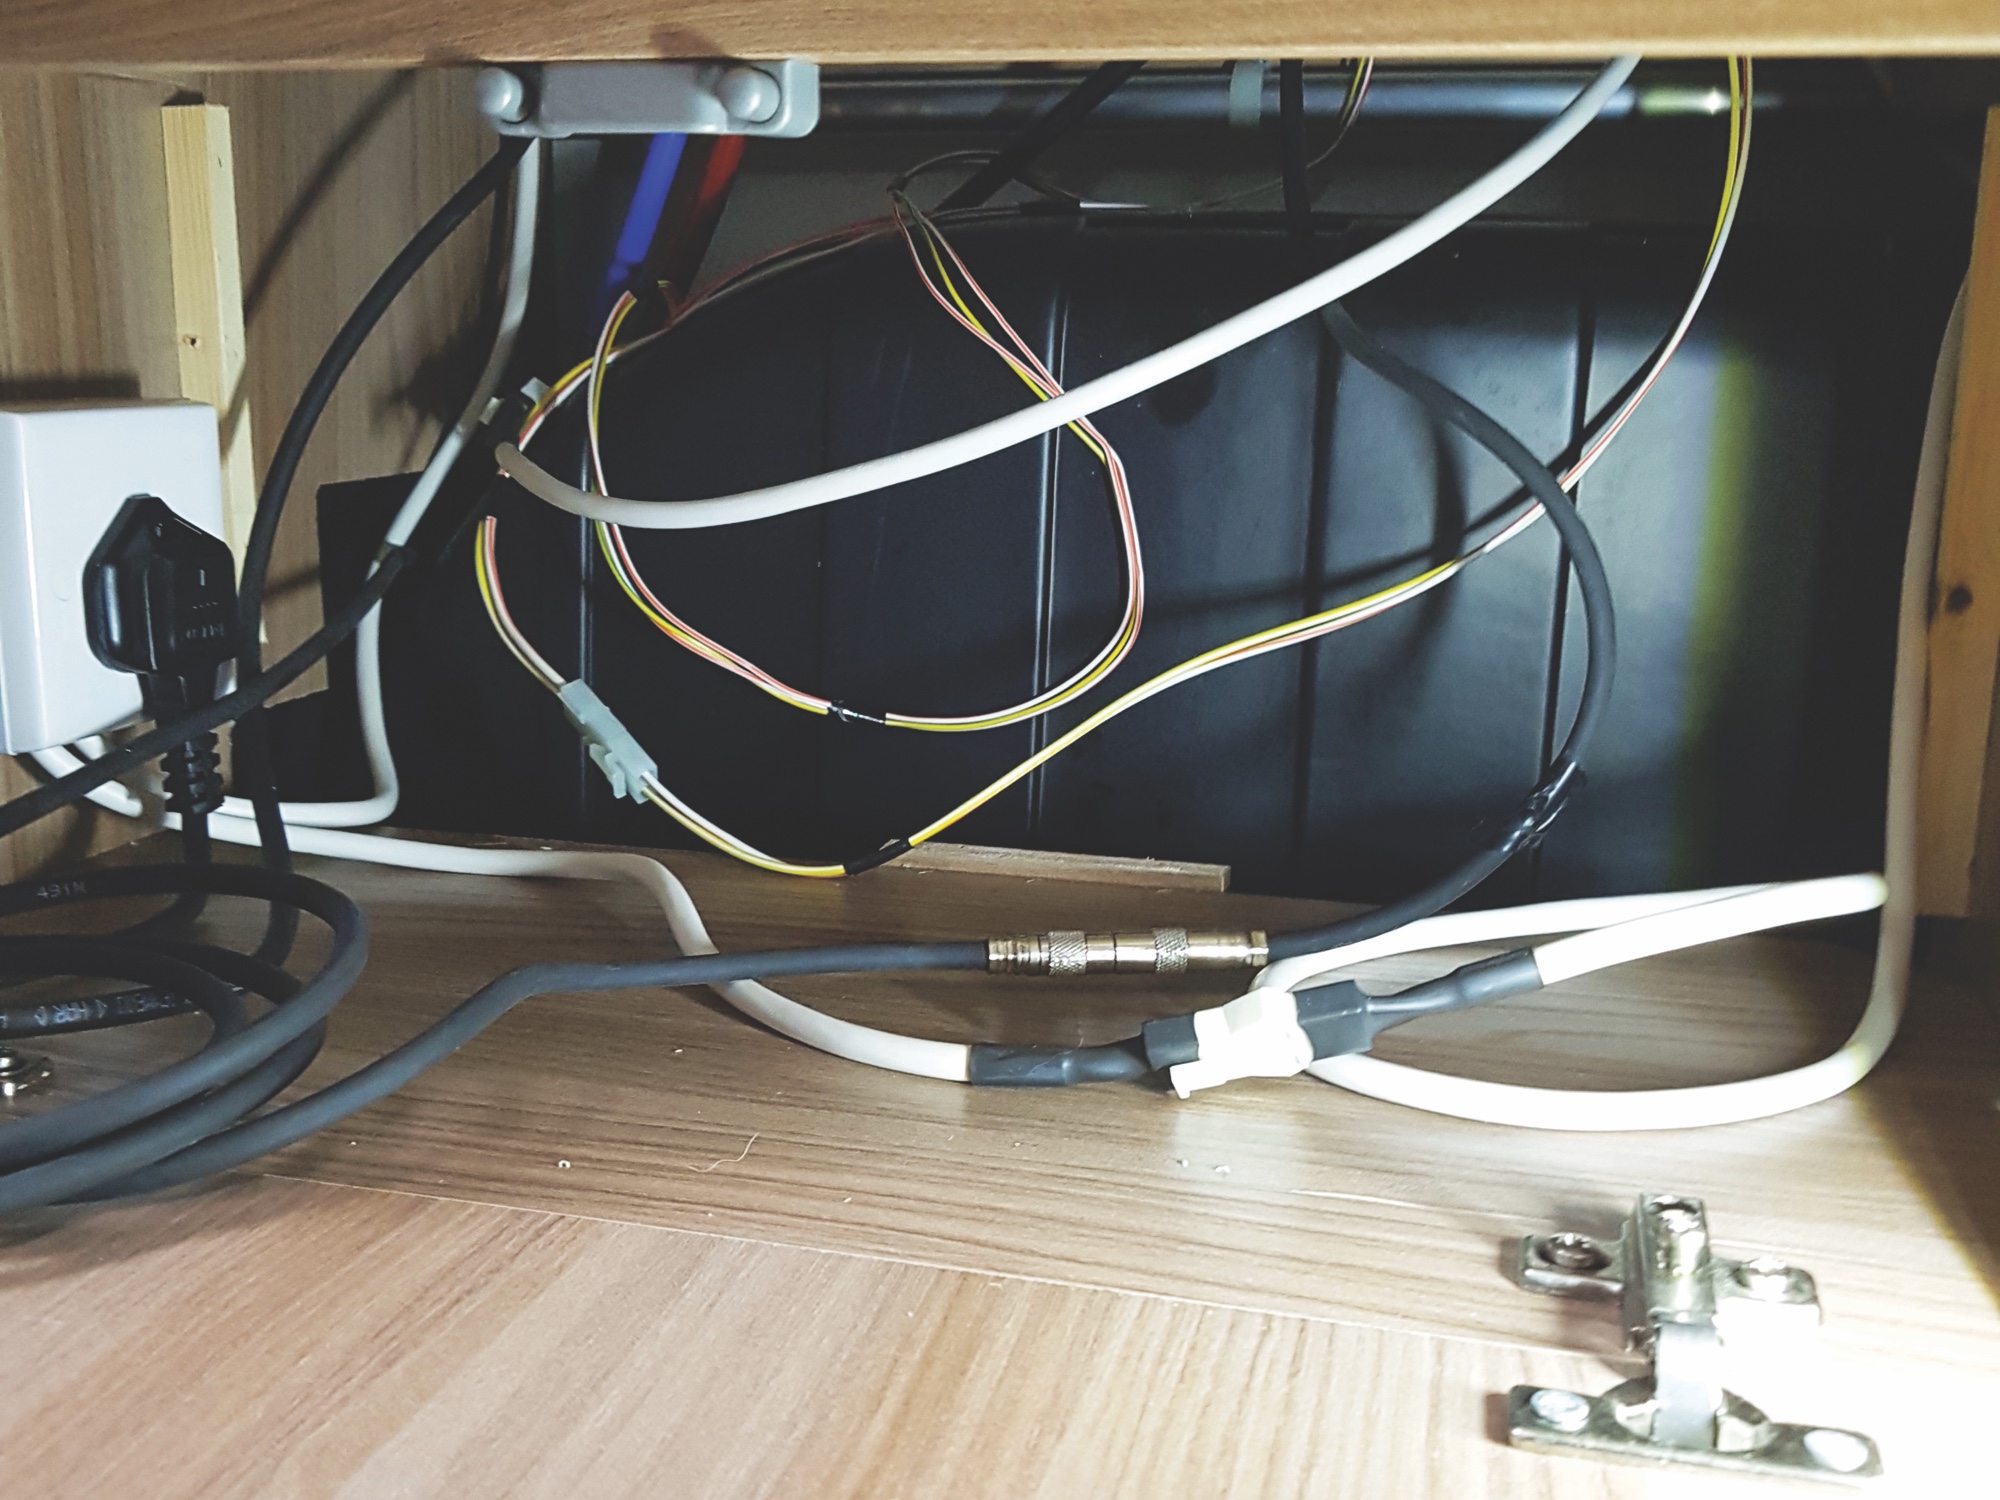
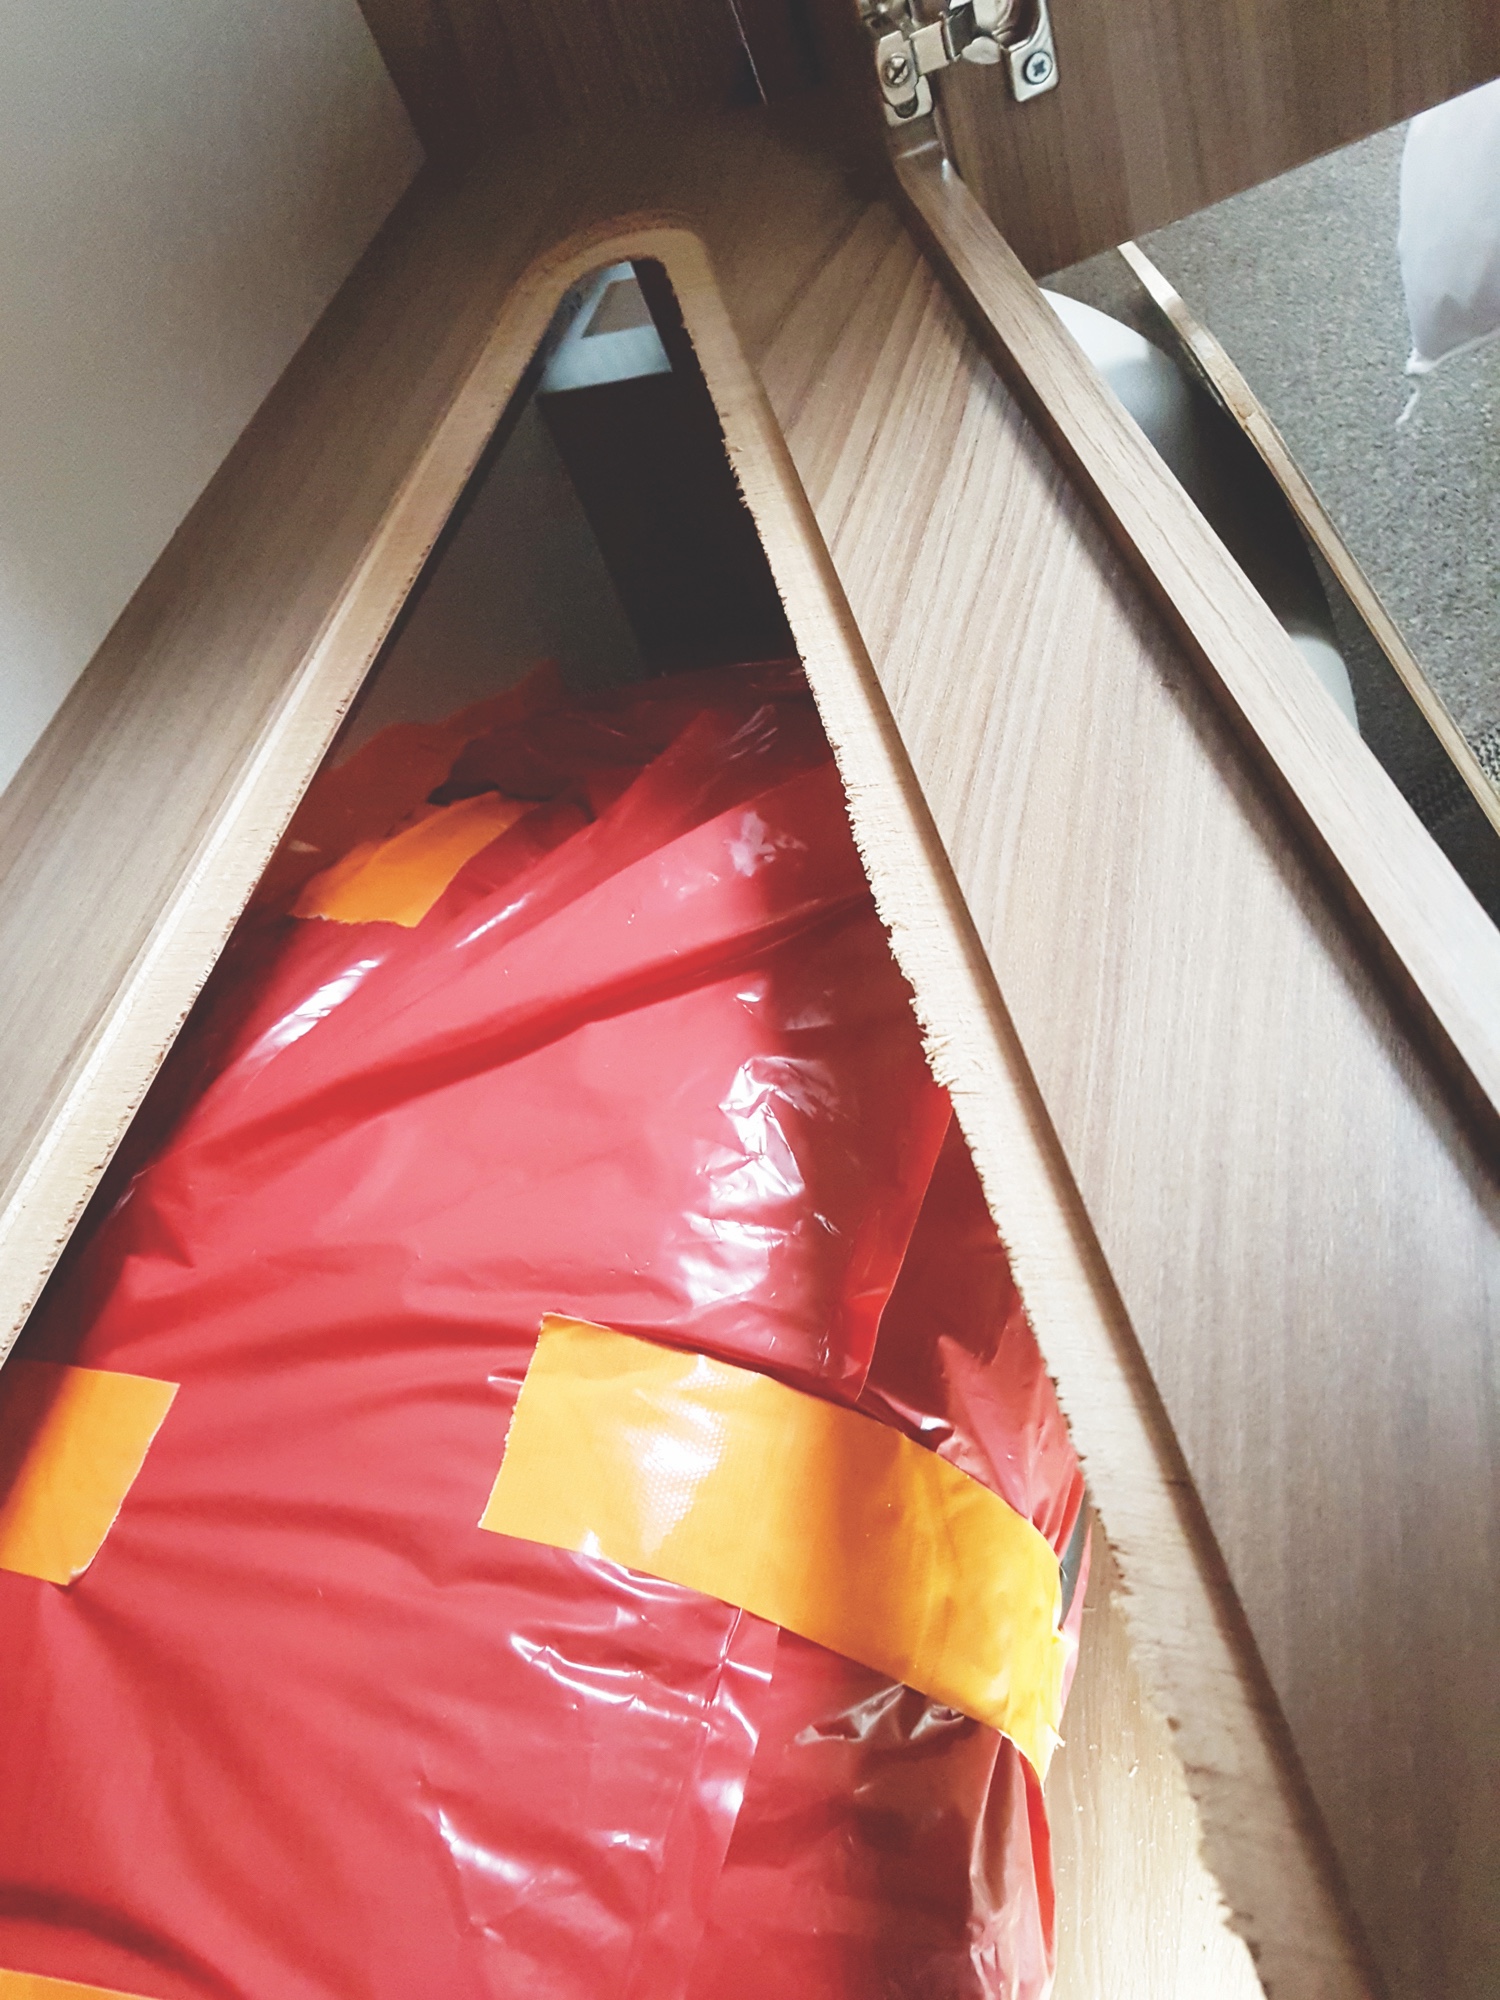
1. In most motorhomes, the wheel arches are easily accessible via one of the cupboards or lockers. Some, however, are located directly under the shower unit and consequently, these can be a bit trickier to gain access to.
The existing wheel arch liner is only going to be about 2-3mm thick, so offers little insulation.
In winter temperatures, this creates cold spots in the ‘van’s interior, especially the space you can see – and they will seep that coldness into the main living area.
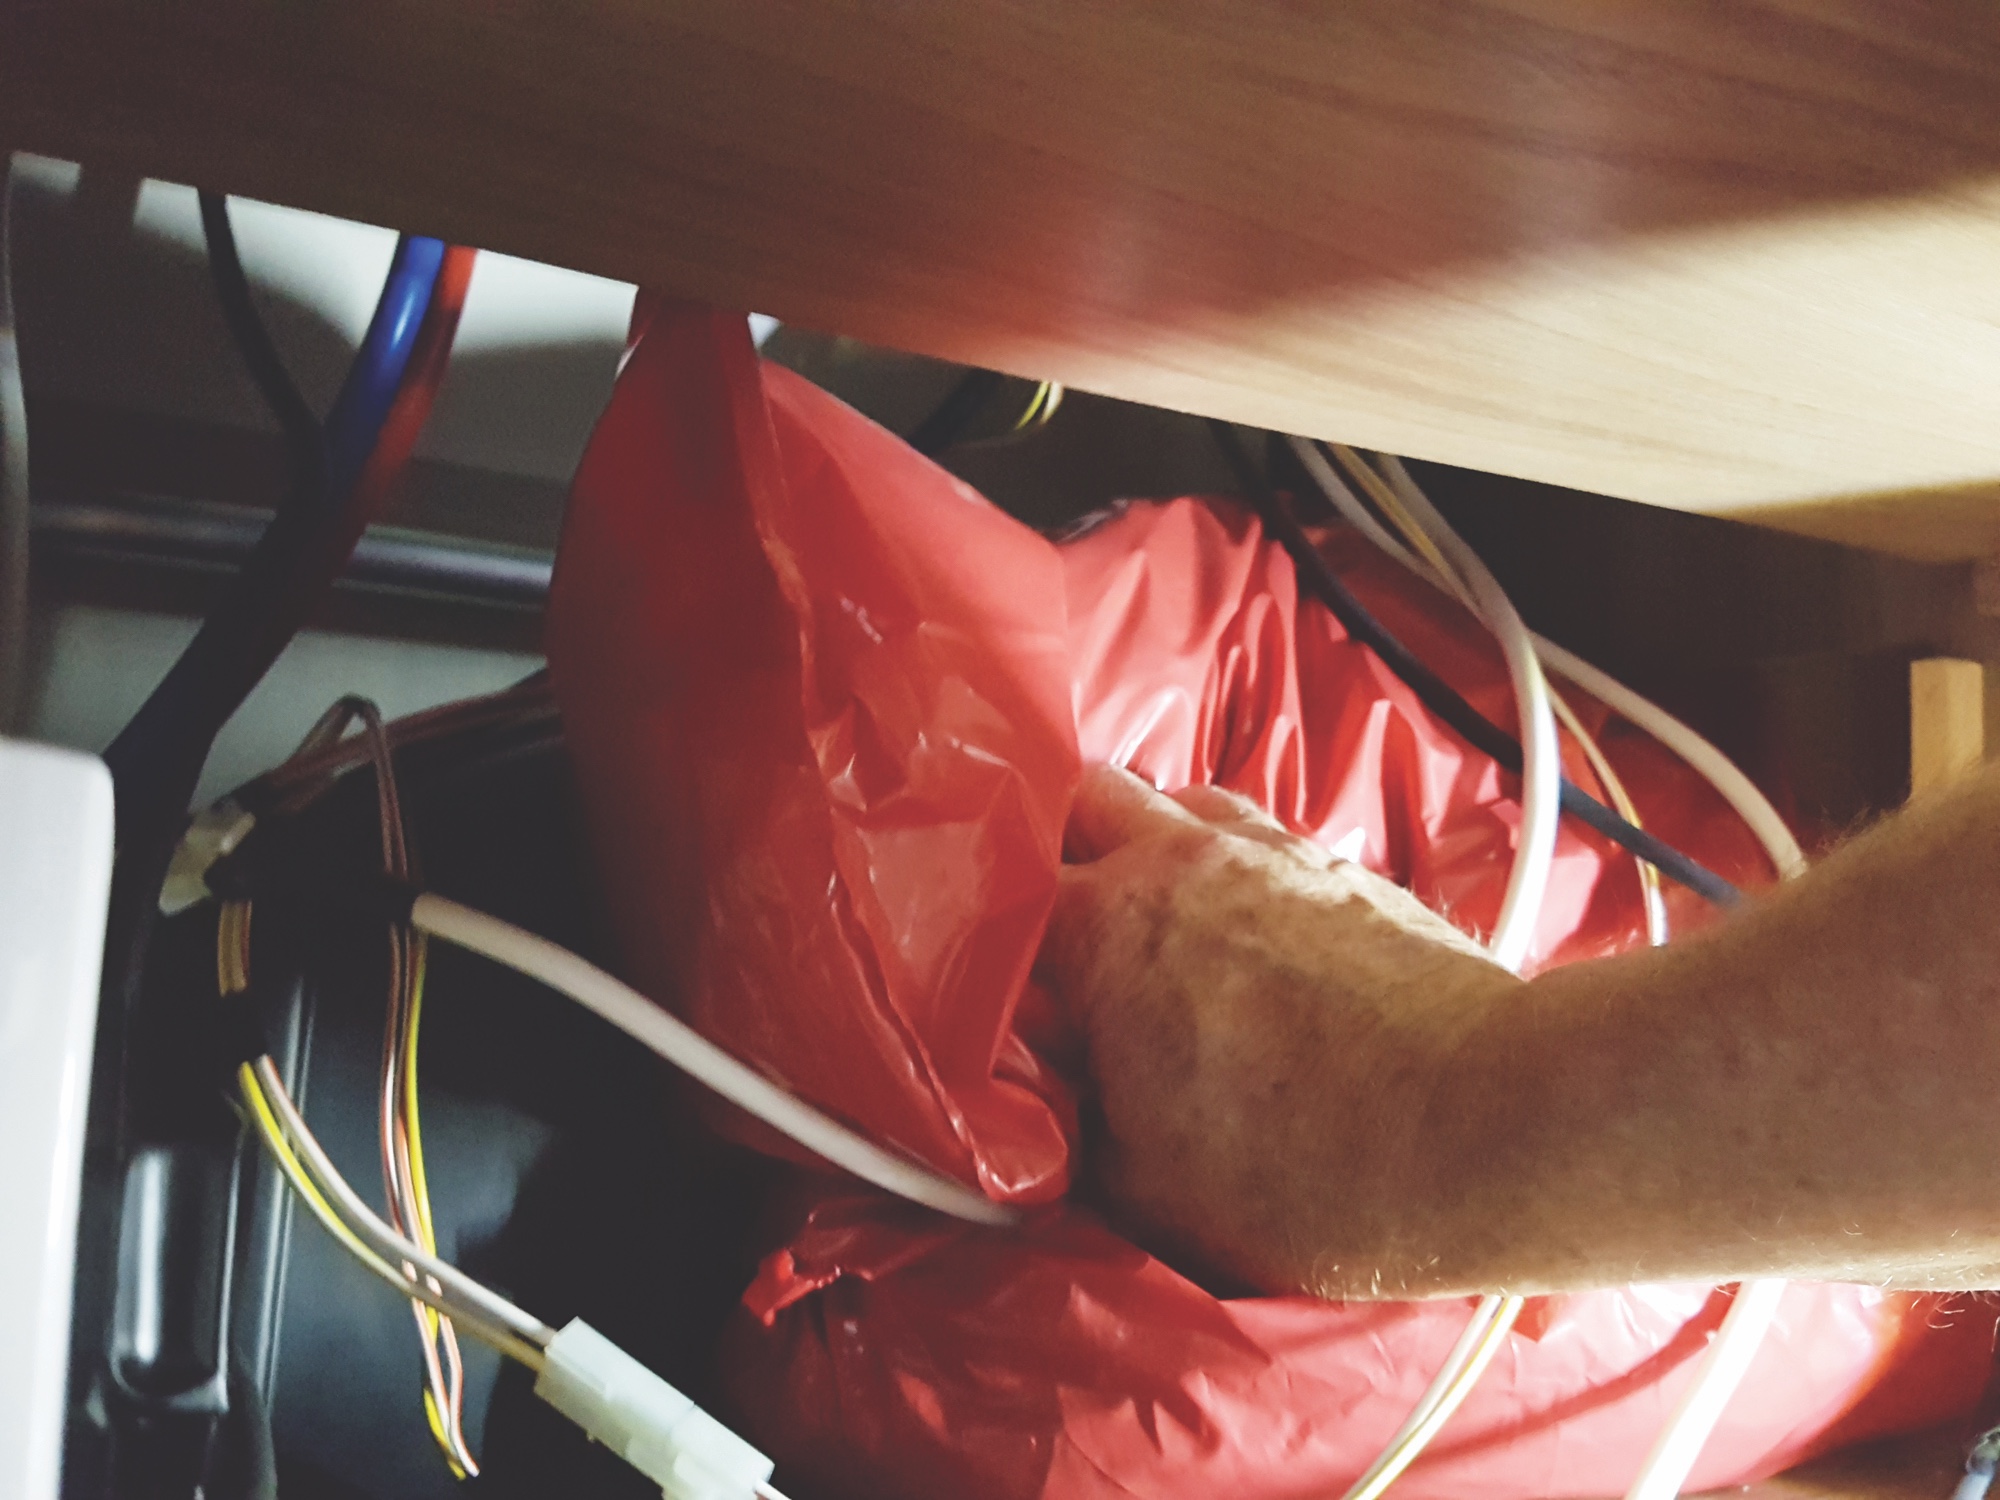
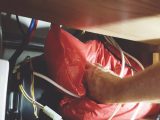
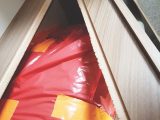
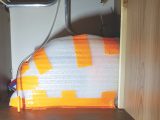
2. One wheel arch on Rod’s ‘van was easy to access, so he simply bought a £10 padded hot-water cylinder jacket from Screwfix and cannibalised it to the right size and shape to cover the arch. One of these jackets should be enough to insulate two wheel arches.
Taking care with all the wires and pipes in the area, Rod carefully squashed the insulated jacket all around the inner arch.
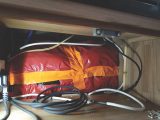
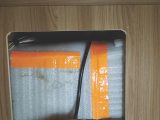
3. It is important to ensure there are no gaps in the insulation, so you might need to have access to the inner arch from a number of different angles.
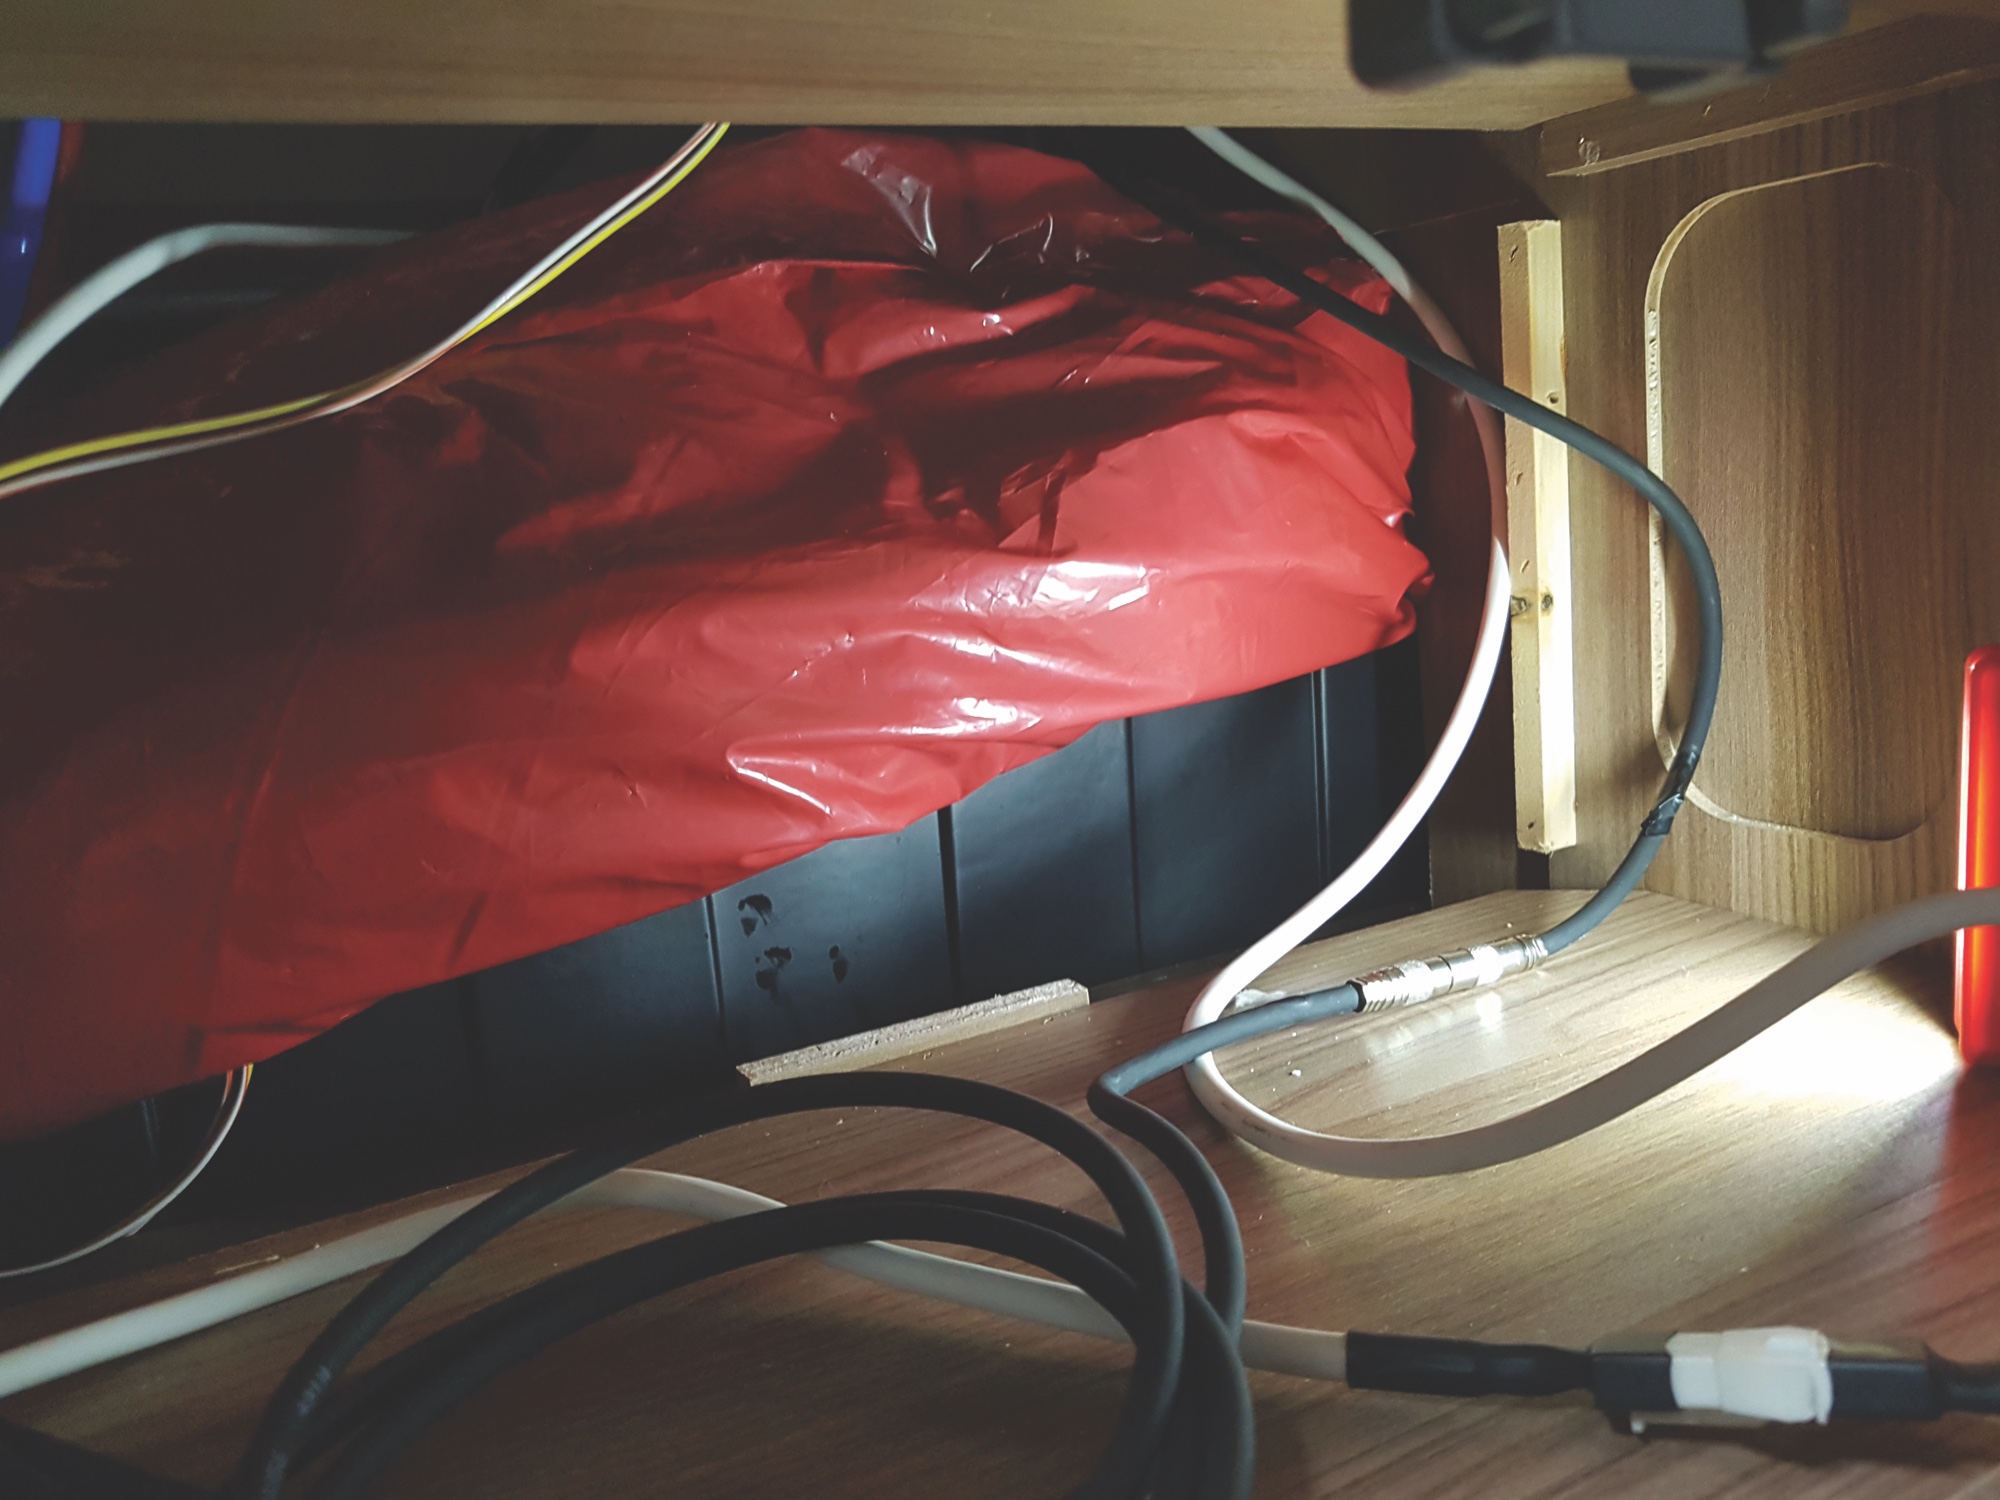
4. Once the wheel arch was completely covered, Rod taped the jacket securely in place, making sure any cables that he might need to access in future were not obscured.
5. As well as providing excellent insulating properties, the cylinder jacket is also fire-retardant. That makes this a low-cost, easy-to-use, safe and very effective option. It is important to take fire safety into account when choosing your insulation material.
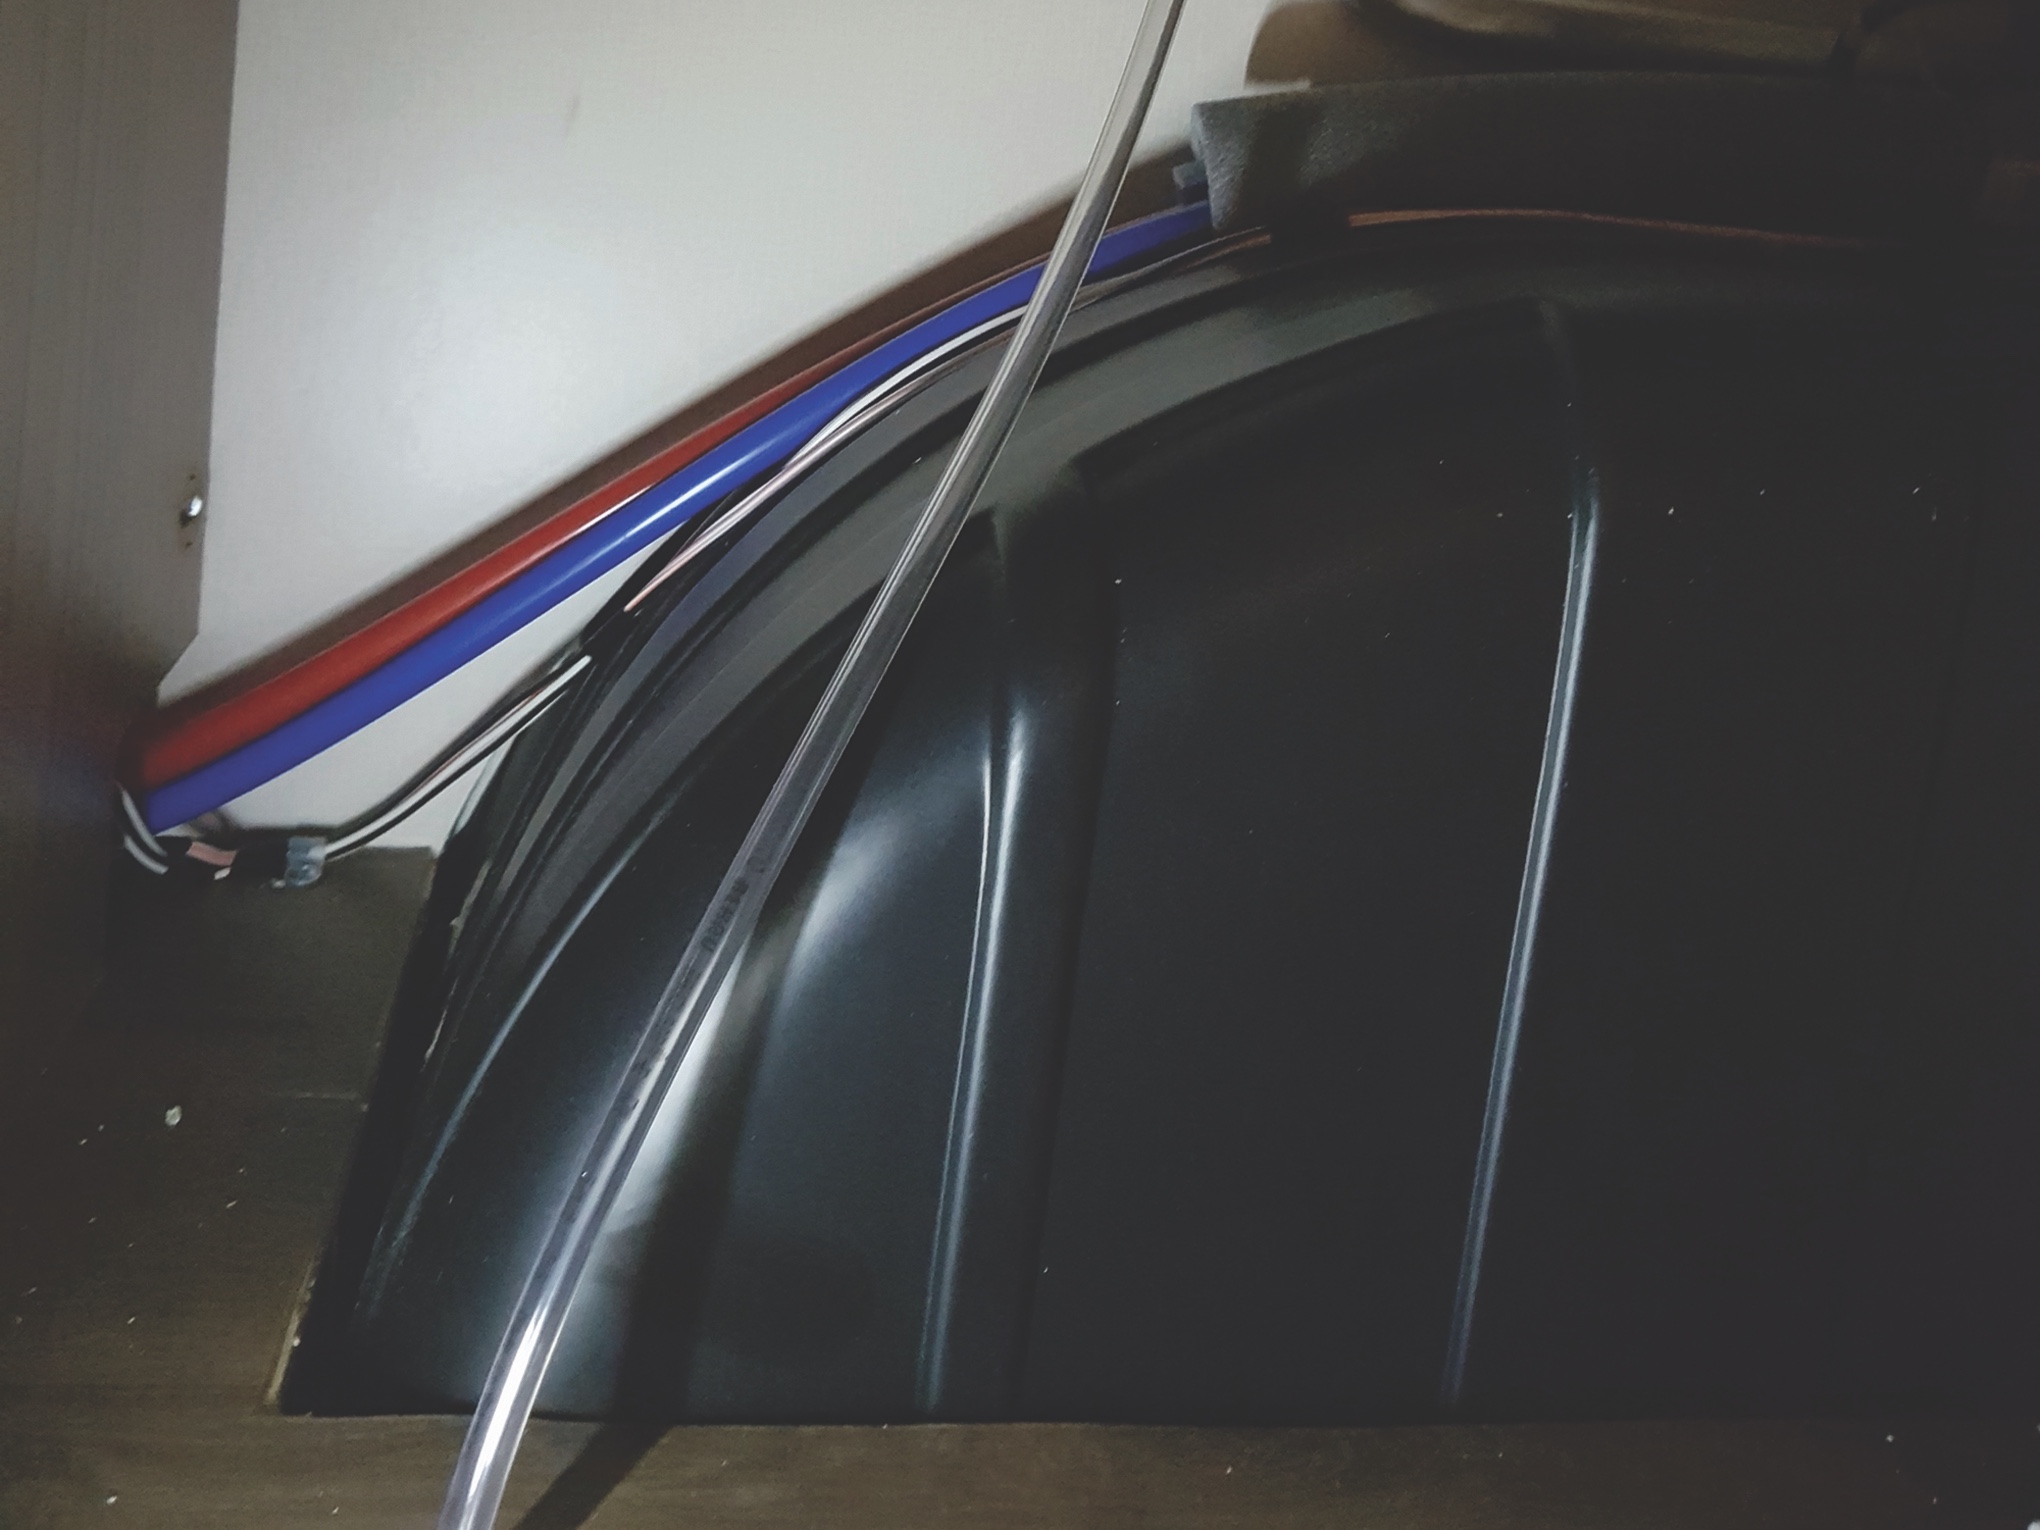
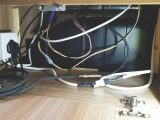
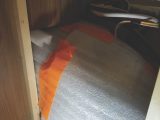
6. On the fridge side of the motorhome, the inner arch was exposed, but space was at more of a premium and there were lots of cables and pipes to work around.
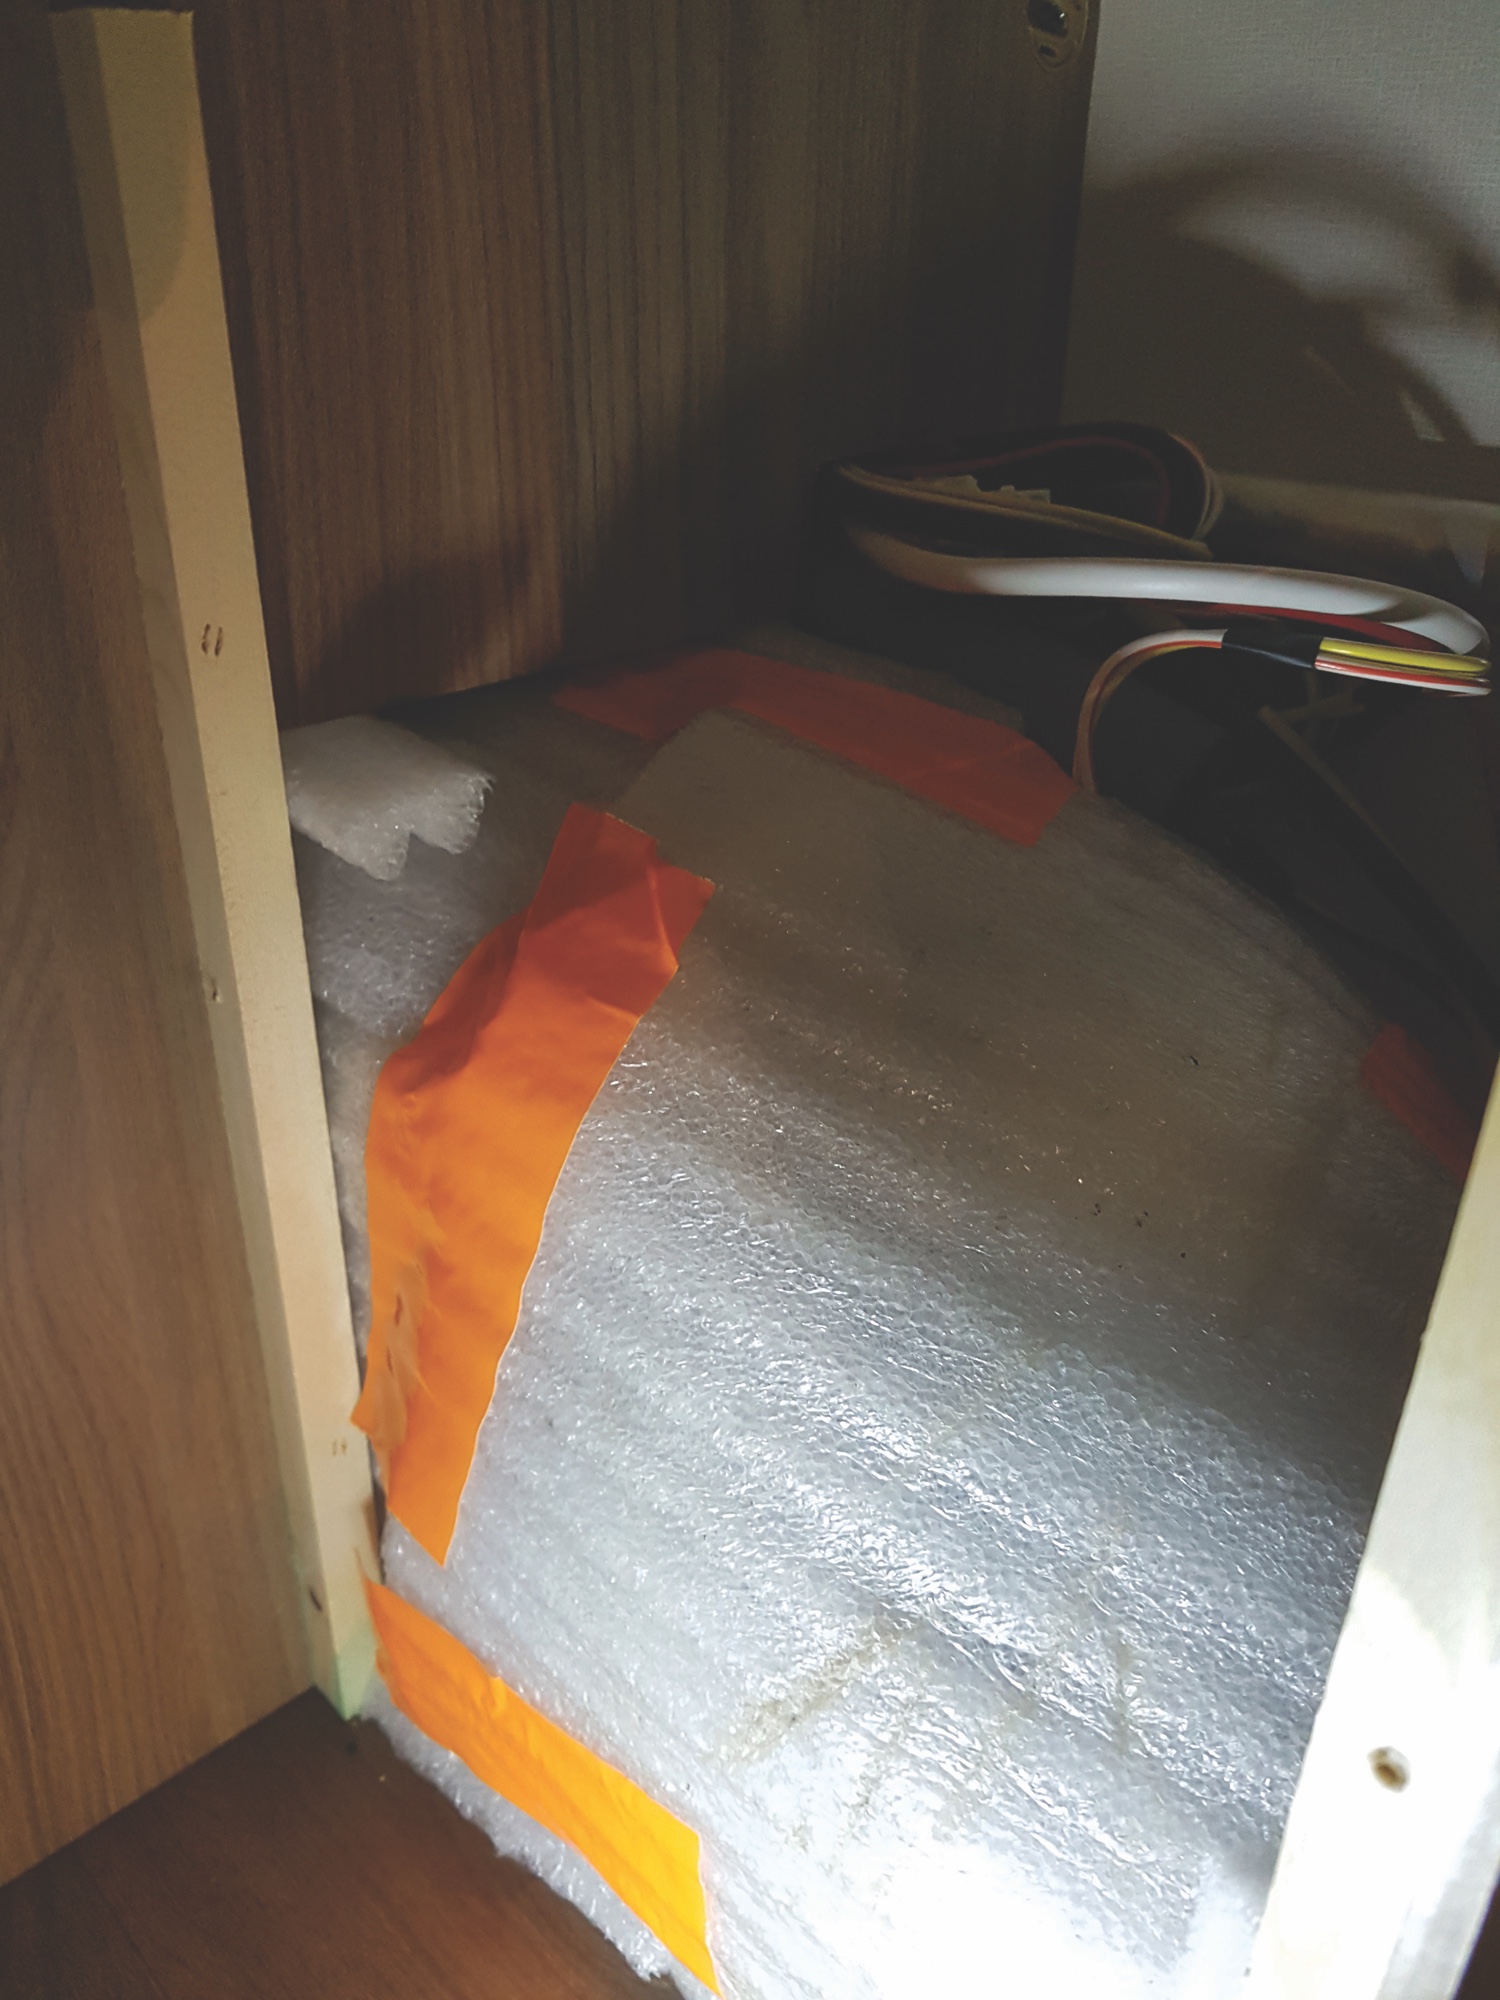
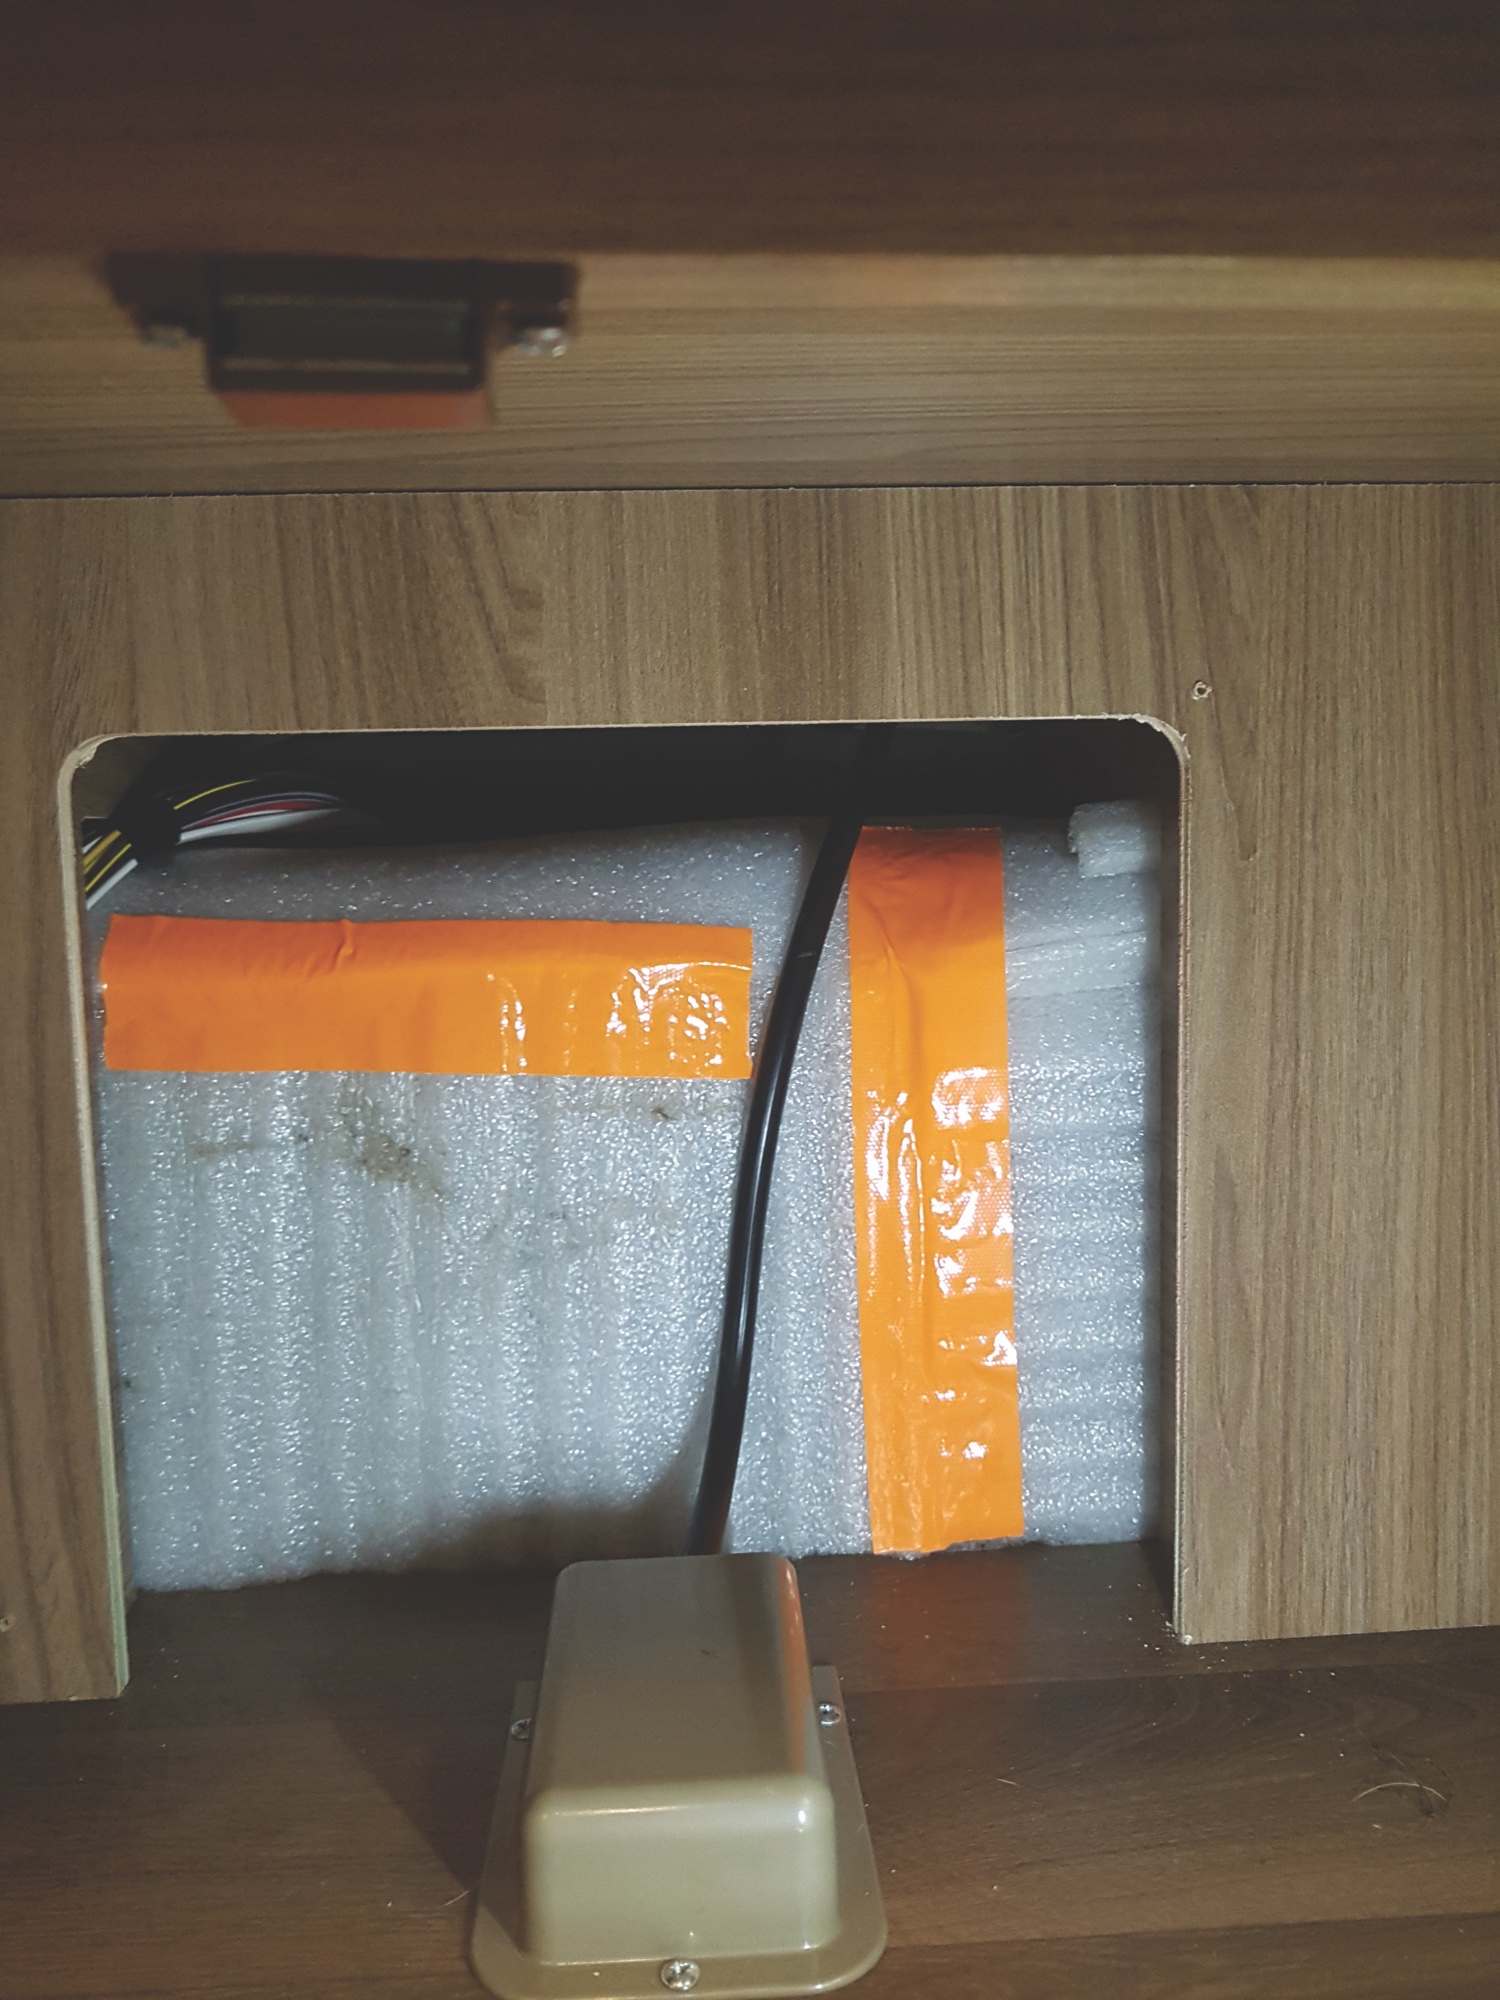
7. Lack of space meant the jacket would not work here, so Rod opted to use thinner, closed-cell foam – the type you often find products packaged with.
8. Rod had to access the arch from various angles through different lockers, to ensure complete coverage.
9. Rod used gaffer tape to secure the foam. The latter doesn’t absorb water, making it doubly good.
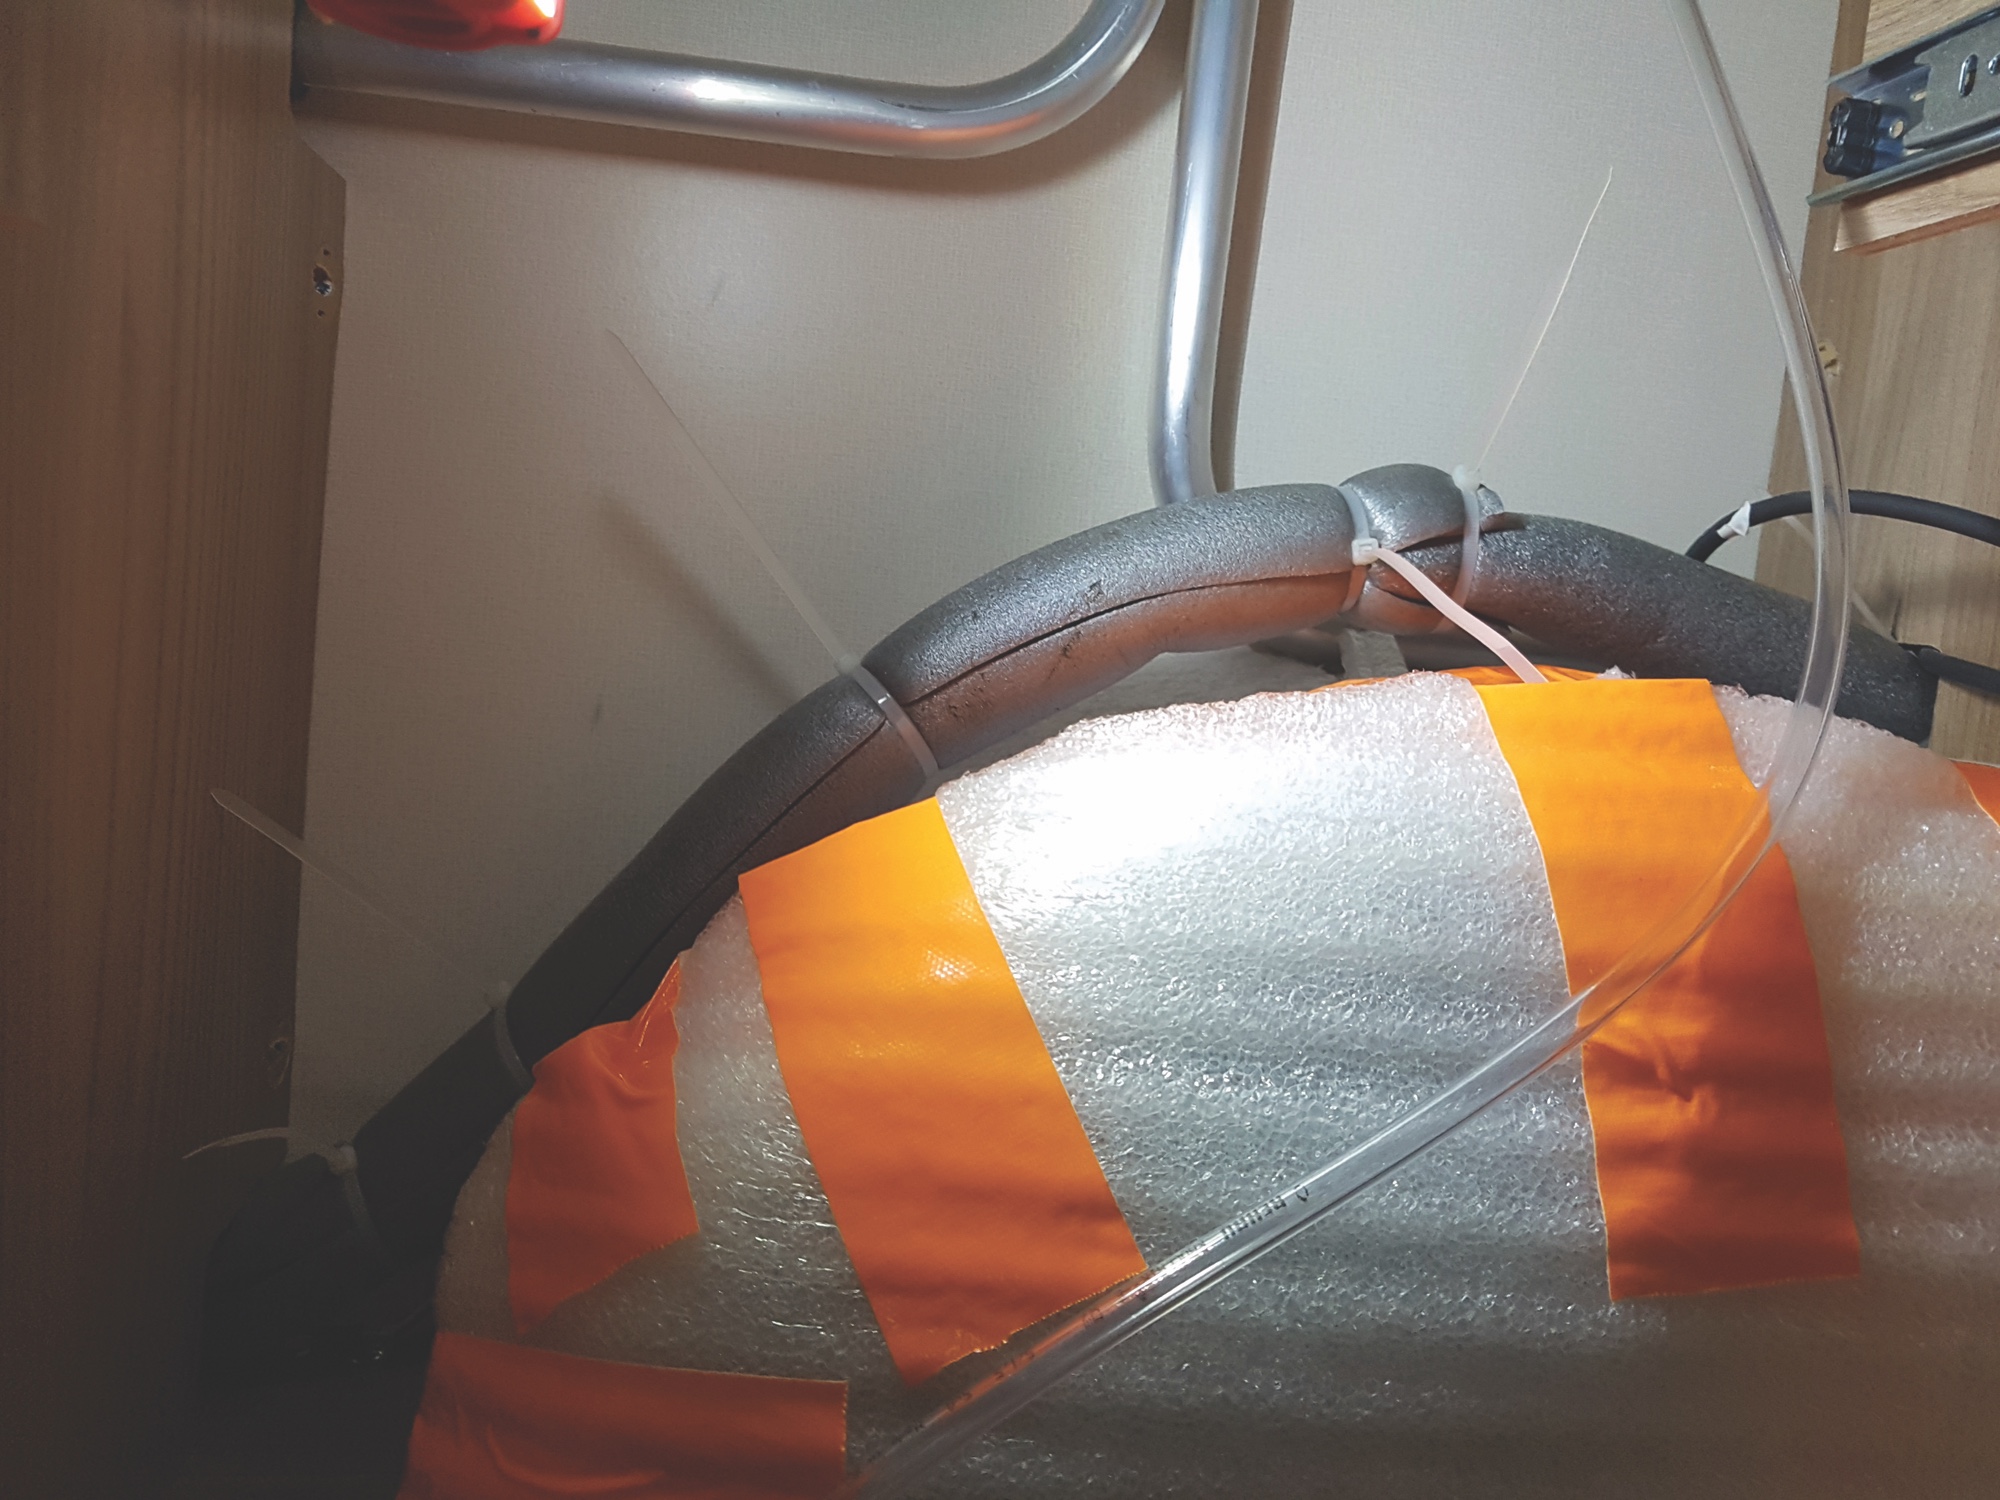
10. While Rod was scrabbling around under the lockers, he wisely took the time to insulate some of the main pipes for his Alde heating, using split-foam insulation and cables ties. Job done!
Future Publishing Limited, the publisher of Practical Motorhome, provides the information in this article in good faith and makes no representation as to its completeness or accuracy. Individuals carrying out the instructions do so at their own risk and must exercise their independent judgement in determining the appropriateness of the advice to their circumstances. Individuals should take appropriate safety precautions and be aware of the risk of electrocution when dealing with electrical products. To the fullest extent permitted by law, neither Future nor its employees or agents shall have any liability in connection with the use of this information. Double check any warranty is not affected before proceeding.
If you liked this … you might like these:
How to look after your curtains and blinds
How to fit Truma iNet and LevelControl
How to make a portable power supply
If you’ve enjoyed reading this article, why not get the latest news, reviews and features delivered direct to your door or inbox every month. Take advantage of our brilliant Practical Motorhome magazine SUBSCRIBERS’ OFFER and SIGN UP TO OUR NEWSLETTER for regular weekly updates on all things motorhome related.
One wheel arch on Rod's 'van was easy to access, so he simply bought a £10 padded hot-water cylinder and cannibalised it to the right size and shape to cover the arch