Motorhome water systems are very sophisticated, but things can break or become damaged.
With that in mind, here I look at how to replace a kitchen tap and cartridge.
Buying the tap should be simple, but they come in all styles and materials – plastic and metal, traditional and contemporary, single lever and double mixer.
The connecting water pipes also come in different diameters.
Getting the right parts for the job
A good first step is to contact your motorhome dealership.
They will either recommend that you bring in your old tap, or ask for your motorhome VIN so they can identify the part you need.
If you already know what you require, many companies sell taps online or at the shows – just be careful to check your measurements first.
What you’ll need
- New tap/cartridge
- Crosshead screwdriver
- Ratchet & socket set
- Flat-blade screwdriver
- Allen key
- Adjustable wrench
IMPORTANT: before starting any work near electrics, make sure the mains and 12V power are isolated.
Replacing a tap
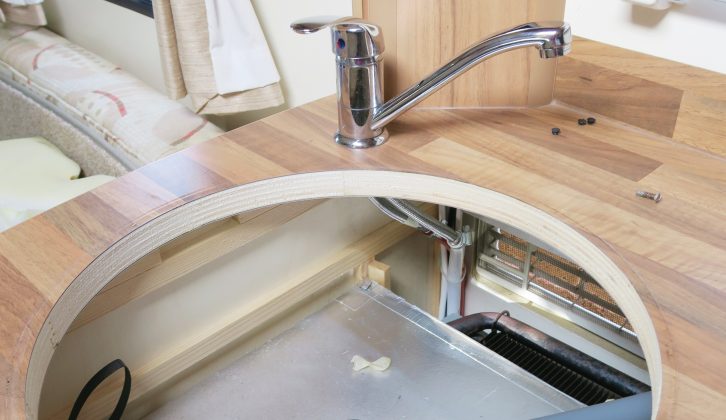
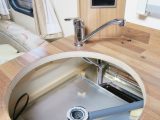
Removing the sink
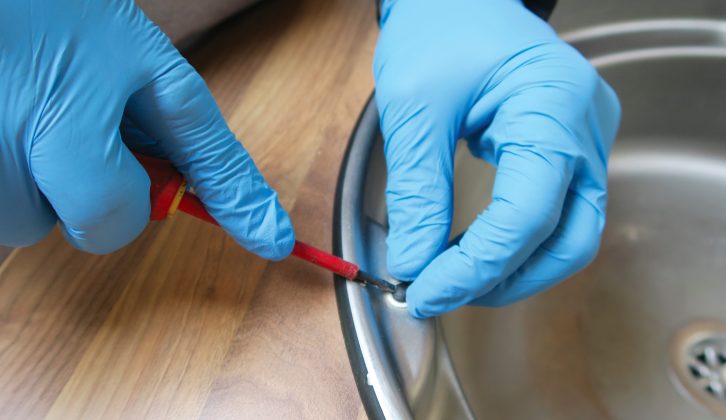
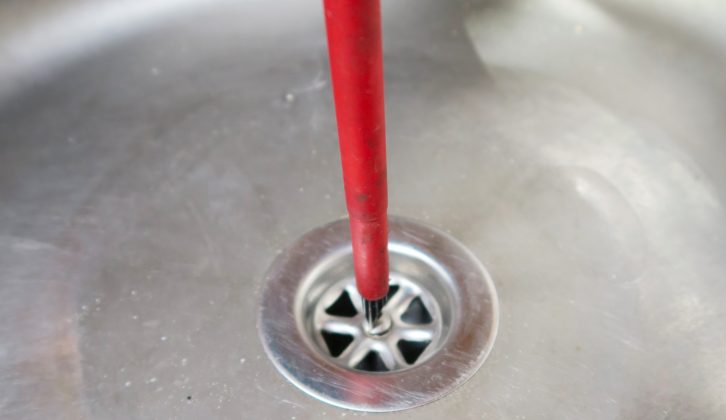
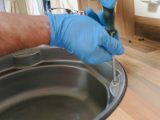
Remove the screw caps using a flat-blade screwdriver, then, using a crosshead screwdriver, remove the screws.
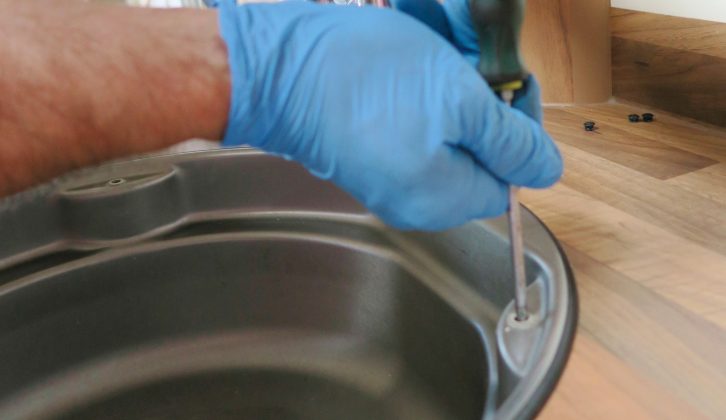
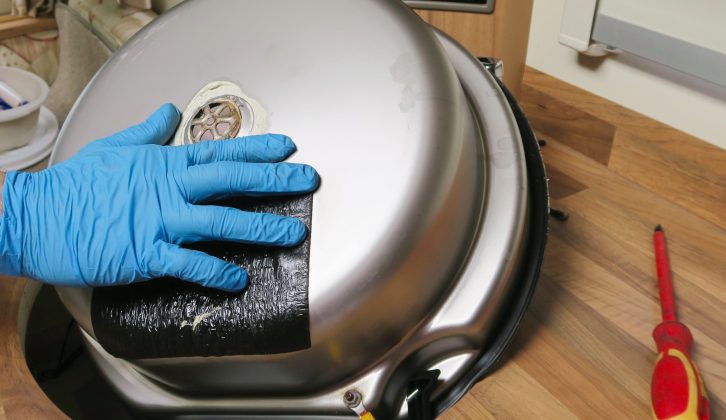
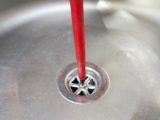
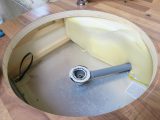
Next, remove the screw in the middle of the plughole and the sink should lift out.
There may be slight resistance if sealant is used around the waste-pipe area – just give it a good tug.
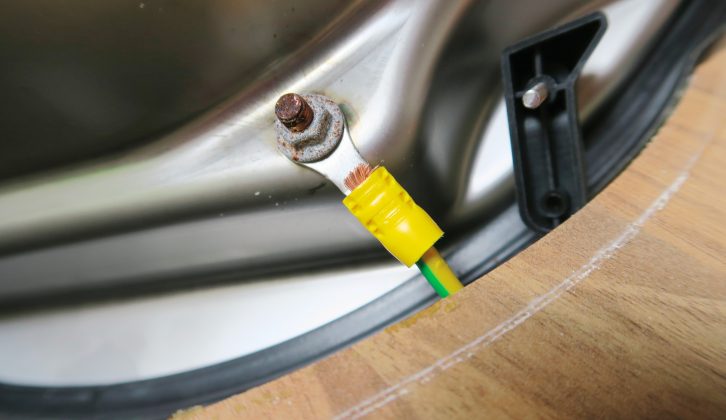
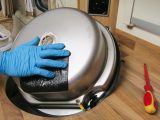
If your sink is metal, it may have an earth cable attached.
Here, the sink is above the fridge, so with electricity cables in the vicinity, the earth cable prevents the risk of shocks.
Removing the tap
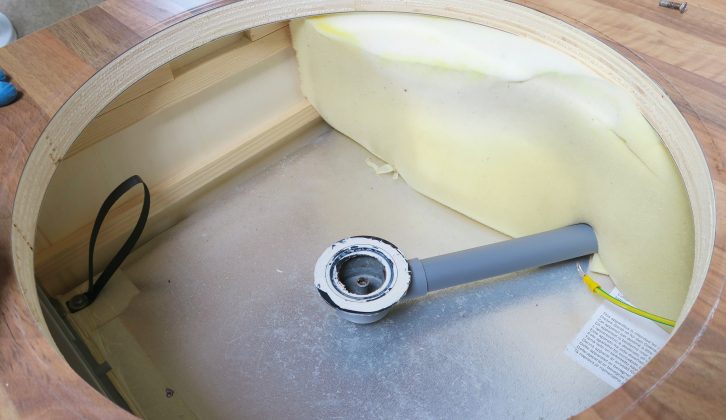
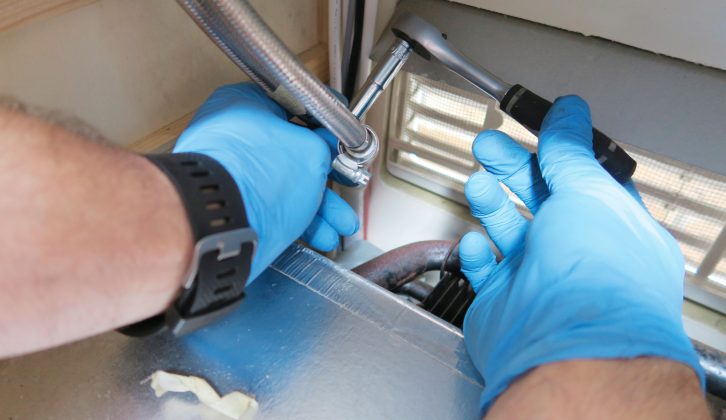
There is a ventilation grille on the outside of the motorhome to allow airflow, so you’ll find insulation here to prevent heat loss – remove this to get to the tap.
It will now become clear why you need it. It is possible to access the tap through the grille hole, but it might be a bit fiddly.
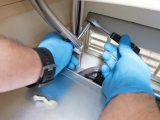
Using a ratchet and socket set, remove the Jubilee clips from around the water pipes.
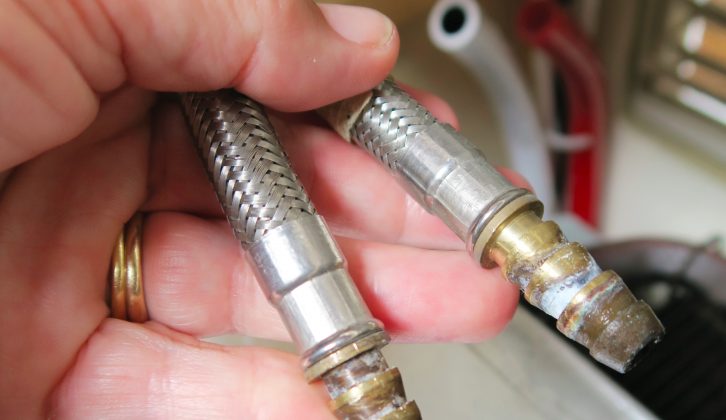
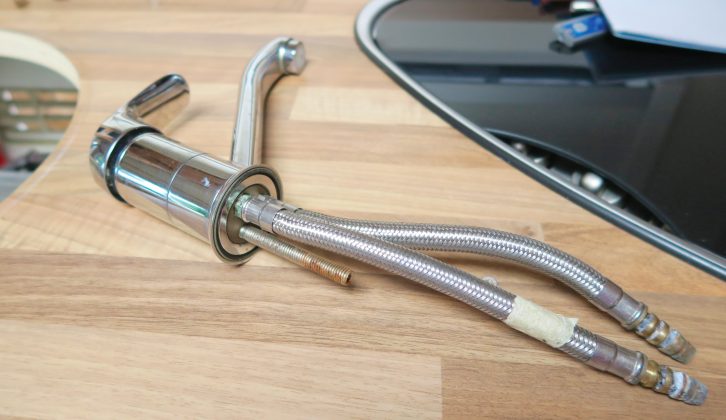
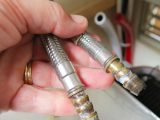
This can be quite tricky because the braided pipe that connects directly to the tap has barbed ends to secure the braided pipe to the plastic water pipe.
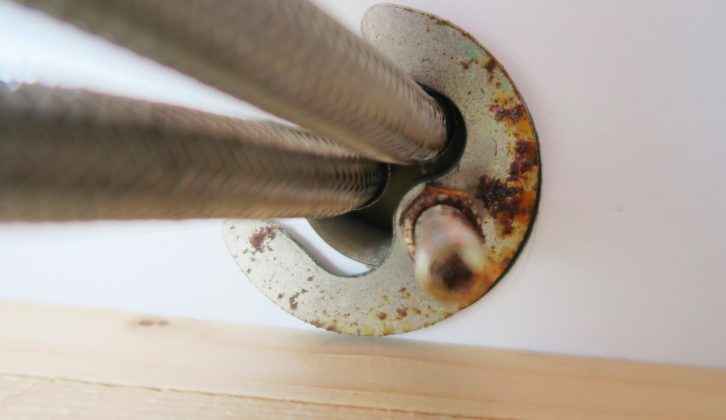
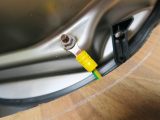
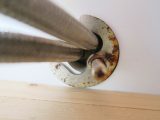
The final step to release the tap is to unscrew the bolt underneath the worktop area where the tap is positioned.
If you ever find your tap becoming wobbly, simply access through the ventilation grille or follow the above procedure and tighten the bolt.
If you do go in through the grille, remember it is quite a small space to work in.
The tap should lift out of the hole in the worktop with ease.
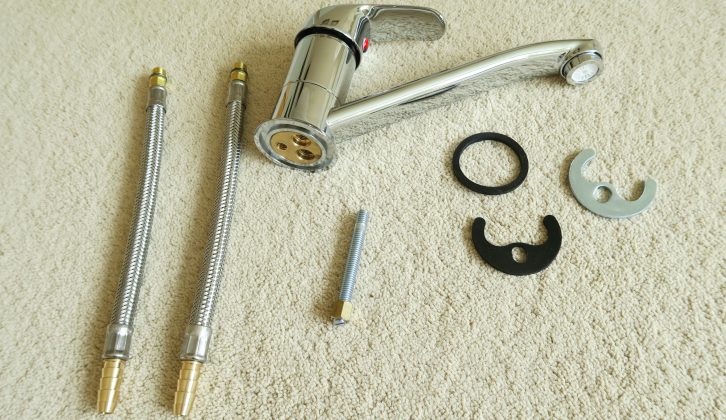
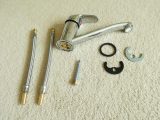
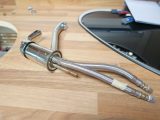
Now you can see the components of your tap, and you might want to take the old tap to the accessory shop or dealership when buying a replacement.
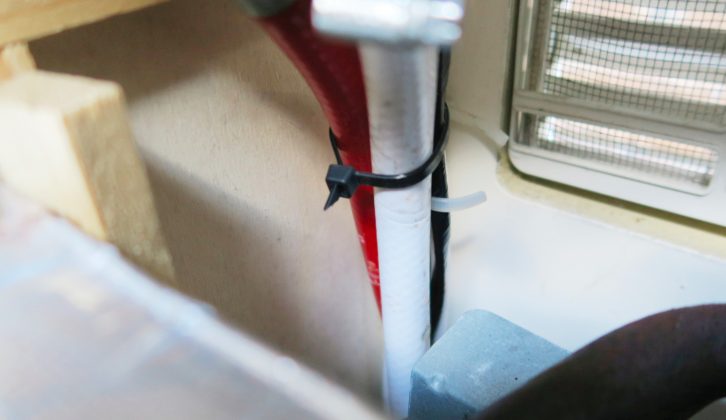
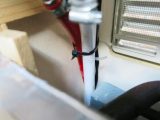
To fit the new tap, follow the above process in reverse, remembering to use cable ties to connect the plastic water pipes together to keep them away from the fridge elements.
Remember when installing the new tap to ensure the swivel function doesn’t hit anything before you screw it into place.
Important! Check for leaks before fixing the sink in place.
Replacing a cartridge
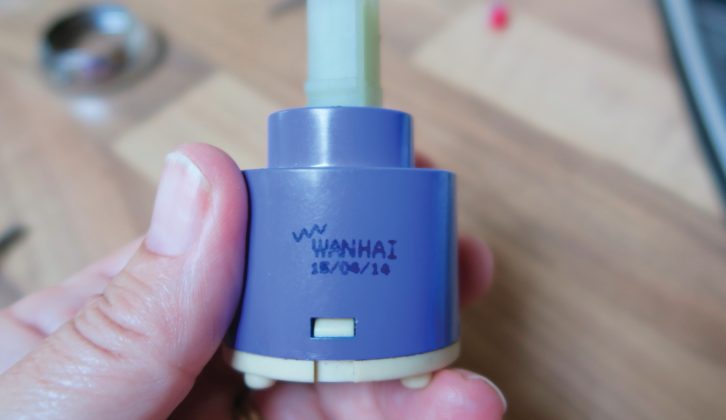
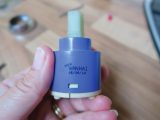
If you find your tap is leaking, it may be because the tap’s cartridge has worn out or the washers are damaged.
You can replace the cartridge, rather than replacing the whole tap unit, and this will save money, too.
A good quality tap could set you back £35 to £75 or more, while a cartridge costs £6 to £16.
It is possible to complete this with the tap in situ, but make sure you have turned the water pump off.
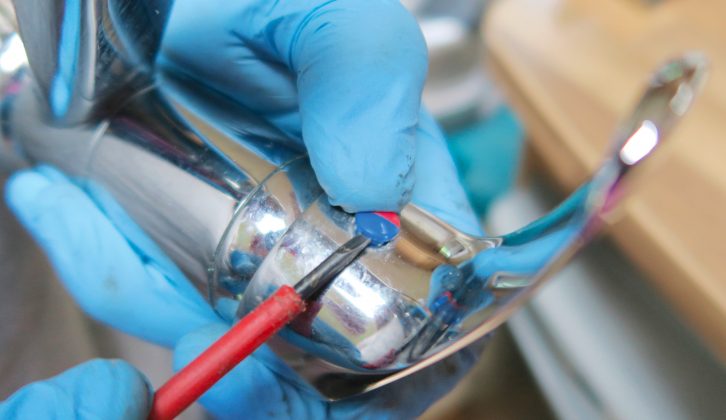
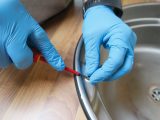
Use a flat-blade screwdriver to remove the hot/cold button on the tap.
As a rule of thumb, the red side (hot) is on the left and the blue side (cold) on the right.
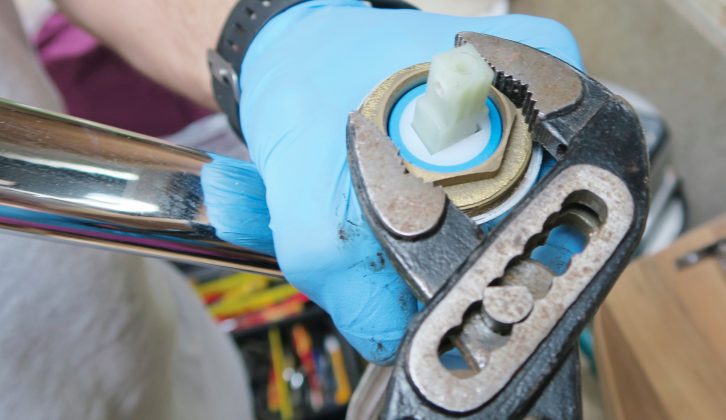
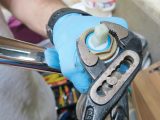
Using an Allen key, unscrew the bolt. The top section lifts off, revealing a brass locking nut, which can be removed with an adjustable wrench.
Lift out the old cartridge and replace with a new one, then simply follow the above steps in reverse to complete the process.
Final thoughts…
Taps vary in size and style for different motorhomes, so this is simply the procedure that I have used for my own ’van.
This should give you an idea of what to do, but if you are at all unsure, call in a mobile motorhome engineer or go to your local dealership for help.
When installing the new tap, ensure the swivel function doesn’t hit anything before you screw it in
