


It’s 11 months since I reported on life with my 2008 Autocruise Wentworth. In the three-and-a-half years that I’ve owned the ’van I have only had a few minor problems; the latest one being that the cantilever entrance step was malfunctioning. Having plenty of experience of owning a cheap project ‘van and carrying out running repairs, I like to do a bit of DIY motorhome maintenance now and then. Here’s how I fixed it.
Electrical cantilever step
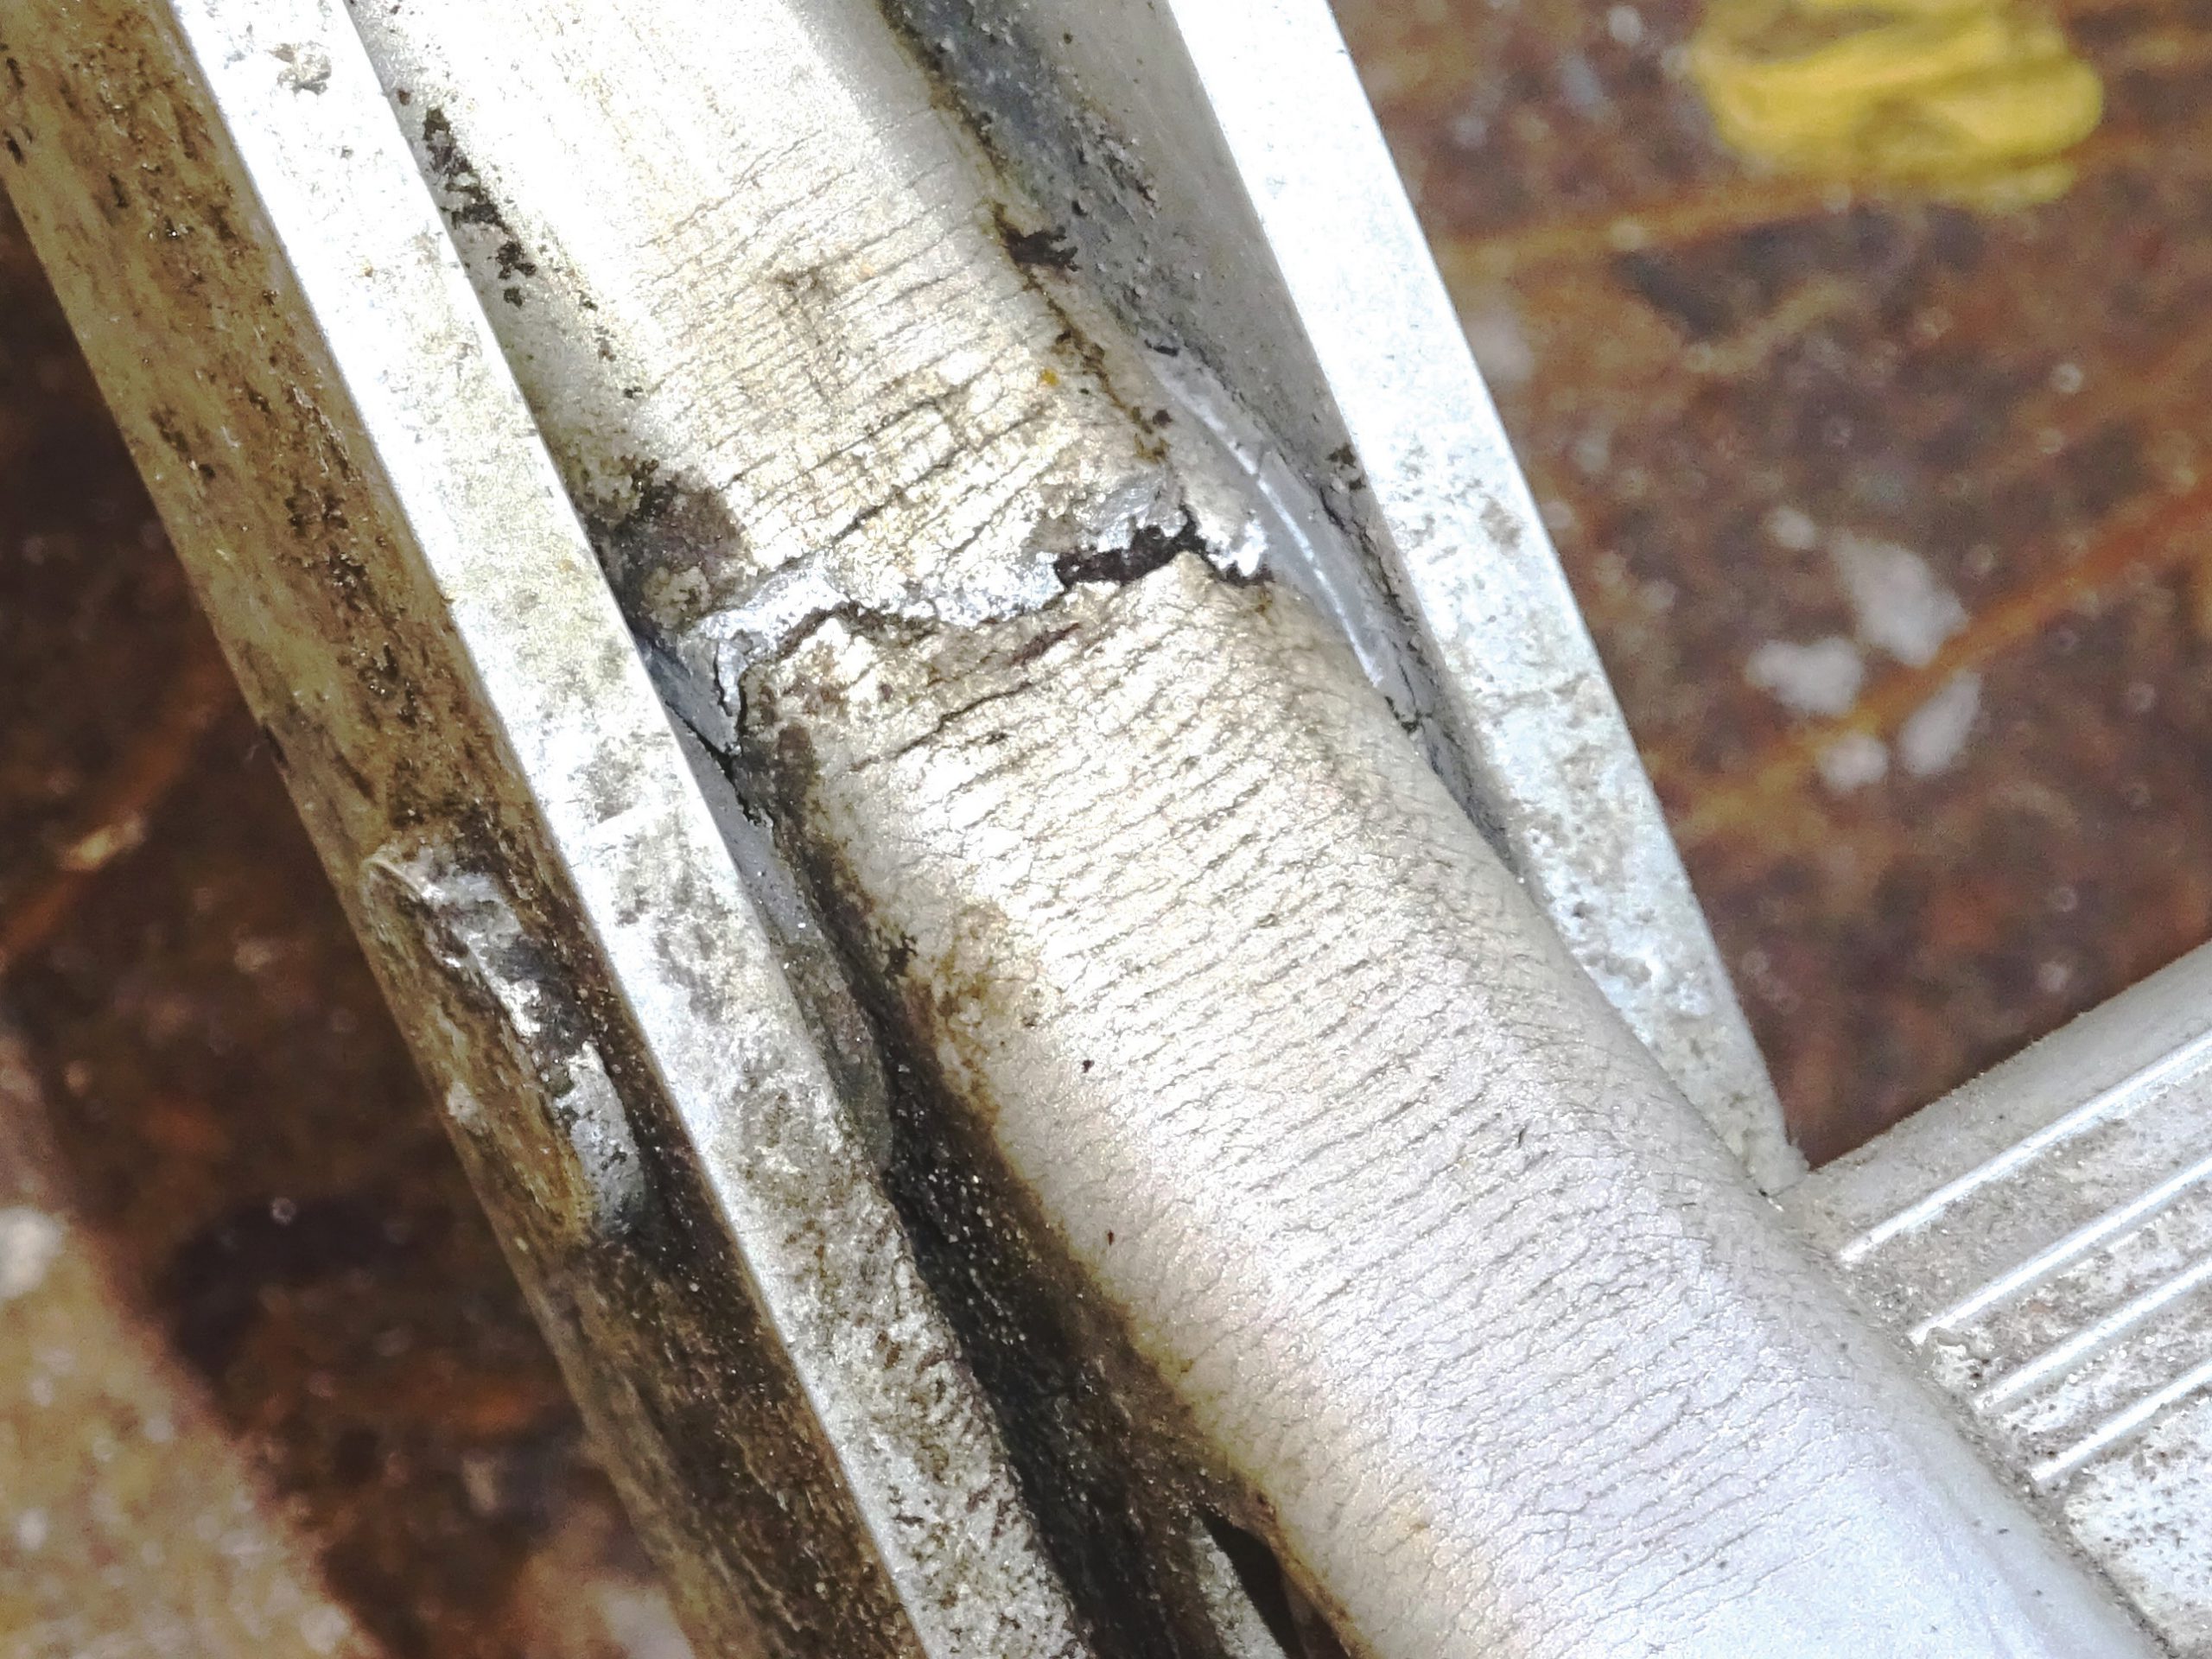
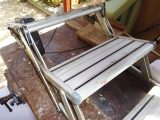
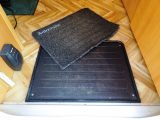
The entrance step was not working and I needed to use my motorhome the next day, so it needed my immmediate attention. Here’s how I went about it. First, I removed the whole step unit and put it in my workshop for closer examination, although it was obvious that the left-hand cantilever arm had failed. All that was needed was to buy a couple of new arms (if one has broken, the other is also likely to be very worn), use some replacement rivet kits and ‘Bob’s yer Uncle’.
Or at least, that’s what I thought. What I hadn’t taken into account was the huge mark-up on the price of spare parts. Omnistor quoted £148.80 per cantilever arm, plus £26.40 for the rivet kits. That’s a whopping £324. Jaw-dropping, when you consider that a new unit, with motor and warranty, from the company was just £60 more. So, naturally enough, I bought a new unit online from O’Leary Motorhomes in Woodmansey, in the East Riding of Yorkshire, for £373.98, including delivery.
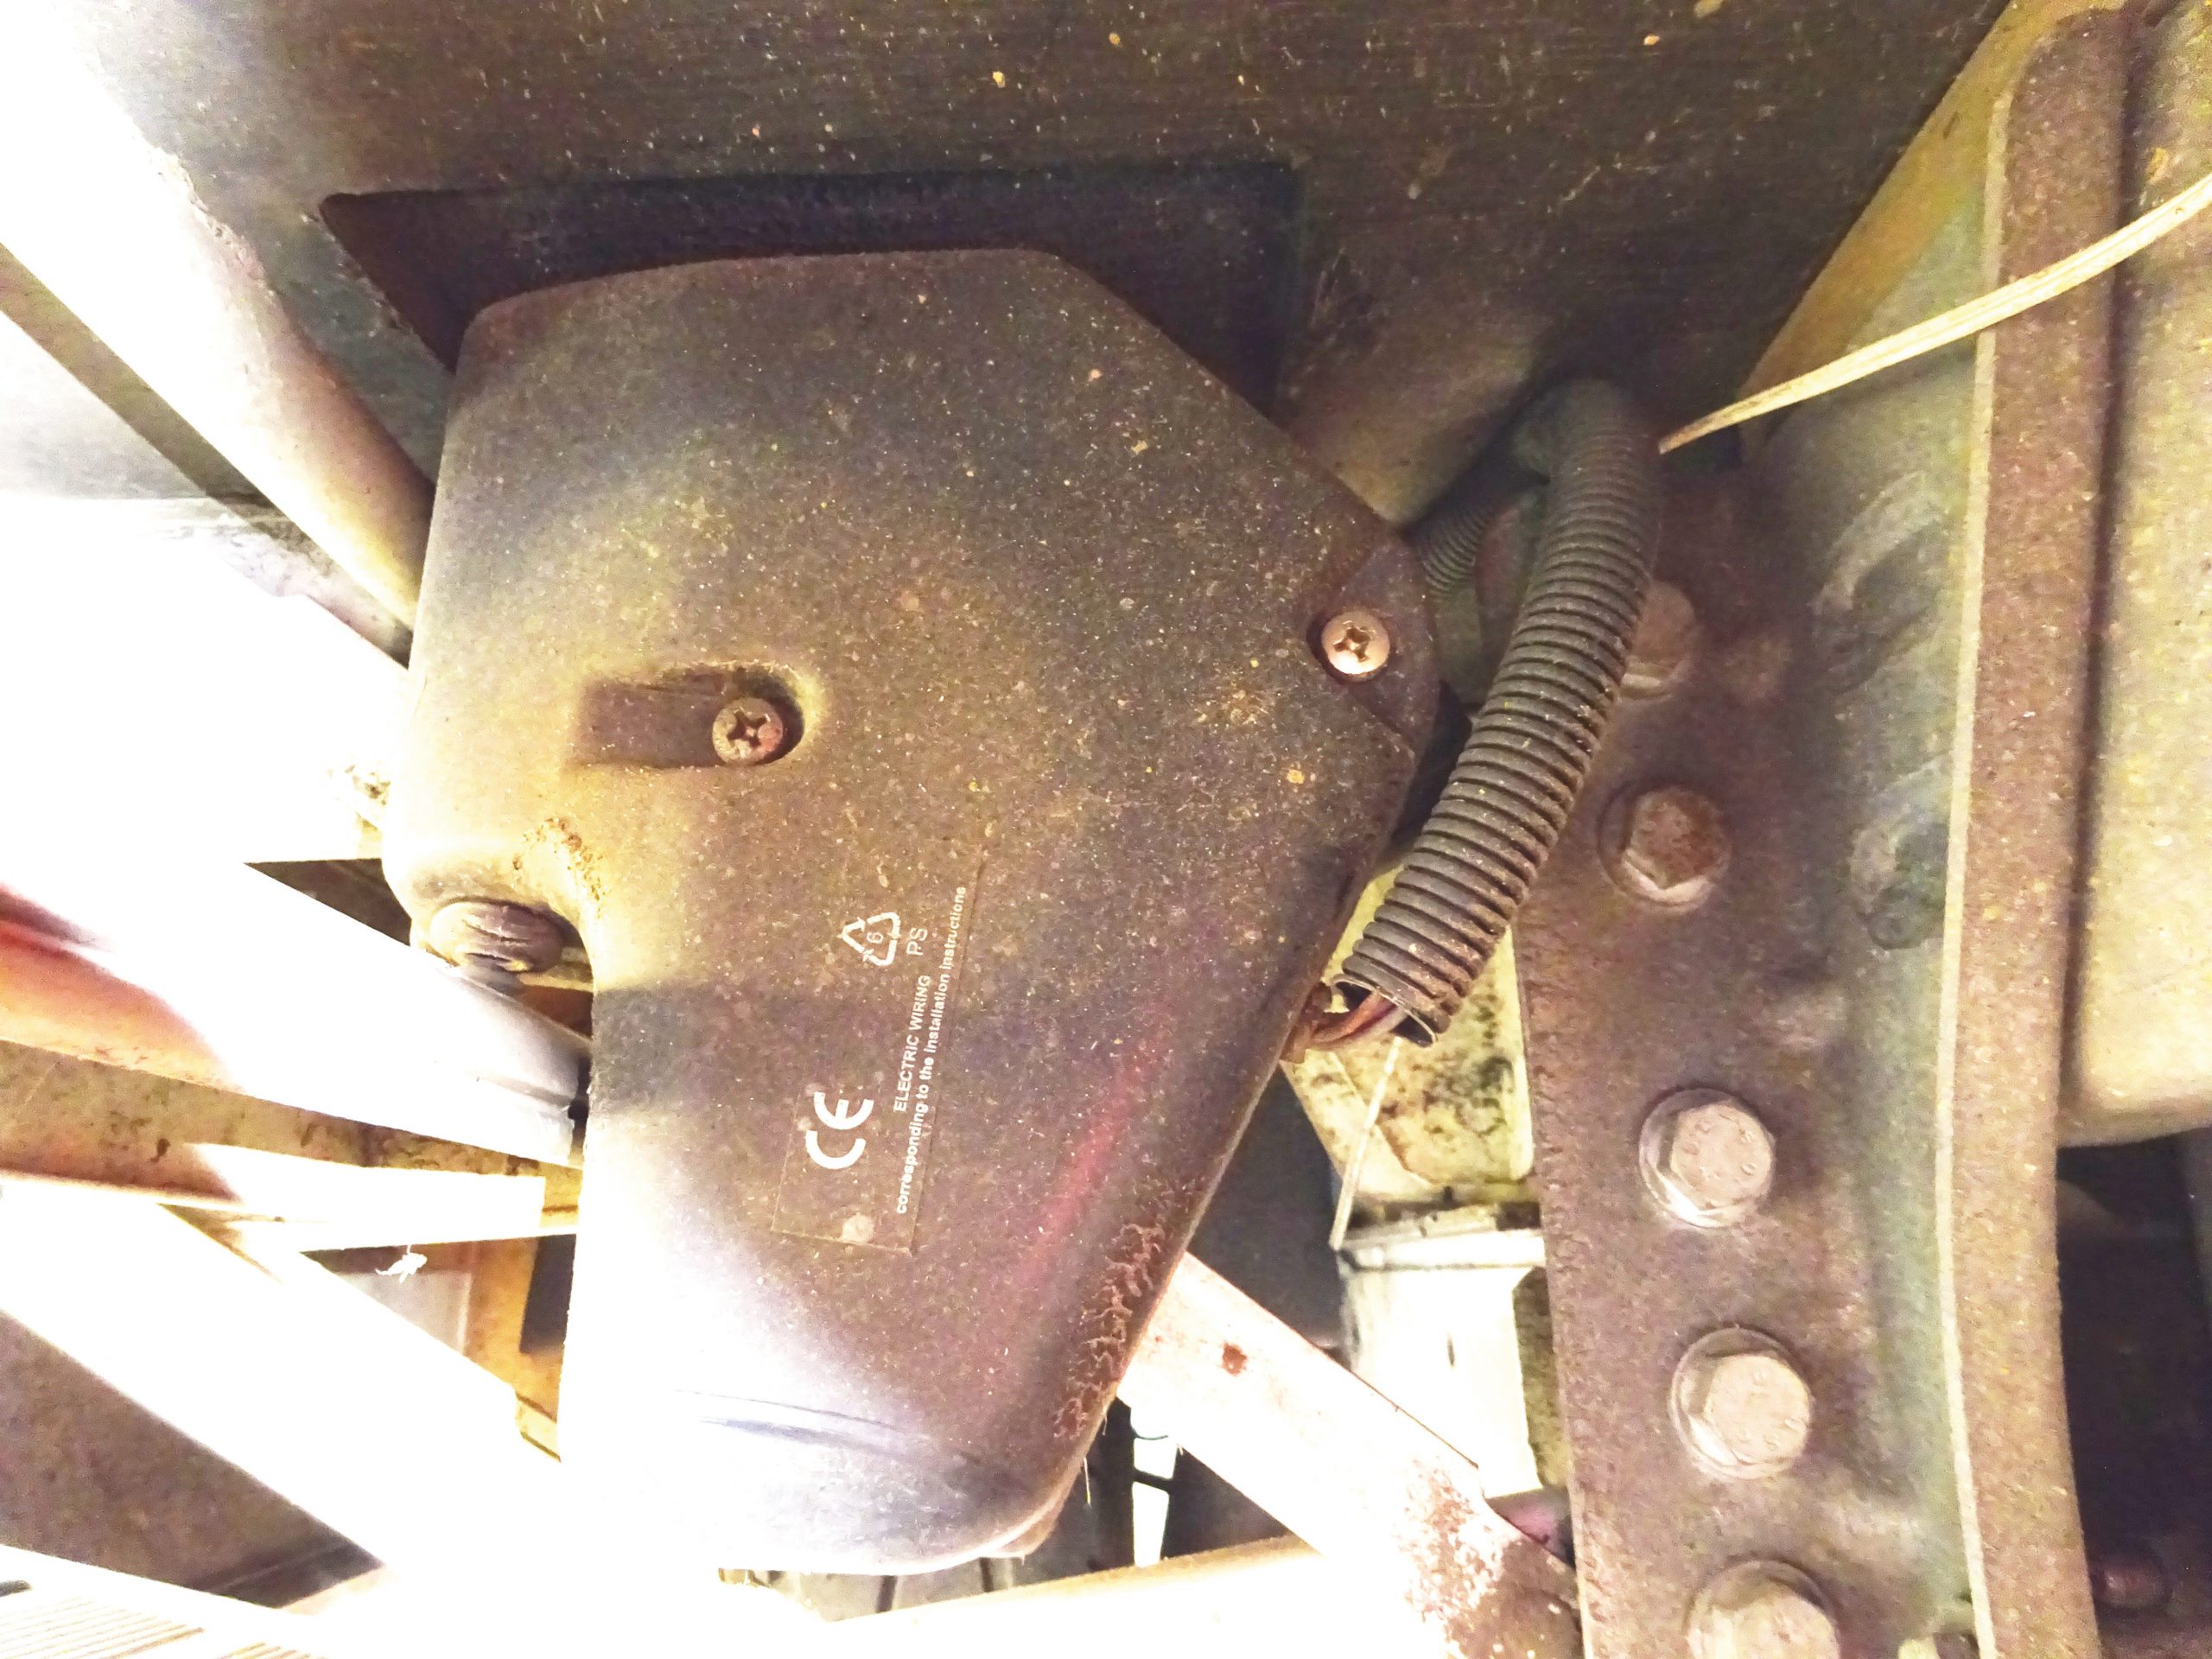
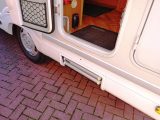
The step is located immediately behind the offside rear wheel and, predictably, was covered in mud. So I had to clean it and work WD40 right into the fixings’ threads using an old toothbrush. Inferior design meant that a (17mm) socket didn’t fit on all the nuts, so I found that a chubby combi spanner was also required.
Look under the mat
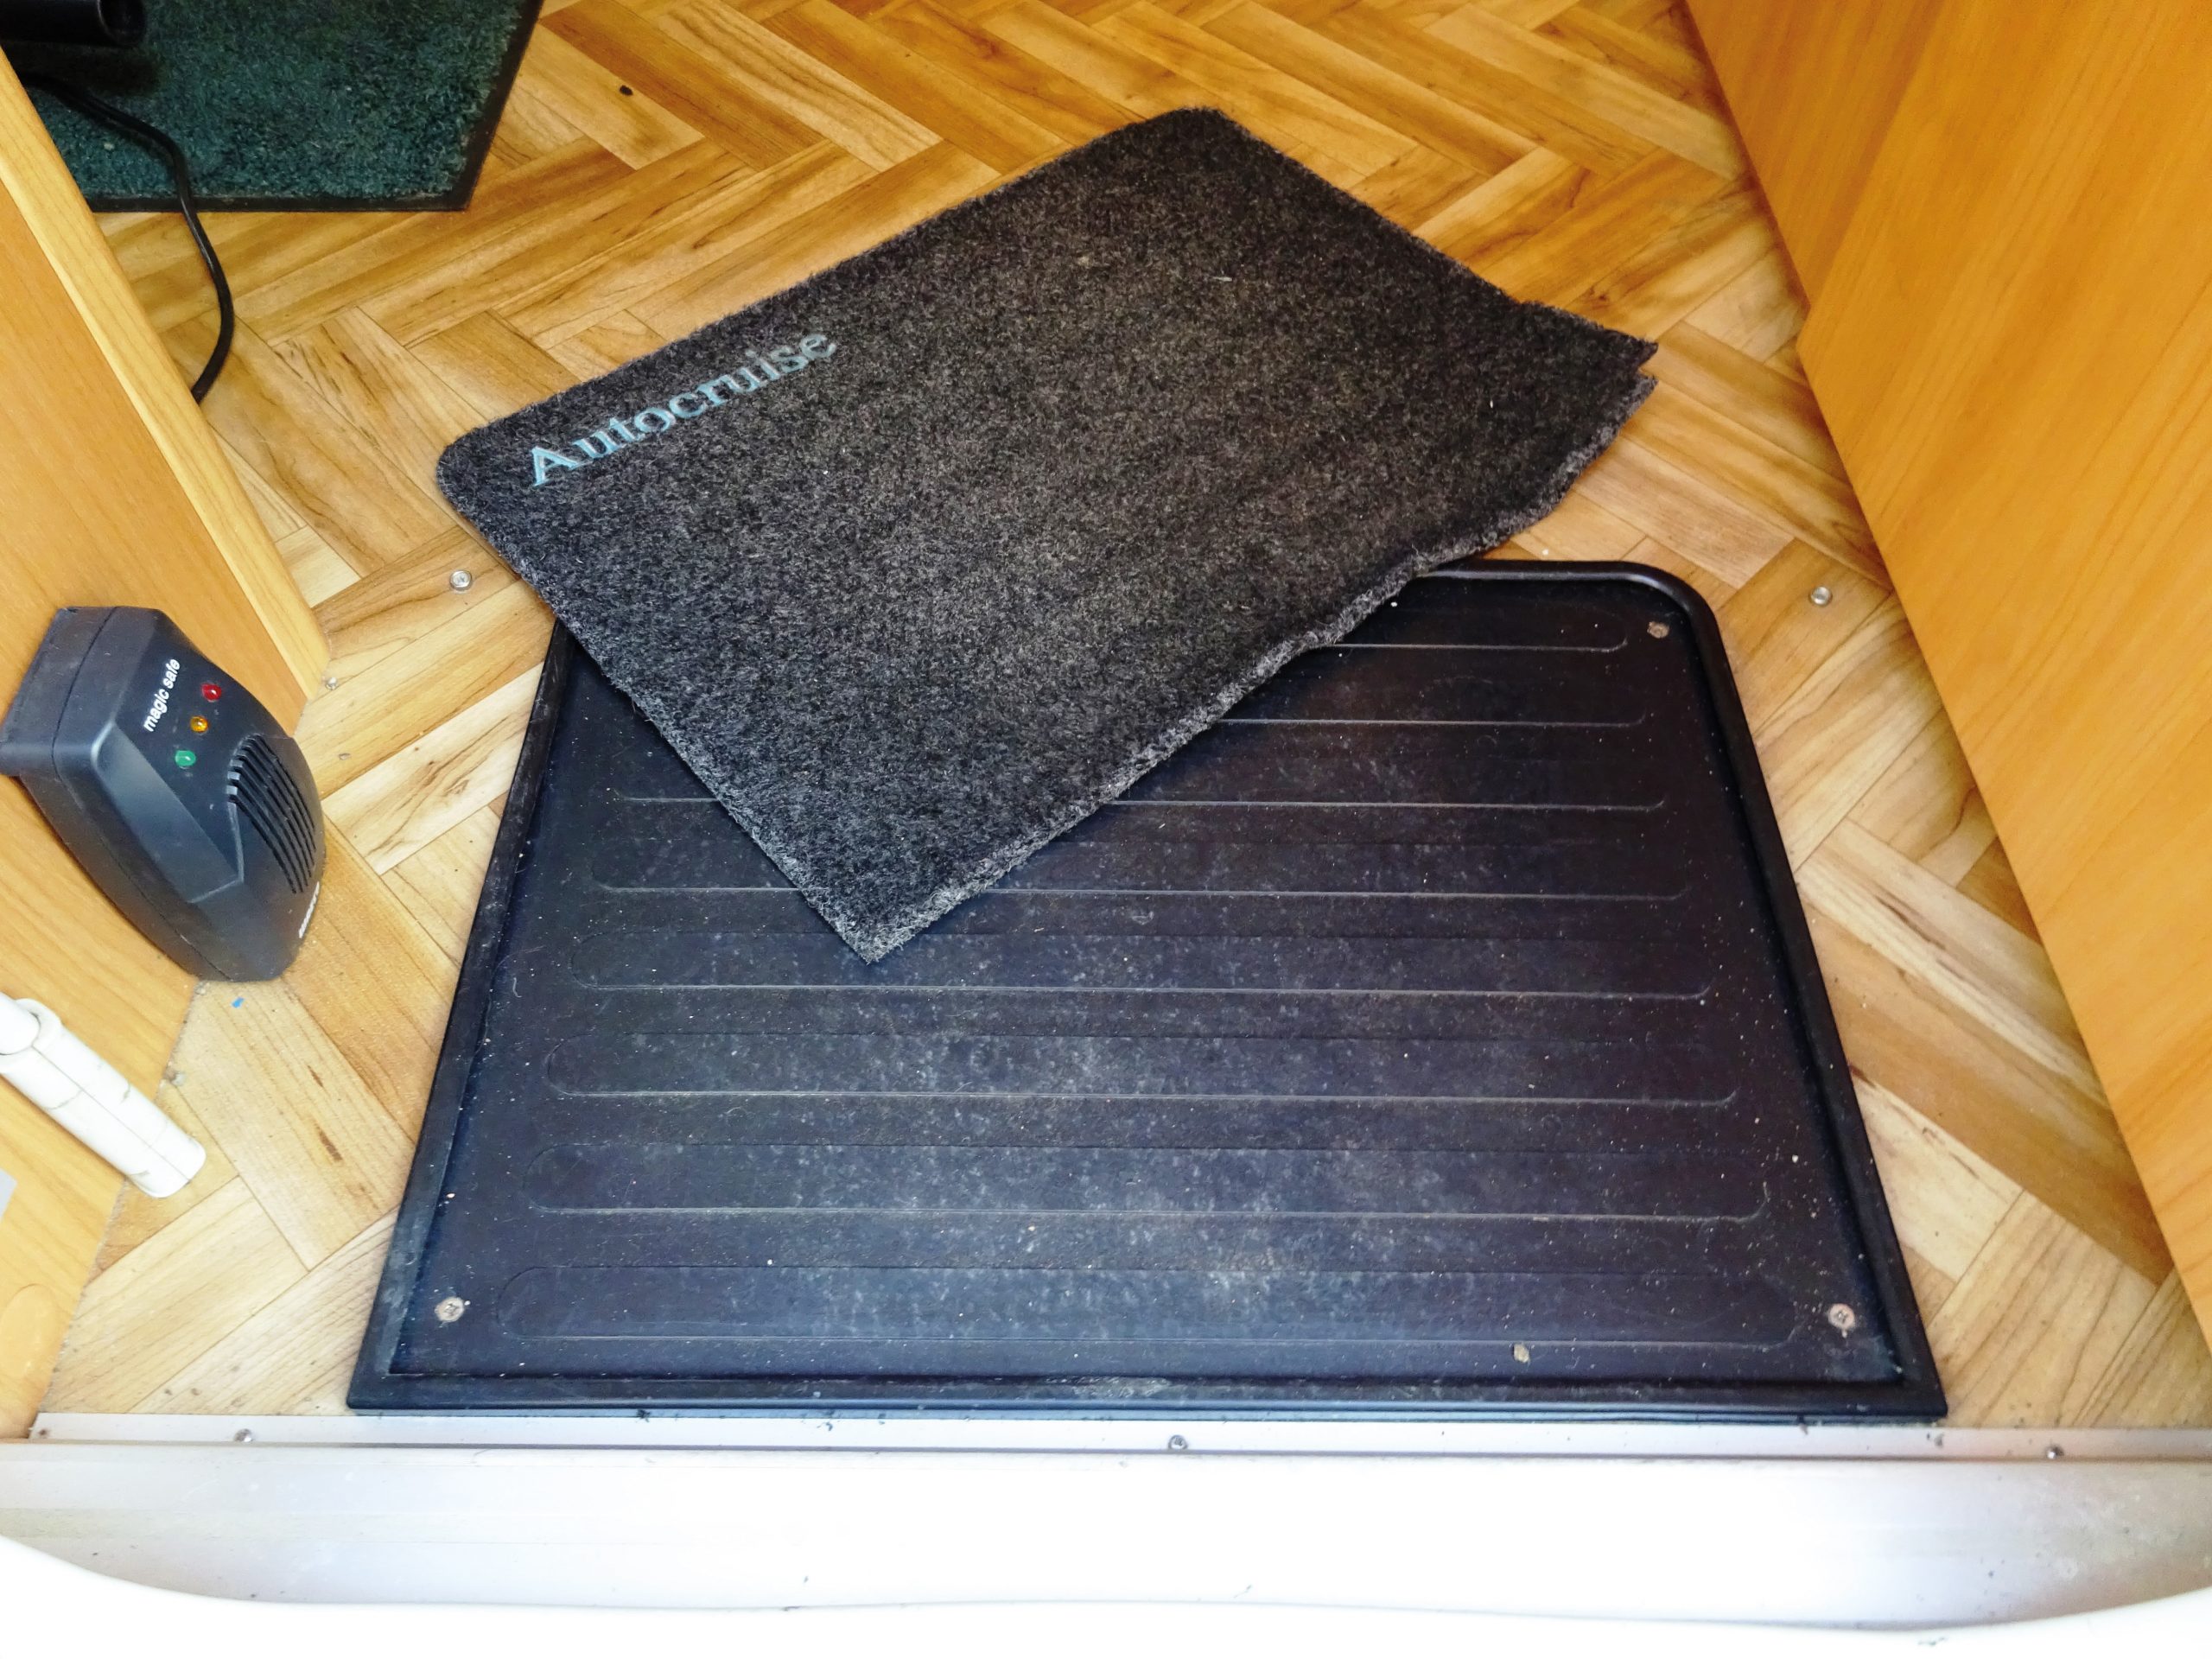
The heads of the coach bolts are concealed under the door-mat holder. If you need to access a seized nut, remove the mat and then undo the four screws that anchor the holder. During manufacture Autocruise had laid the vinyl floor over the bolt heads, so I also needed to do some careful cutting with a sharp knife.
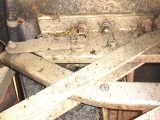
Next I needed to undo the two motor cover fixing bolts. The cut-off switch that operates when the steps are fully retracted is mounted on the cover. For your own reference take a photograph of the electrical connections revealed or make a careful note of the various joints. Purple-to-red and yellow-to-black cable joins are not the most logical.
New for old
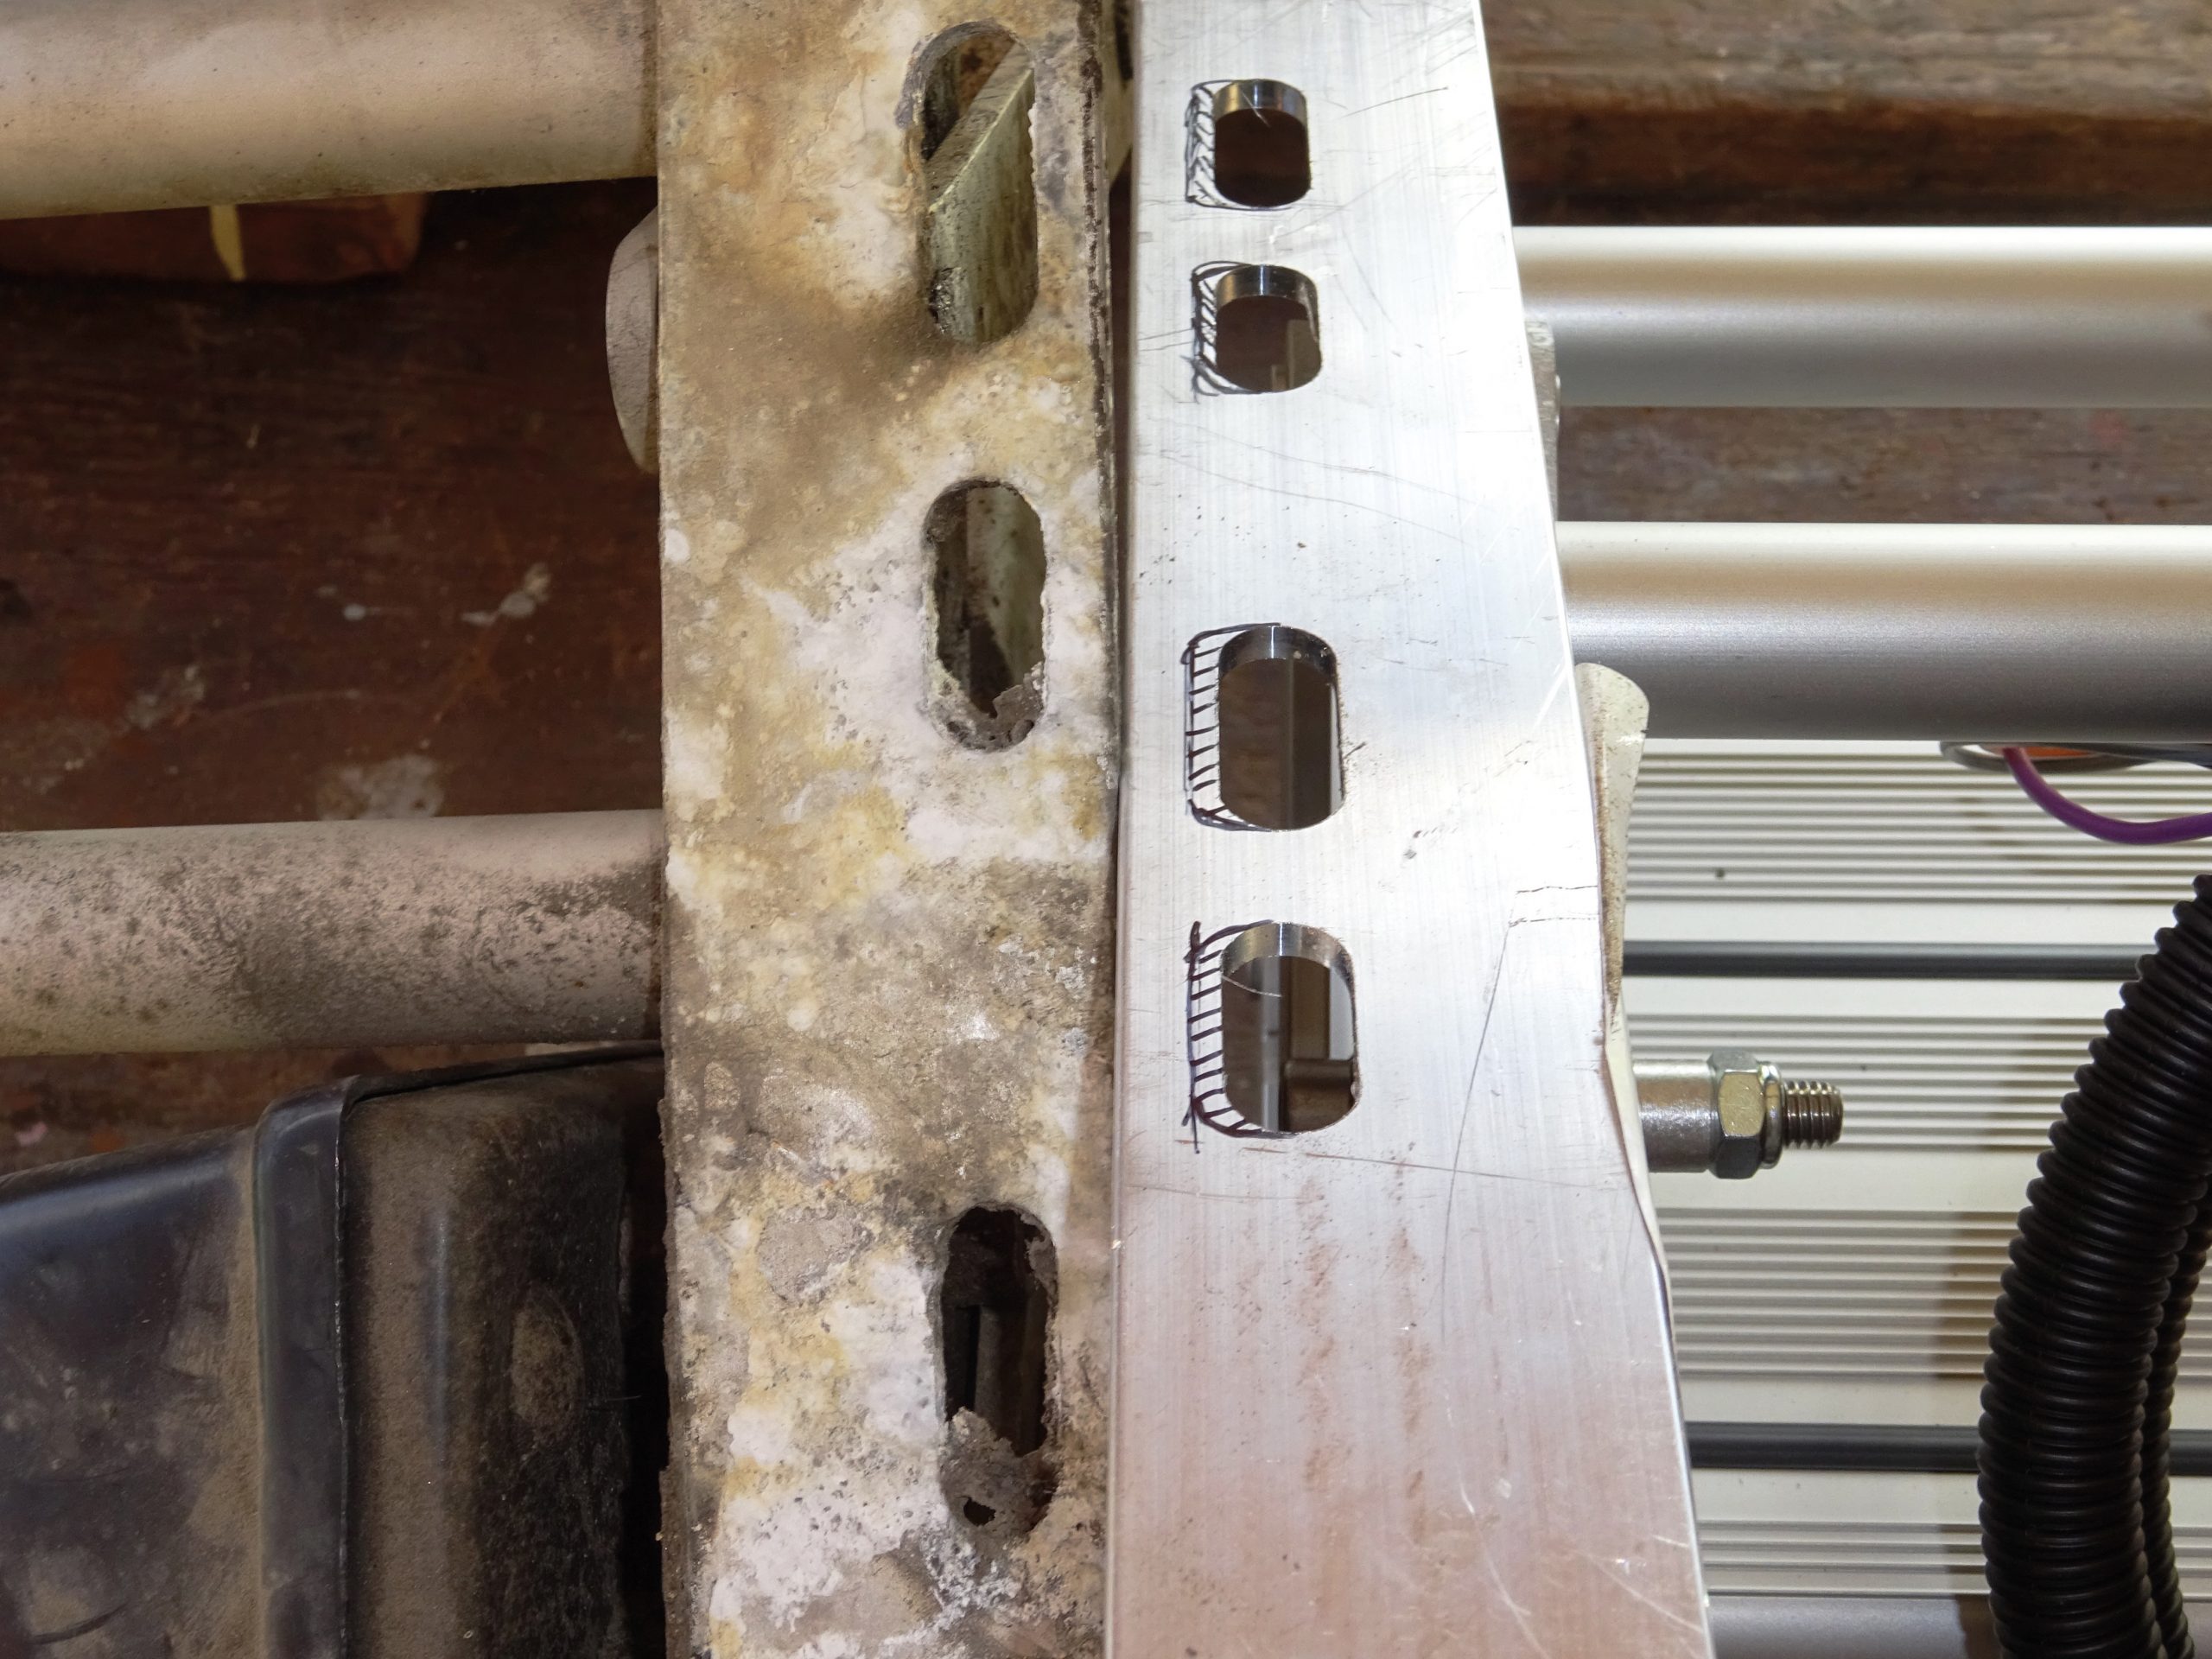
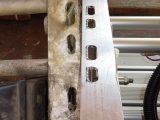
The new step was made in Sweden by Thule and should have been identical to our older model… it wasn’t, of course! The mounting holes were in the same longitudinal position but on the new one they were not as near to the outer edge. The drawn-on cross-hatching indicates the amount of metal that I had to file away by hand to ensure a perfect fit when it was mounted on the ’van.
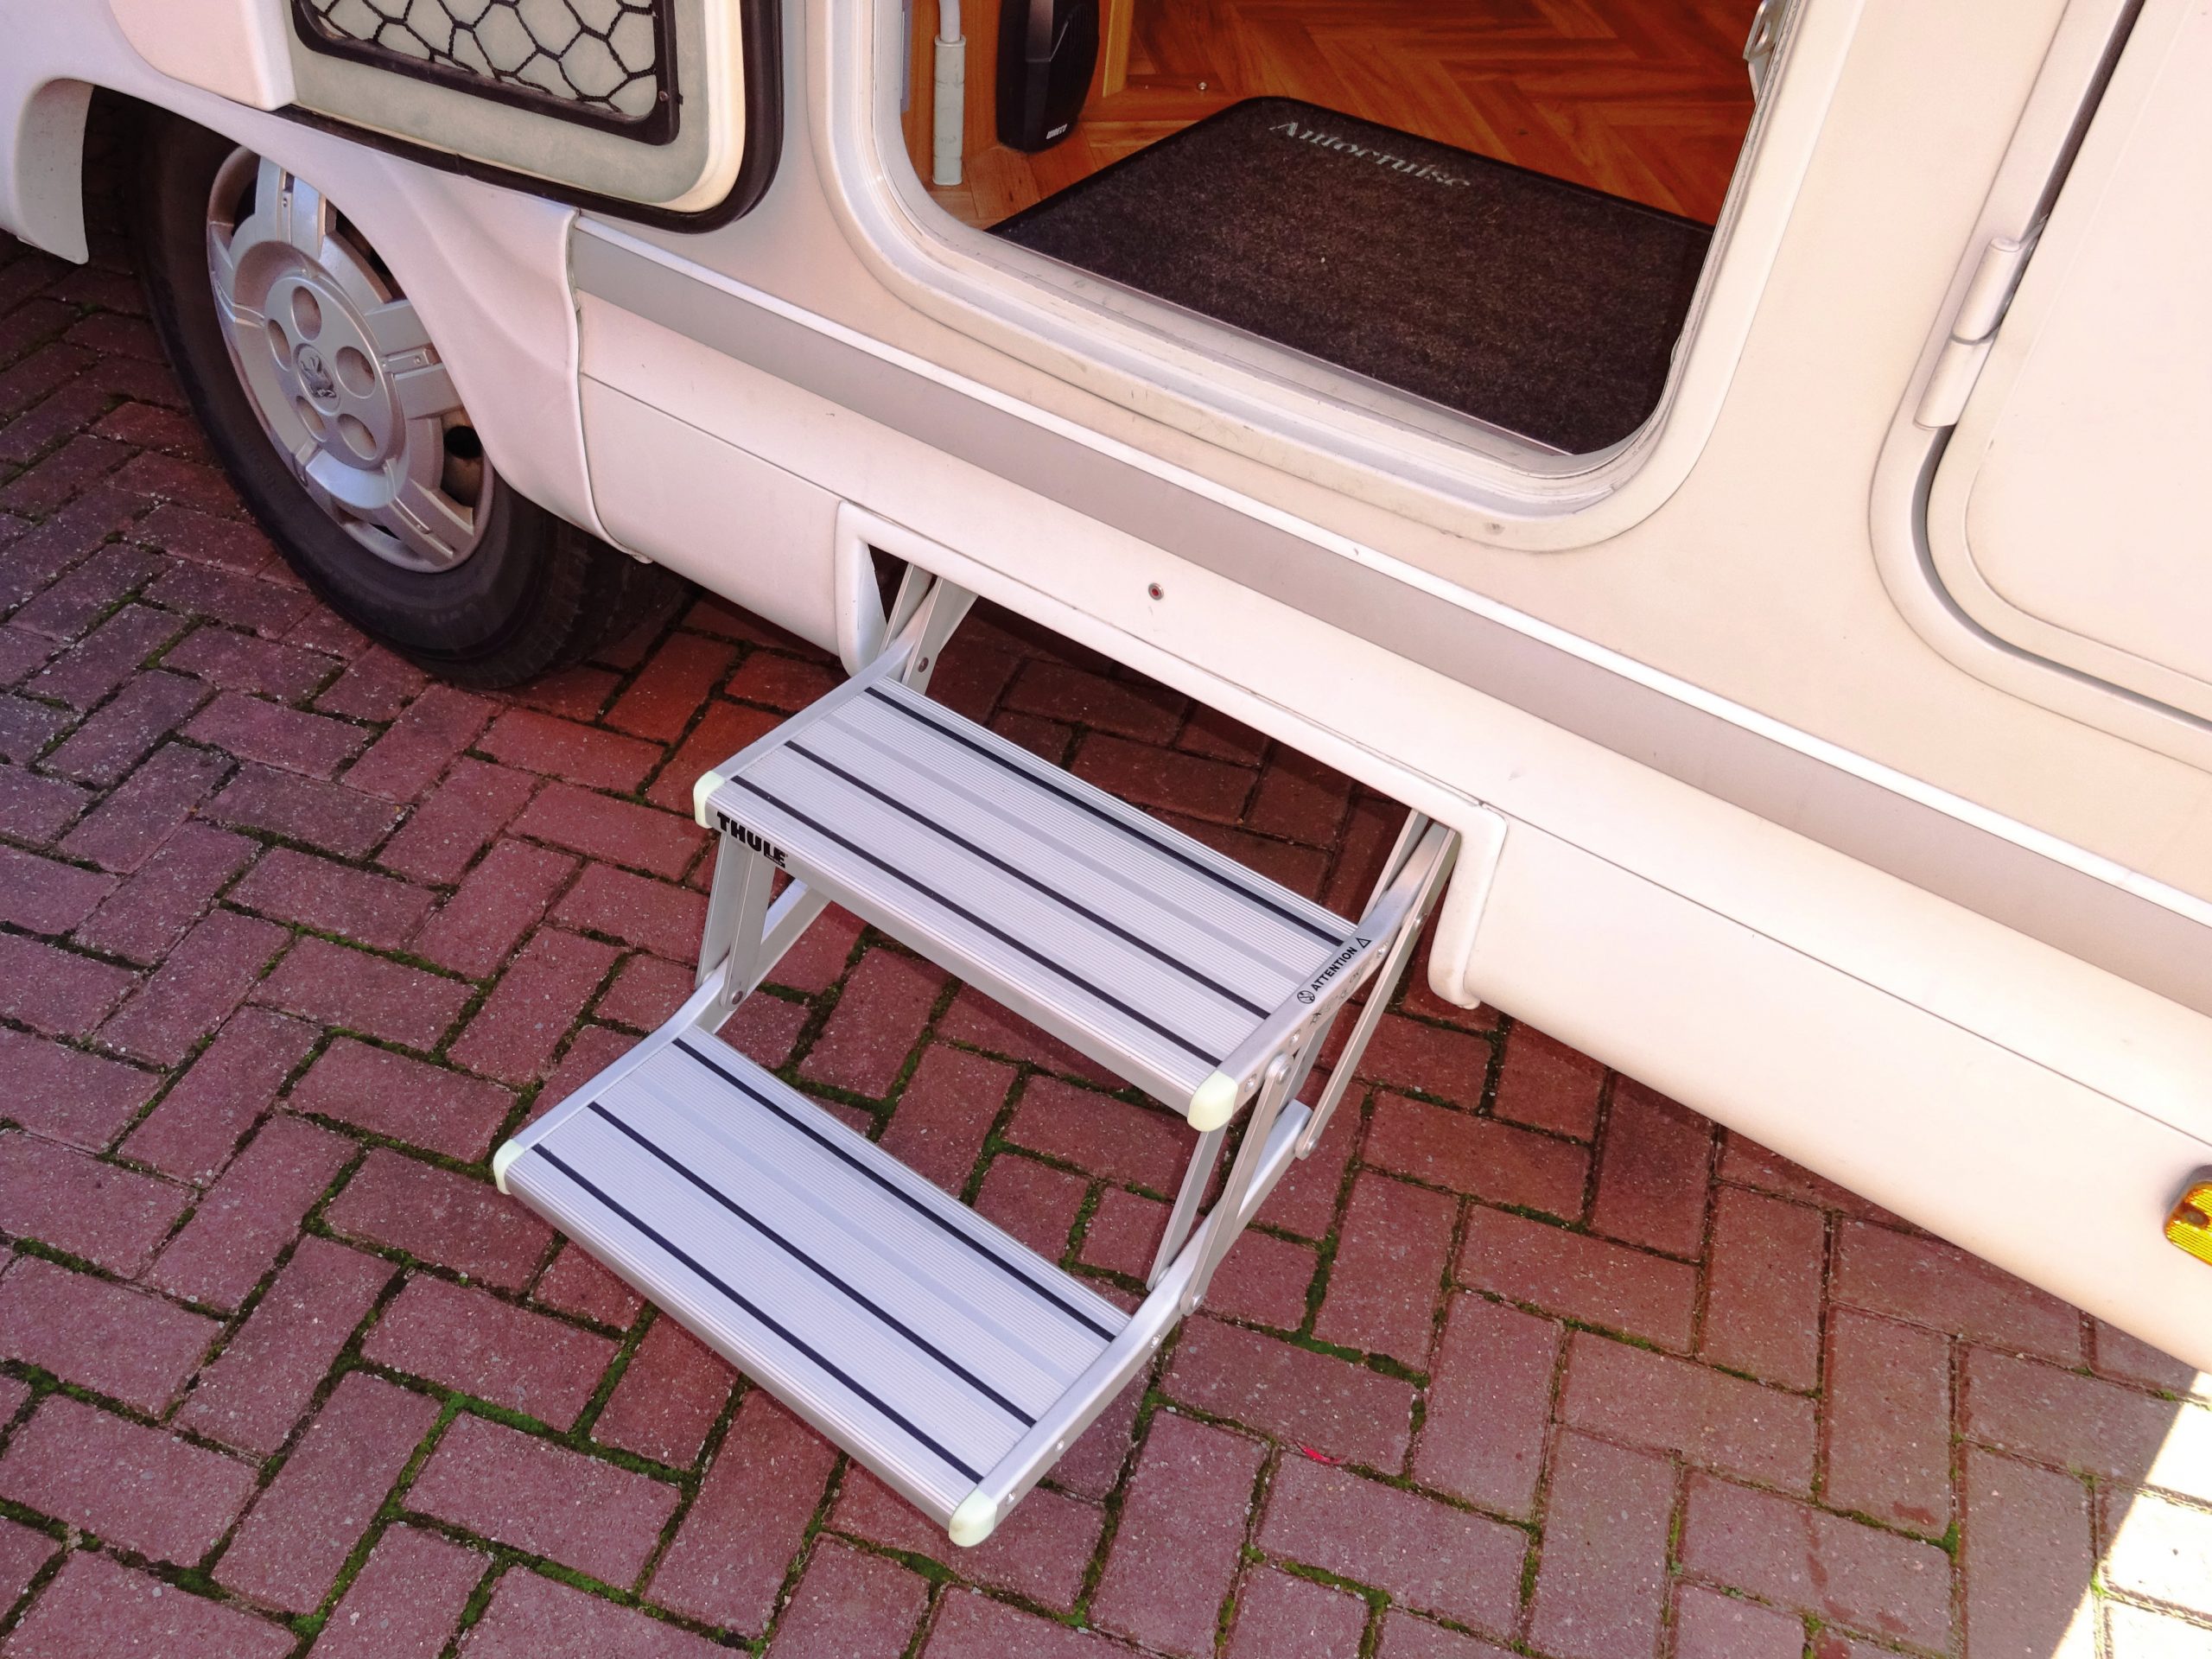
Fitting the new step was straightforward: it all worked as it should. On reflection I reckon that the failure of the sealed-for-life pivots, which then caused the arm to fracture, was a result of exposure to gritty water thrown up by the rear wheels – and not helped by Peugeot failing to fit mud flaps when they made the base vehicle.
So, if your motorhome step fails to operate correctly, take heart – it’s perfectly possible to fit a new one!
What I hadn’t taken into account was the huge mark-up on the price of spare parts