


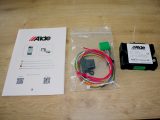


When I first heard about Alde’s Smart Control (a device that allows you to operate the ’van’s heating from your smartphone), I thought: “Some people want all the latest gadgets, but what’s the point?”
Then I realised what a good idea it is. The cost savings may not be much for those who use mains hook-up, but by using less energy we are doing our environmental bit.
And if you rely on gas for heating your ’van, you will derive the most benefit. In time, the unit may pay for itself.
How do you use it?
Let’s say you’ve planned a day of exploring. Turn the heating down or off as you head out and, about an hour before your return, switch it back on or increase the temperature via the app on your phone. The ’van will be warm when you return.
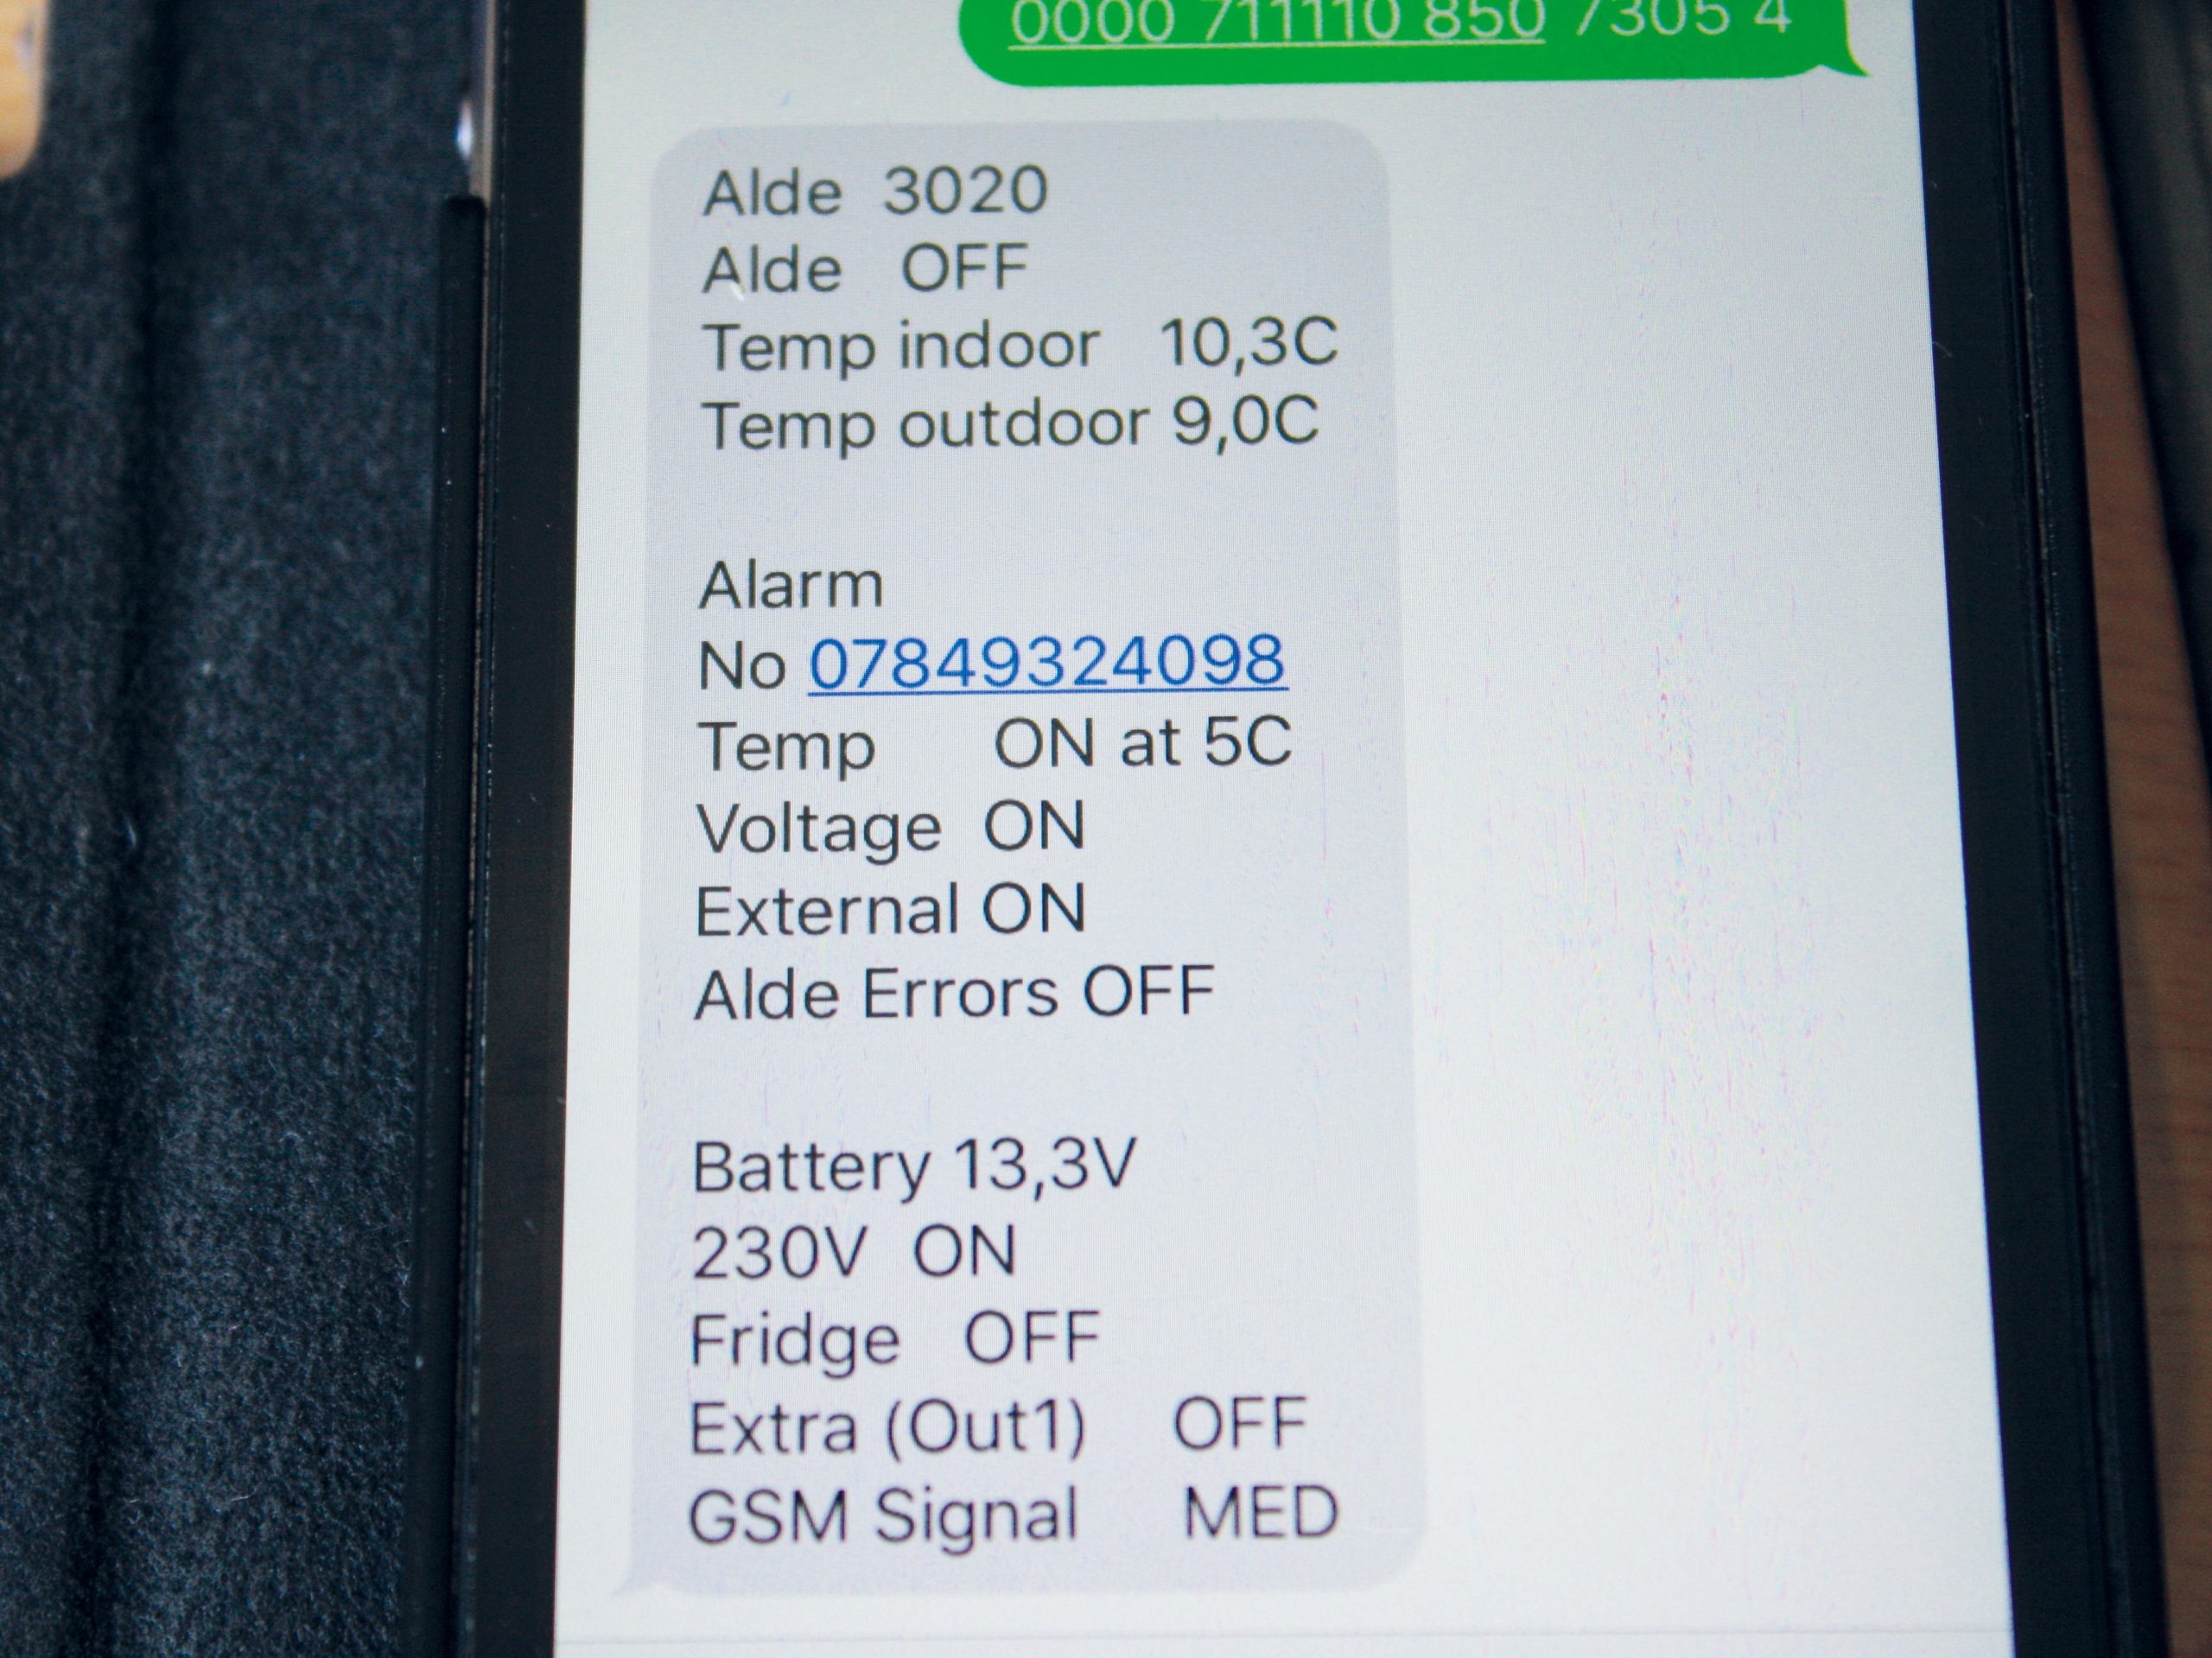
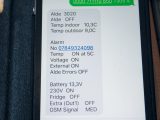
Smart Control is clever in other ways. For example, it lets you check the state of your ’van’s 12V and 240V power, and alerts you if it detects a problem.
And here’s a benefit for those who store their motorhome at home and keep it hooked-up. When temperatures are forecast to dip below zero, you can turn on the heating from the comfort of your living room to prevent water left in the pipes from freezing.
And there’s more good news: it is simple to fit!
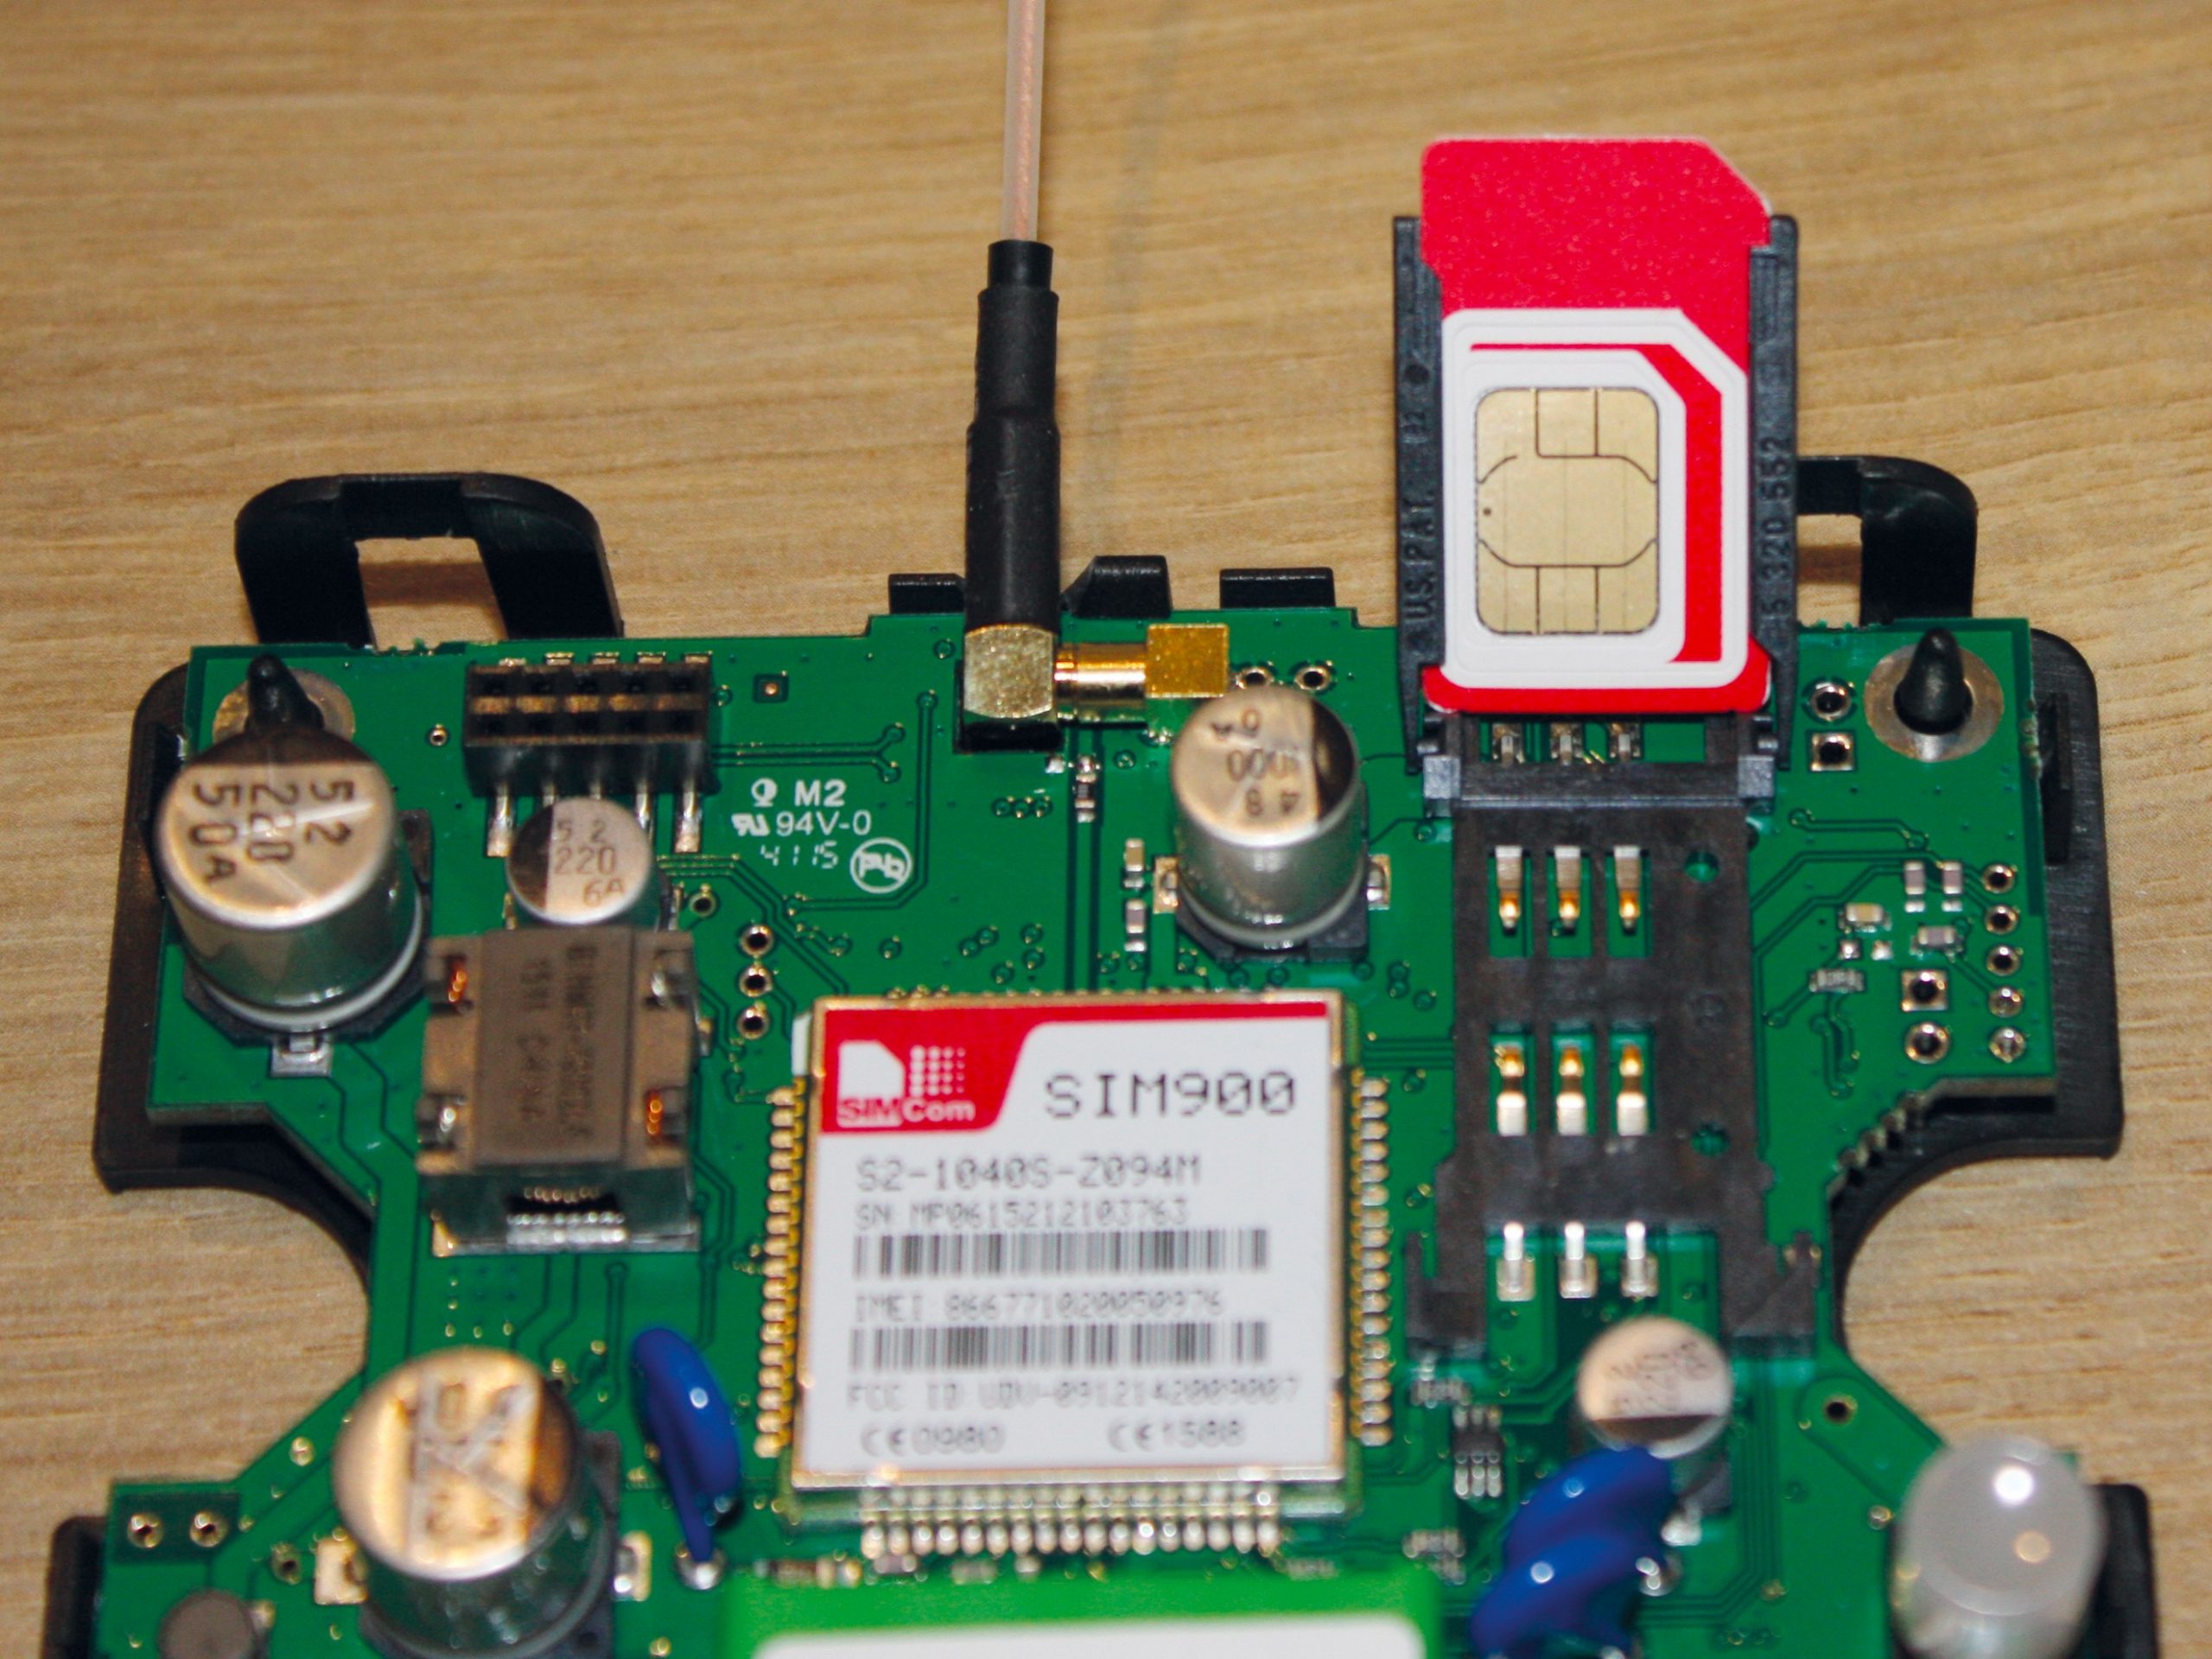
First, you’ll need a mobile phone SIM card that allows an ample number of text messages. You don’t need any data – just texts!
This will be fitted in the unit that goes in the ’van. I bought a simple Pay As You Go SIM.
The Alde app, which is free of charge, must be downloaded and installed on your phone. With this done, put the new SIM’s mobile number in the app’s ‘settings’ page so it can communicate with the device – the instructions show how.
Now you can start fitting the unit. Disconnect any mains supply and the 12V battery before you start.
The tools for the job are:
- A crosshead screwdriver;
- Two small screws;
- A 10mm wood drill;
- Small cable-ties;
- Wire cutters and strippers;
- Extra cable;
- Crimp connectors;
- A crimp tool;
- A 12mm spanner, depending on the battery connectors.
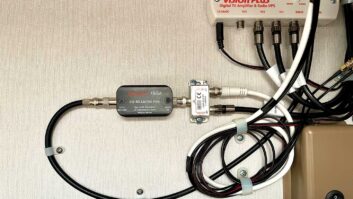
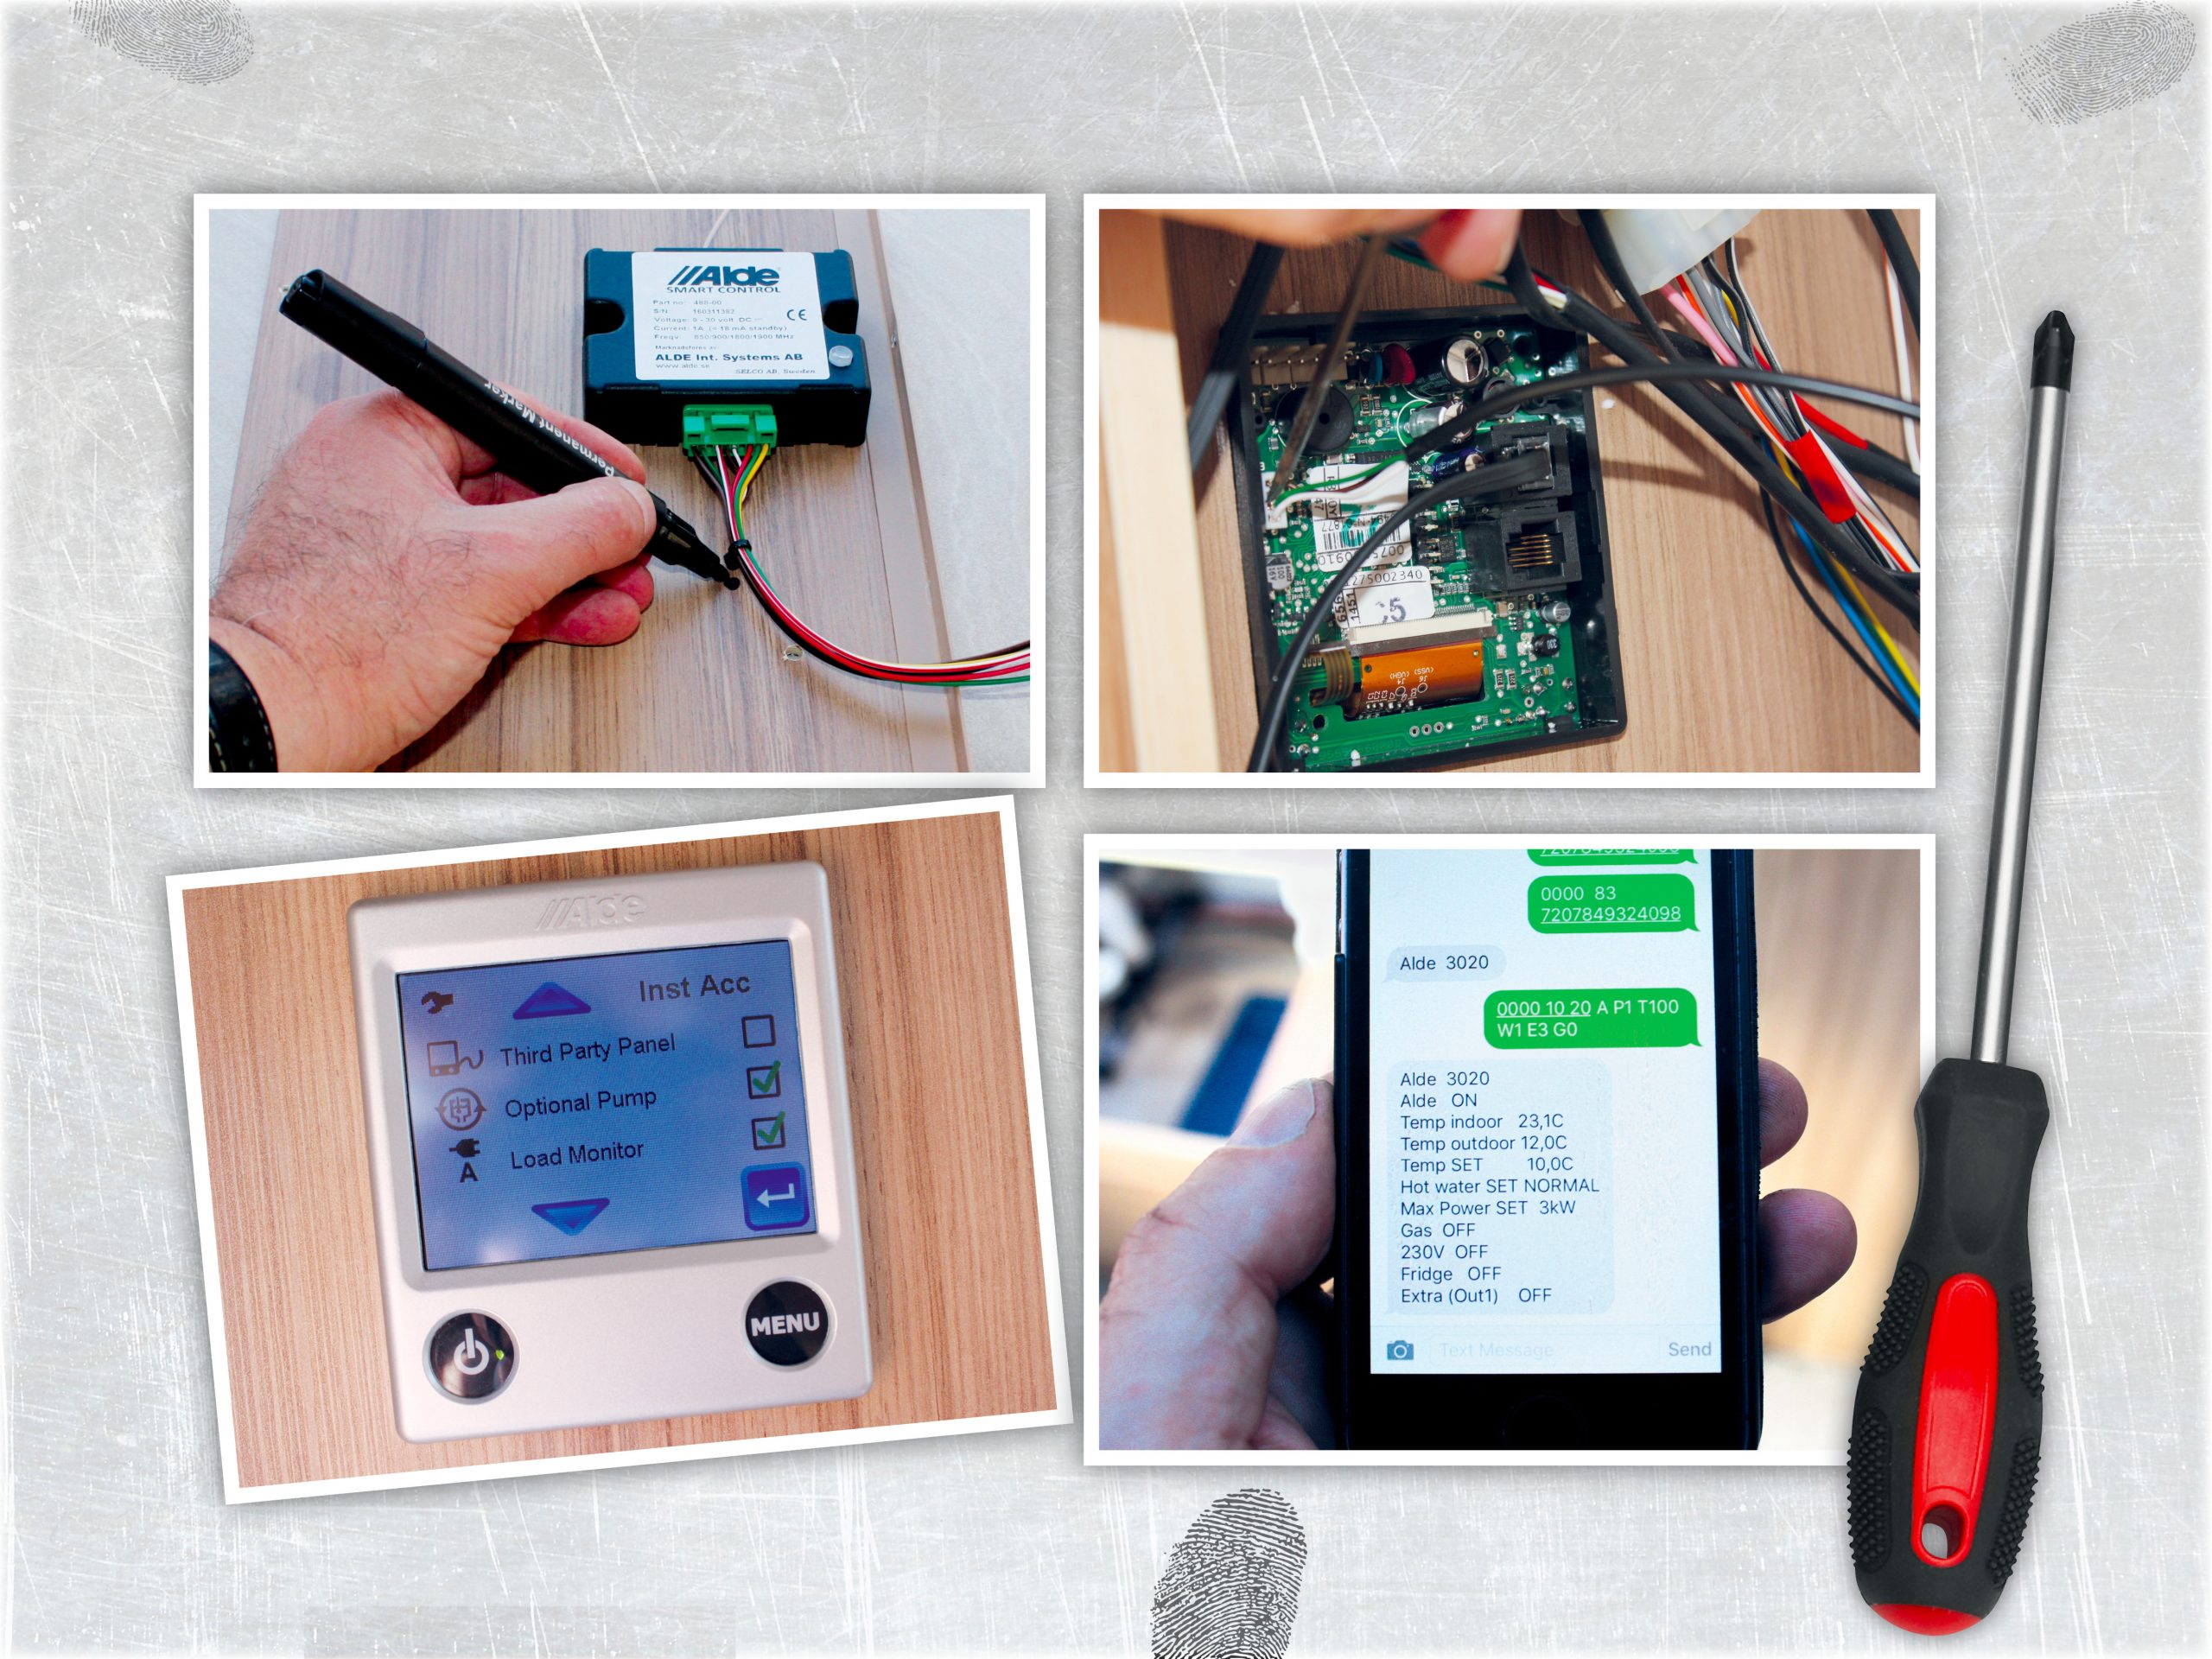
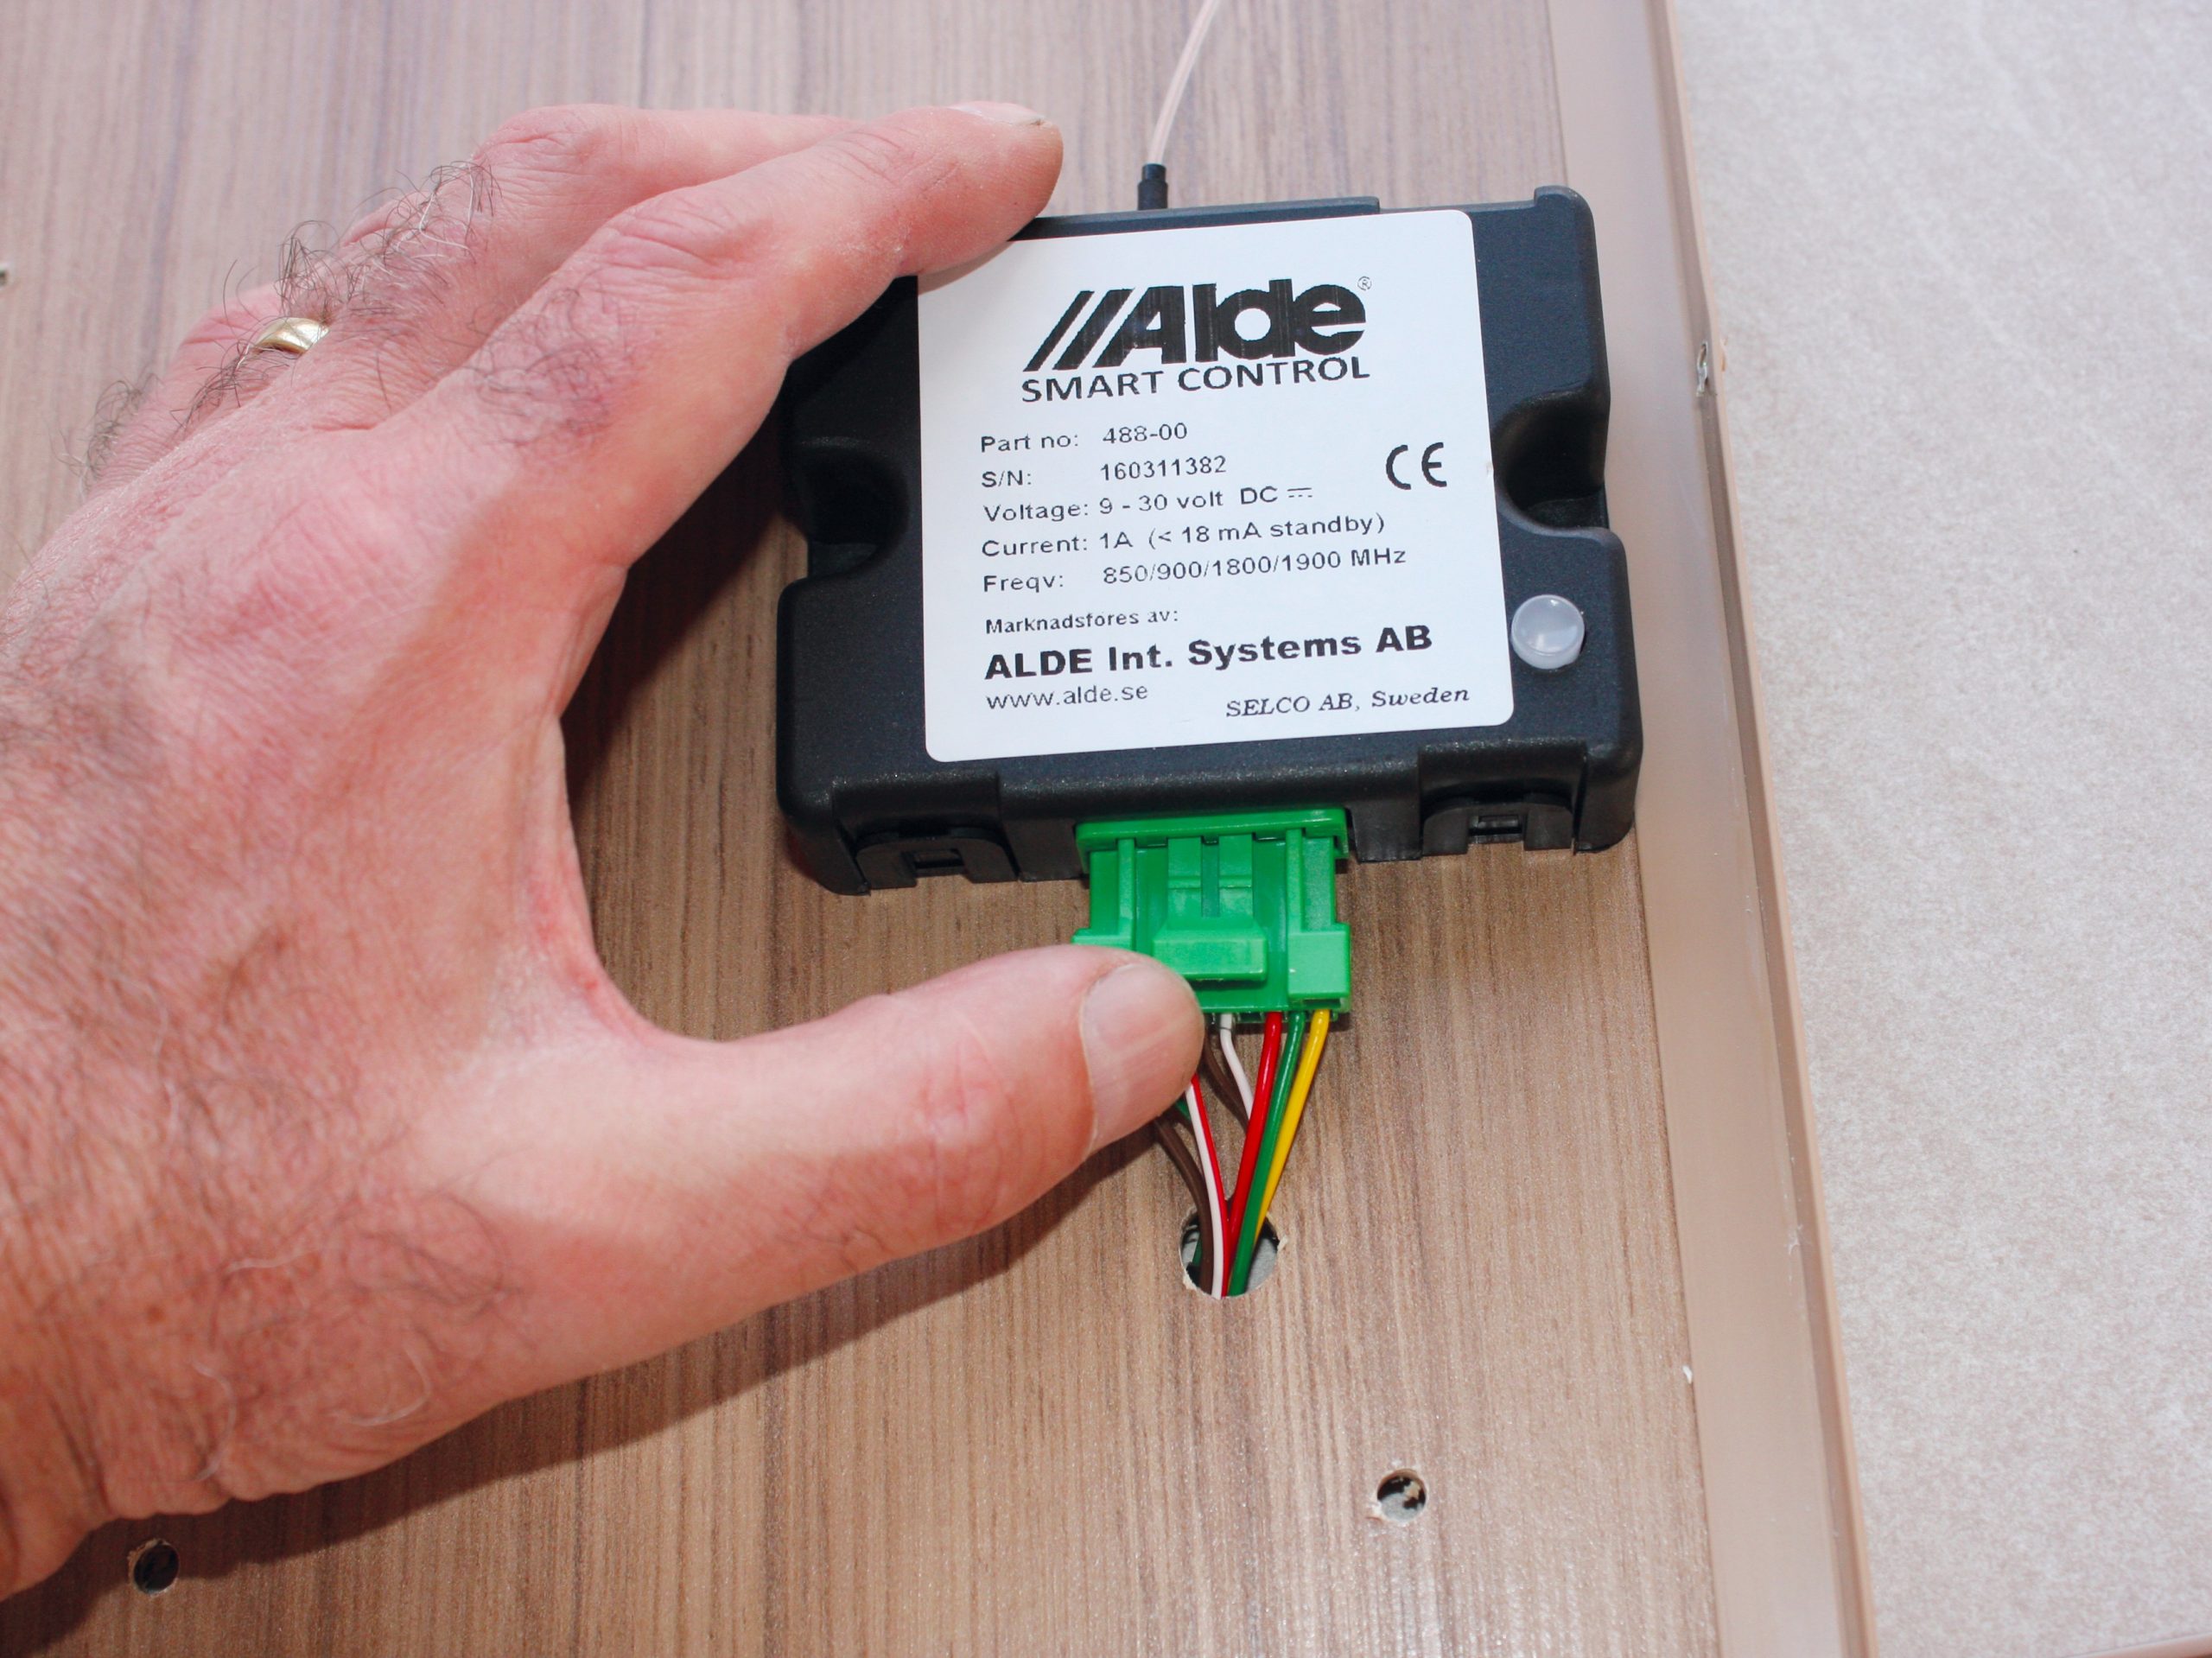
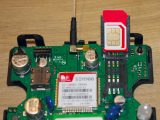
Insert the SIM into the Smart Control unit as shown in the instructions. Next, choose a surface to mount it on.
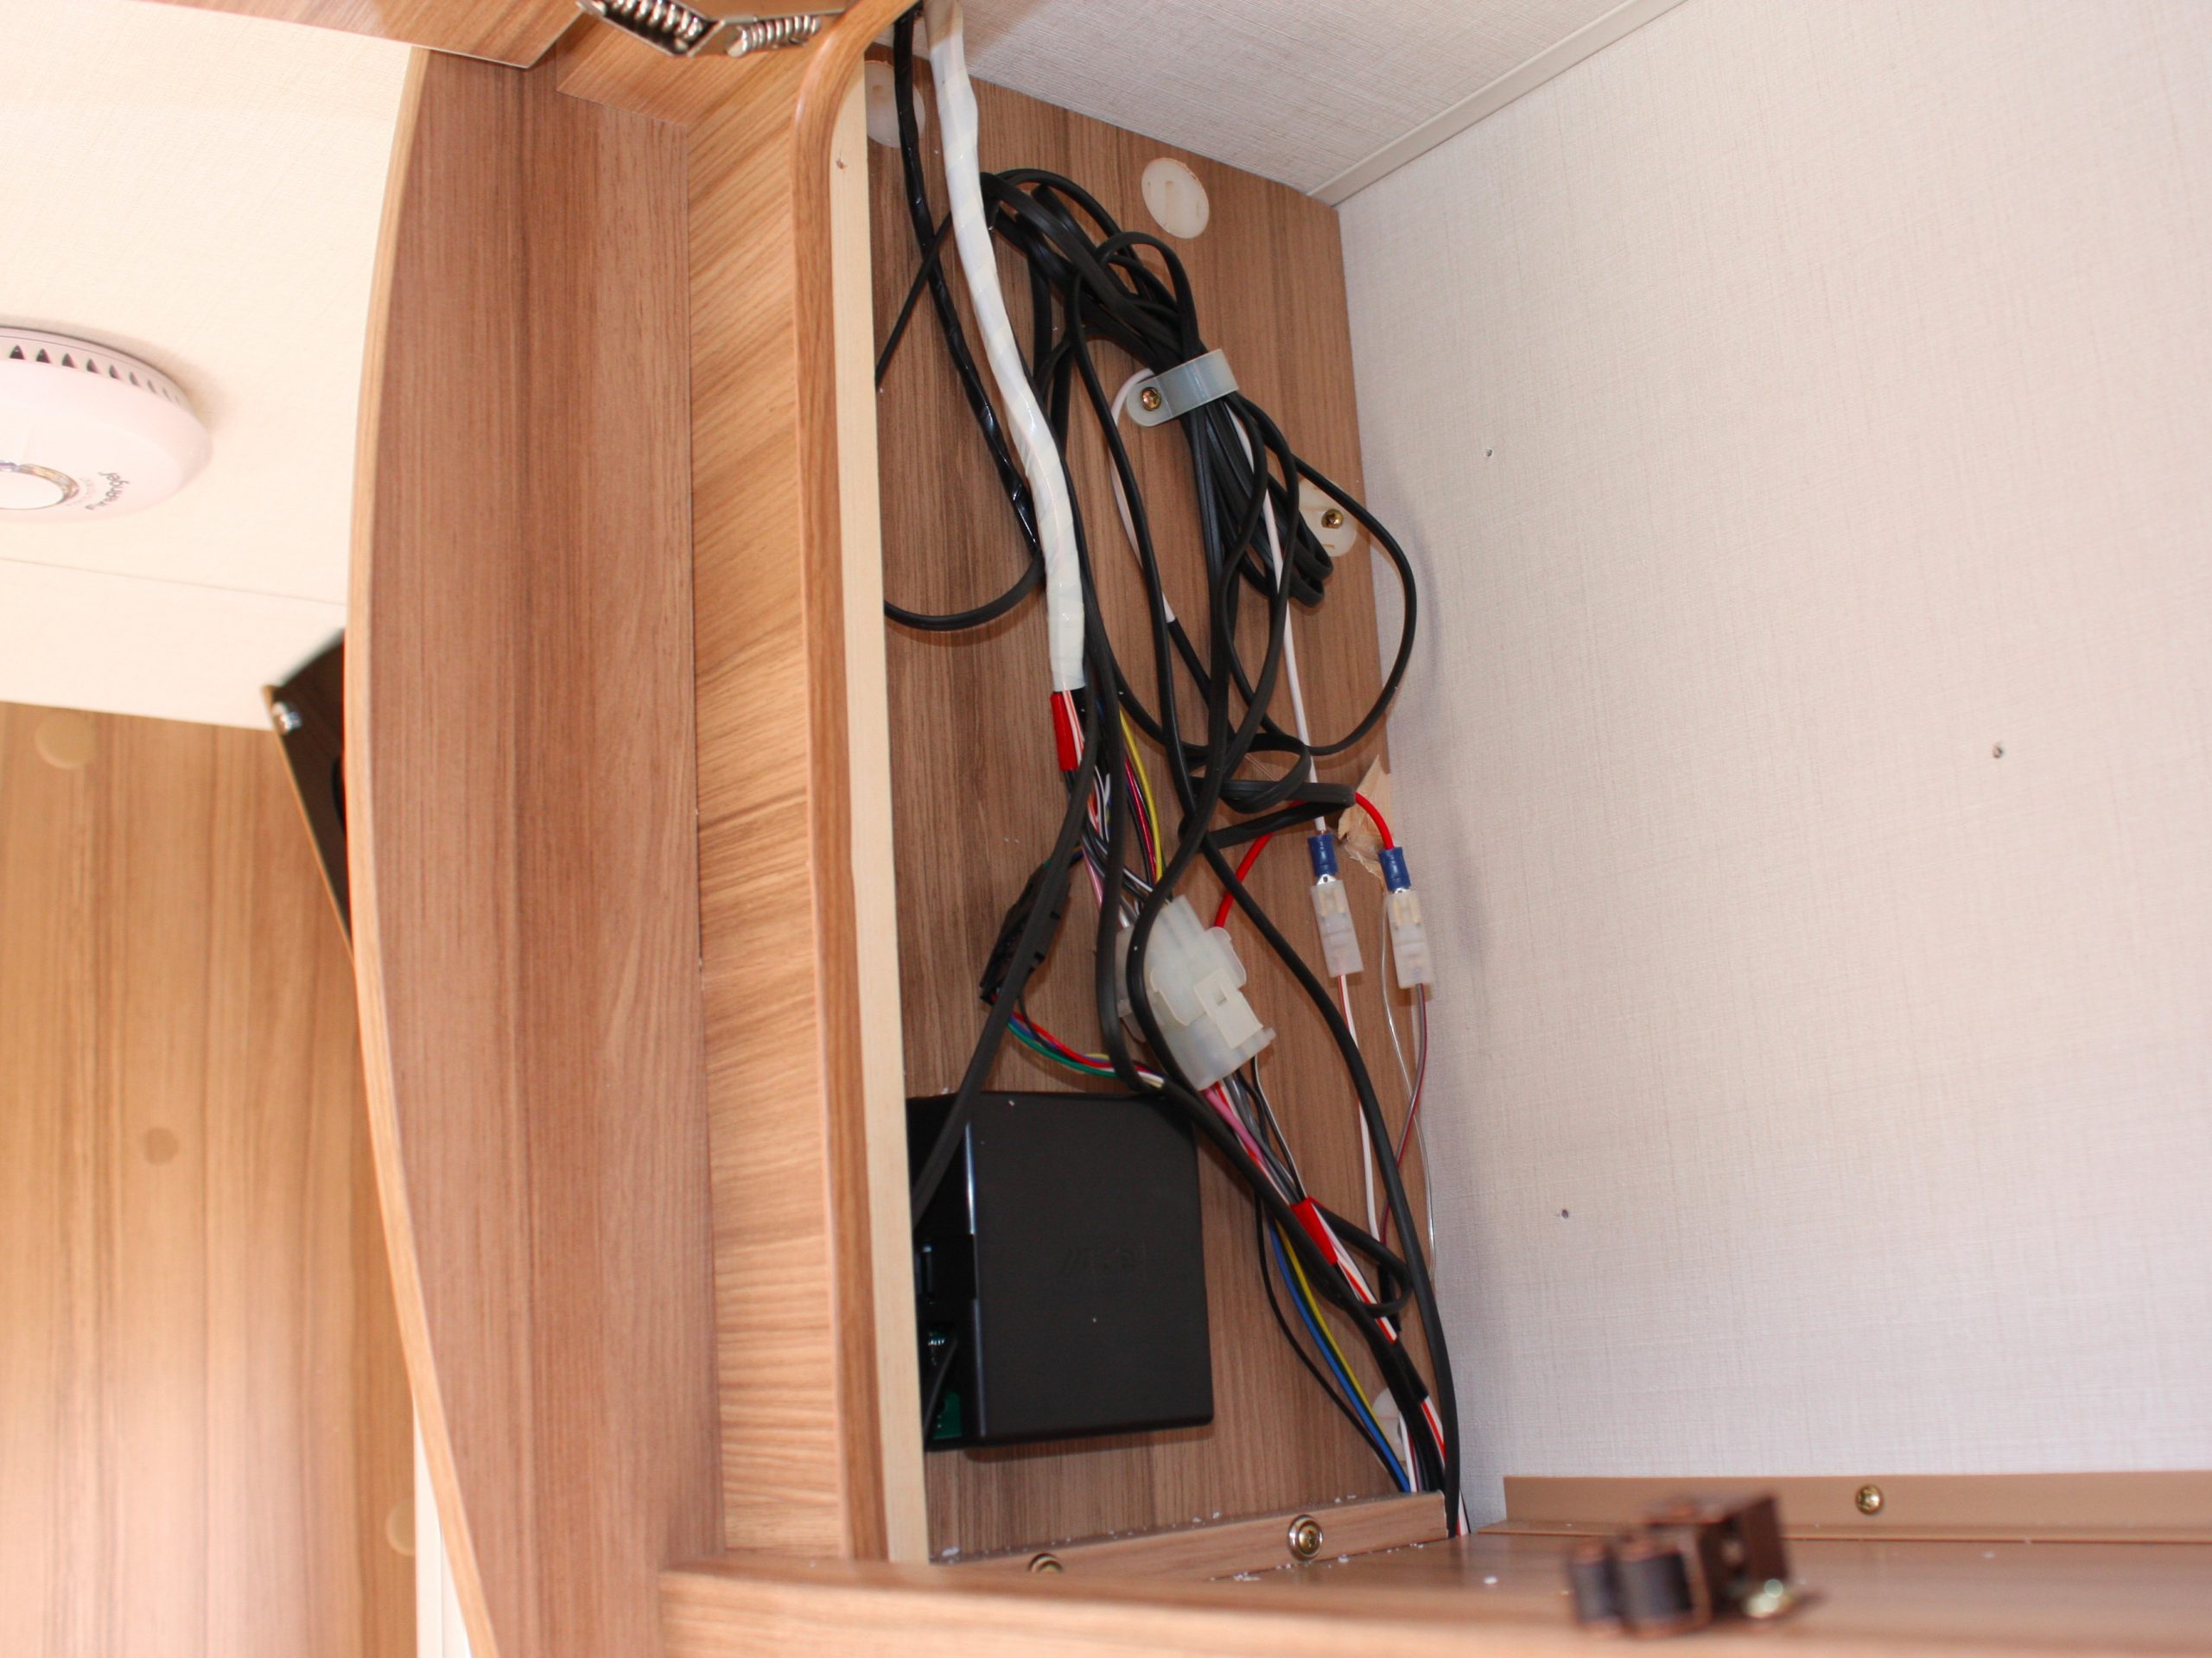
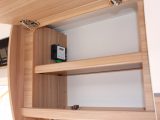
It needs to be close to the Alde control panel, because the lead connecting them isn’t that long. I chose a spot in an overhead locker, at the end of which the control panel was fitted.
You need access to the rear of the control panel because the wiring harness must be inserted into it – some dismantling may be necessary to do this.
Getting down to business
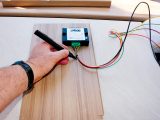
I removed the shelf and the end panel that covers the wiring behind the control panel. To keep the installation neat, I positioned the Smart Control unit on the end panel where it would be fitted.
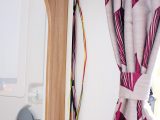
I drilled a hole for the wiring harness to pass through between the Smart Control unit and the control panel. I kept the amount of wire that would be exposed as short as possible.
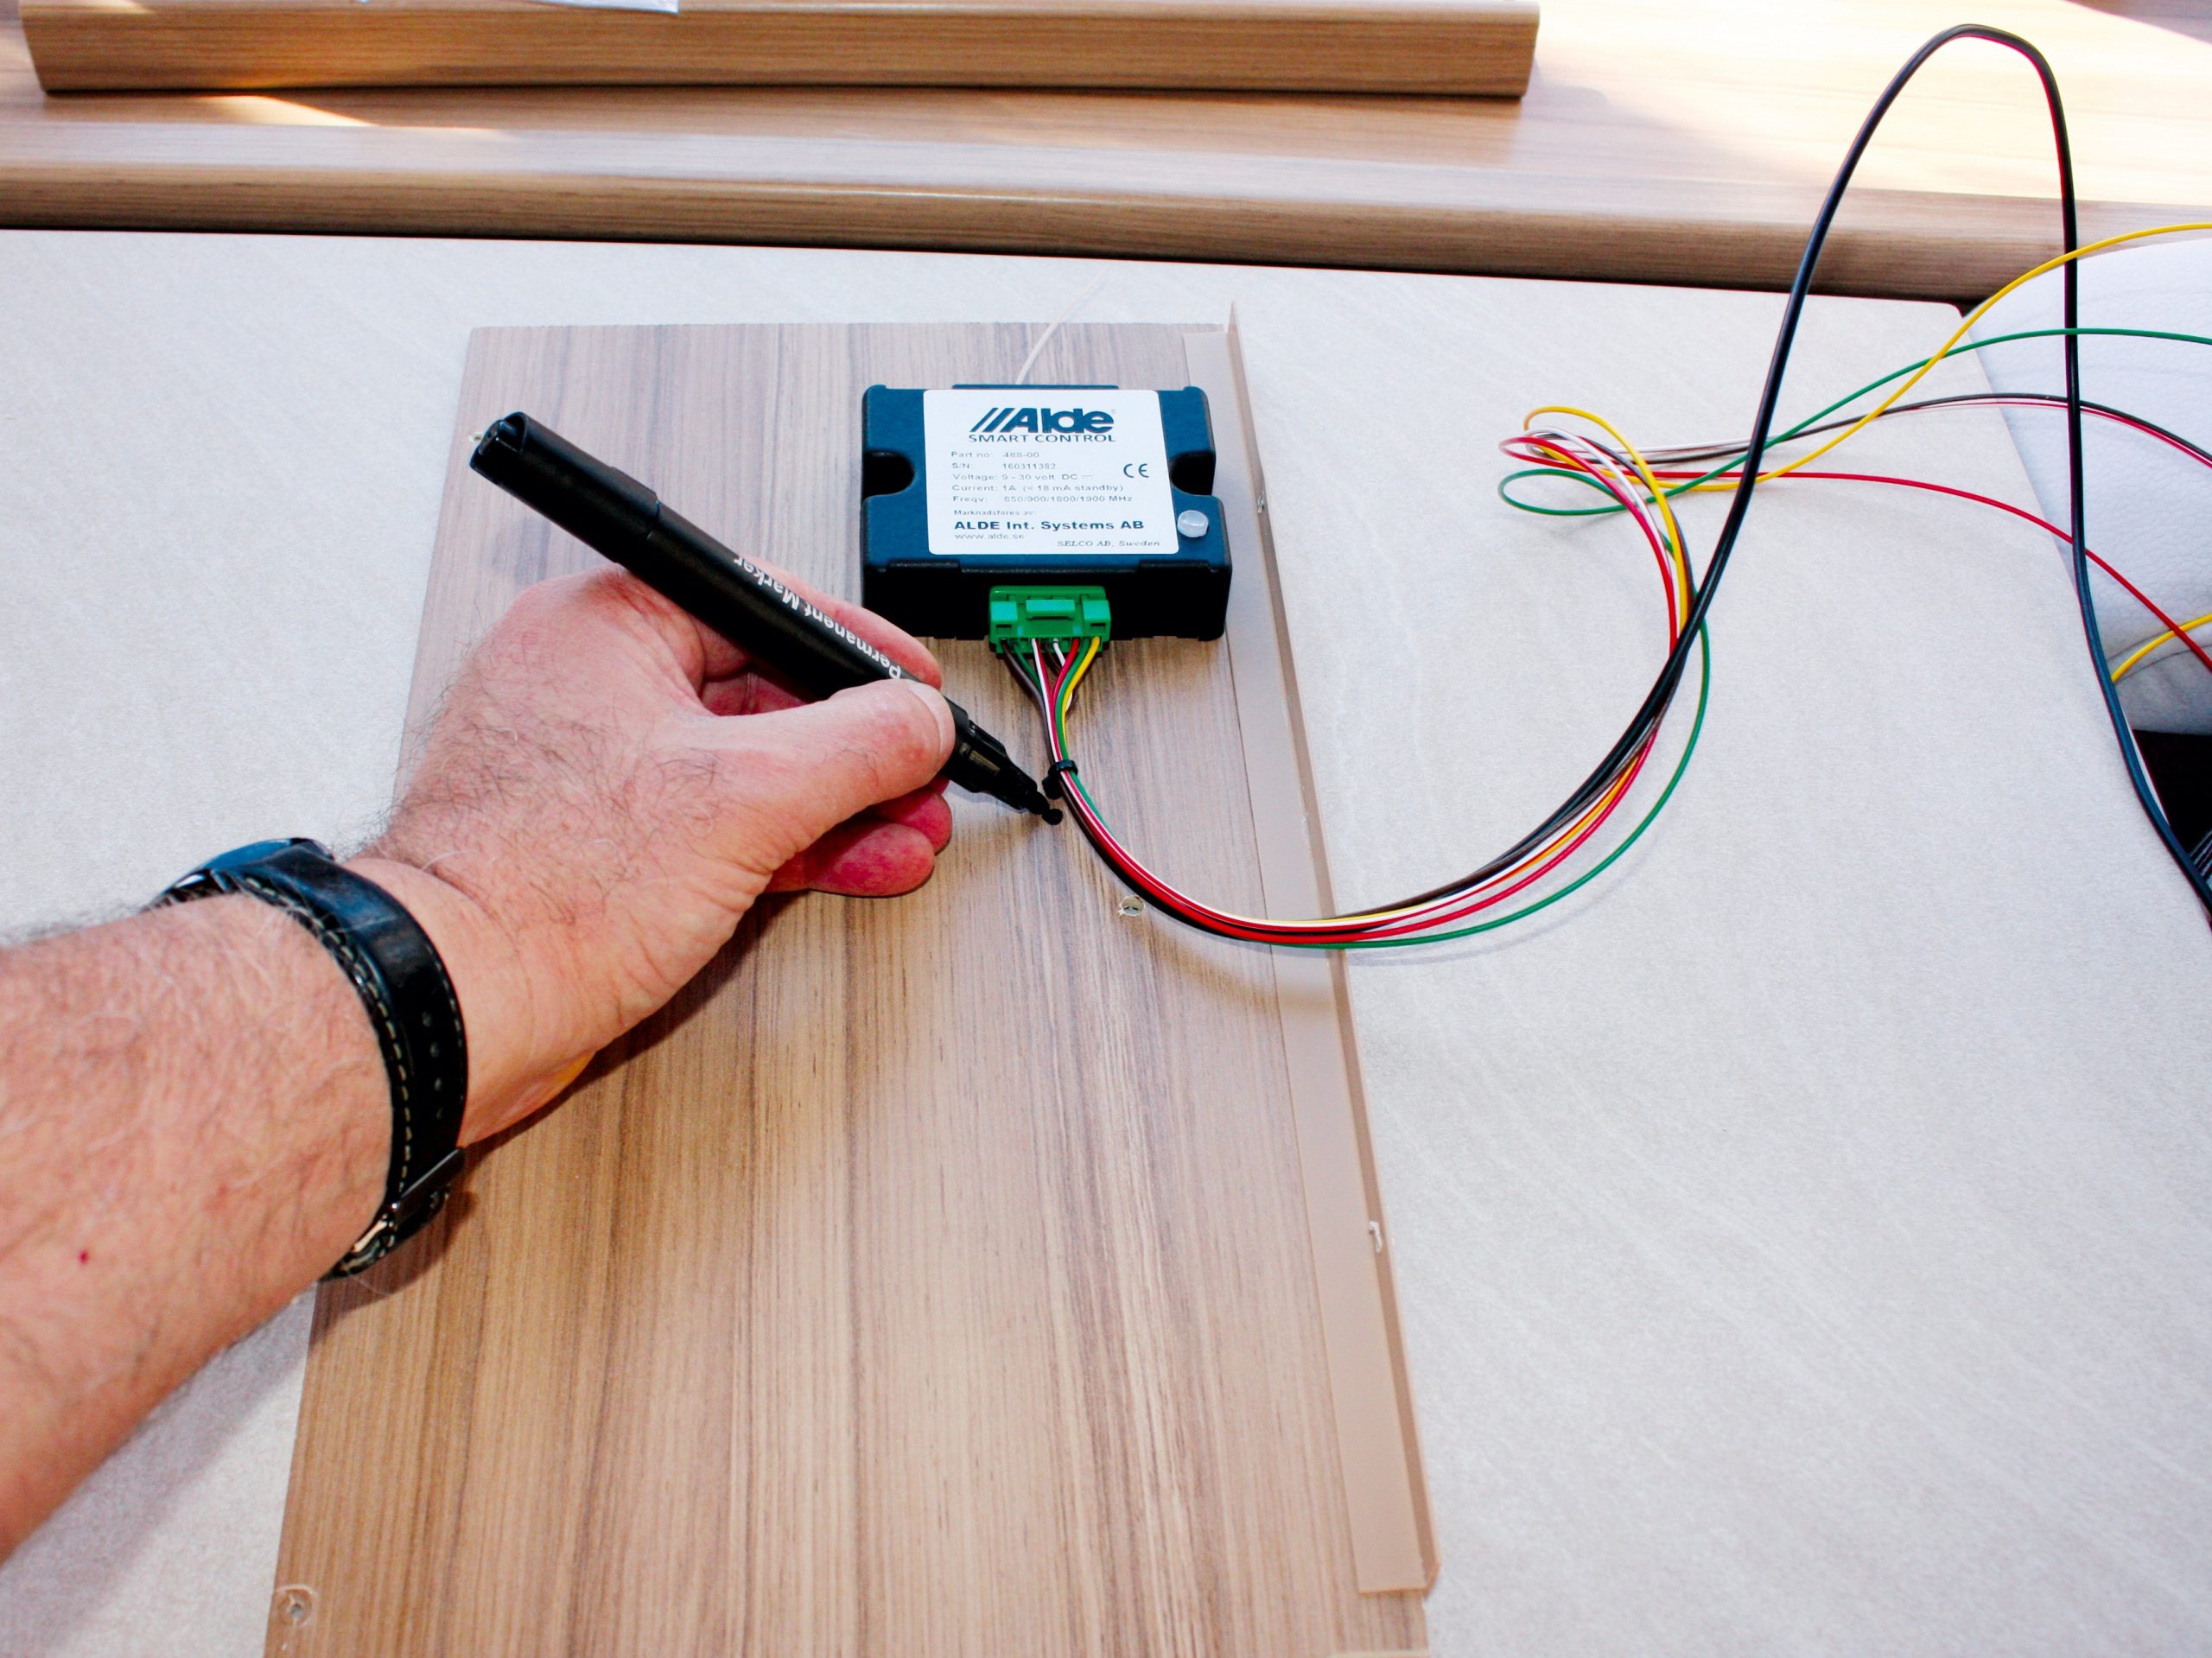
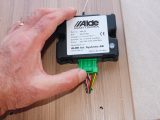
With the green multiplug on the outside, I plugged this into the Smart Control unit and then attached the unit to the panel using a couple of small screws.
I’d considered hiding the unit behind the removed end panel, but thought better of it, in case I needed access to the SIM card.
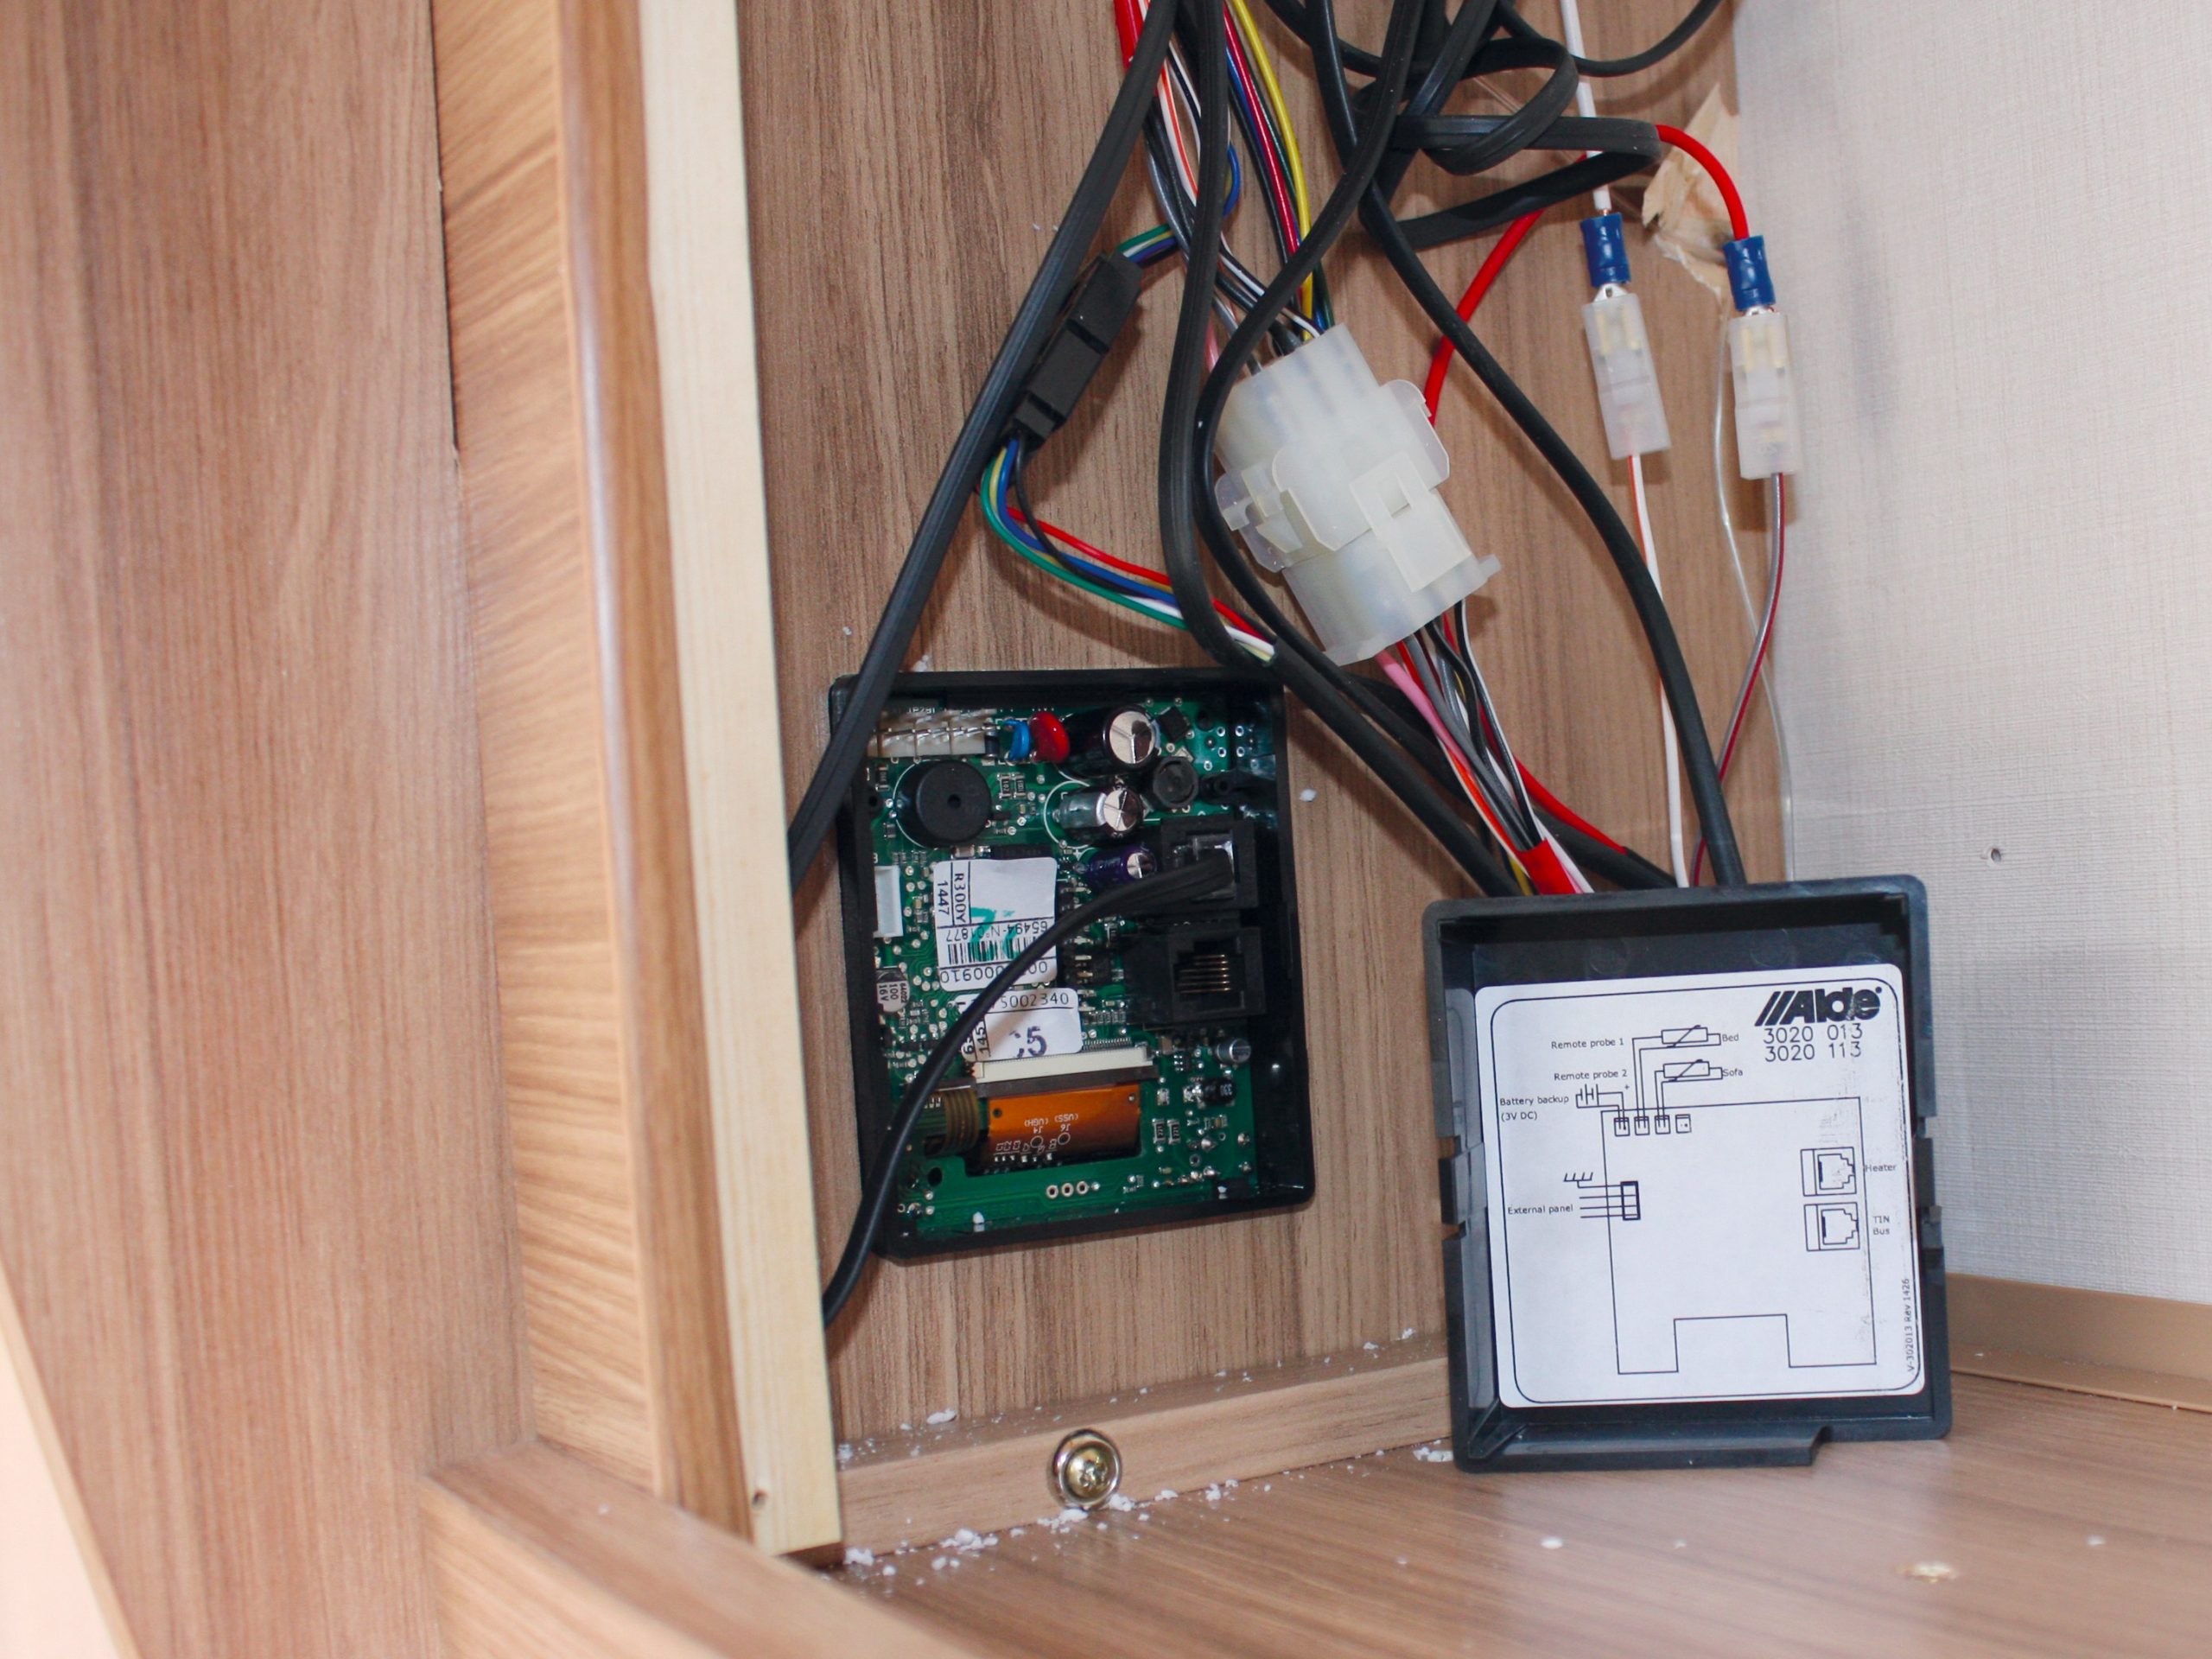
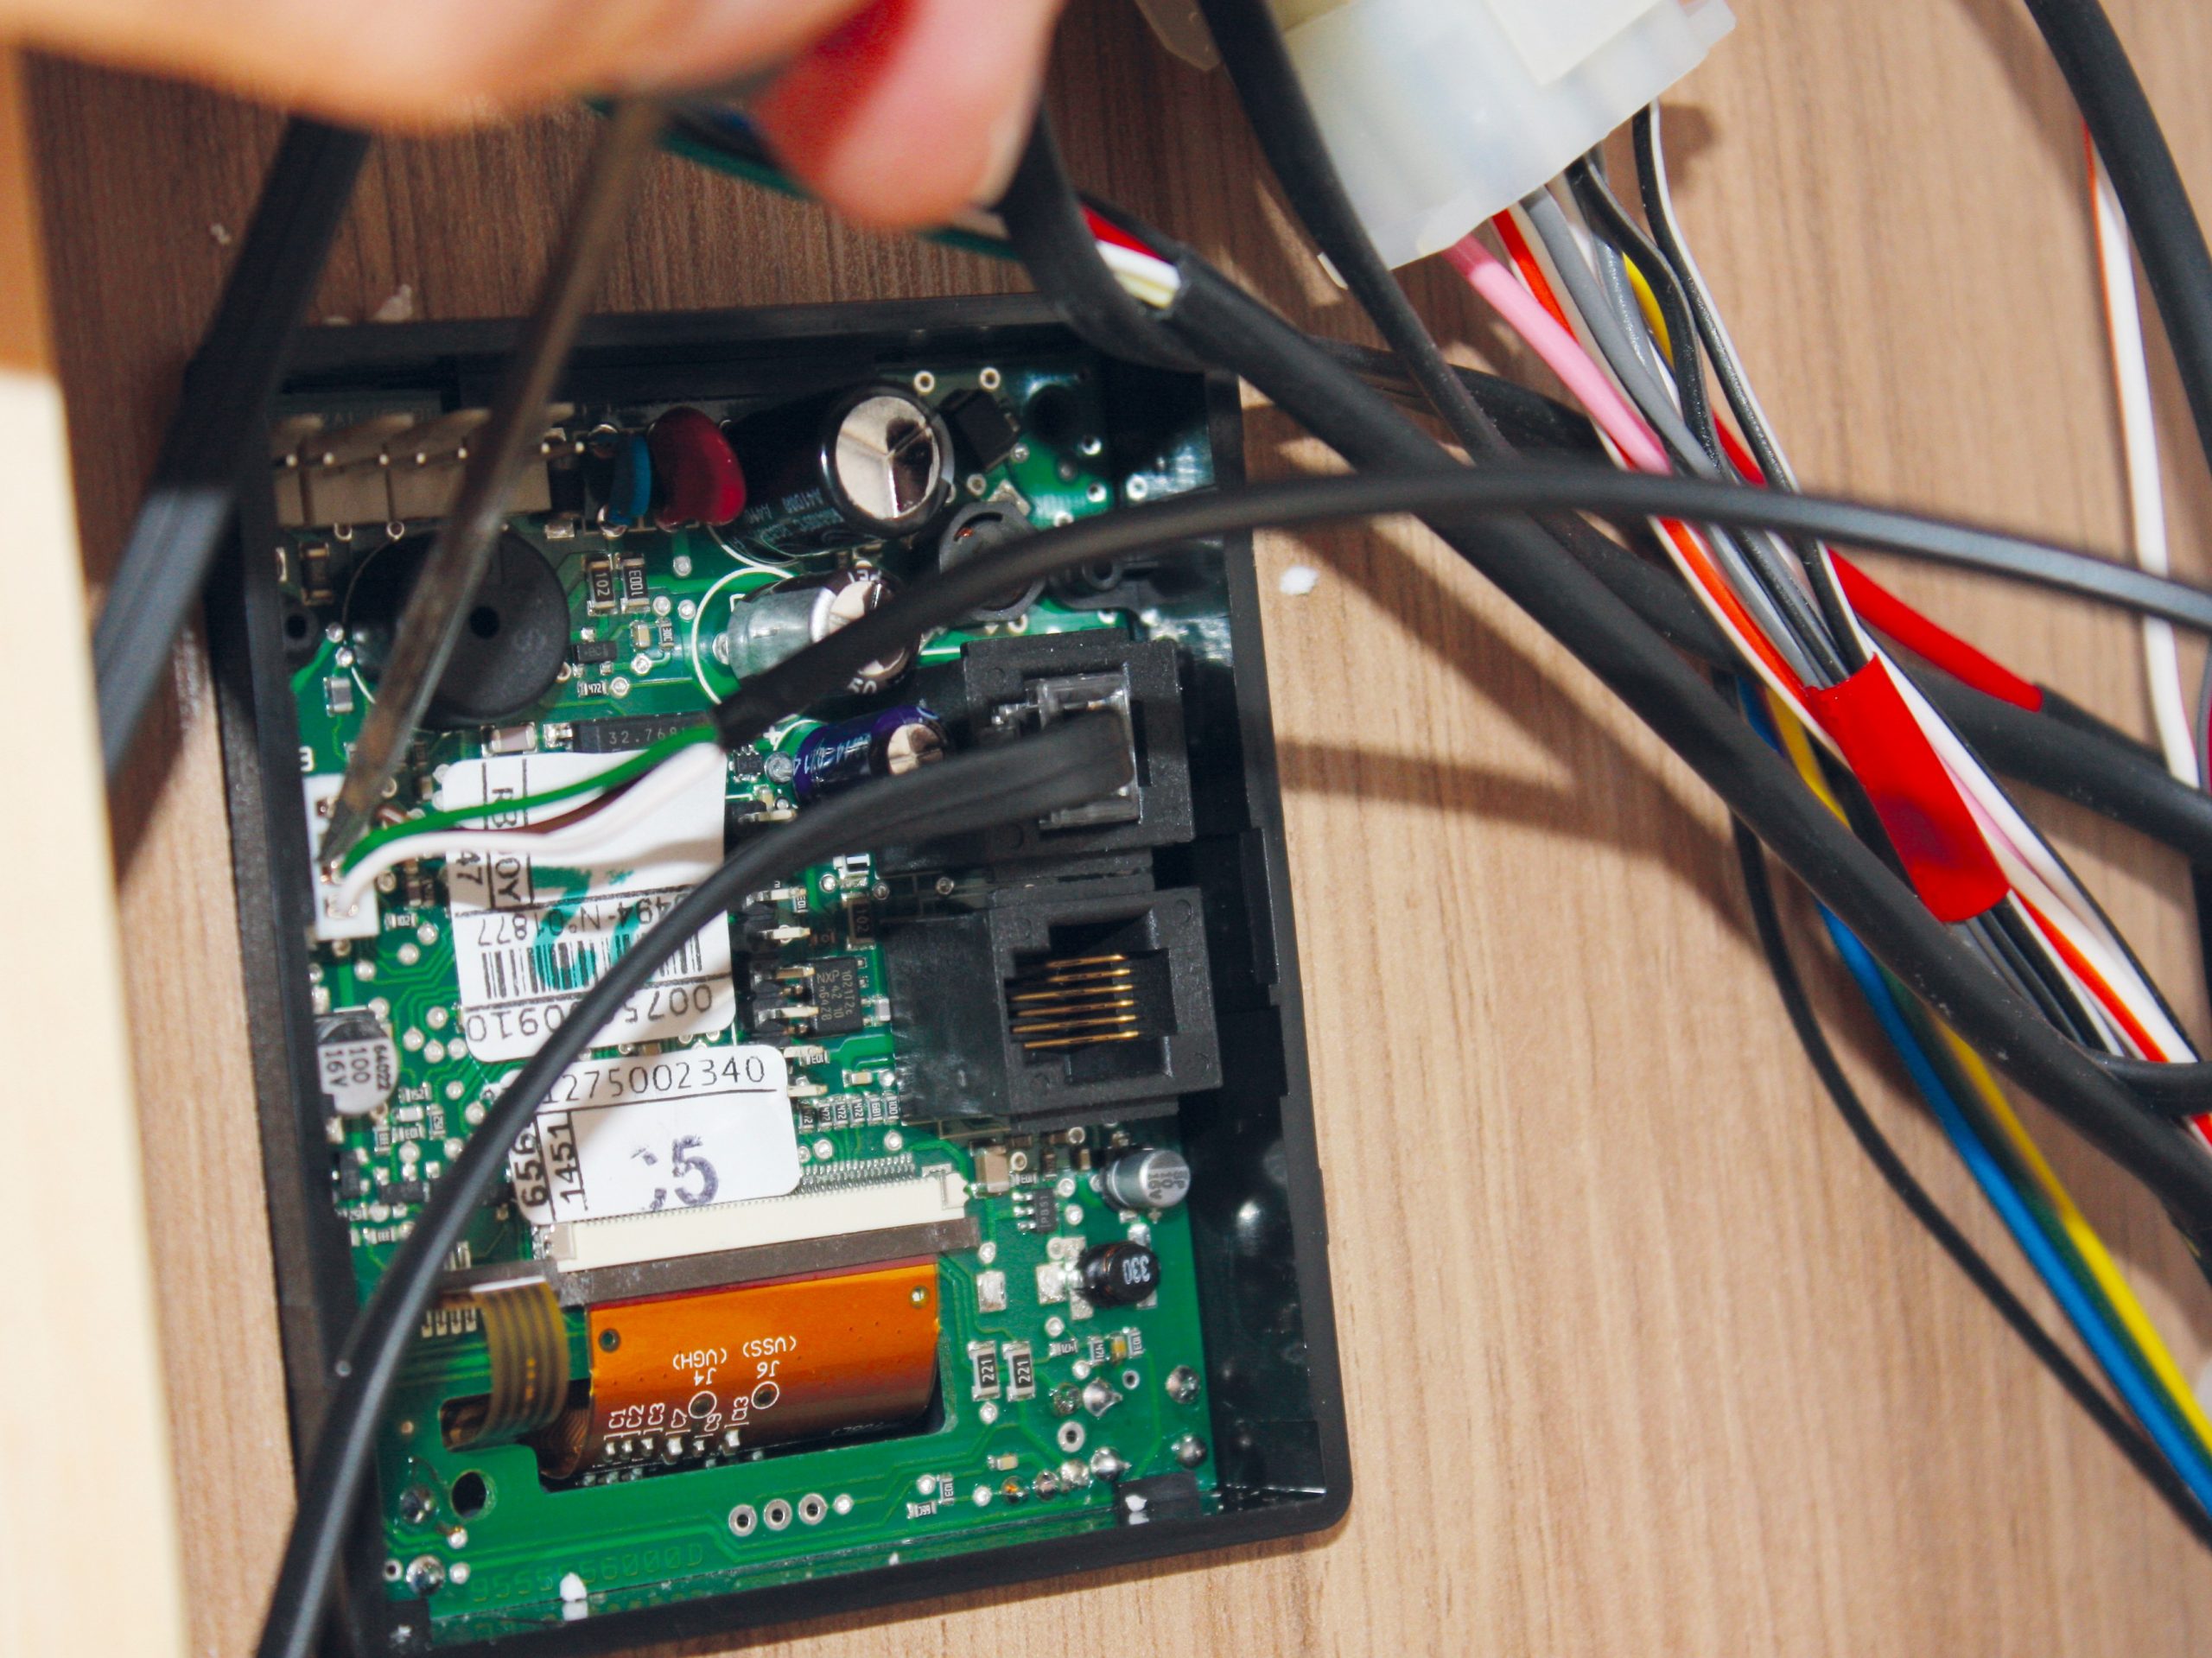
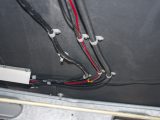
Working inside the locker, the small white multiplug is plugged into the back of the control panel. To remove the cover at the back of the control panel, gently squeeze the sides and pull it off.
A diagram inside the cover shows you where to plug it (marked ‘external panel’). When the multiplug is attached, replace the cover.
In addition to the wires between the two multiplugs, another five are attached to the green one. Of these, you only need the red and brown wires, unless you’re connecting the fridge, the alarm or other components (extra parts are required).
The brown wire needs to be connected directly to the negative terminal on the 12V battery, with the red one attached to the positive terminal via the supplied fuse. In both cases, it is likely that the wires will need extending.
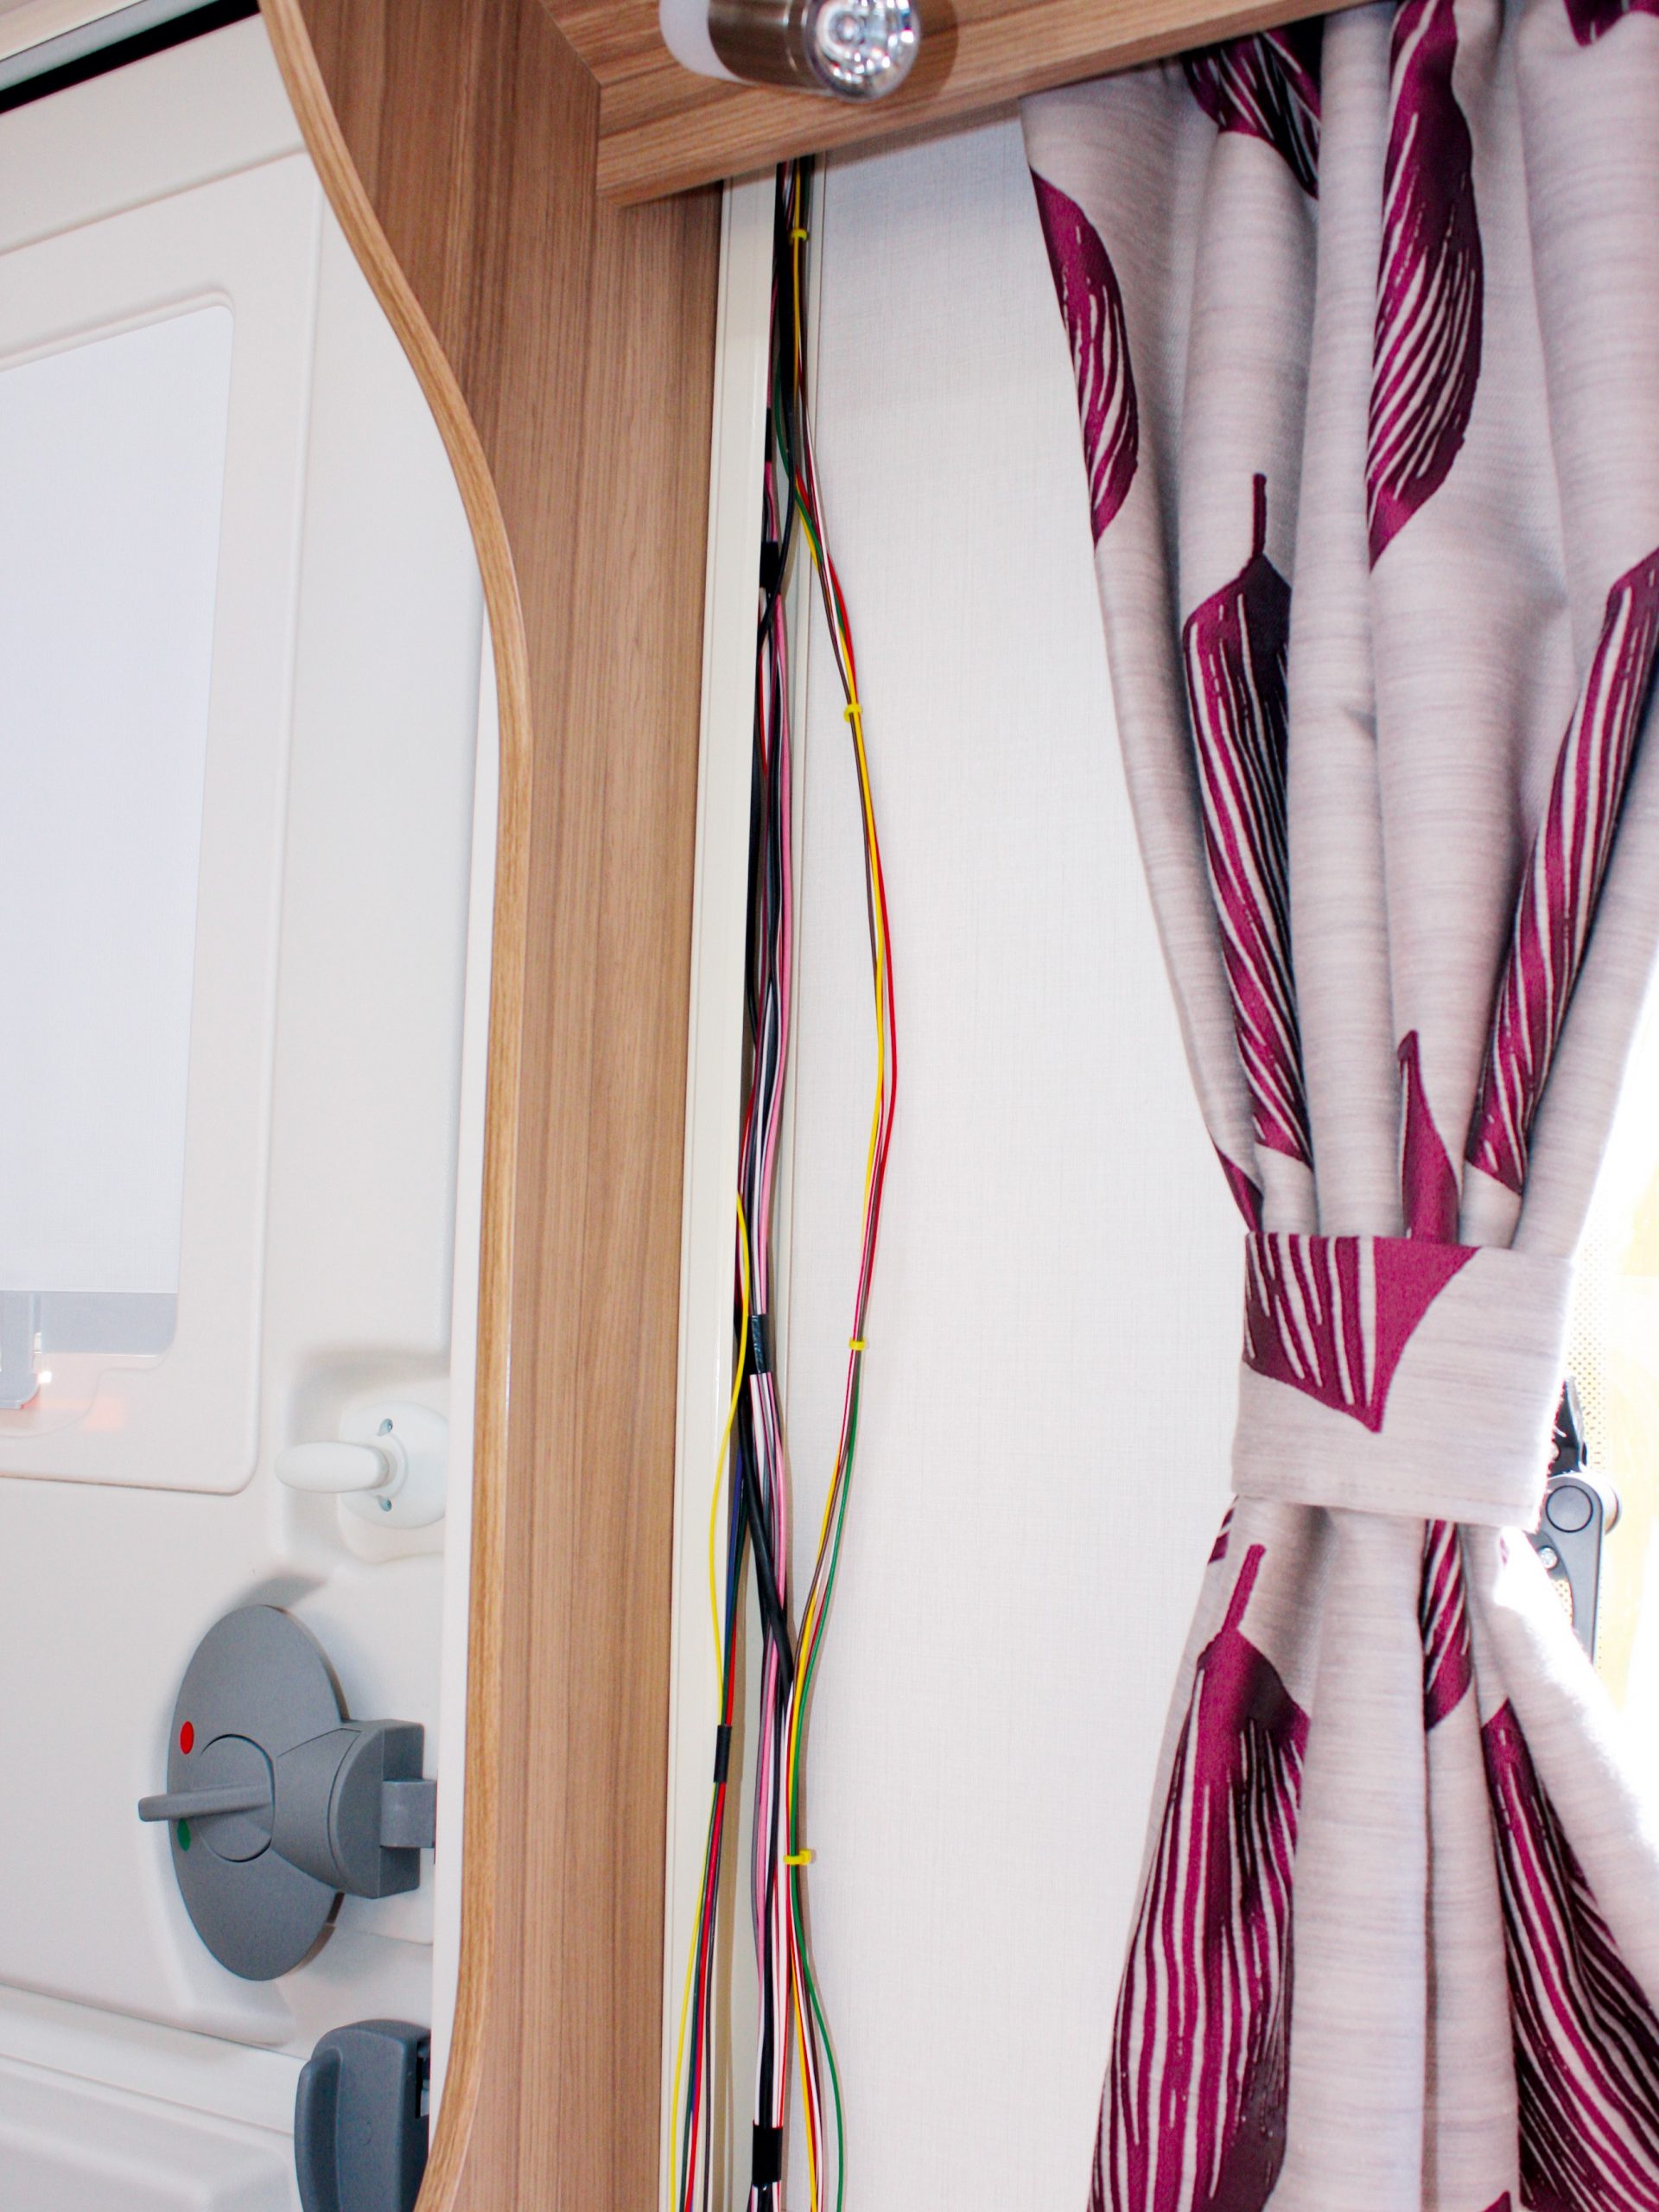
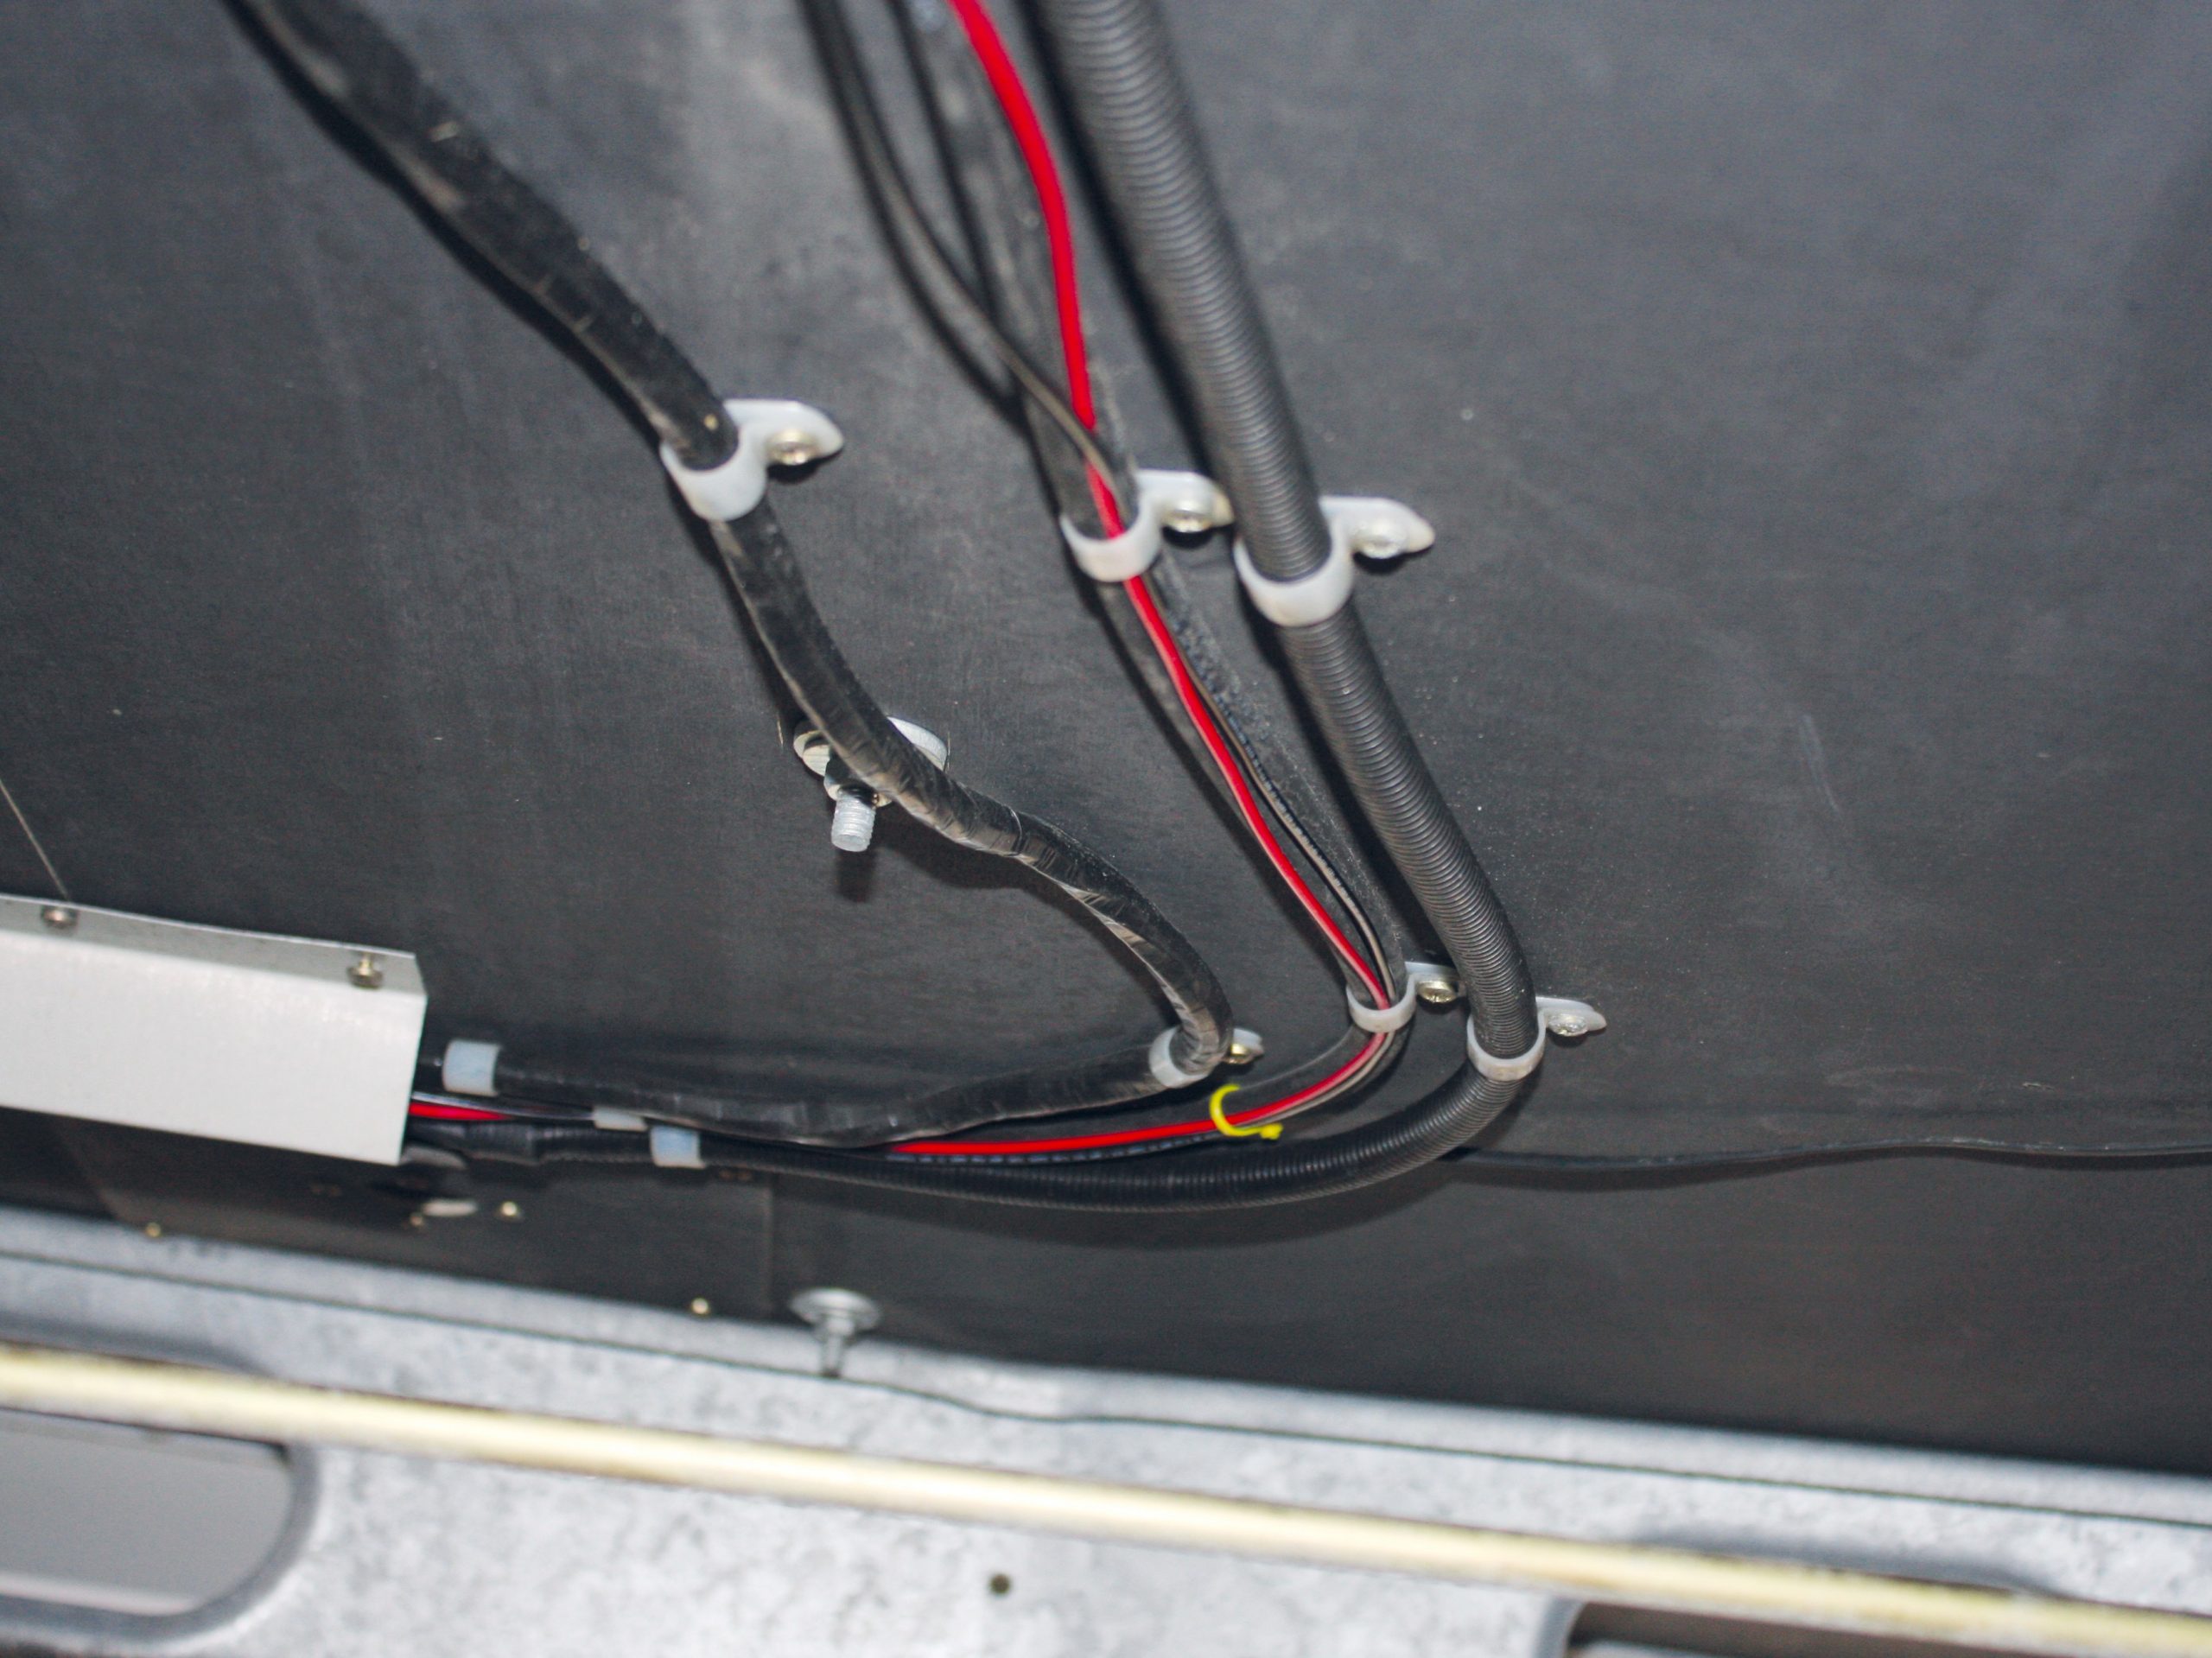
I was lucky with our ’van, which has trunking from the end of the overhead locker into the bed box below, and more along the floor. The brown and red wires were fed through the trunking, then out, under the floor and across to the other side of the motorhome.
At that point they were fed back inside and into the battery box, and attached to the battery terminal connectors. Cable-ties were used to keep the installation neat.
Before reassembling the locker’s interior, I connected the battery to ensure that the unit worked.
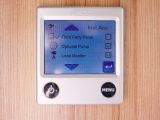
With the power on via the menu button on the Alde control panel, activate the ‘third party panel’ button in the ‘installed accessories’.
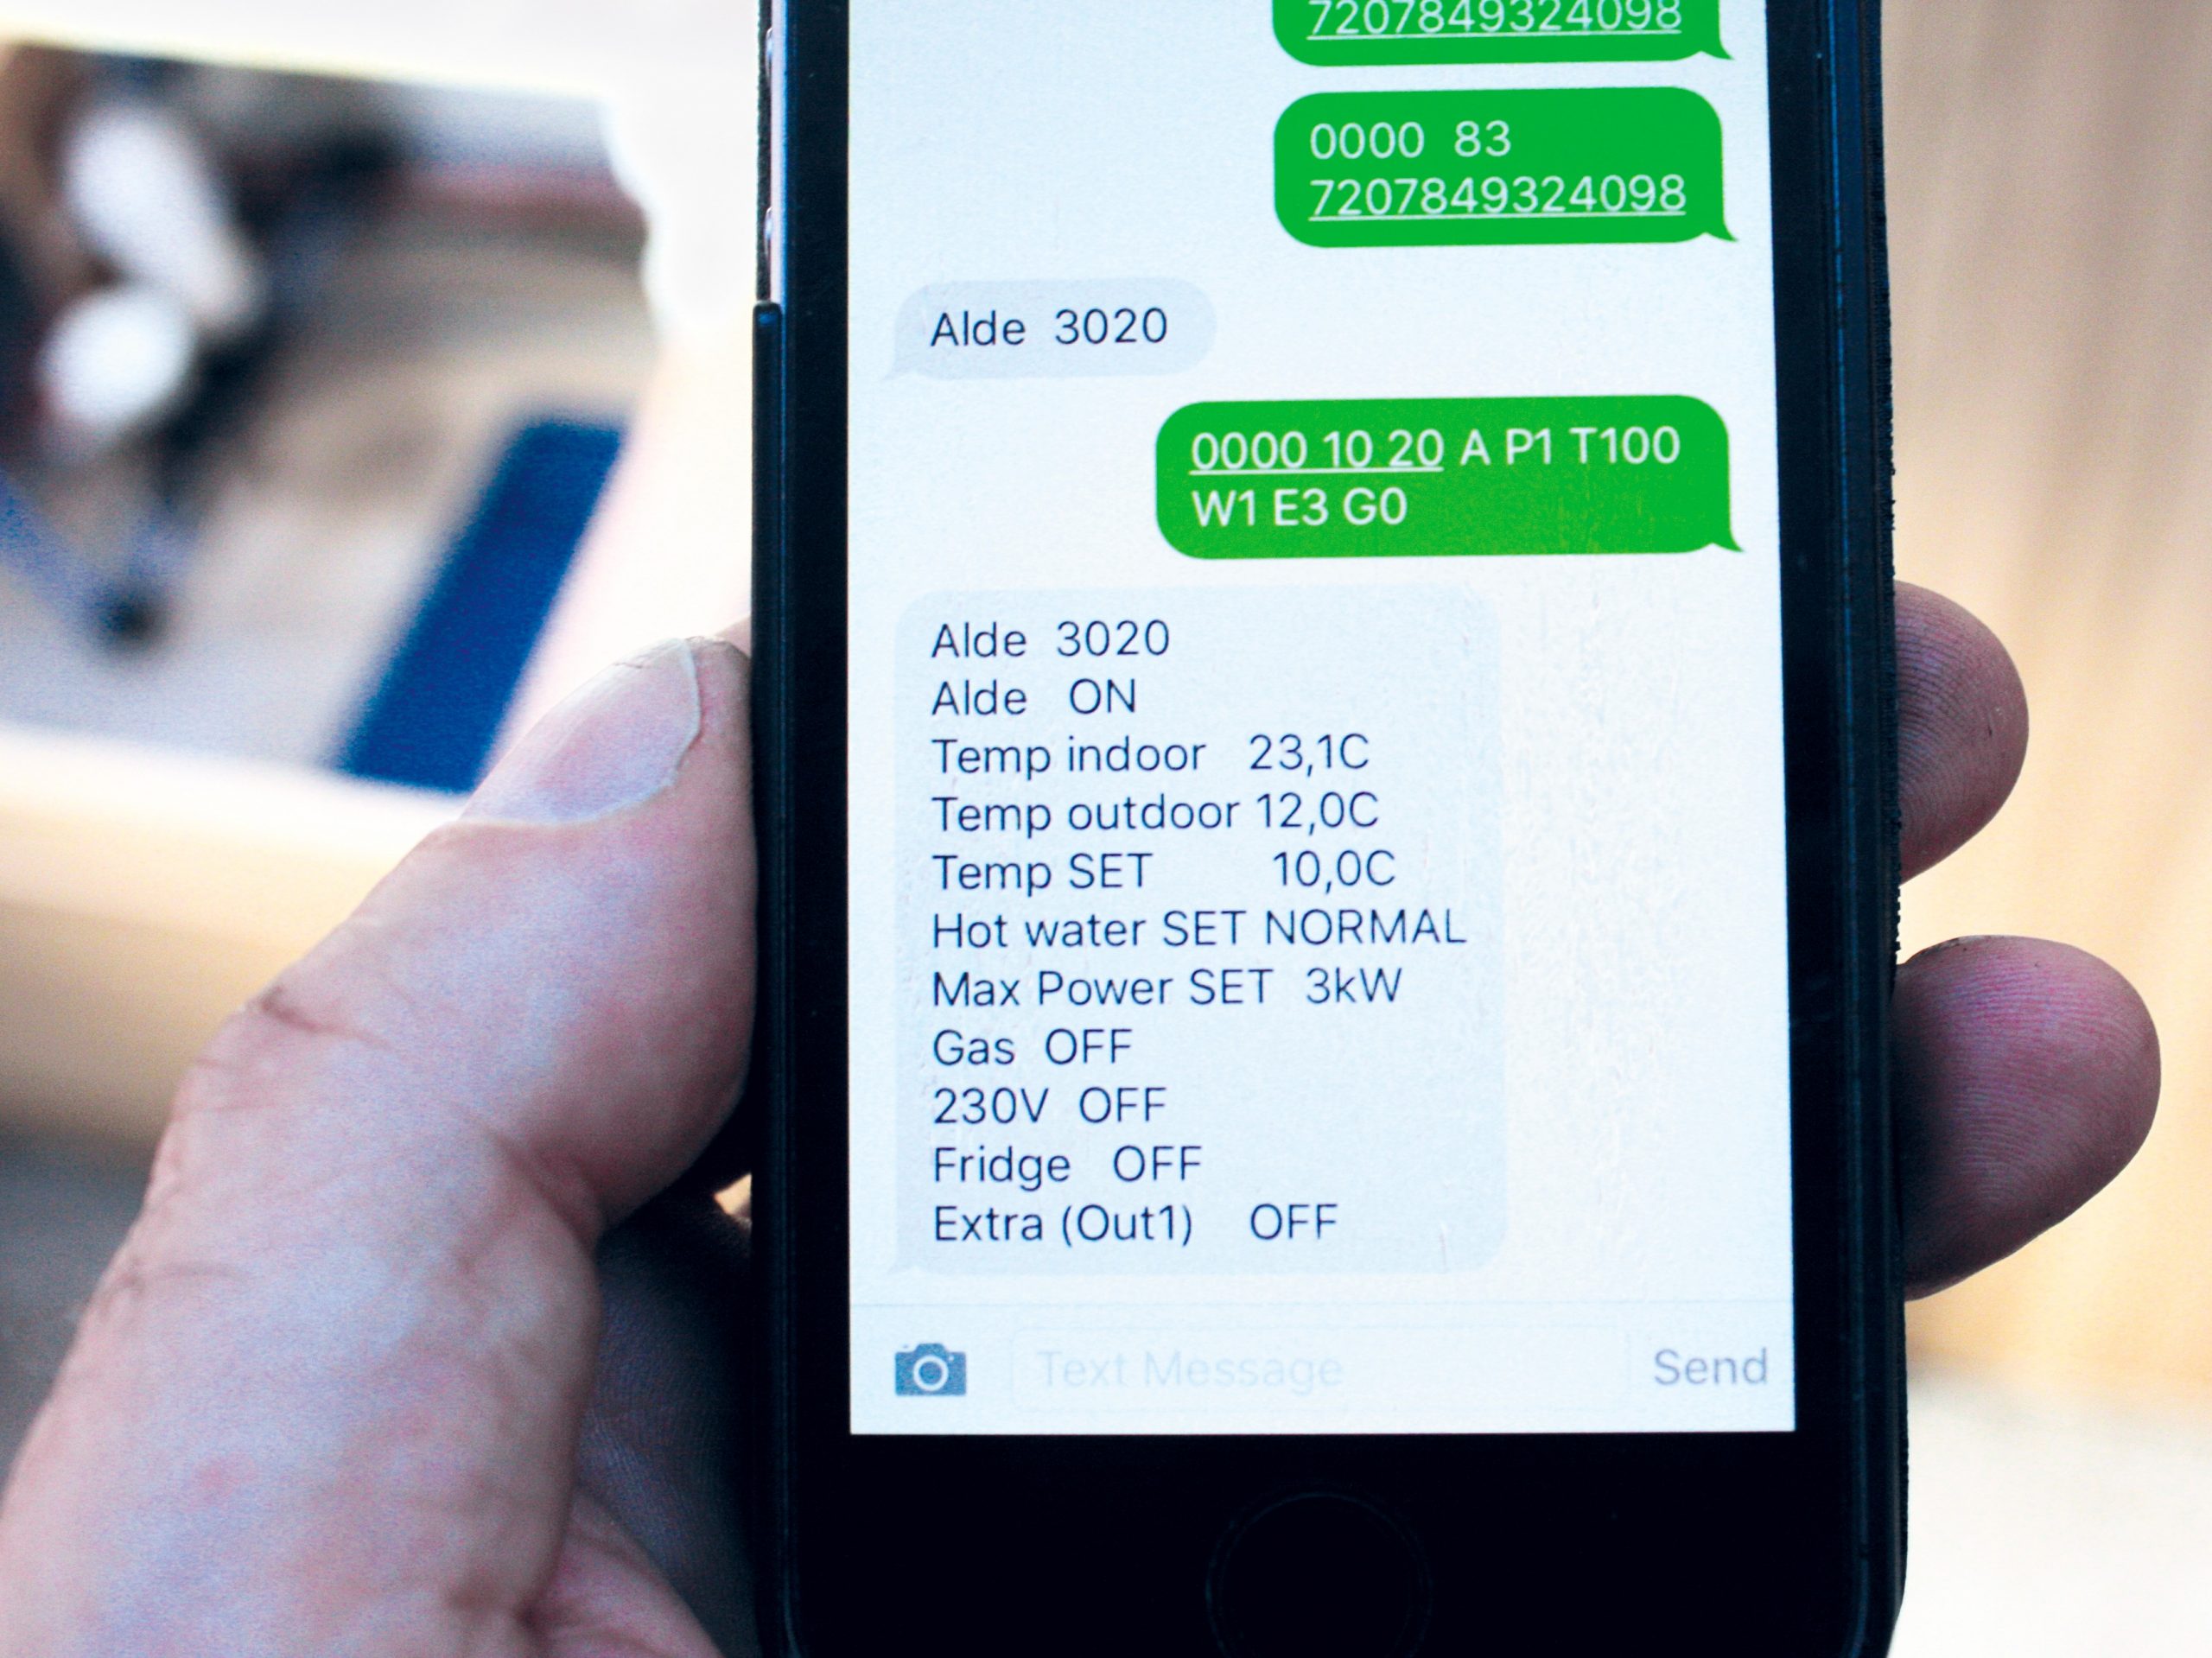
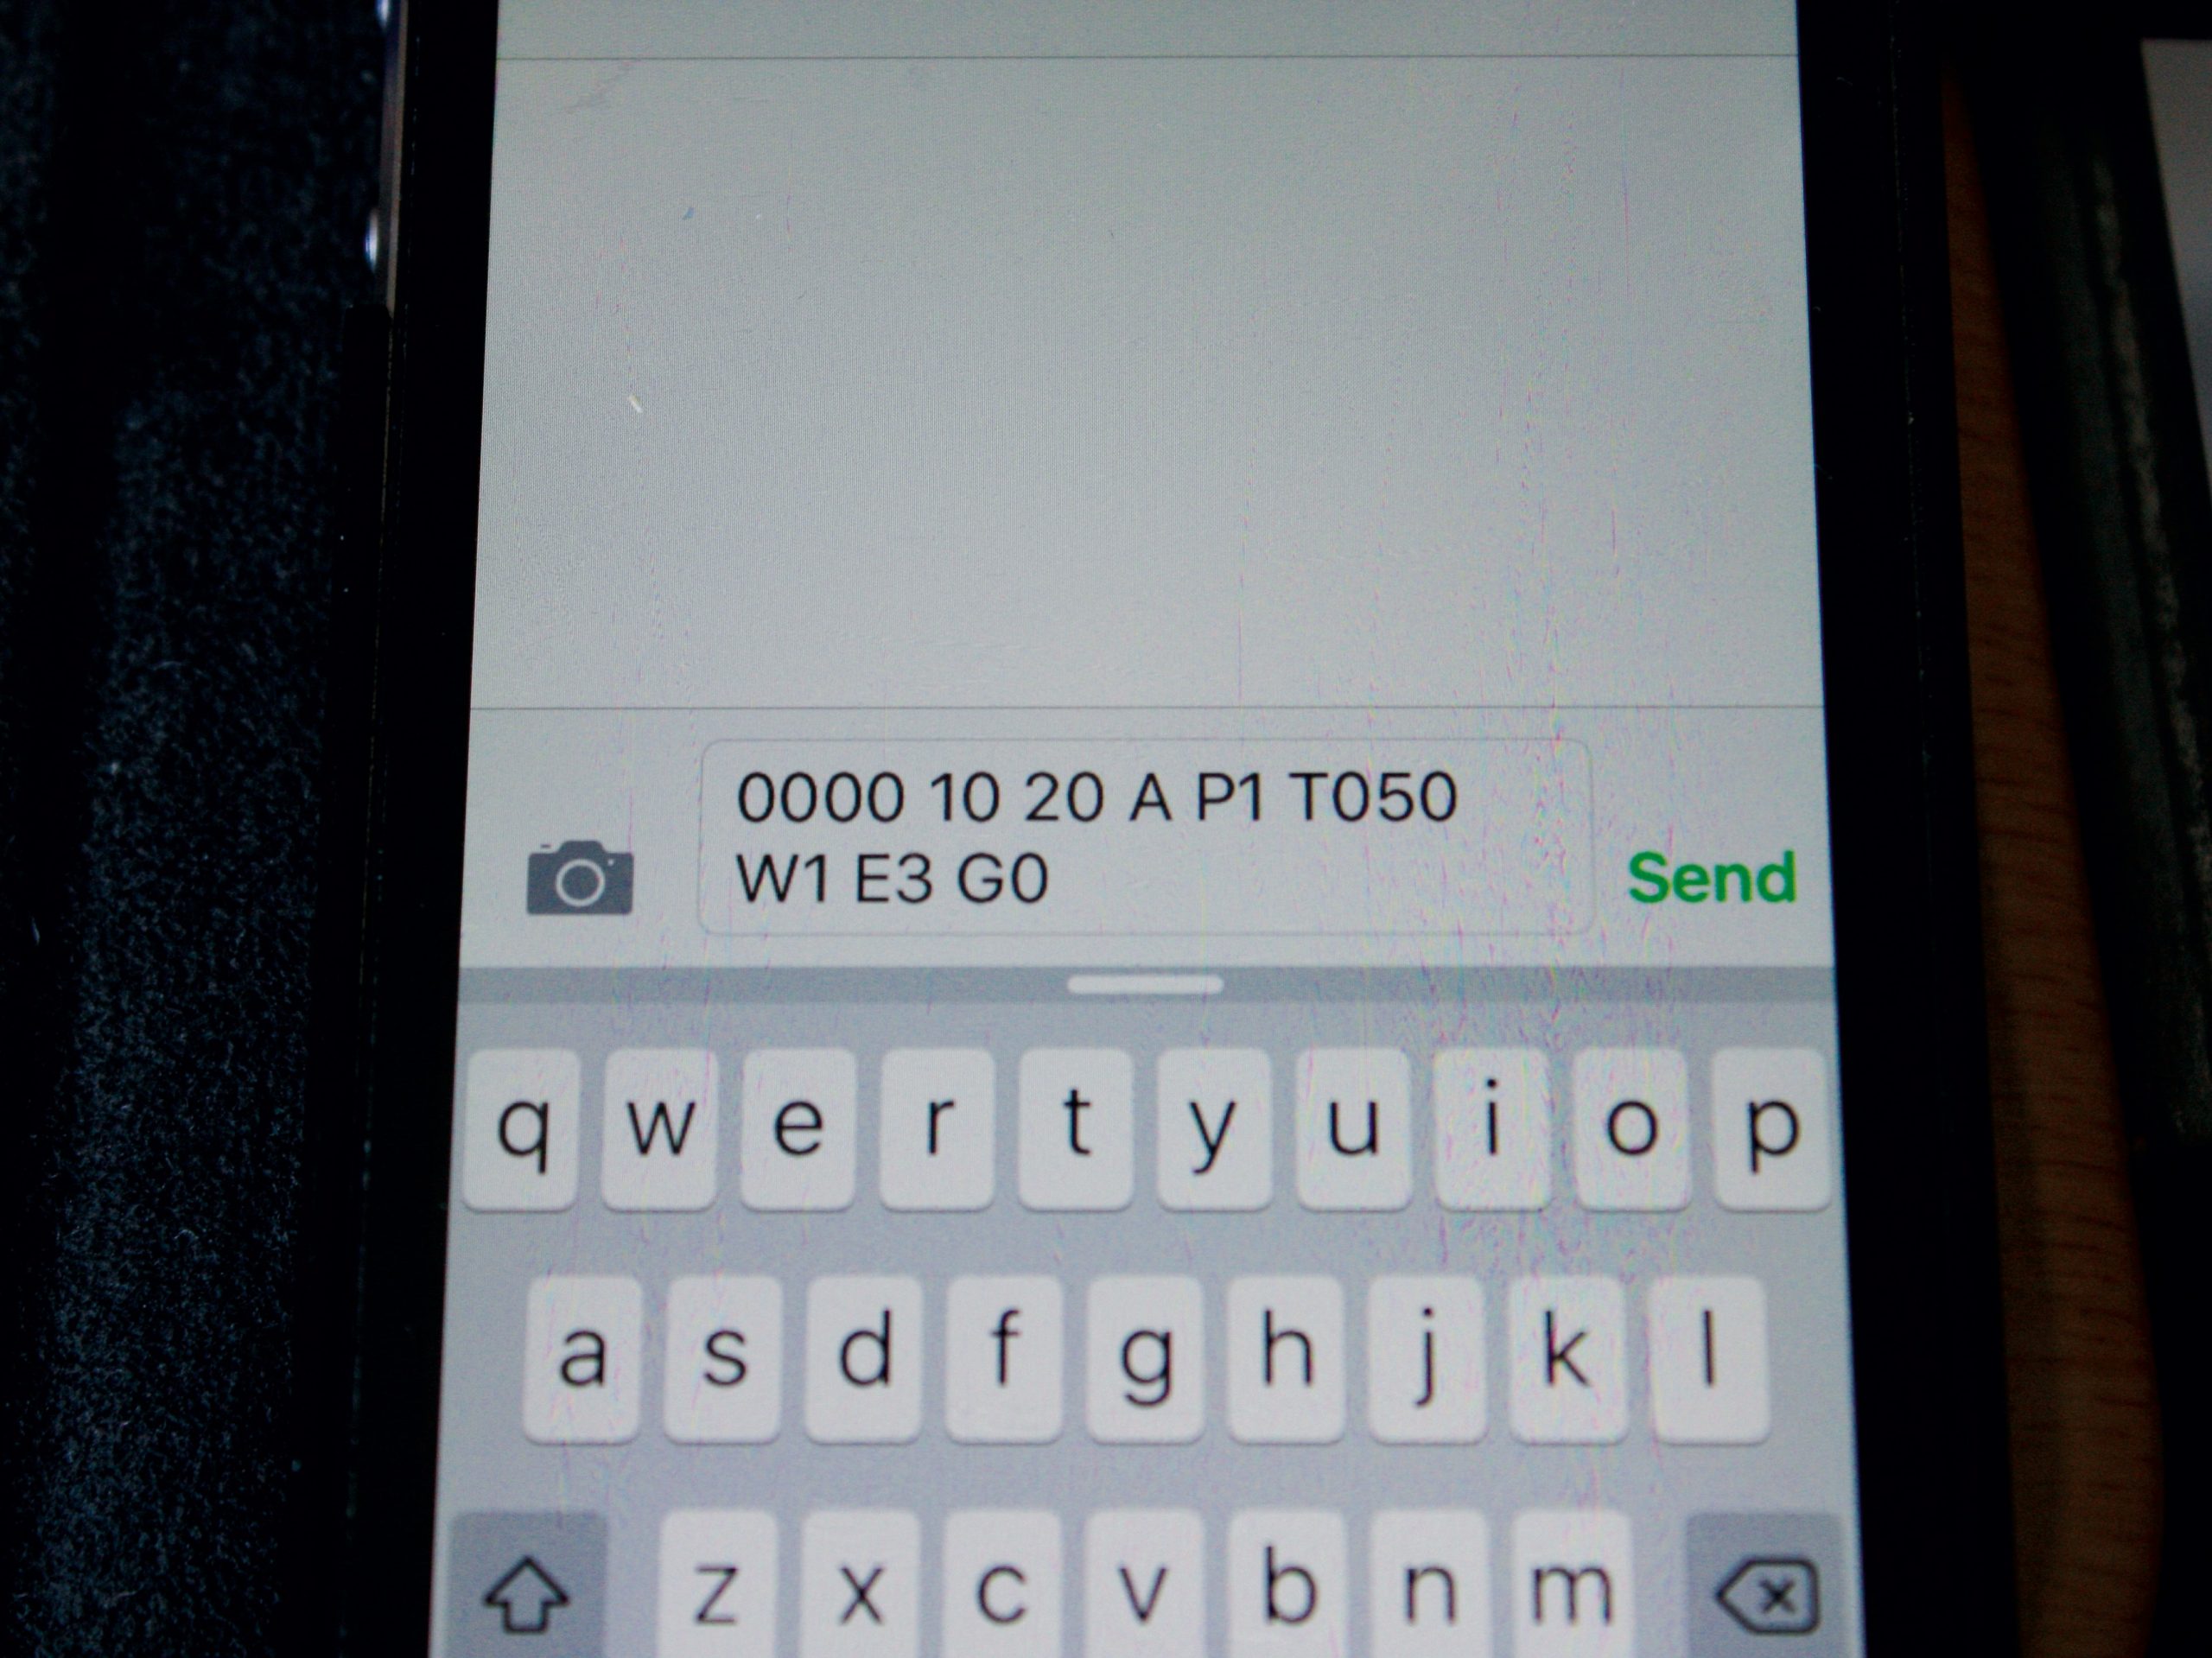
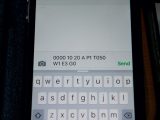
If you have a phone signal where you are, try altering the temperature or turning the system on/off via the phone app and press the ‘send’ button. You’ll see a text message with lots of numbers that you’ll have to send.
The settings on the control panel will change when it receives the signal, and you’ll get a confirmation back via a text.
Finally, reassemble the overhead locker and enjoy.
Smart Control is clever – and simple to fit!