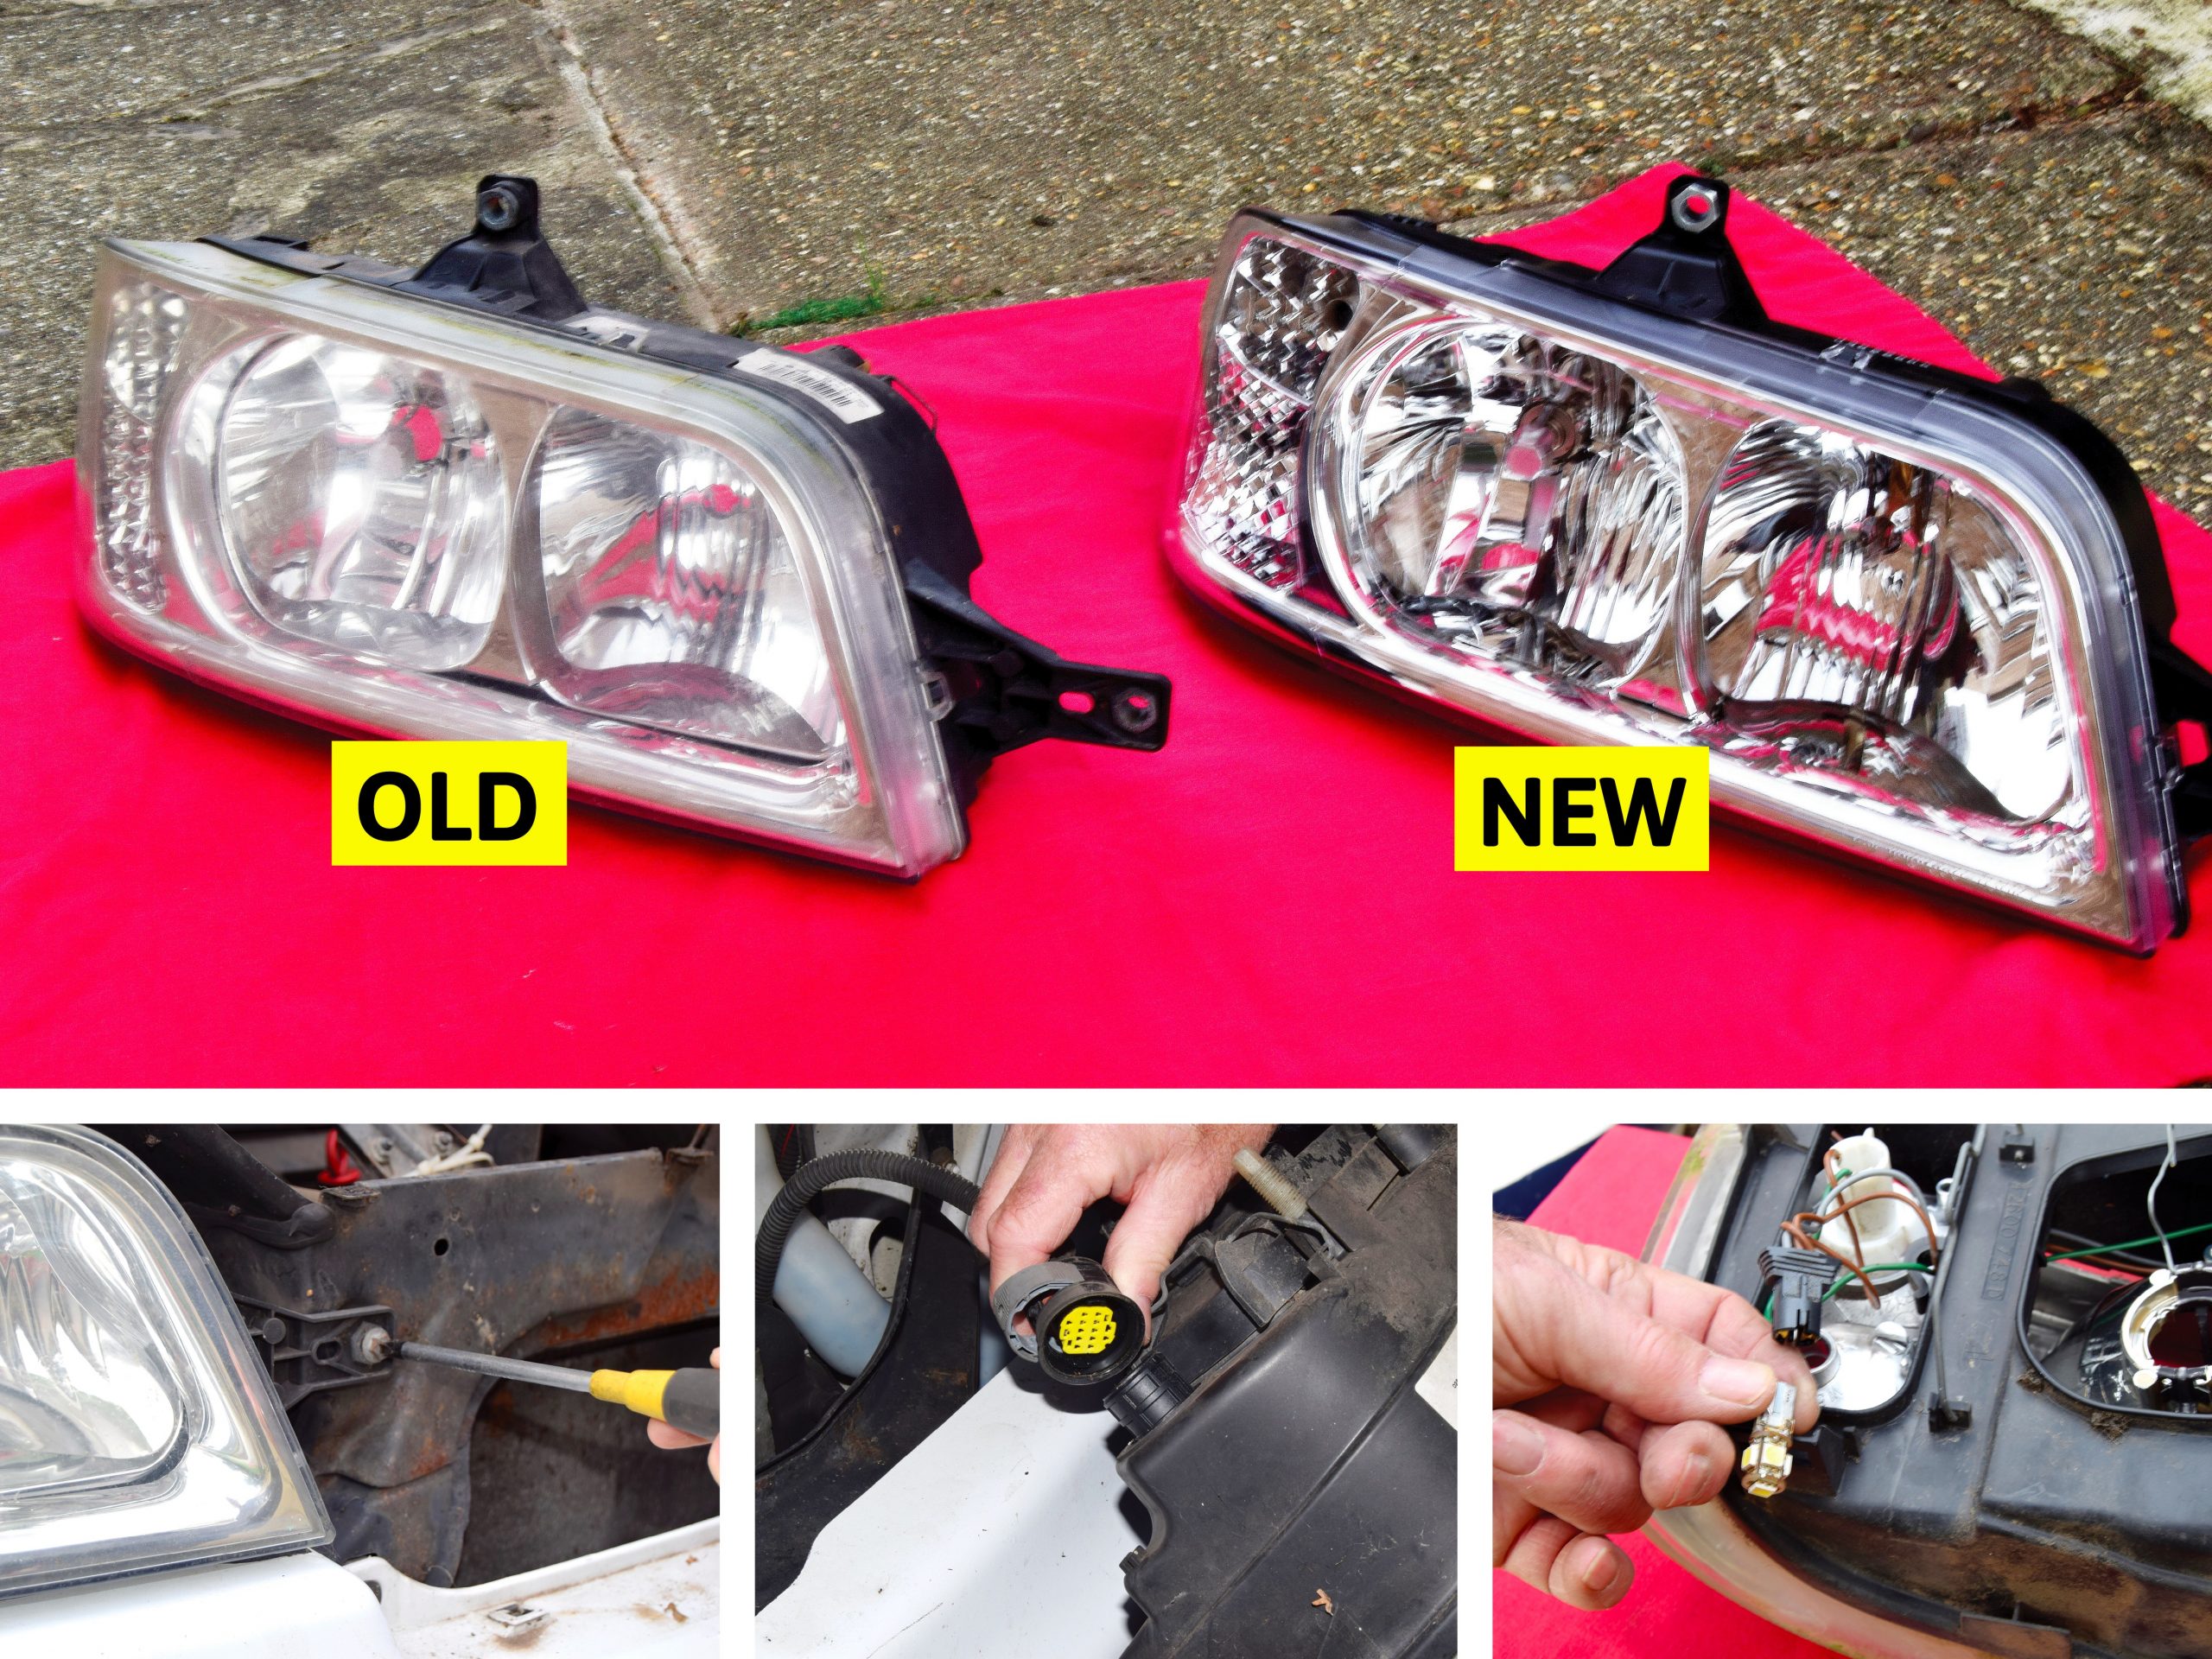

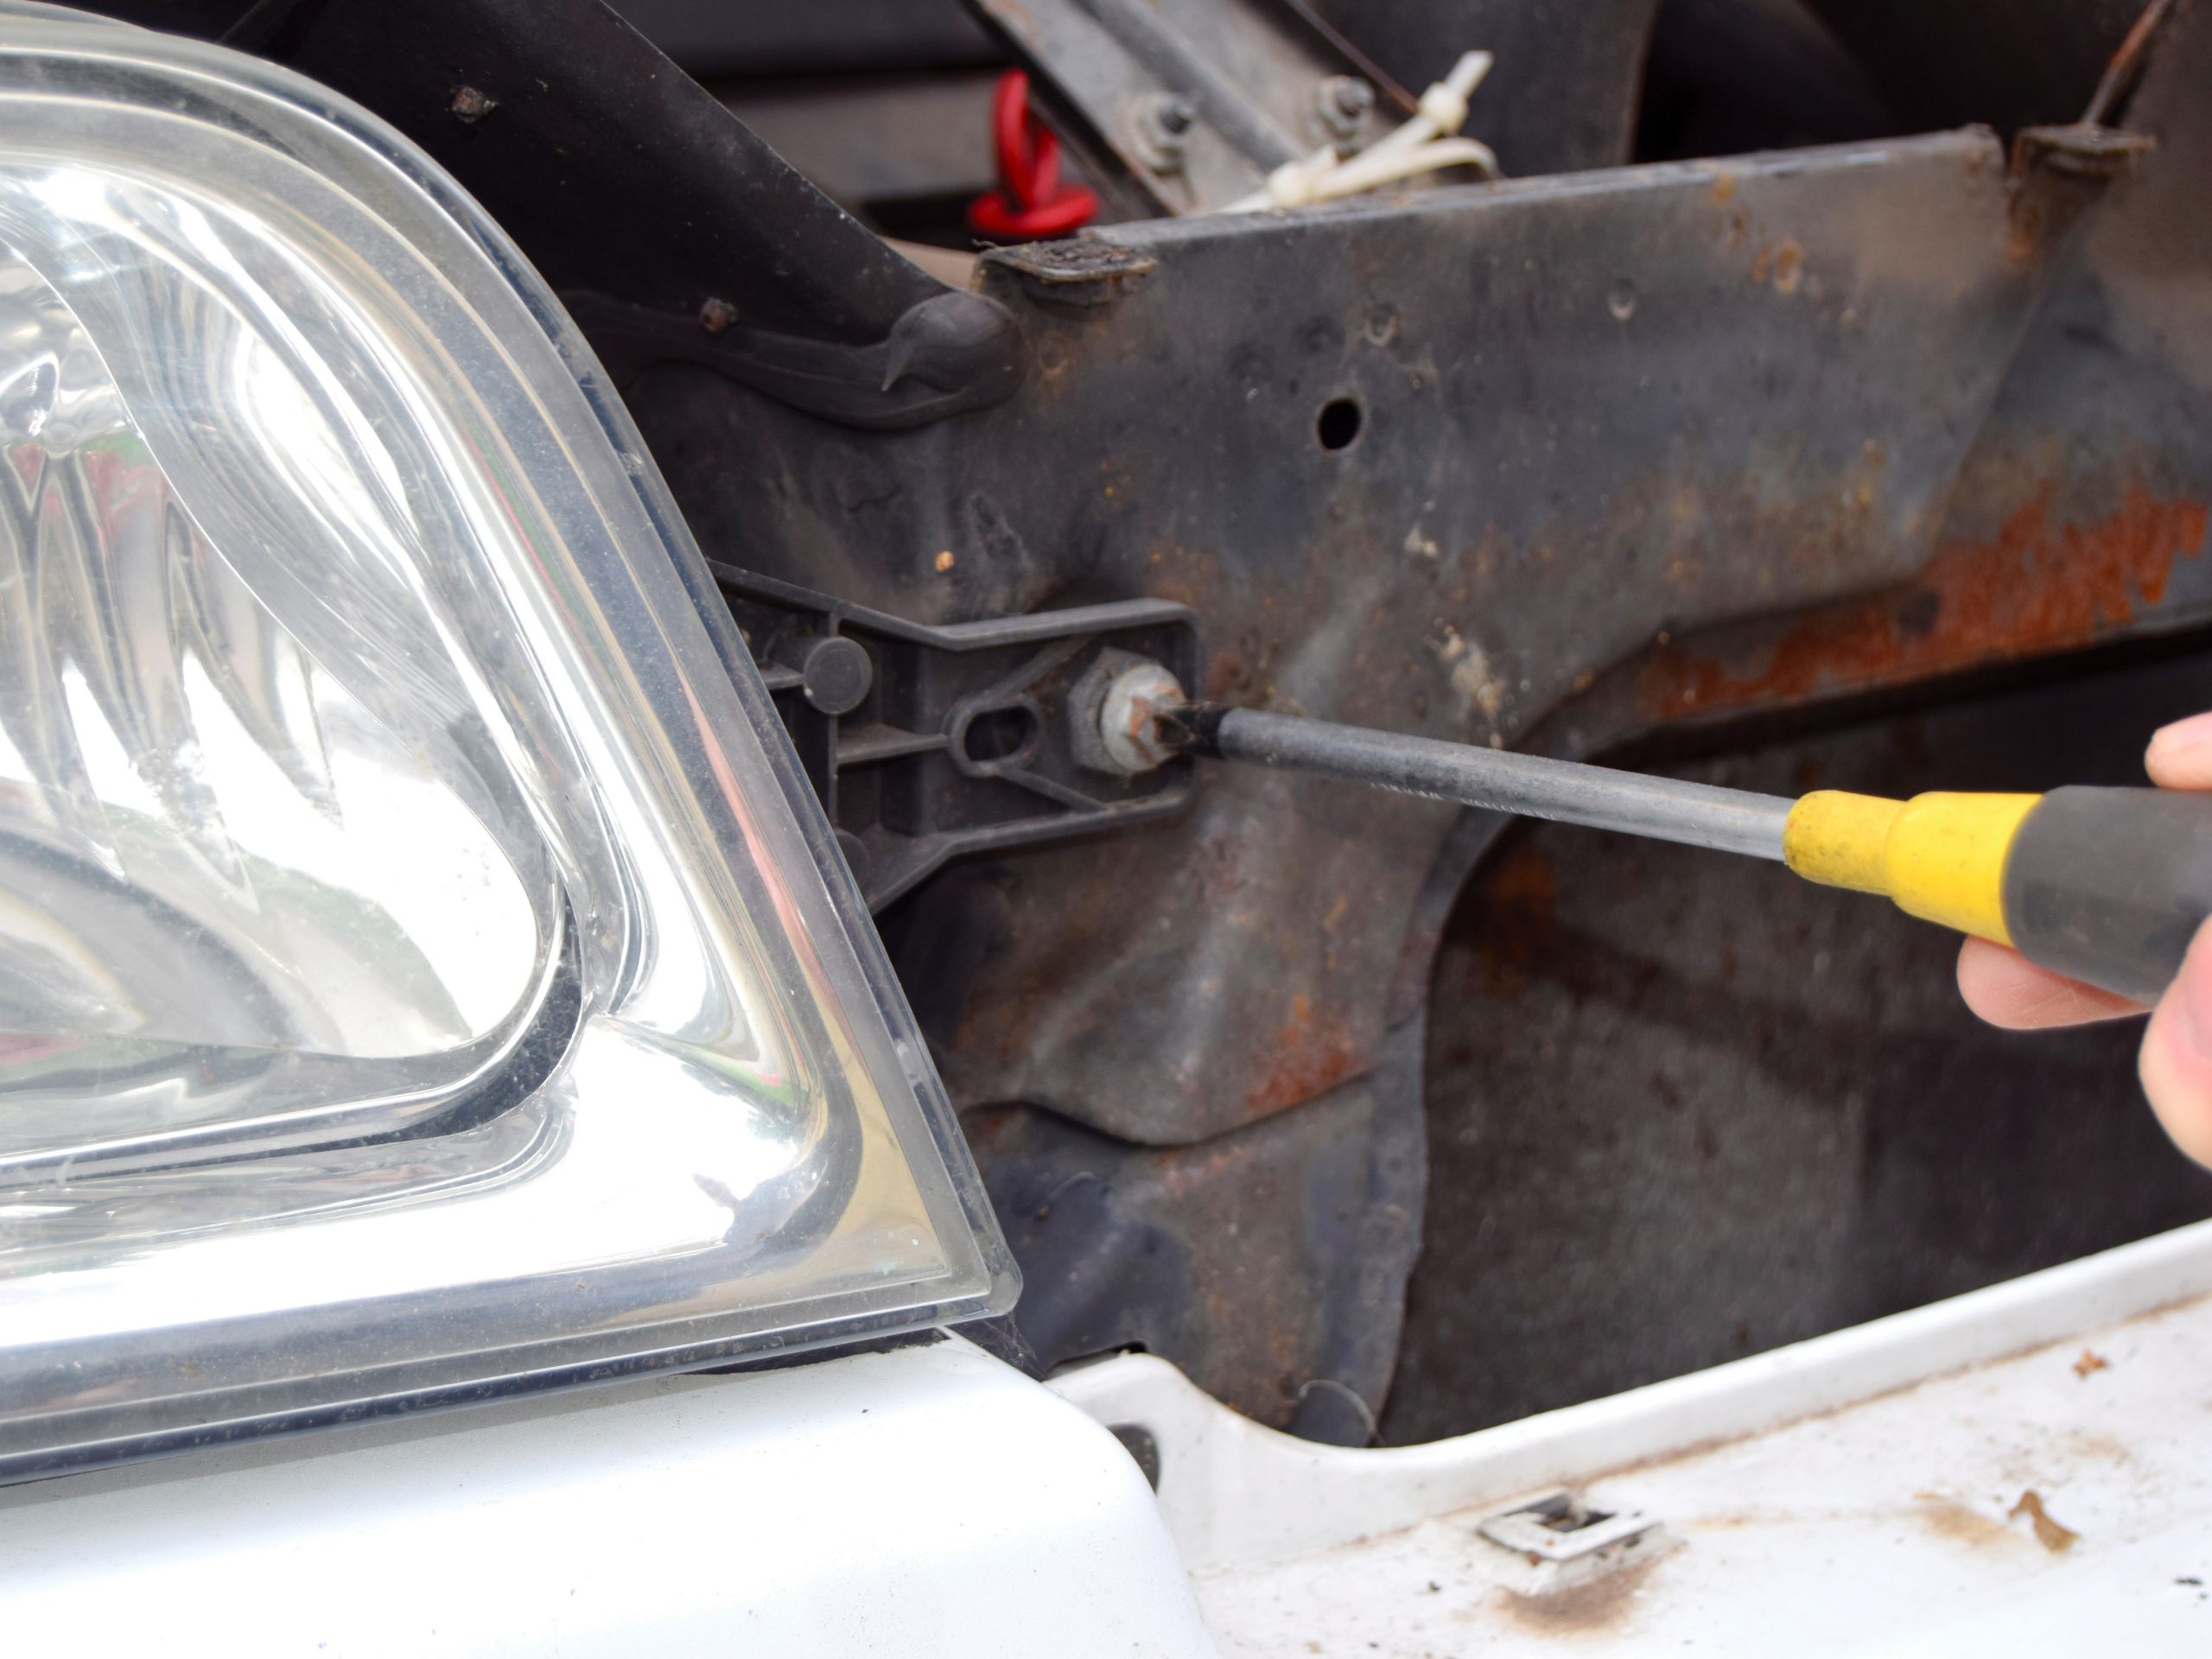


Like many modern cars and vans, the Fiat Ducato has shaped headlight assemblies, which contain all of the forward-facing lights (indicator, side, dip beam and so on).
However, unlike cars and vans of yesteryear, these units are manufactured using an acrylic compound for the lens, rather than glass.
Unfortunately, acrylic isn’t as robust as glass.
The problem
The most common problem with acrylic headlamps is that they are prone to chemical attack, from polishing and cleansing agents, for example.
This results in a creeping opacity, to the point where the amount of light emitted from the bulbs is seriously reduced – an MoT-failure probability, not to mention less light when driving.
They can also suffer from micro-cracks appearing in the acrylic material.
The solutions
Some pundits reckon that mild abrasives (toothpaste, metal polish, wet and dry, or similar) will restore the lights’ clarity, but there are just as many who consider such attempts a waste of time.
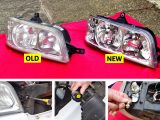
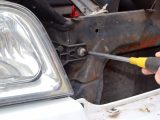
This project covers the complete replacement of old headlight units with new, thereby restoring the light output to original levels.
Although the procedure described in the photo captions above involves a ’van based upon a Ducato X244 (2002-2006), this type of headlight assembly is common to other motorhomes, so the same steps can be followed for them.
What you’ll need:
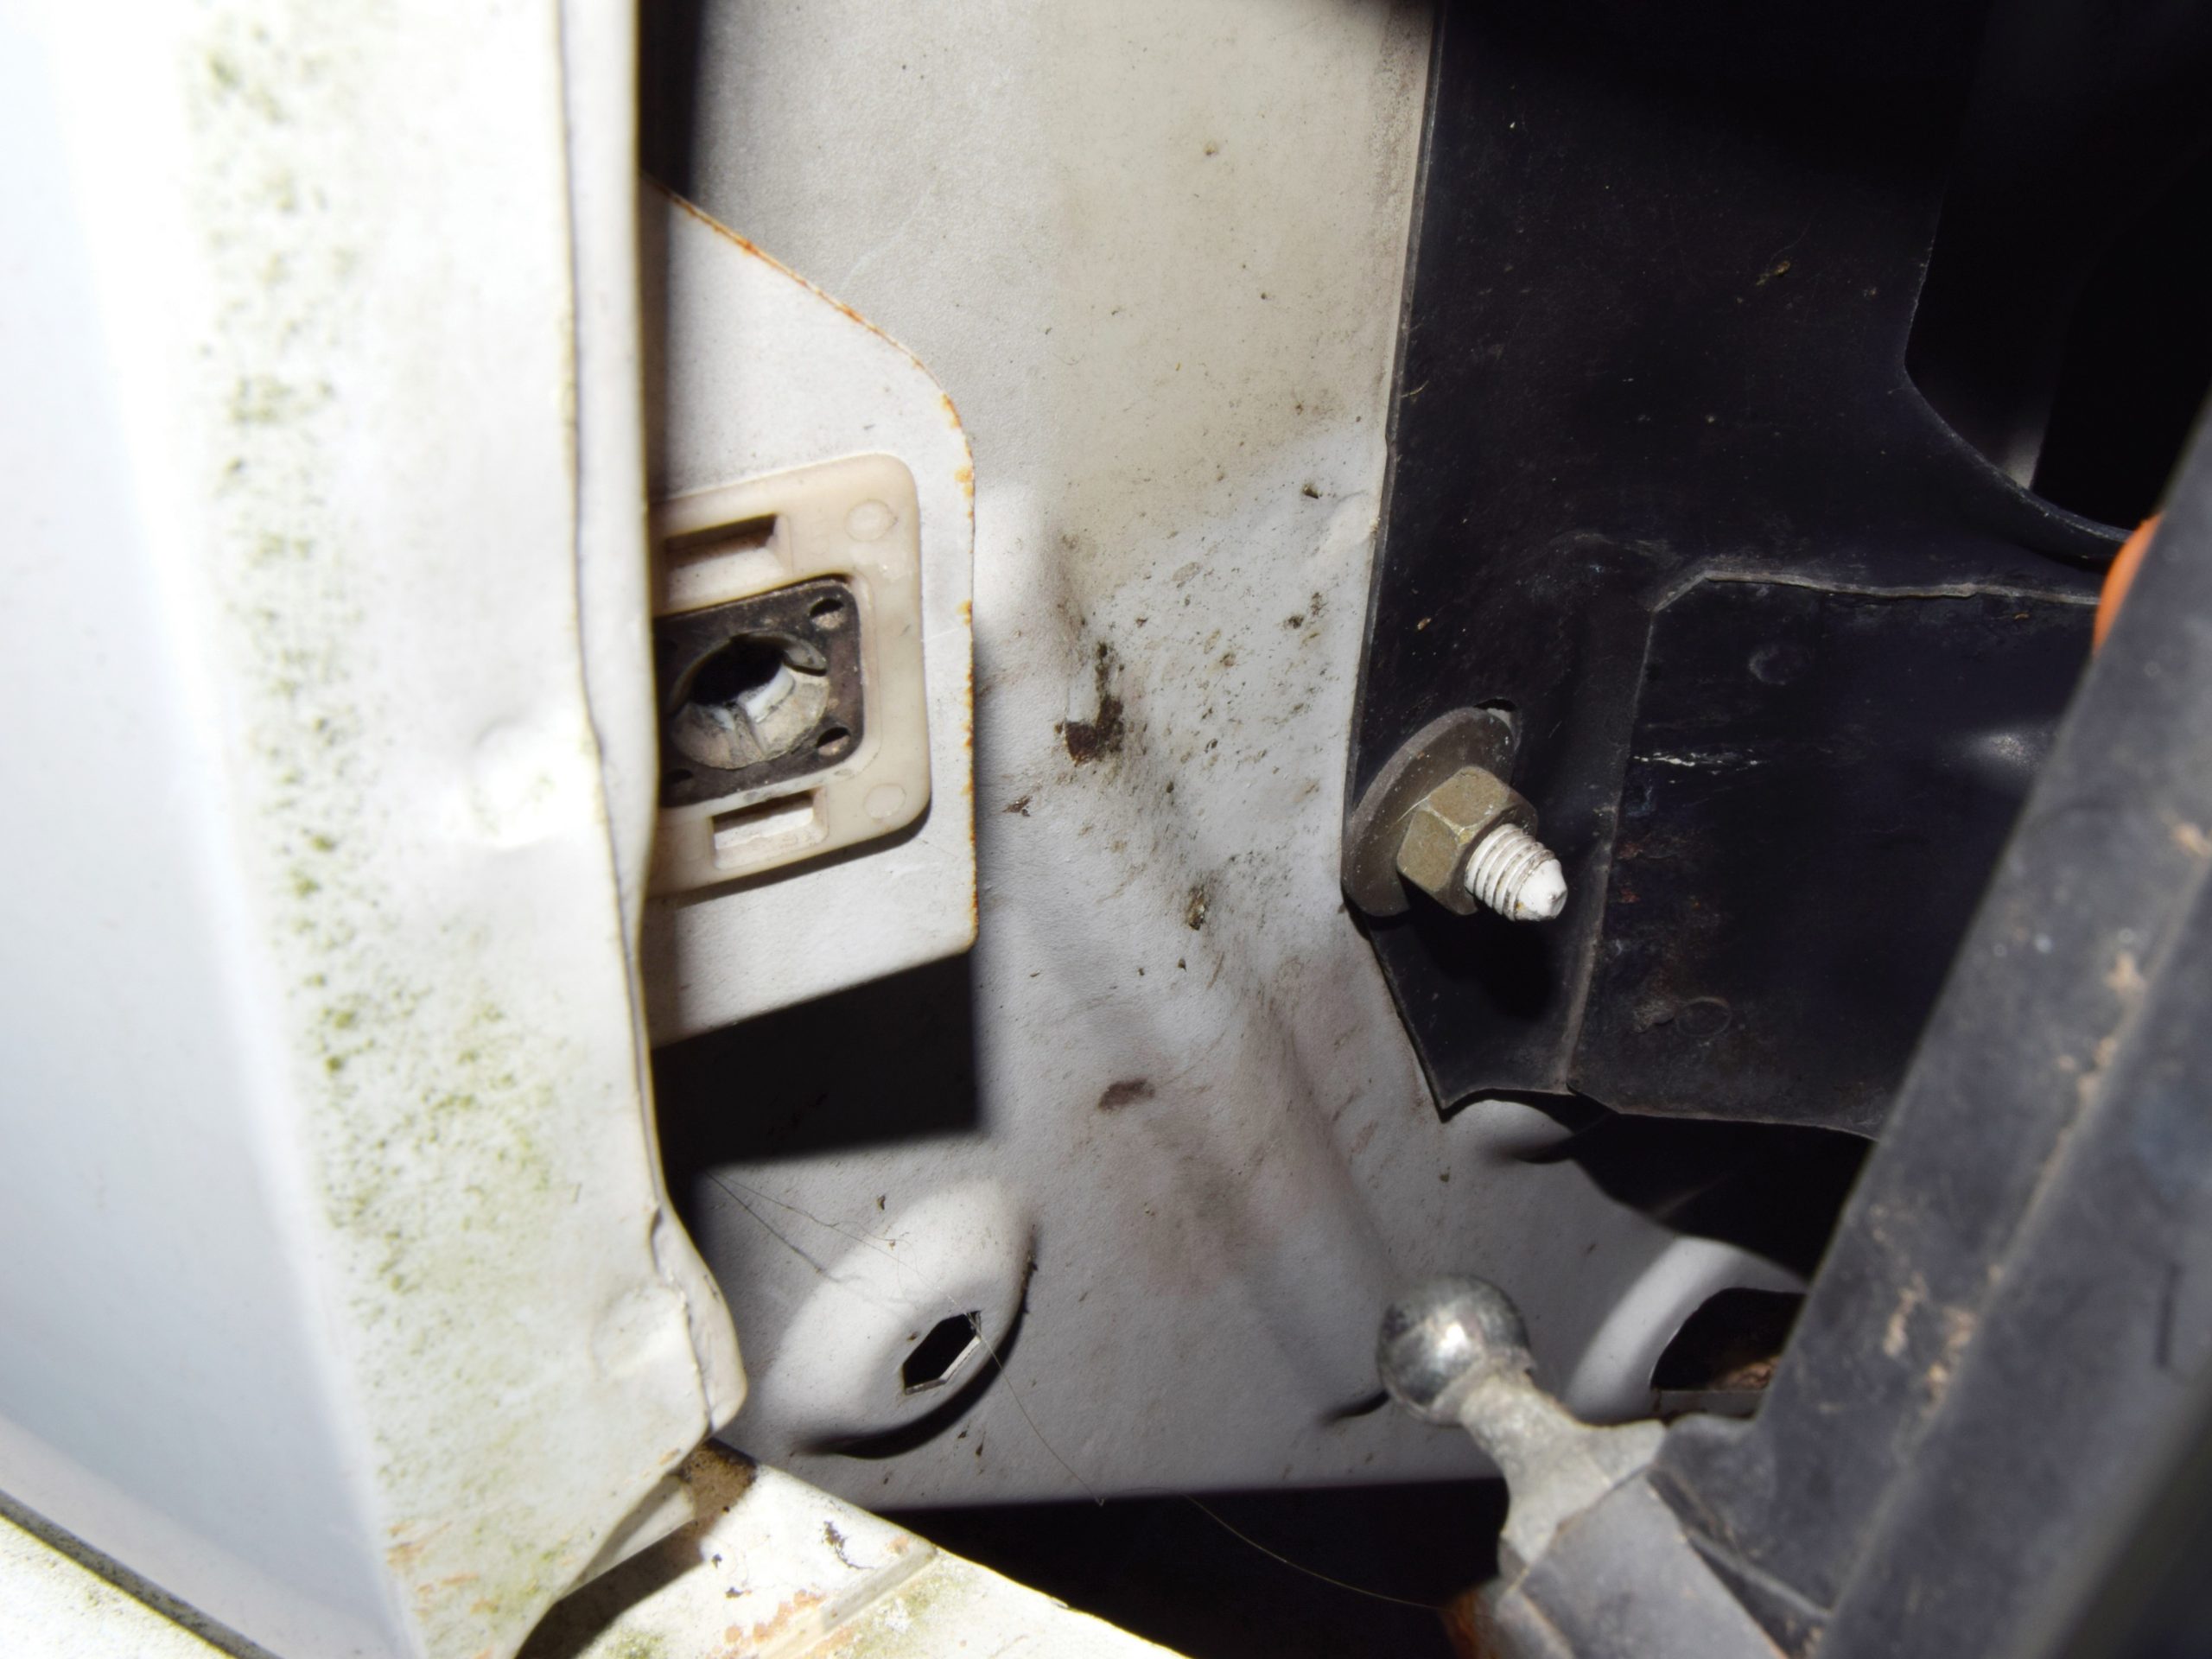
- Tools – a conventional toolbox.
- Parts – a matching pair of headlight units. These are available from a number of sources. I bought mine on eBay for just under £100, delivered to my door.
- The whole procedure should only take about one hour.
It is advised that all bulbs should be replaced with good-quality new ones during the procedure.
Bulbs have a finite life and, because changing any bulb in the headlight assembly involves removing that assembly from the vehicle, it is expedient to maximise their life by fitting new bulbs while it’s convenient.
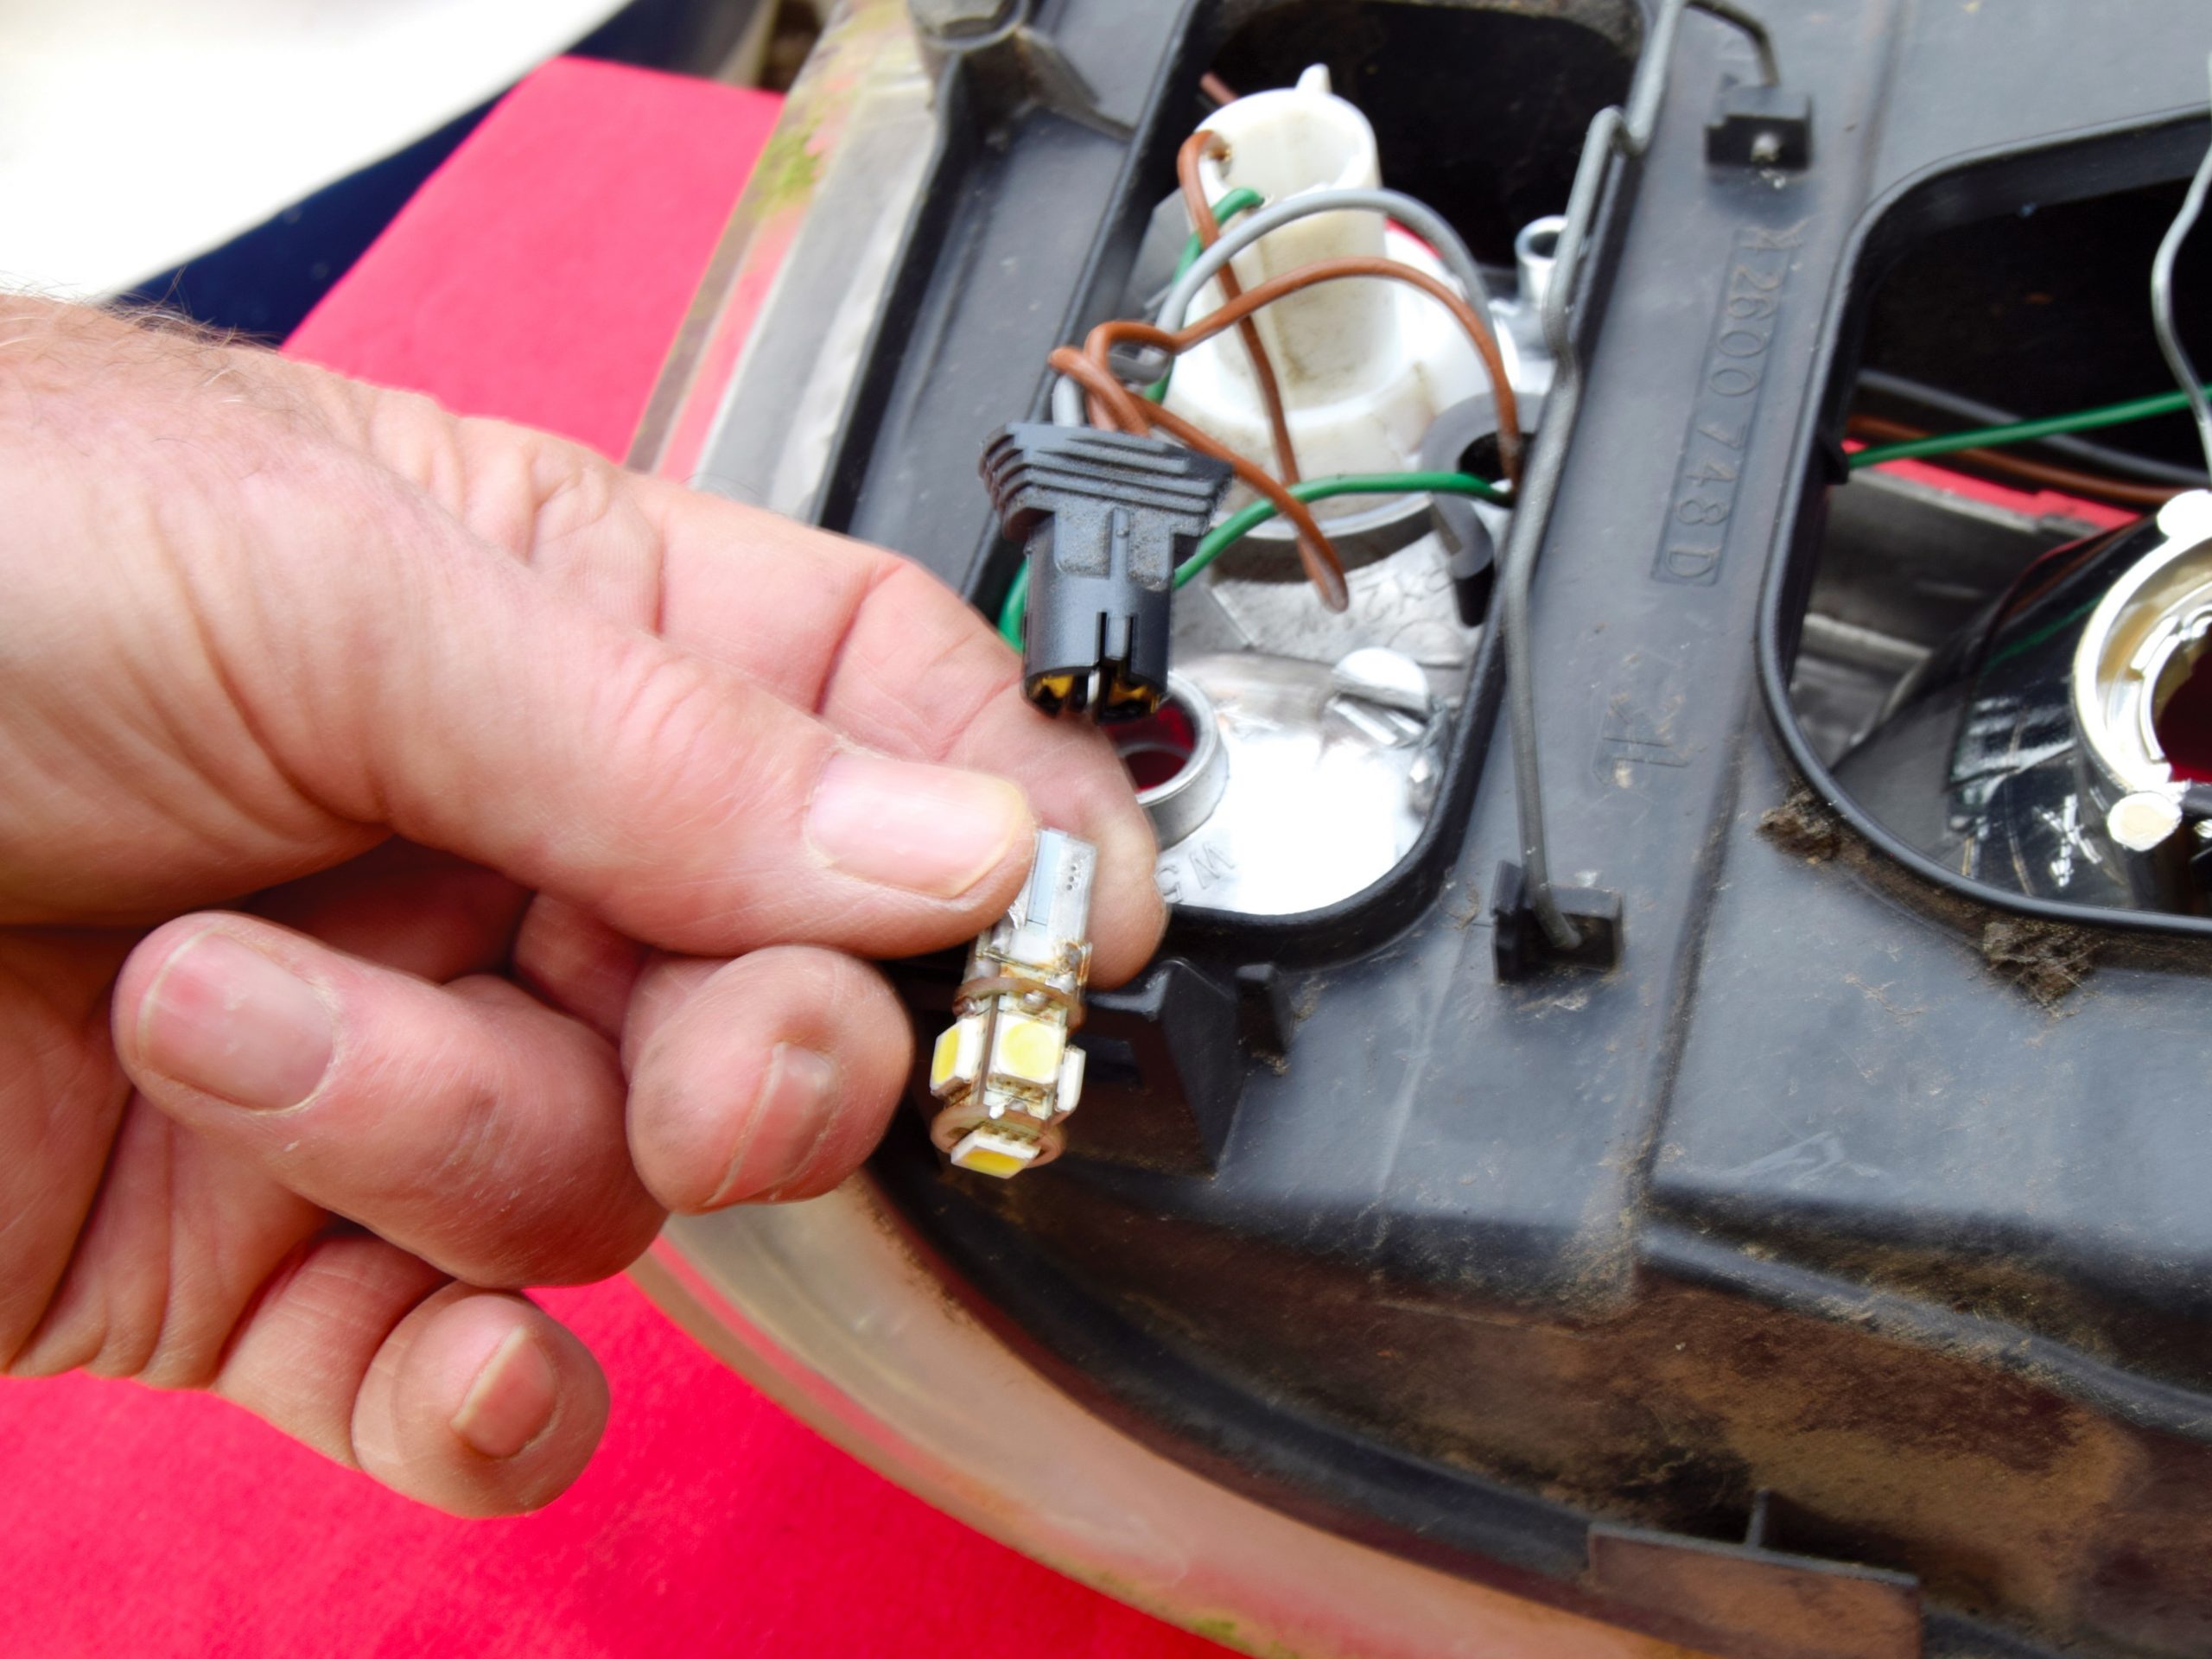
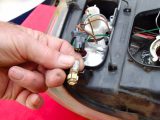
Upgrade to LEDs?
I took the opportunity to replace my side-light bulbs with LED equivalents, because conventional tungsten variants tend to accrue a layer of black vaporised tungsten inside, reducing their output.
LED bulbs do not suffer this problem and have a very long life.
They are, however, polarised, so when you check the assembly before putting it back in your motorhome, you may find that they fail to operate.
If so, take them out and rotate 180 degrees before plugging in again.
And another thing…
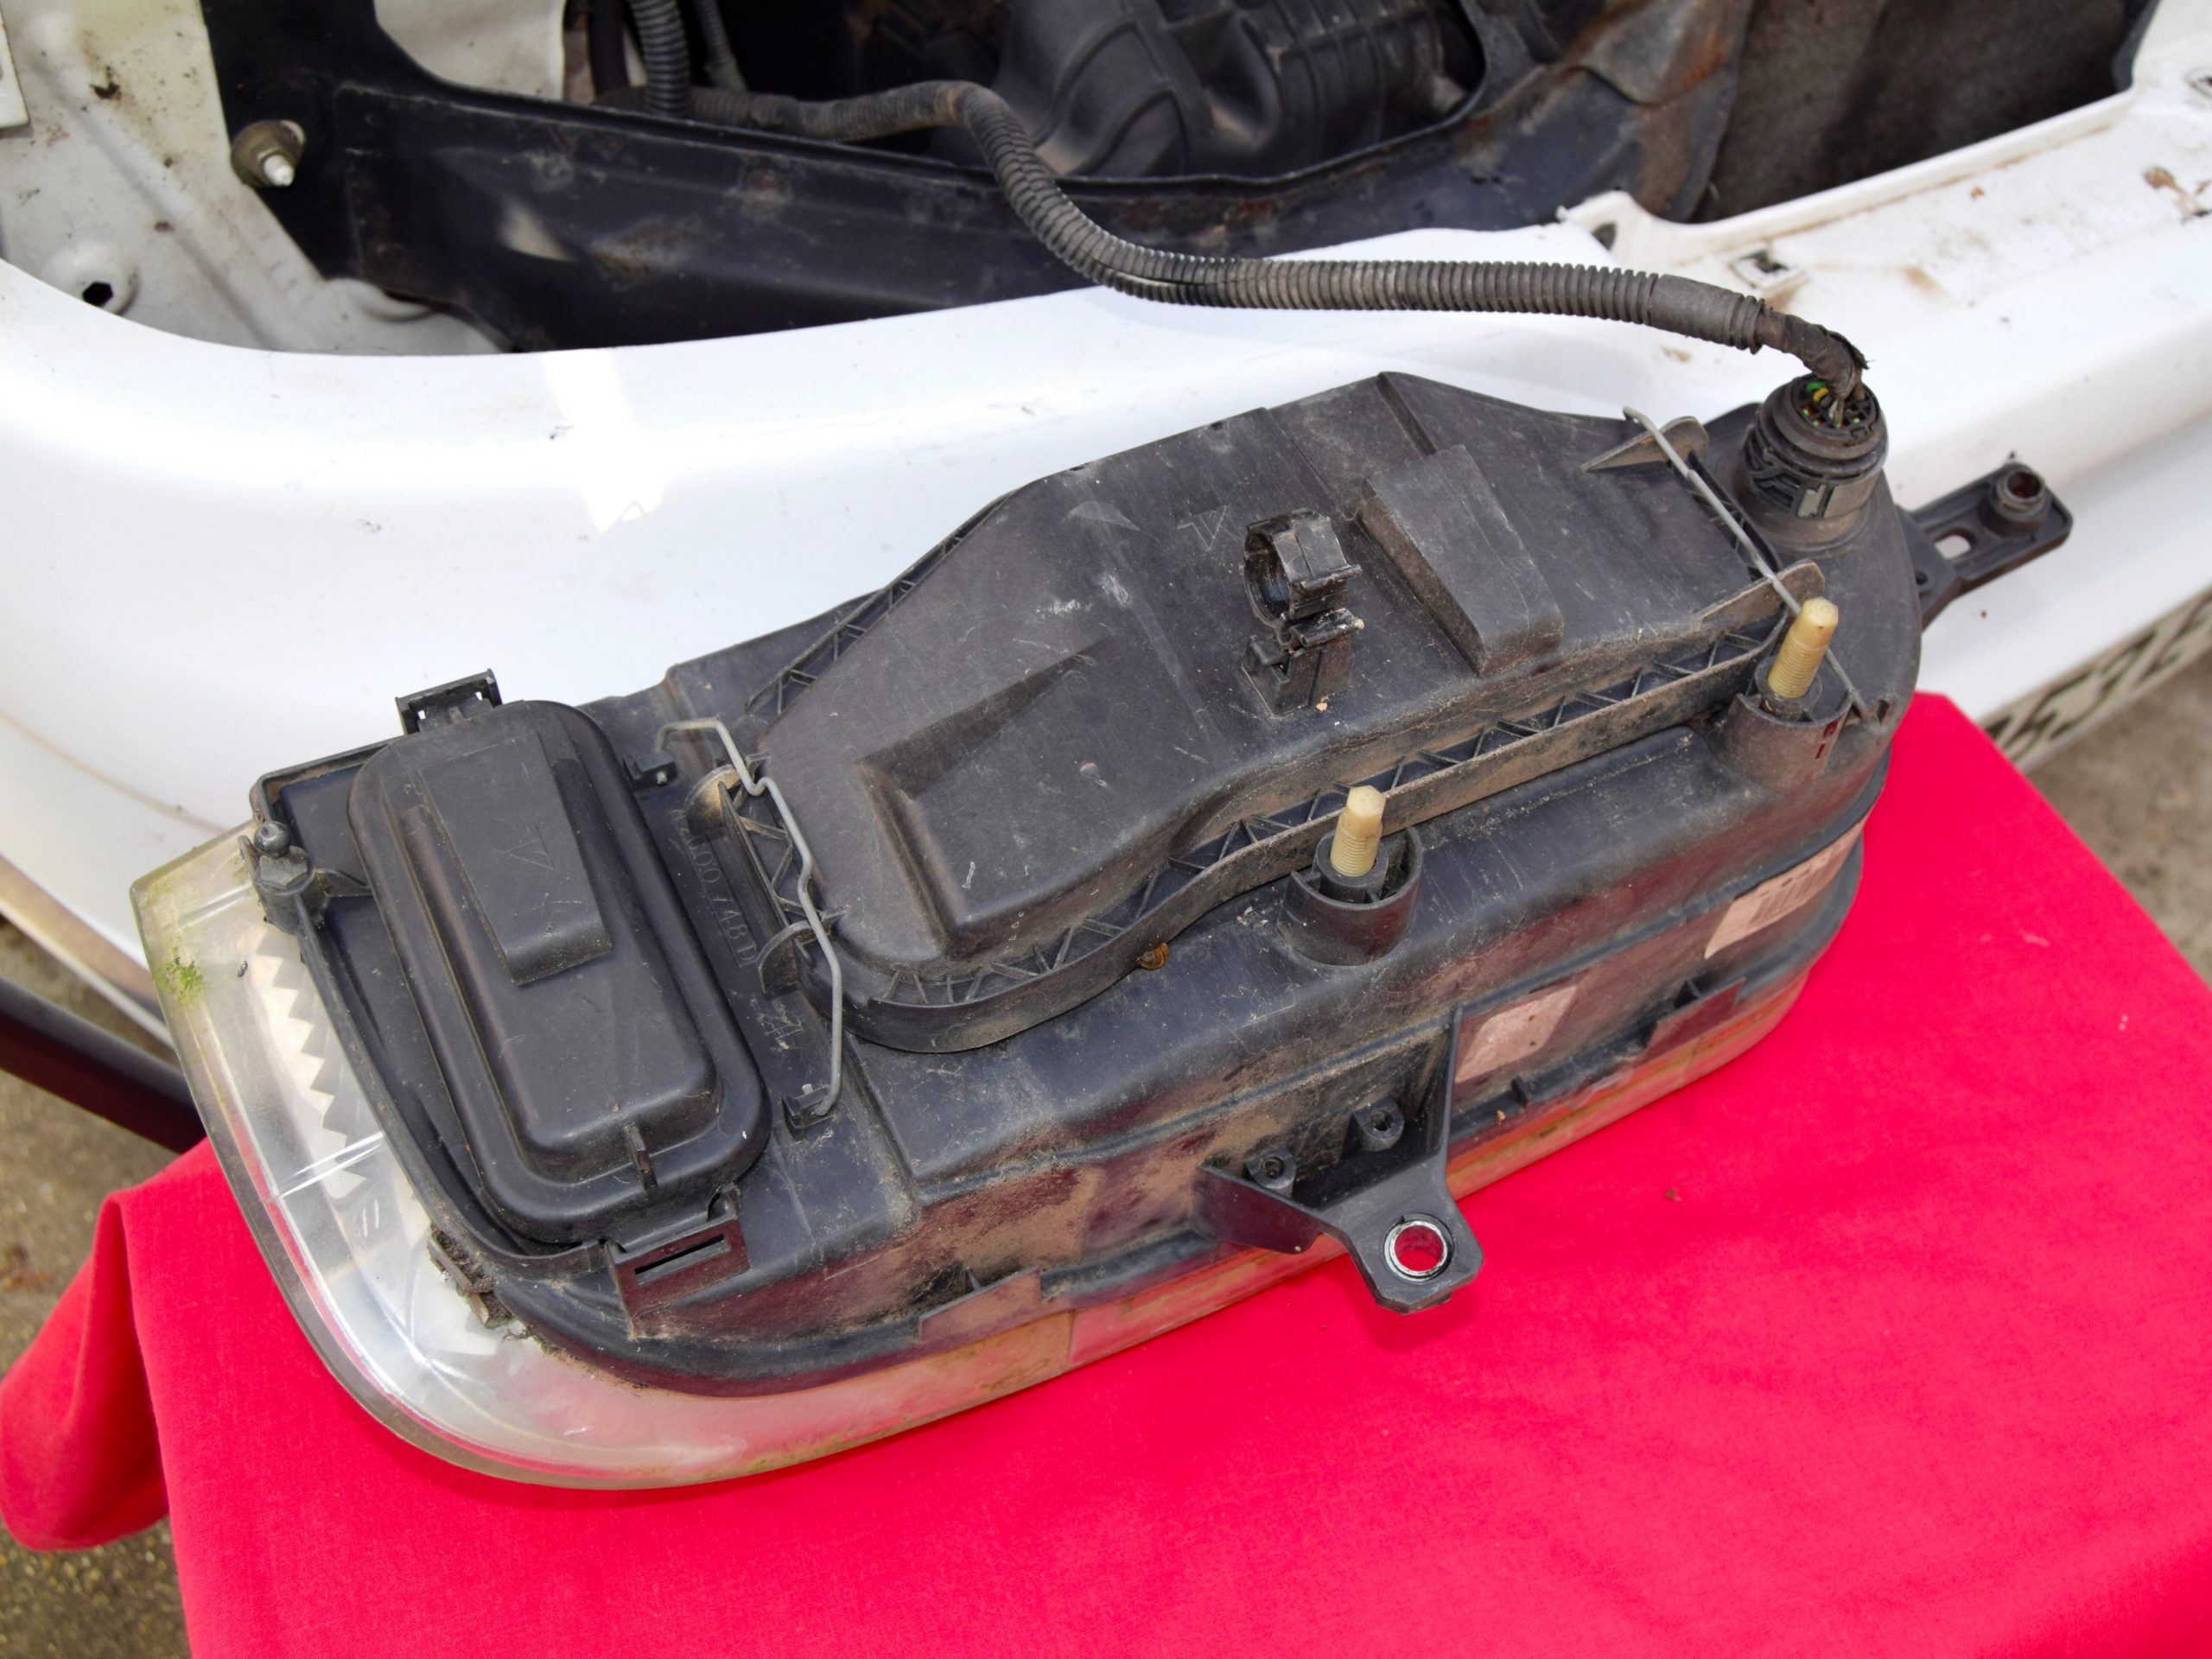
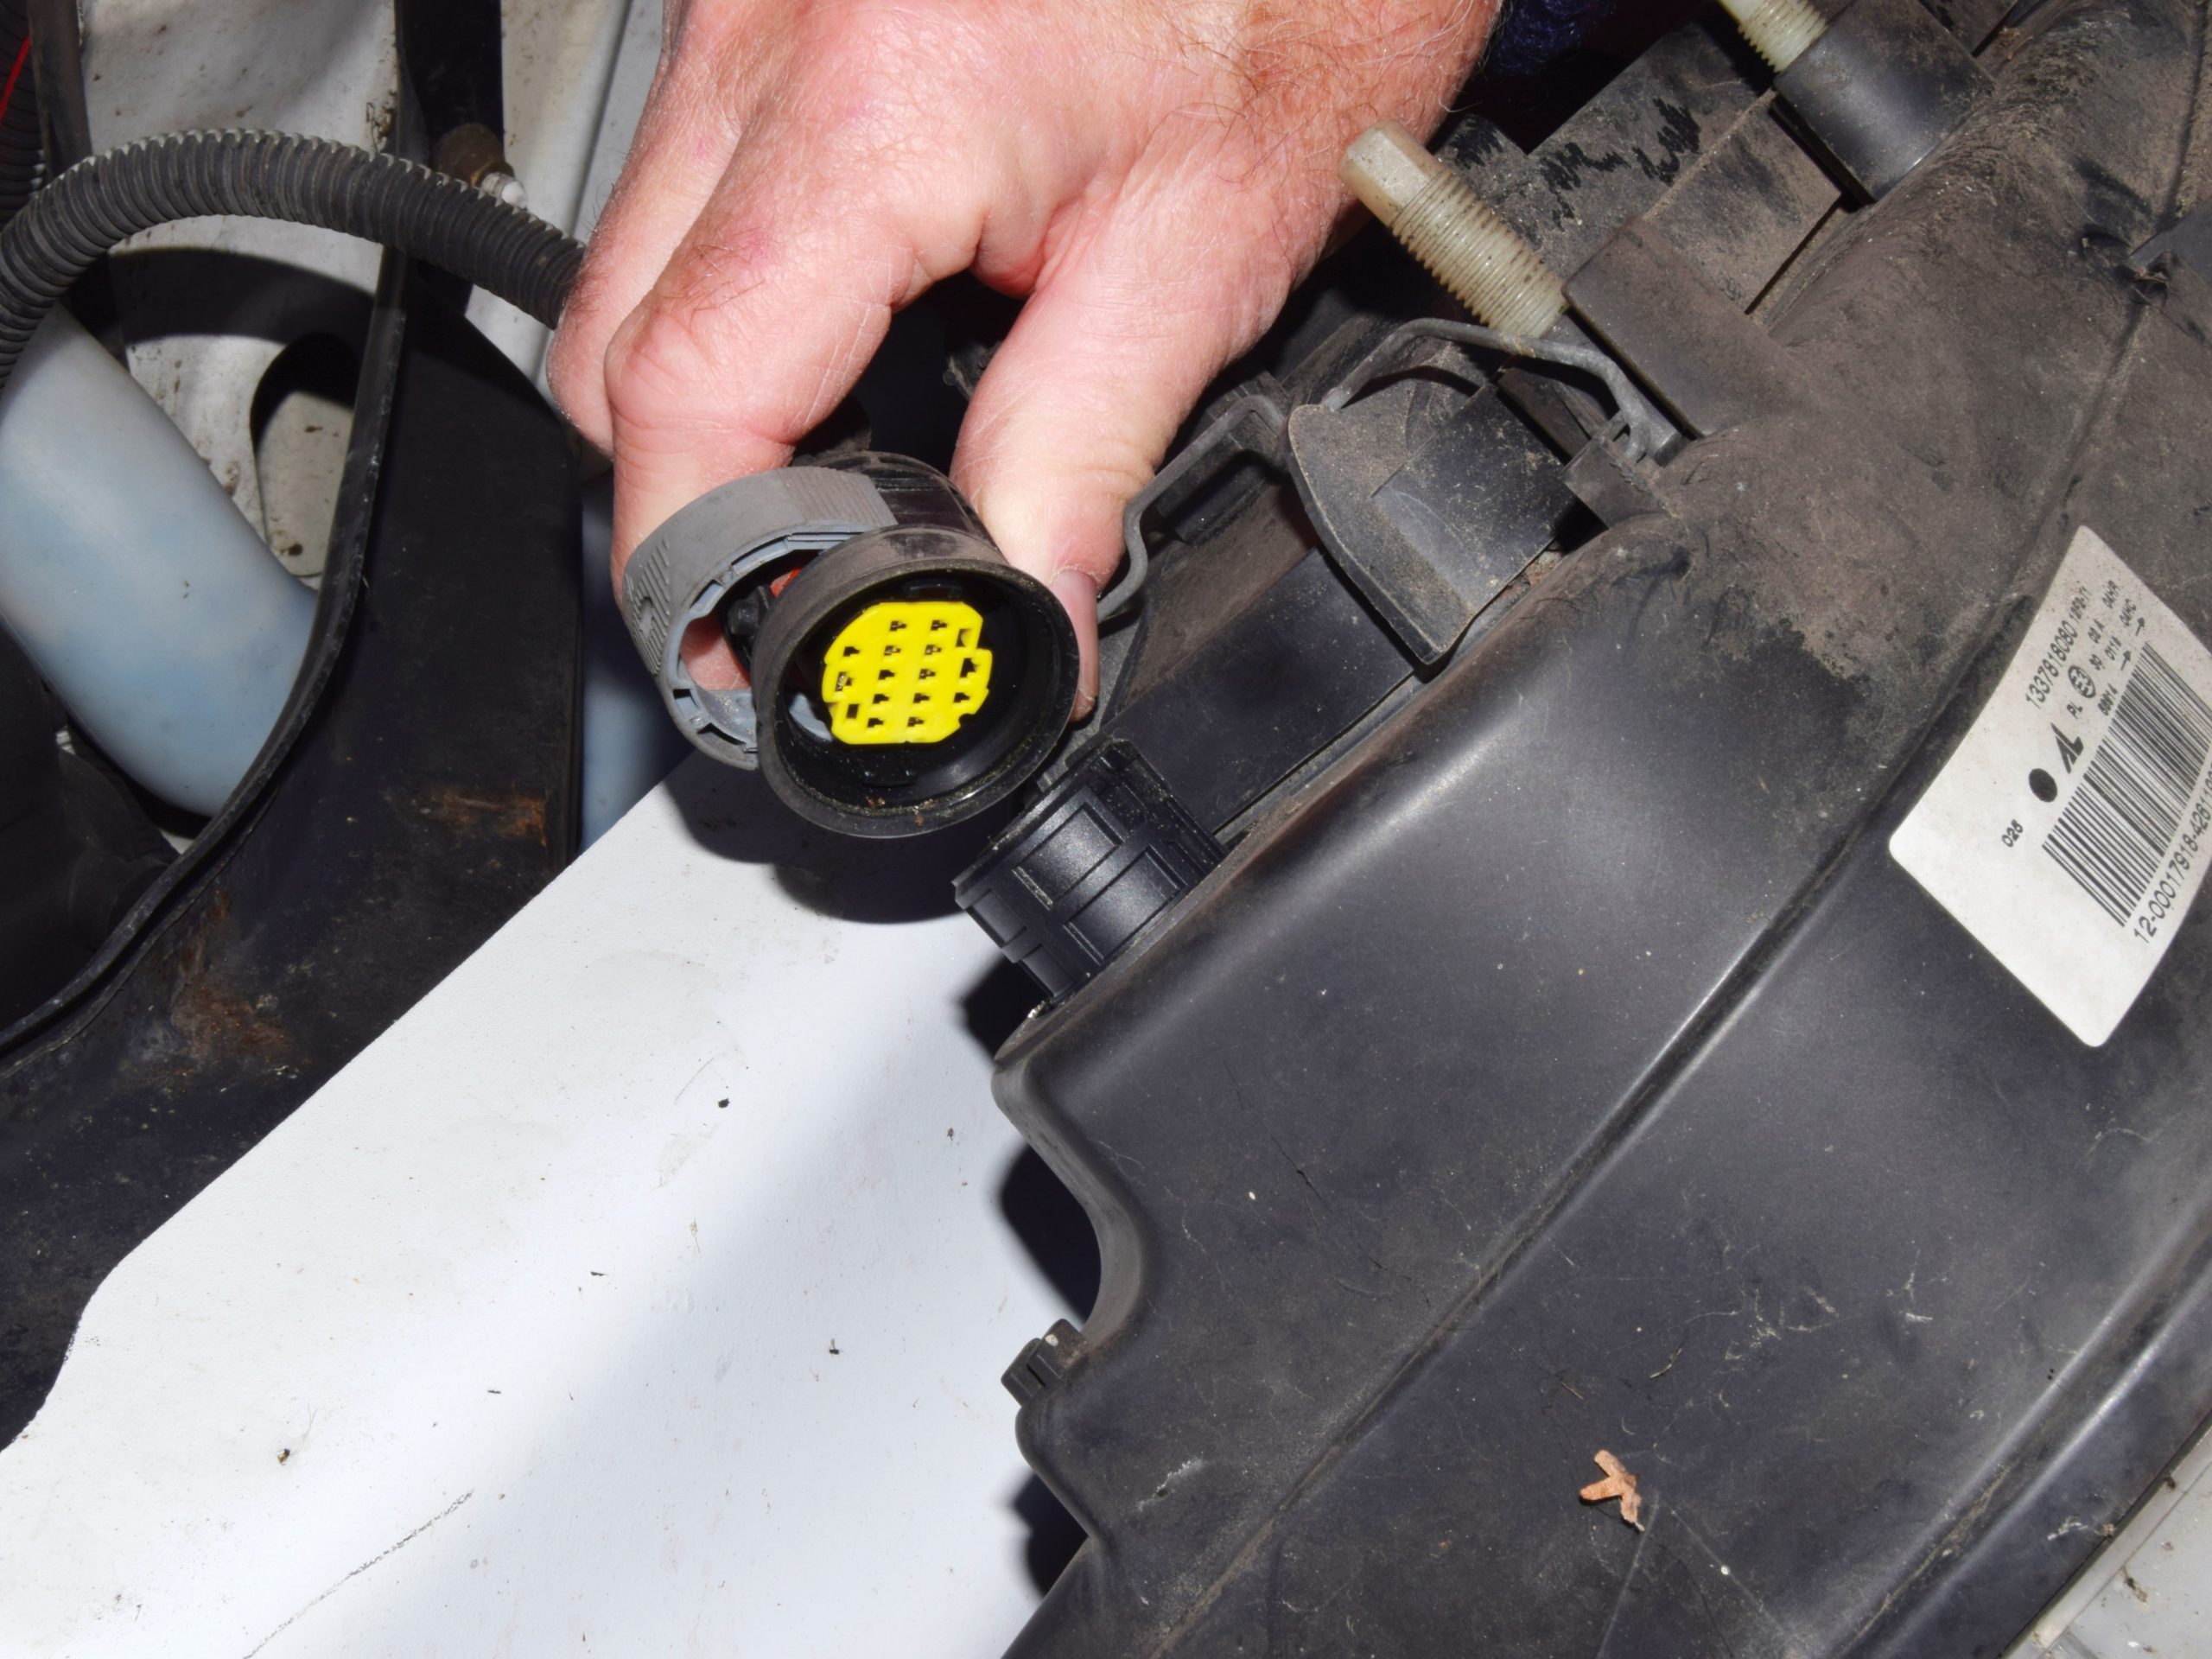
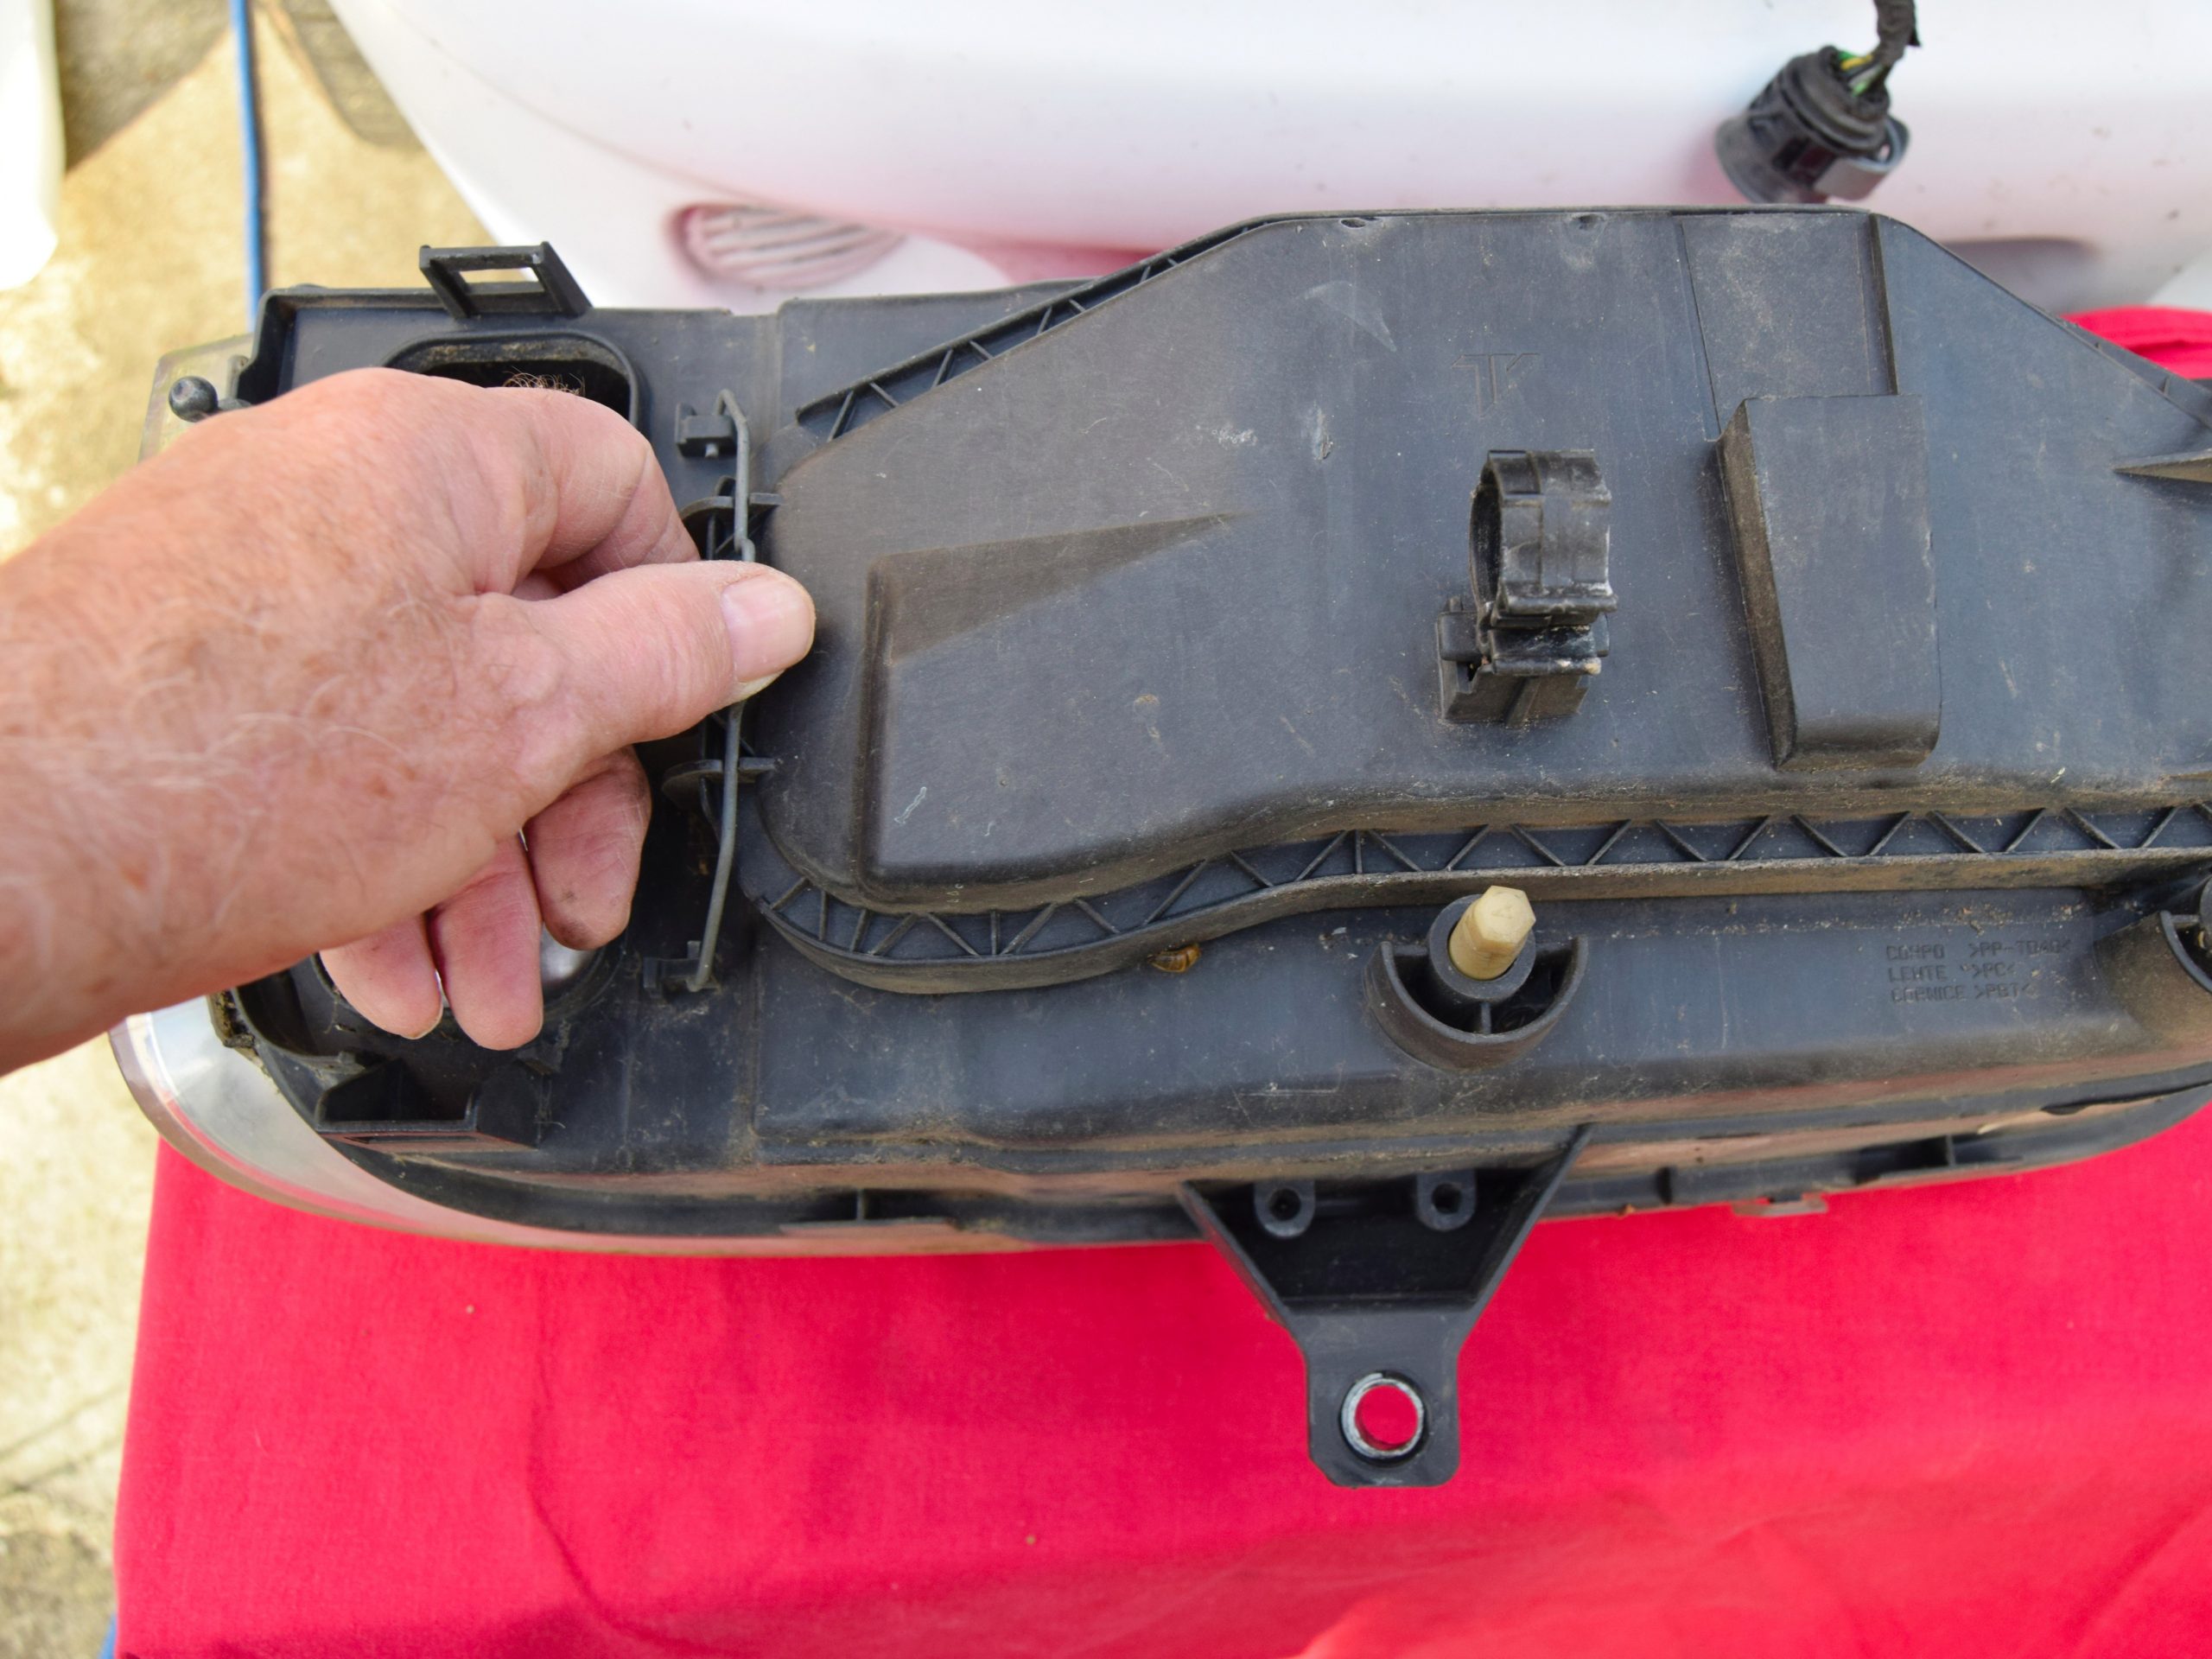
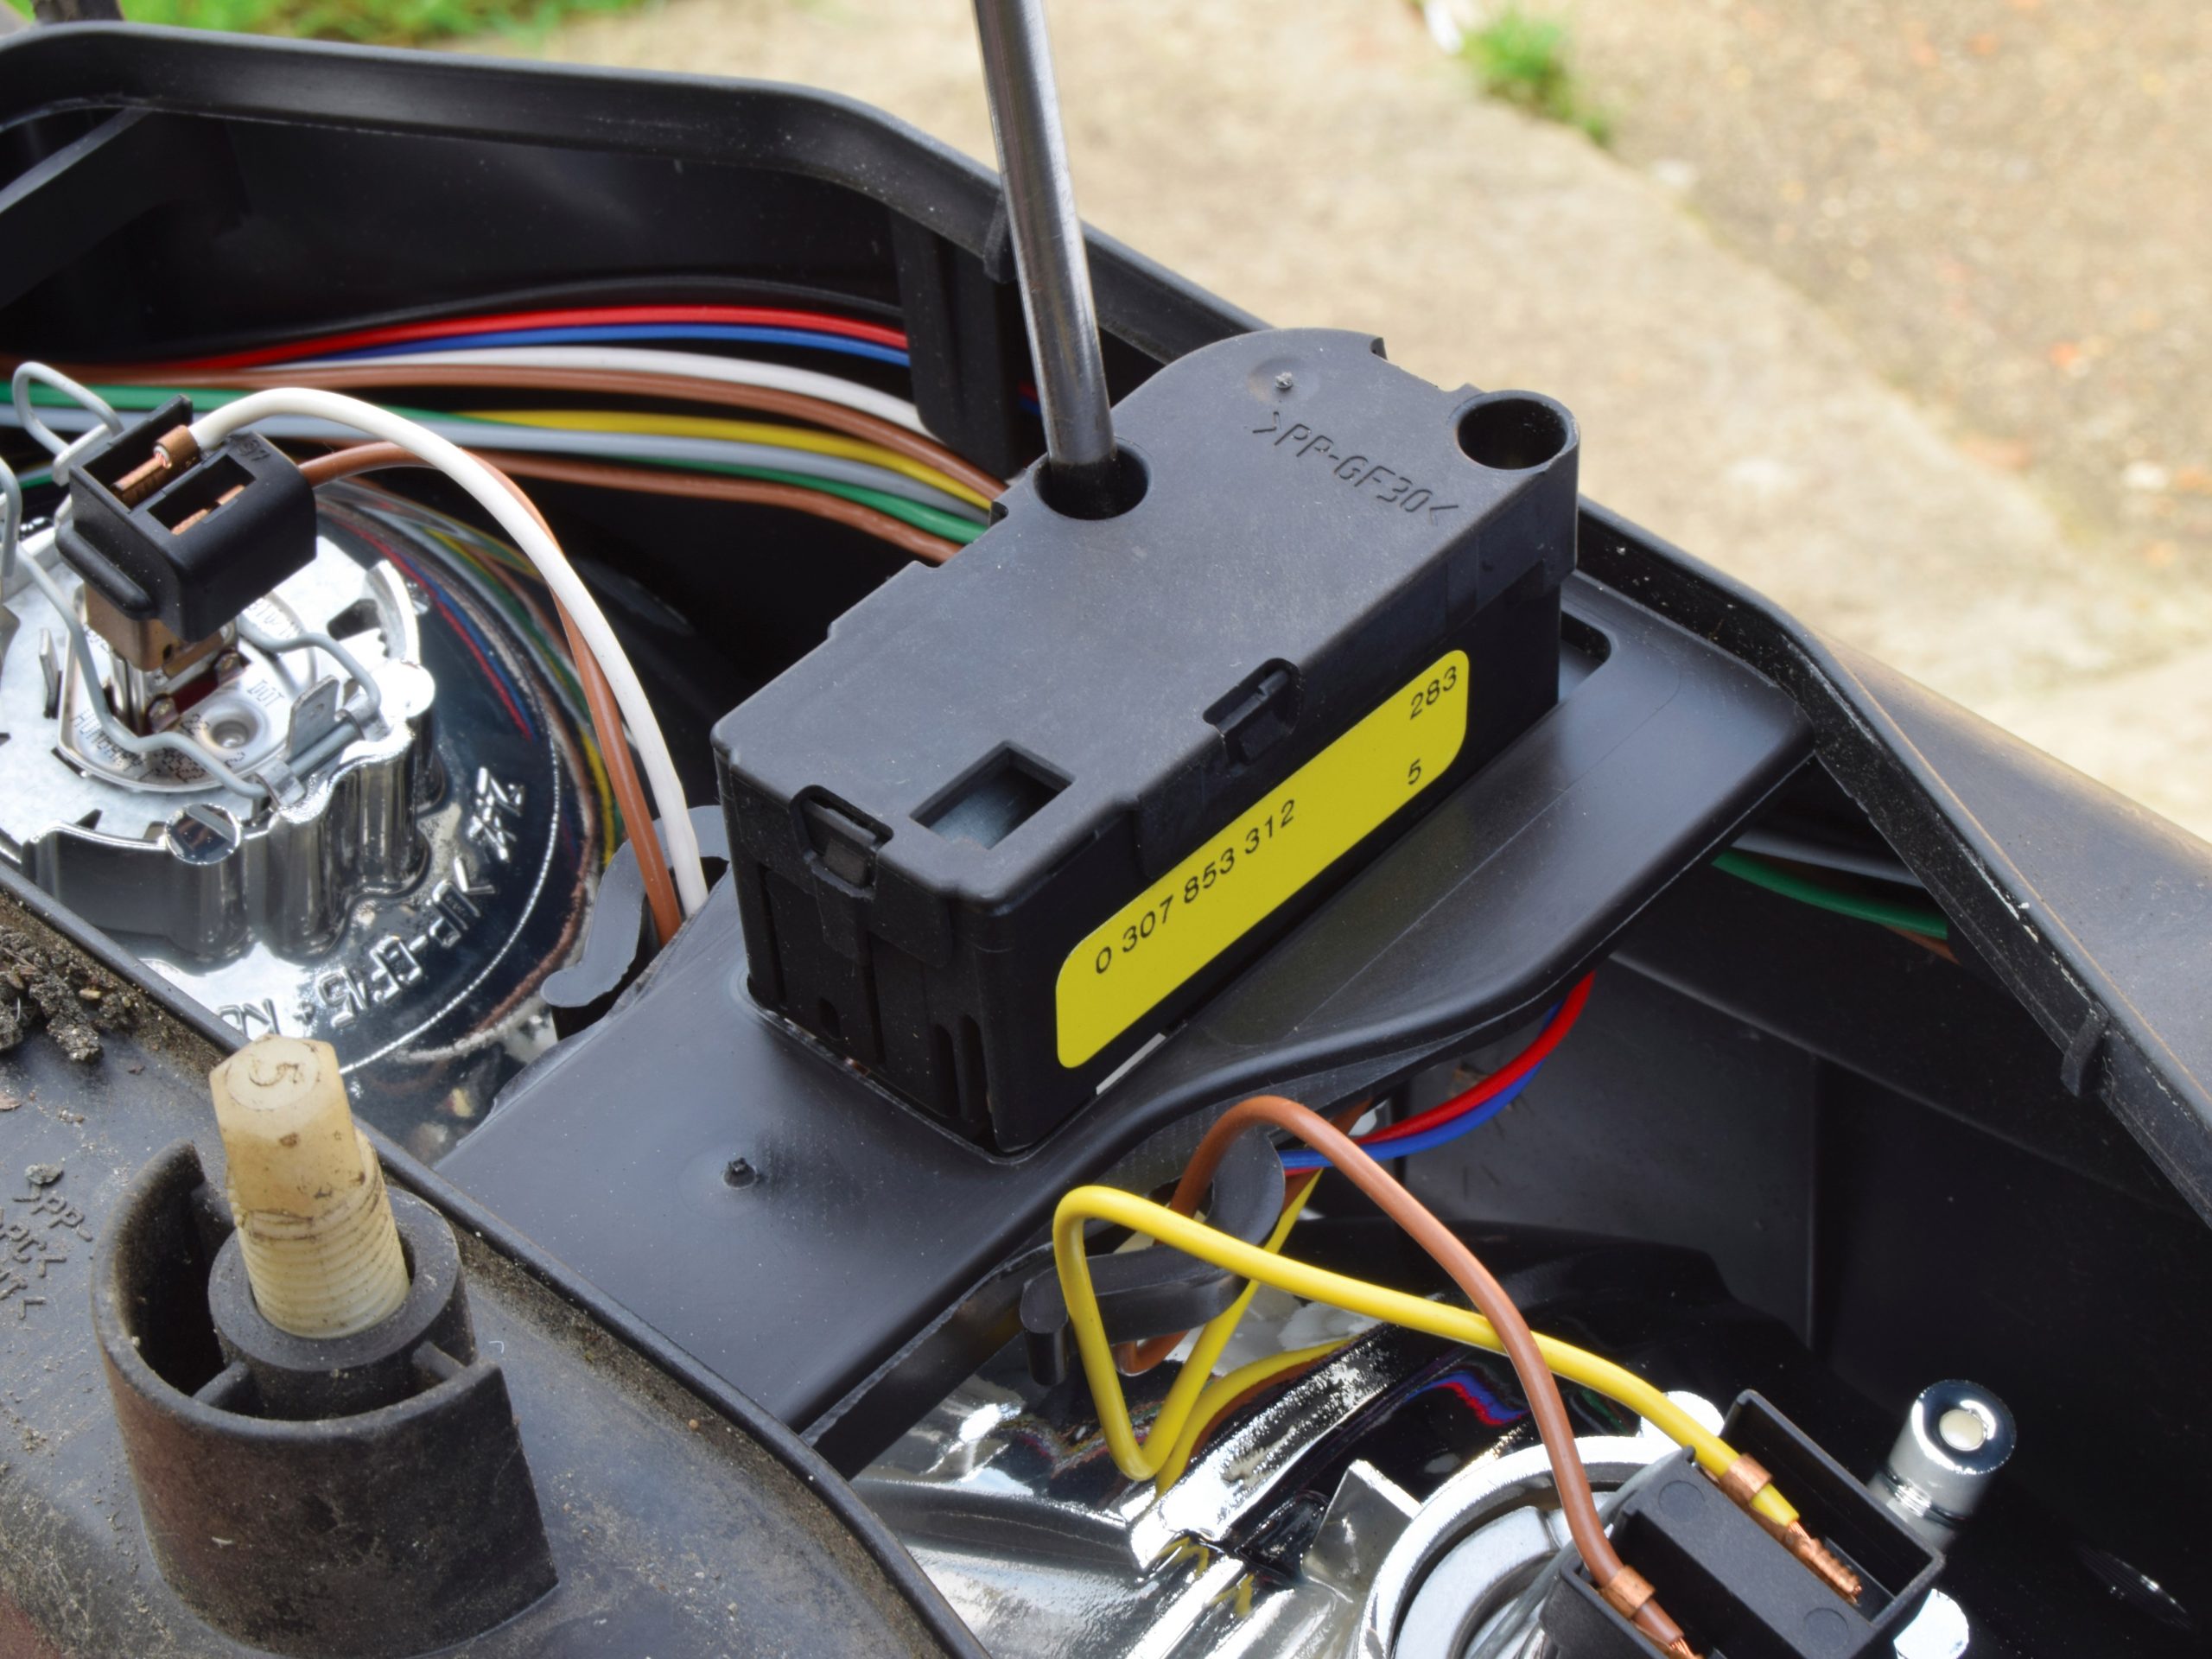
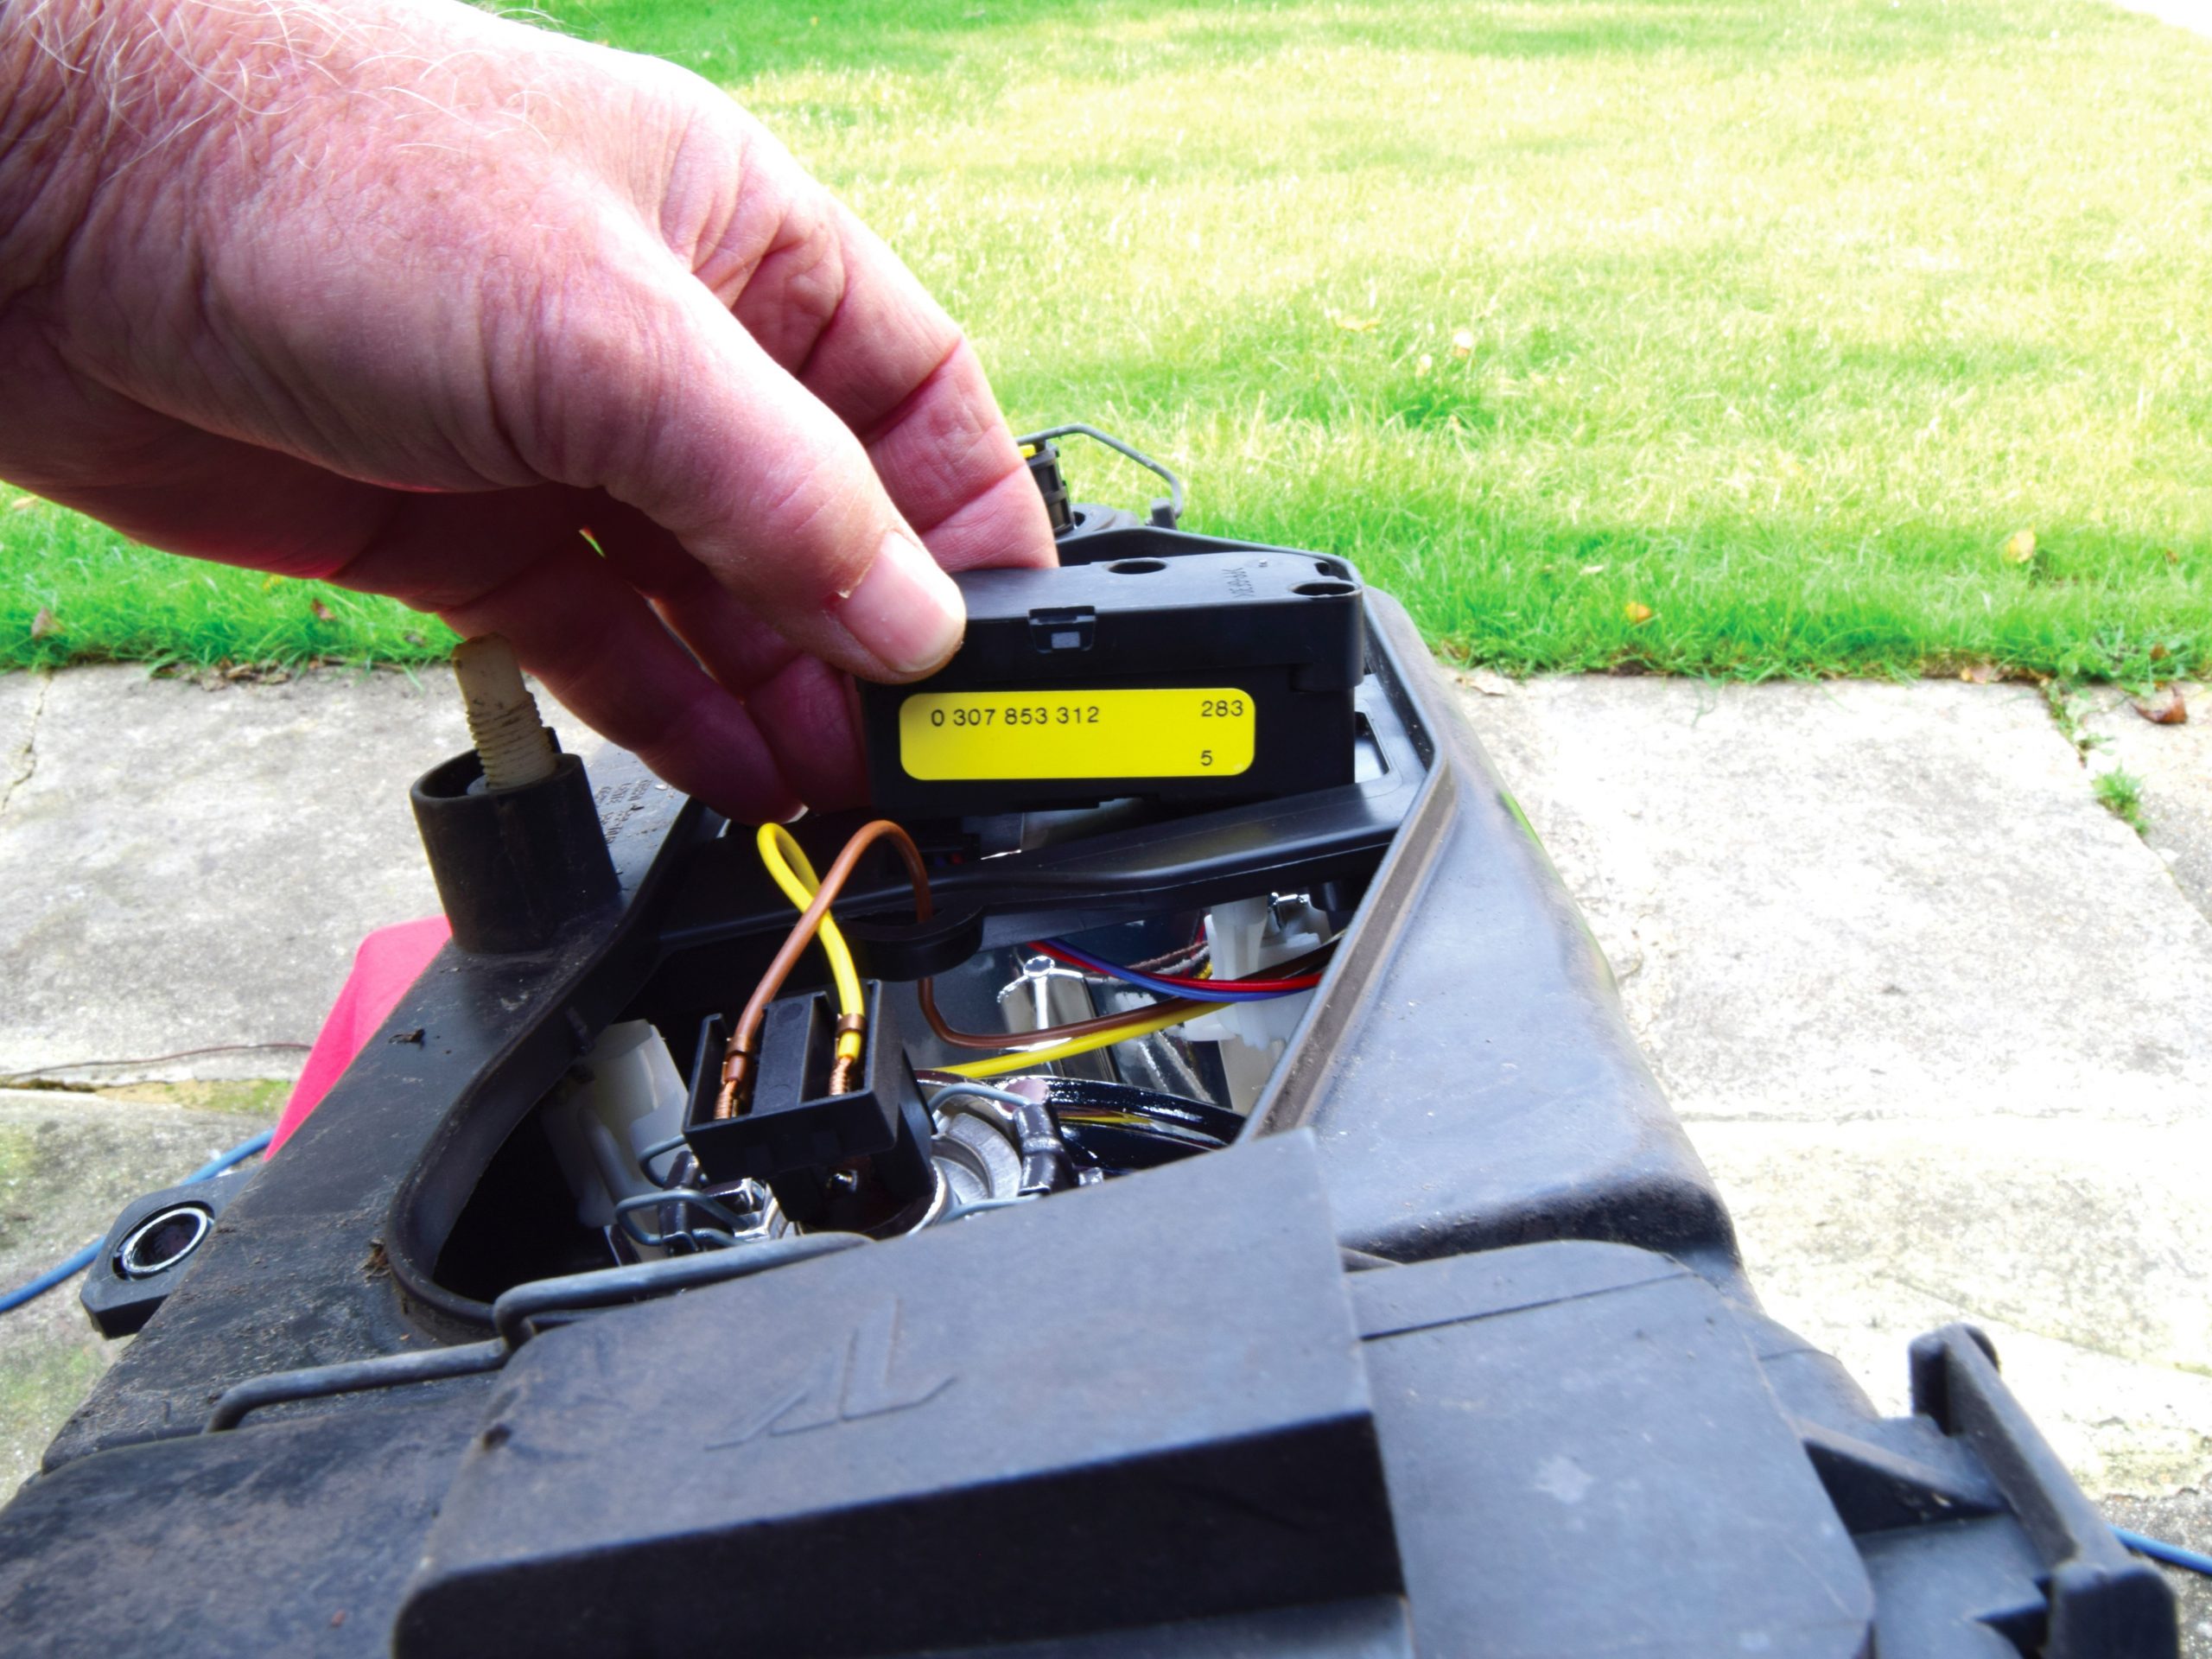
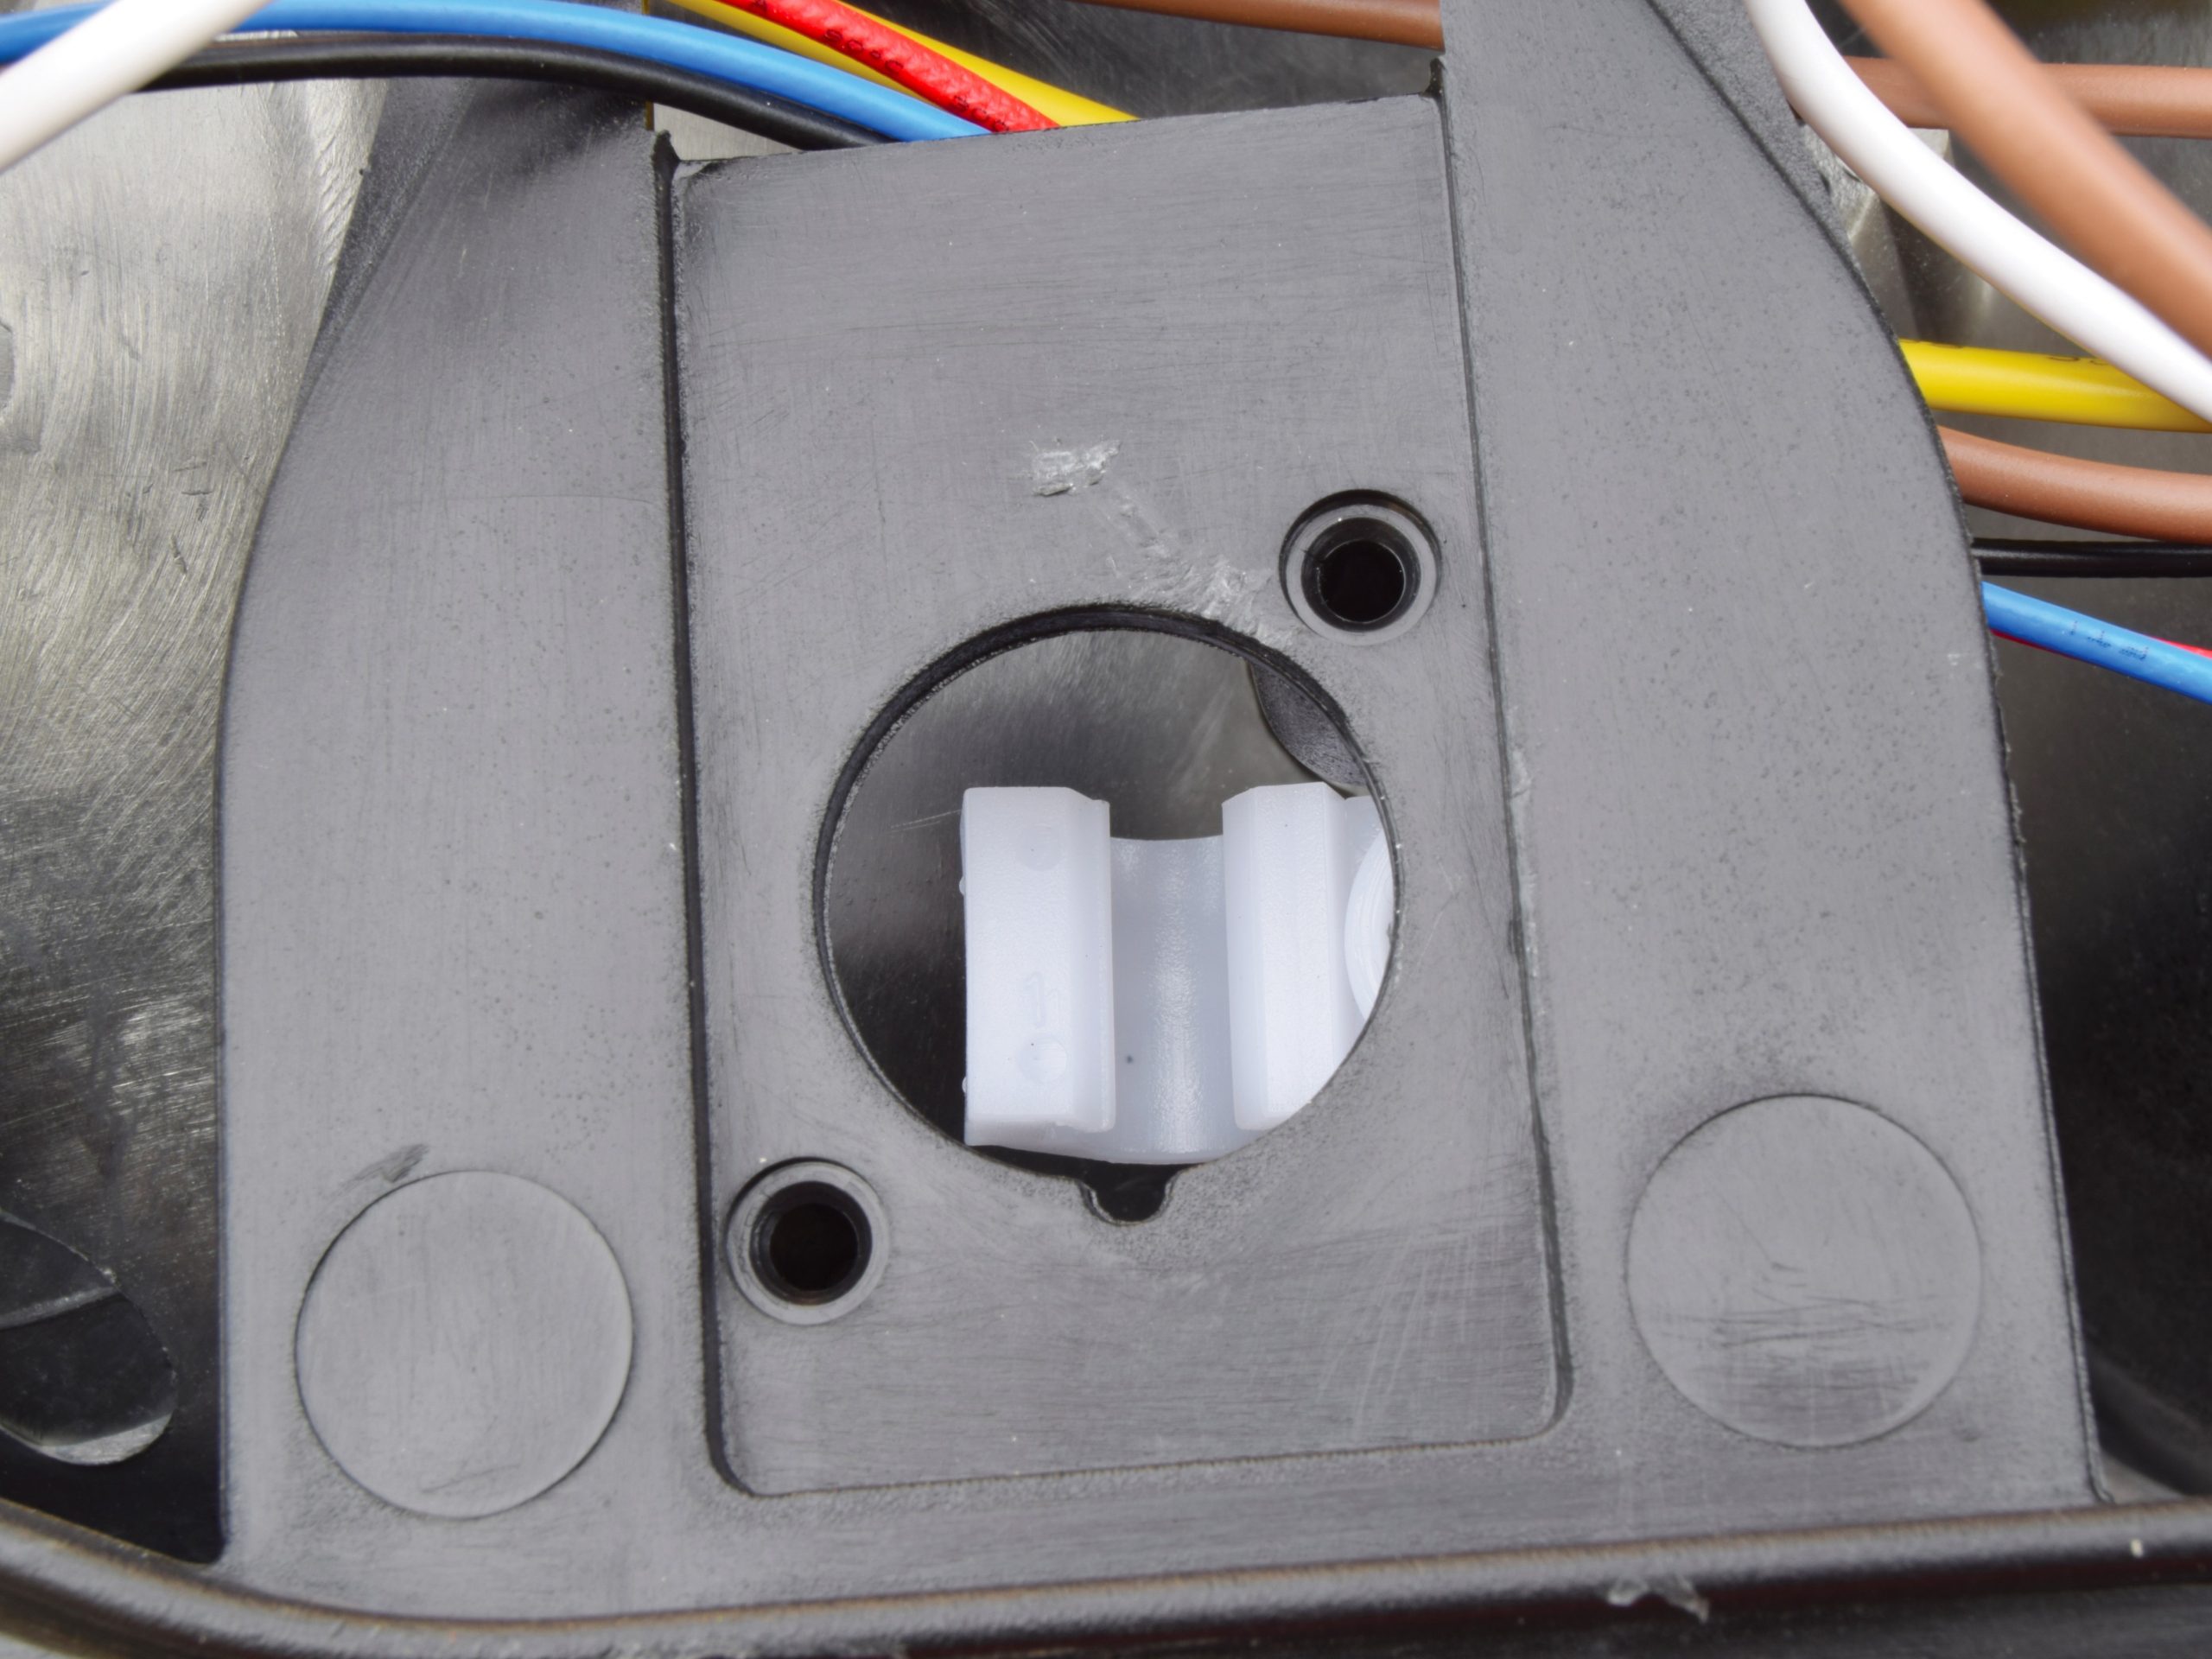
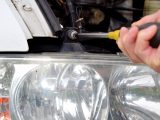
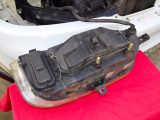
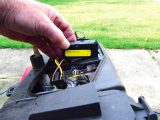
Do note that new headlamp units are normally supplied ‘bare’: that is, without bulbs and a height adjustment stepper motor, so this article also describes swapping over the latter from the old unit to the new.
Do not put new assembled units back into your motorhome until they have been tested (including the height adjustment control) by plugging in the connector while the bulb covers are removed and turning everything on – taking the assemblies off again to rectify a non-functioning bulb can be very annoying.
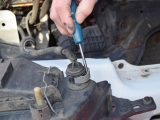
Once they are fitted, the new headlights must be aligned, which requires specialist beam alignment equipment – any motorhome MoT testing station should be able to do this for you, for a nominal charge.
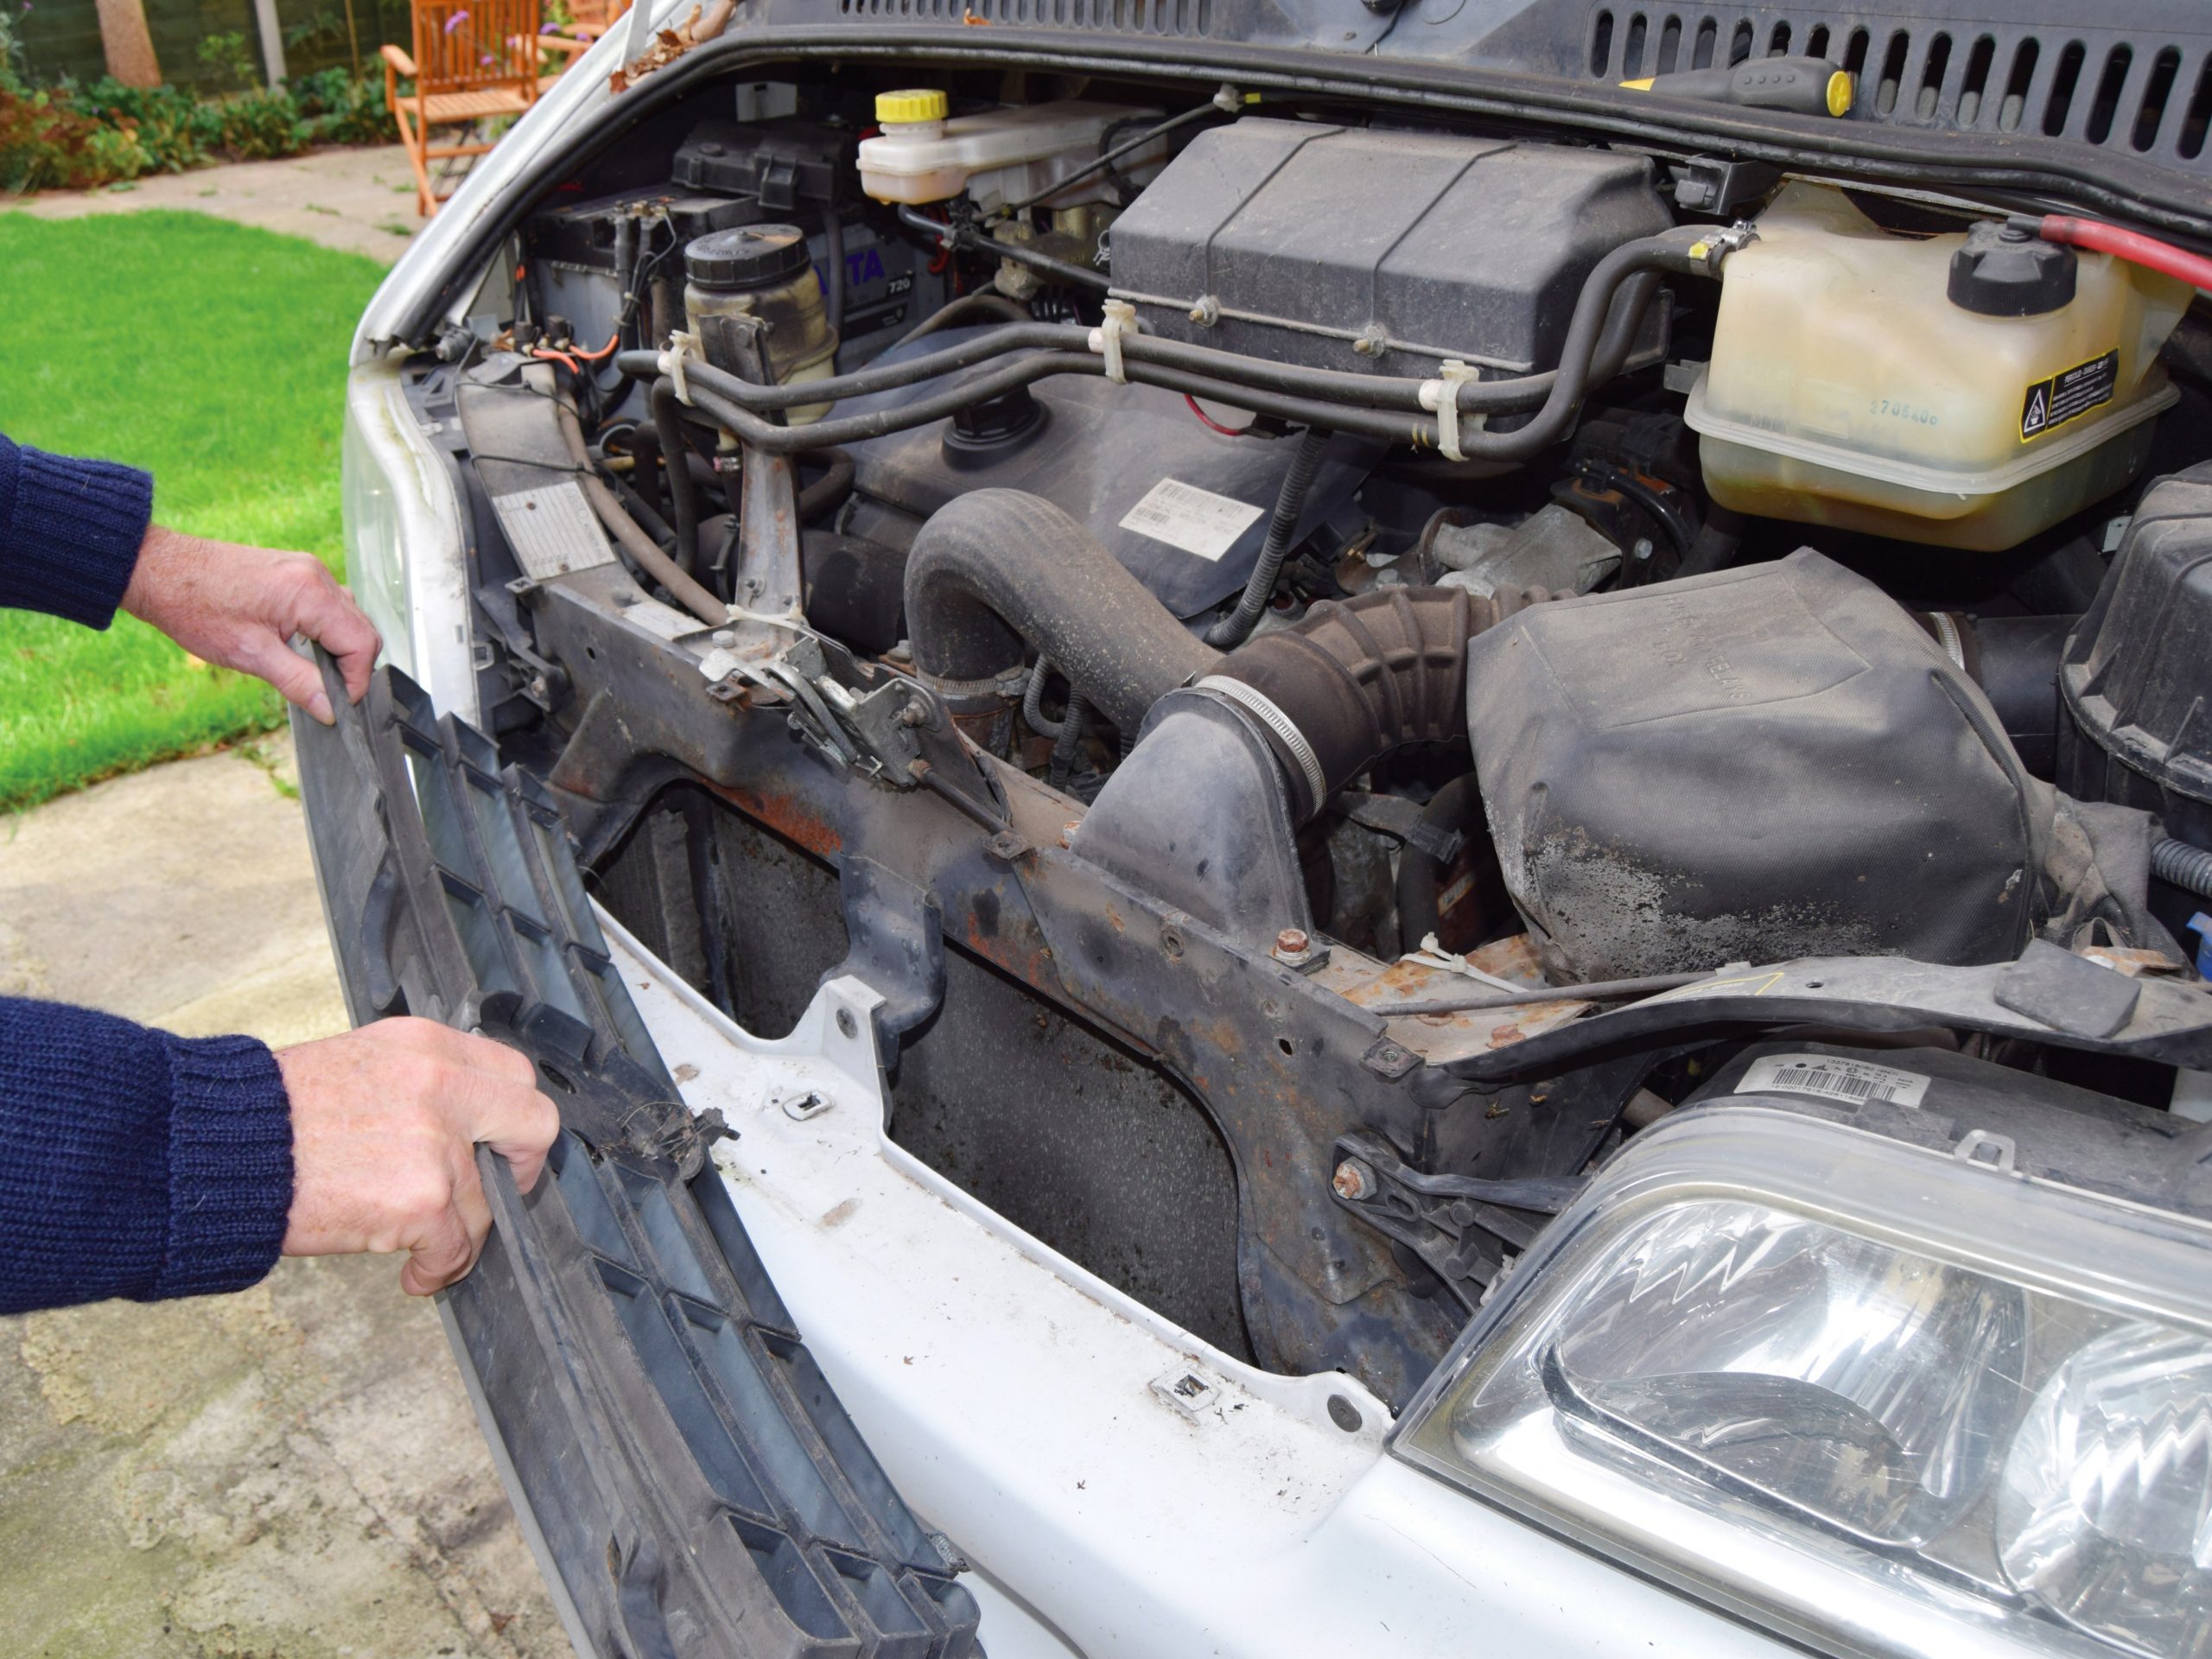
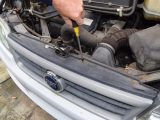
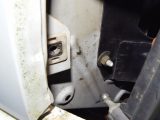
Removing headlamp units provides excellent access to the cooling and intercooler radiators, allowing them to be examined for damage and leaks.
It also provides an opportunity to brush off dead flies and wasps, stones and the like – but take care not to crush the fins.
Do not put new assembled units back into your motorhome until they have been tested


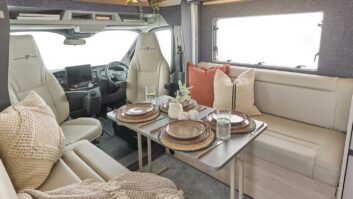
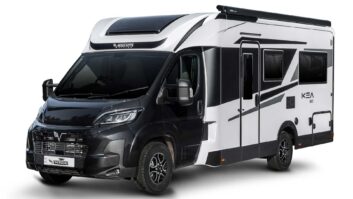
![The Weinsberg CaraSuite 650 MEG Edition [SPICY]](https://www.practicalmotorhome.com/wp-content/uploads/2026/02/3300_S58_650MEG_EX_7228_2026_251119-B-353x199.jpg)