


At the end of the day this job turned out to be a doddle, but initially it looked like major work – so don’t worry!
Our new Hymer – which has no microwave – represents a downsize for us, in case we need to sneak under that 3.5-tonne licence threshold.
Thankfully, the doctor’s verdict suggests this won’t be required for another three years.
We did miss the microwave fitted in our previous ’van, though – it was great for defrosting ready meals when we were in a hurry, and for making proper custard!
The first attempt
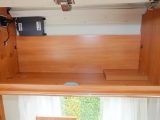
We first decided to try out our domestic unit, but it was too deep for the locker we wanted to put it in, and we couldn’t shut the door.
We tried another specified as being less deep, but the advertised sizes omitted to include a bulge on the back.
Our previous motorhome had a hole cut in a cupboard door so that the front of the microwave could stick out a little, but our new ’van has contoured and matching cupboard fronts.
By now I’d decided to cut a hole in a locker door for the front of the microwave, so I asked Hymer UK whether it had any damaged doors it could sell me.
Th e only option was to purchase a new one – for around £250! I wasn’t keen.
Time to think again
It was almost time for our first planned outing and we still had no microwave.
I’d resigned myself to cutting that hole in the current door.
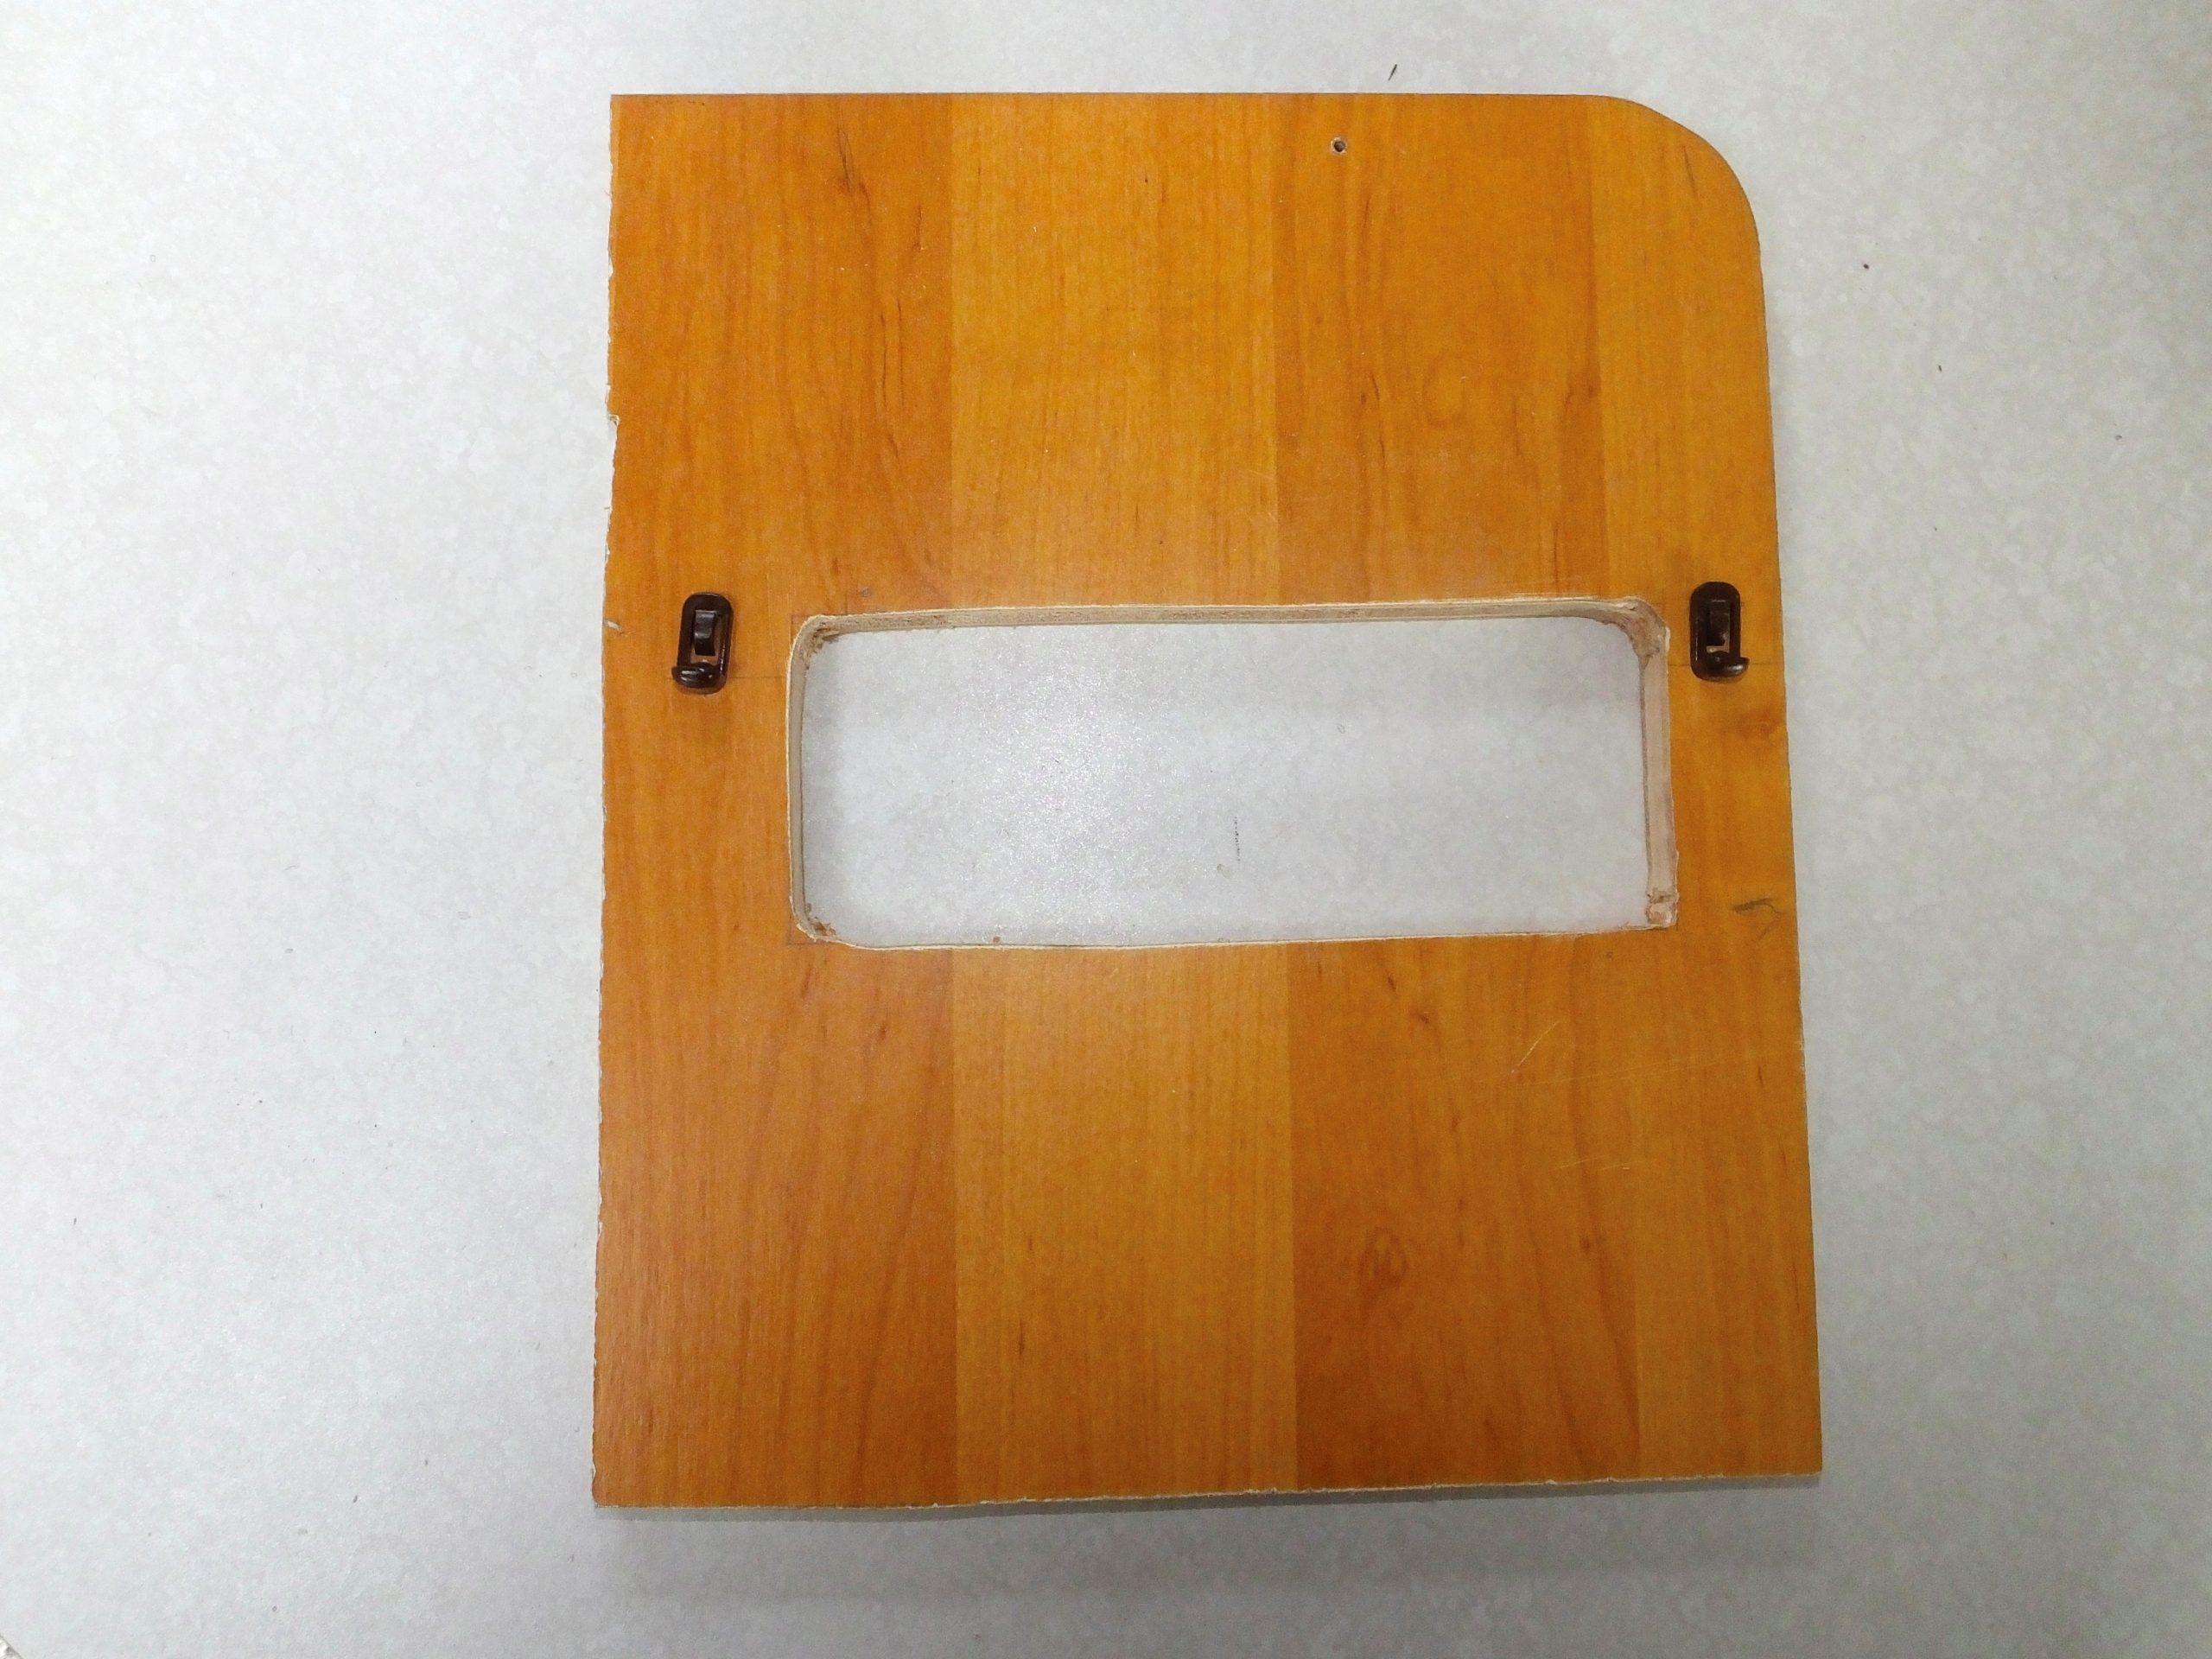
How would I do so without causing the edge to chip away? I decided to smother the front of it with masking tape to protect it, then cut a slot in from the right side with a jigsaw, leaving a further 20mm to remove.
Then, using a manual hacksaw with the blade at 90 degrees, I’d cut along the final lines.
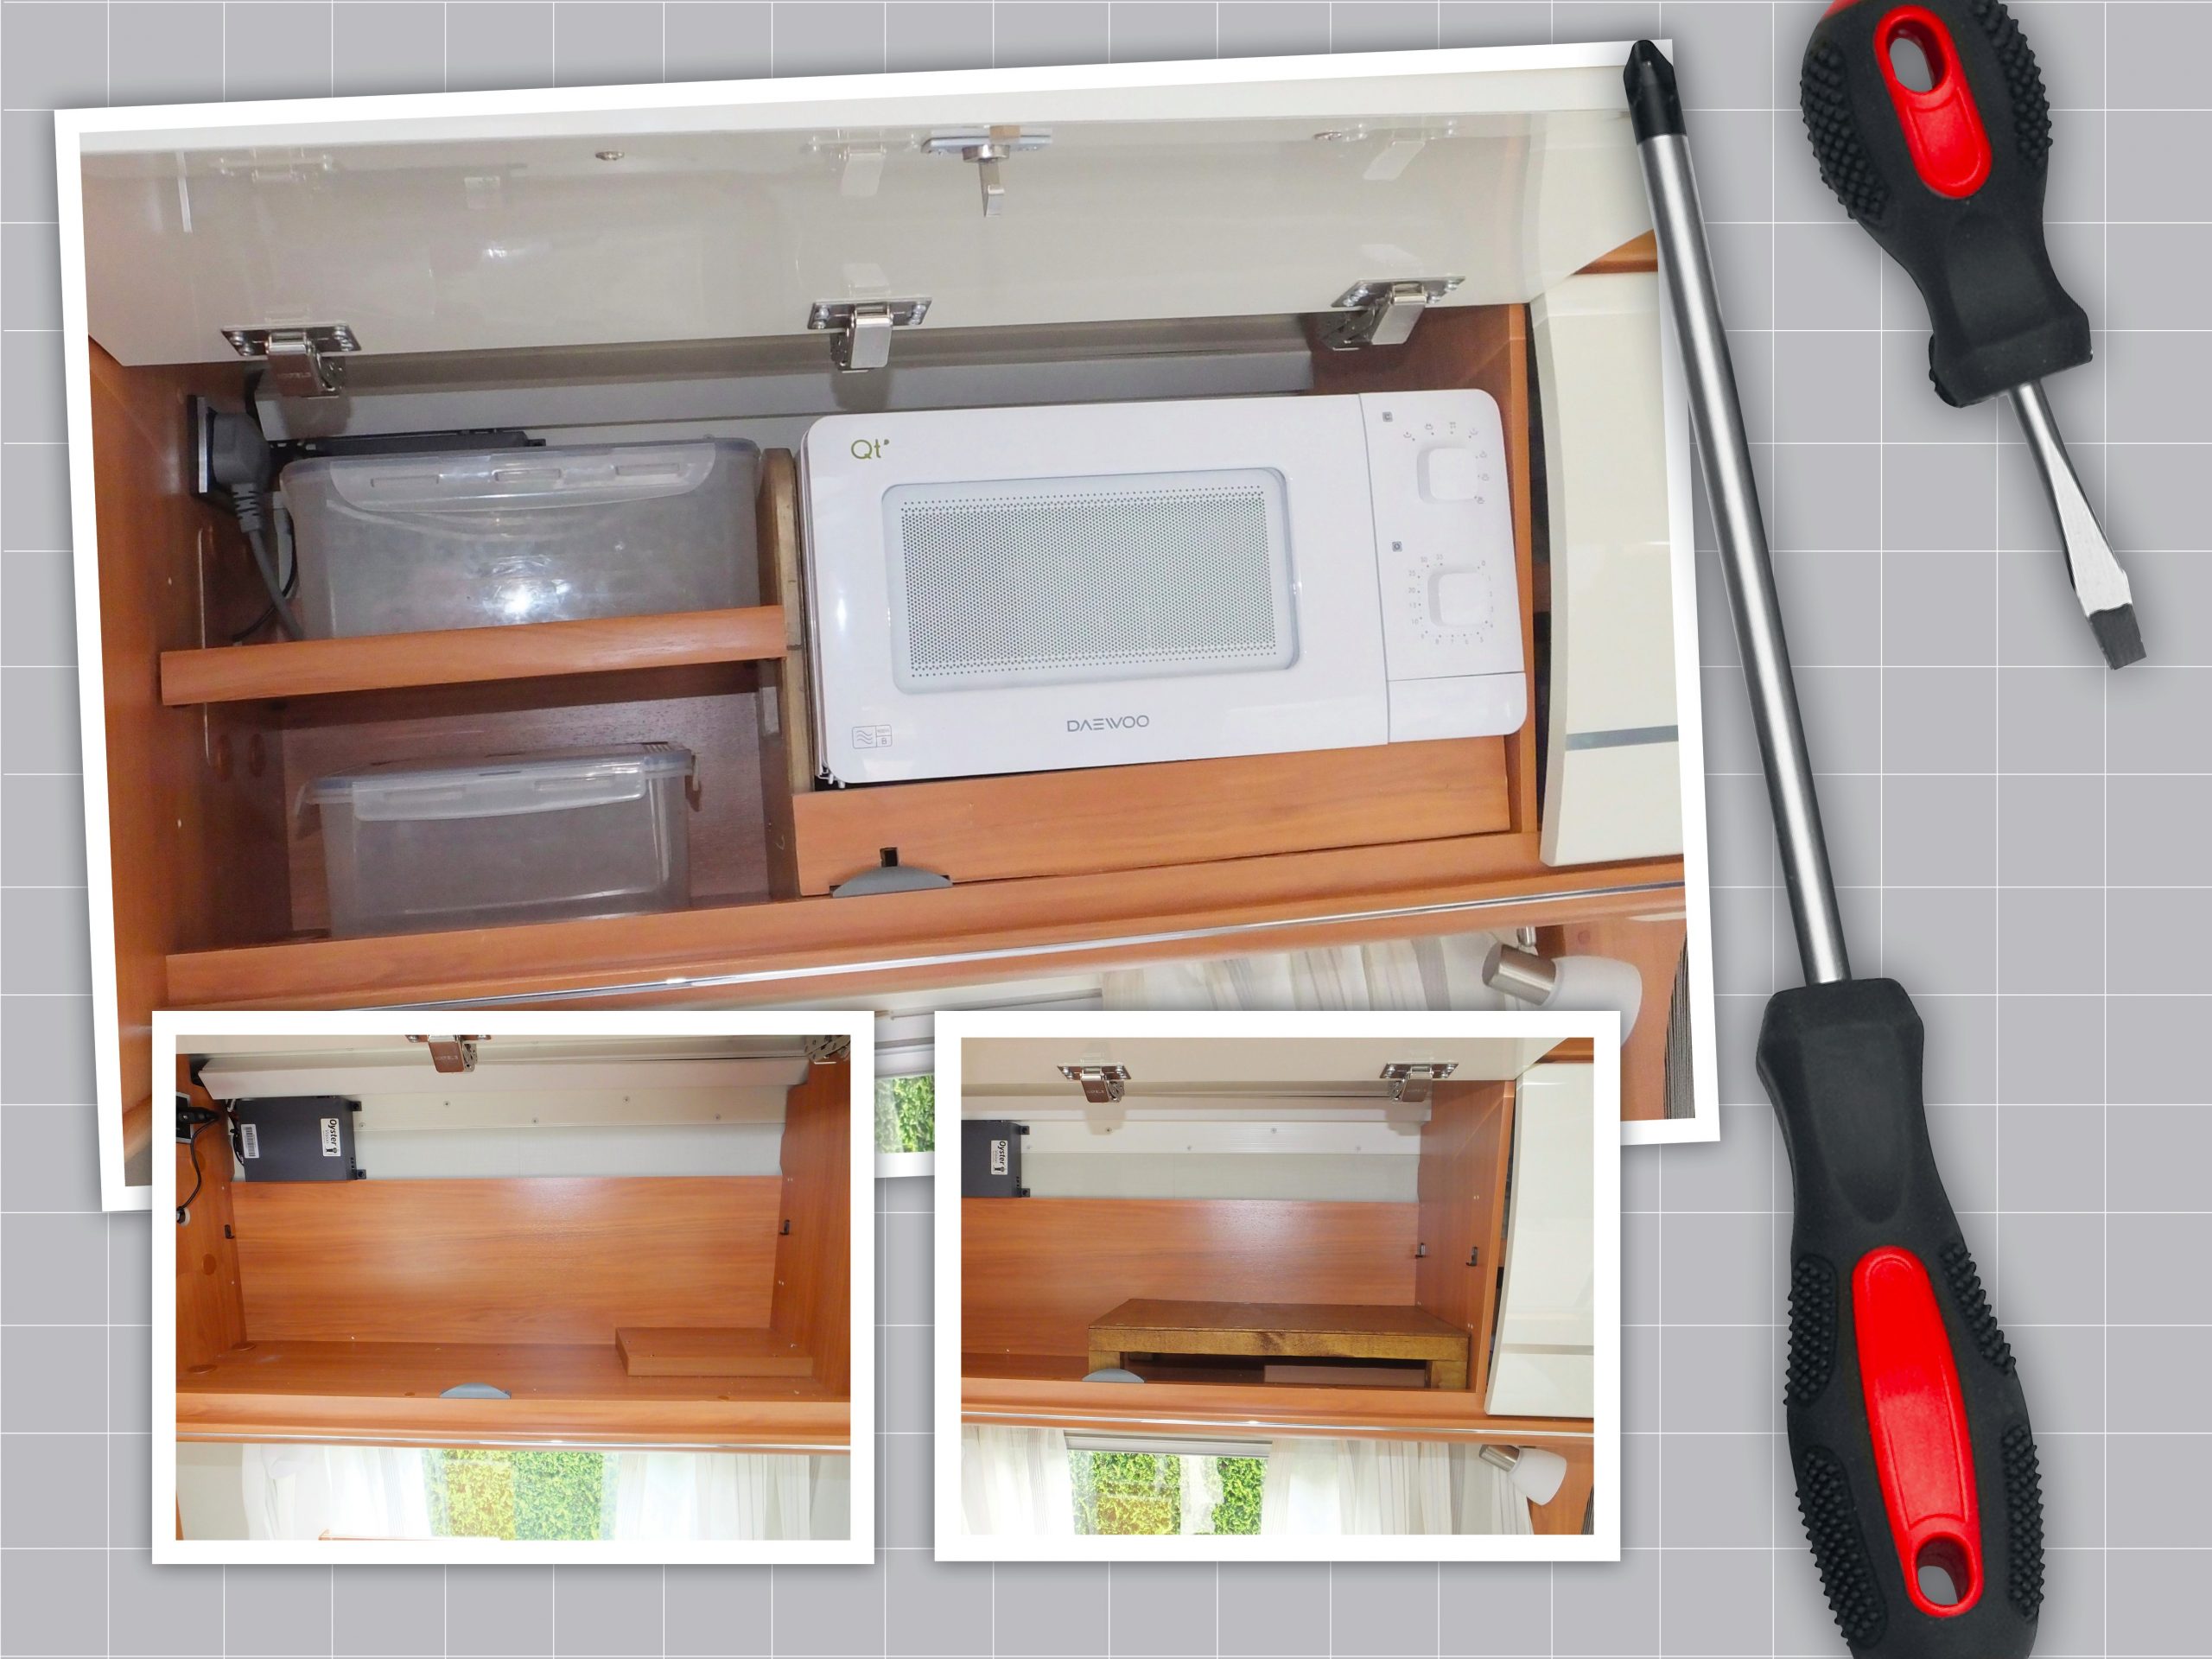
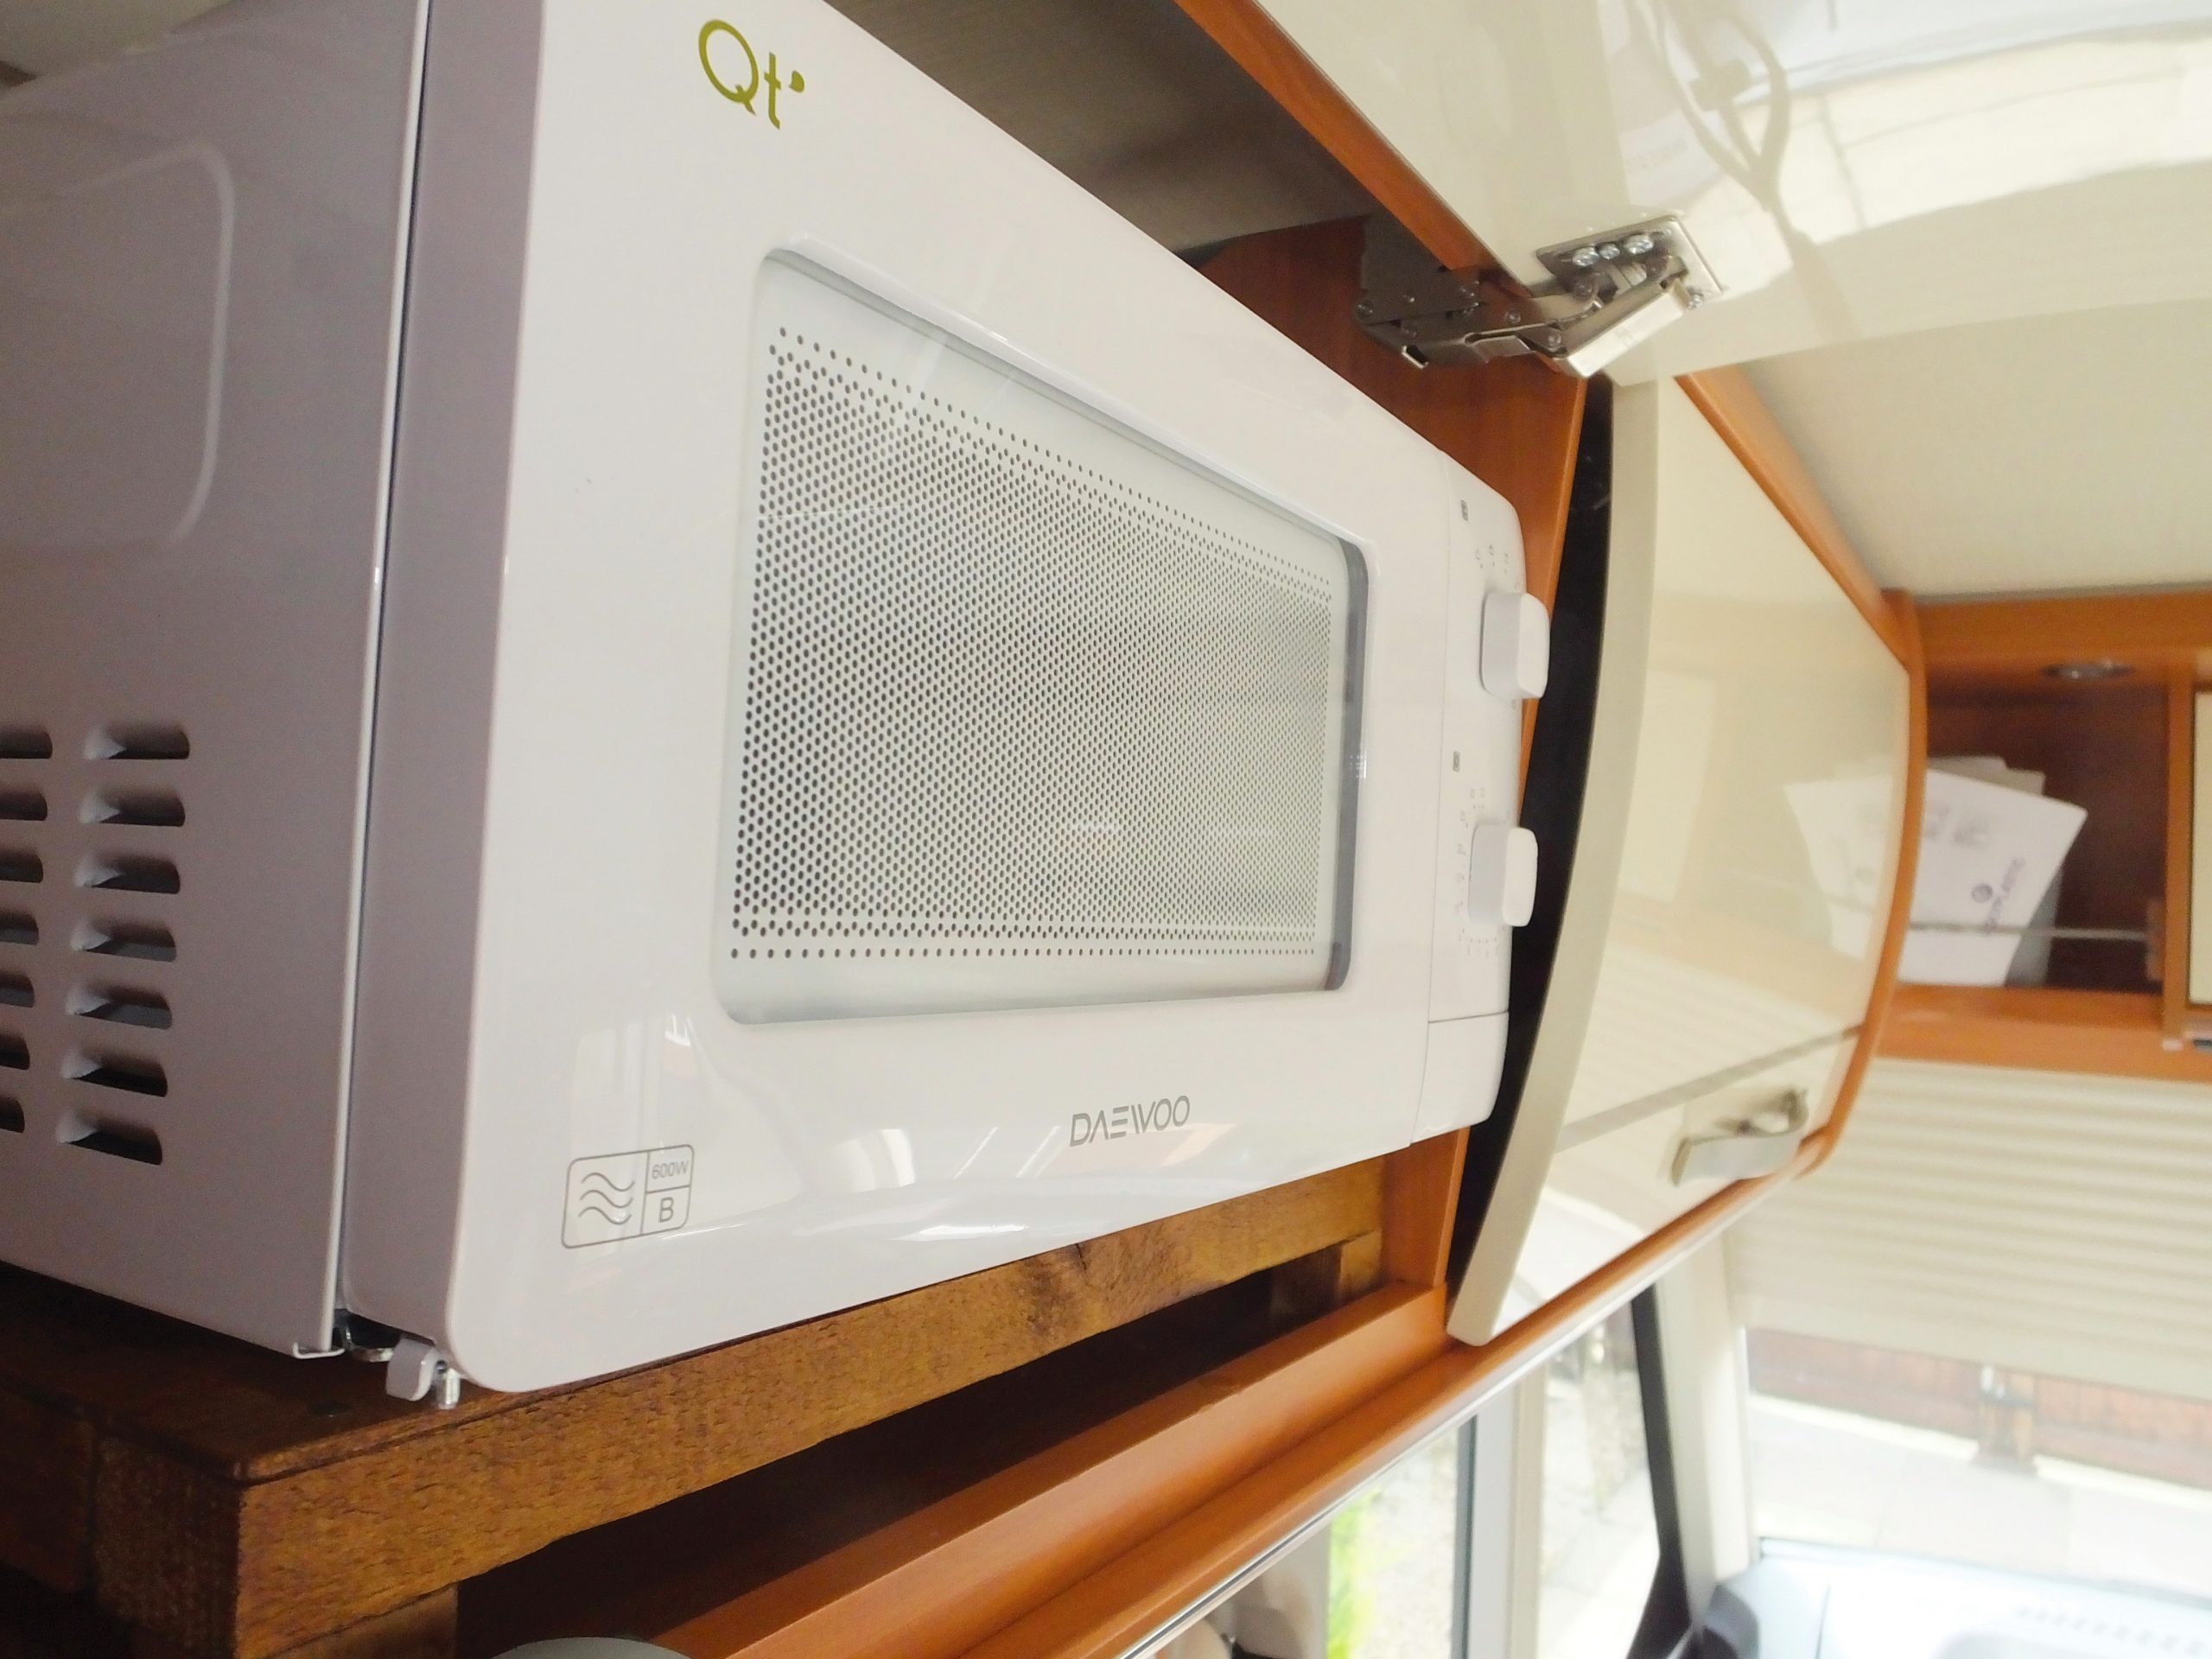
I ordered the smallest microwave I could find: a Daewoo QT1 with an advertised depth of 316mm – which was 16mm too deep.
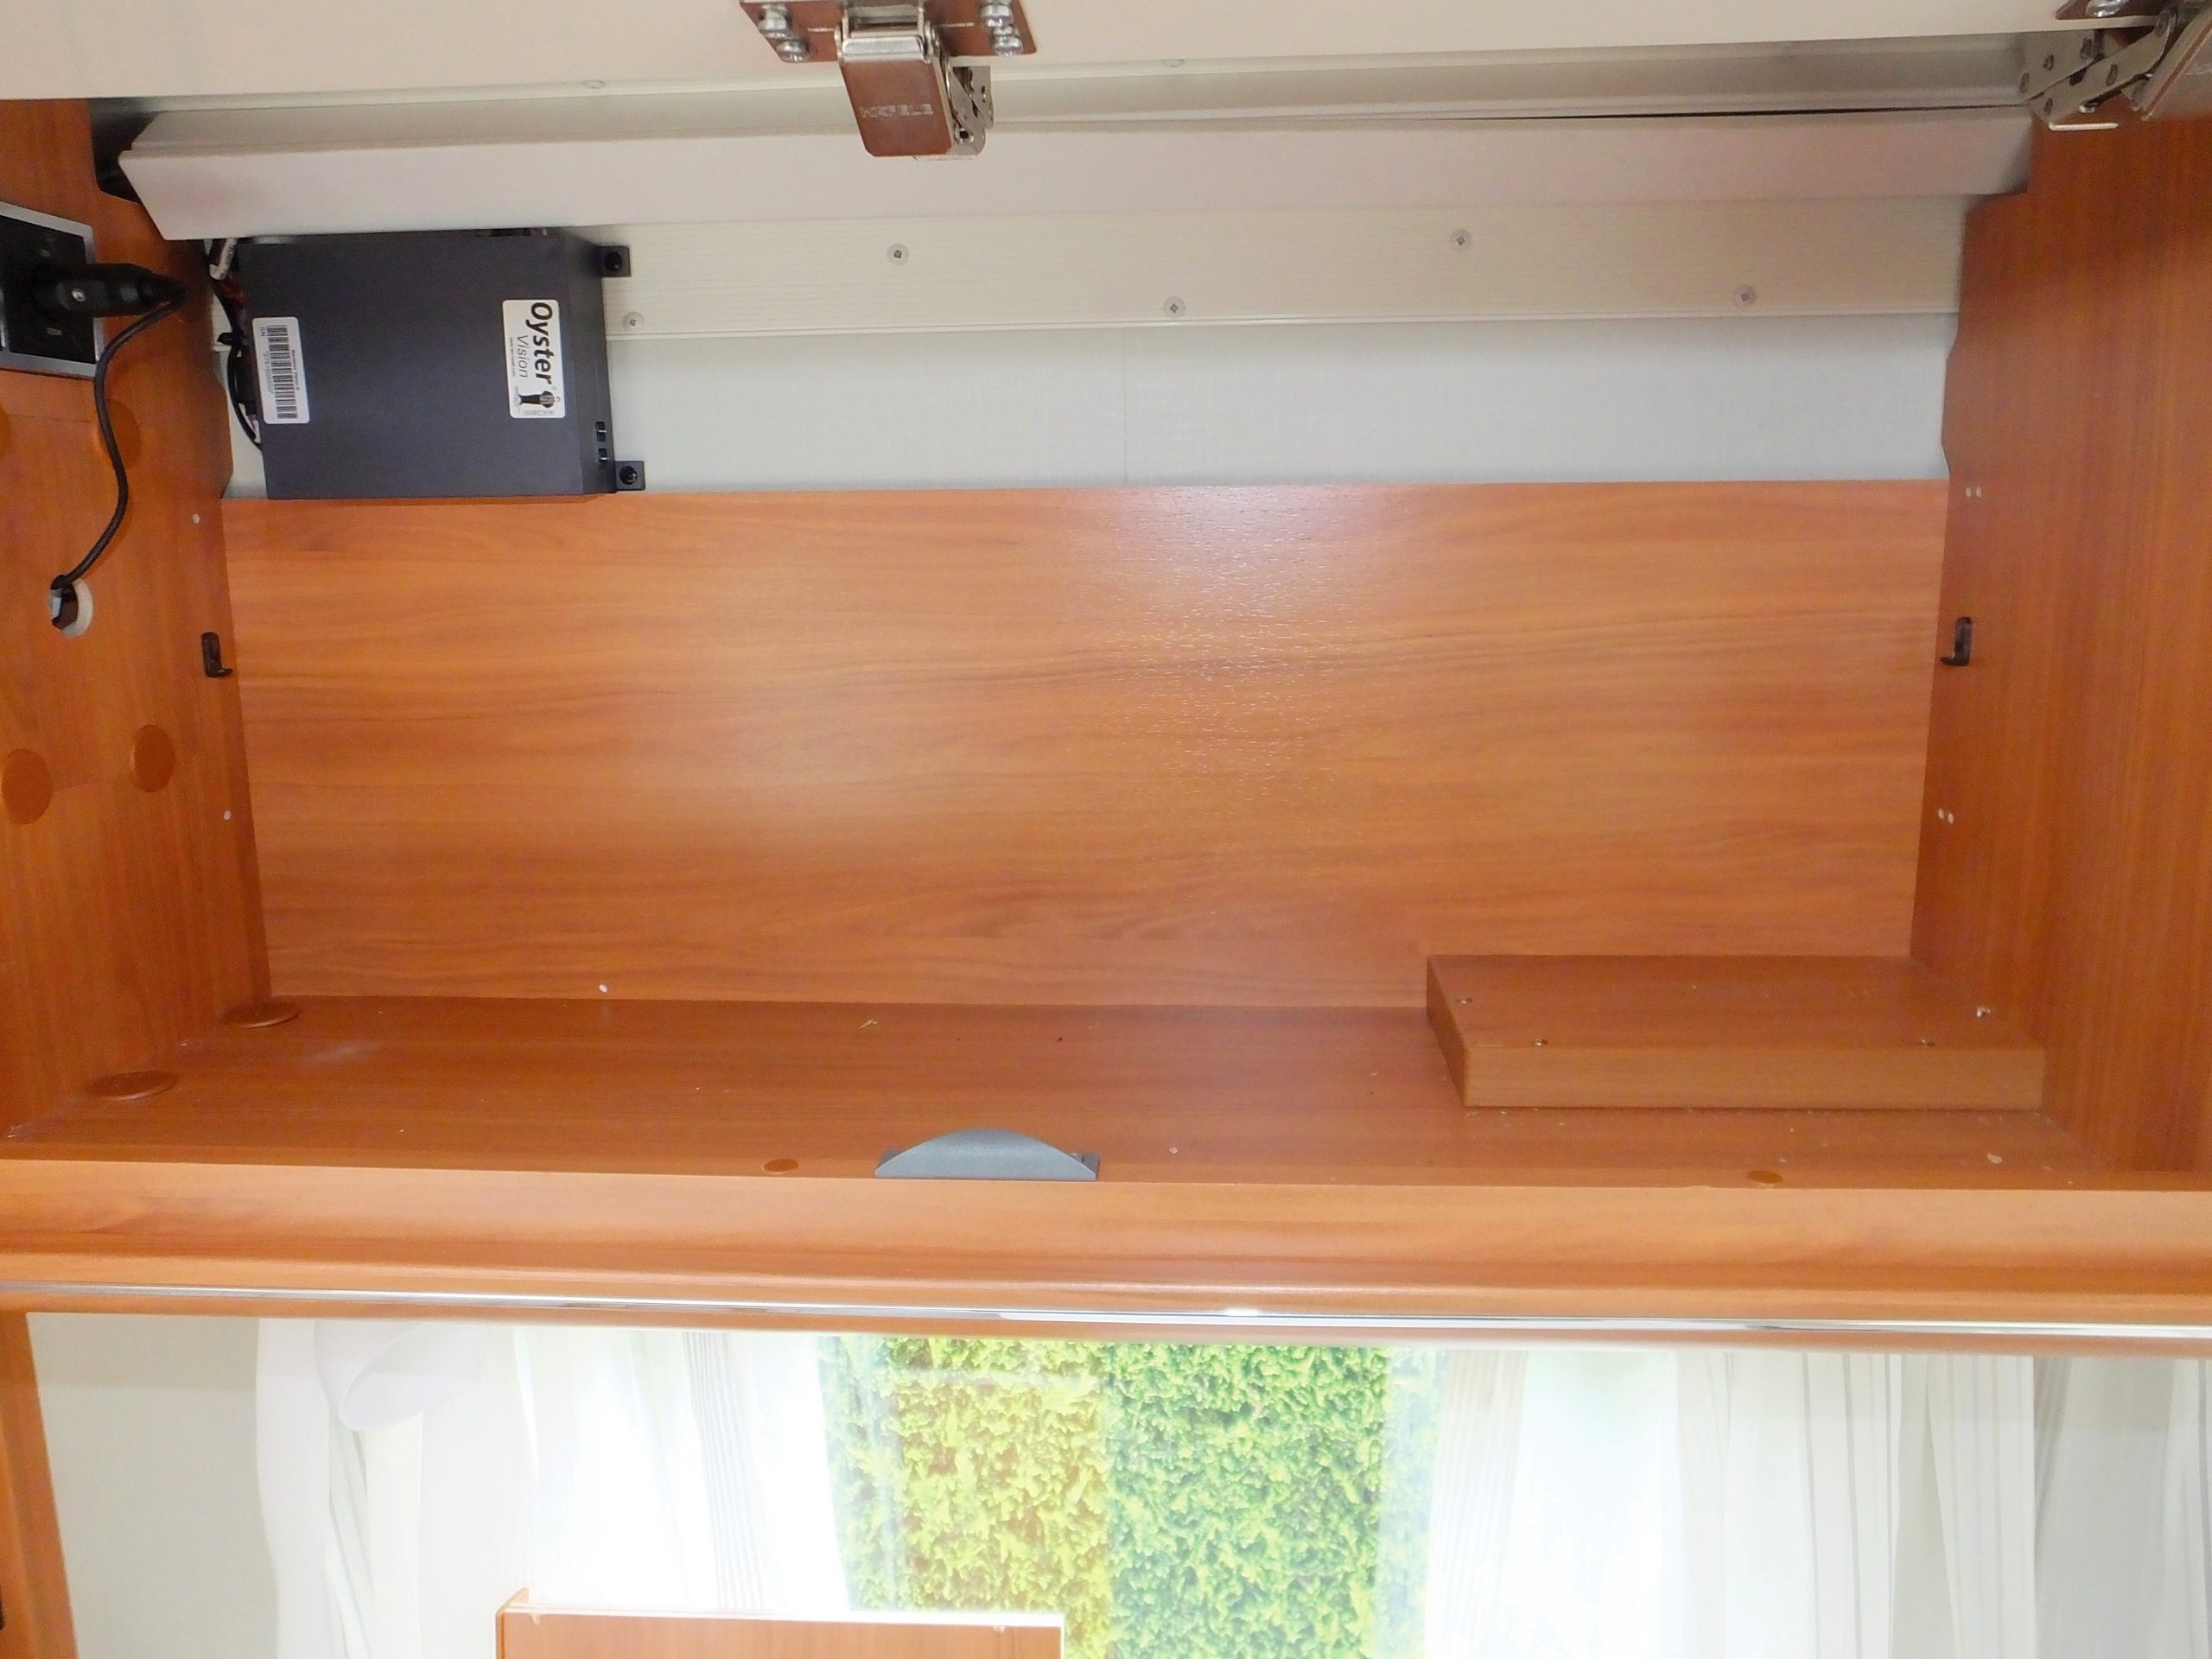
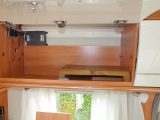
I did some preparatory work: the microwave needed to be raised away from the base to clear the locking mechanism.
I made a plinth based on the published width of the microwave and the depth of the cupboard – it was 90mm high, so the bottom of the slot would miss a styling line on the front of the door.
Finally, we popped the microwave onto the plinth.
Success!
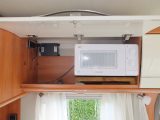
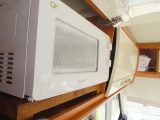
I tried the door to see if it would close – it did, and the catch clicked!
There was, however, a clunk when I opened the cupboard – th e top hinge of the door was touching the top of the microwave, so the plinth was reduced to 80mm.
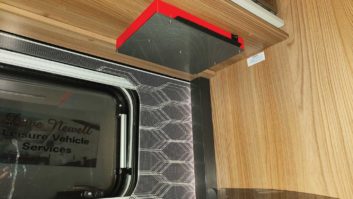
The contour of the door suits the microwave controls, and our aspiration has been achieved.
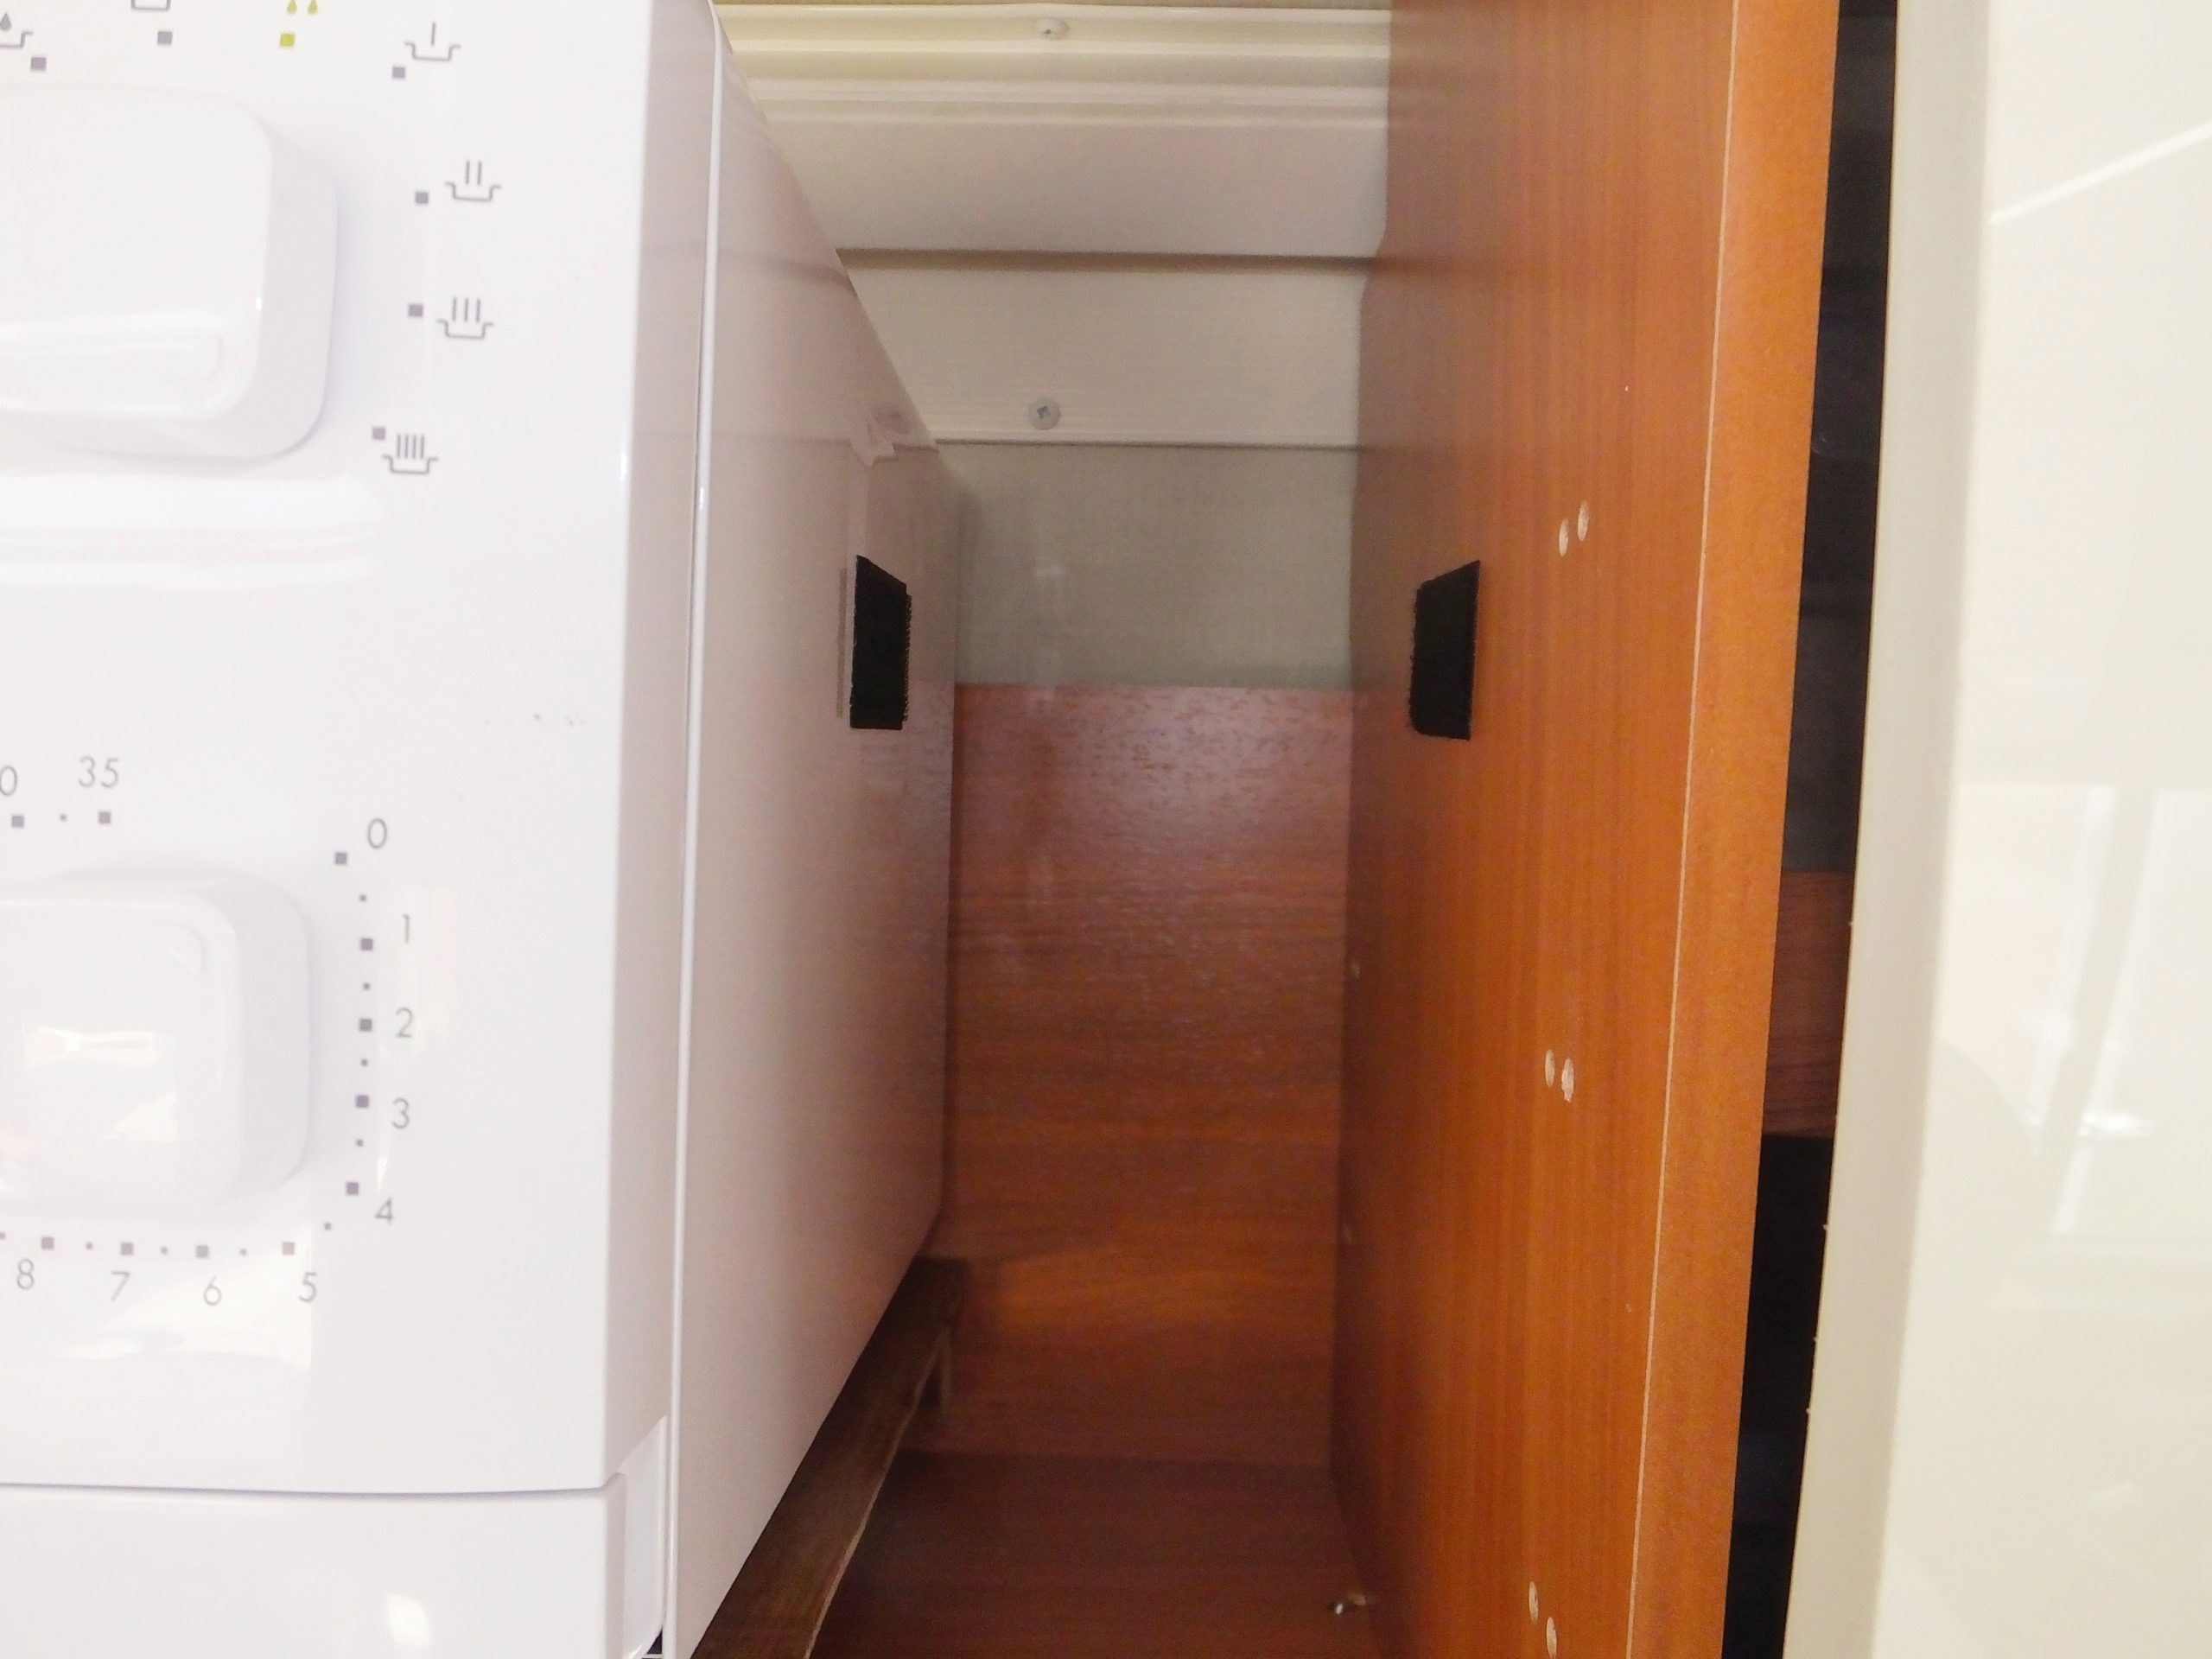
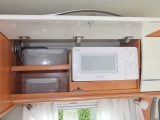
The microwave was prevented from sliding by a strip of adhesive-backed hook-and-loop tape.
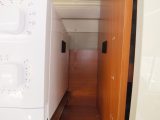
An end board was fabricated for the side of the microwave, including an aperture for the vents, and two 5mm holes for the plastic supports for the shelf to the left, which was shortened to suit.
A 60mm-wide strip of leftover shelf was used to make a front panel for the plinth – a small slot in that panel allows the cupboard door latch to operate properly.
Job done!
We missed our microwave – it was great when we were in a hurry and for making proper custard!