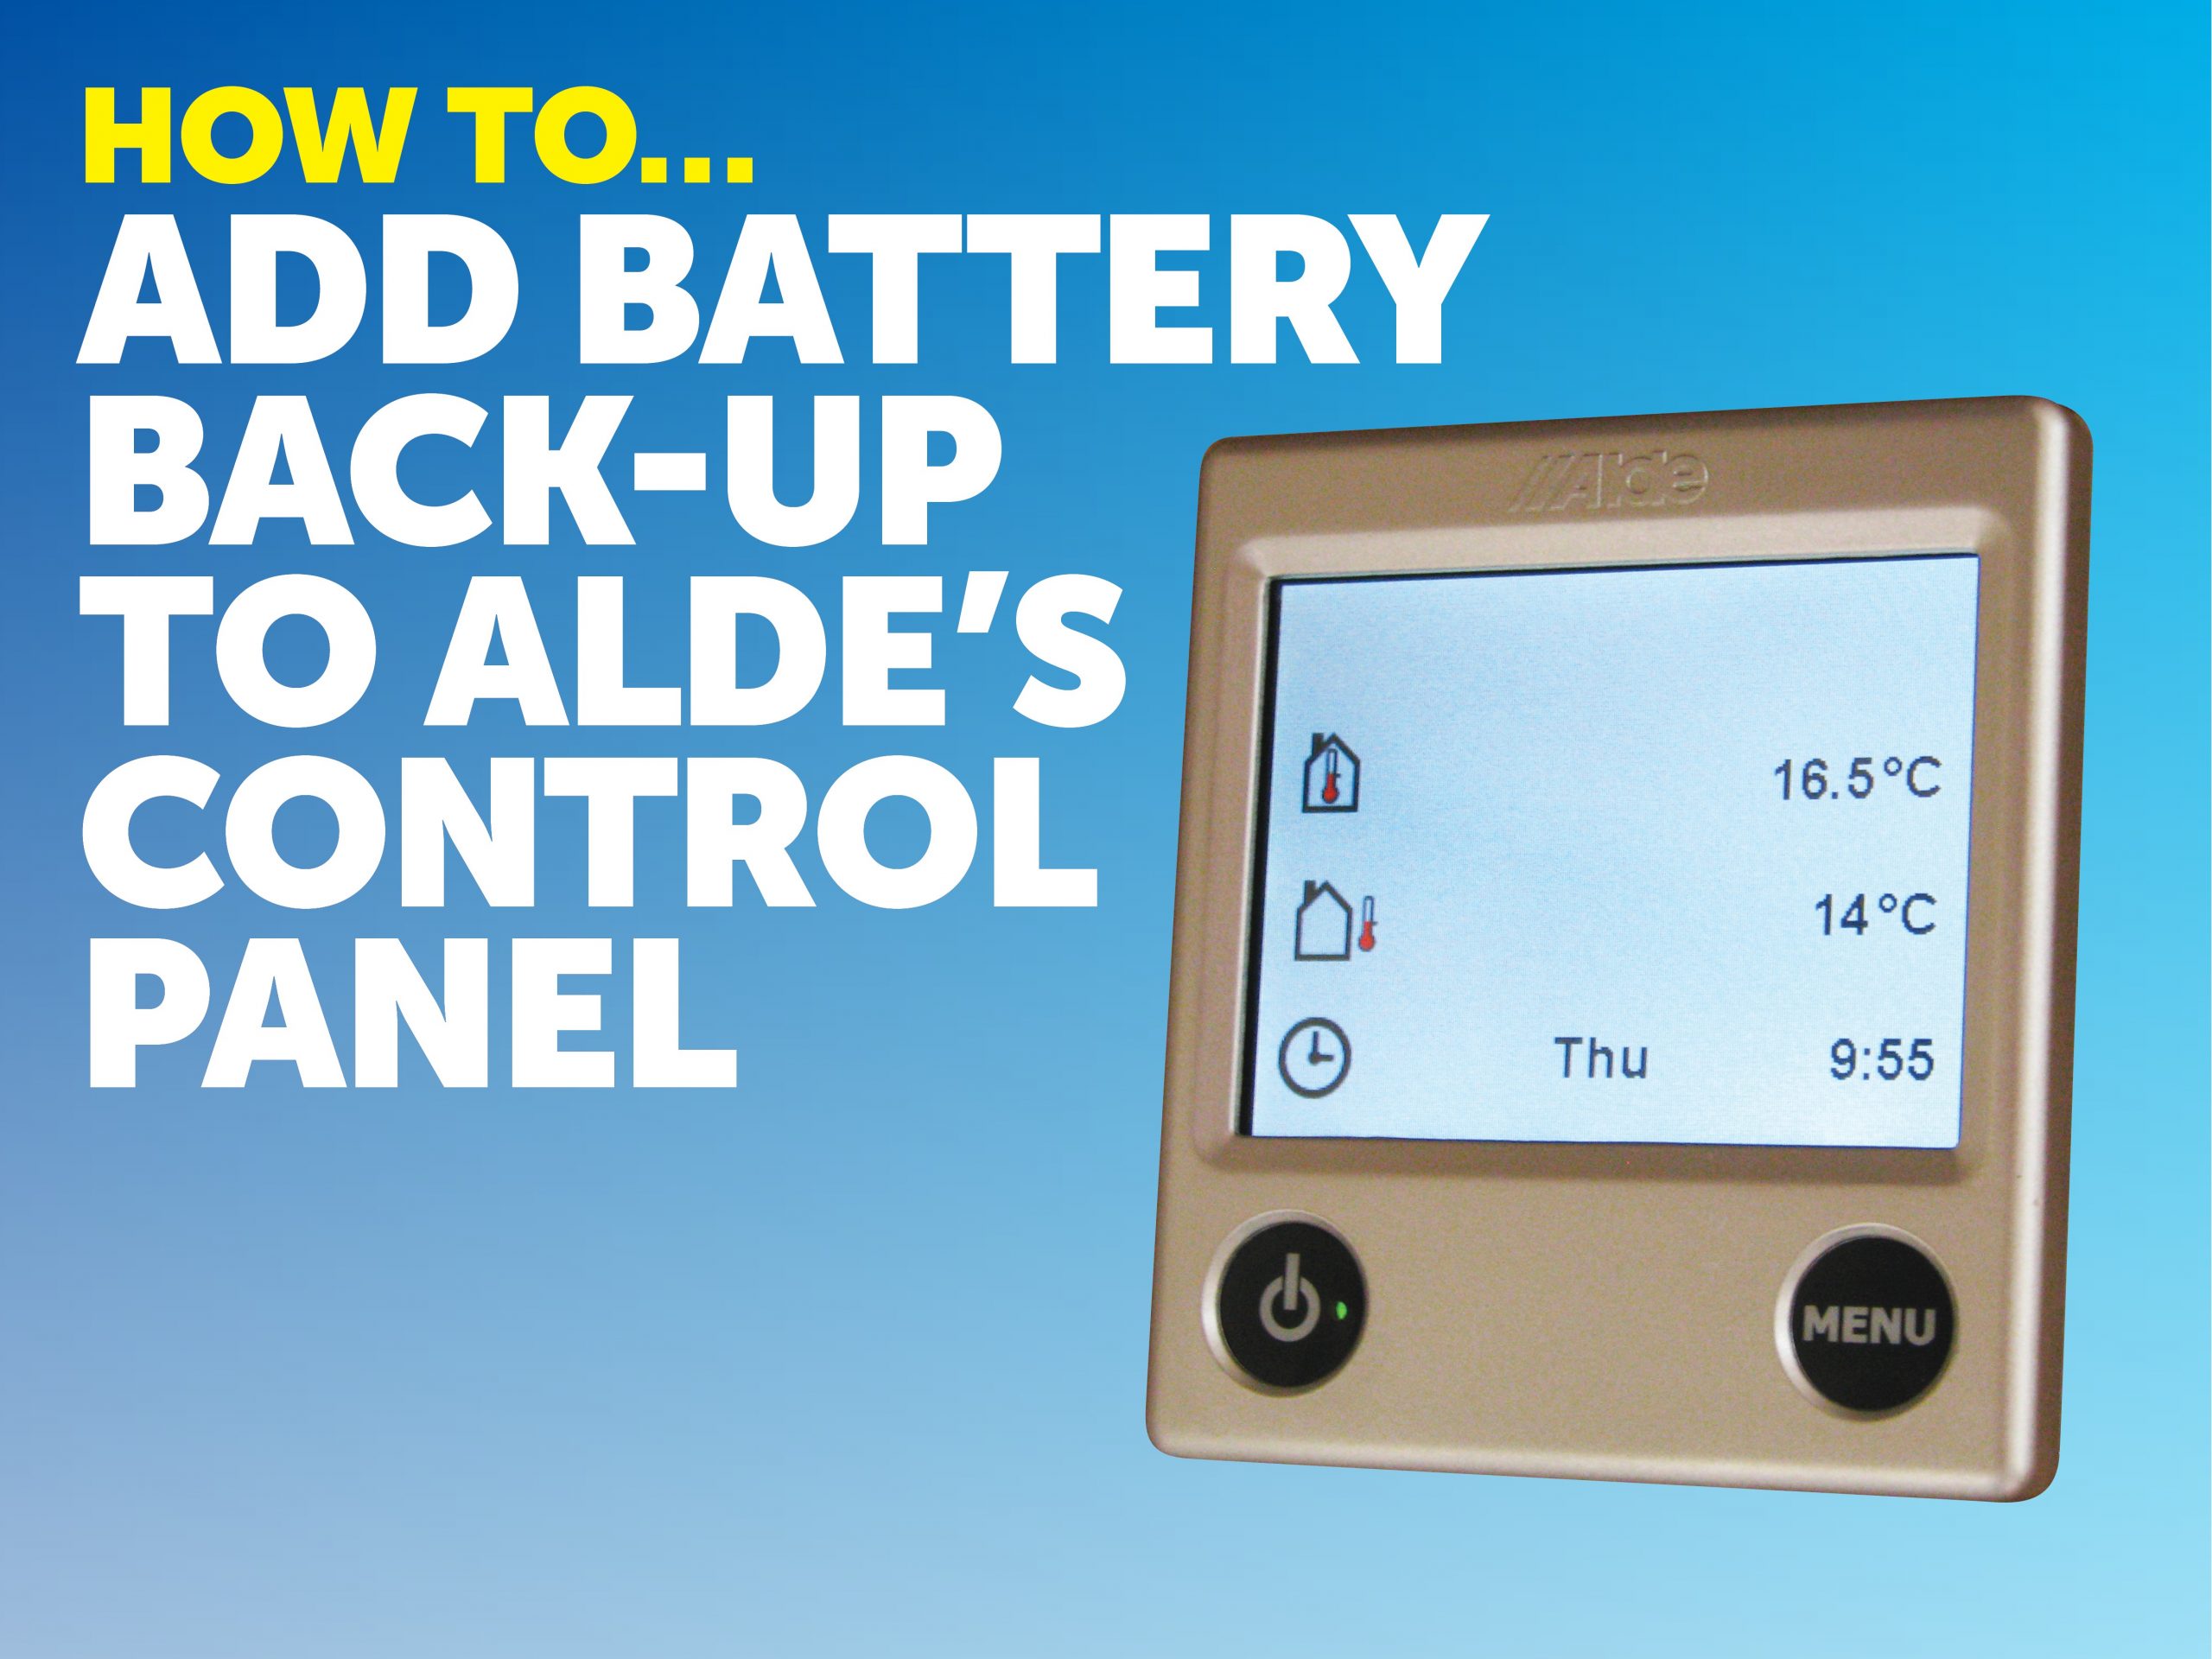


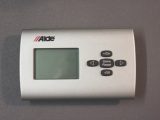


If you have the Alde heating system in your motorhome, you’ll know that from time to time, you have to reset the clock on the display unit. This usually occurs when the motorhome’s 12V battery has been disconnected. But now you can stop this happening.
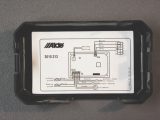
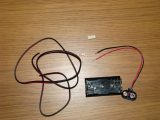
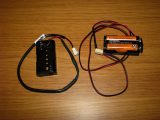
Alde’s Battery Backup unit comprises a 2 x AA battery holder and the means to plug it into the rear of the control panel.
This is what I fitted in our van, but it’s quite simple (and a bit cheaper) if you fancy making up a unit from scratch, or if the cable on the Alde version isn’t long enough. To make your own unit, you’ll need:
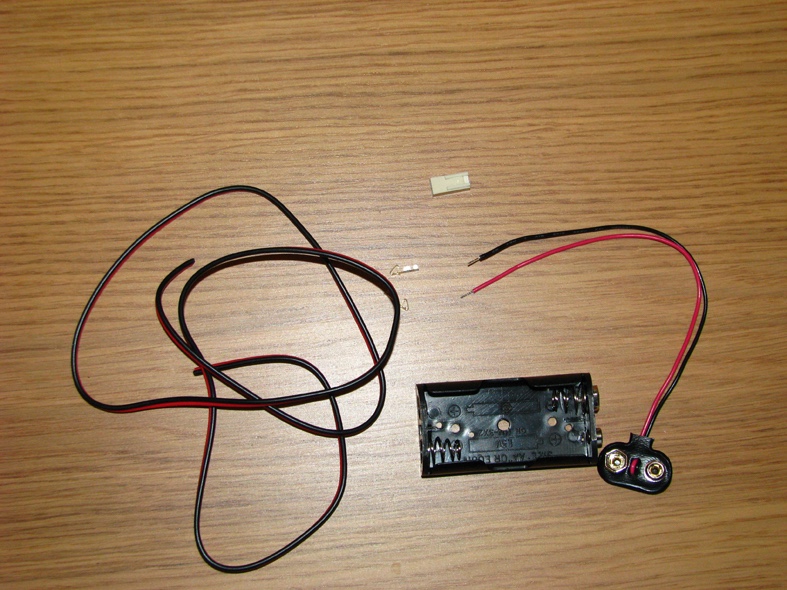
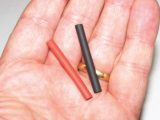
- 2 x AA battery holder
- T-shaped PP3 clip
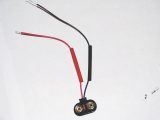
- Twin-core 6A figure 8 cable
- Two-way PCB Latch Housing (Molex block)
- 2 x 0.1 inch Series Socket Terminals
- Heat-shrink
- Selection of screwdrivers
- Snipe-nose pliers
- Soldering iron with fine tip
- Wire strippers/cutters
- Heat gun
I will cover this job in two parts. First, we’ll fit the Alde unit as bought, then we’ll go through making up the DIY unit.
- Take a look at our how to solder guide as well – it can be an essential skill for motorcaravanners.
The Alde unit
Before you start, be sure to disconnect any mains supply and the motorhome’s 12V battery. The next step is finding a suitable location for the battery back-up unit. Obviously it’s best to place it as close to the control panel as possible, but you will need access to it from time to time, to replace the AA batteries when needed.
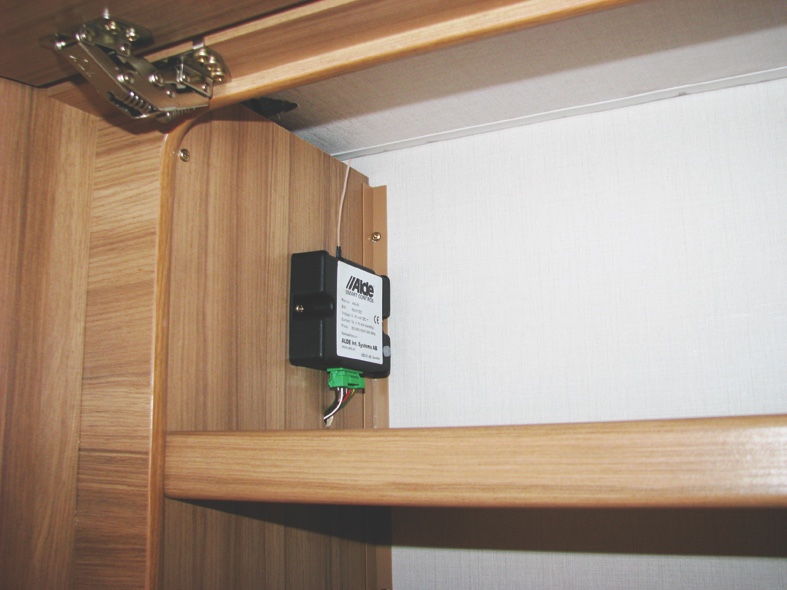
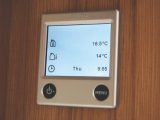
We have an Alde Smart Control unit in our ‘van, so I decided to put the battery back-up next to that in an overhead locker. But if you don’t mind dismounting the locker to replace the batteries, it could go between two panels.
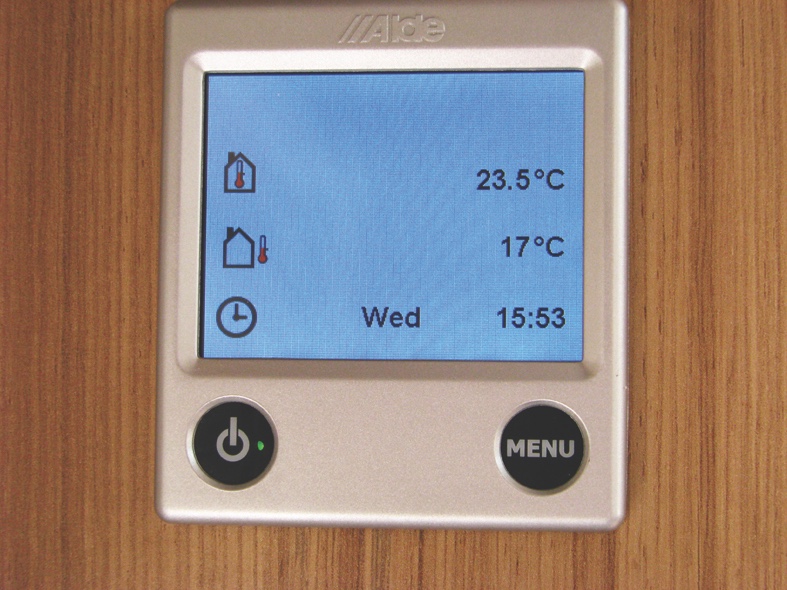
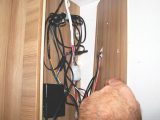
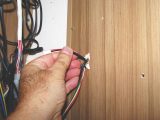
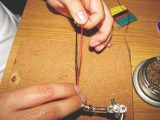
I removed the shelf inside the locker, then the internal panel behind the Alde control panel – you will need access to the rear of the panel. In some ‘vans, it might be easier to remove the control panel from the front, giving access to the rear that way. Our control panel is the later 3020 touchscreen type, but the following also applies to the 3010 touchscreen and 3010 button panels.
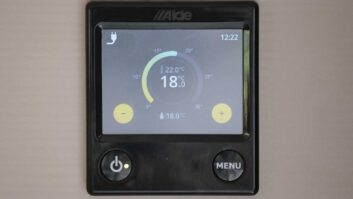
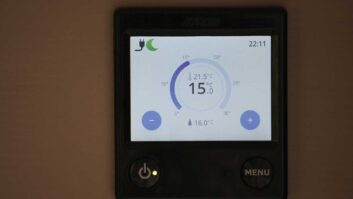
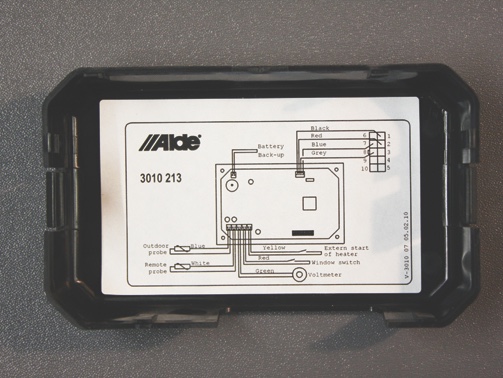
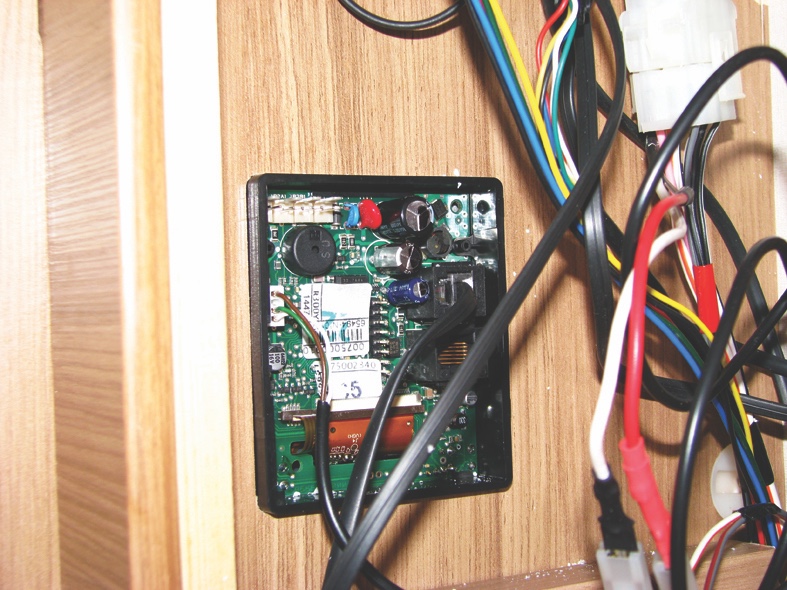
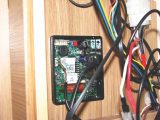
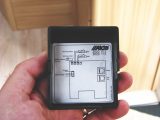
With access to the back of the panel, remove the cover and you’ll find a diagram inside it. This will indicate where you need to plug in the battery back-up unit. Each of the control panels has the connection in a different place, so it’s important to check.
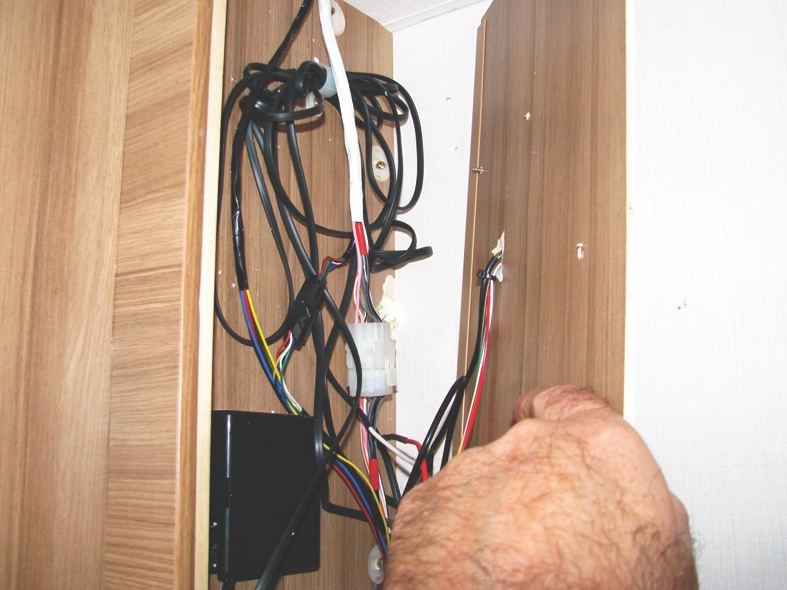
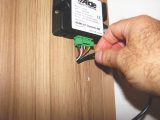
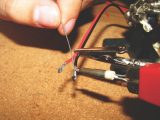
As I’d previously cut a hole for the Smart Control wiring, I passed the Molex block on the battery back-up unit through the same hole. If there isn’t a suitable hole for this, you’ll need to drill one 8mm in diameter.
The block was attached to the correct pins on the back of the control panel, then the internal locker panel was refitted. Using double-sided tape, the battery holder was attached to the internal panel next to the Smart Control unit, then the cable was tidied and secured using a self-adhesive cable tie. Finally, the AA batteries were inserted.
Having reconnected the van’s 12V battery, the time was set on the Alde control panel. After ensuring all was well, the unit was switched off, and the 12V battery disconnected once again.
Next morning, the battery was reconnected and the Alde system switched on. It was great to see that the back-up had worked and the correct day and time were being displayed.
The DIY unit
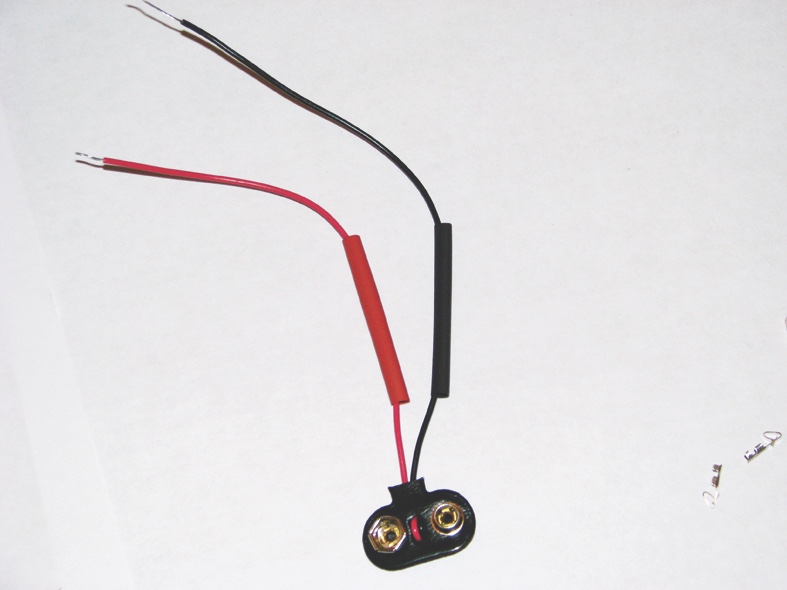
To make your own battery back-up unit is a pretty simple job, too. Starting with the PP3 clip (which was pre-wired, red for positive and black for negative), cut one of the wires so it’s a couple of centimetres shorter than the other, and strip the insulation off each of the ends by about a centimetre.
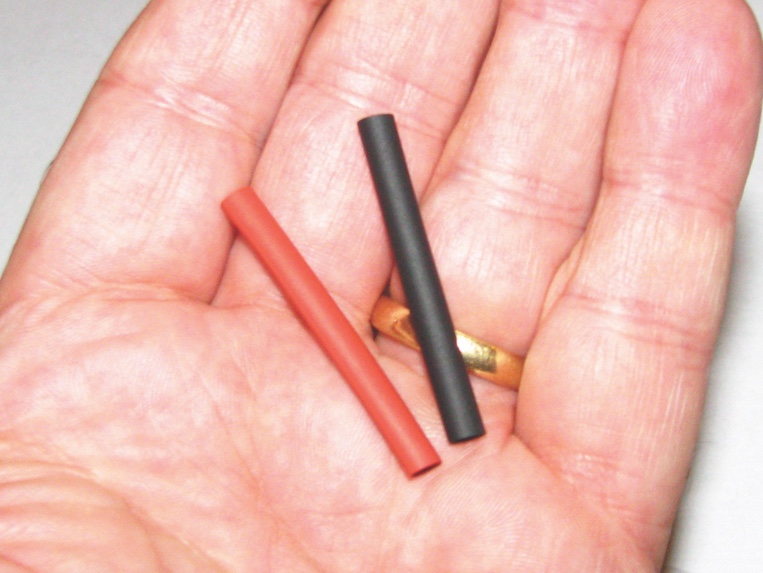
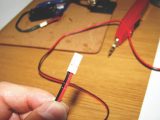
Next, put a short section of heat shrink on each of the wires (that way, you won’t solder the wires together, then realise you can’t get the heat-shrink on – not speaking from experience on this occasion, I hasten to add).
Trim one end of the twin-core figure 8 cable in a similar way, so the ends are different lengths, then twist the bare wires of the red cable together, then the same for the black ones. Having these joins in different places reduces the risk of the wires ‘shorting’ should the insulation become damaged for any reason.
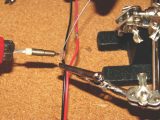
Where the wires are twisted together and devoid of insulation, carefully solder the joint. As the wires are so thin, don’t allow the soldering iron to heat them up too much or you’ll melt the plastic insulation.
When you’re happy the wires are joined together securely, cover them with the heat-shrink, and, using a heat gun, do as the name suggests. I’m a belt-and-braces type, so I covered the two sections of heat-shrink with another single piece. This adds double insulation and keeps the two wires neatly together.
Working at the other end of the twin-core cable, separate the wires for about a centimetre, and strip about 5mm of insulation from both. Using the soldering iron, ‘tin’ each of the bare wires.
The 0.1 inch socket terminals came in a strip of 10, of which you’ll only need a couple. Using the snipe-nose pliers, attach a socket terminal to each of the wires, then carefully solder the wires into the socket terminals.
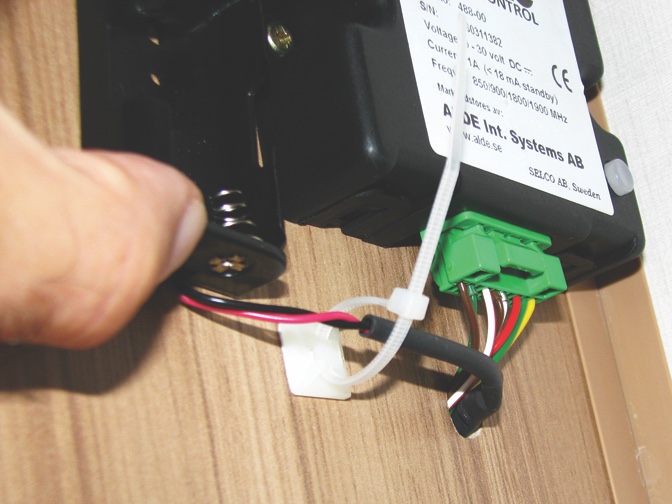
The socket terminals push in the Latch Housing (Molex block), but before doing this, you’ll need to check the polarity by looking at the diagram on the inside of your Alde control panel back cover. Then you can continue as per fitting of the Alde unit.
Thanks to Alde UK for supplying the Battery Backup unit. All other parts were sourced from Maplin Electronics.
To make your own battery back-up unit is a pretty simple job