

WHEN COVERTING A panel van into a camper van, extra side windows in the rear are often required to give some natural light and generally brighten up the habitation area.
There are a number of ways to fit a window and most of them involve cutting out a hole in the side of the van, then inserting a piece of glass or Perspex or securing it over the hole. Inserting a piece of glass or Perspex into the hole is the most difficult of the two approaches because accuracy is essential to ensure a leak free fit. Plus, the glass or Perspex is usually retained with a rubber seal, which can be awkward to fit.
The easier approach to fitting a piece of glass or Perspex is to secure it over the hole. This approach requires less accuracy when cutting the hole and the Perspex or glass can be secured to the side of the van with silicone.
Cutting a hole in a camper van
Cutting through metal panels can be fiddly and potentially dangerous if you use the wrong tools. One of the best tools for the job is known as a nibbler, which is purposely designed to cut through sheet metal. Air fed nibblers can quickly cut through sheet metal, although there are other types including hand operated nibblers and even a type of nibbler that attaches to the end of an electric hand drill. Similar tools for cutting through sheet metal include a jigsaw and angle grinder with cutting disc. Always wear safety goggles, gloves and ear defenders when operating this type of equipment.
The following steps were completed with T4 Transformations of Wakefield in West Yorkshire. They show how to measure and cut out a hole in the side of a VW T5 Transporter, then secure a piece of glass to the exterior. The glass shown is specially made and follows the curvature of the sides of the van.
To watch a video detailing side window installation, click here
Step-by-step guide to window installation
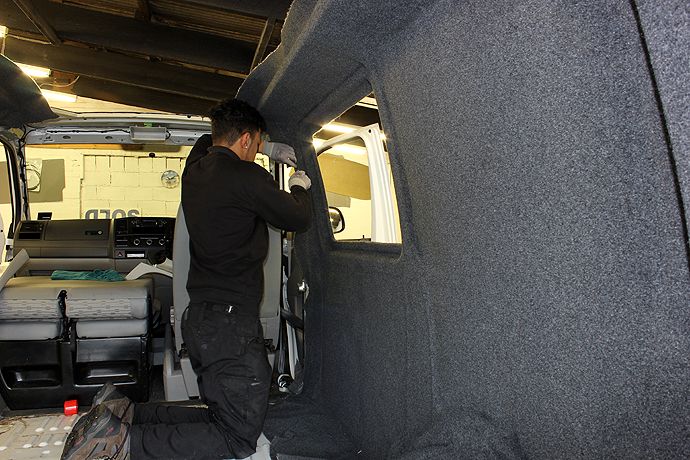
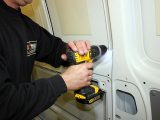
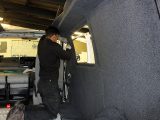
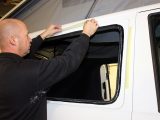
1. Remove any trim that will get in the way when cutting and fitting the window. Check both sides of the panel where the window will be fitted. Make sure you are not going to cut through any wiring or pipework.
[tl:gallery index=1 size=460×306]
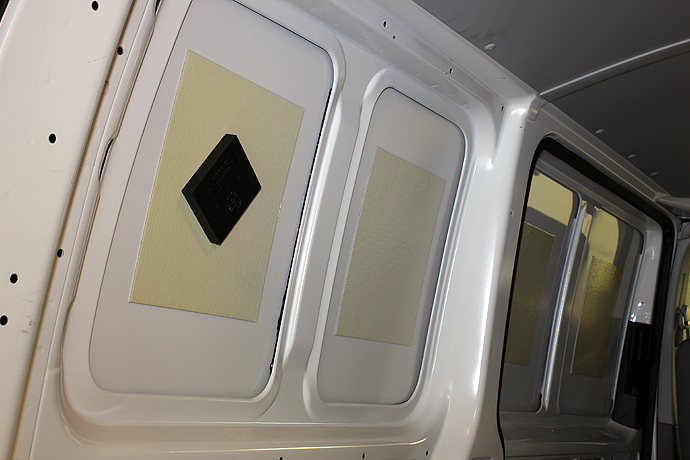
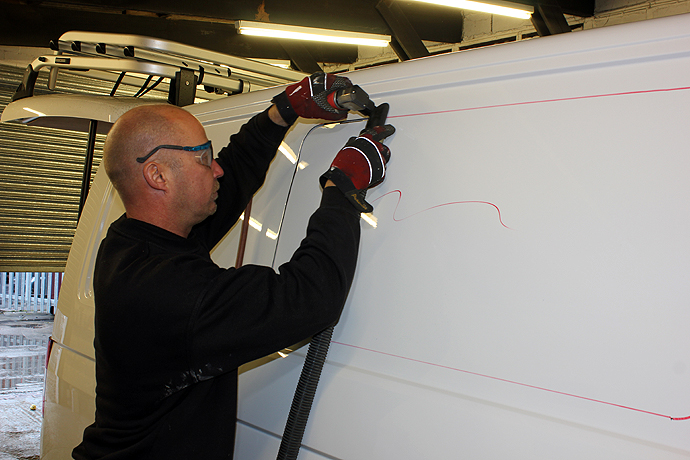
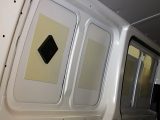
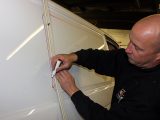
2. Mark the area that needs to be cut. Start on one side (inside or outside), depending on whether you can identify a specific area to cut out. The markings can be transferred to the other side in the next step.
[tl:gallery index=2 size=460×306]
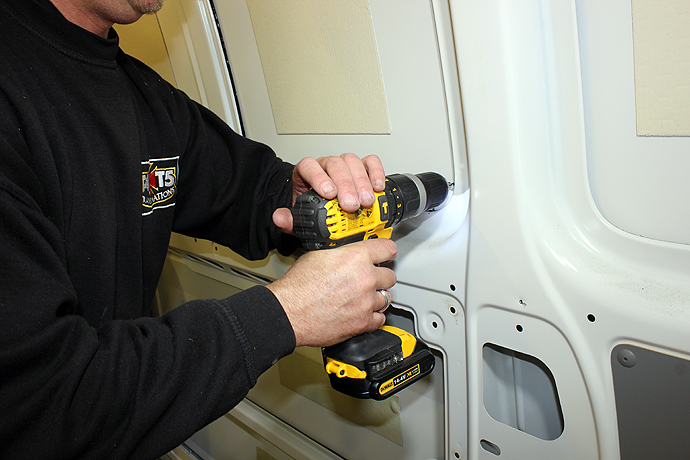
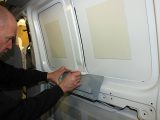
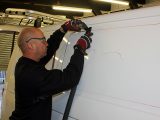
3. Drill a series of holes through the edges of the area you intend to cut for the window. This helps to transfer the markings made on one side through to the other side. Drill several holes to ensure the markings are accurately transferred.
[tl:gallery index=3 size=460×306]
4. Move to the other side of the panel for the window and mark the area that needs to be cut, using the holes drilled in the last step. Check the marked area to make sure the window will be in the correct position on the inside and outside.
[tl:gallery index=4 size=460×306]
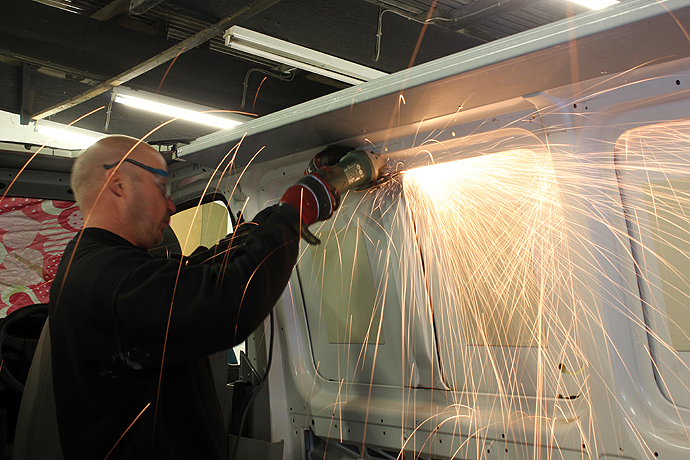
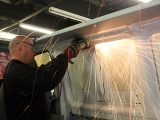
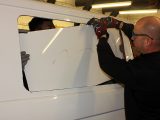
5. Carefully cut round the marked area for the window using a nibbler, jigsaw, angle grinder with cutting disc or hacksaw. If you are grinding, protect upholstery and glass with blankets and sheets.
[tl:gallery index=5 size=460×306]
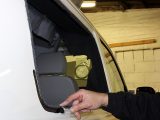
6. If there are any strengthening beams to cut through, these may need to be done separately using an angle grinder and cutting disc, a jigsaw with a long blade or a hacksaw. Do not cut through any structural pillars for the van.
[tl:gallery index=6 size=460×306]
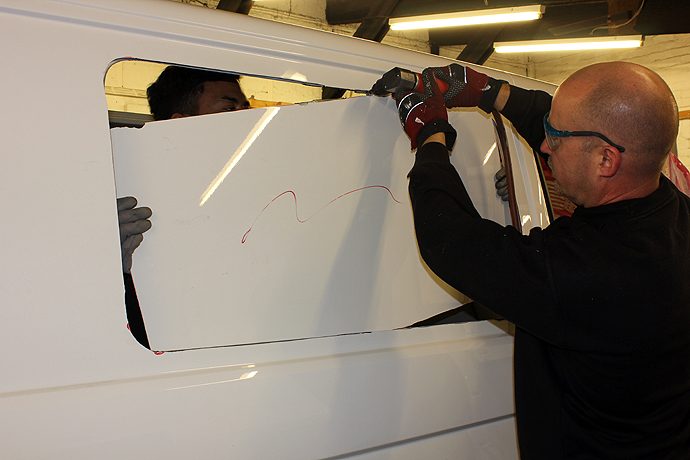
7. You may need some help when cutting out the panel for the window, especially if you are cutting it out as a single panel. Ask someone to hold the panel to prevent it falling and damaging something.
[tl:gallery index=7 size=460×306]
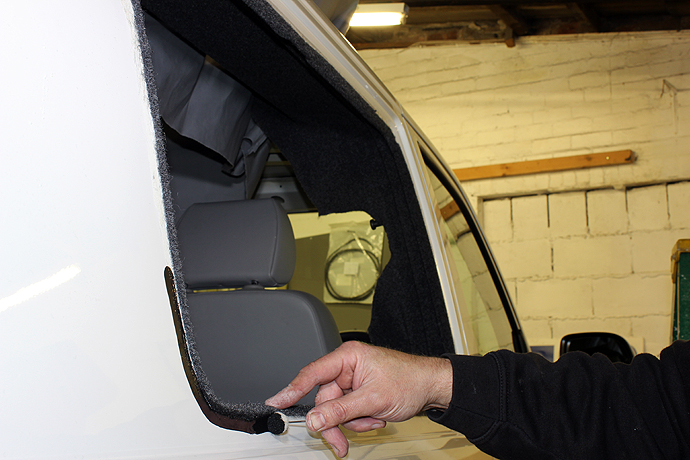
8. After cutting out the panel, use a file to smooth the cut edges and paint them to prevent corrosion. Before fitting the window, secure any trim over the edges where the hole has been cut for a neat and tidy finish.
[tl:gallery index=8 size=460×306]
9. The glass will be secured to the outside of the van with sealant. First, the area where the sealant is going to be applied needs to be keyed to make sure it sticks. This is done by rubbing it down and painting it with a suitable etching primer.
[tl:gallery index=9 size=460×306]
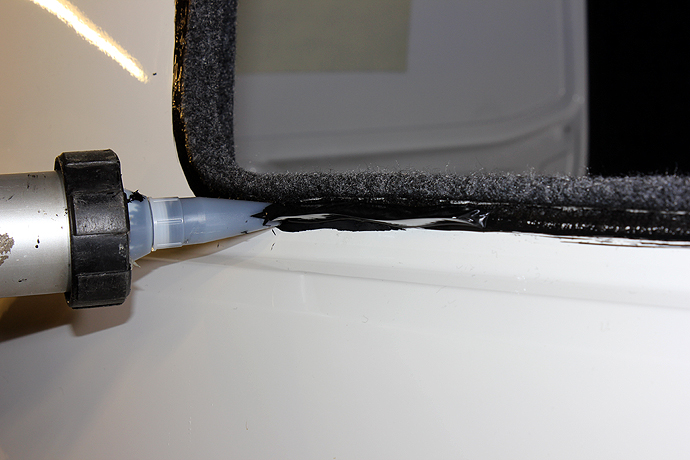
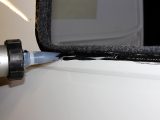
10. Sealant is applied around the edges of the hole on the outside of the van. The nozzle on the end of the sealant canister is cut at a 45 degree angle to ensure a thick ridge of sealant is applied all the way round the hole.
[tl:gallery index=10 size=460×306]
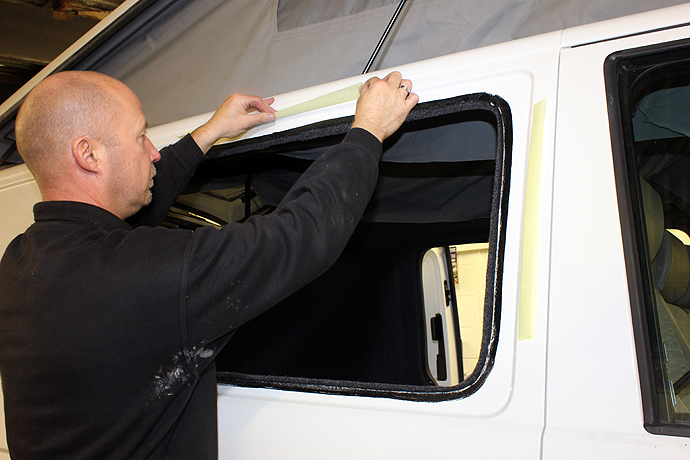
11. Four lengths of masking tape are fitted to the edges of the glass or around the edges of the hole. These will help to keep the window in position when it’s initially fitted, although they won’t be able to hold the window on their own – the sealant must do this.
[tl:gallery index=11 size=460×306]
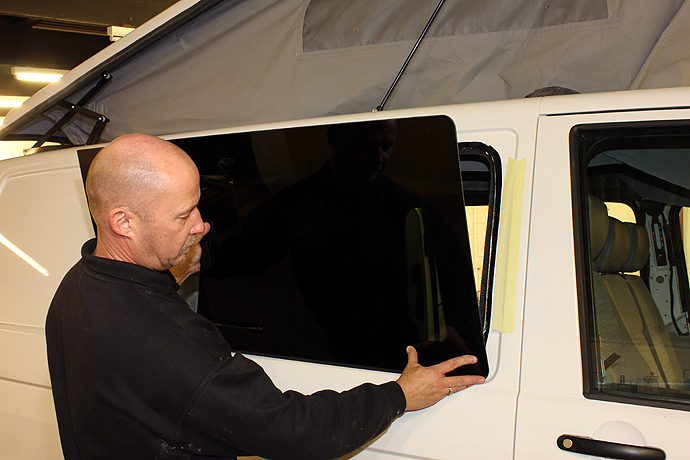
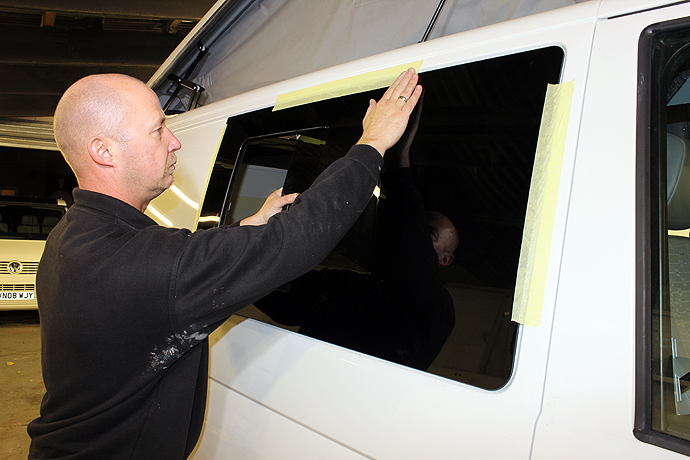
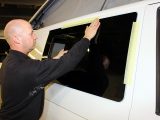
12. The glass is carefully positioned on the exterior of the van, making sure it covers the hole and is lined up correctly. It may slip down at first, so the masking tape is used to help keep it in position. Check the window is correctly positioned, then allow the sealant to dry.
Read more about VW campers:
Volkswagen T25 Wedge campervan buying guide
Volkswagen Doubleback campervan with slide-outs
Volkswagen Doubleback – our Test Editor Jeremiah’s video tour
Just for fun: Kate’s blog – Quick guide to the VW T2 Bus
Useful VW campervan contacts
Cooled Air 01322 335050 www.coolairvw.co.uk
Herbie Hospital 0113 242 0029 www.herbiehospital.com
Just Kampers 0800 9156601 www.justkampers.com
Machine 7 02476 356465 http://machine7.com
South West Classic VWs 01769 573020 www.southwestvws.co.uk
The Beetle Werks 01903 773388 www.thebeetlewerks.co.uk
VW Heritage: 0845 873 7253 www.vwheritage.com