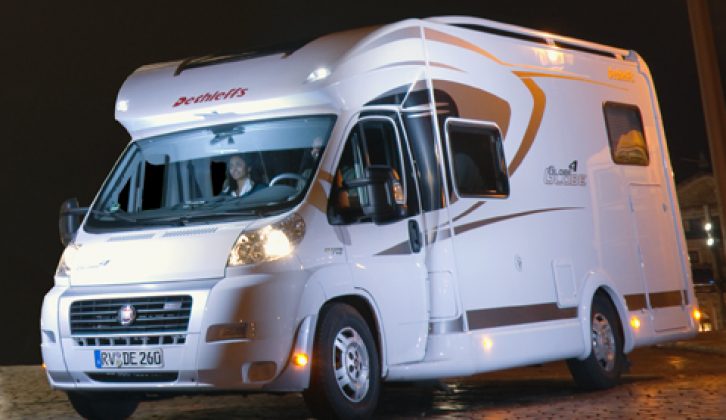
No matter what time of the year it is, it’s crucial that you check your ’van’s lights for any potential defects – you never know when you’ll need them.
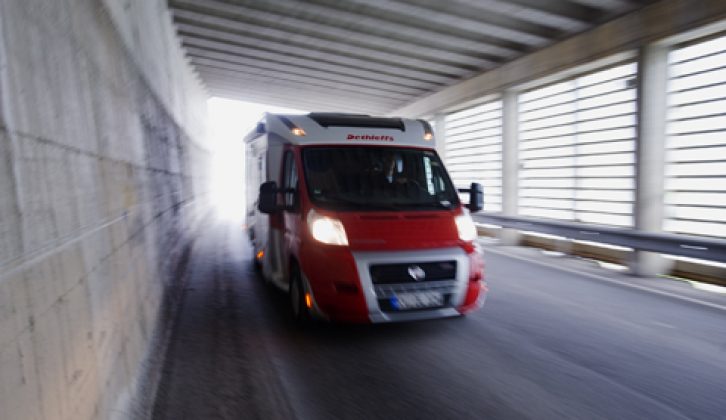
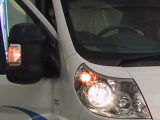
As the nights draw in and winter conditions reduce daytime visibility, vehicle lights become ever more crucial to safety. Even in summer, you need them for driving at night, in [tl:gallery index=1 size=215×129]tunnels, or communicating with other drivers. Even if lights appear to be working, defects can cause some to dim, flicker, or completely fail. Headlamp failure at a critical driving moment can have serious consequences: a flickering side lamp can be mistaken for an indicator, and dim tail lamps can fool a following driver into thinking there is a greater braking distance ahead.
It takes only a few minutes to check all the lights before a journey, but rechecks need to be made frequently, and even during a journey.
Checking the lamps
Check the lamps with the engine running at its correct tick-over speed to confirm there is enough electrical power to keep the headlamps at full brightness. If not, check the battery terminals are clean and tight, and that the alternator drive belt is correctly tensioned. If brightness is still below par, or you notice the headlamps fade when stopping, ask an auto electrician to check the battery and alternator.
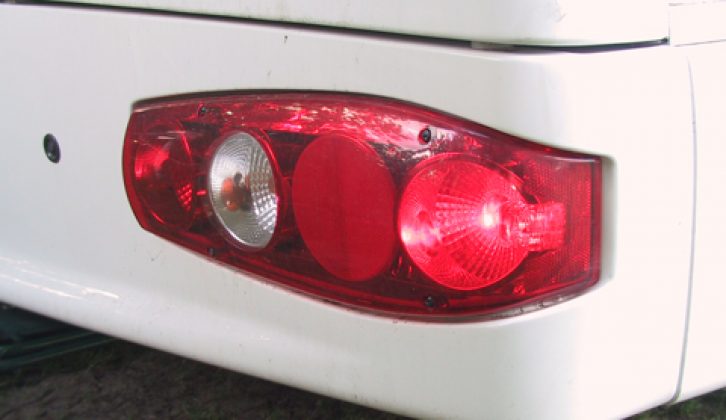
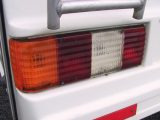
Walk around the vehicle to check each lamp while a helper sits in the cab to operate the switches. Check that pairs of lamps (each side of the vehicle) have equal brightness, and that none go dim or flicker when other lights are switched on. [tl:gallery index=2 size=215×129]
For instance, one or both tail lights may dim when the brake lights are switched on, or a brake- or tail-lamp might dim in time with the indicator. These effects are usually caused by a poor earth connection on one of the circuits, and can often be fixed by cleaning and reassembling earth to body connections and multi-plugs. Remember to apply some WD40 to prevent the corrosion from returning. Earthing problems are common on vehicles that are laid up outside for an extended period.
Check that the indicators and hazard lights flash at a normal rate – not too slow, or too rapidly. One failed indicator bulb can cause the others in the circuit to flash faster.
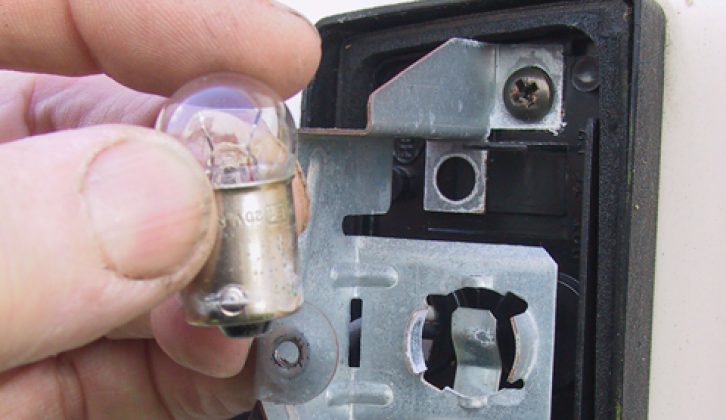
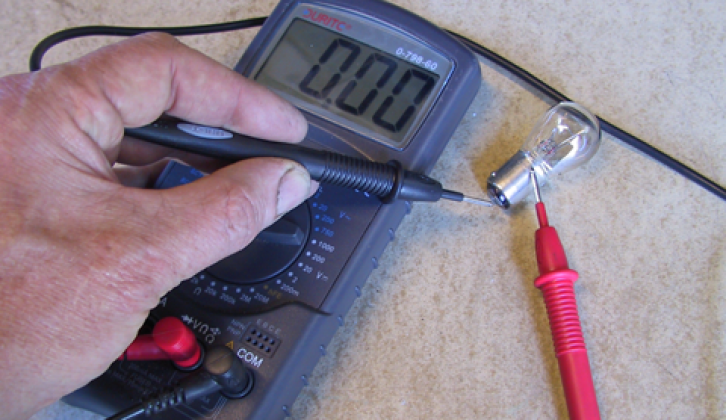
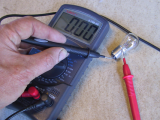
[tl:gallery index=3 size=215×129]As you walk around, give each lamp a thump with your hand to see if it flickers. If so, there may be a loose connection or bulb holder, or a bulb filament may be failing. You can check suspect bulbs with a multimeter.
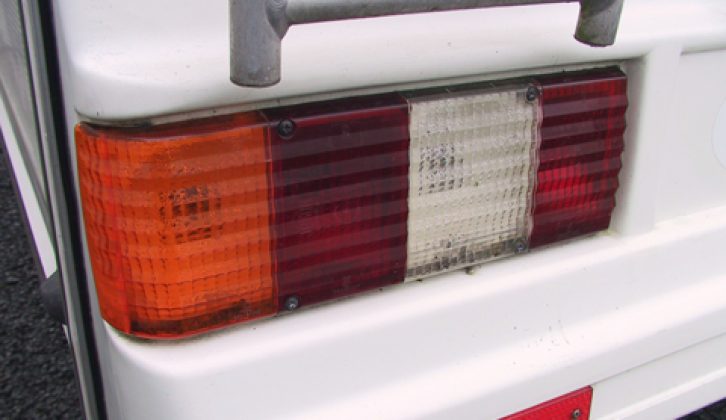
With the lights switched off, check for discolouration on the reflectors inside the lamps, and for staining and condensation on the lens, all of which can reduce the light intensity.
[tl:gallery index=4 size=215×129]Cracked lenses should be replaced because they’ll allow moisture in, which can cloud the lens and corrode the electrical connections.
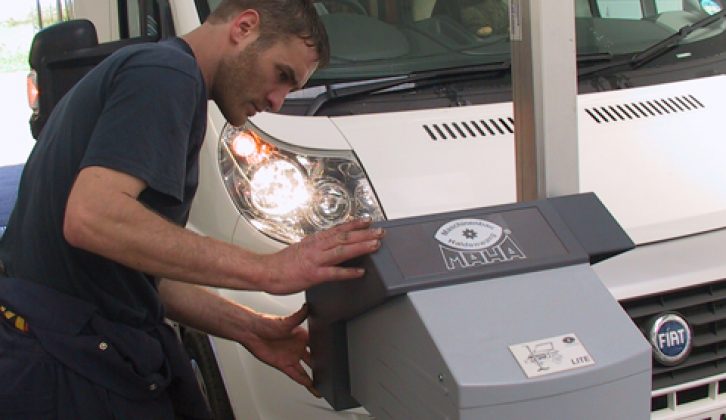
It’s difficult to check the headlamp beam alignment; however, it can easily be adjusted using the screws at the lamp unit in the engine compartment. First, park the vehicle on level ground facing a wall square on, then operate the stalk to check the dip and full beams hit the wall at the same height. If there is a discrepancy in the heights or directions of the beams, you may be able to make a rough adjustment until the vehicle can be taken to a garage for the beam alignment to be completed accurately.
Driving checks
Lights usually fail suddenly, so there’s still a chance that a bulb could blow or a connector could work loose soon after setting off on a journey. For this reason, lights cannot be checked too often; and they can even be checked while you are driving.
[tl:gallery index=5 size=215×129]Pulling up in a queue of traffic provides the chance to check the headlamp reflections on the back of the vehicle in front, noting whether they’re both dipped to the same level and reflect with equal intensity. Brake lights can be checked in a stationary queue, too, by dabbing the pedal while observing the reflection from the vehicle behind in the rear view mirror.
You can check side lights, repeaters, indicators, tail lamps and brake lamps when you’re stuck in town centre traffic by observing their reflection in shop windows while you’re stationary.
Maintenance
In addition to the operating checks, lights benefit from regular maintenance. An occasional squirt of WD40 on bulb holders in electrical connections will help prevent circuits from corroding. A squirt on the headlamp beam adjusters prevents them seizing, which could reduce future garage bills should they need to be adjusted.
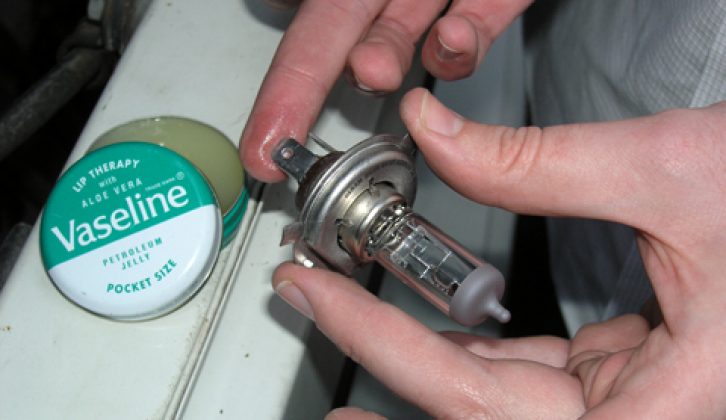
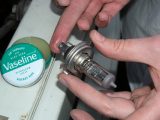
[tl:gallery index=6 size=215×129]Remove and dry any lamp lenses that have collected water or condensation. Give the light unit time to dry out before refitting, and put a light smear of Vaseline around the rubber seal under the lens to prevent it hardening.
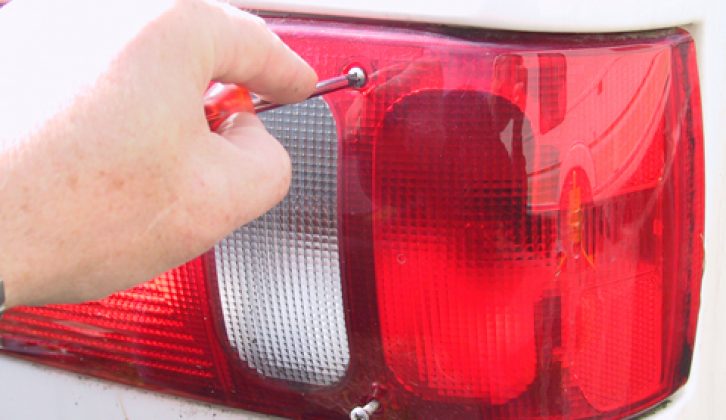
Before refitting the lens screws, put a spot of anti-seize grease on them to ensure they’ll come out easily if a bulb needs changing. Tighten the screws gently to avoid cracking the lens.
Exterior lights: routine checks and tips
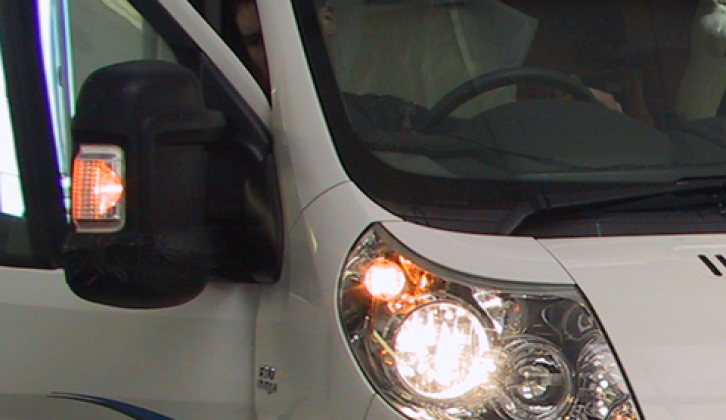
[tl:gallery index=7 size=215×129]1. Check that repeater and marker lamps around the body and on mirrors are working at the correct brightness – they’re a great safety aid.
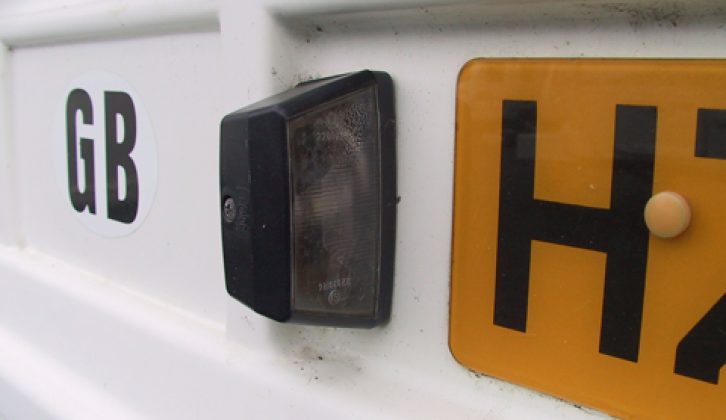
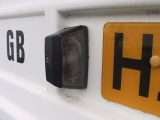
[tl:gallery index=8 size=215×129]2. Remember to check that the rear number plate lamps are working. If two lights are fitted, both must be working for it to pass an MoT test.
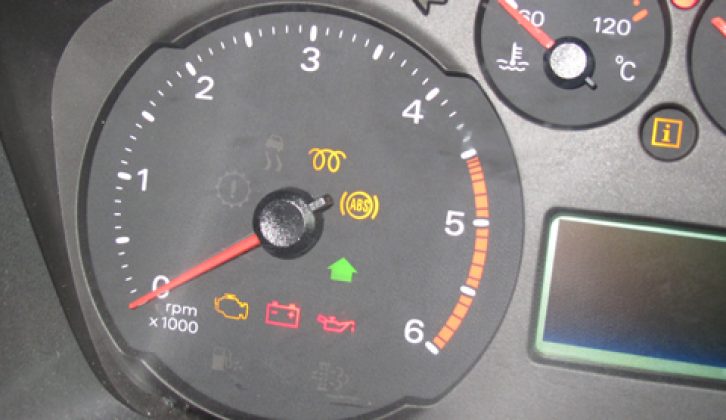
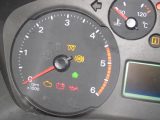
[tl:gallery index=9 size=215×129]3. Don’t ignore a failed dashboard light. If another one subsequently fails, you may find it difficult to locate switches when driving in the dark.
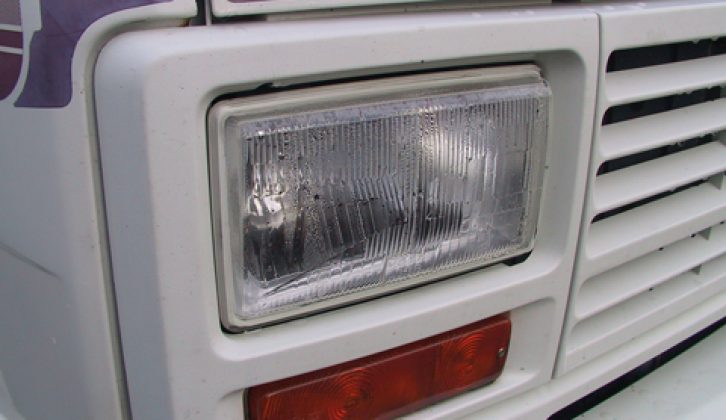
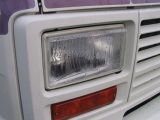
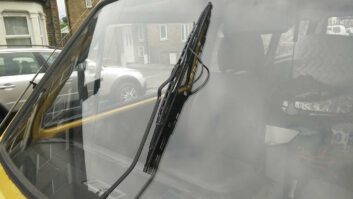
[tl:gallery index=10 size=215×129]4. Condensation on a lamp lens reduces its light output and corrodes the bulb connections. This headlamp output is diffused by condensation.
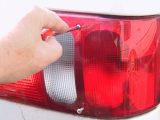
[tl:gallery index=11 size=215×129]5. Apply grease to lens screws so that they can easily be unscrewed when replacing failed bulbs. Tighten them gently, too, to avoid cracking the lens.
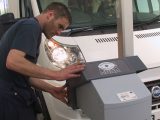
[tl:gallery index=12 size=215×129]6. If you have any doubts about the aim of your ’van’s headlamp beam, you should have them accurately checked and adjusted by an MoT-equipped garage
[tl:gallery index=13 size=459]
