


Connecting the mains power when arriving on site usually involves untangling the mains lead (most of which seem to have a mind of their own), before connecting to the site hook-up outlet.
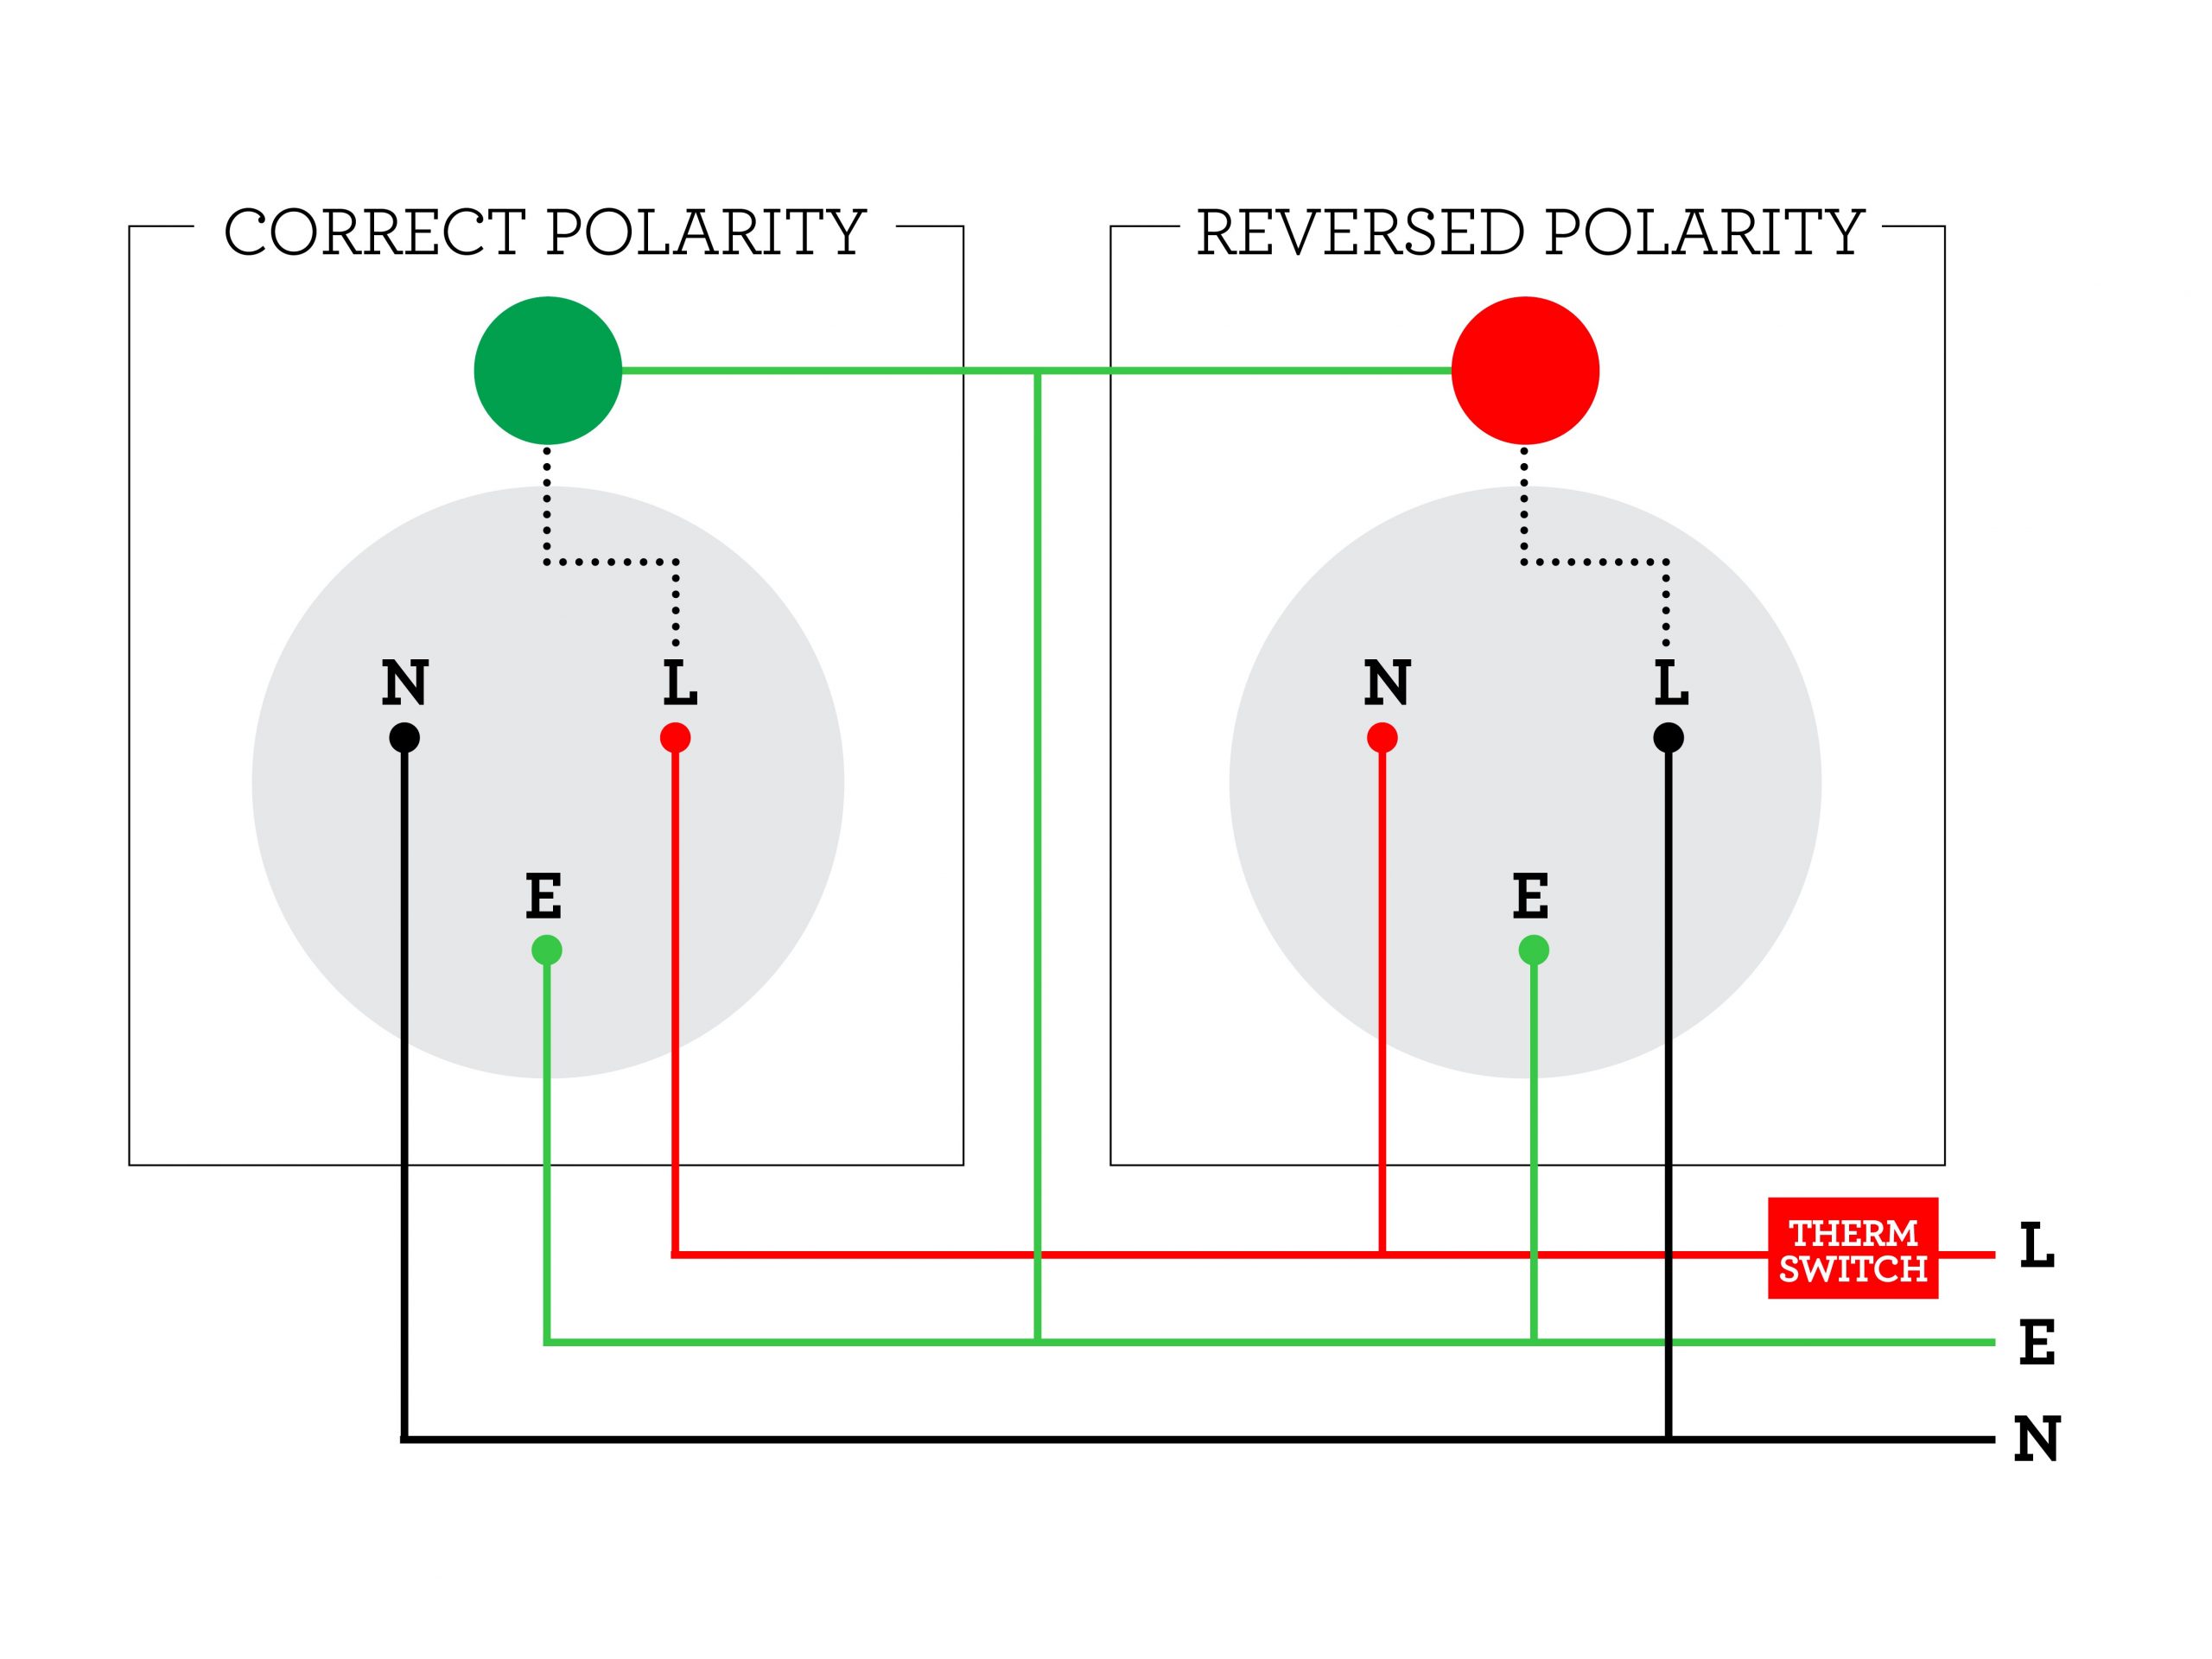
The next consideration is to determine if power is present (I have encountered all too many dead outlets on tour), followed by what its polarity is.
In the UK, this is normally correct, but for a number of reasons, this can be quite variable when you are touring on the Continent.
One way of finding out is to connect your motorhome, then insert a tester into one of the ’van’s sockets, which will indicate both power and polarity.
In the event of the polarity being reversed, some sort of change-over device has to be inserted into the supply lead.
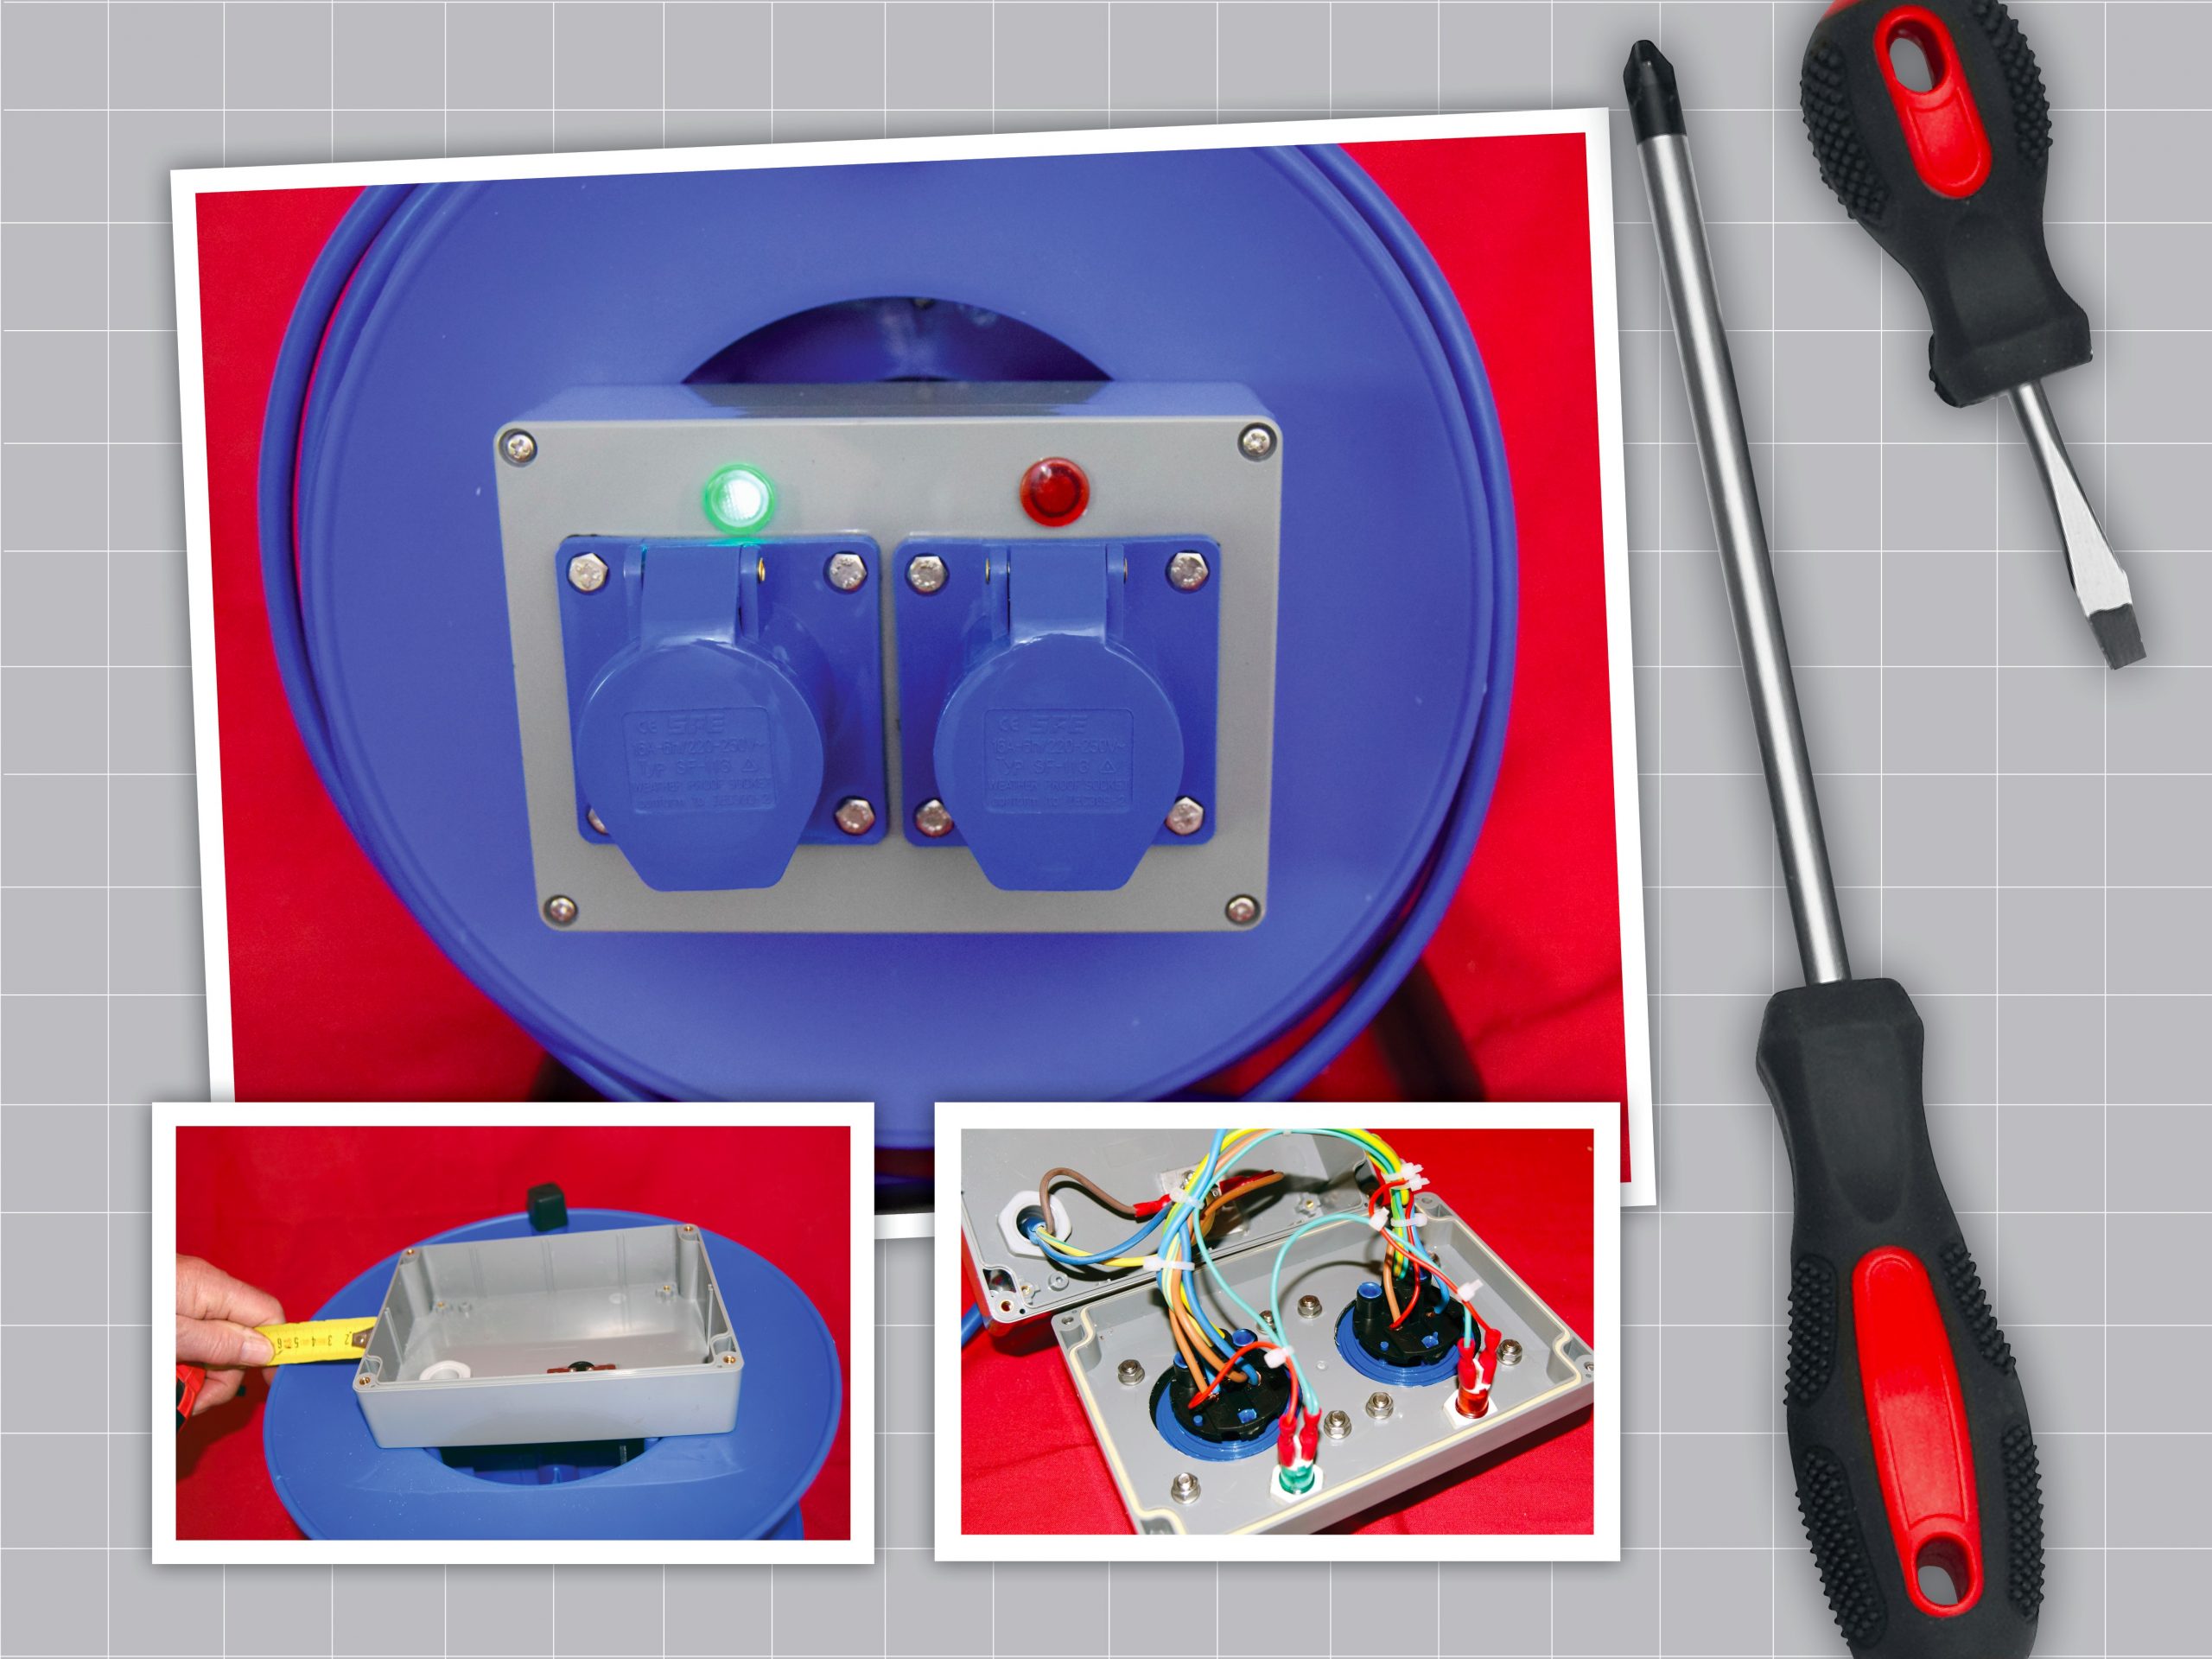
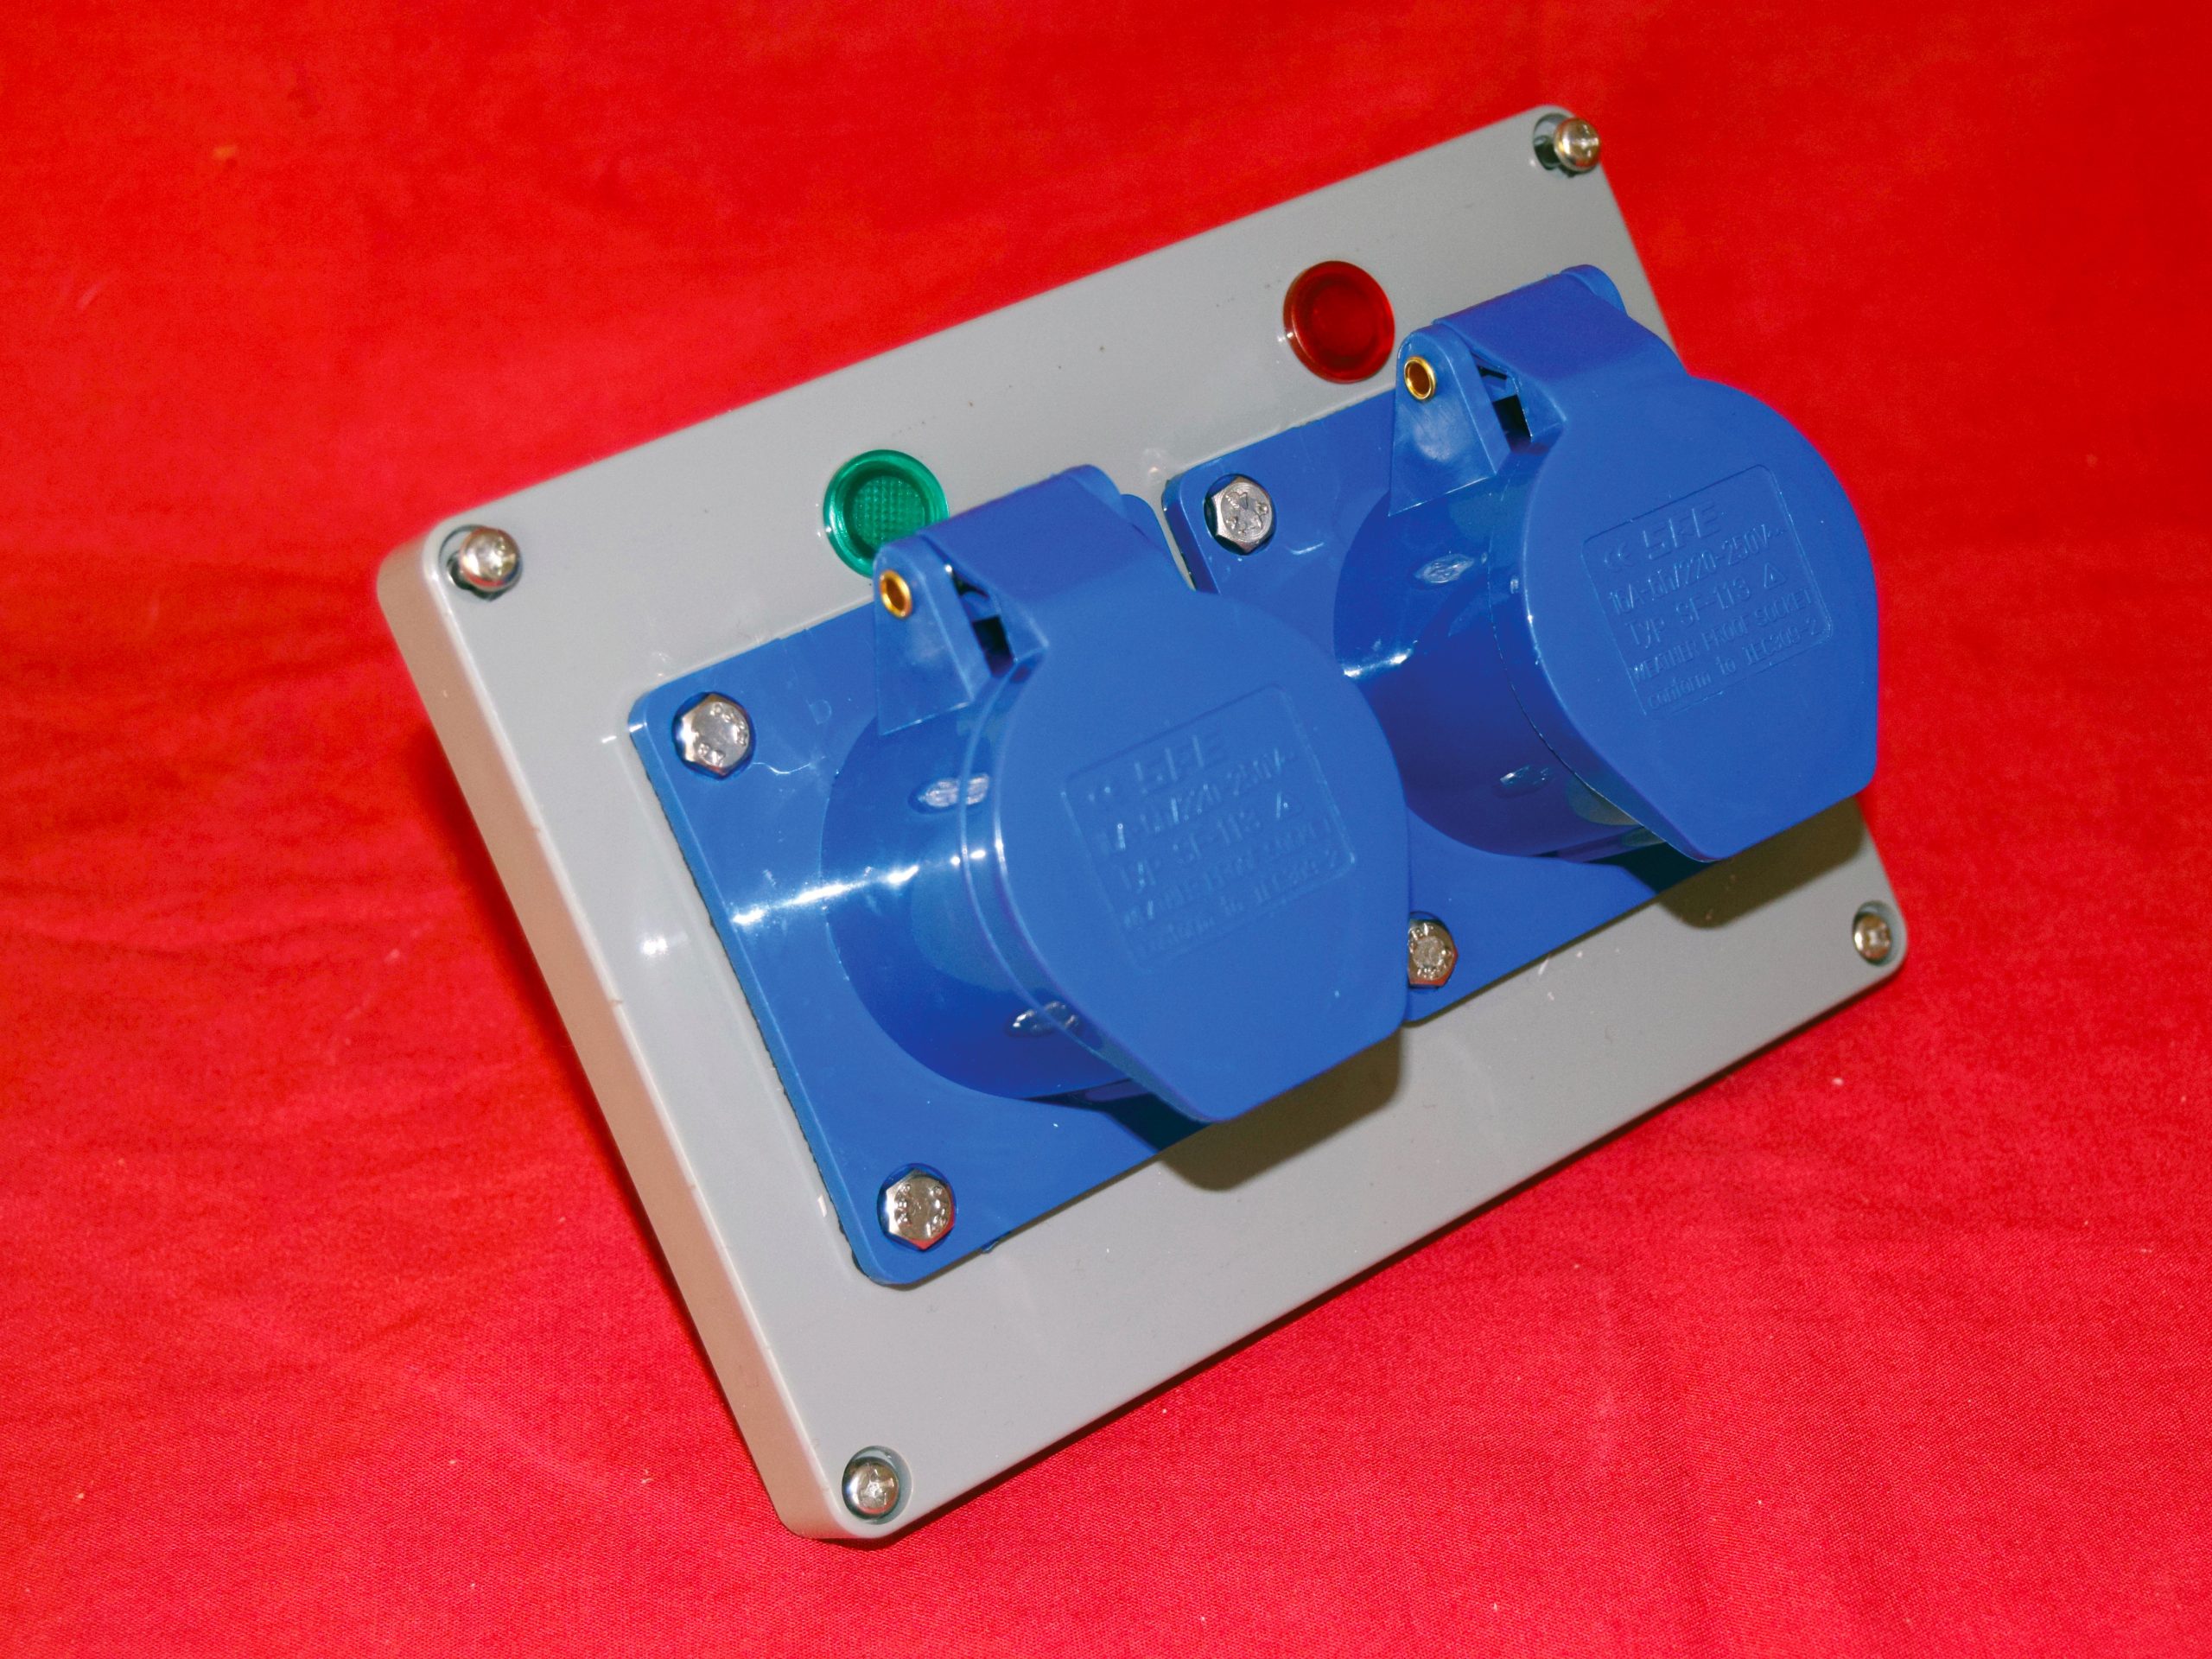
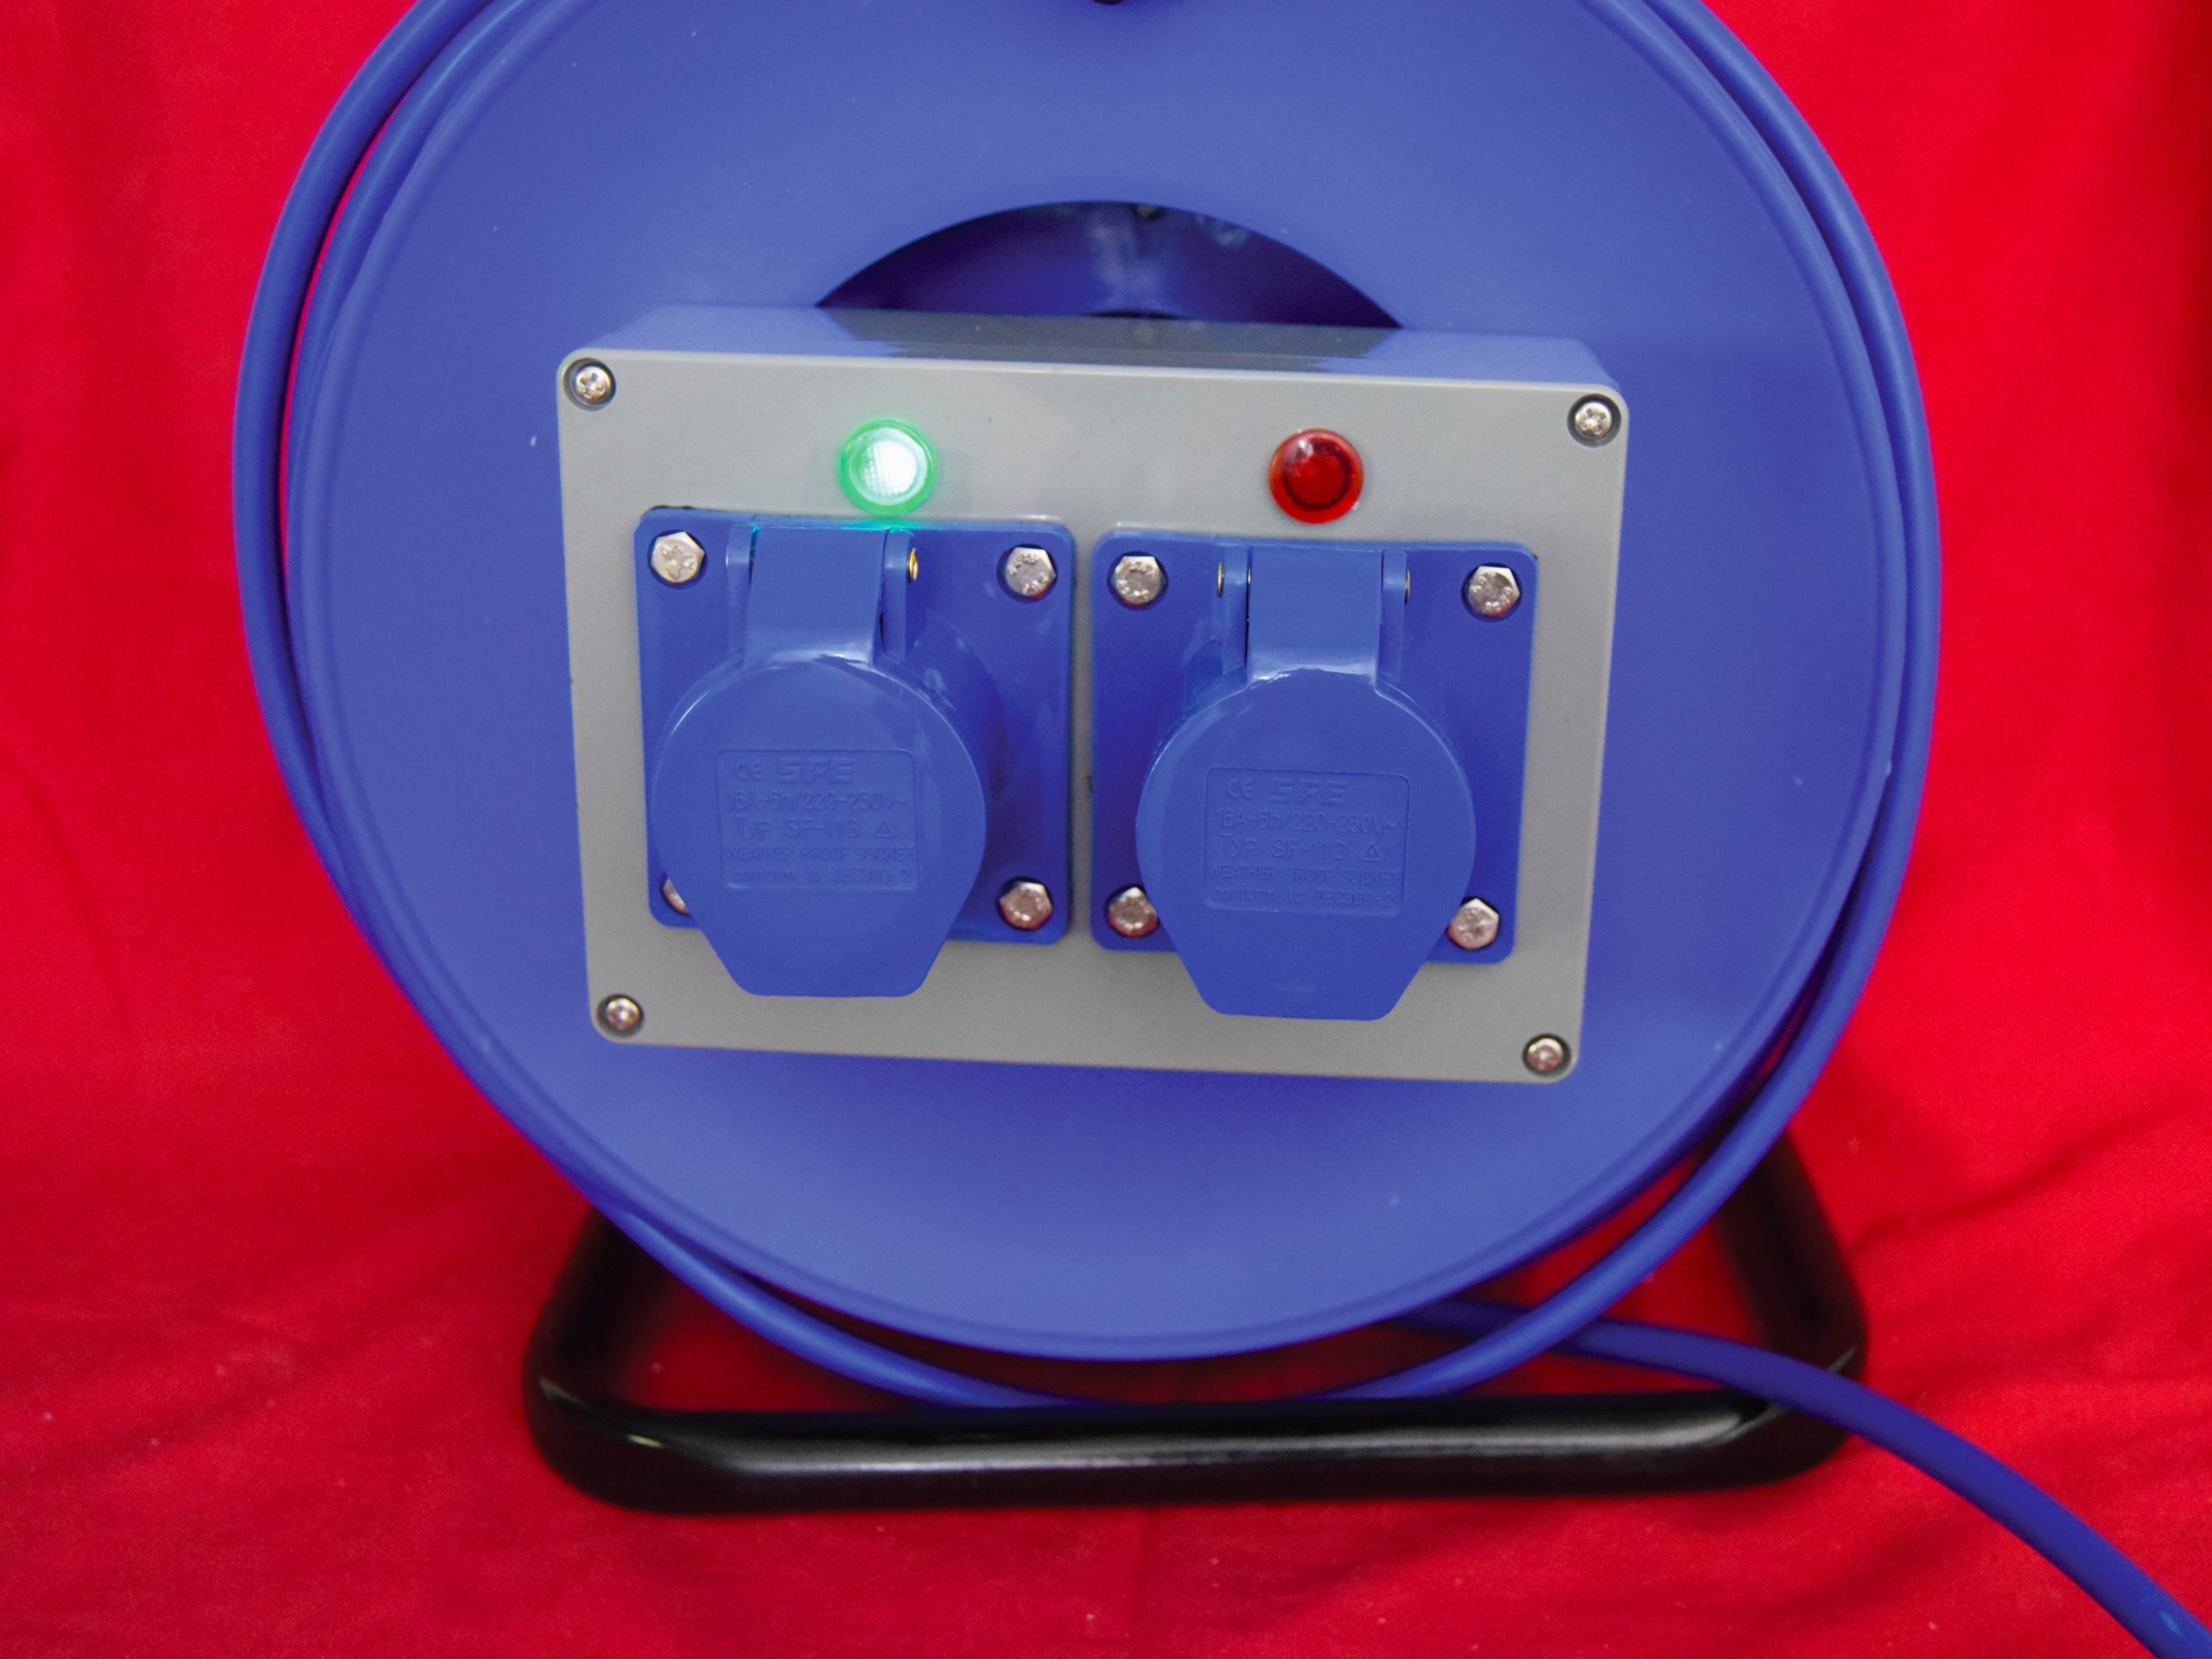
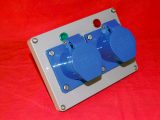
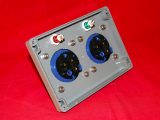
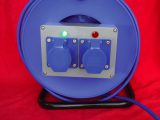
On connecting to the hook-up point, and before connecting to the ’van, the intelligent hook-up cable reel described in this project will automatically:
- Indicate whether a mains supply is present
- Instantly determine and indicate its polarity
- Warn if the earth on the supply is open circuit.
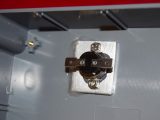
In addition, the reel has a safety thermal cut-out sensor, which will disconnect the supply if the core of the reel reaches 50C (coiled cable can overheat when a large current is passed through it – if so, it should be uncoiled).
Once all of this has been noted, it is simply a matter of connecting the ’van interface lead to the 16A socket on the reel that has the illuminated neon indicator above it, to ensure the correct polarity.
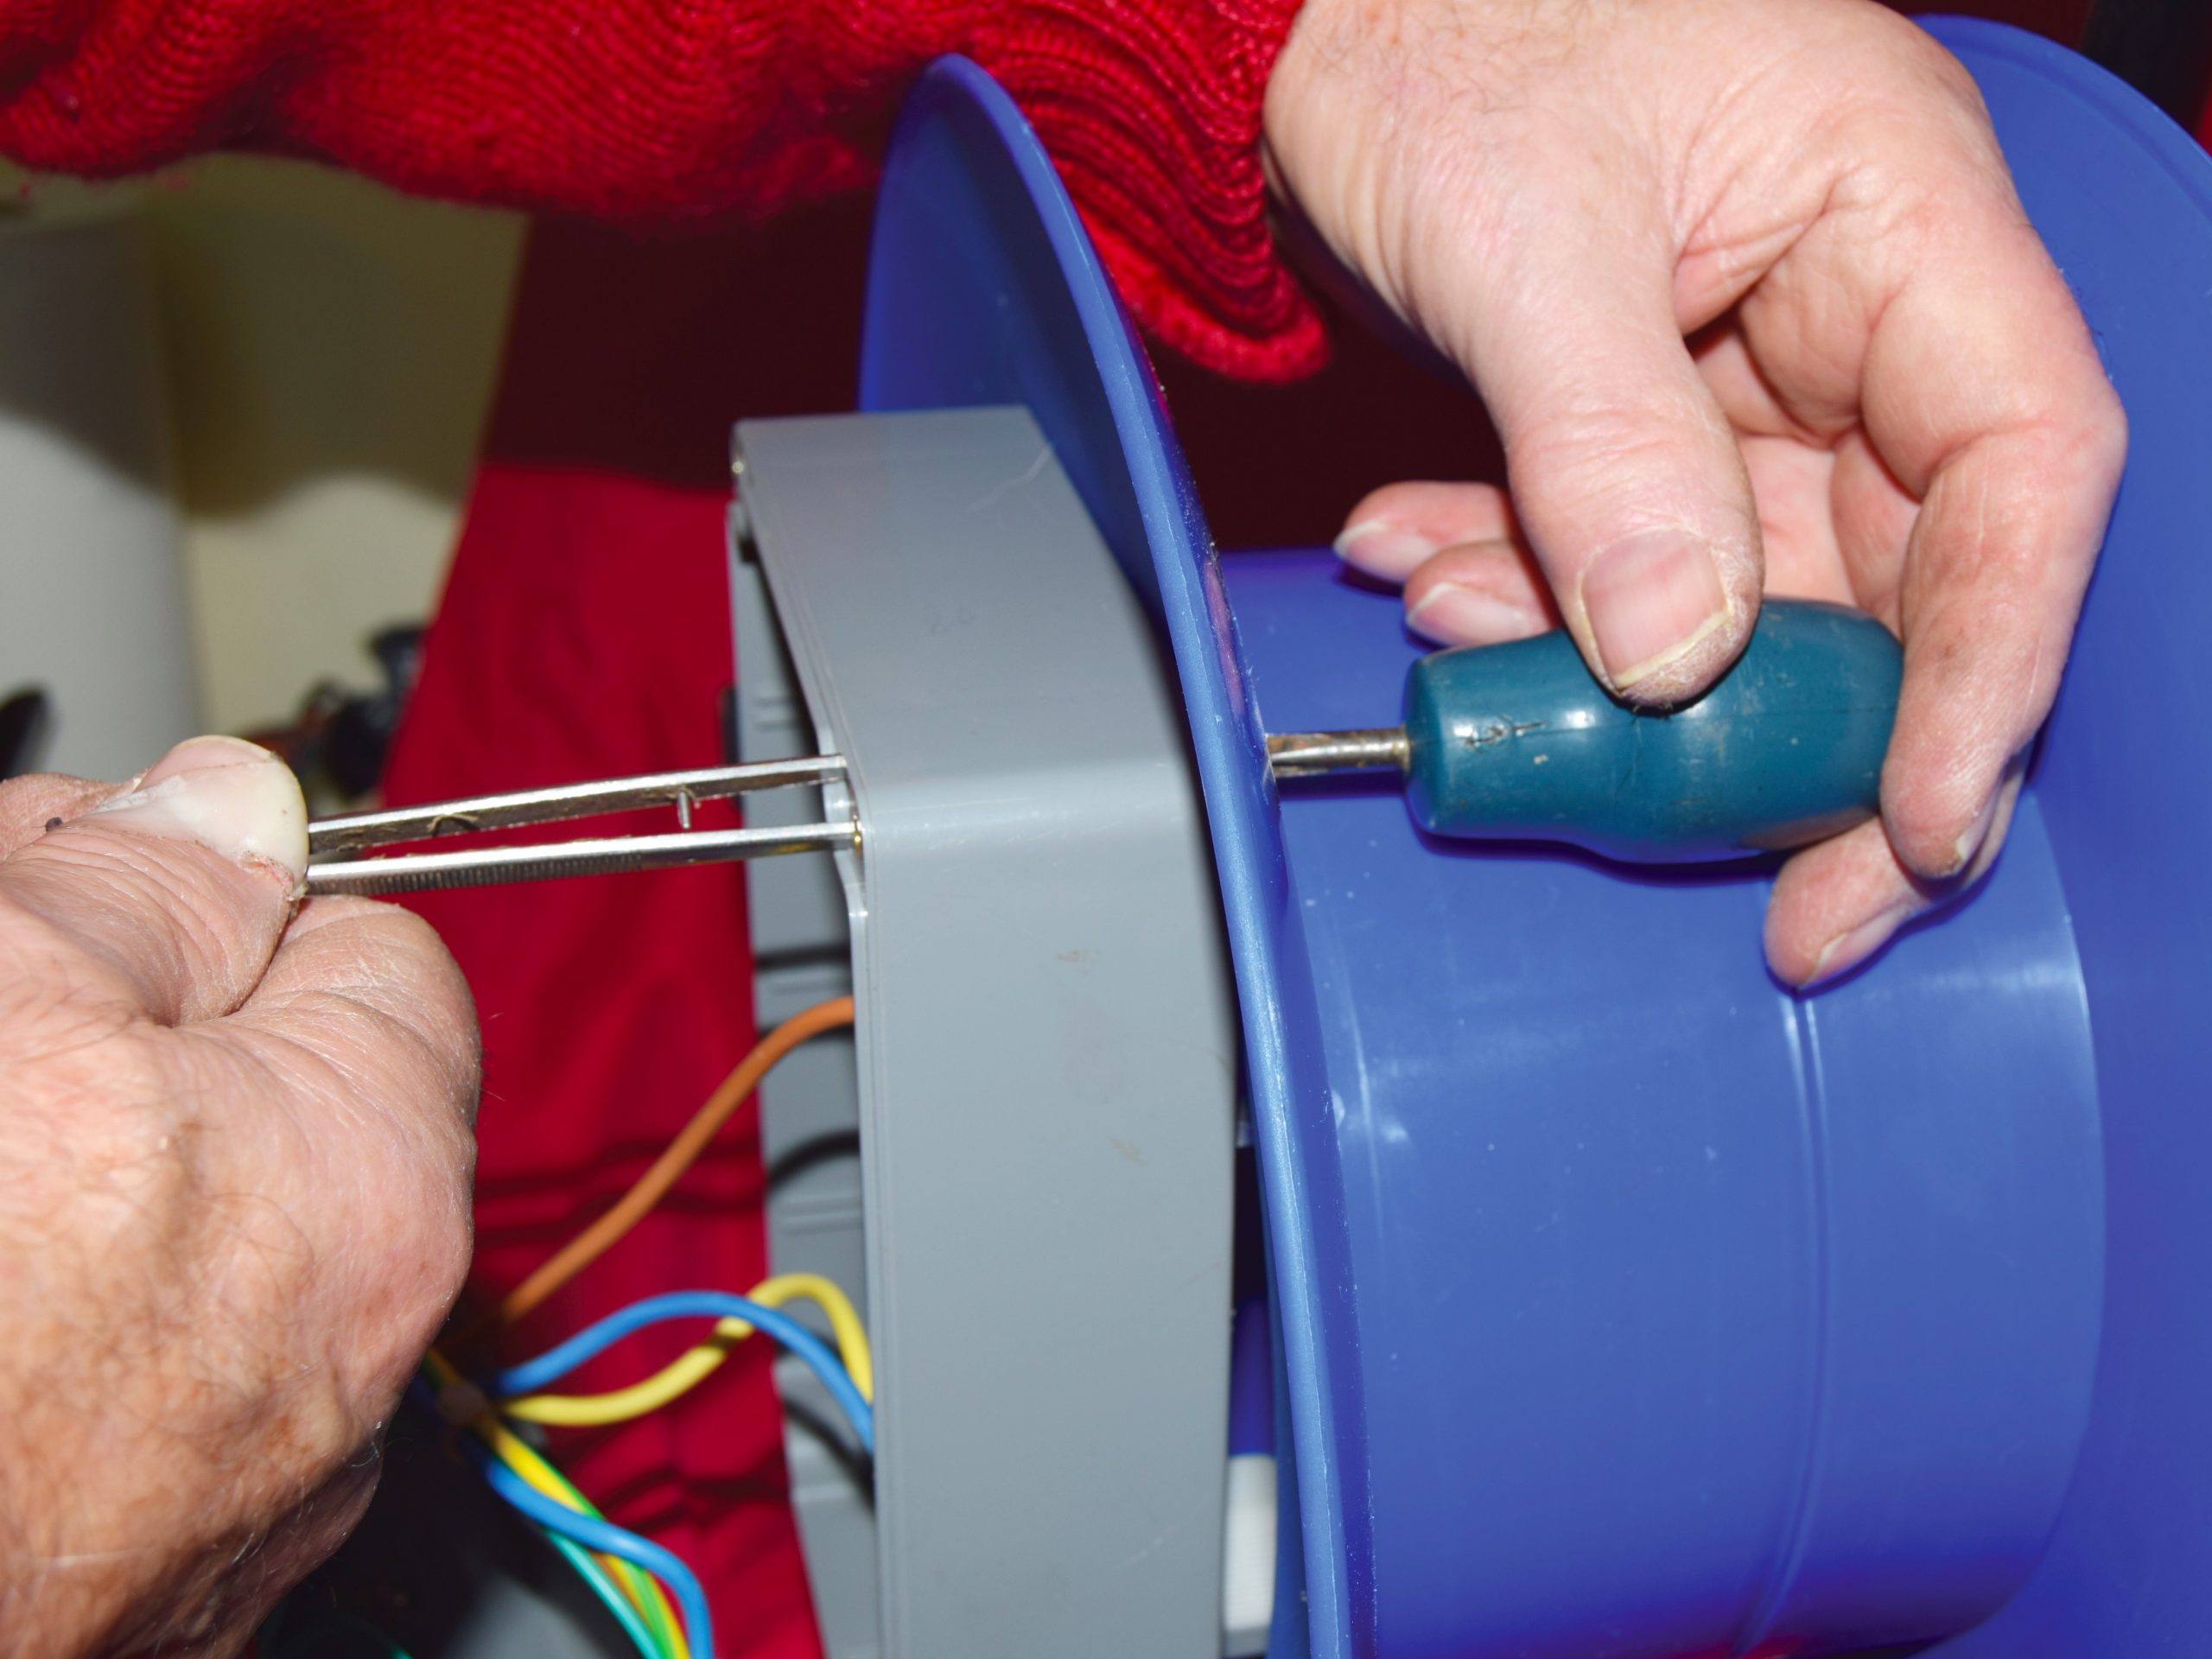
Another very handy aspect is that deployment/recovery of the cable is easy.
The fact that you can disconnect the interface cable turns the reel into an easy-to-operate winch, with no flailing cable.
I also chose a better-quality reel with cable insulation that has a higher silicone content, making it easier to handle in cold weather.
What you’ll need
Materials
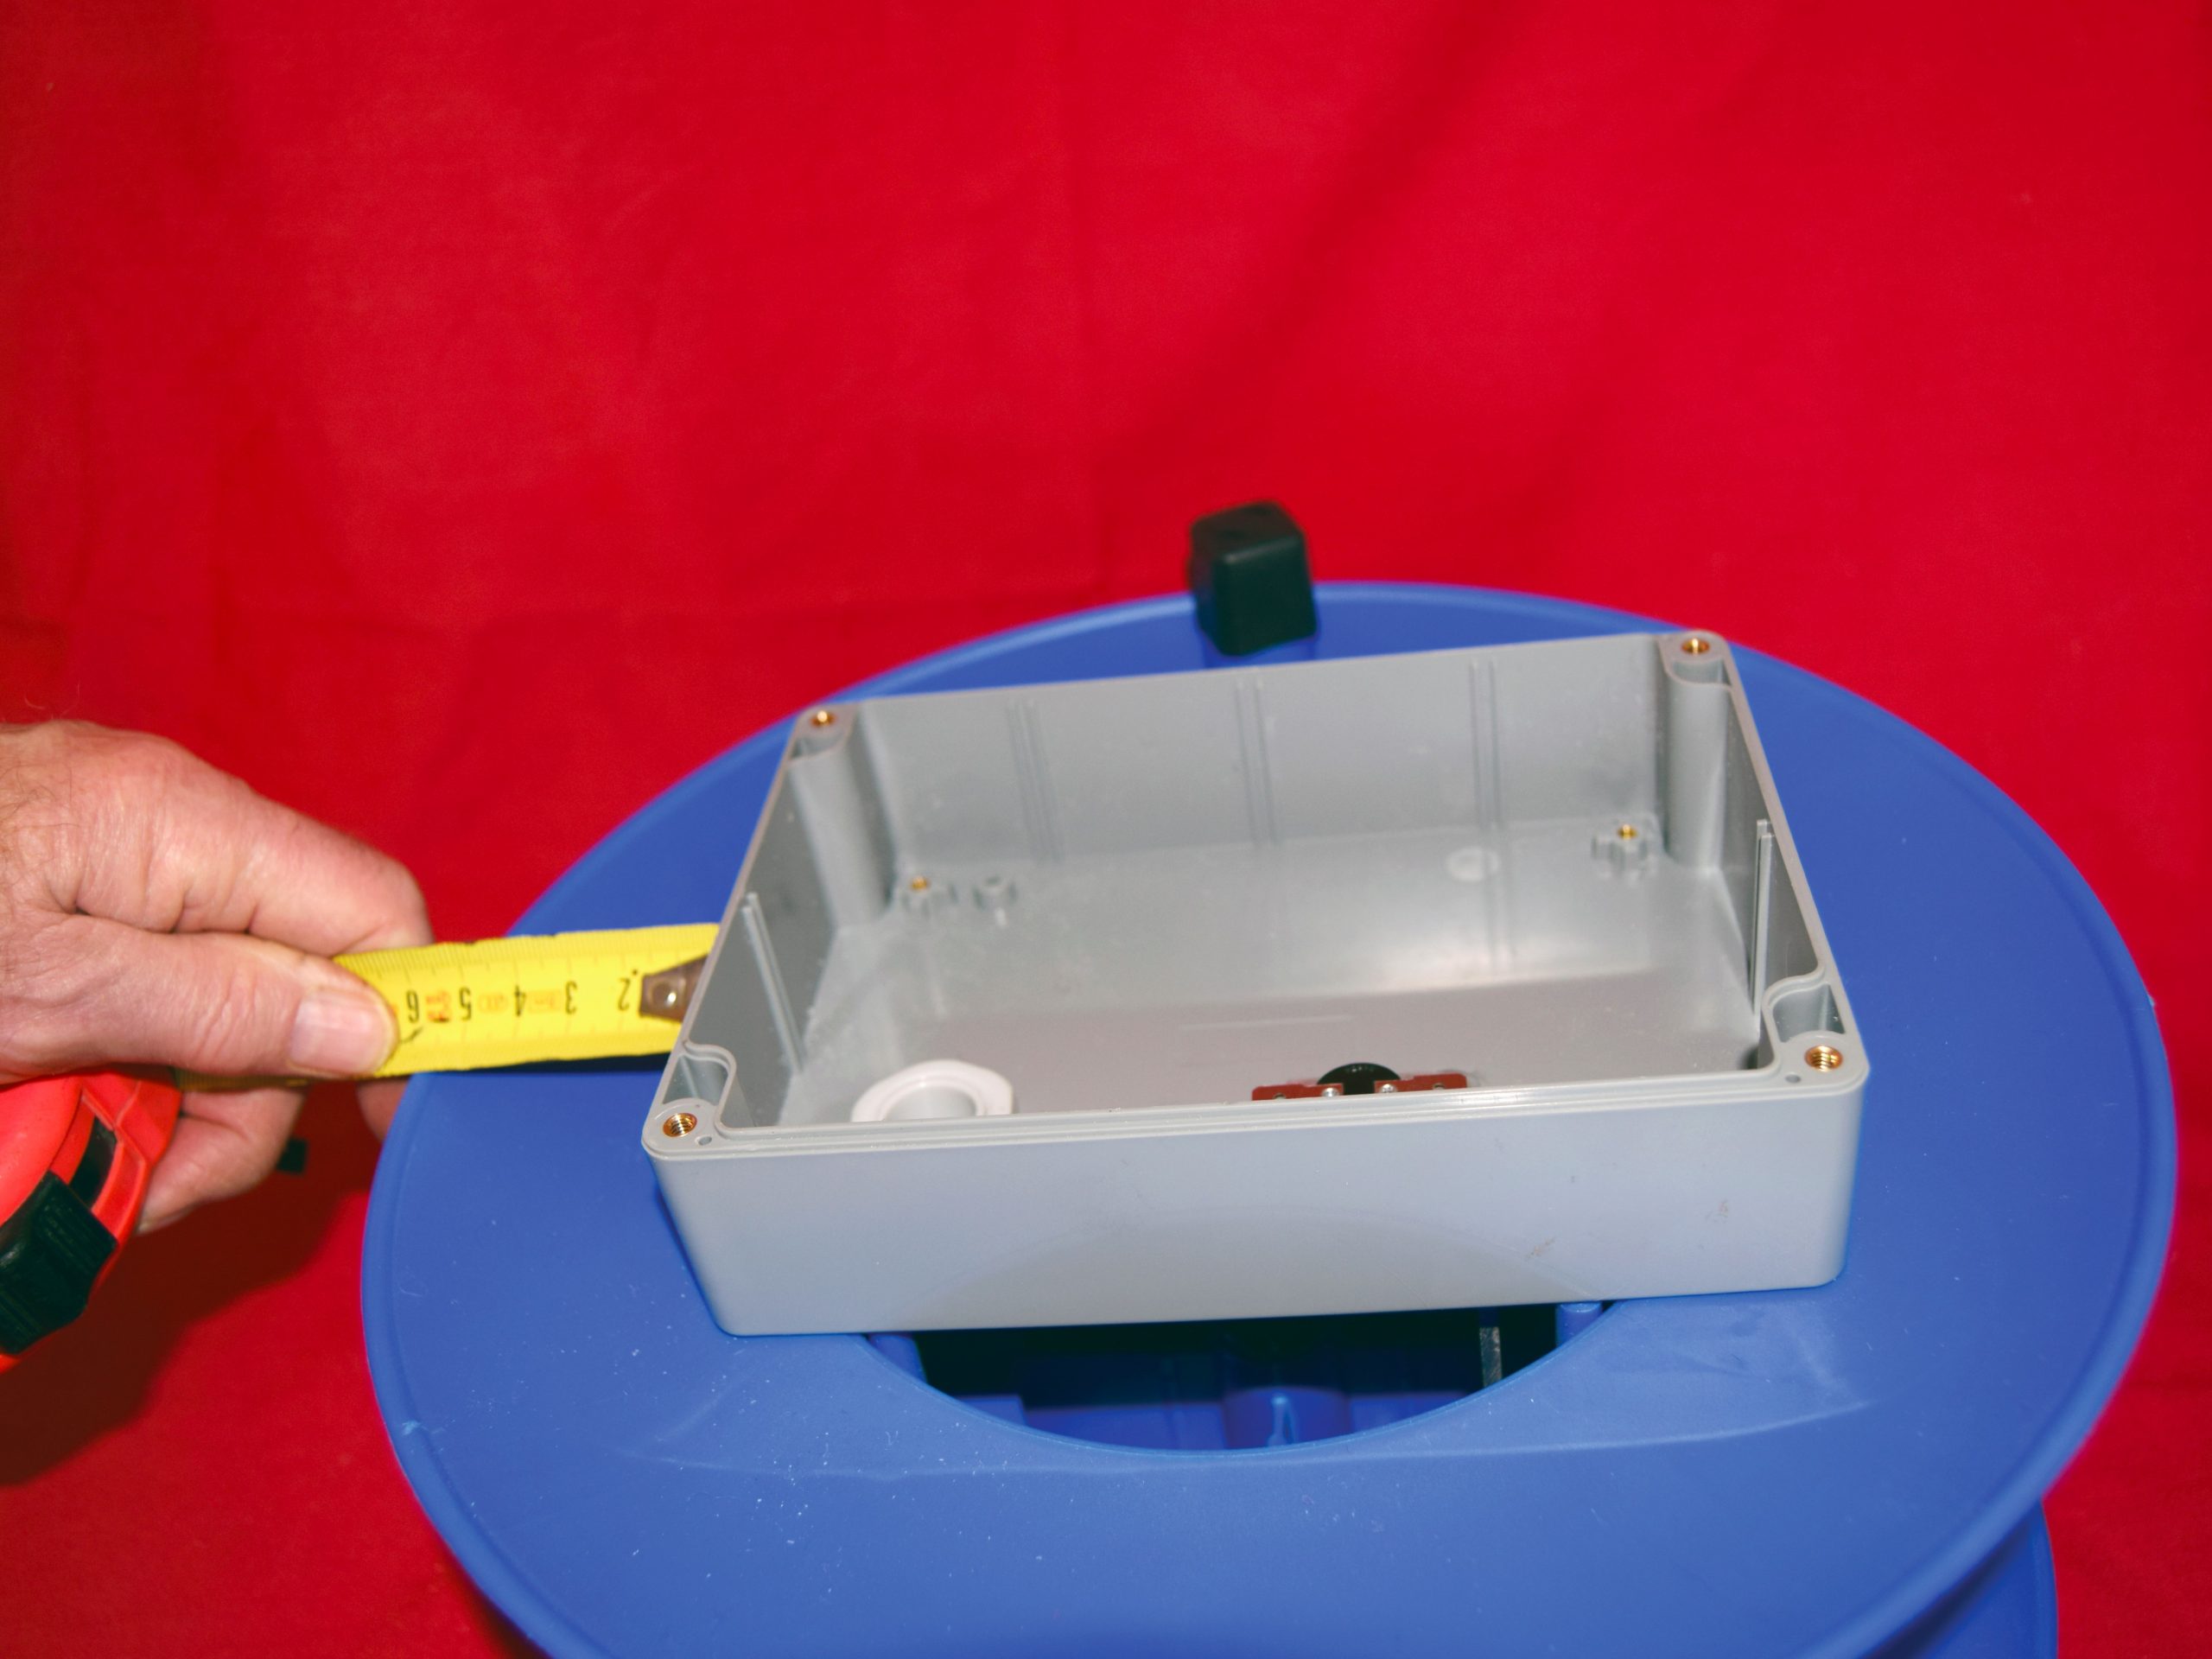
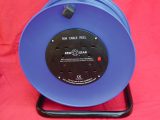
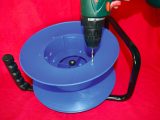
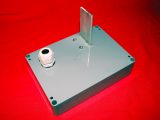
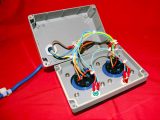
- Cable reel with four-way socket outlet. This must be big enough, once the socket panel has been removed, to accommodate the enclosure (listed below) straddled across the centre aperture left by the removed socket panel.
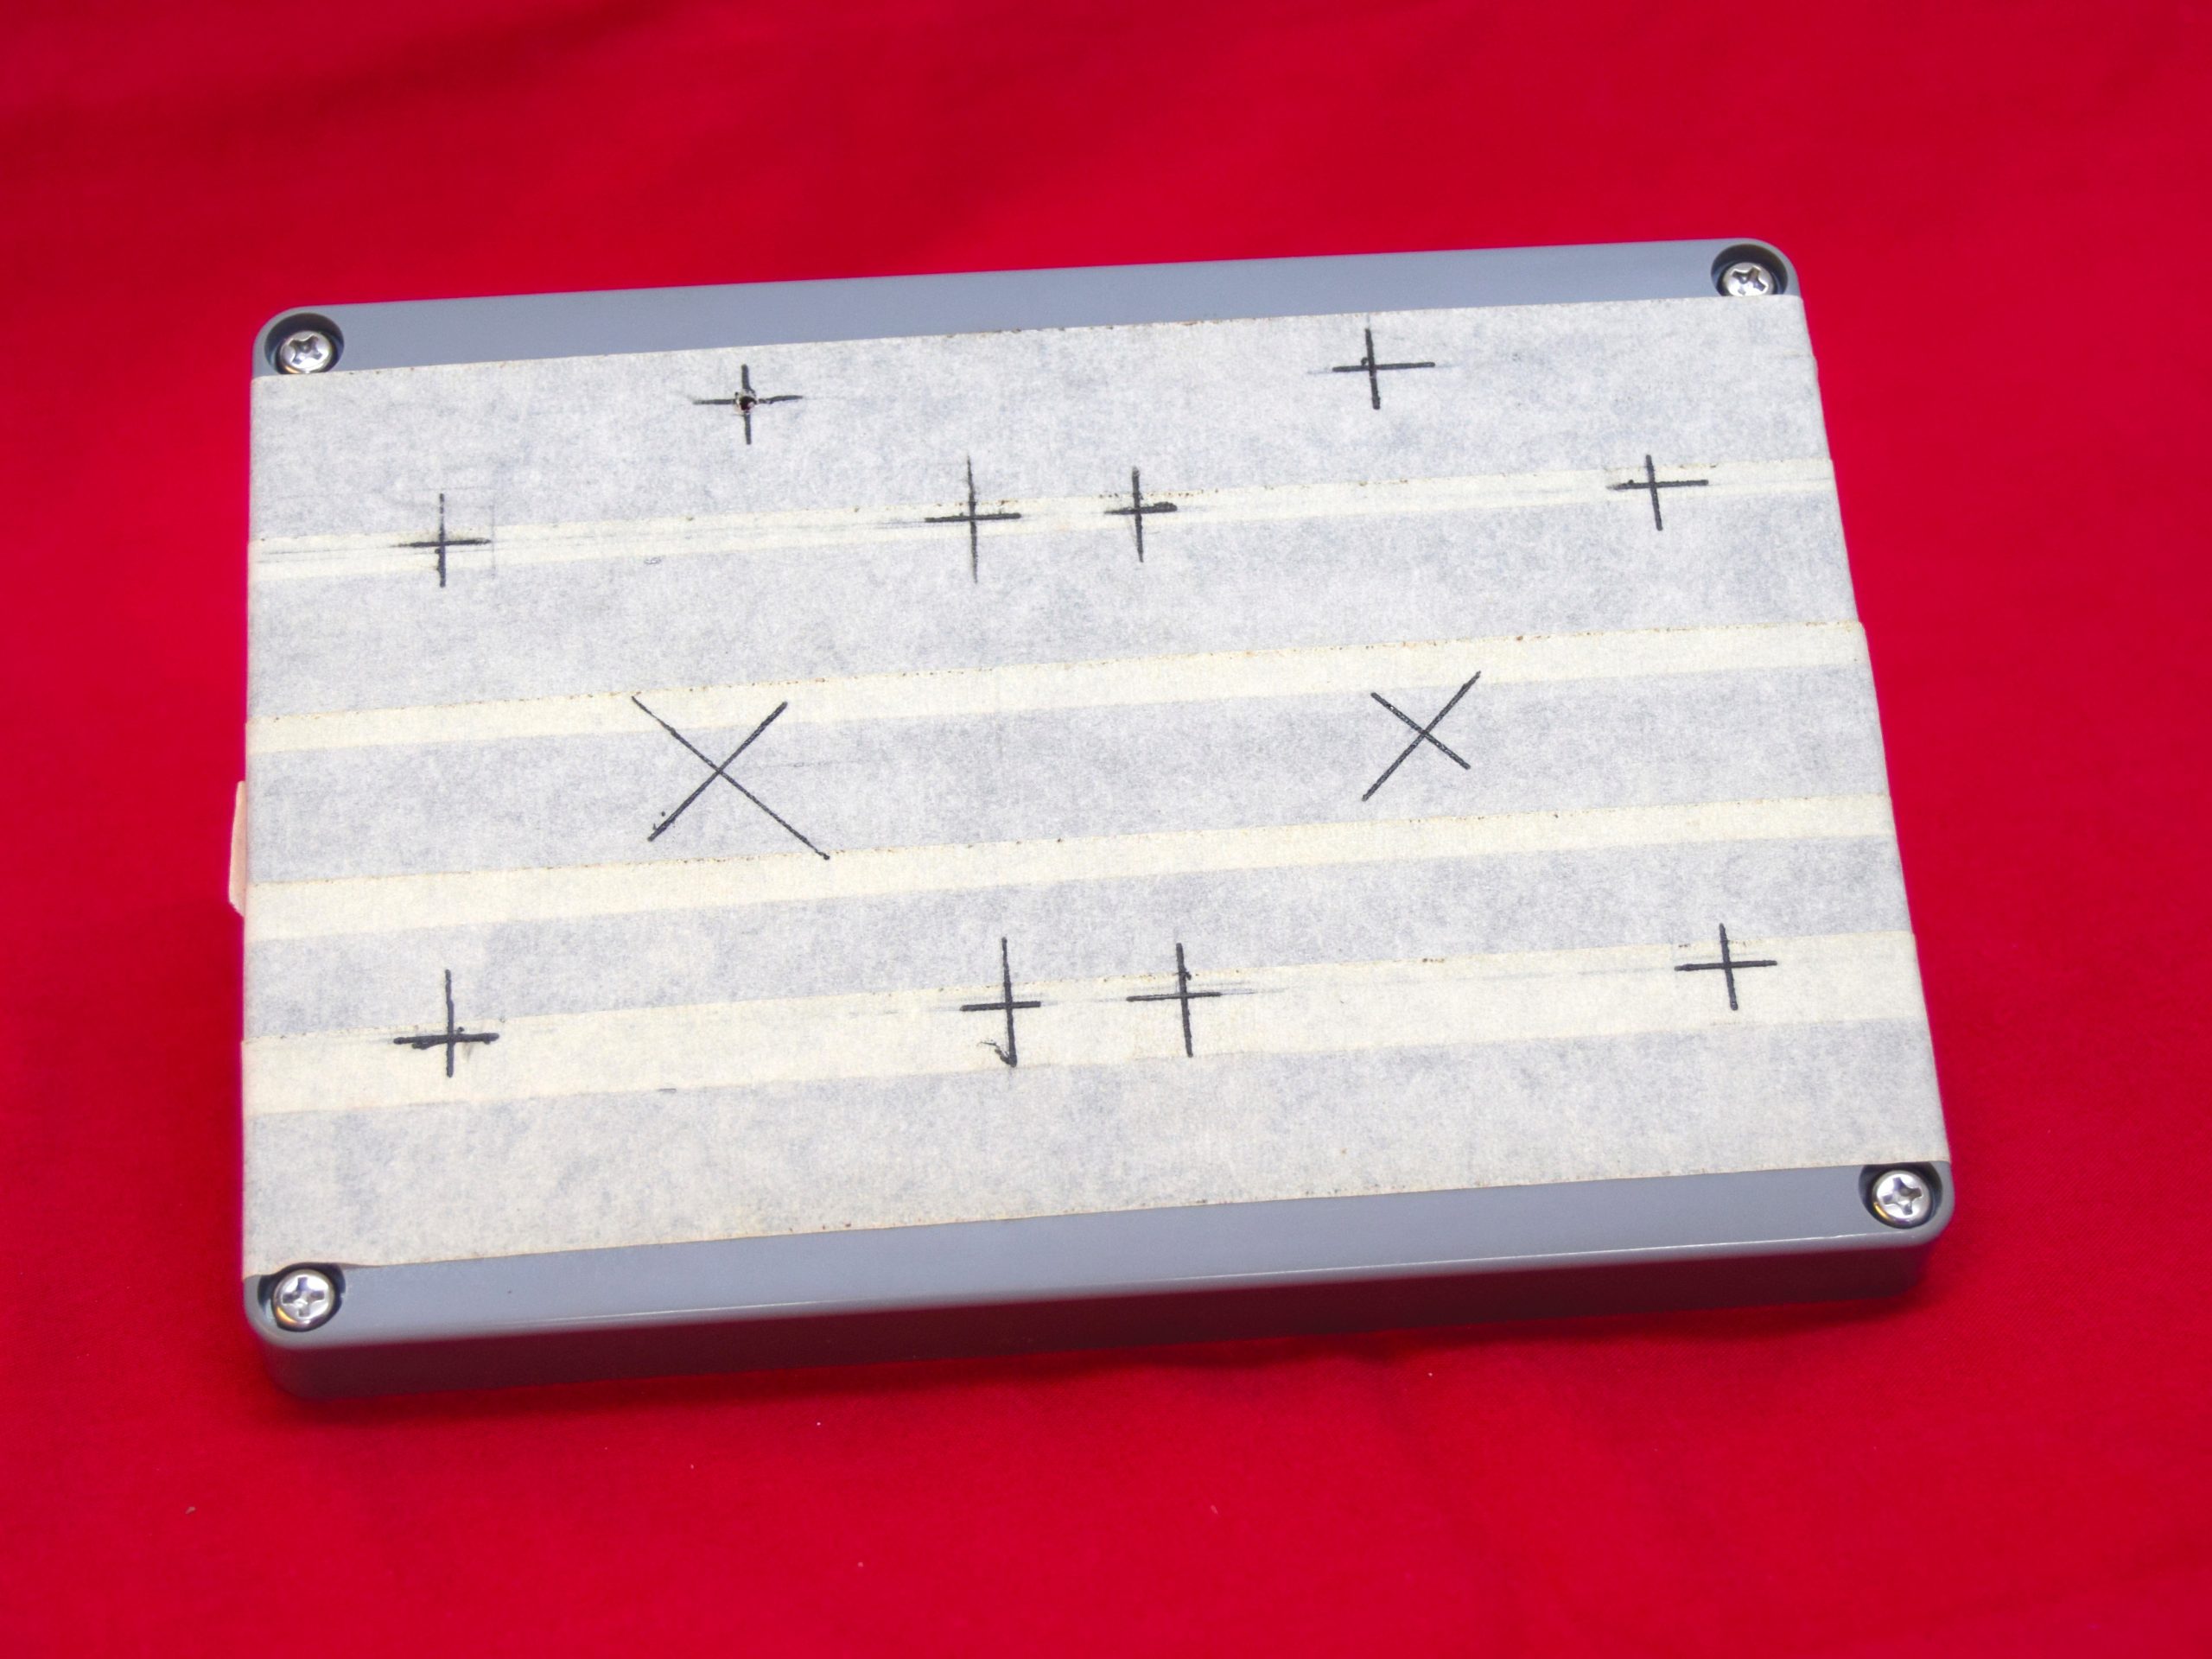
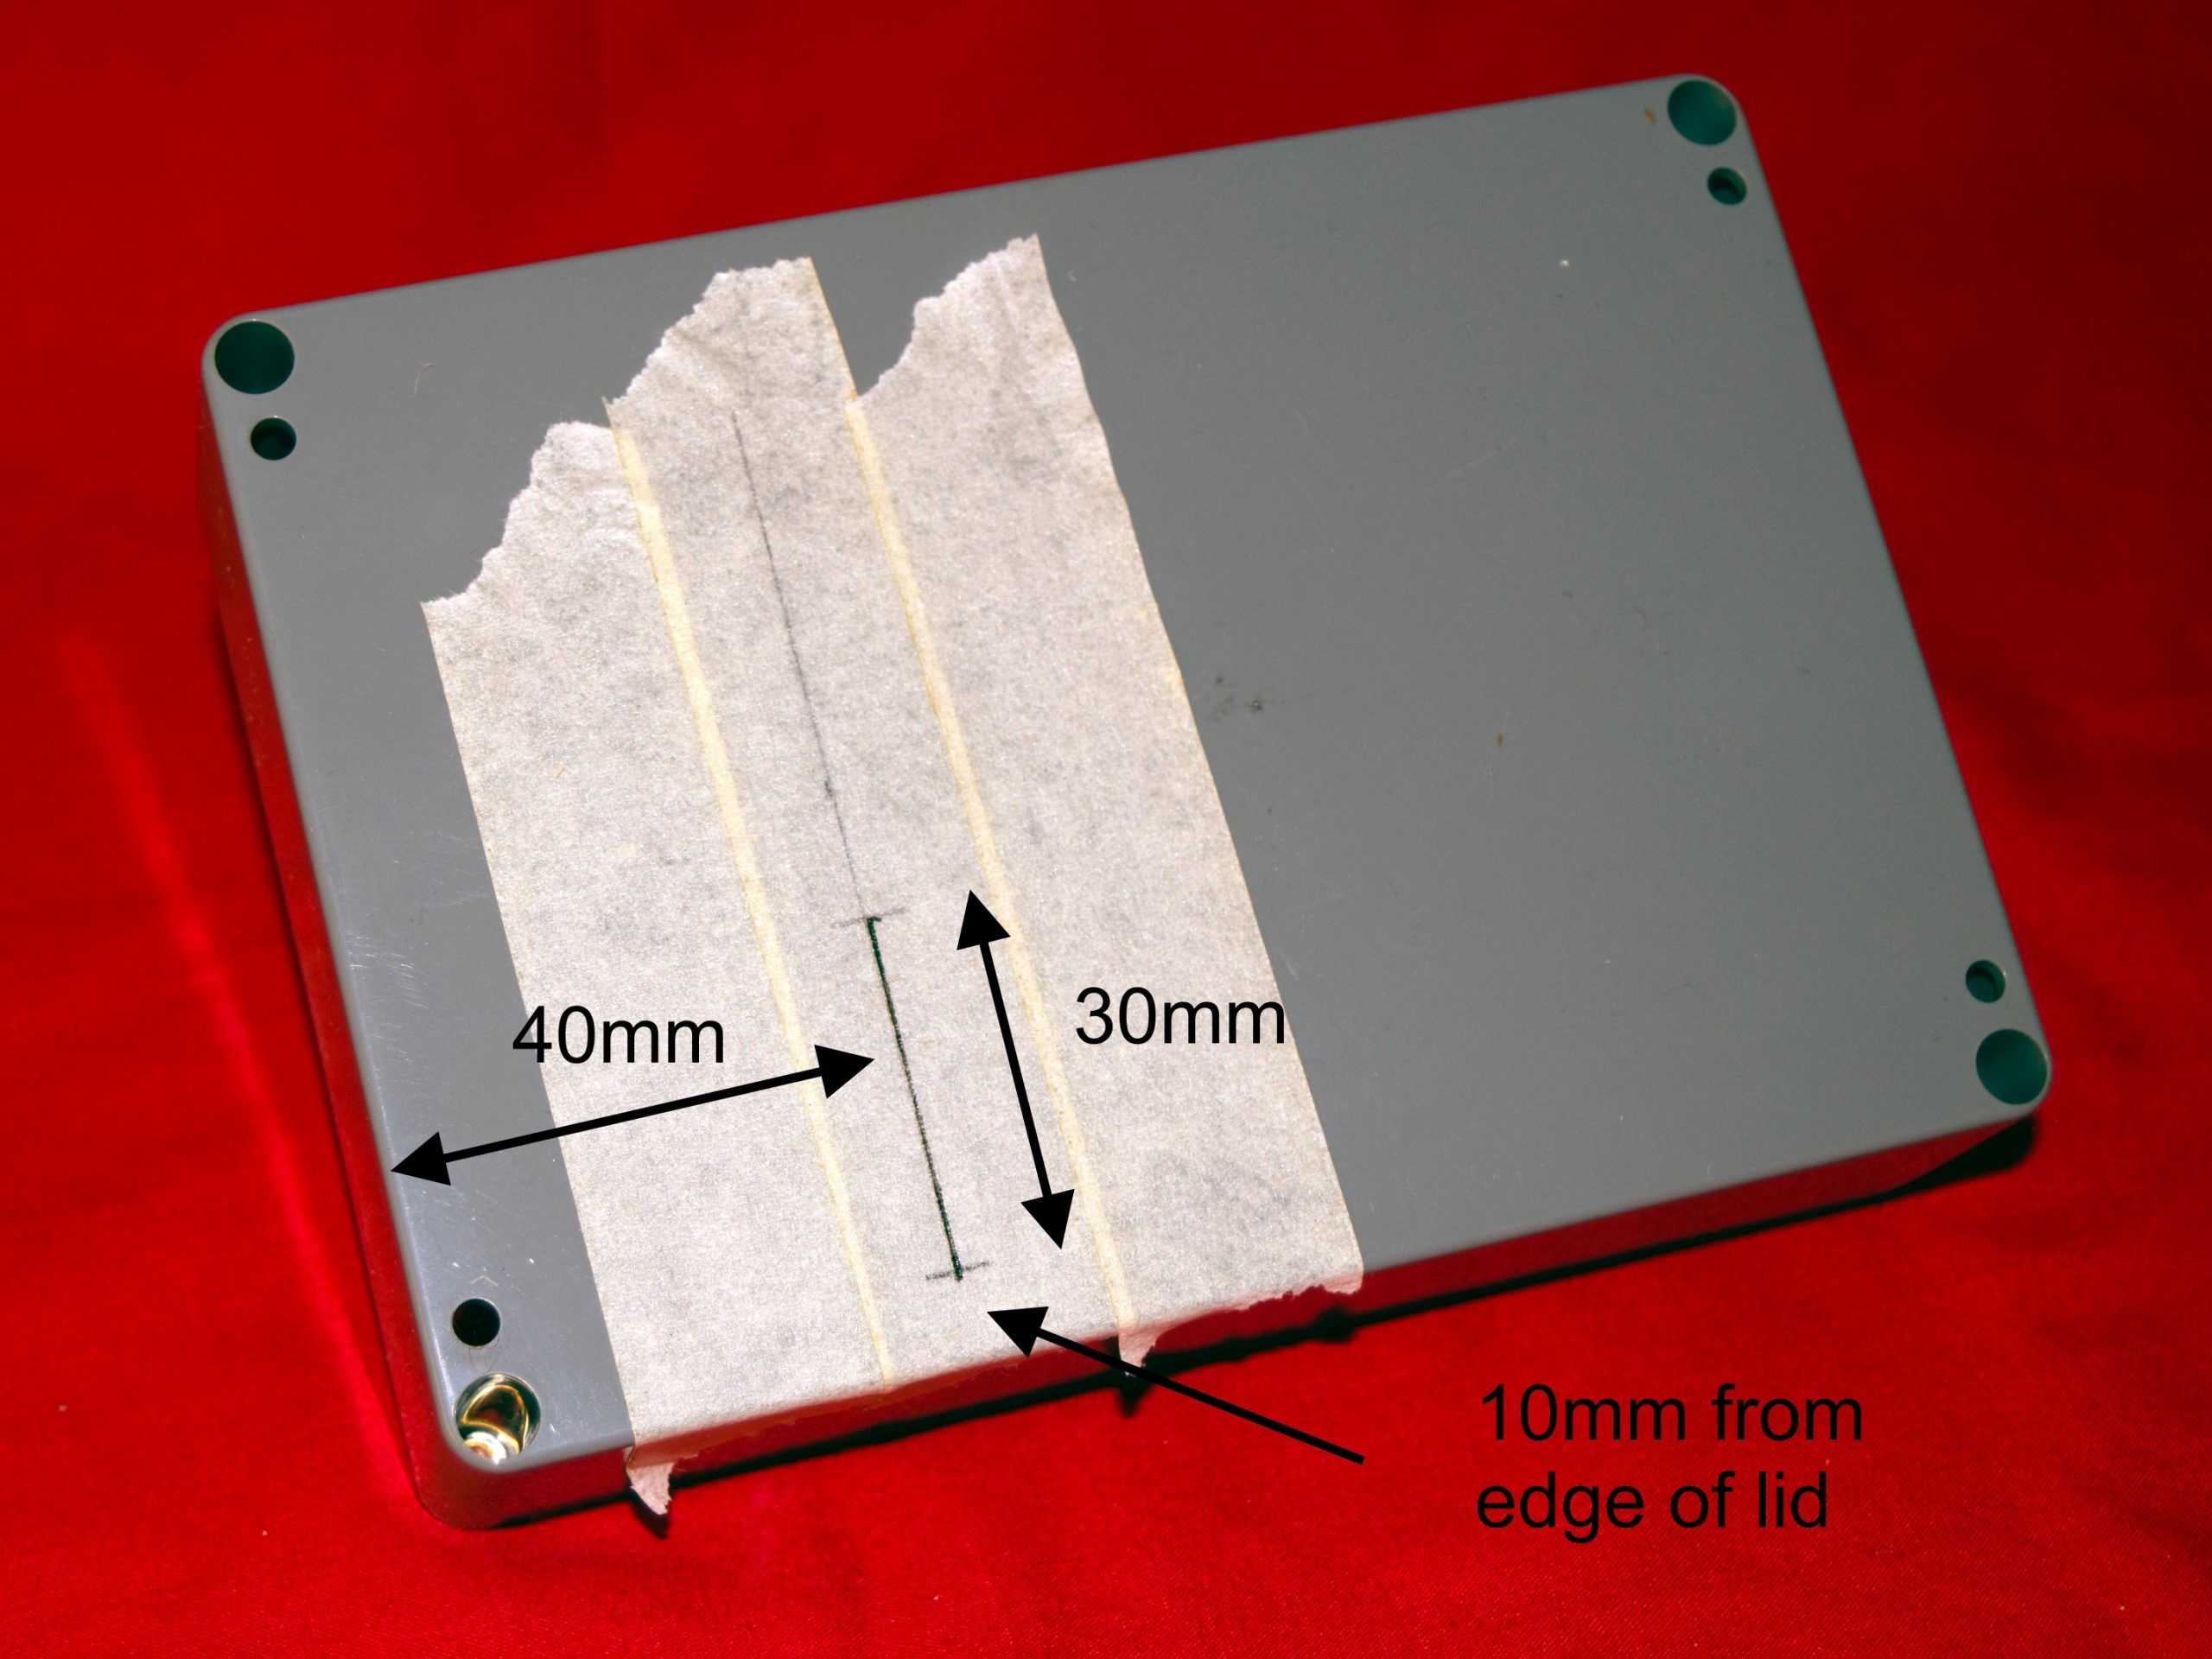
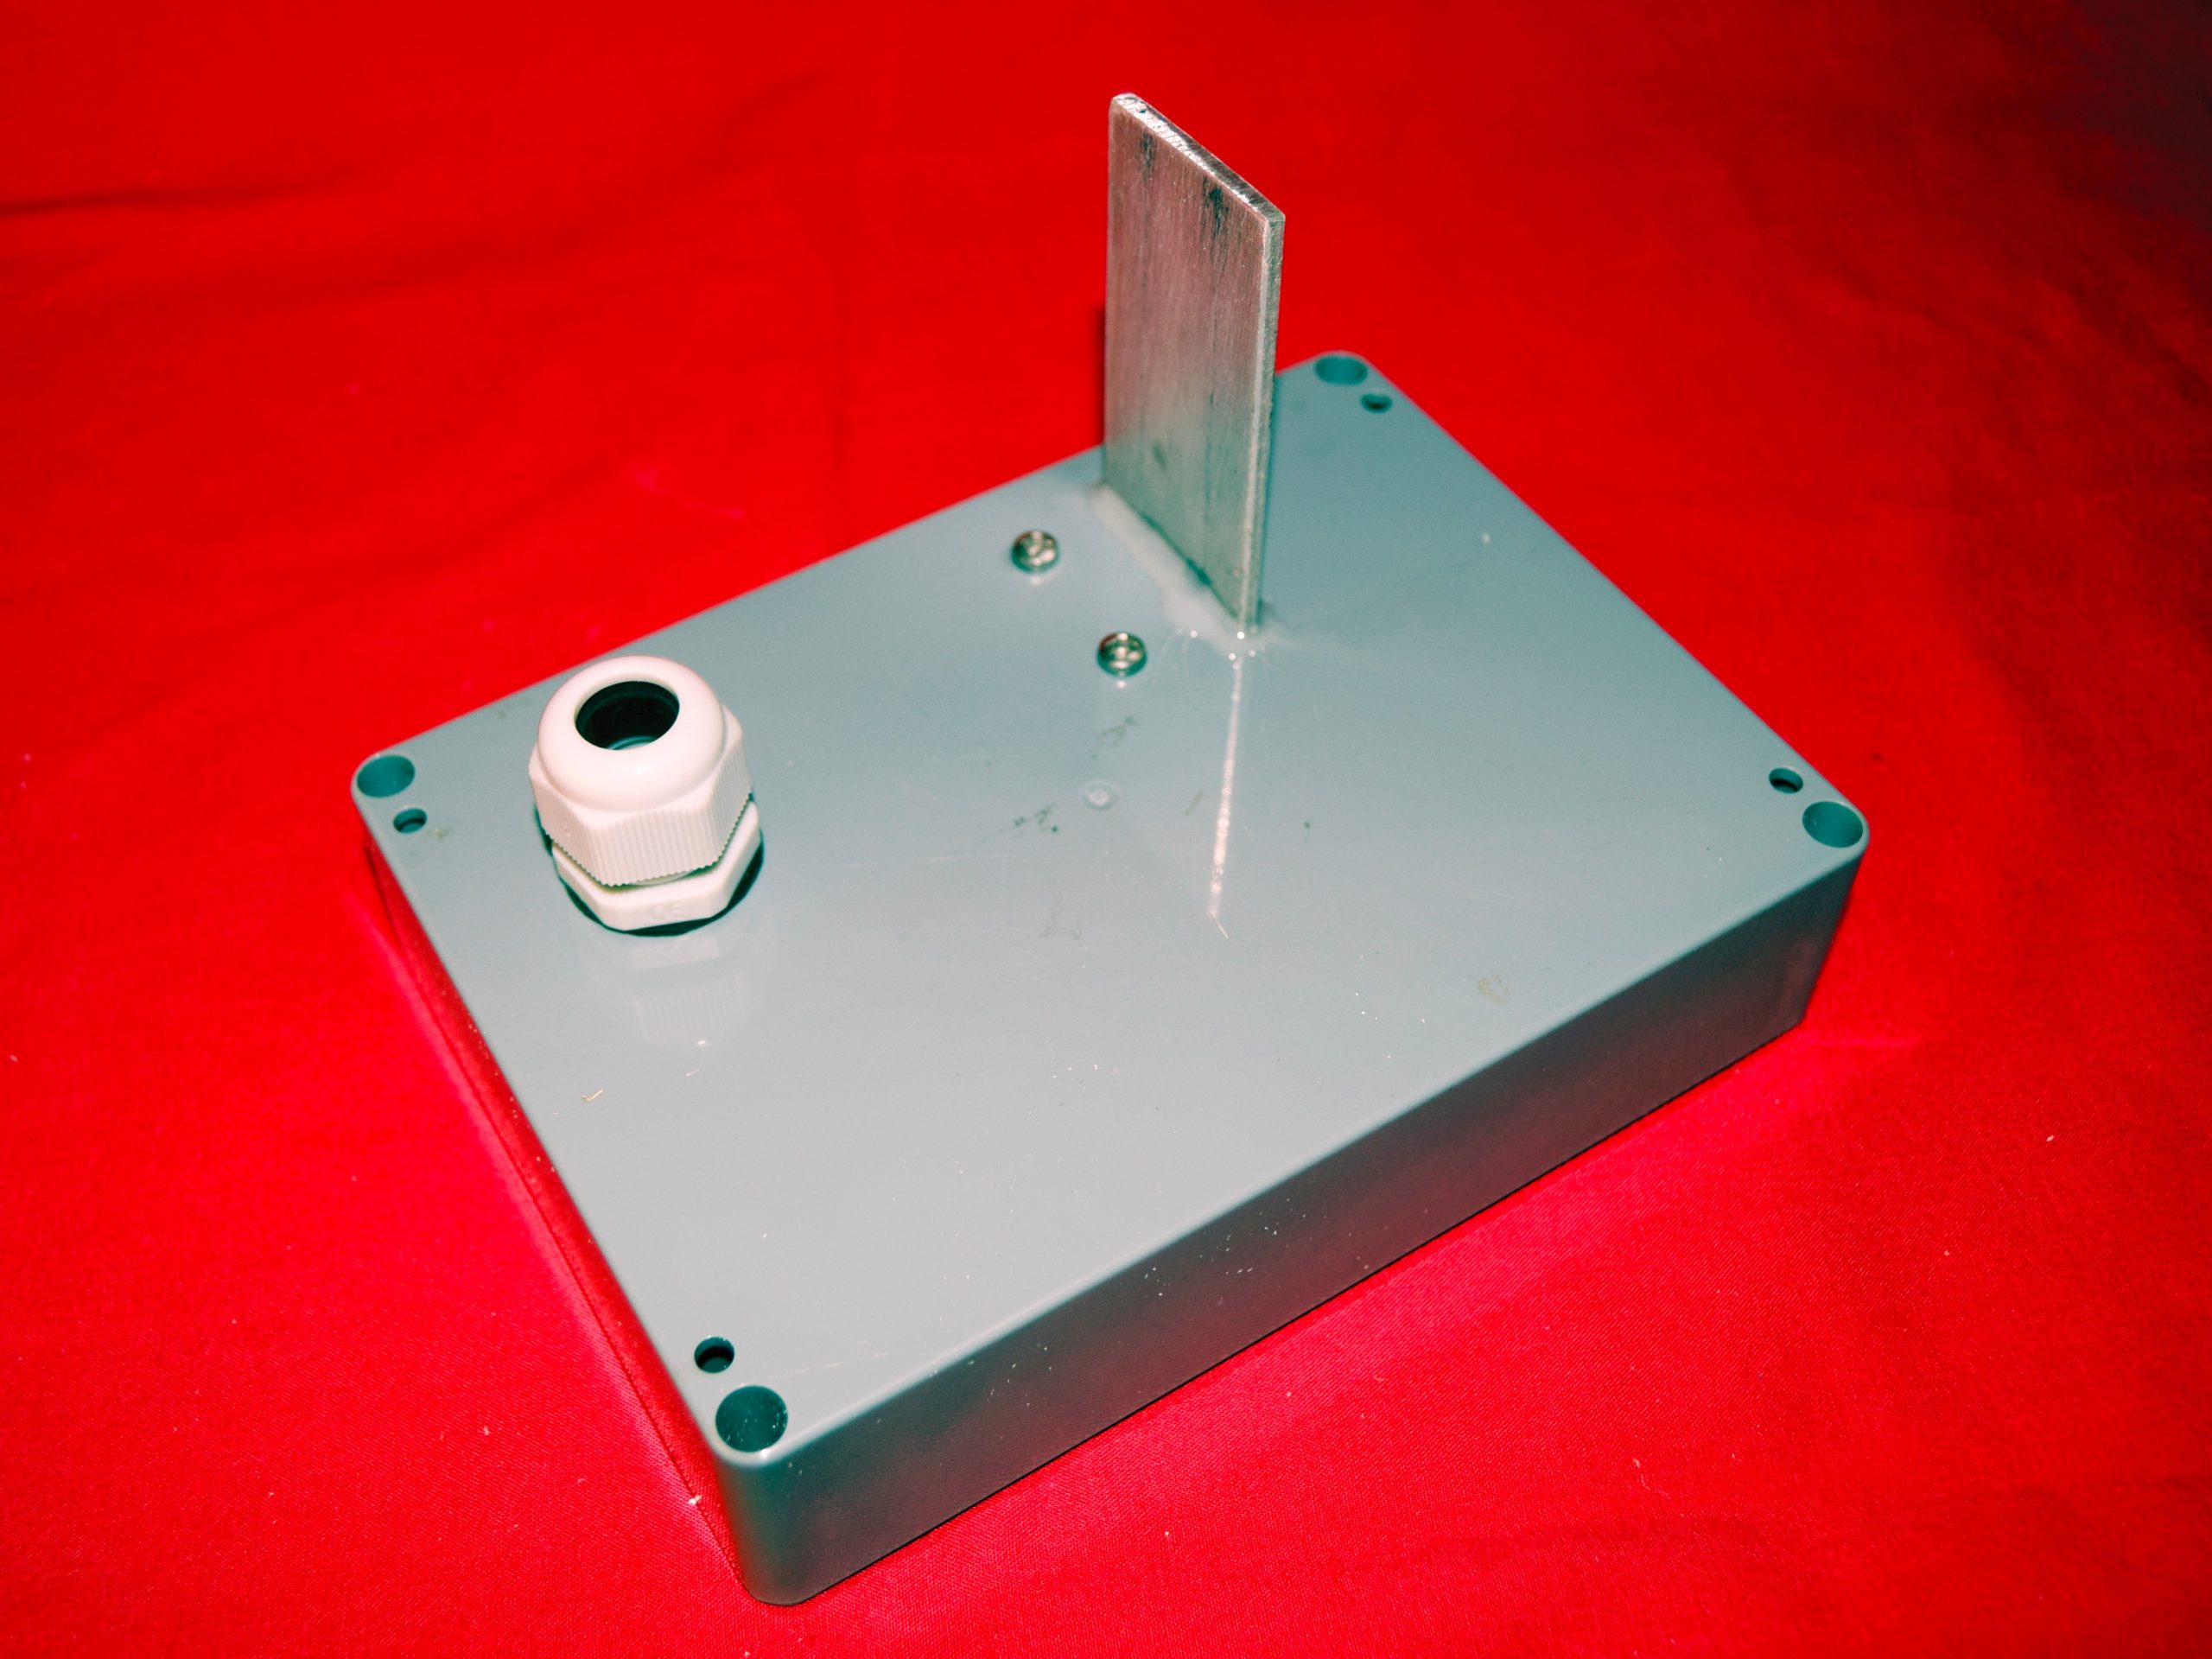
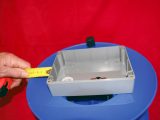
- Enclosure measuring 170mm x 120mm x 55mm. This must be to IP65 waterproof rating.
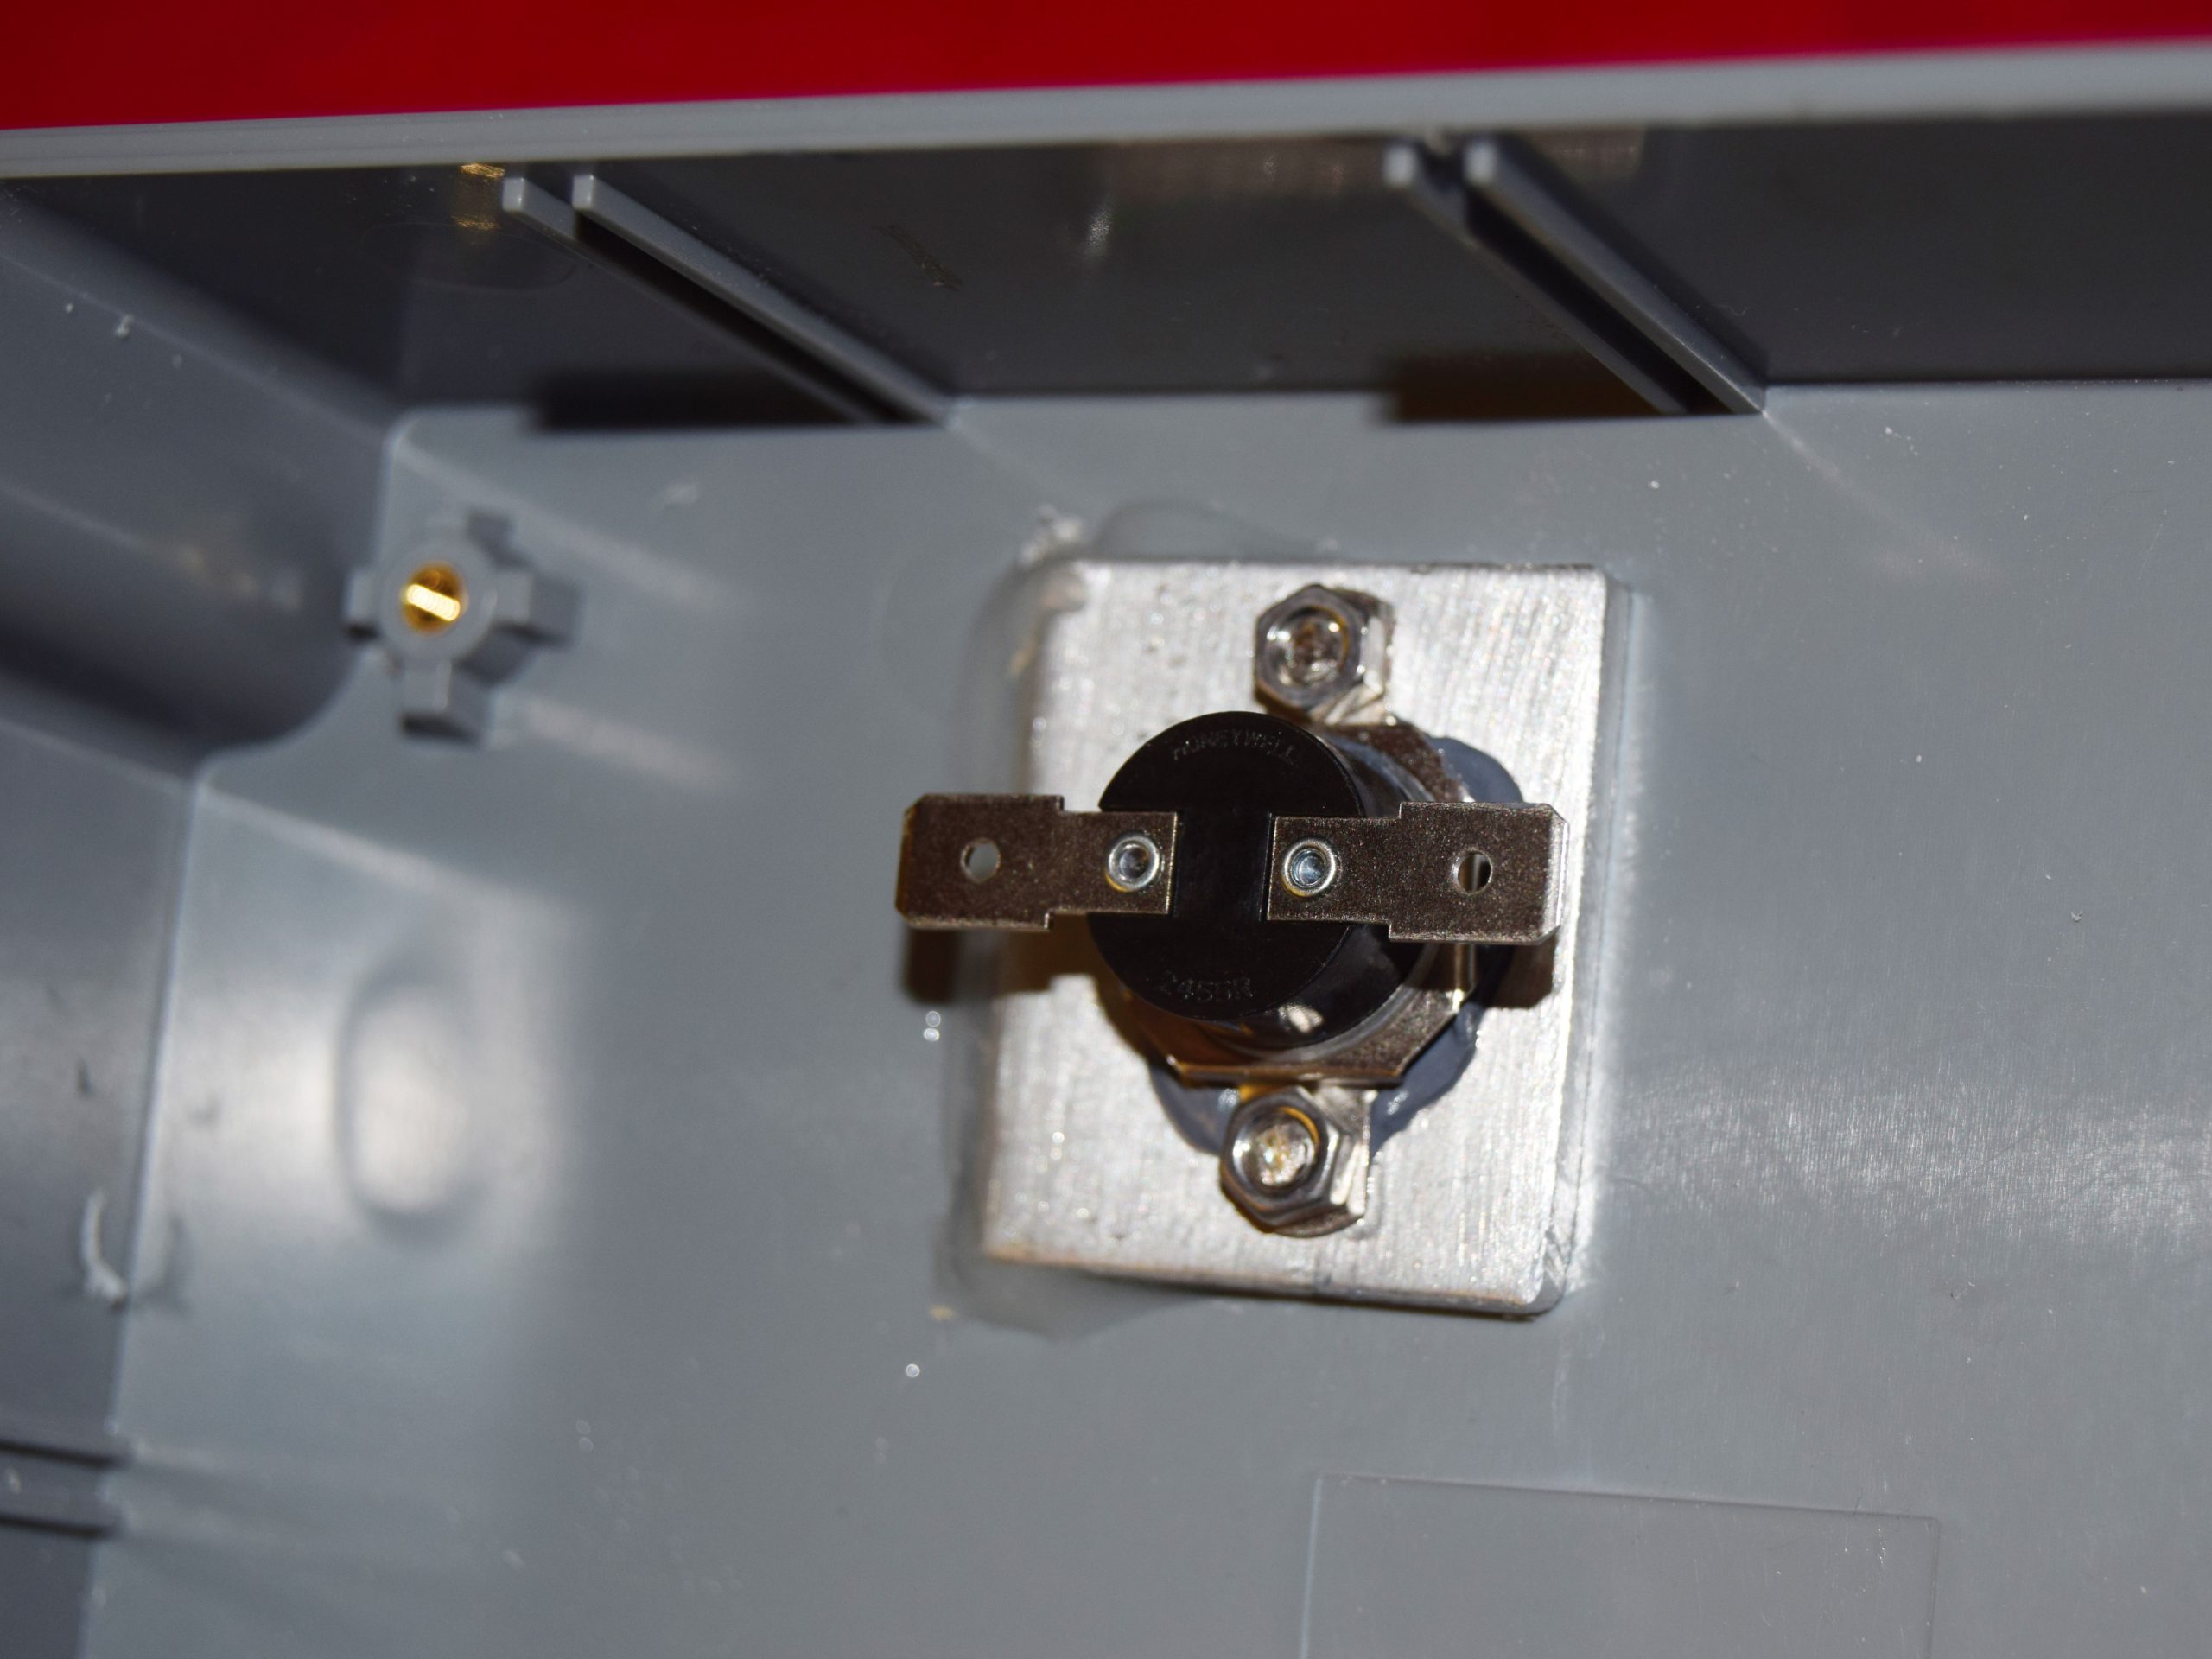
- Thermal switch, 15A NC (normally closed) with a temperature operating point of 50C. (The one chosen will automatically reset once it reaches 35C.)
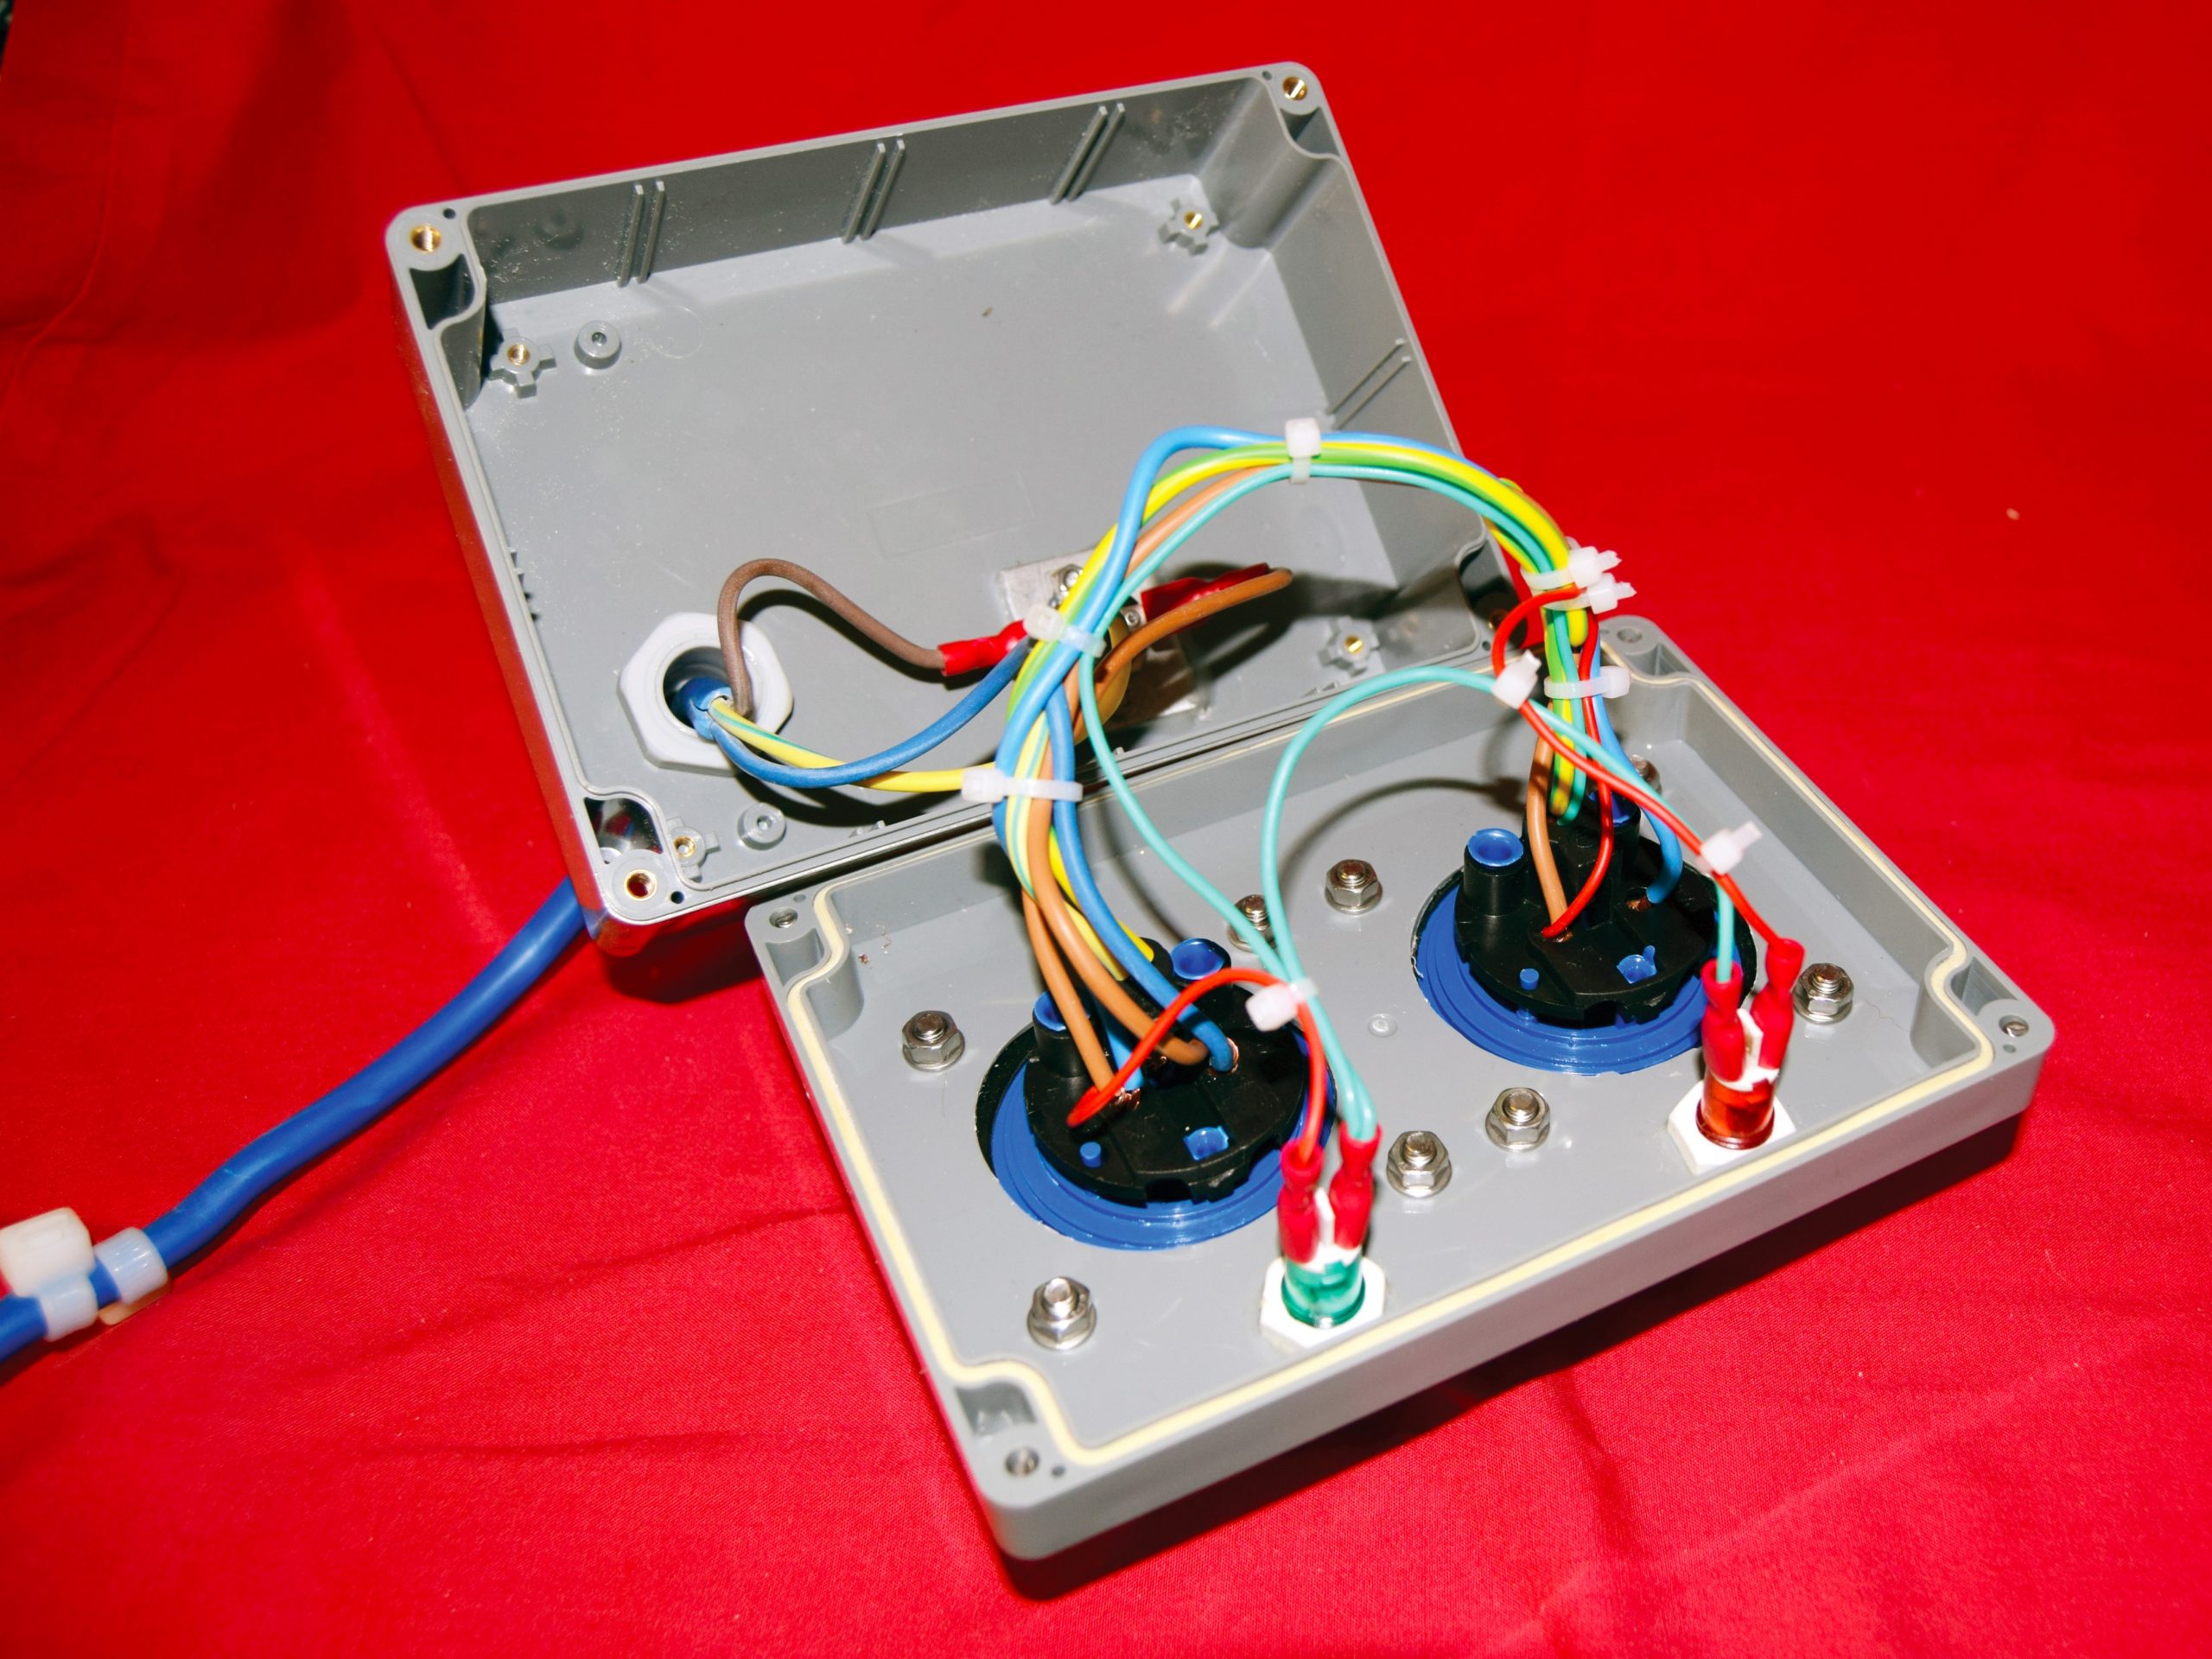
- Two 16A blue single-phase bulkhead-mounted straight entry sockets
- Two 16A blue single-phase free sockets
- 16A blue single-phase free plug
- Two neon indicators (230V AC), colours of your choice
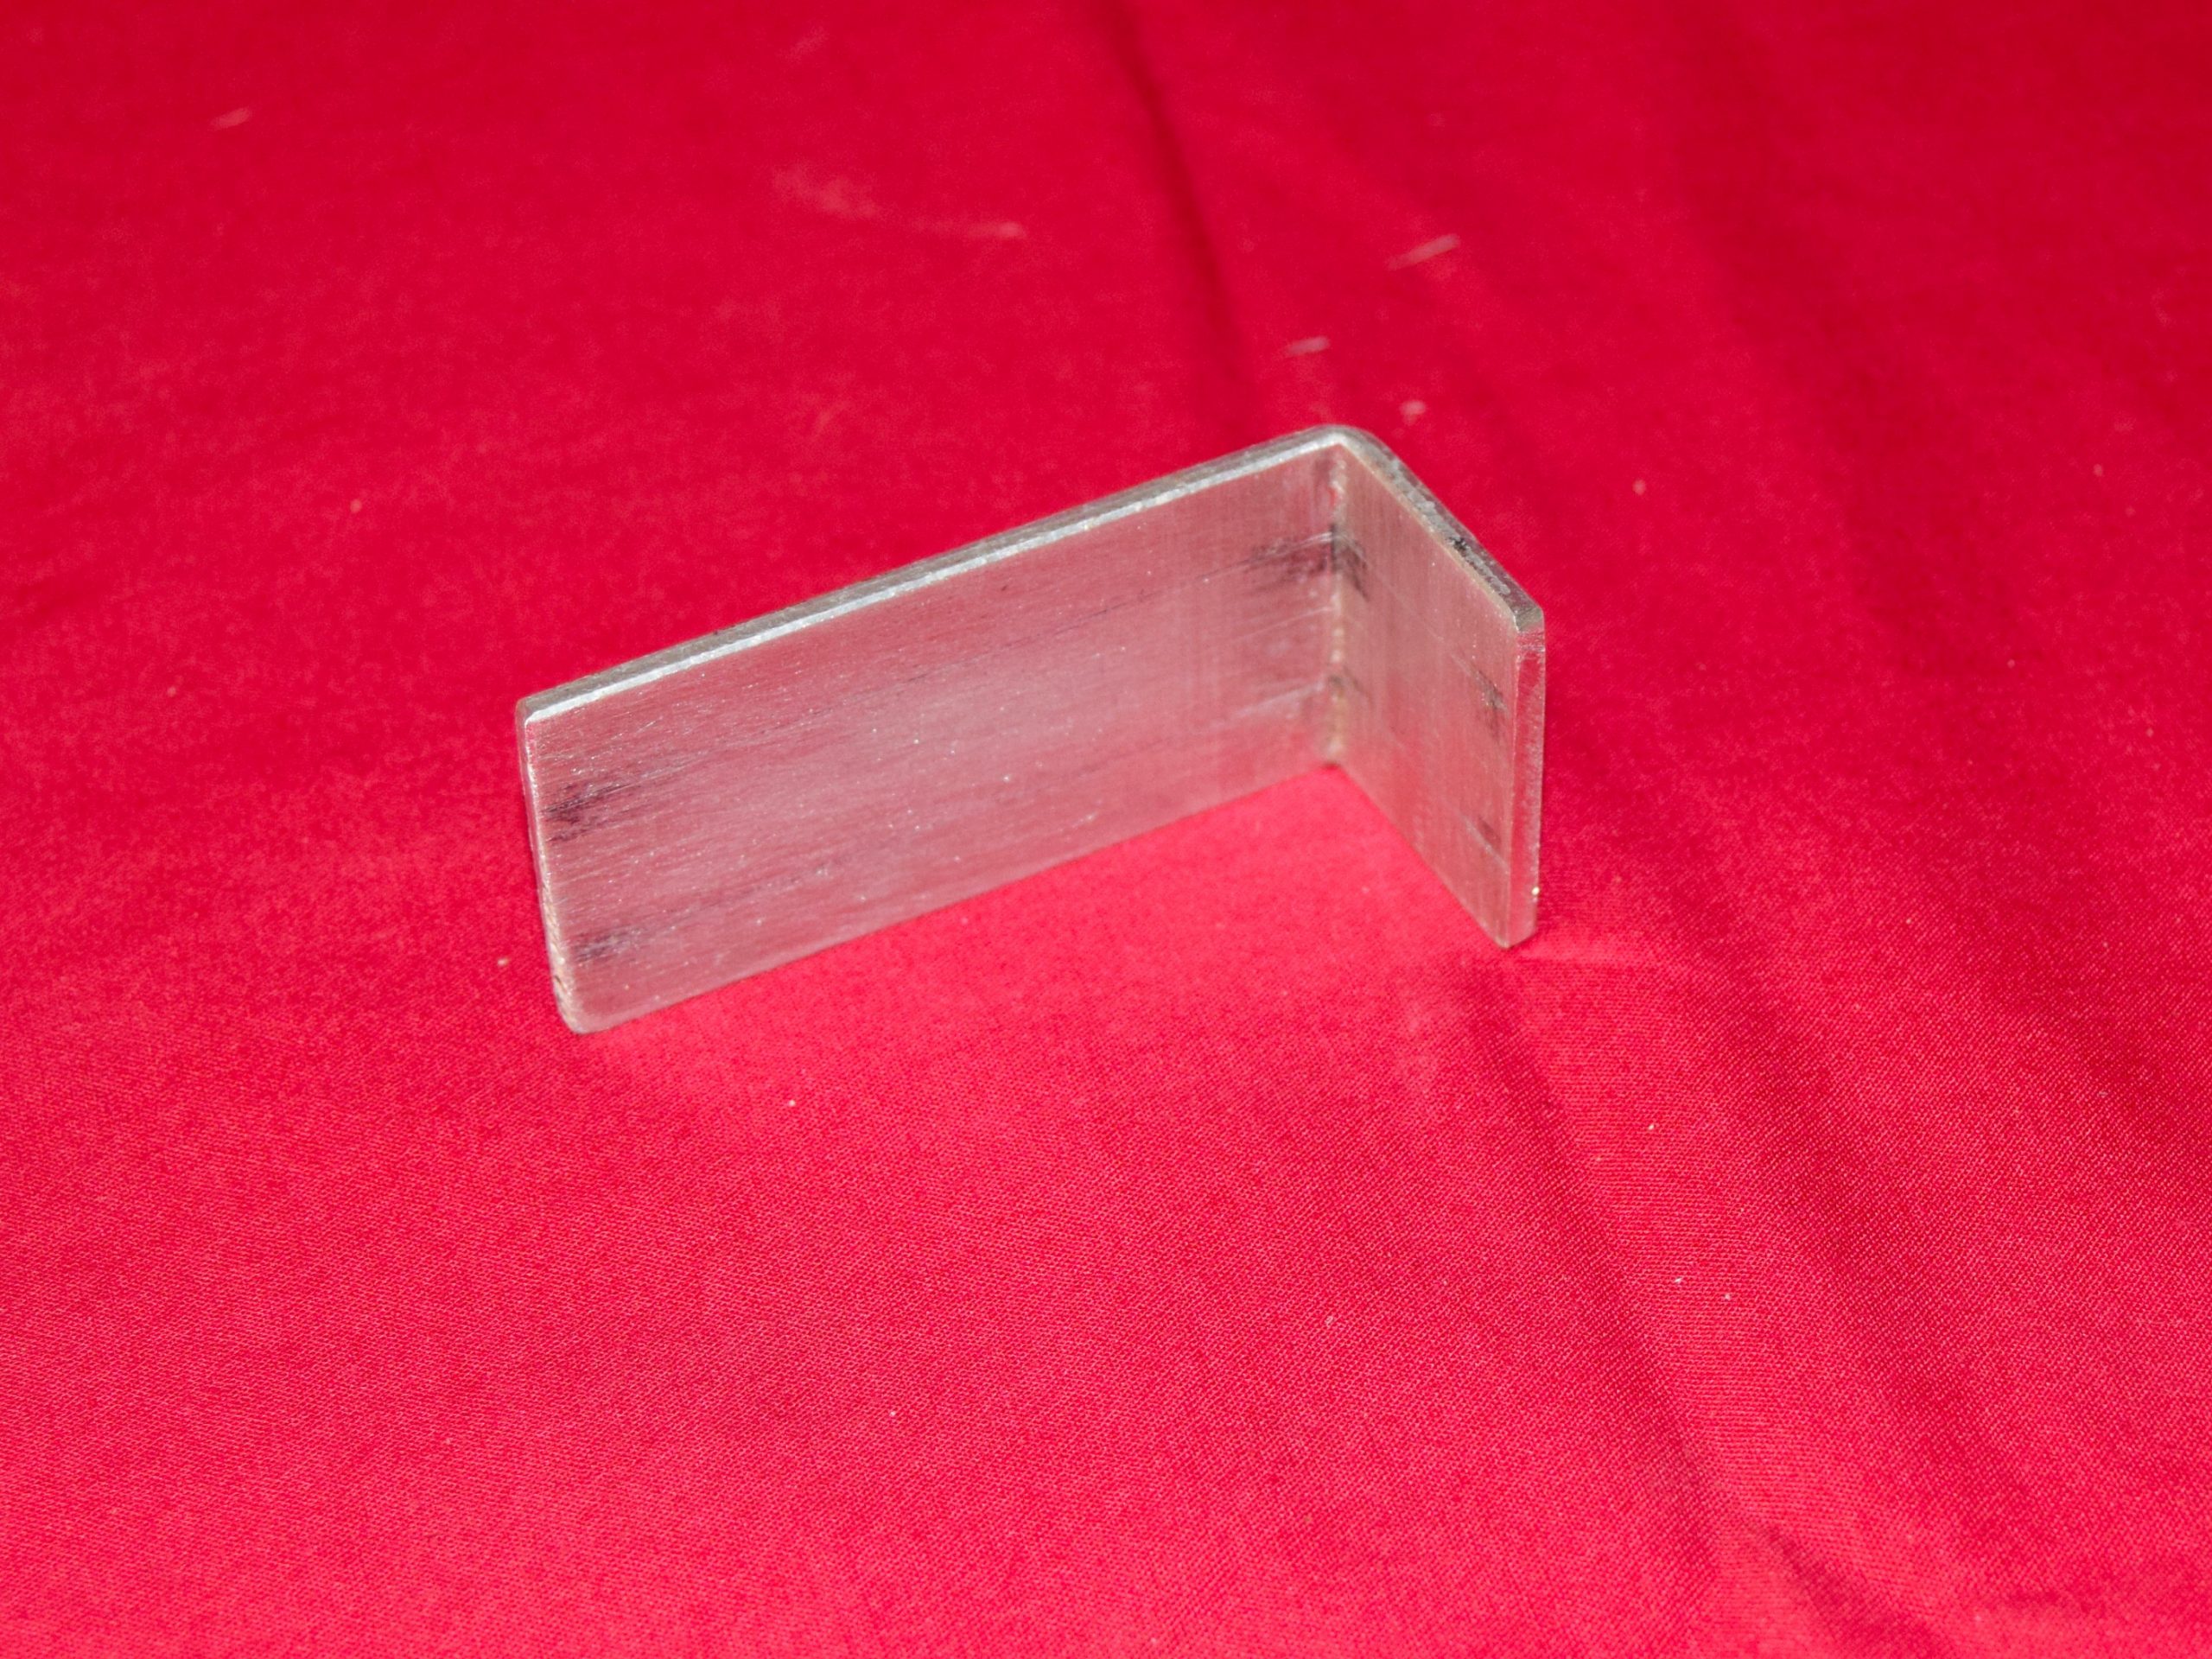
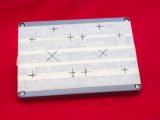
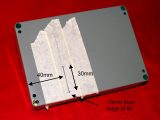
- Piece of scrap aluminium 3mm thick (or thereabouts)
- Cable gland to suit the diameter of the reel cable
- Heat transfer compound (for the thermal switch to aluminium L section interface)
- Silicone sealant
- Two-part epoxy resin (Araldite or similar)
- Variety of M3.5, M4 and M5 nuts and screws, to suit requirements
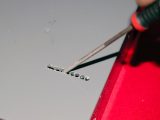
- 1/4” and 3/16” crimp connectors (the 3/16” crimps will not be needed if neon indicators with flying leads are chosen)
Skill level
A rudimentary knowledge of mechanical and wiring techniques
Tools
- Basic tool kit
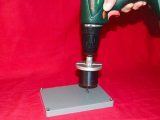
- Hand drill and bits
- Hacksaw
- Crimp tool
- Small round file
- Holecutter to suit 16A bulkhead sockets
- Bench vice (for bending the aluminium L section)
Time needed
Three hours
Notes
I sourced all of the required components from eBay suppliers, although other traders such as Maplin and Screwfix are alternatives.
I chose a 50m cable reel because, in my experience, some hook-ups can be quite remote, however, a 25m reel works just as well and the procedure is the same for both lengths of cable.
The interface lead is made from a piece of the main reel, the length cut according to a comfortable distance between the cable reel and the 16A input plug on the ’van.
Wiring for this and the hook-up lead plug should be self-explanatory – live to live, neutral to neutral and earth to earth, as marked on the free plugs and socket.
REMEMBER! Electricity is dangerous. All DIY procedures are undertaken at your own risk.
The fact that you can disconnect the interface cable turns the reel into an easy-to-operate winch