


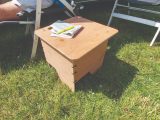


This unit required no more than four bits of plywood, a dozen cable ties and a screw. But it solved a dilemma. Turning the driver’s seat around to relax in the lounge was fine, but I wanted a platform the same height as the seat bases (360mm) on which I could sit a cushion, to achieve maximum lounging comfort.
It would also be used as an extra seat when necessary, and had to pack away into no space at all and cost nothing. The beast was fashioned using some off-cuts of plywood. And we always have lots of cable ties!
Drawing and design
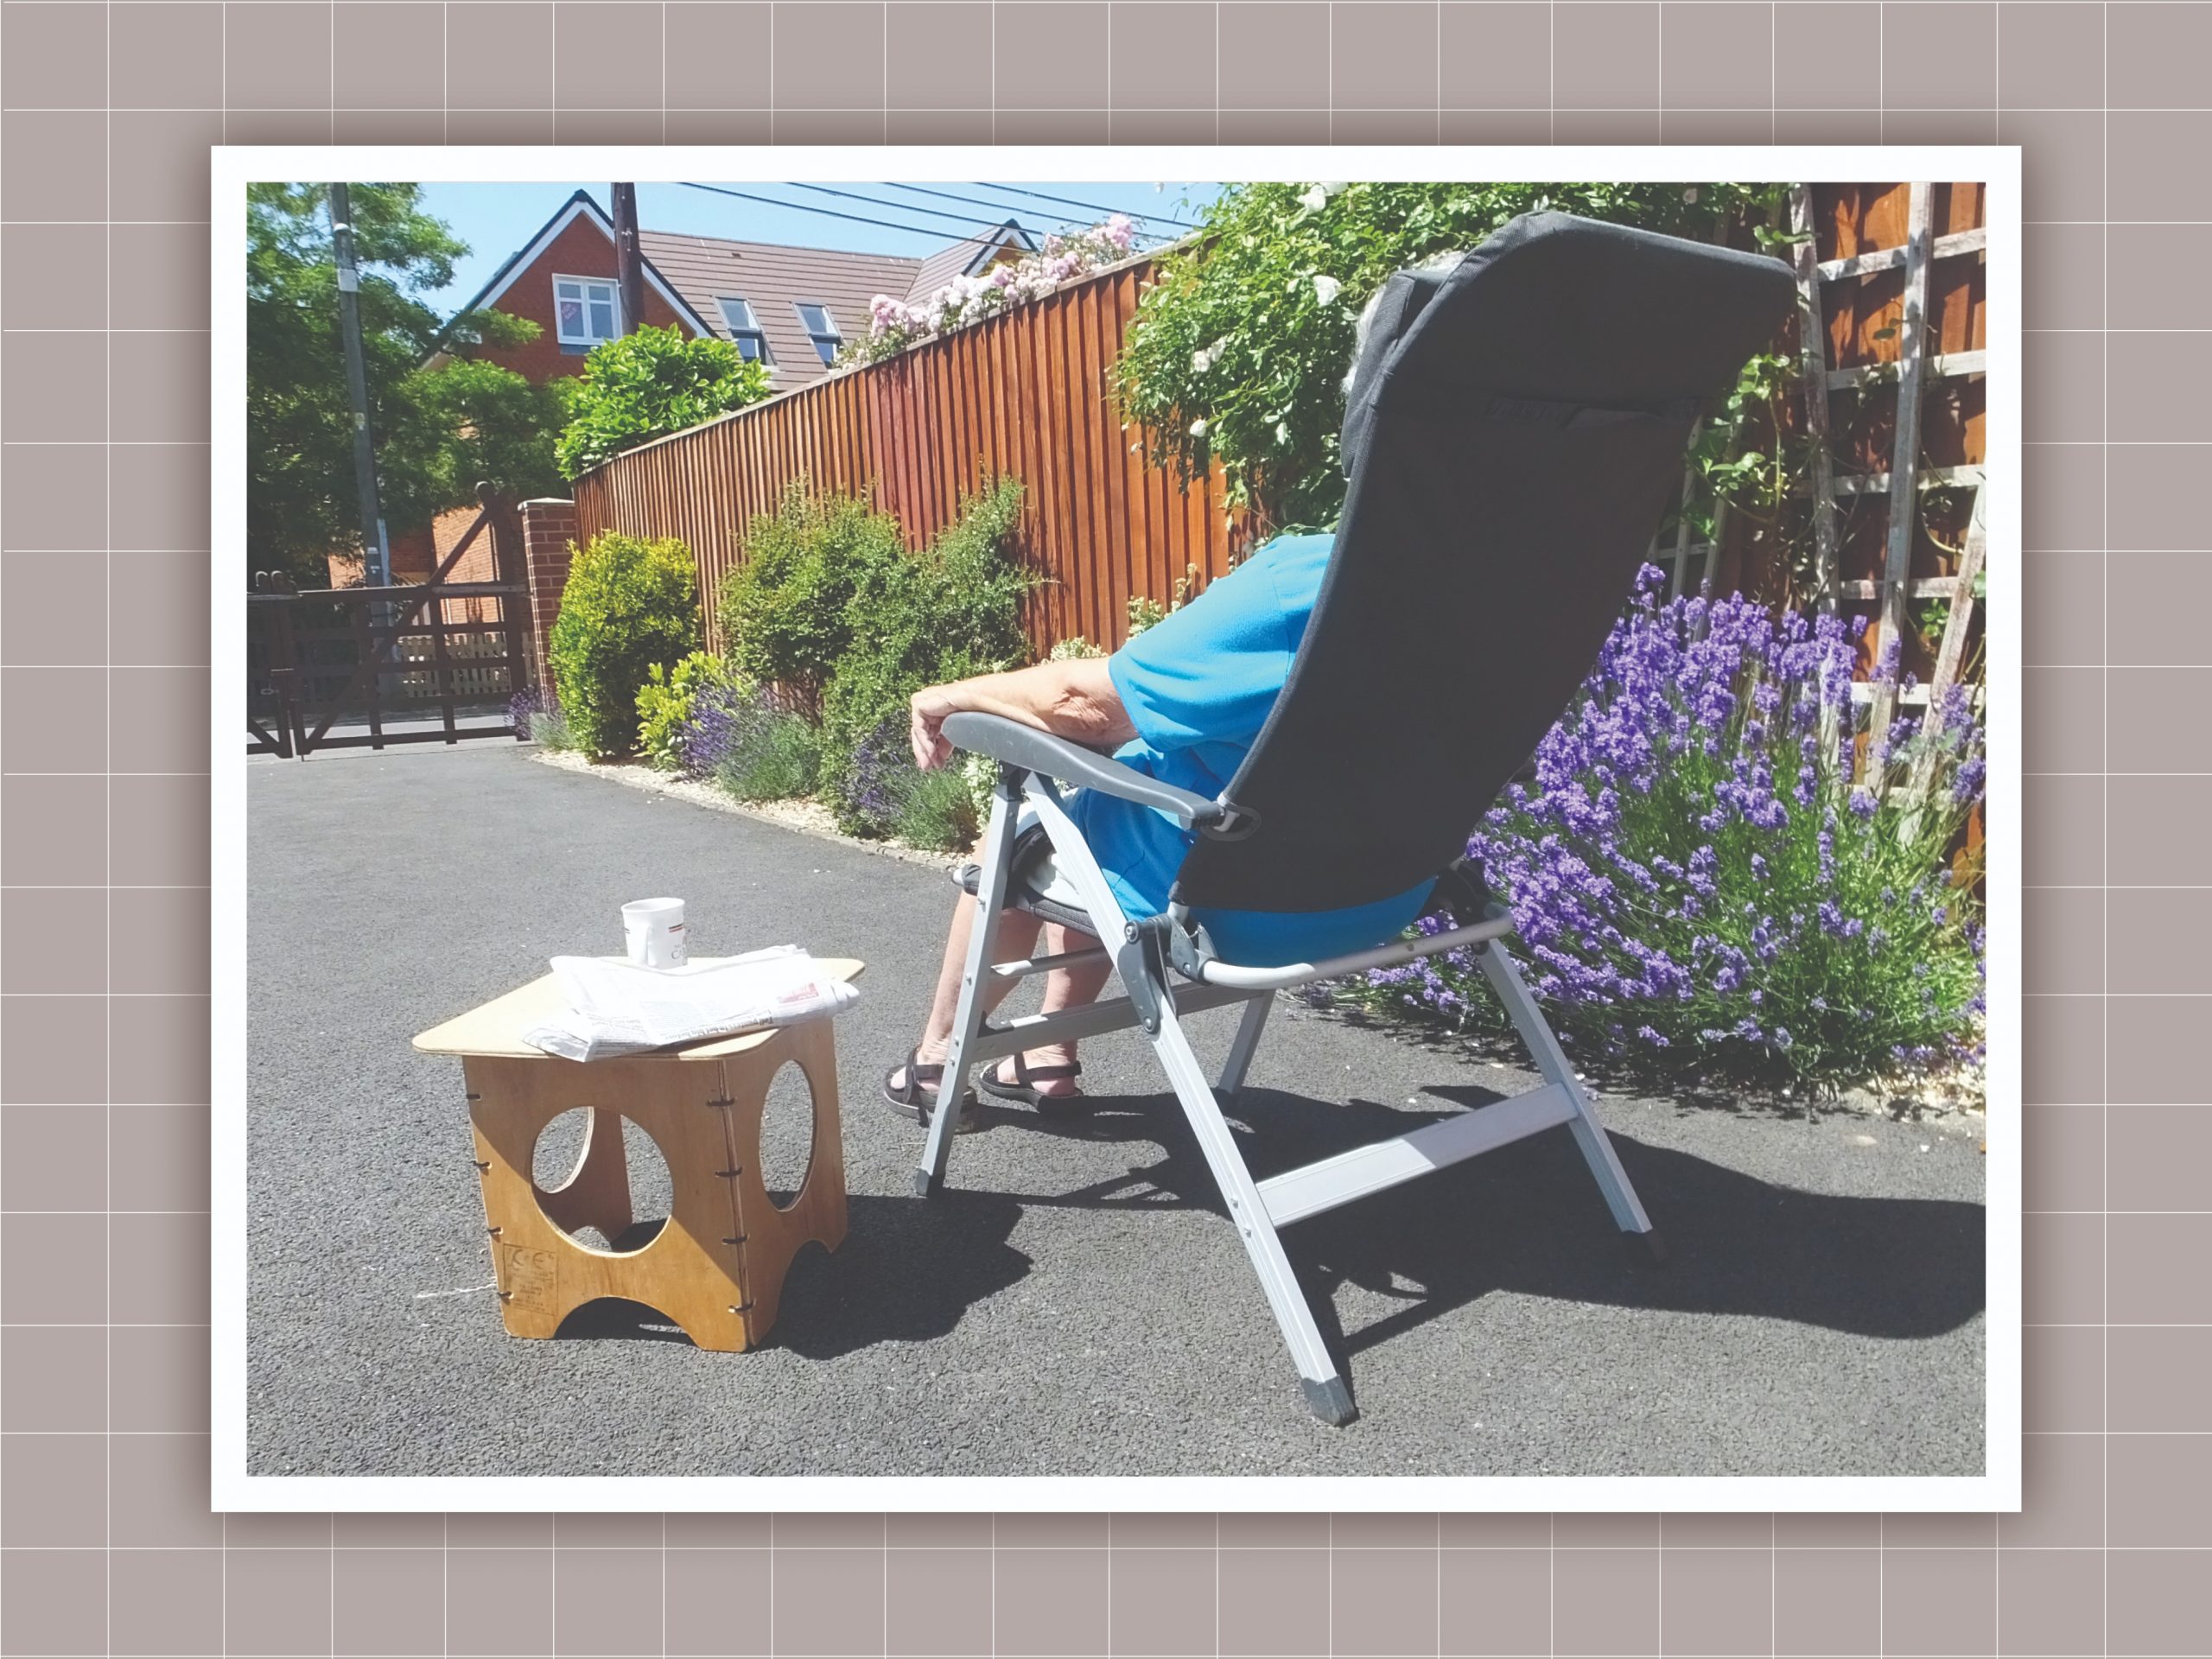
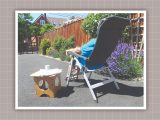
The prototype worked well. But then my wife decided it would also make a great side table next to her outside lounger. Some mates saw it and suggested that I should make a ‘proper’ one, using a sander and a drop of varnish, perhaps.
I did a drawing of the bits on the laptop, and went off to our DIY outlet to buy a quarter of an 8ft x 4ft sheet of 8mm thick exterior ply, for just over £7. The result was Mk 2.
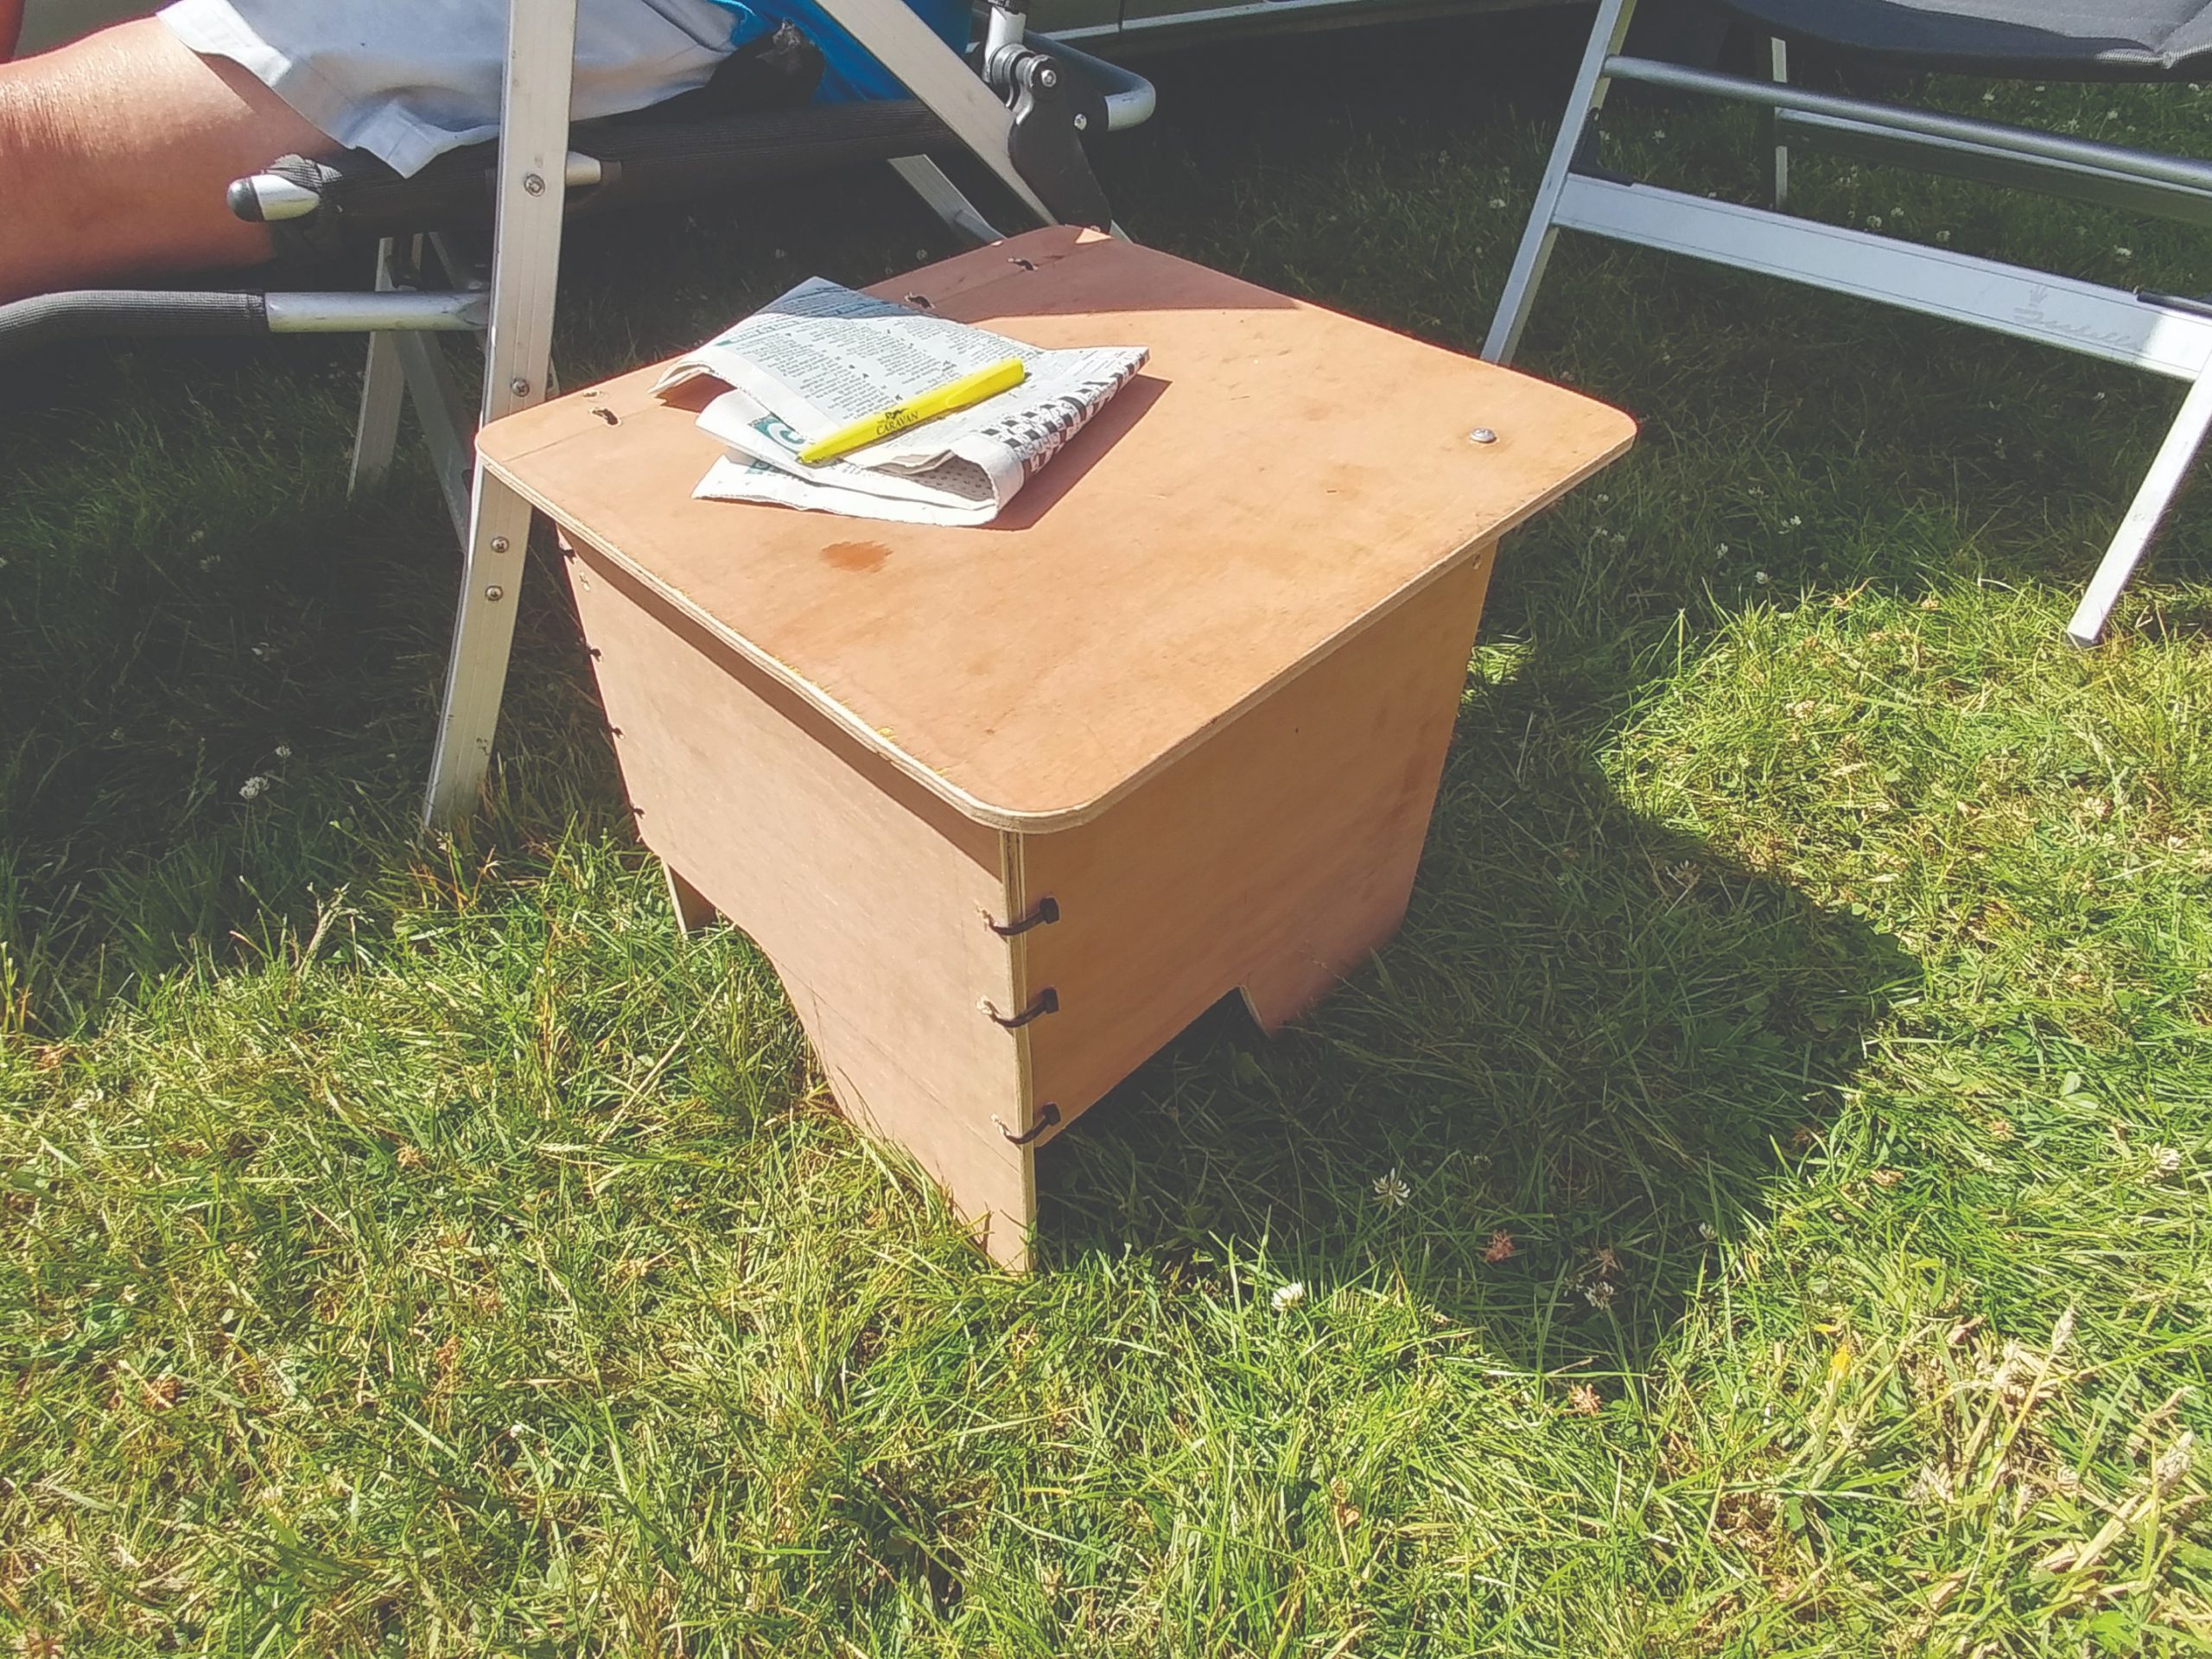
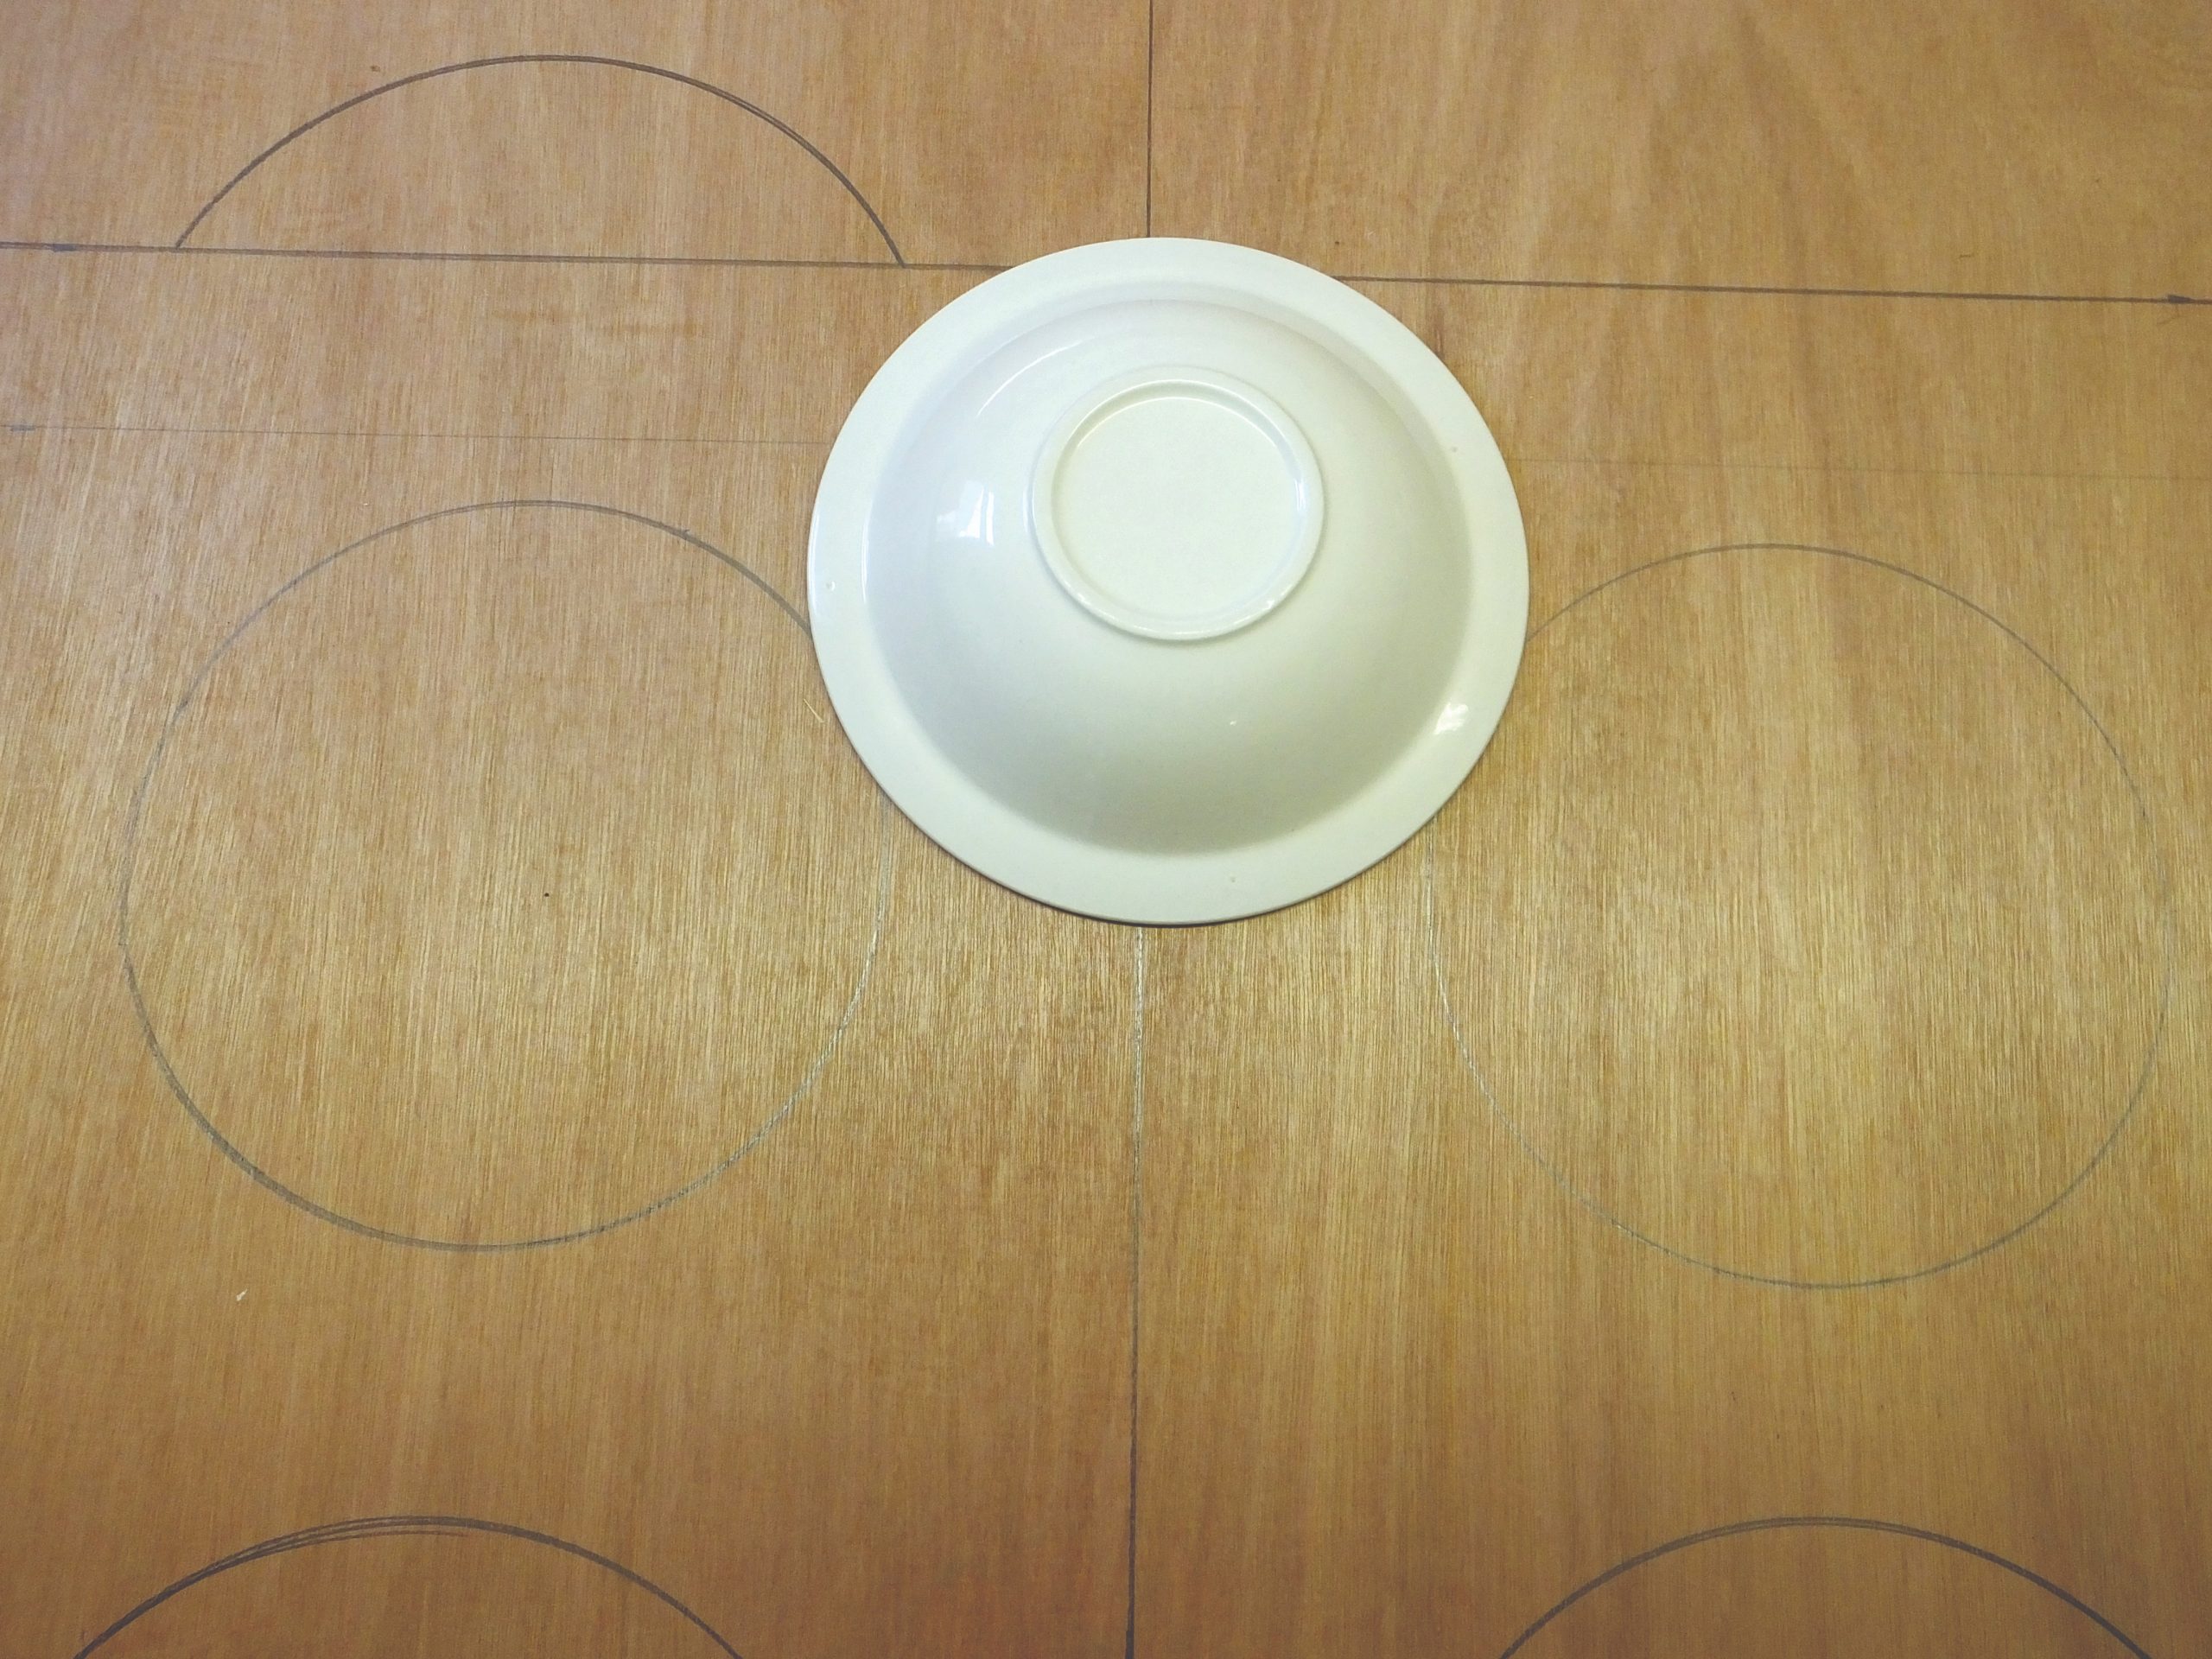
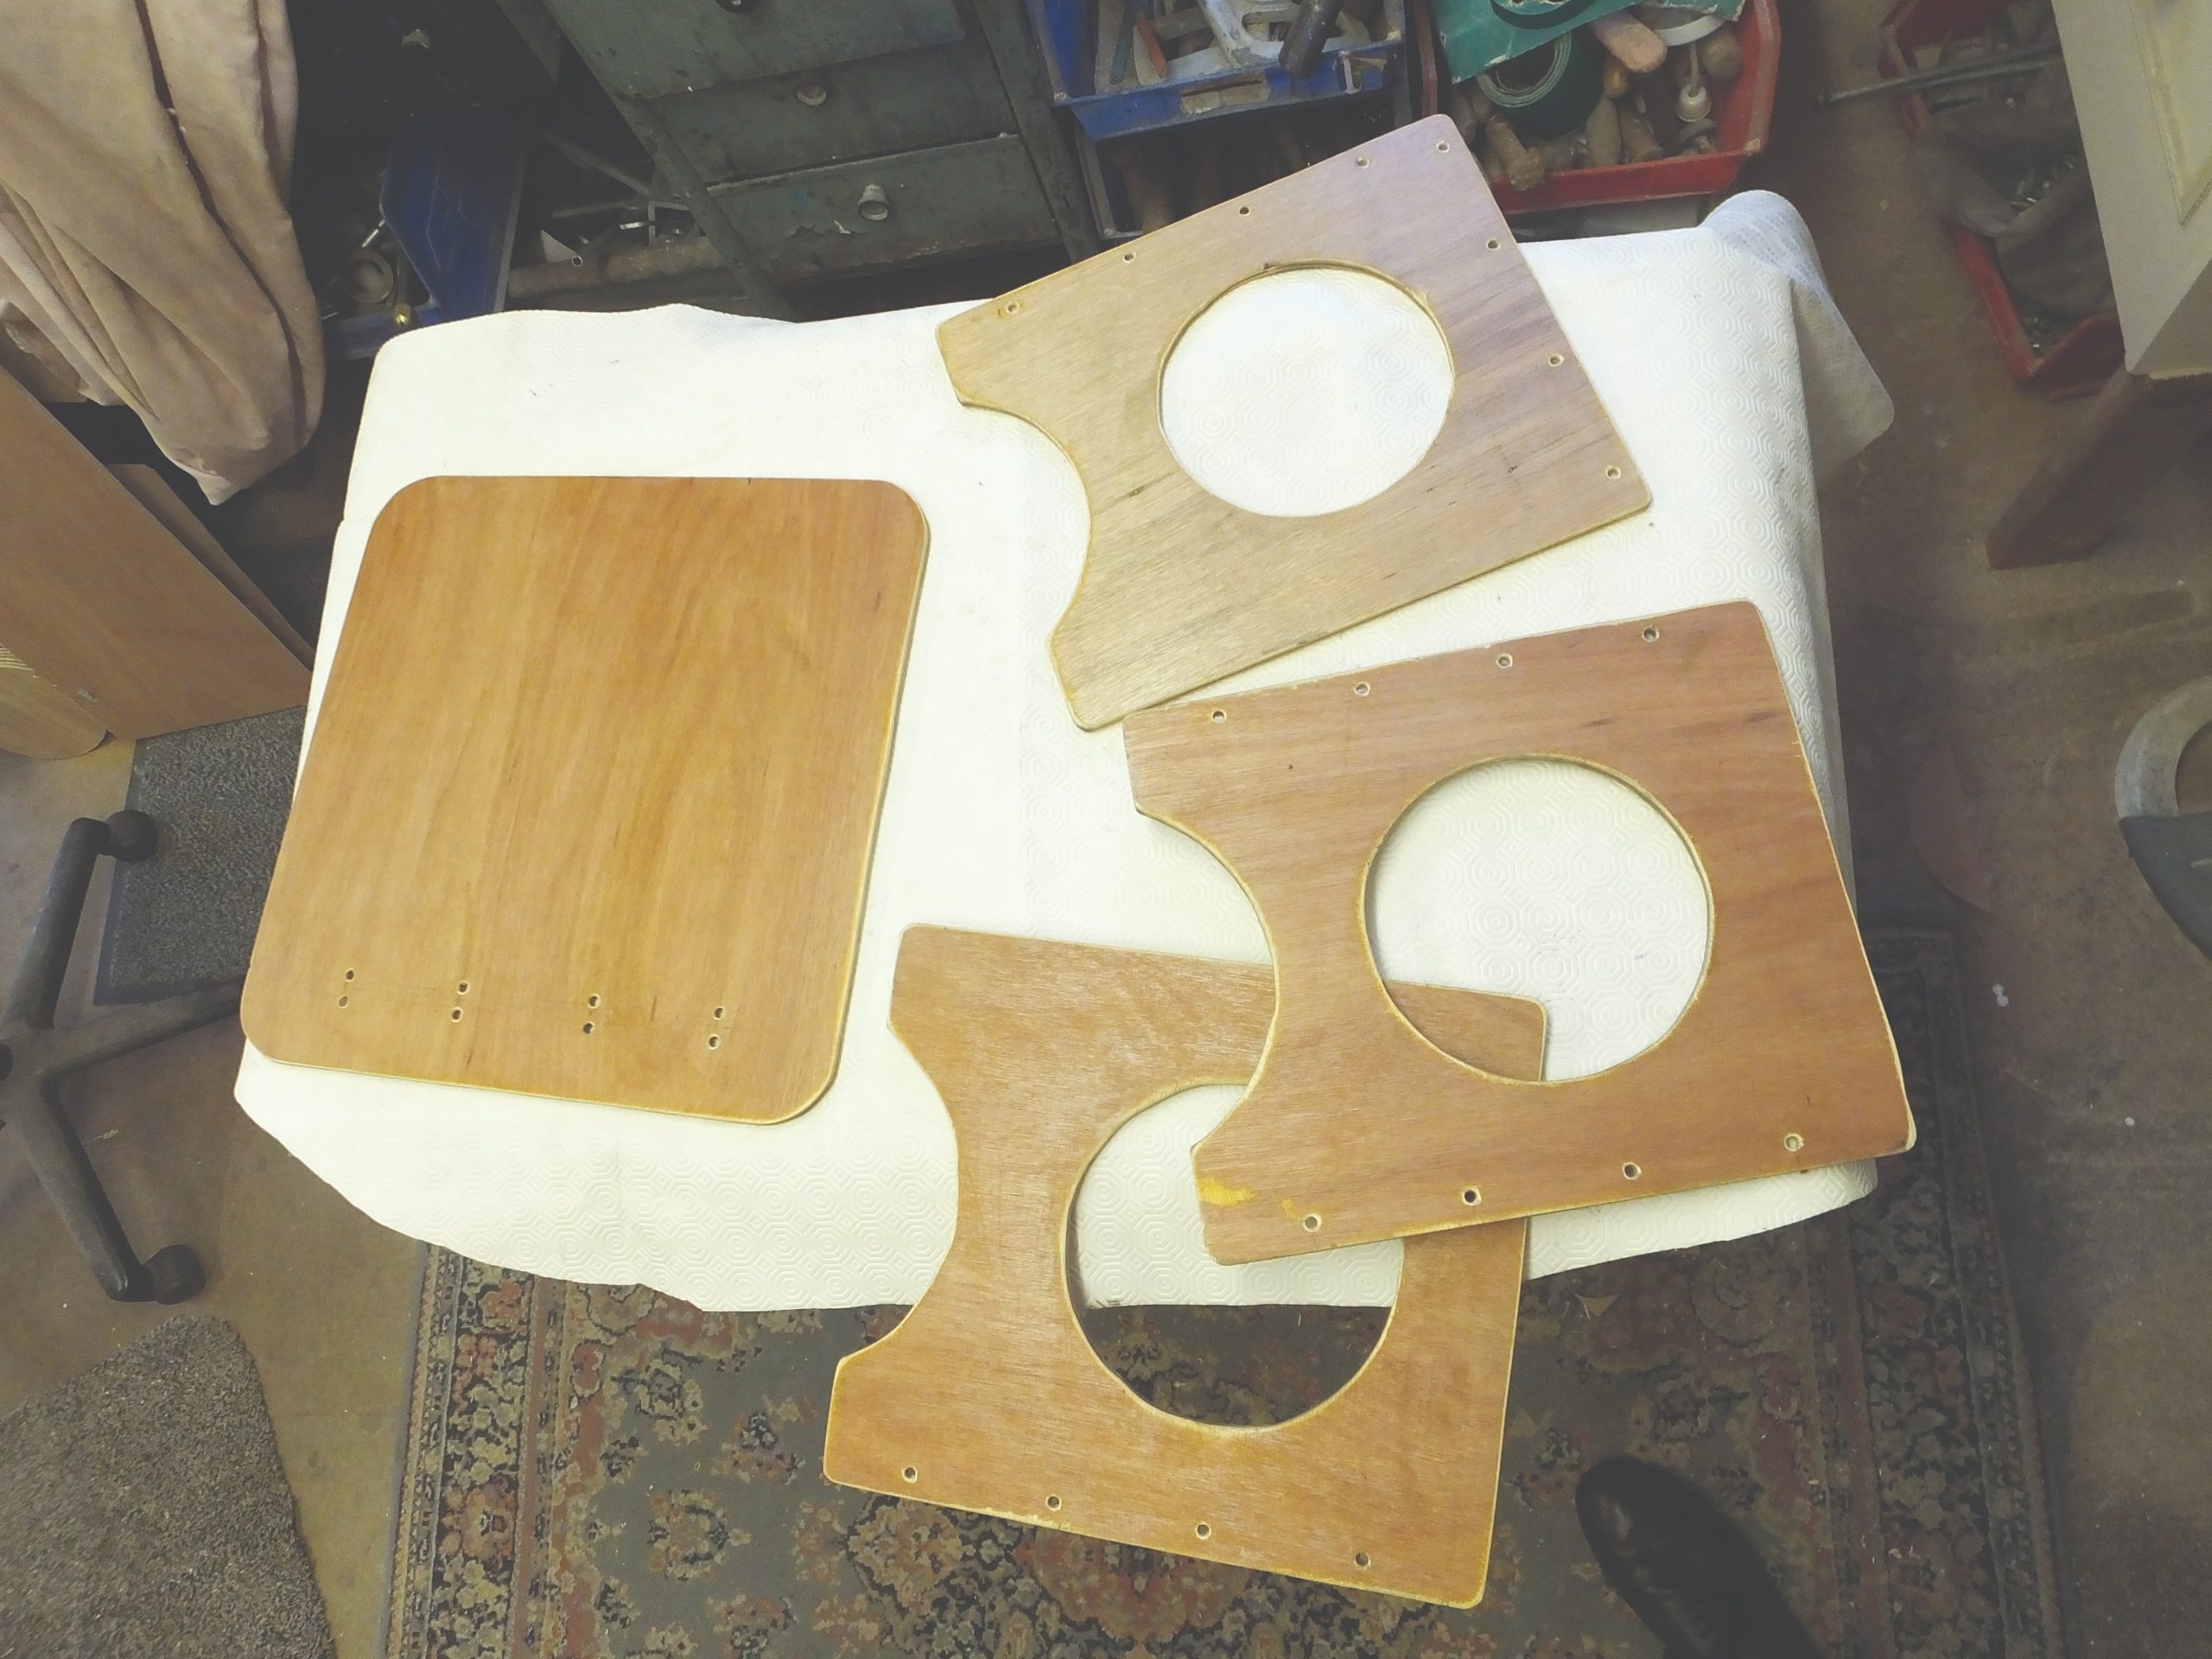
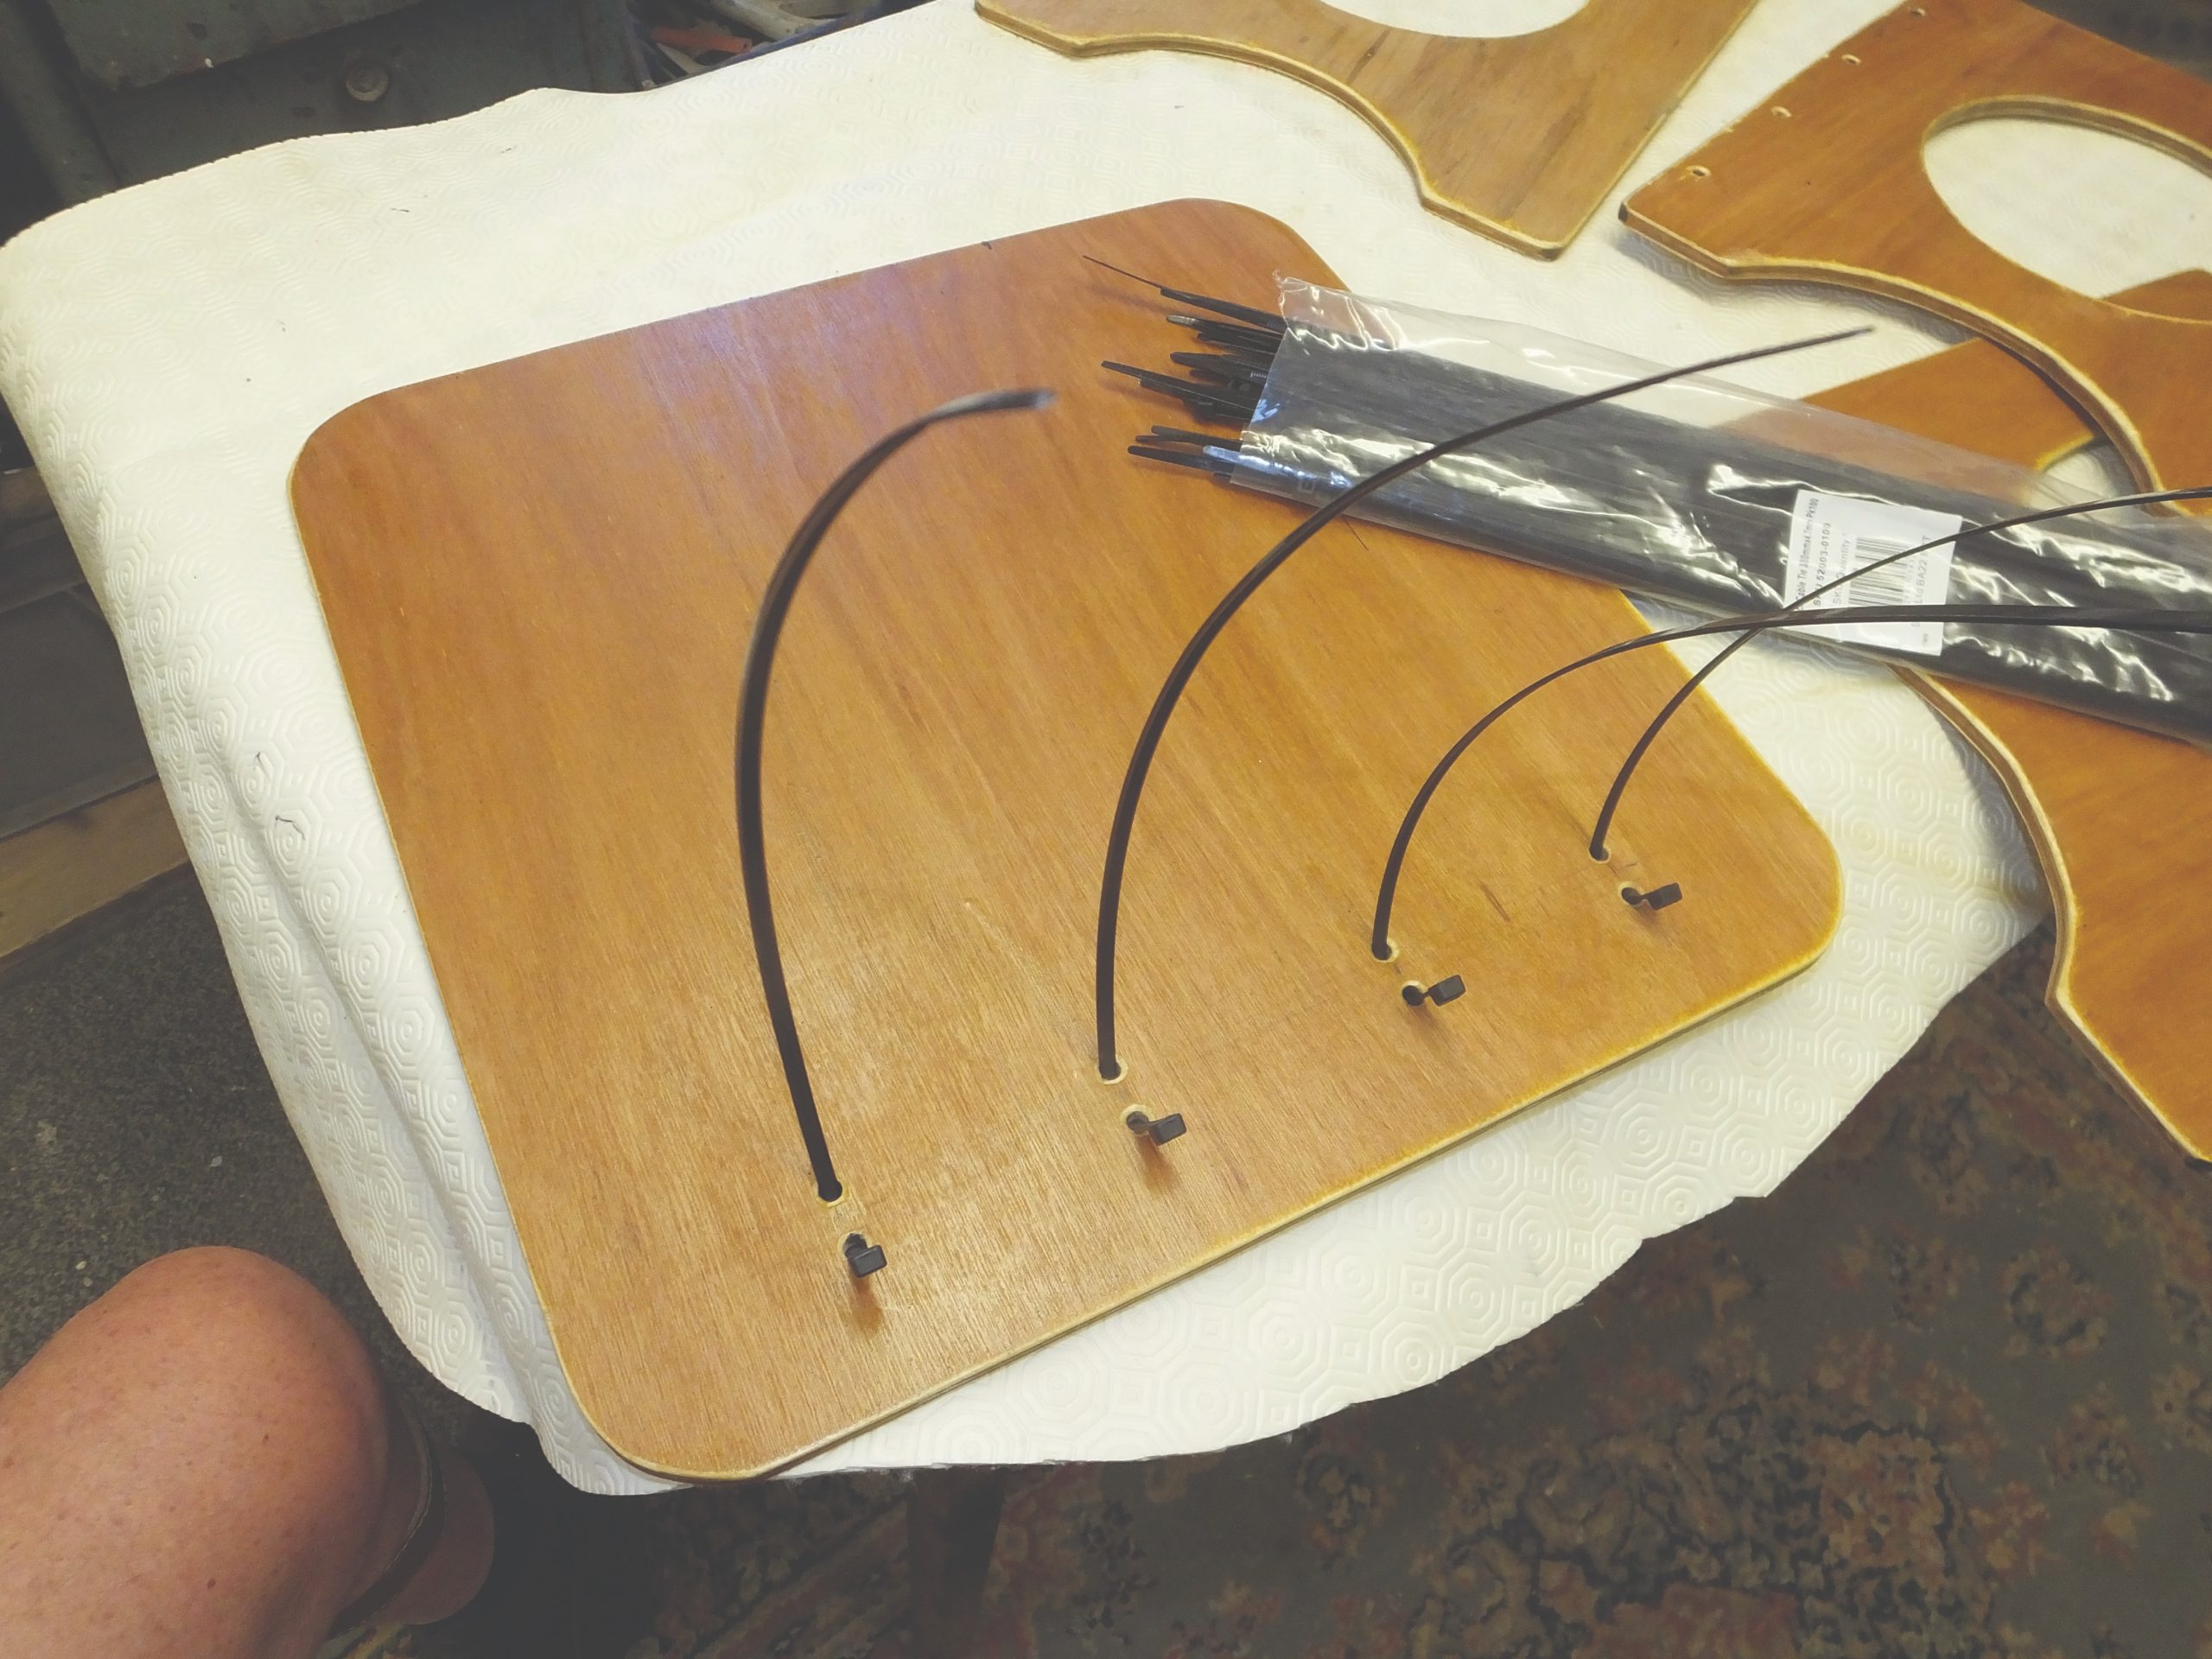
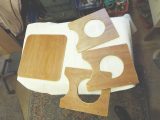
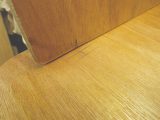
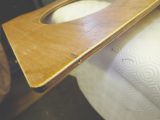
The essence of the construction is using cable ties as hinges. The hinge side of each piece of ply has four 6mm holes, set in from the edge by 10mm. The table top was 400 x 400mm and sized to suit the space I wanted it to fit when assembled inside our camper. The top has pairs of hinge holes.
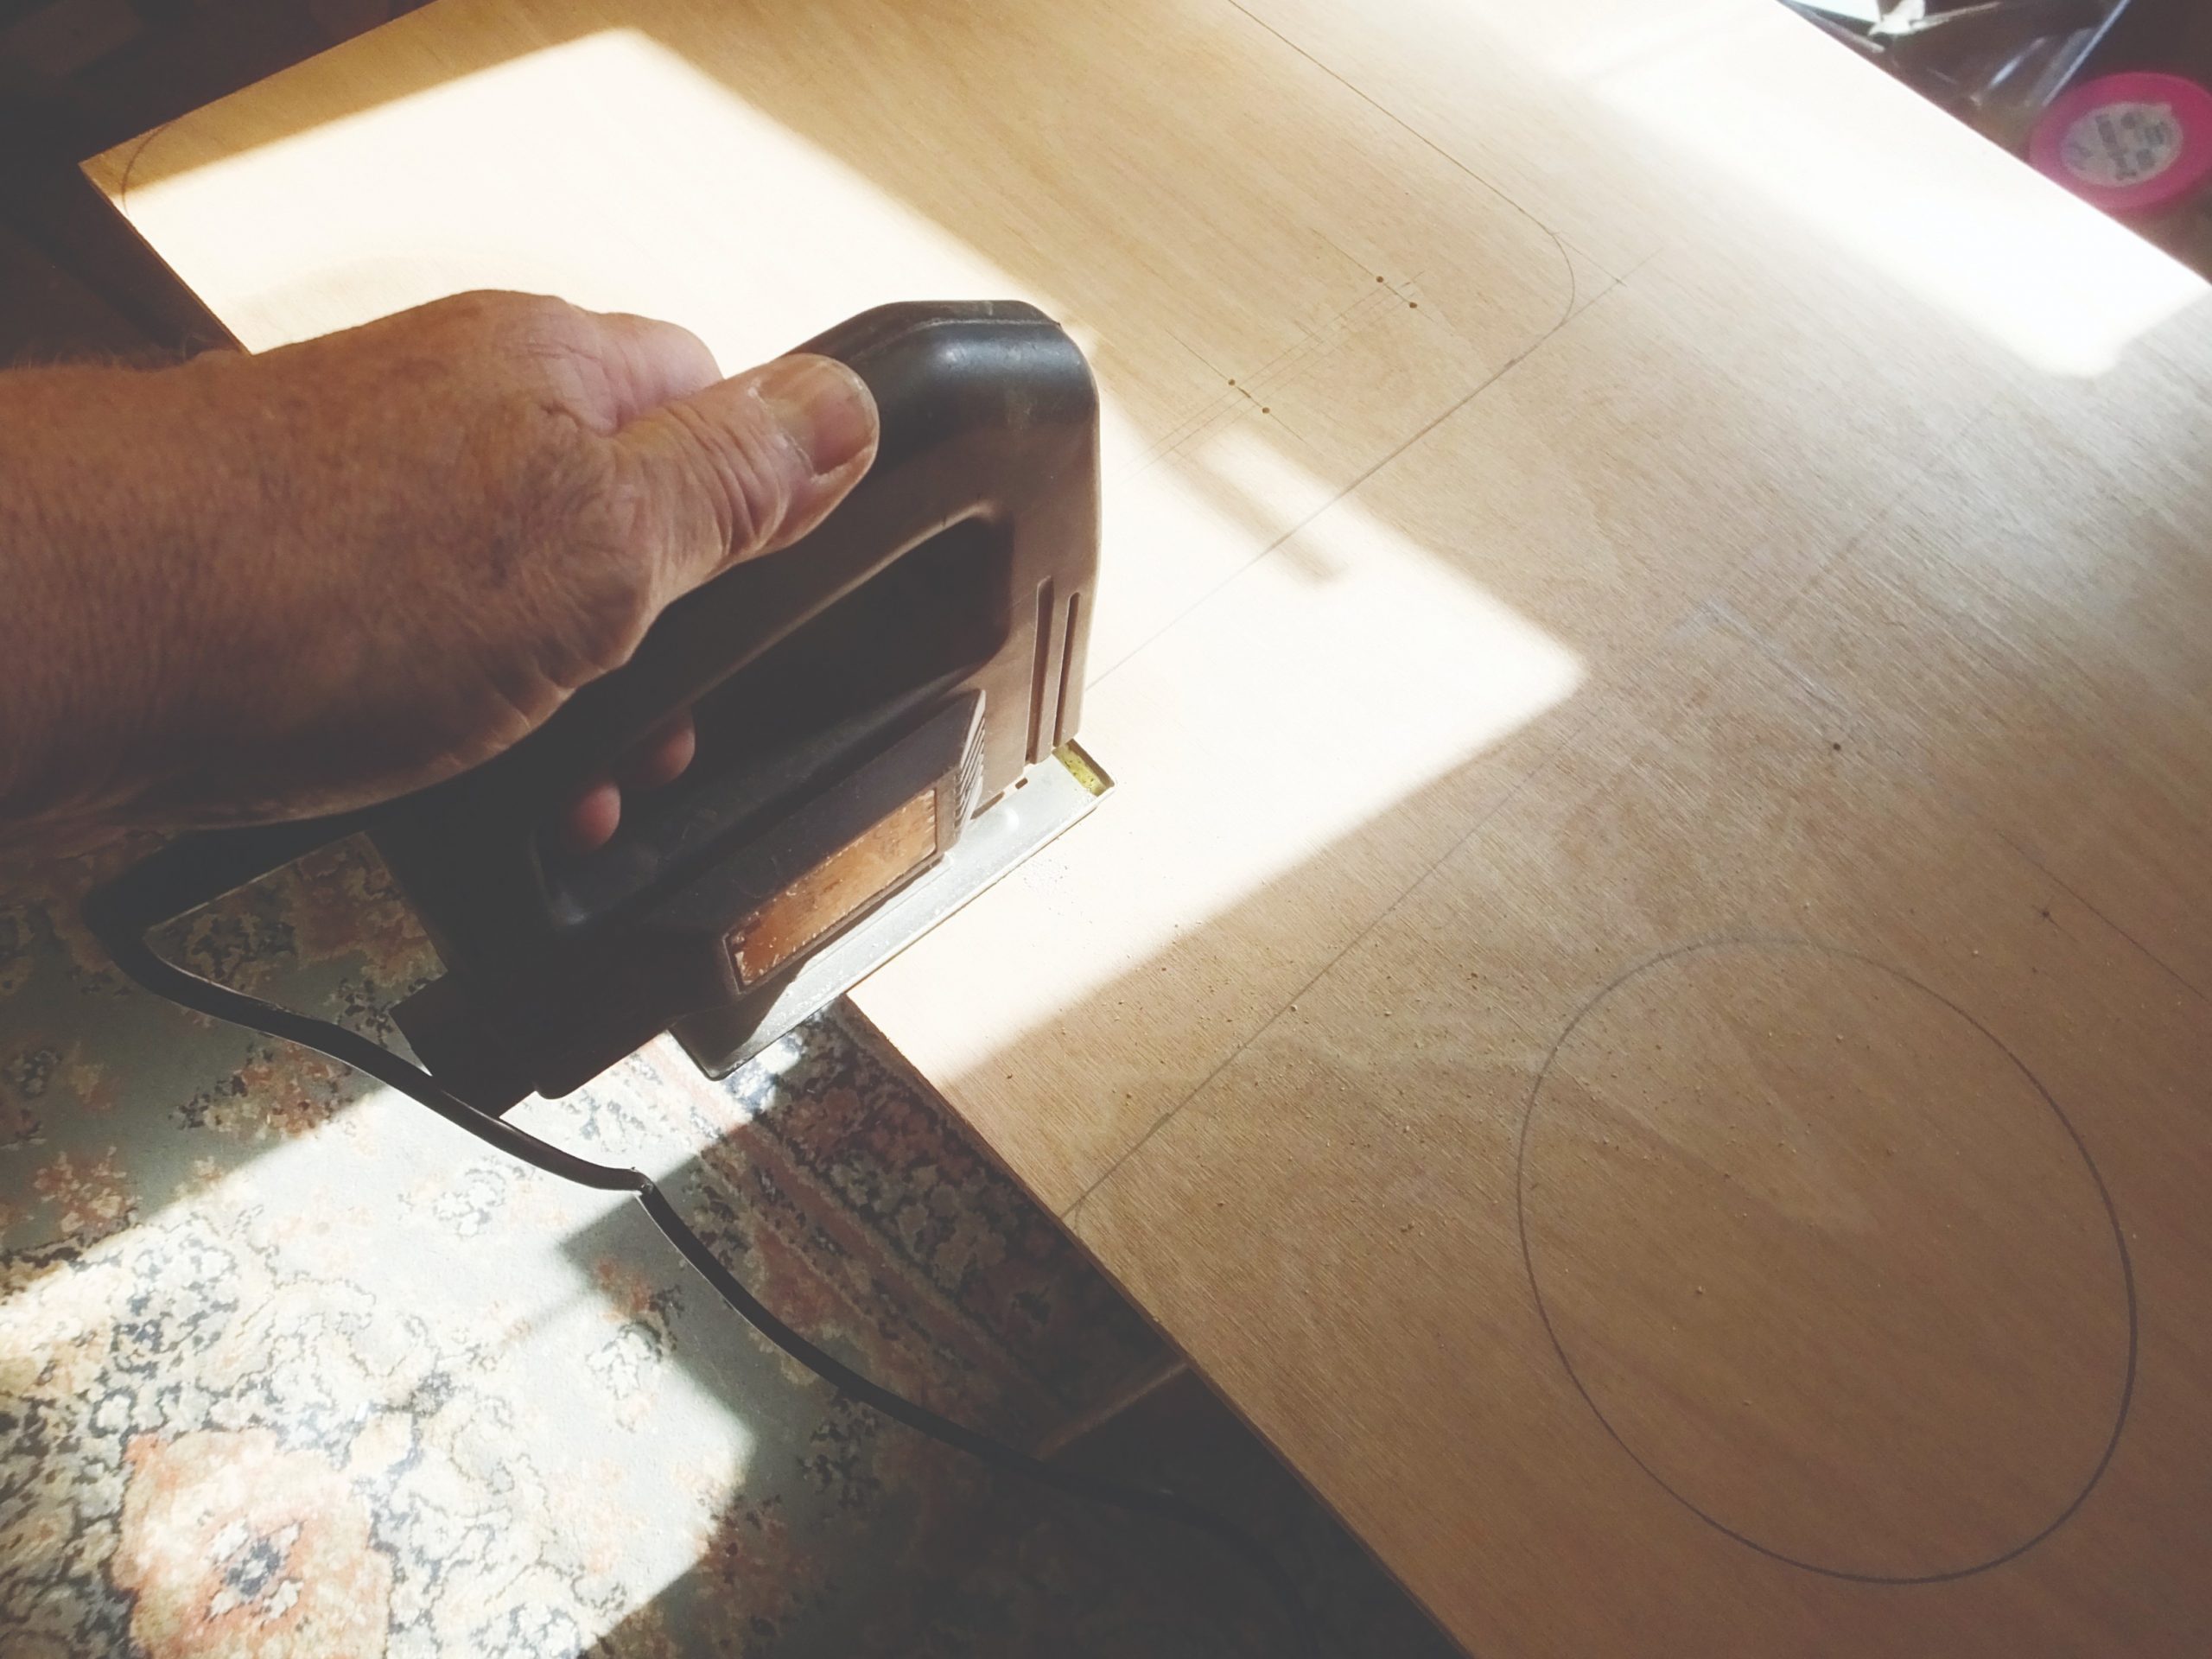
Ply will end up with corners knocked off when in regular use, so I cut them away, using a thimble as a template. The top needed bigger radii, so a pastry cutter was the template for this.
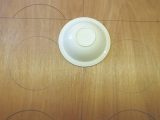
The large round holes save a little weight, and hopefully add to the artistic appeal. A small plate was the template here. The part-circles at the base help limit any instability on uneven ground – use a larger plate! Then apply a coat of varnish after a good sanding down.
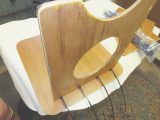
Be careful how you fit the cable ties. Their fastenings need to be on the outside when the assembly is folded flat. And don’t tighten them too much.
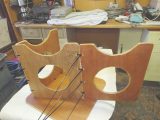
Two sheets alongside each other require the biggest dimension in the cable tie, and one sheet needs to be folded back on itself when the assembly is put away. Use side cutters to cut the cable ties flush.
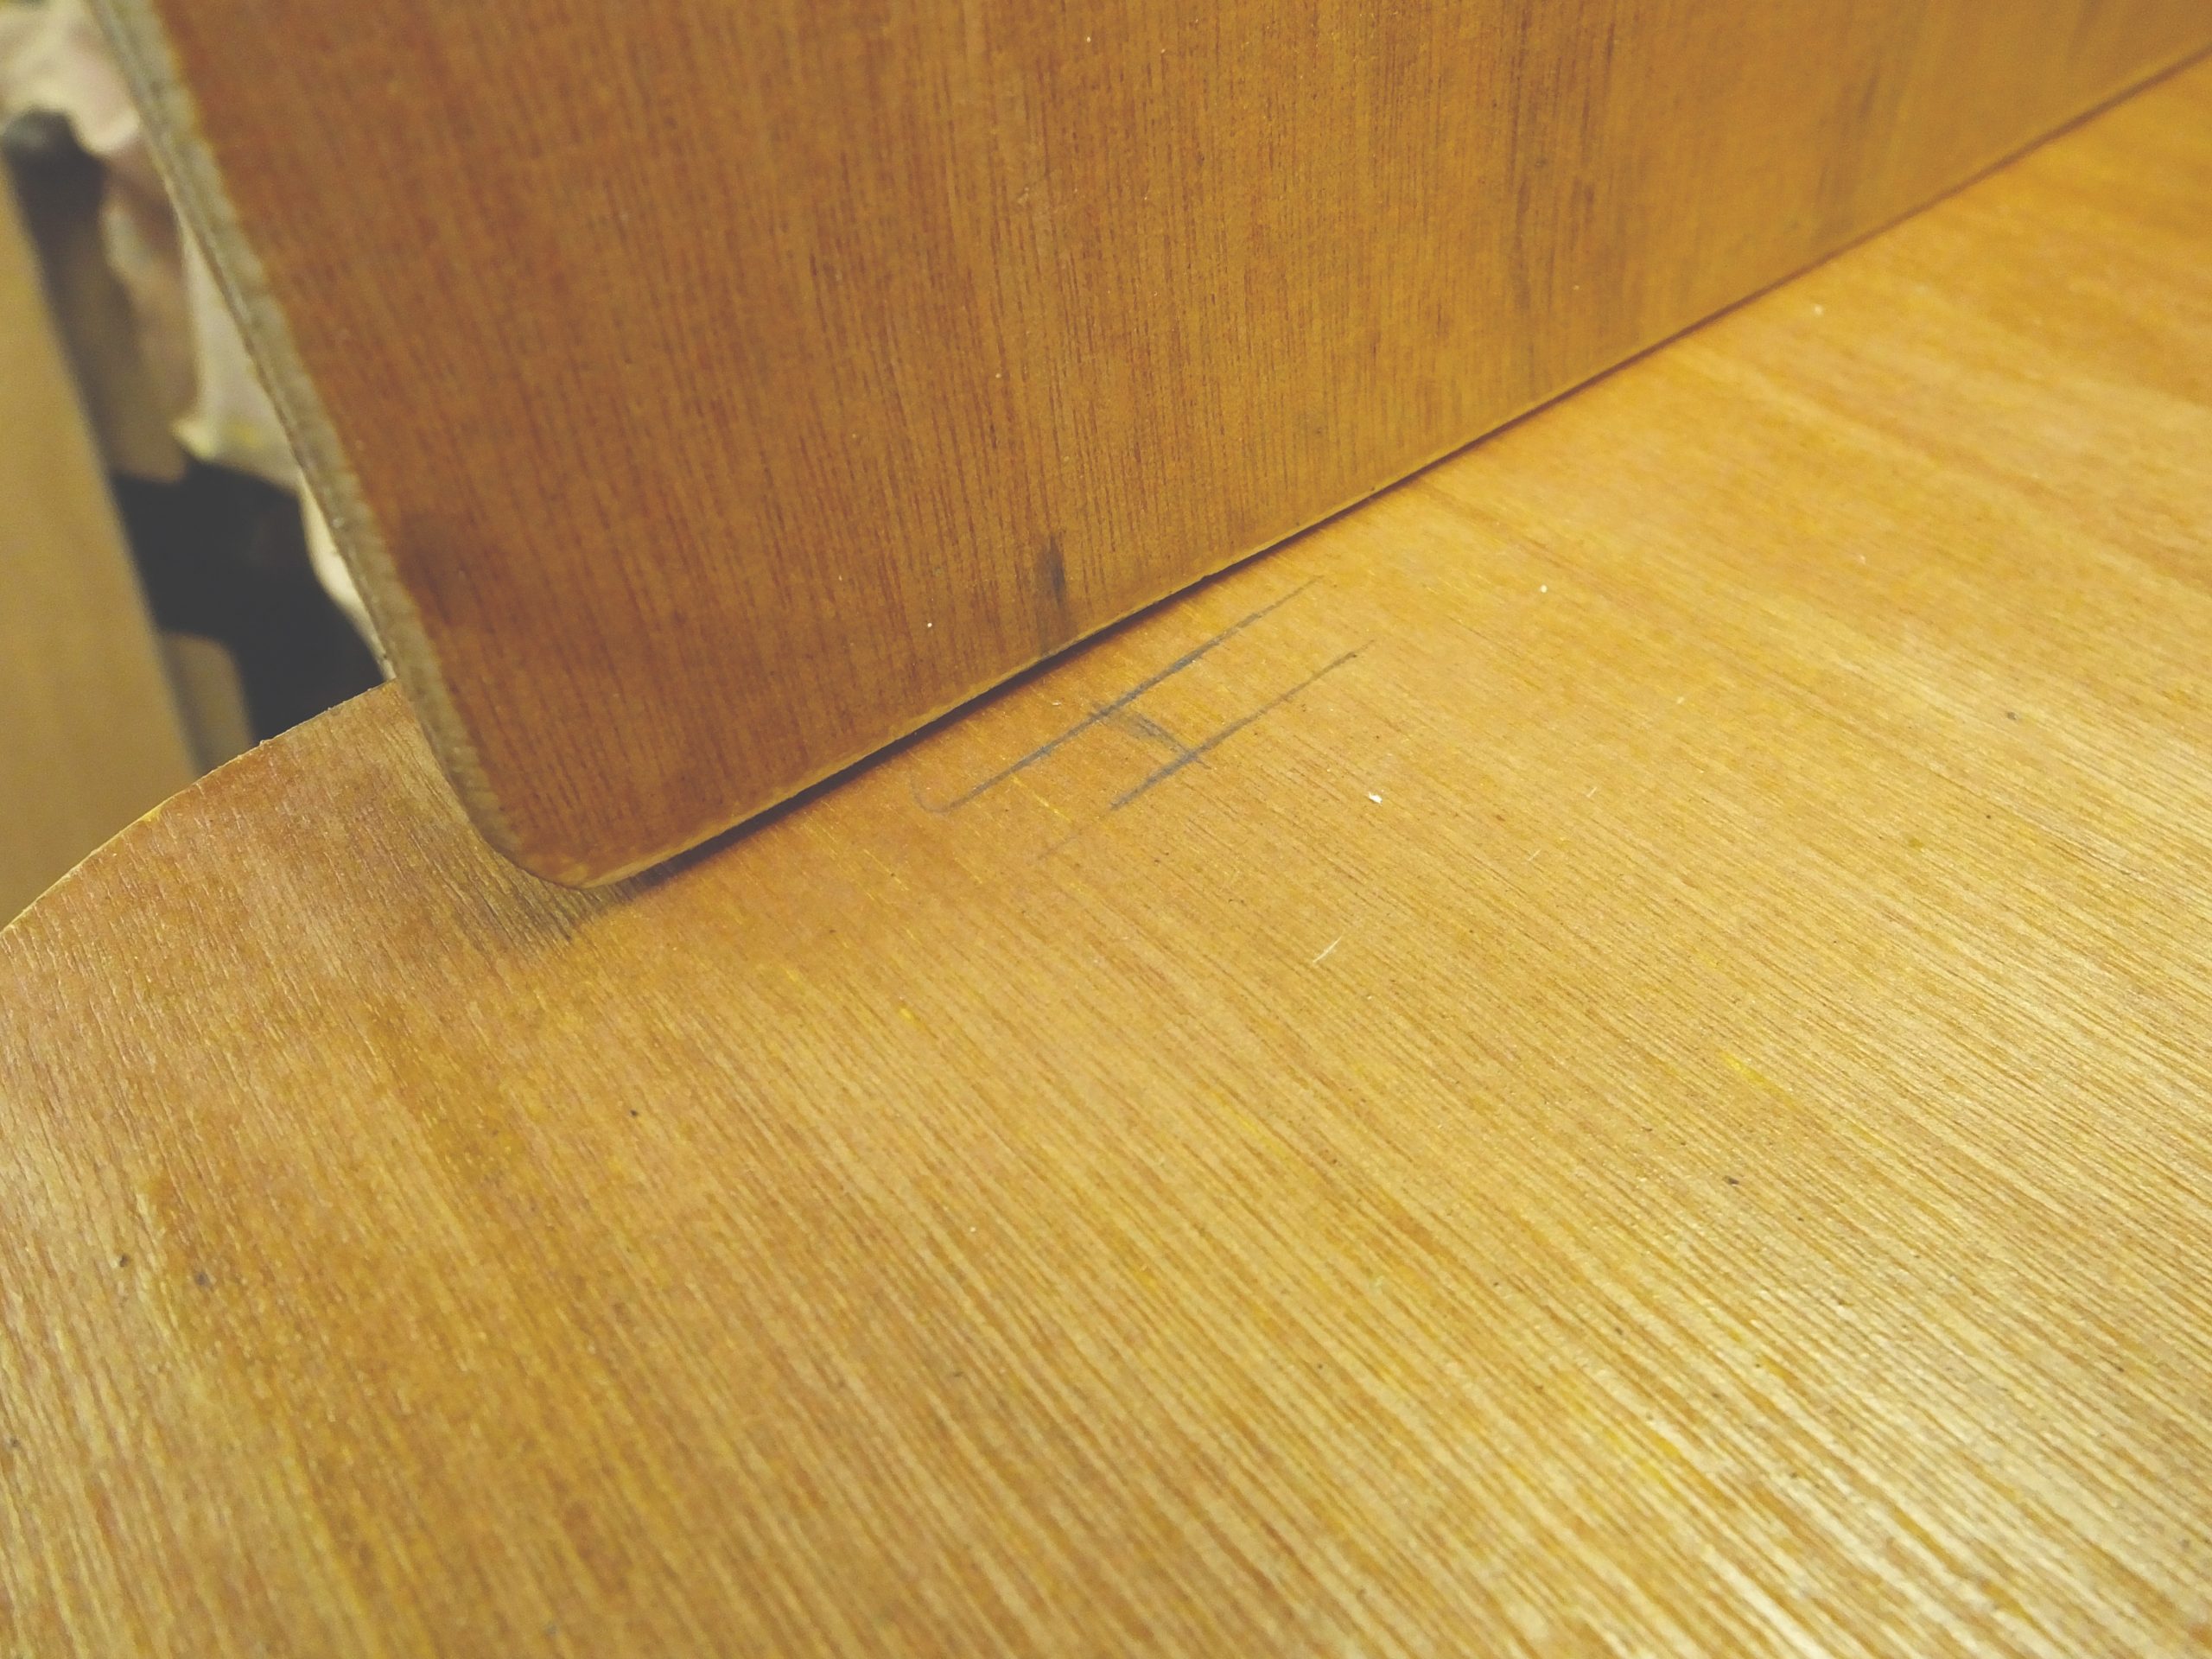
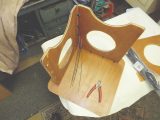
With the assembly completed and upside down, mark where the screw should go. Drill a clearance hole in the top, and a generous pilot hole in the edge of the last folding side. Wind in the screw a few times with a screwdriver, finishing off with your fingers.
Giving the top another coat of varnish makes it easier to clean, and why stop there? The possibilities for customising are endless.
The holes could be square, triangular, hexagonal, even. Are you a dab hand with a fretsaw? And why use clear varnish when there are so many paint colours to choose from? Personalise yours to suit. And yes, they do make cable ties in a range of colours!
The possibilities for customising are endless... personalise yours to suit