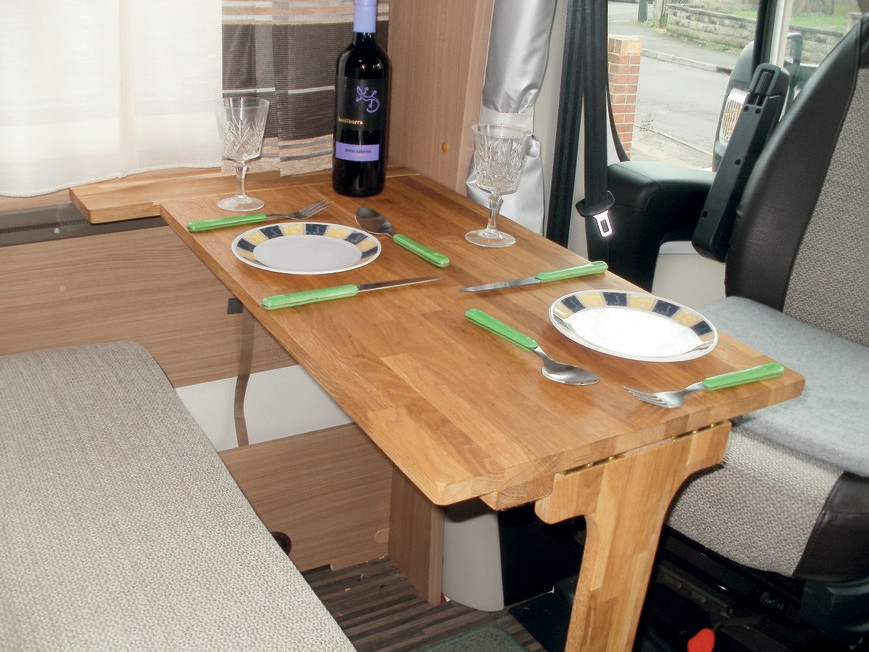


Removing a heavy dinette table in order to make the lounge area more comfortable for relaxing in the evening is a hassle, I find – especially when said table needs to be stored in the motorhome’s rear garage. And reversing this process at breakfast is also a pain.
The most useful and flexible solution, I decided, would be having a folding table that attached to the ‘van’s sidewall and hinged out of the way. I also wanted the modified table to be as adjustable as the original one, allowing movement to and from seating positions by means of a ratchet attachment connected to the wall and the table.
I did not want to reuse any of the original table setup, so I could restore the original specification if selling the ’van. I therefore contacted my motorhome dealer to purchase the fitting that attached to the table and then to the permanent wall fitting (this fitting would be left in place).
Planning the DIY project
I considered two areas when planning this project: size and materials. Size was determined by considering the height required to allow the table to fold back fully when not in use. I also wanted to have a narrow shelf along the wall, obviating the need to deploy the table to rest everyday items. Finally, for aesthetic reasons, I wanted to avoid using melamine.
I opted for a hardwood block board (30mm worktop type) that would take an oil finish, so it would be easy to remove stains. I purchased the timber from a local DIY store. Several sizes were on offer; my piece measured 1000 x 600mm along with a 1000 x 200mm piece for the leg. Total cost: £38. All that was then needed was a brass piano hinge (the width of the table), two brass flush fitting hinges and 20mm countersunk brass screws.
How to construct the table
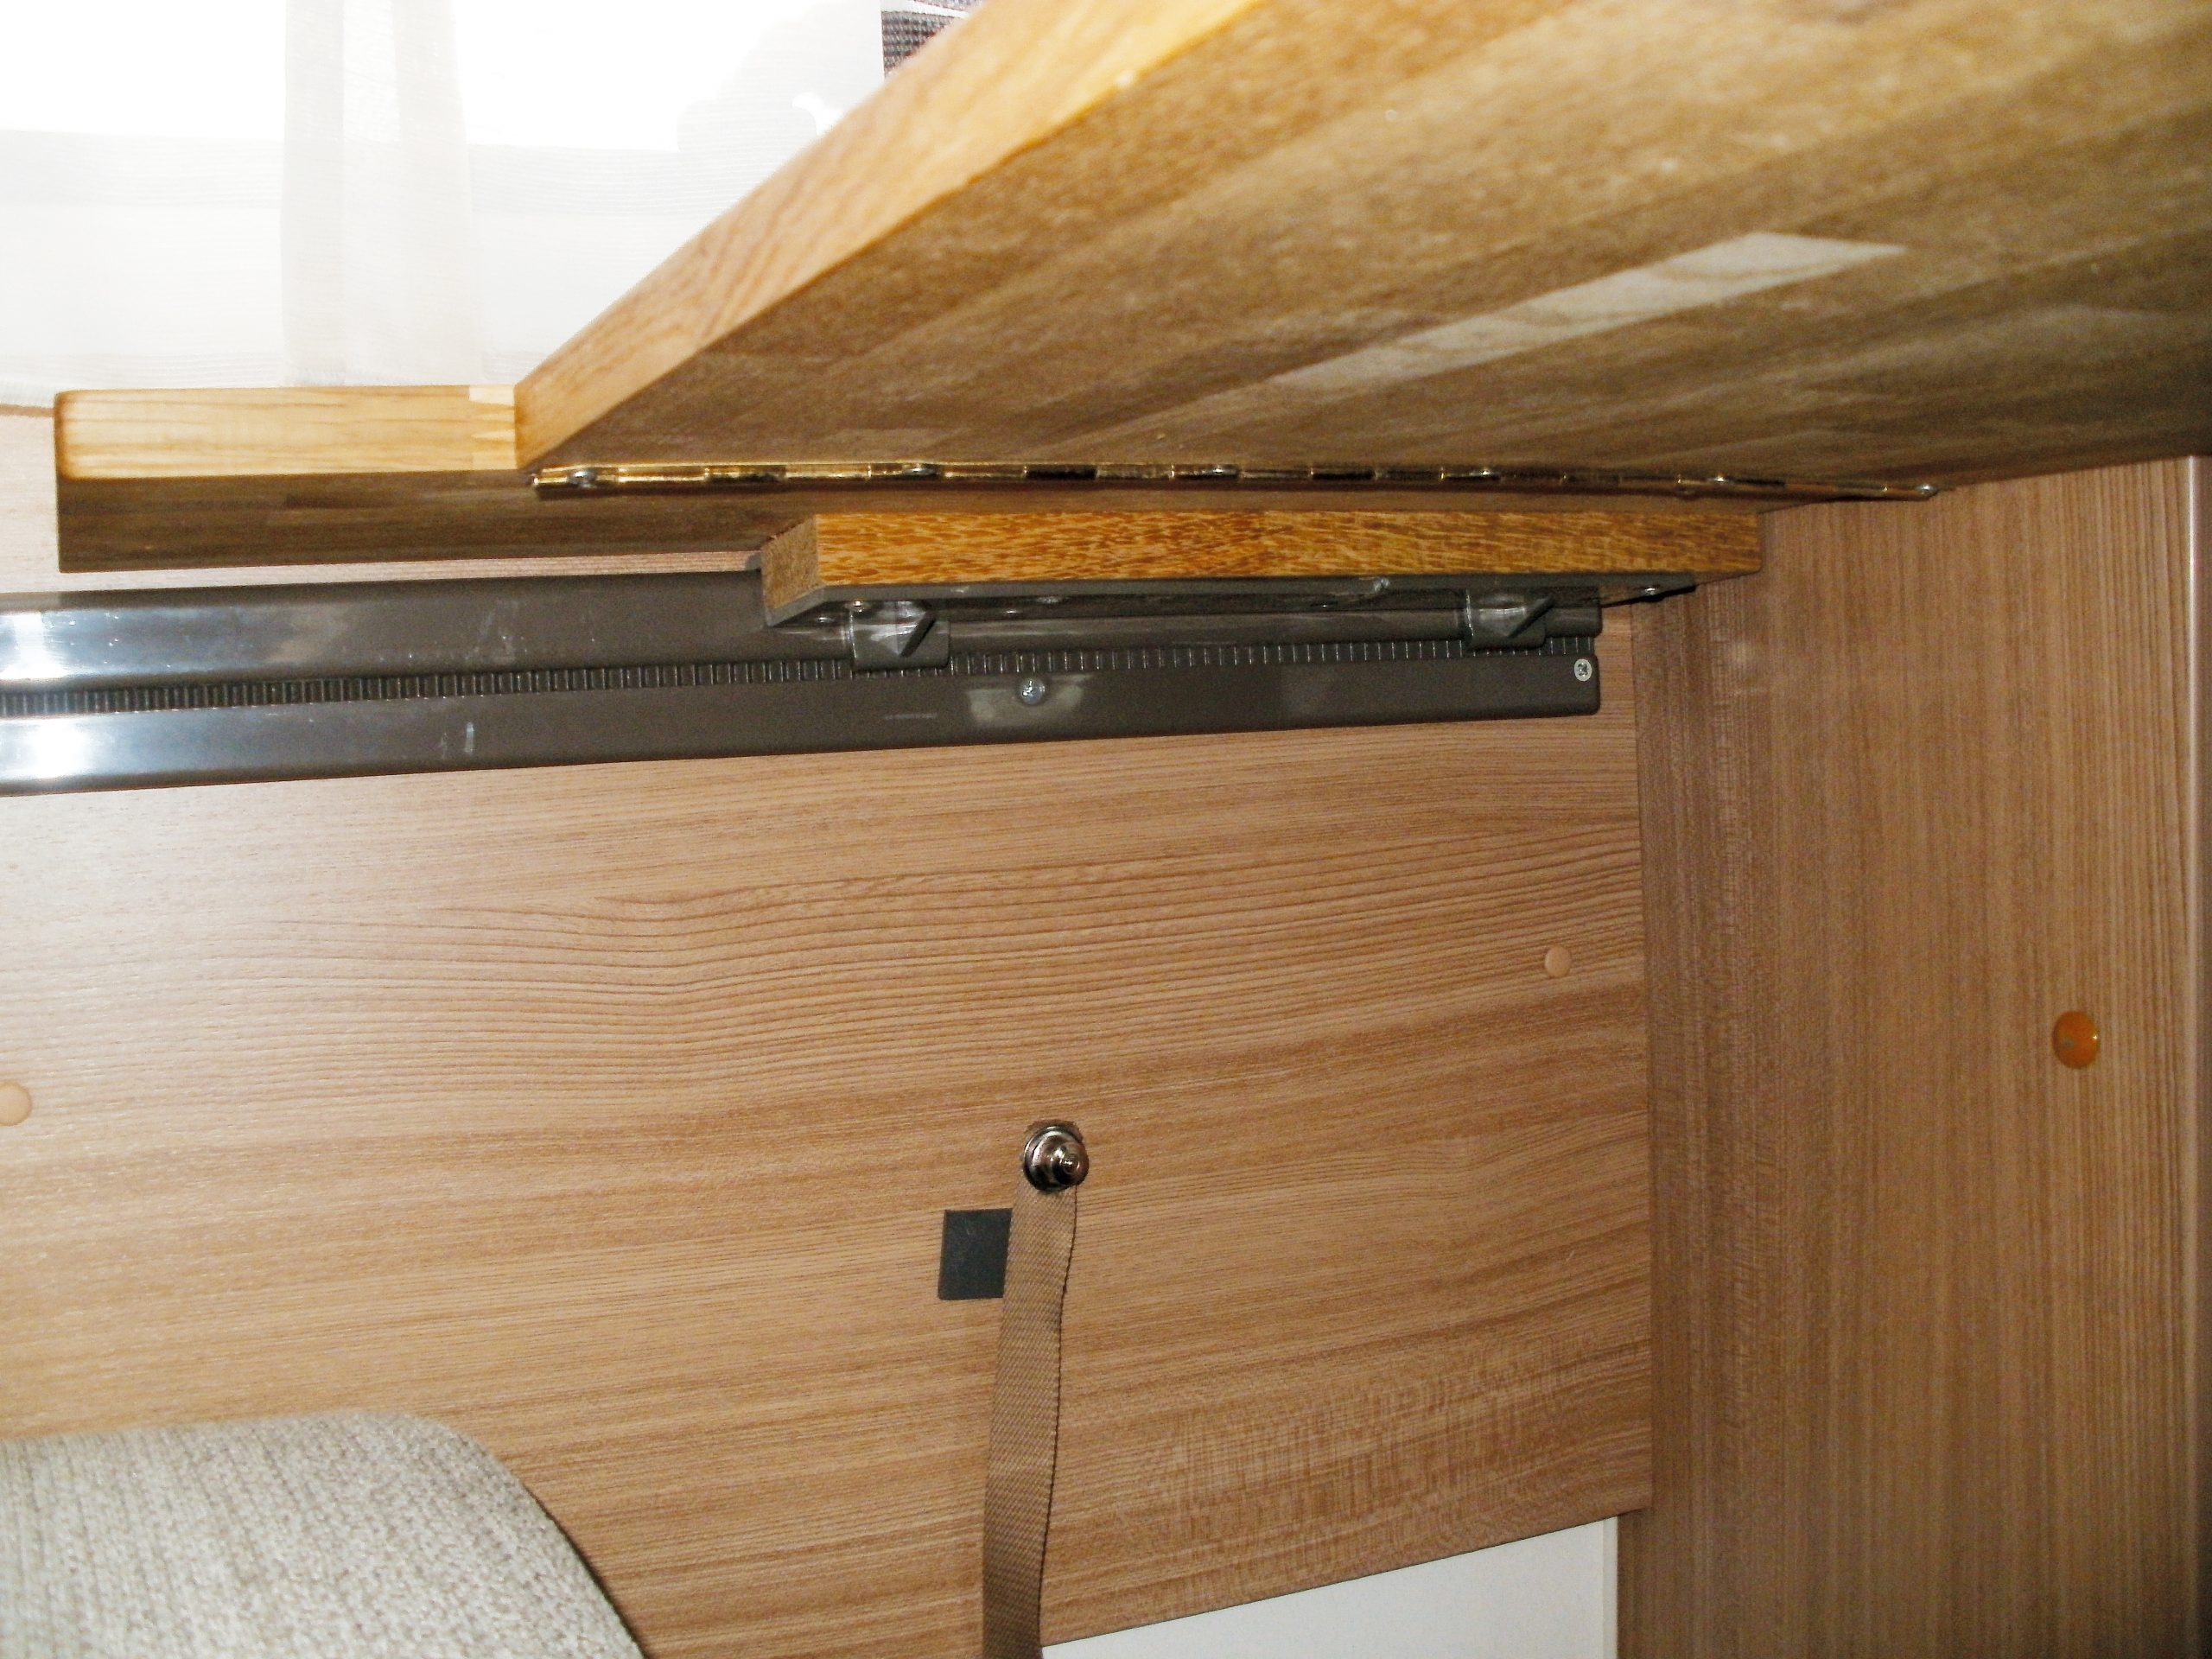
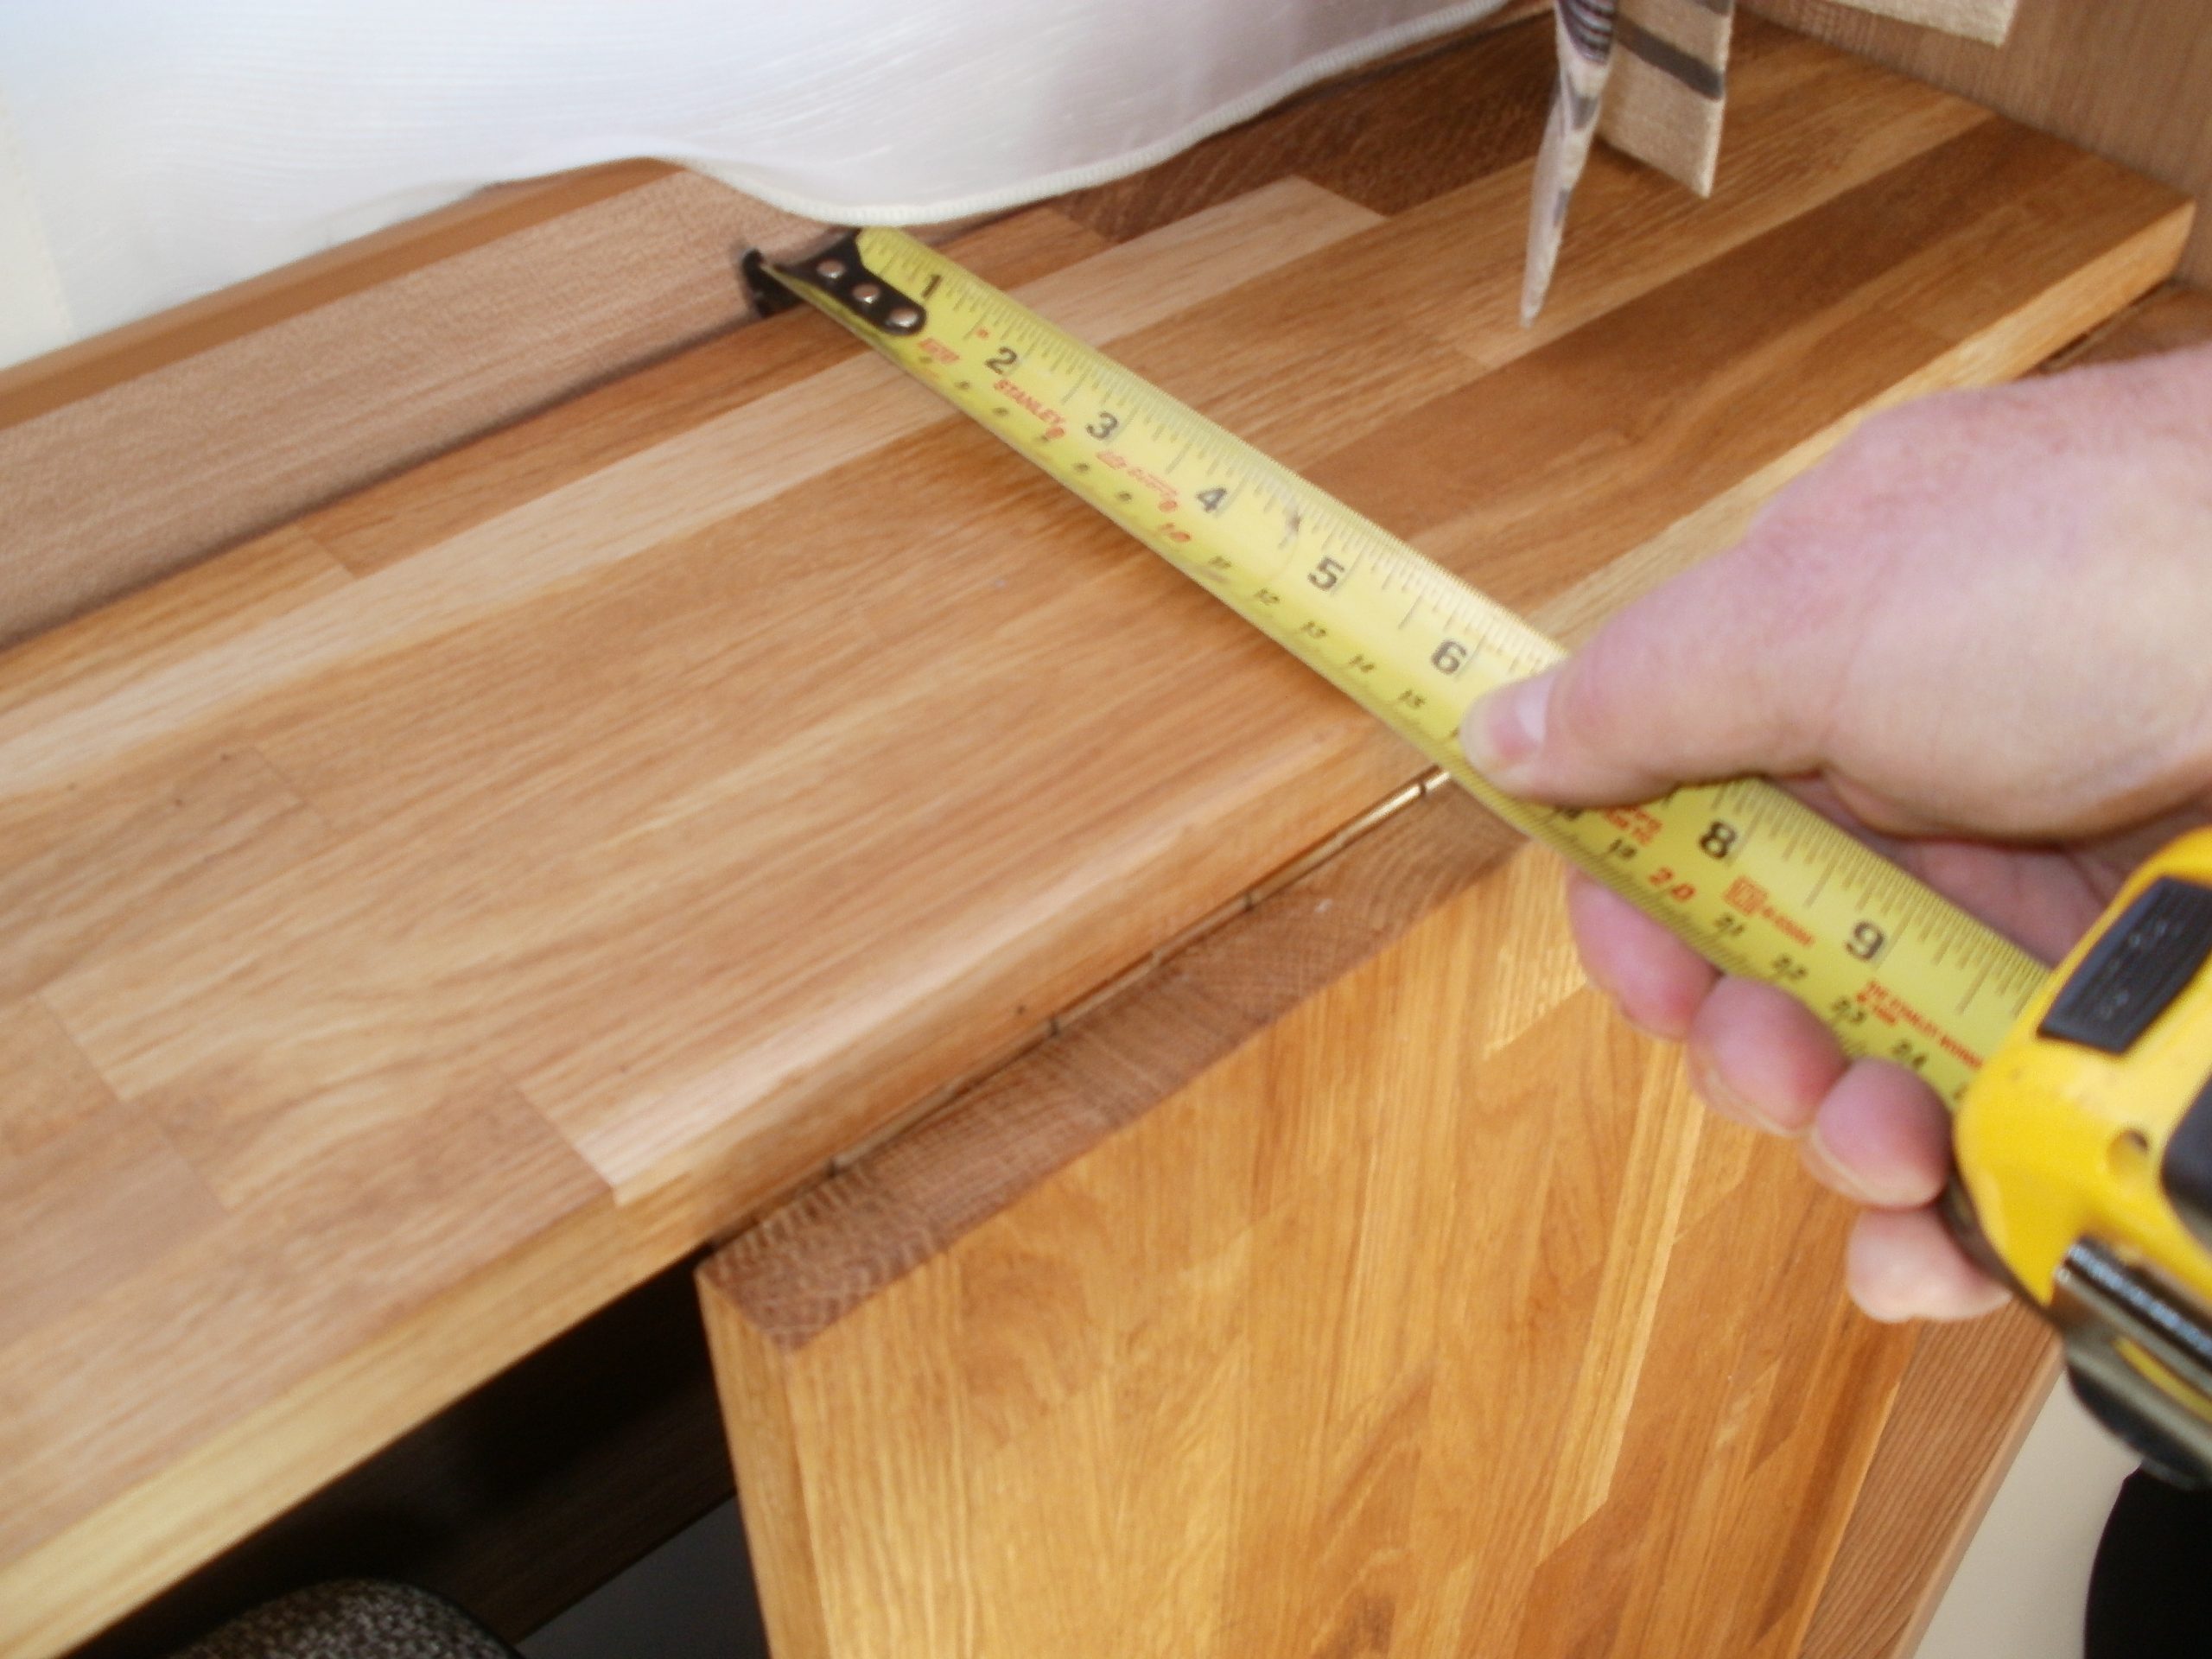
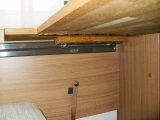
First decide the size of the shelf. Mine is 150mm wide by 600mm long. It is important, if your table is to have lateral movement, to allow room for this by considering any obstructions, fittings, walls and so on. Screw the wall-type fitting to this shelf so that its edge is flush with the wall.
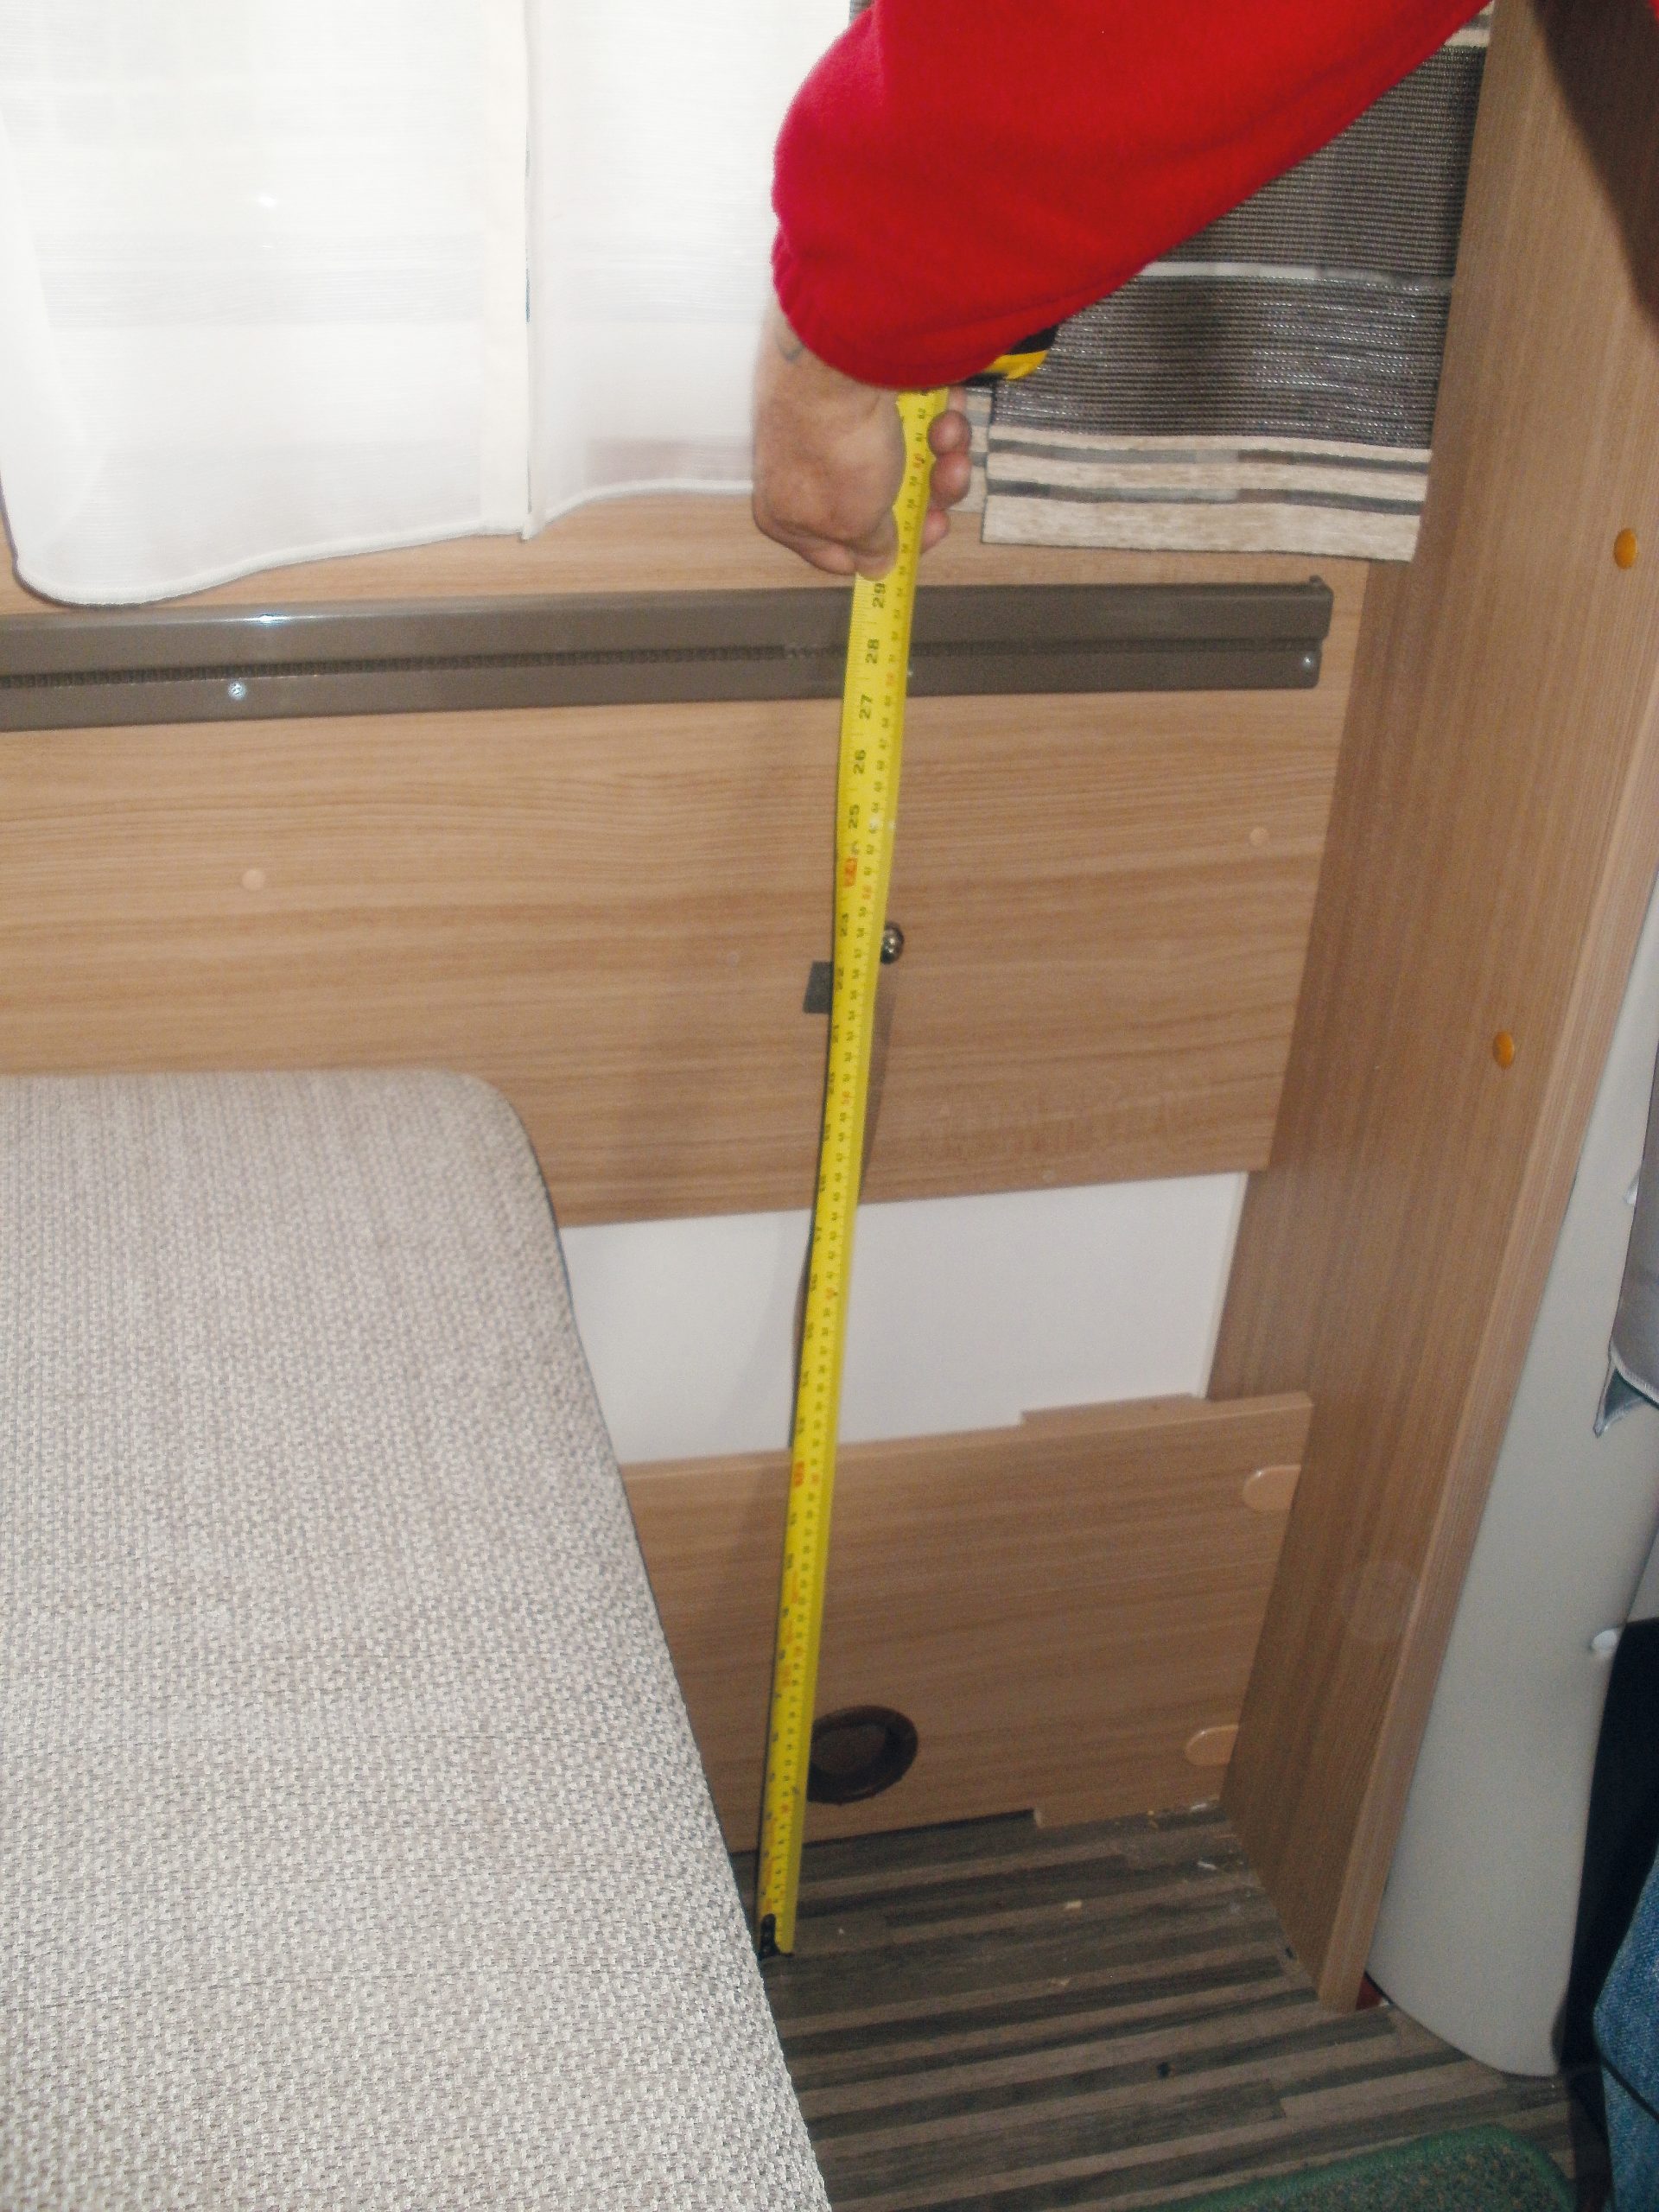
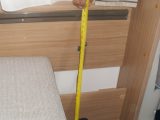
Next fit the shelf and measure the height of the bottom of the shelf to the floor; this will be the maximum length of your table, allowing it to be fully folded (you can increase the table length by increasing the width of the shelf).
Cut this to size and also your desired width, sand all surfaces and slightly round the edges and round the corners on one end only (to make collisions less painful). Cut to size and screw the piano hinge to the end that has not had the corners rounded (using the 20mm countersunk brass screws). The hinge will not require recessing as it is thin-gauge metal and out of sight, but make sure it is square along this edge. It is better if the piano hinge spans the width of the table as it keeps the top and shelf aligned.
From the 200mm-width wood, cut a leg to length, height from shelf to ’van floor, less 30mm, or the thickness of your tabletop. The leg can be shaped as I have done with a jigsaw or left straight. Do not use a smaller width for the leg because this will compromise stability. Attach the two brass hinges to the top of the leg with 20mm brass screws (pre-drilling the holes helps alignment).
Place the table and shelf assembly with the underside facing upwards, and locate the centre point. The leg hinges need to be screwed to the table so that the leg will be flush with the table edge when open and closed. Re-fit the whole assembly to your wall fitting and check that not only does it open and fold correctly, but also that it is level. If not, adjustments are easily made.
Finally, sand the table lightly with 180/240 grit paper and oil finish. I used Danish oil but any non-toxic wood oil will do. Leave it to dry and apply a second coat; drying takes a few hours.
Your new table is more versatile, aesthetically pleasing and easier to repair than that supplied by most motorhome manufacturers, all for an outlay of less than £50.
Materials and costs
To make this folding dinette table for your motorhome you will need: 30mm hardwood block board (1000 x 600mm) and piece for leg (1000 x 200mm) £38; brass piano hinge £2.80; 2 x brass flush-fitting hinges £1.60; 20mm countersunk brass screws £1.20 (for 30); 180/240 grit paper £1.40; varnish or oil £4. Total: £49.00.
If you enjoy DIY, you might like fellow reader Tony Cook’s motorhome DIY projects making a wine glass holder and making an extra door pocket to store more items safely during your motorhome touring.
The hinge will not require recessing as it is thin-gauge metal and out of sight