


All modern diesel engines have air and fuel filters, but all too often they don’t receive the same attention as the main engine oil filter.
Th is is unwise: they both have a very important part to play in protecting the engine and keeping it running at peak efficiency.
A diesel engine differs from its petrol counterpart in that the induction tract is wide open to the atmosphere at all times – a petrol unit will have a butterfly controlling air flow according to the demands placed upon it.
Add to this the fact that most current-day diesels are turbocharged, and it is easy to grasp that the amount of air ingested by them can be enormous.
Care for your filters
Understandably, it is injurious to the engine if this air is contaminated with abrasive dust and debris.
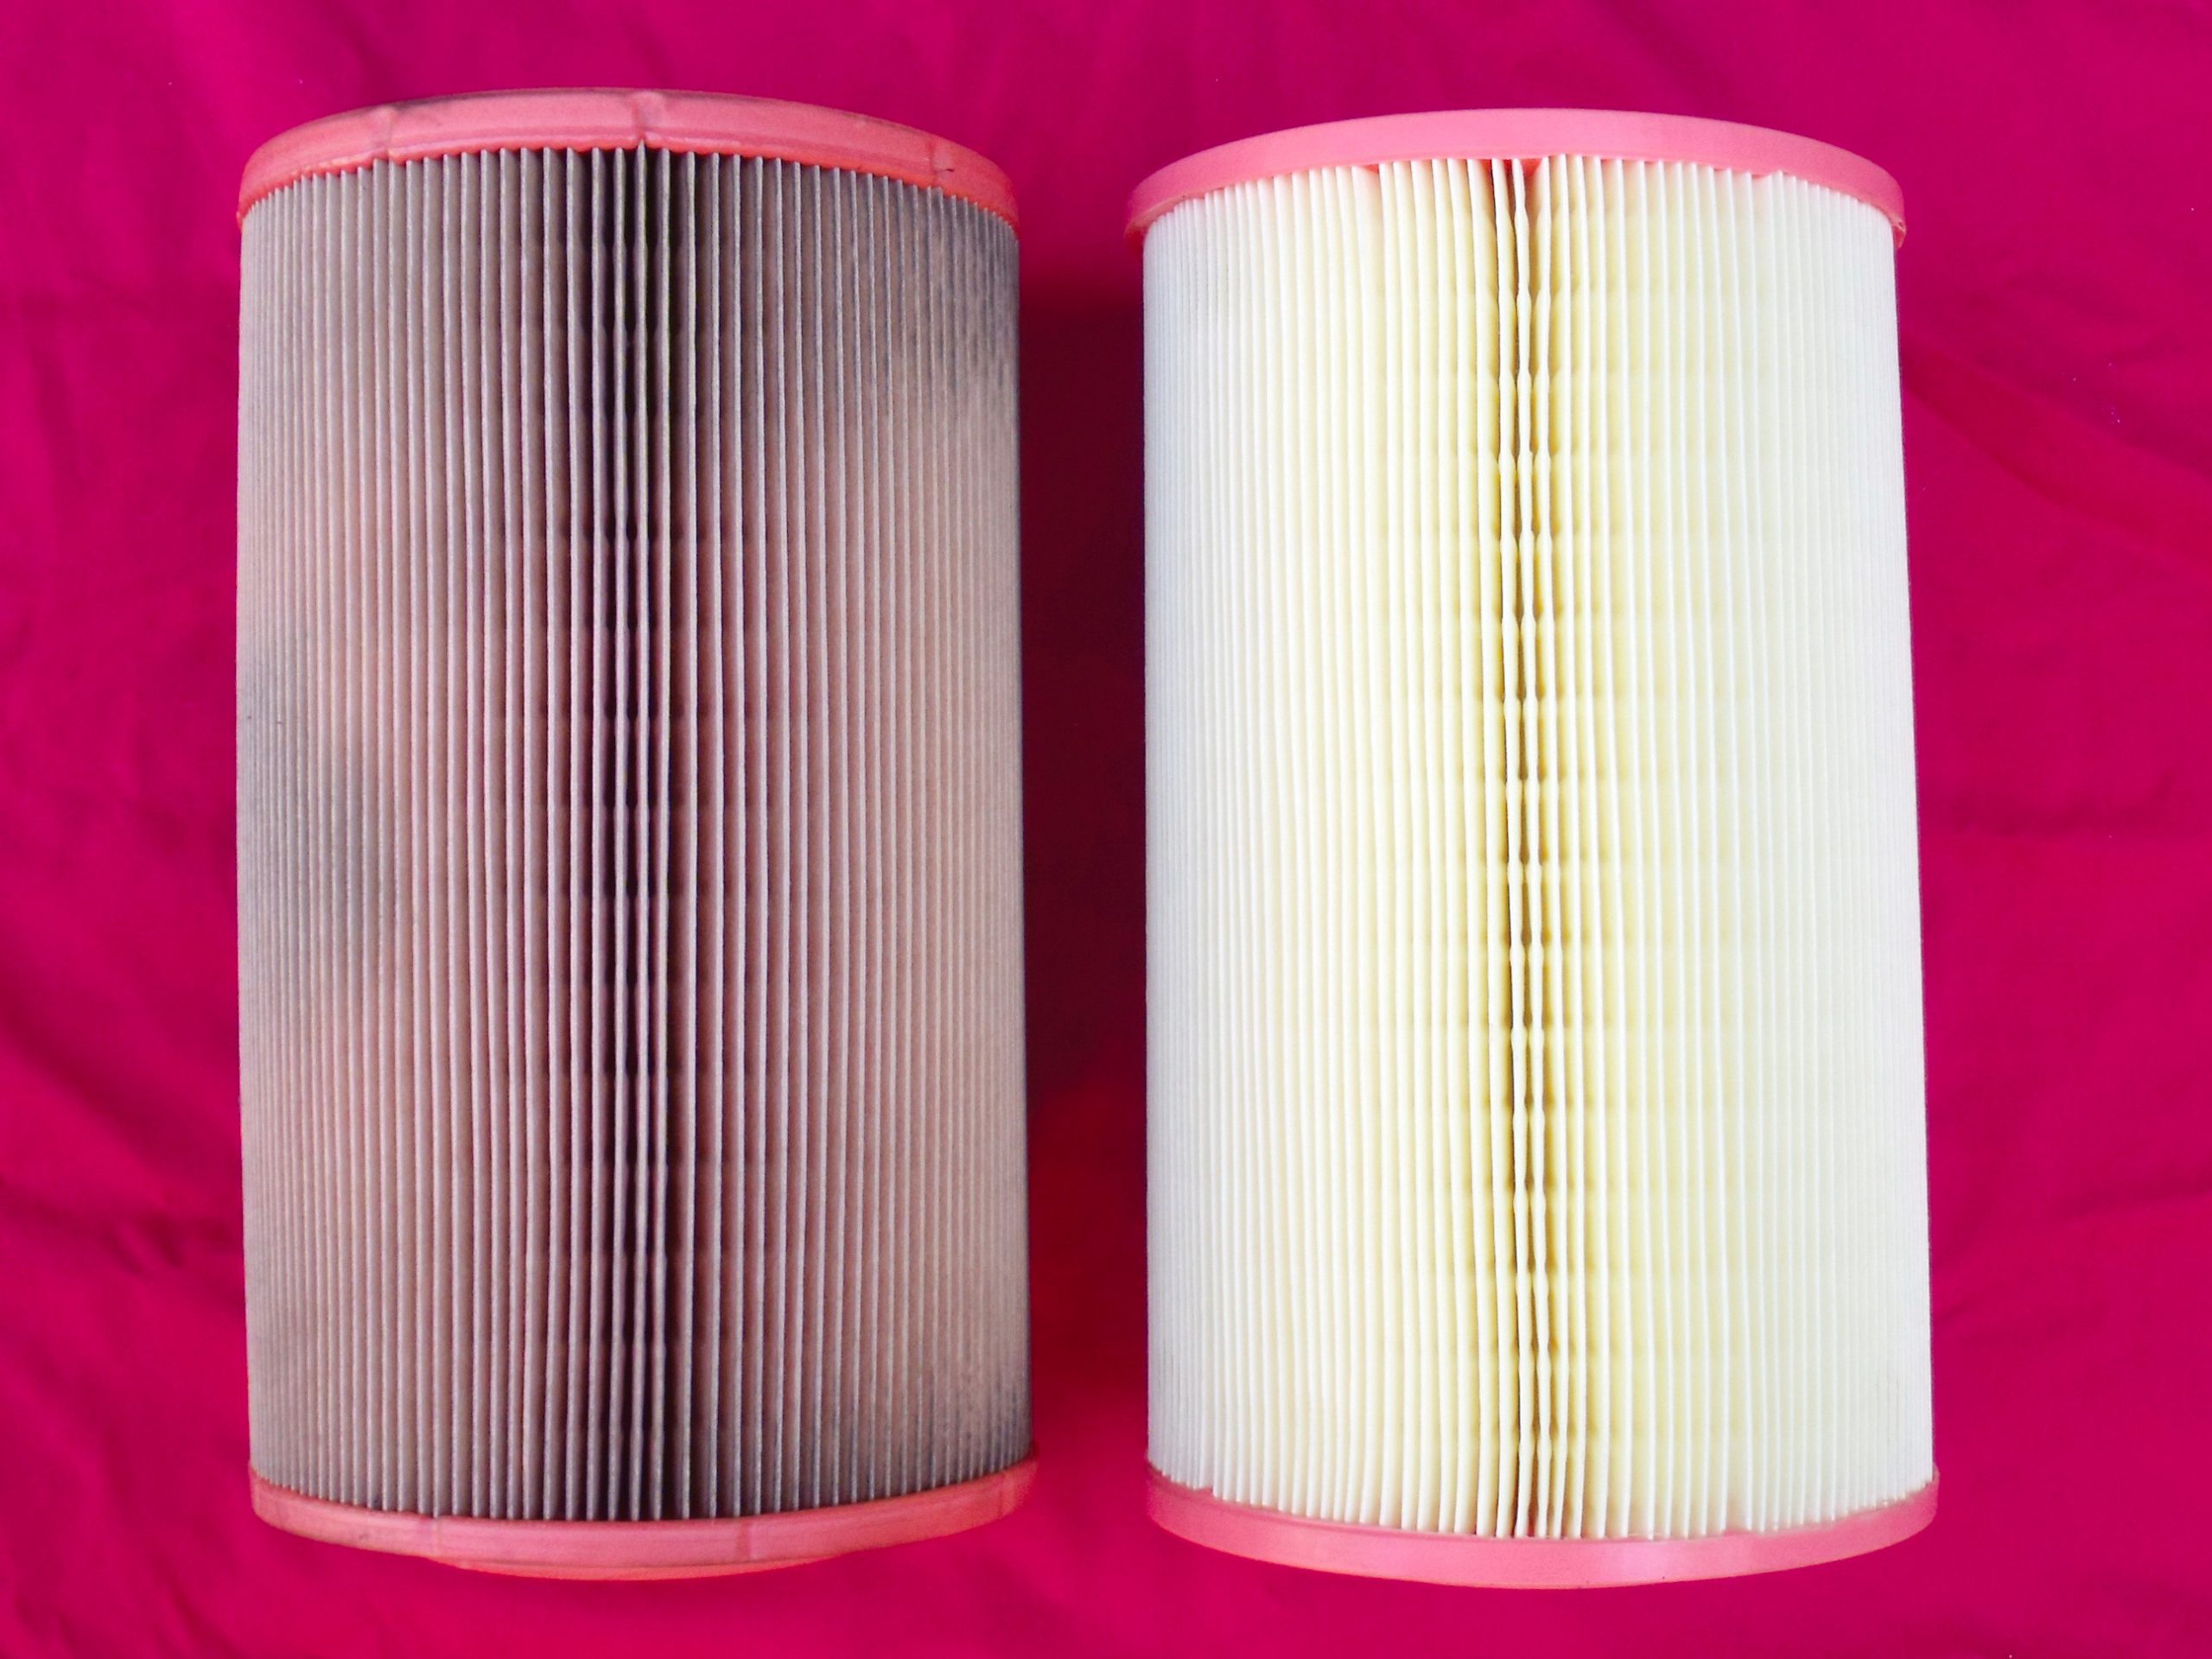
In addition, a clogged air filter will impair performance and increase fuel usage.
Likewise, the fuel filter has a very important job. Diesel engines rely on a supply of clean fuel delivered to fuel injectors with very small jets for their operation.
Any contamination (debris, water etc) can lead to a breakdown and costly bills.
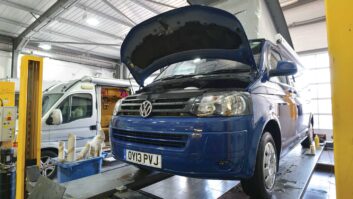
This article deals with changing both filters on a 2003 Fiat Ducato (X244) 2.3-litre turbodiesel, and is meant to be illustrative of the procedures involved.
SEVEL stablemates the Peugeot Boxer and Citroën Relay are broadly the same, although depending on the engine model there may be differences in the actual fuel filter required.
Replacing the filters requires a certain amount of ‘stripping out’. Here’s how you do it.
What you need
- Skill level: basic mechanical understanding
- Tools: metric socket set and pozidrive screwdriver
- Time: 2 hours
- Parts: air filter and fuel filter to suit the vehicle – visit www.eurocarparts.com, type in your registration number and you will be offered a selection of the correct items for your vehicle (other sites with the same option are available)
How to change the air filter
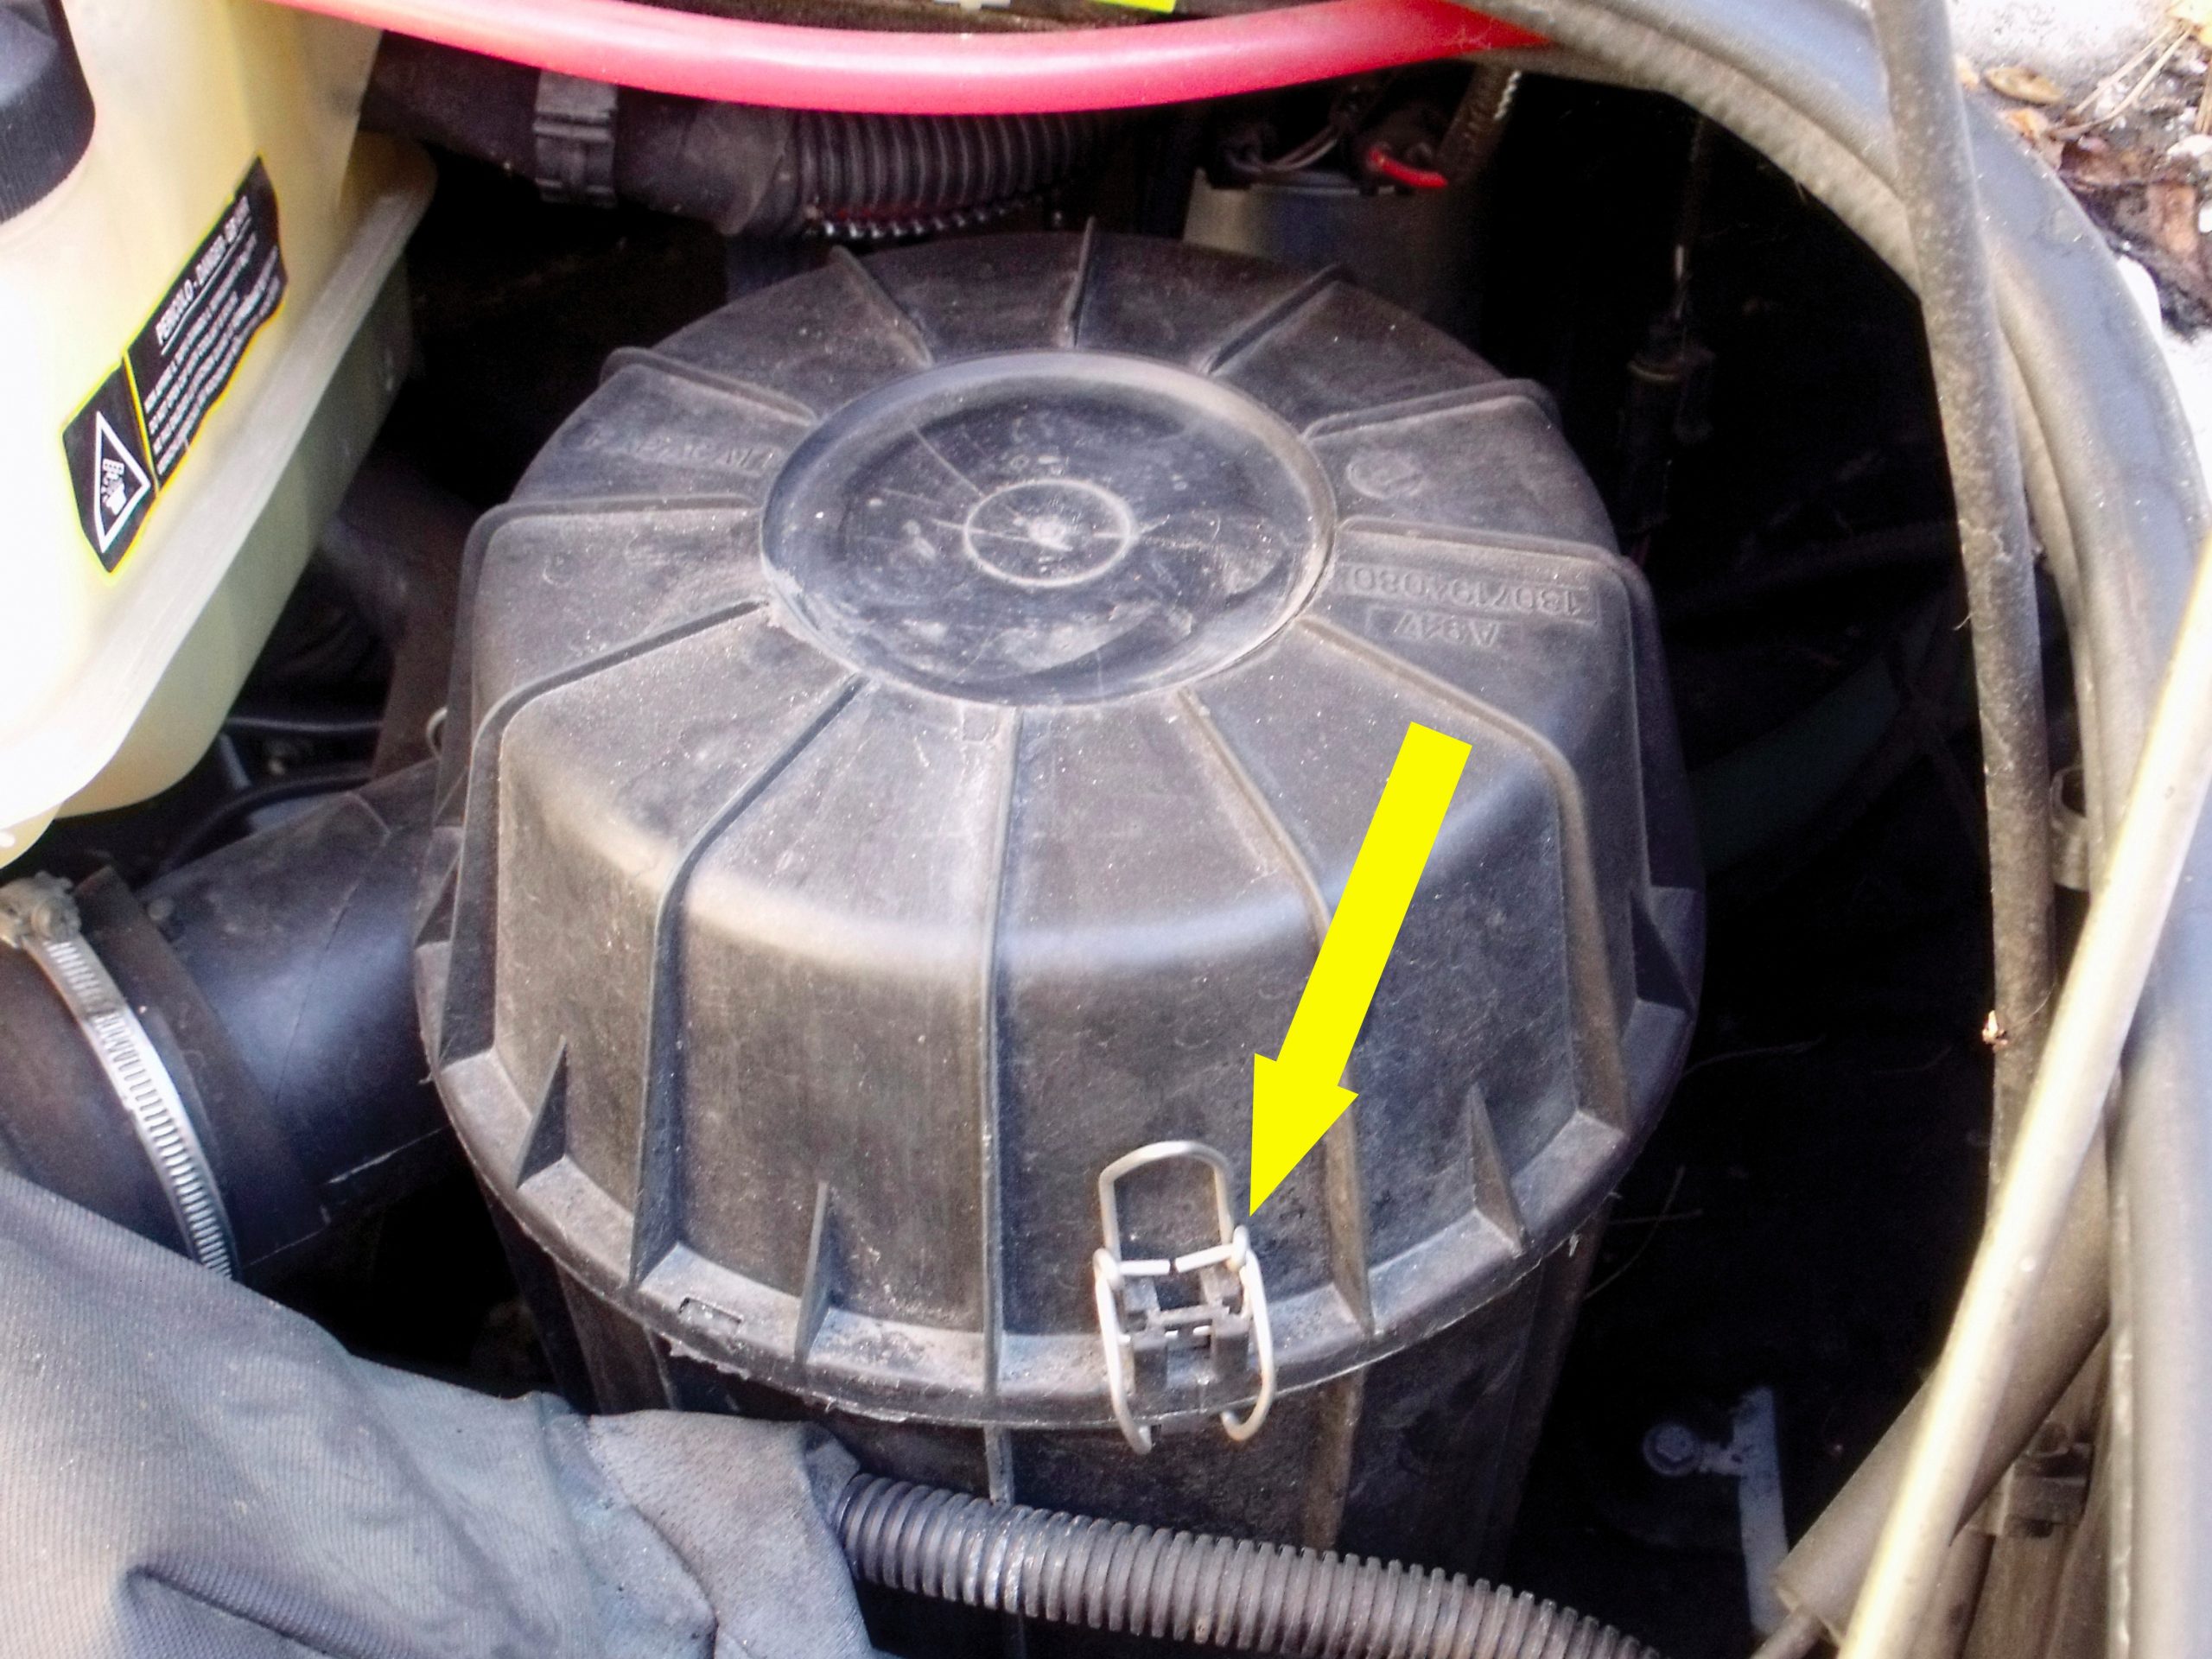
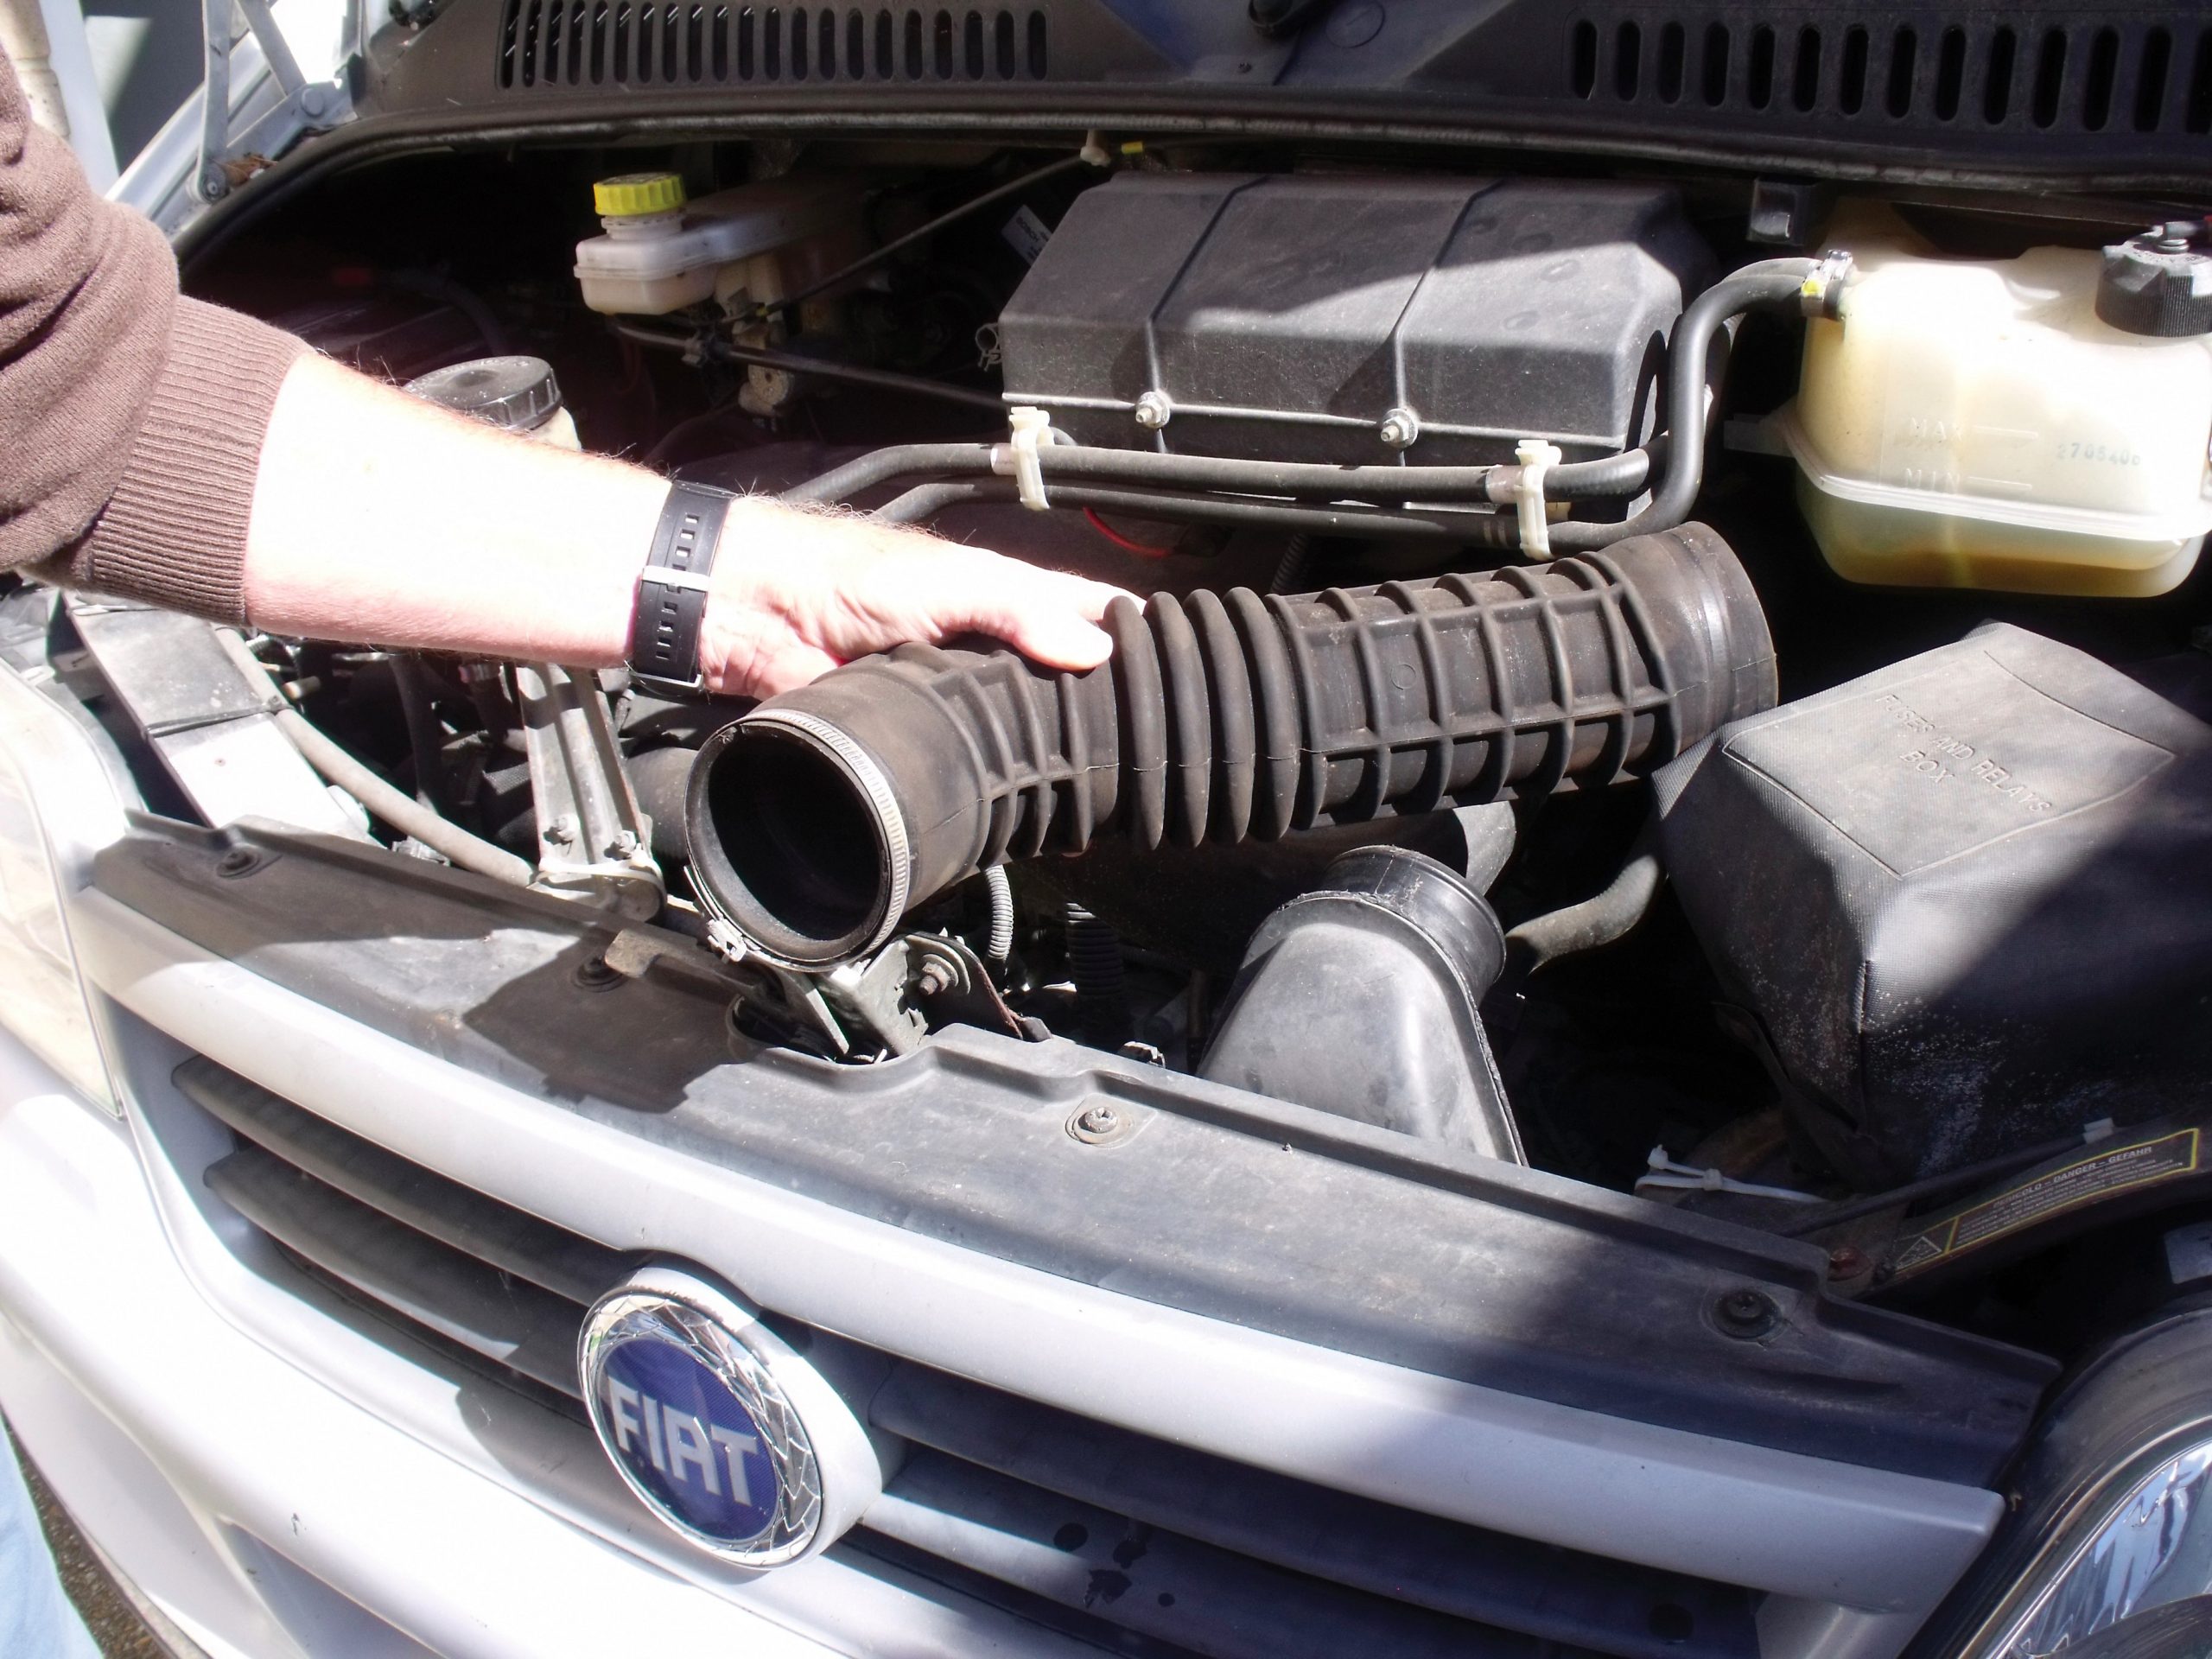
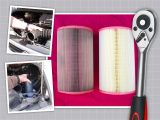
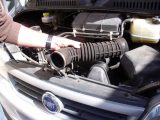
First, unclip the top of the air filter housing and remove the contaminated air filter.
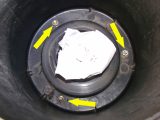
At the bottom of the housing are three nuts on captive studs that retain it in position.
Using a long-shanked socket, remove the three nuts.
(Before doing so, place some rag or paper towel into the central hole leading to the turbocharger. Getting a dropped nut out of the turbocharger can make a simple job much more complicated!)
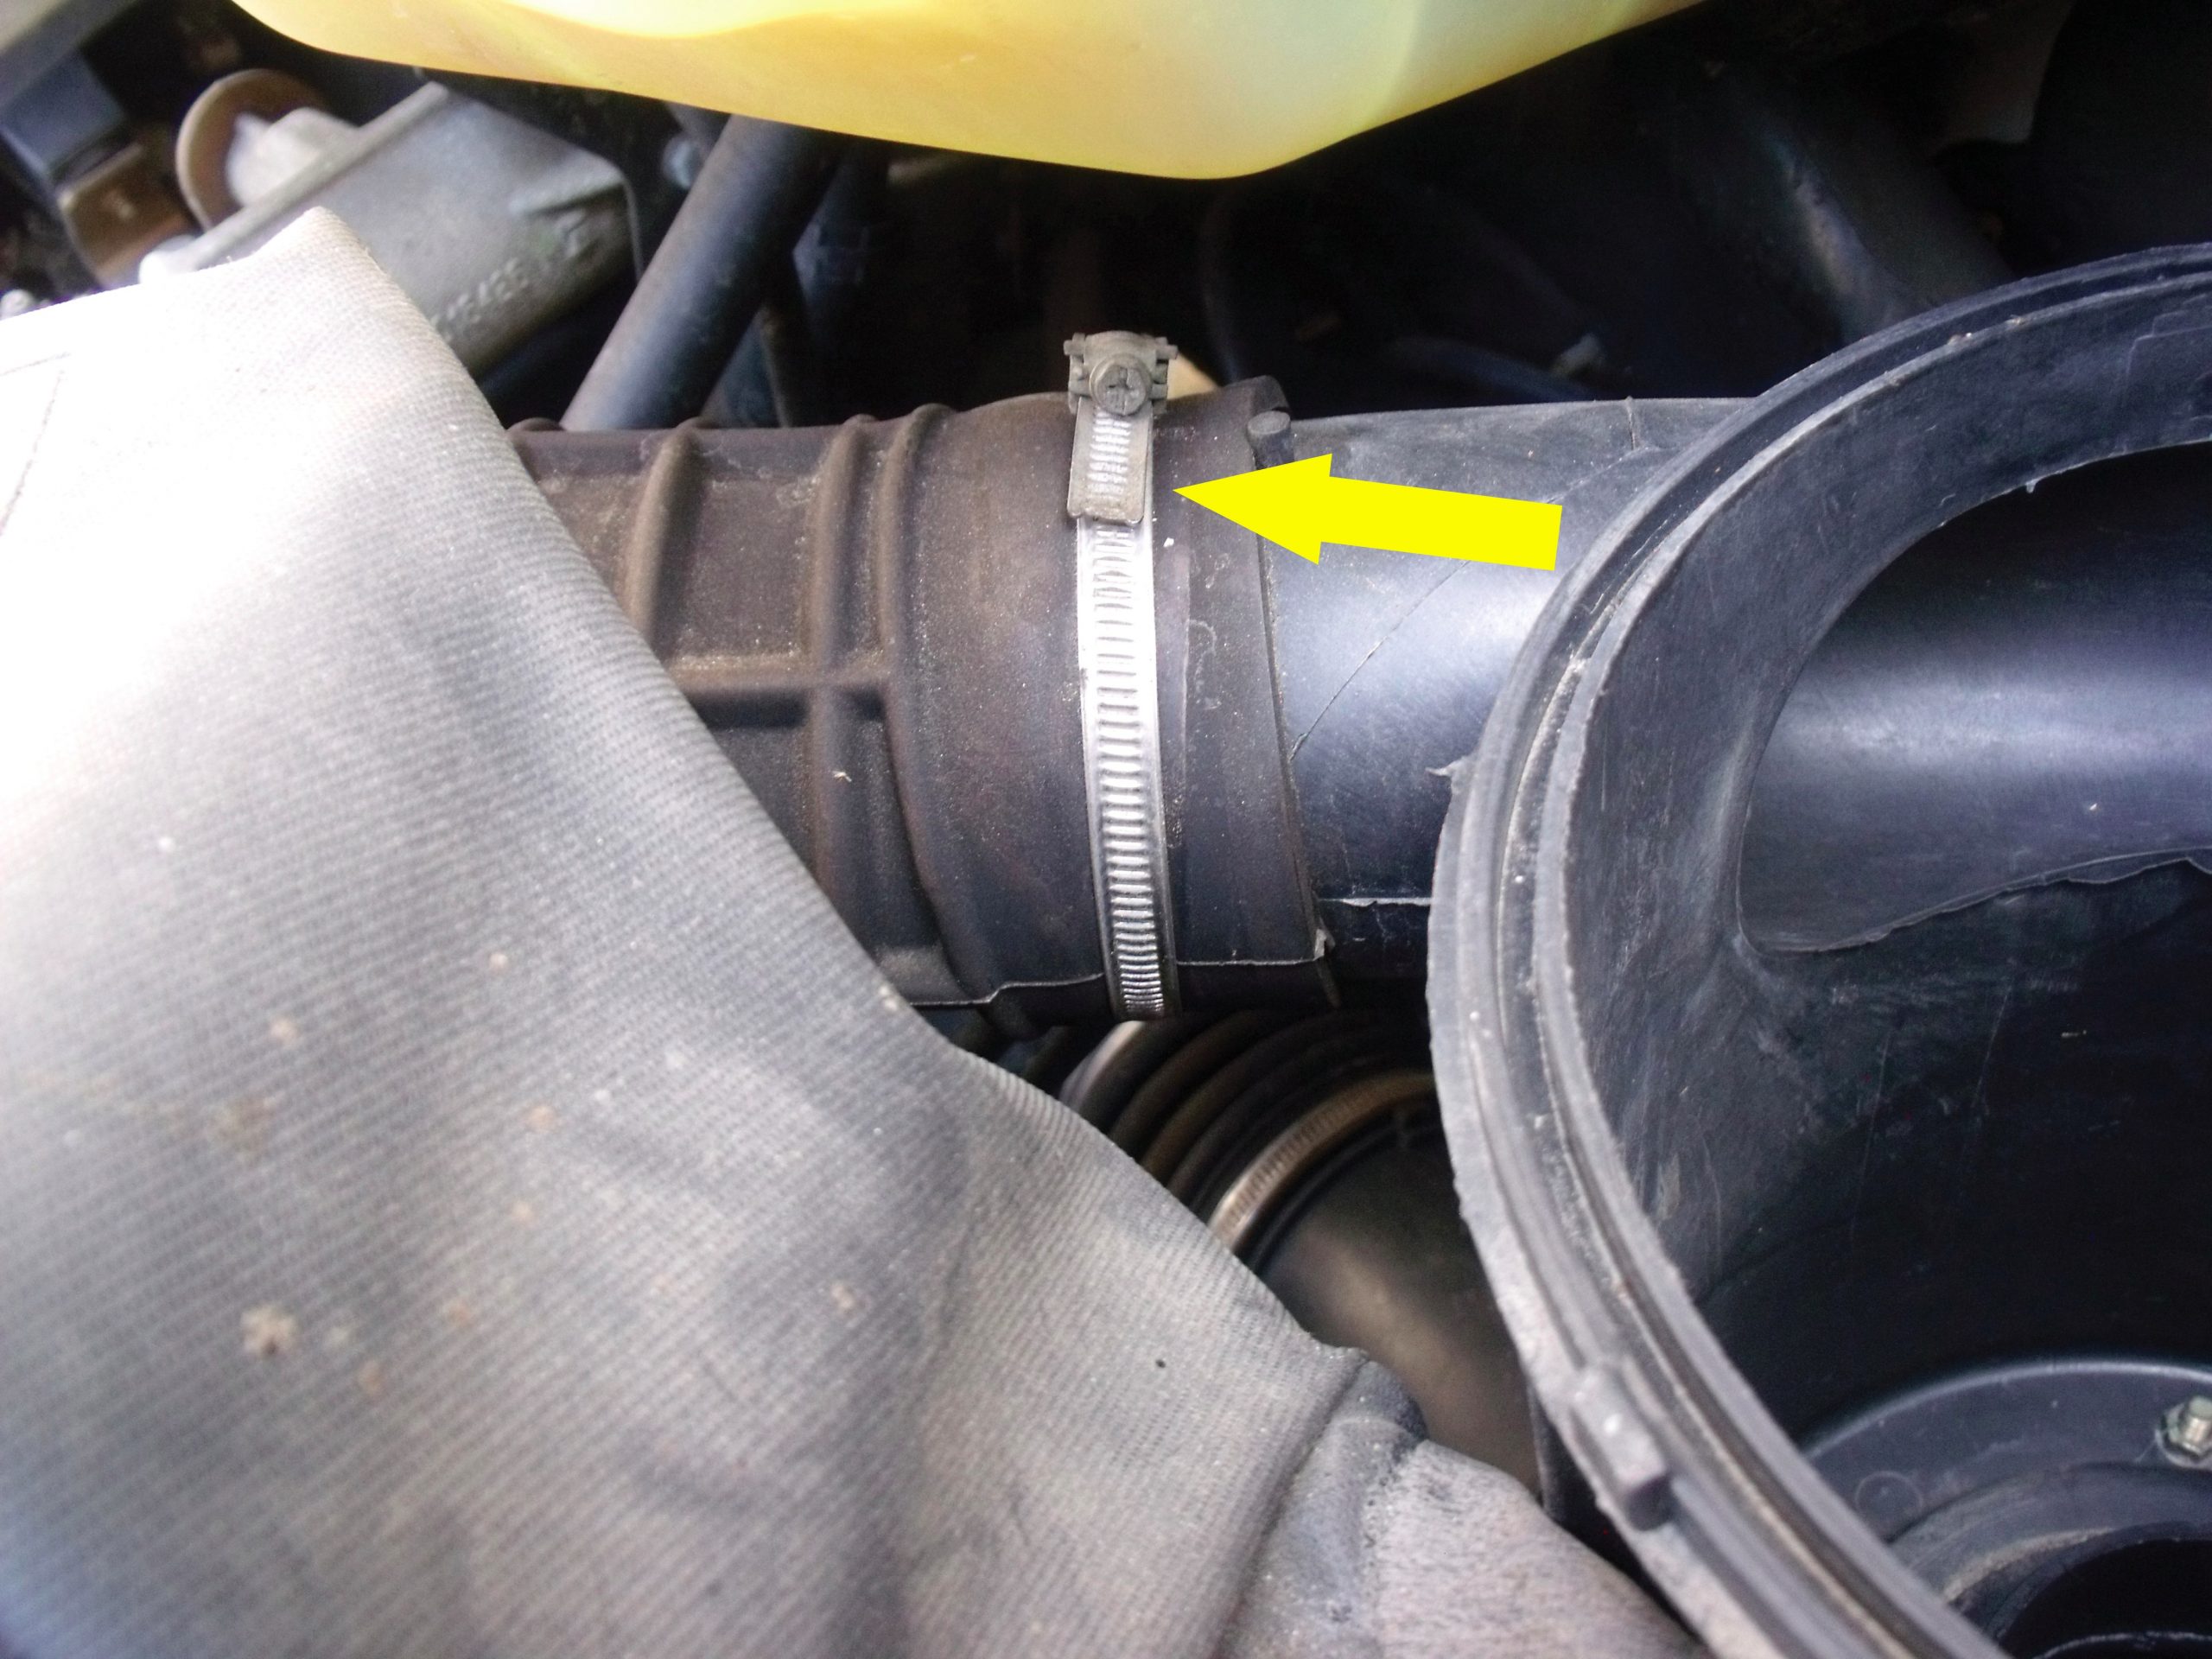
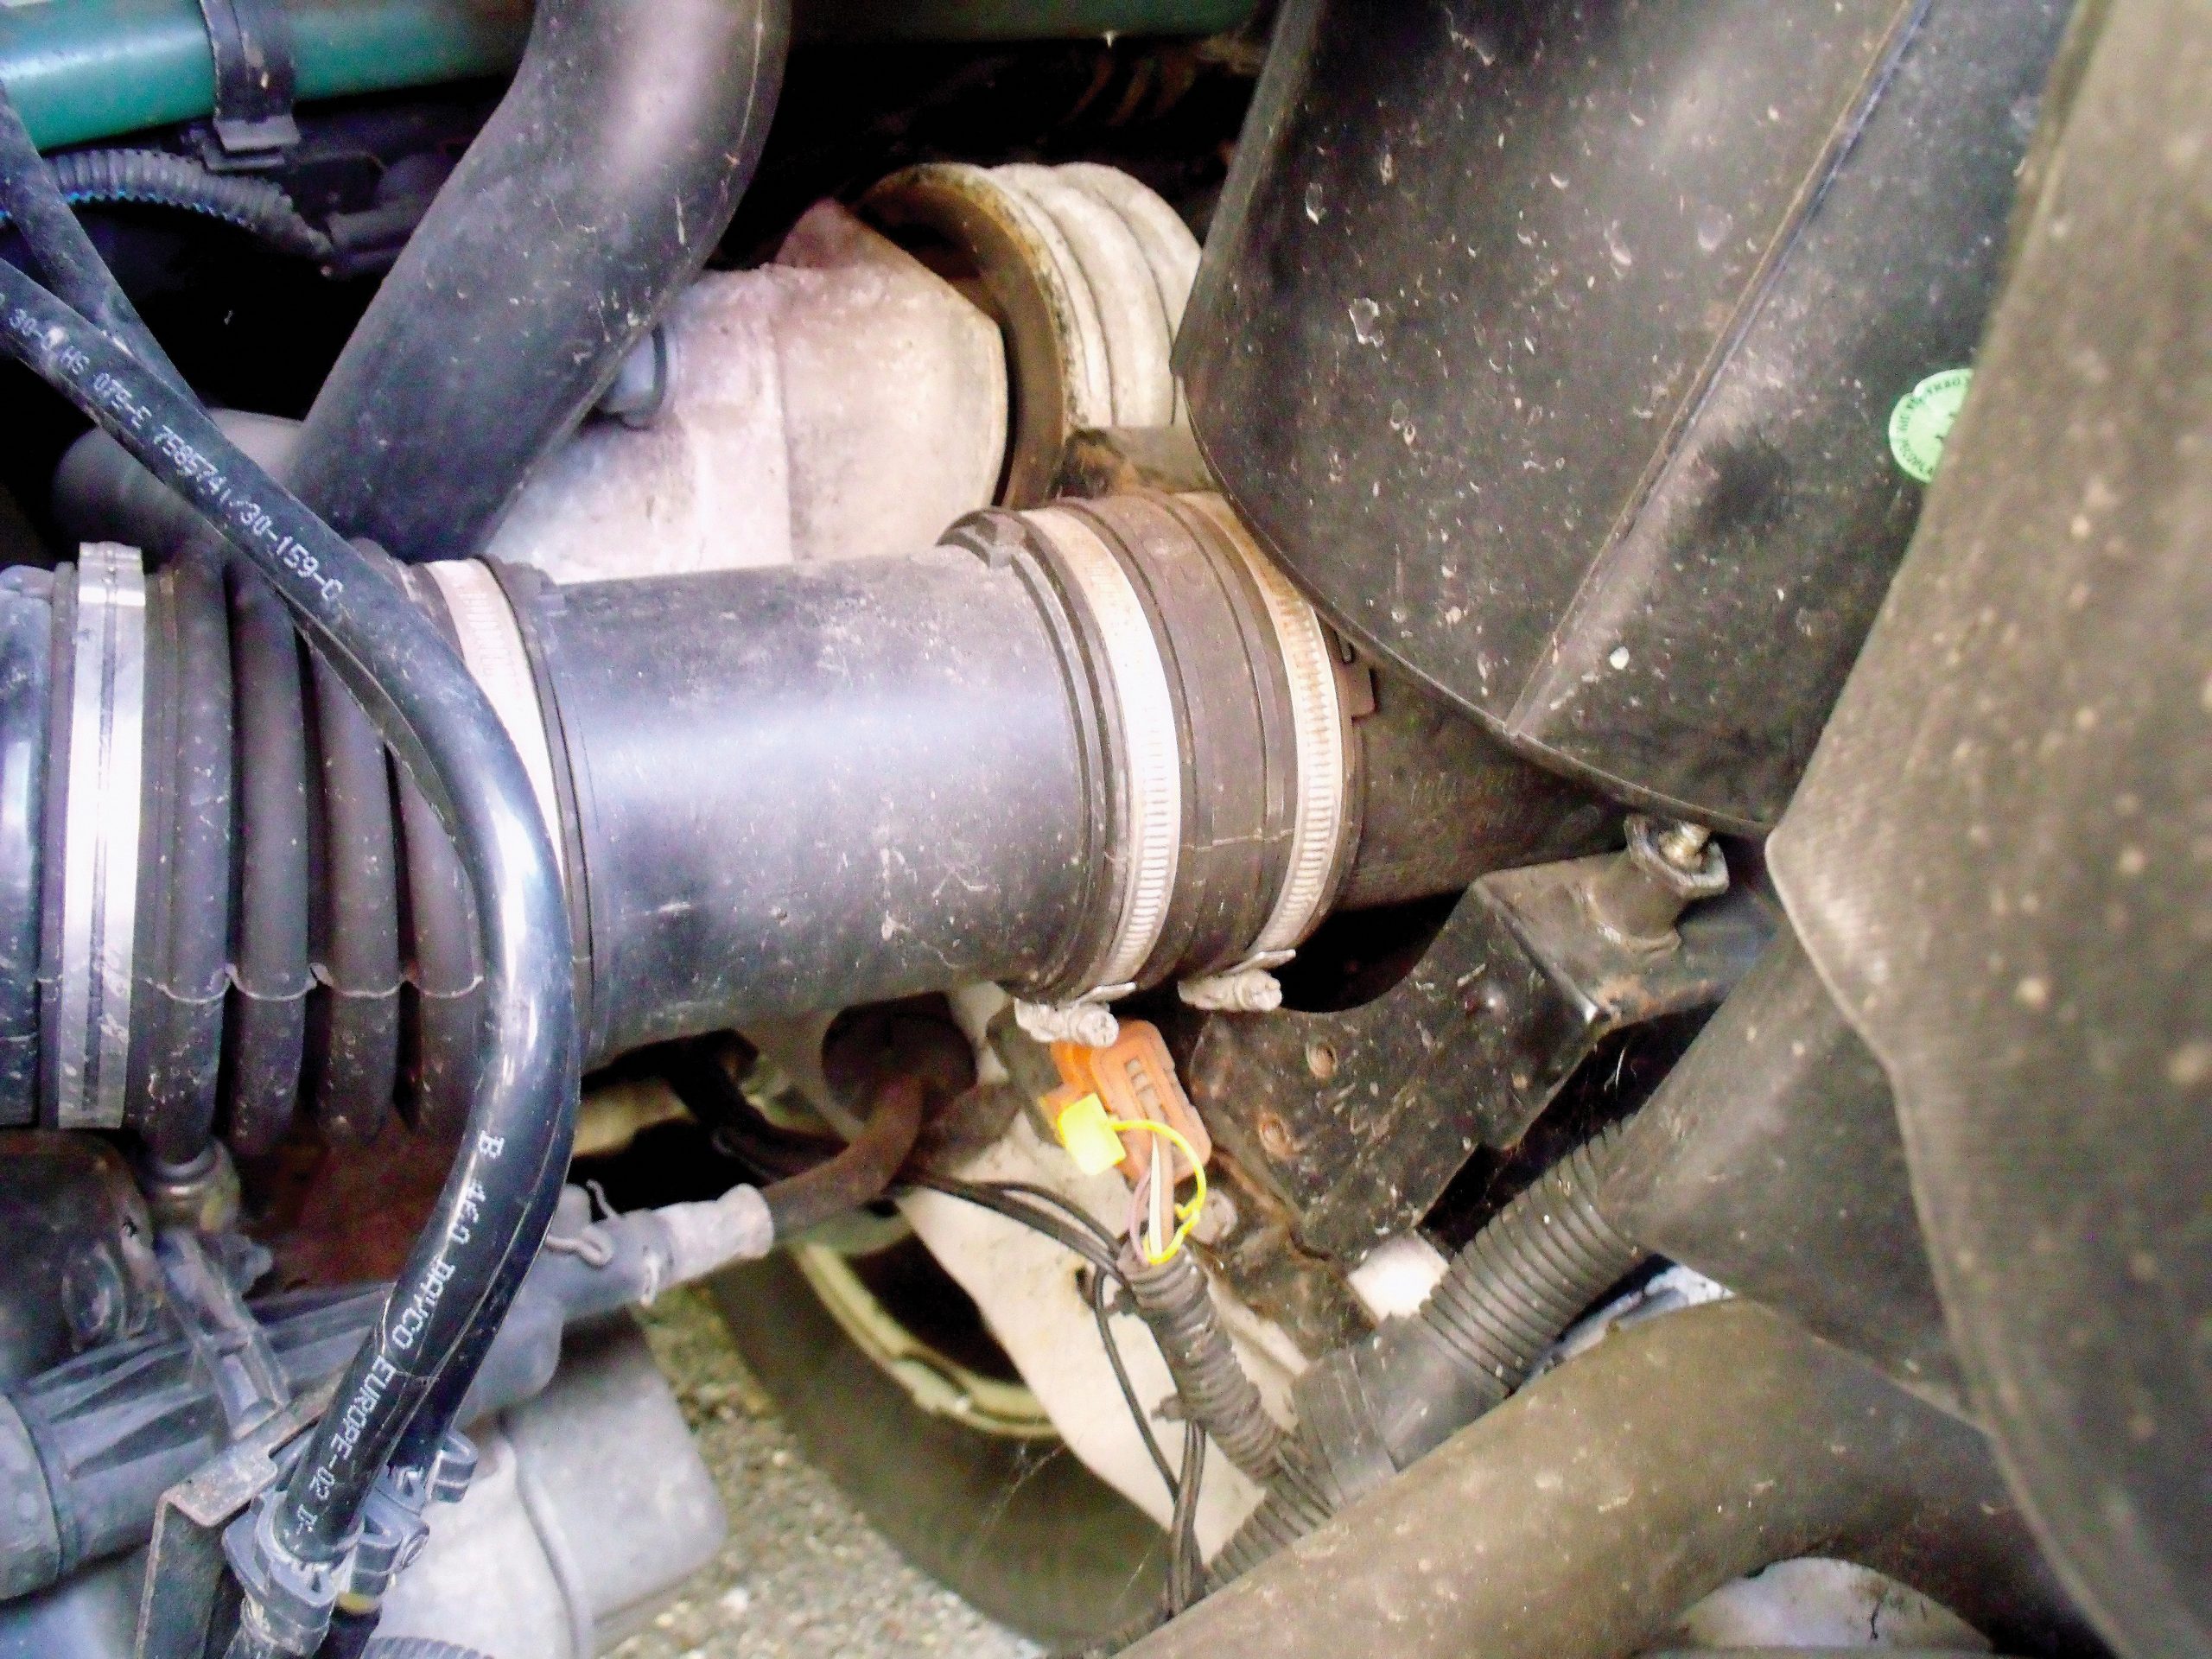
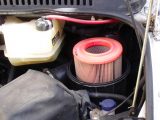
Remove the intake pipe from the front radiator grille, and undo the clip on the pipe leading to the turbocharger from the air filter body.
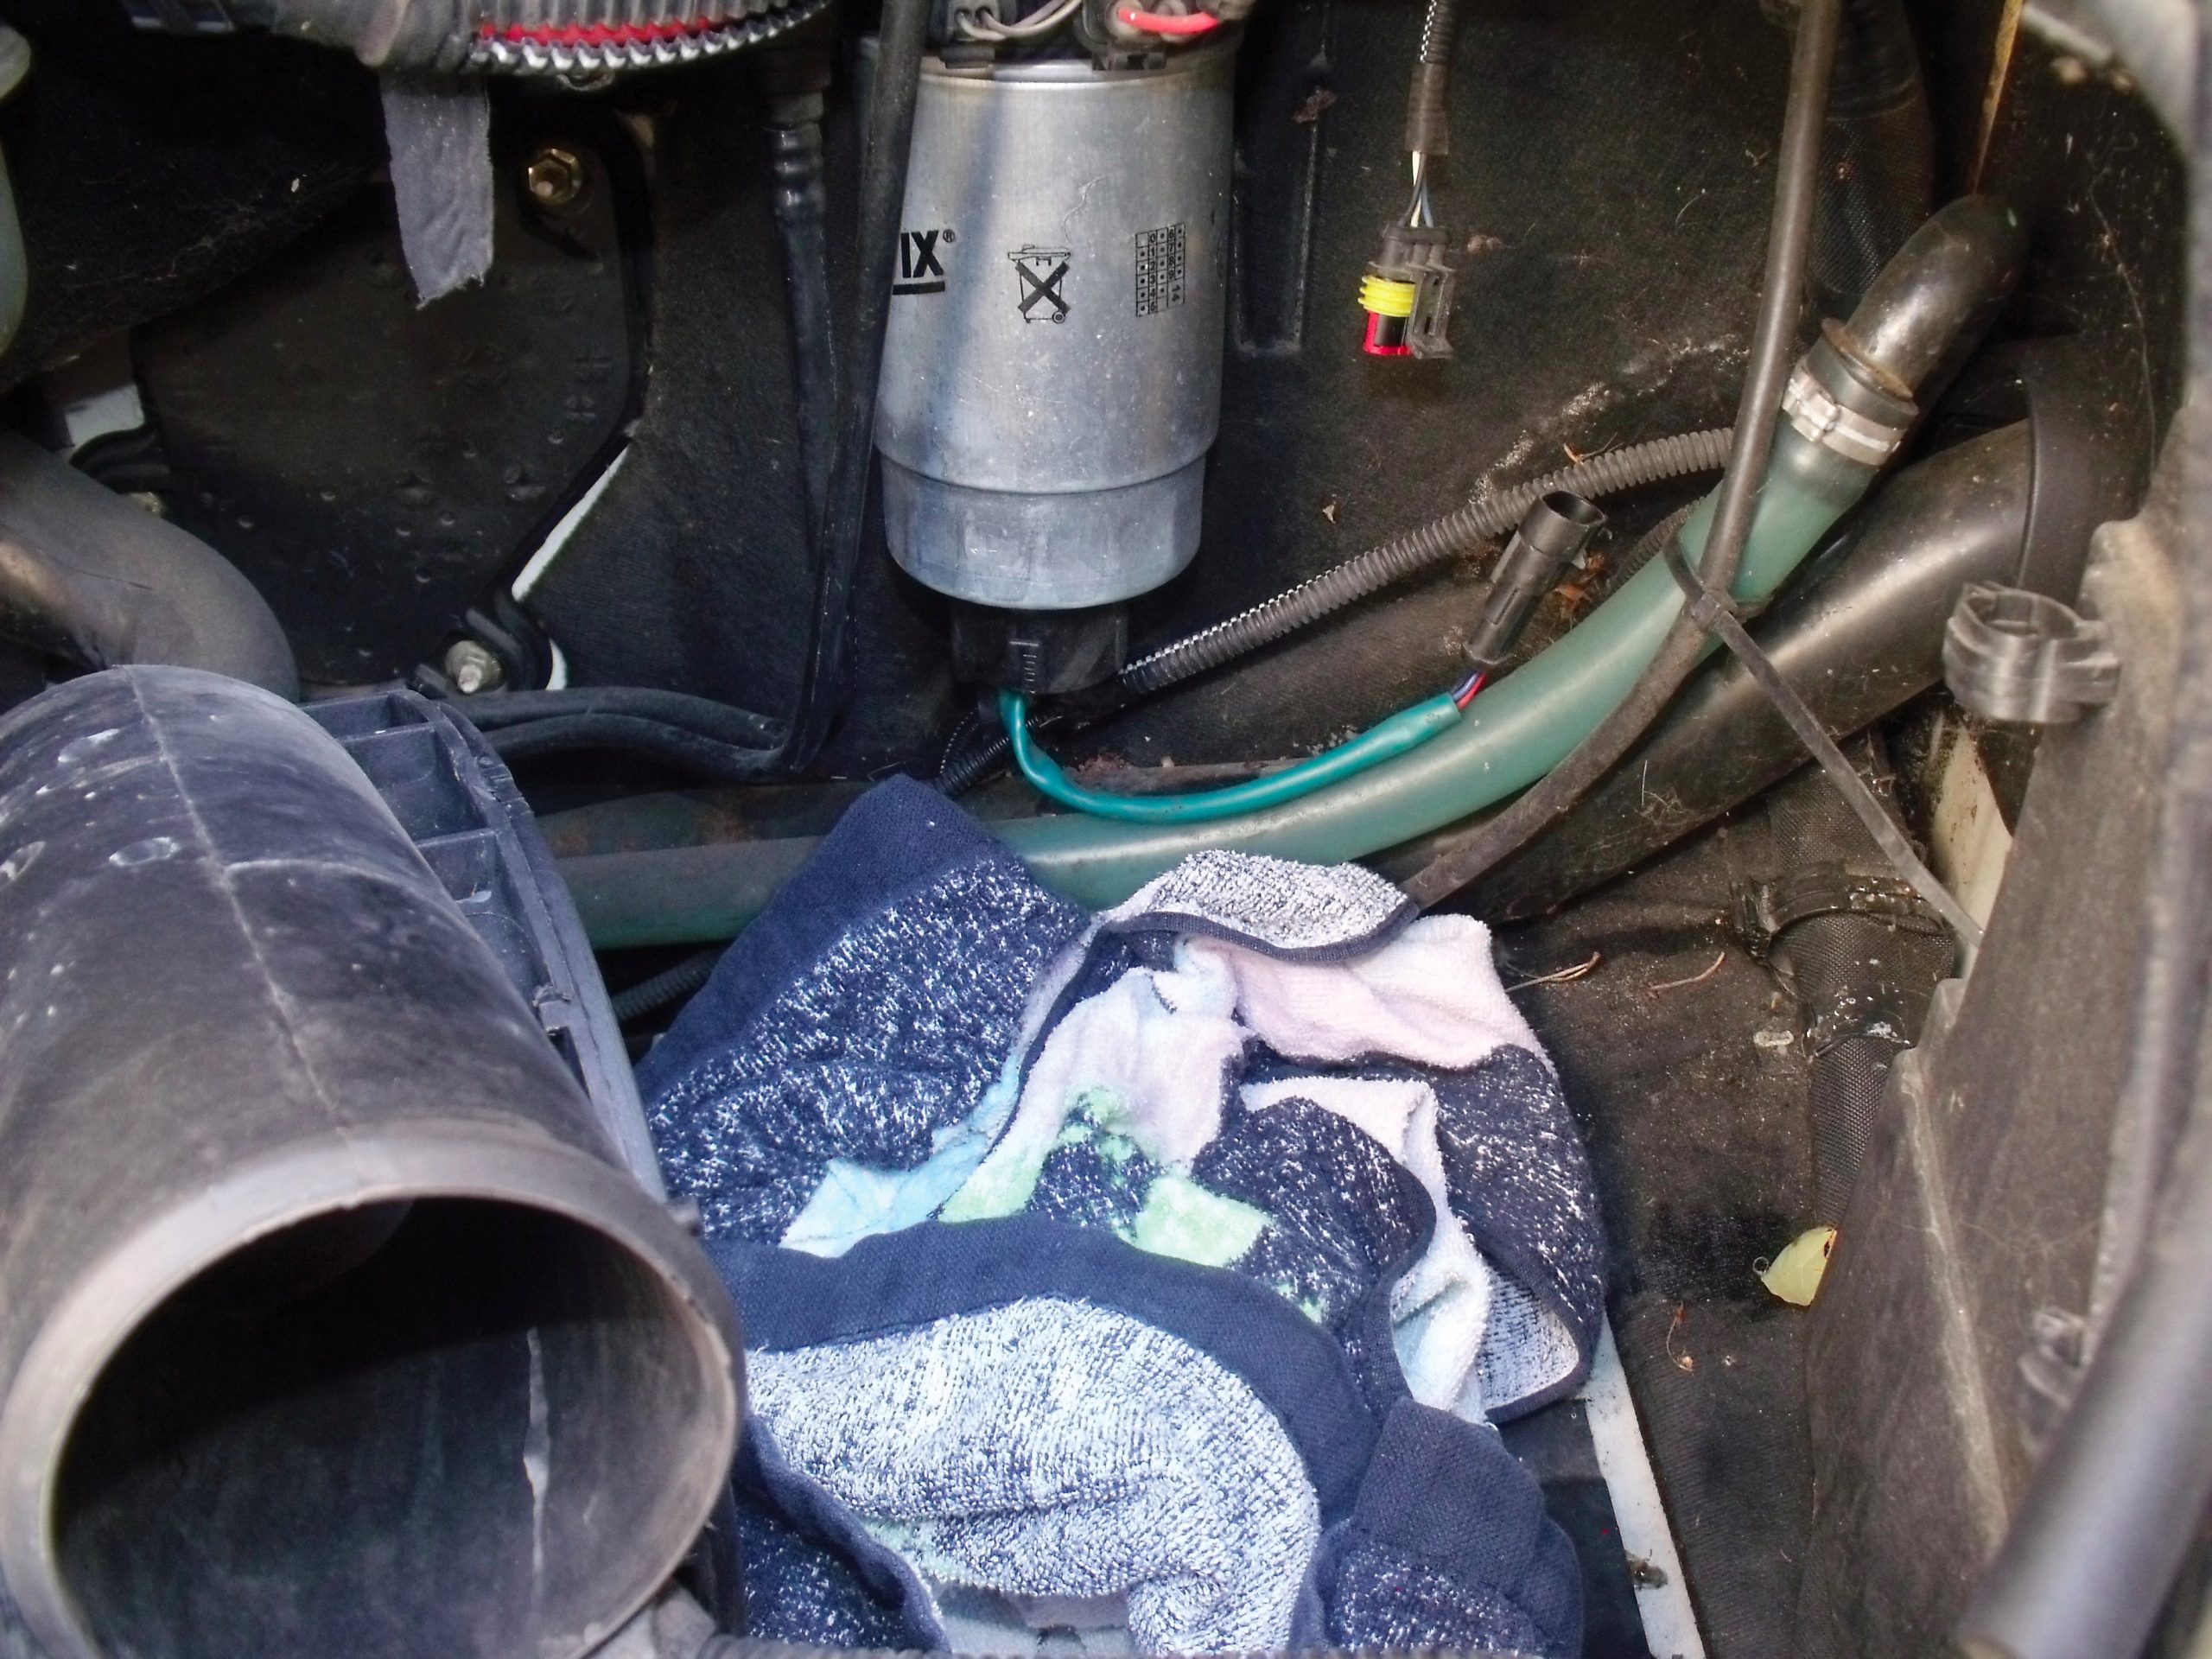
Because of the space constraints, it will be very difficult to remove the air filter housing from the engine compartment.
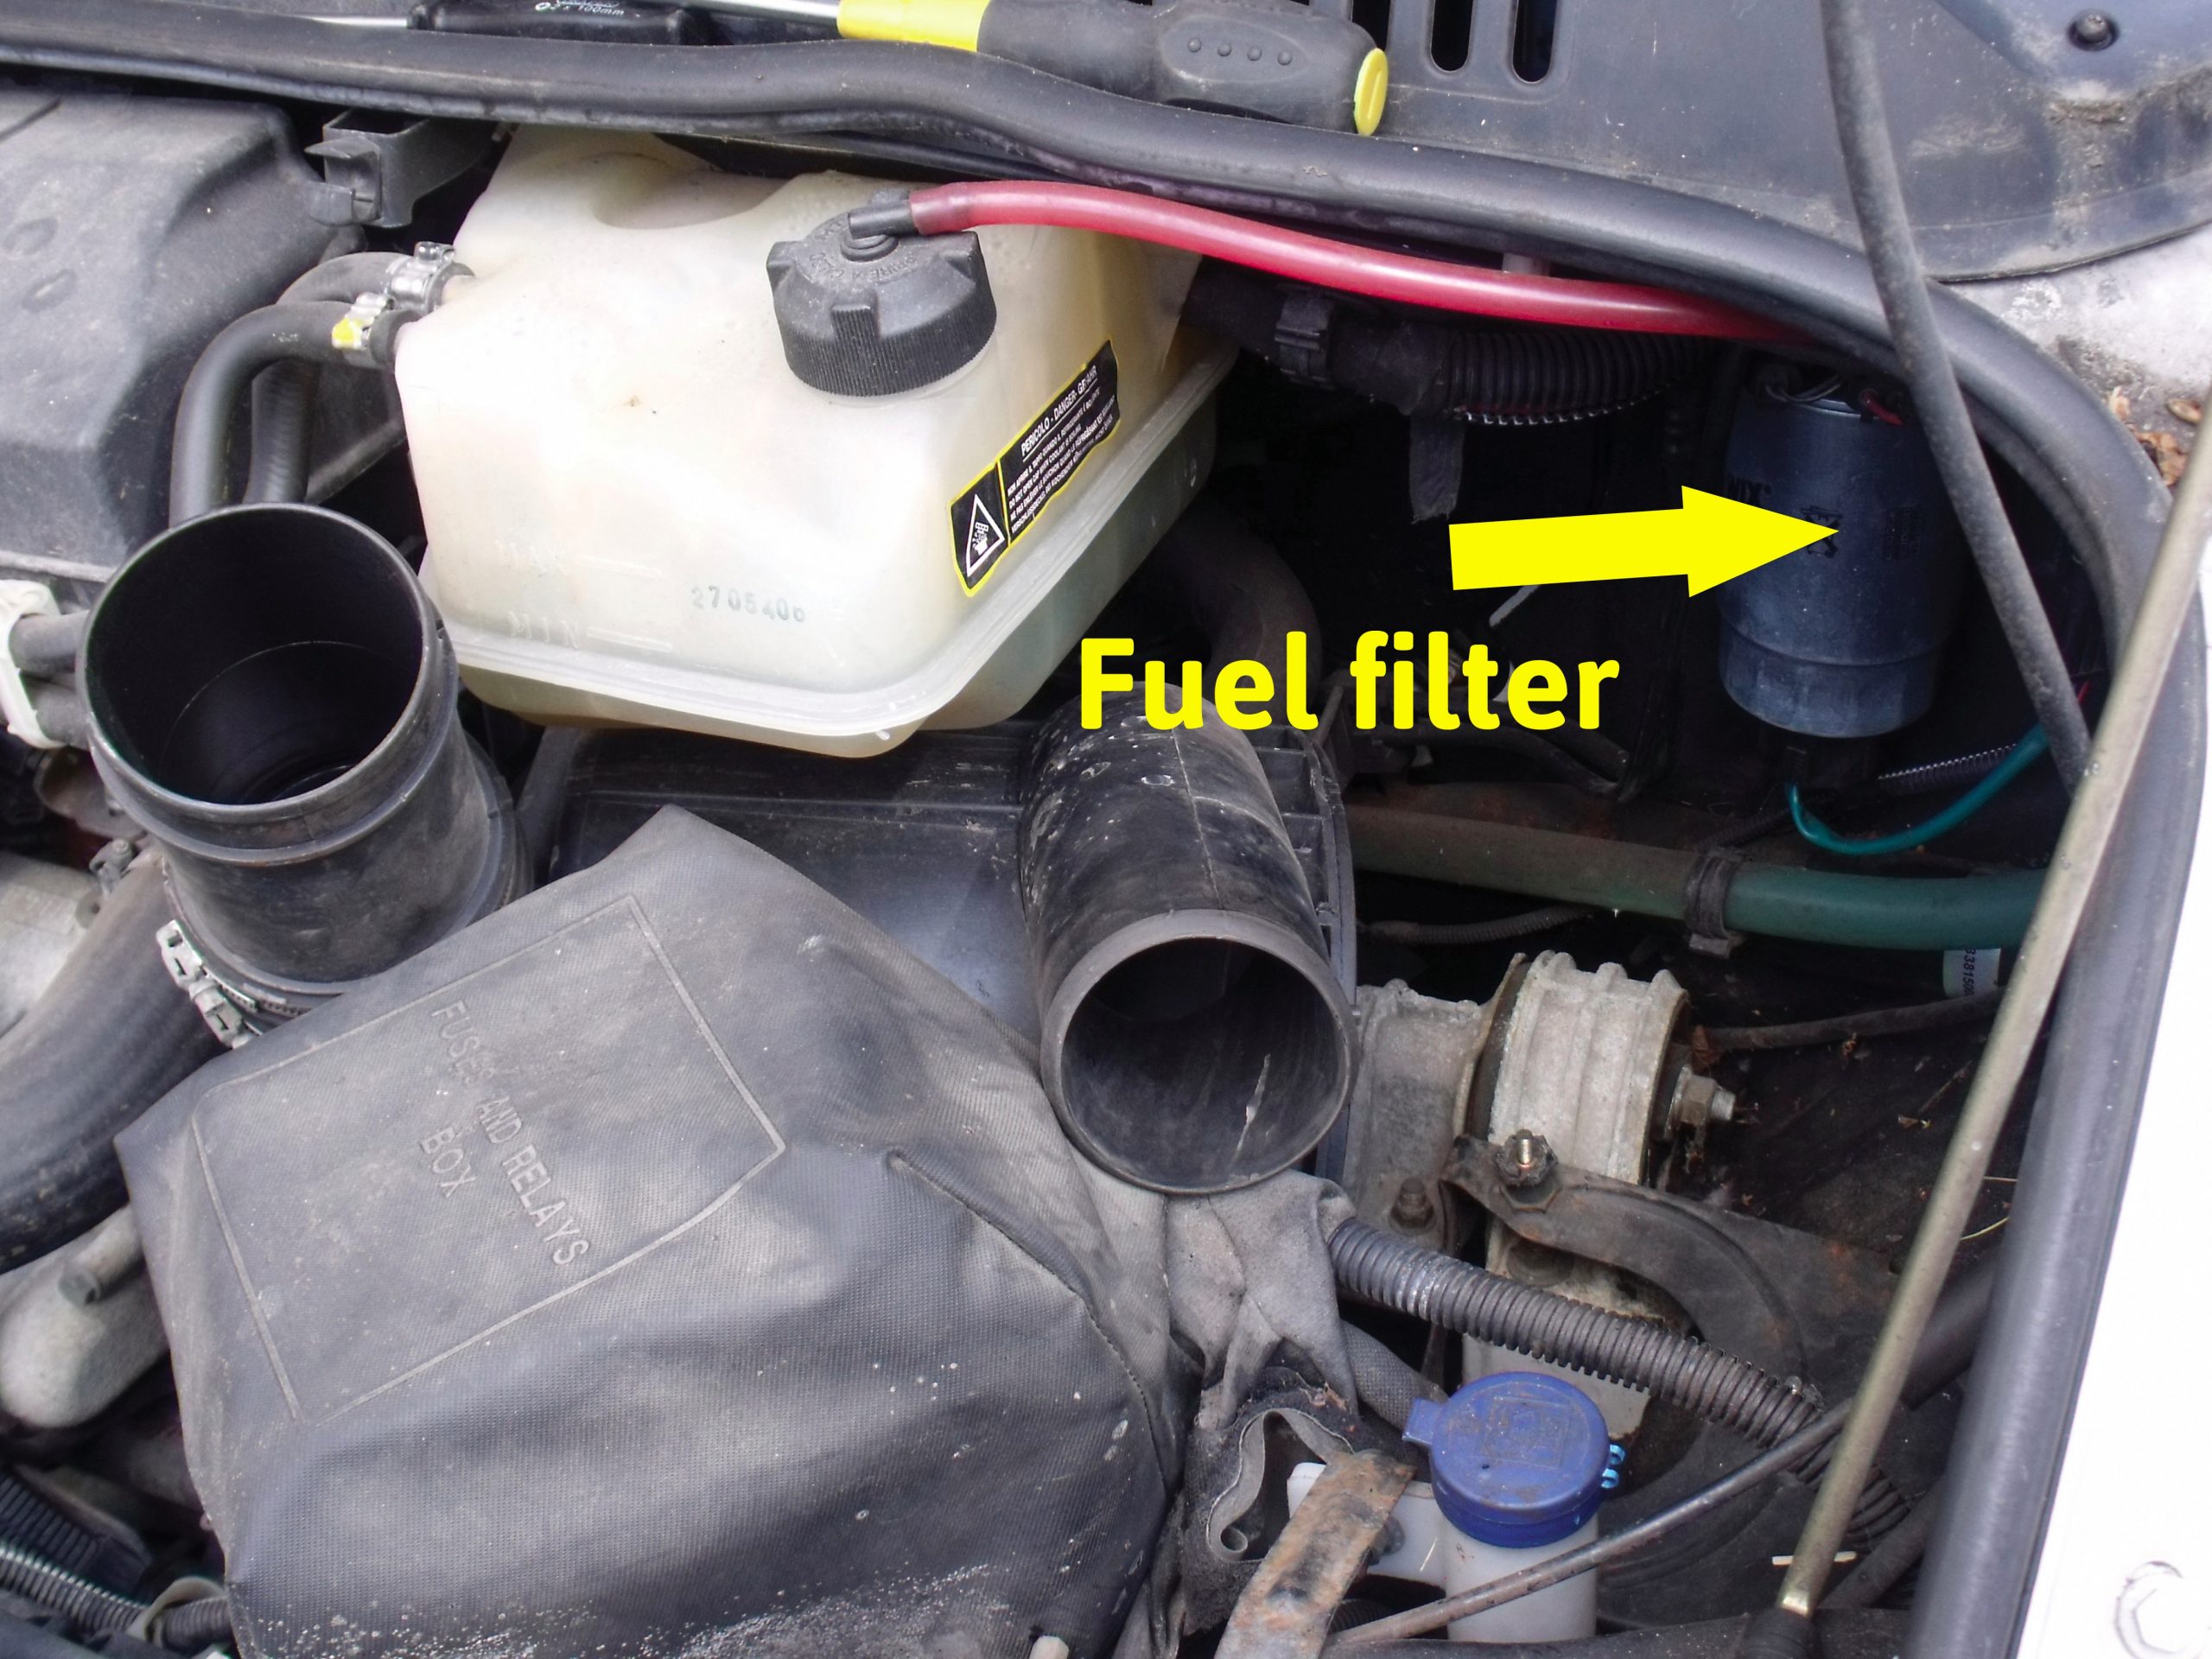
For this reason I tucked it under the radiator header tank, which gave me clear access to the fuel filter mounted on the bulkhead behind. You might be luckier!
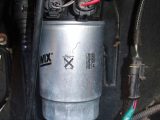
How to change the fuel filter
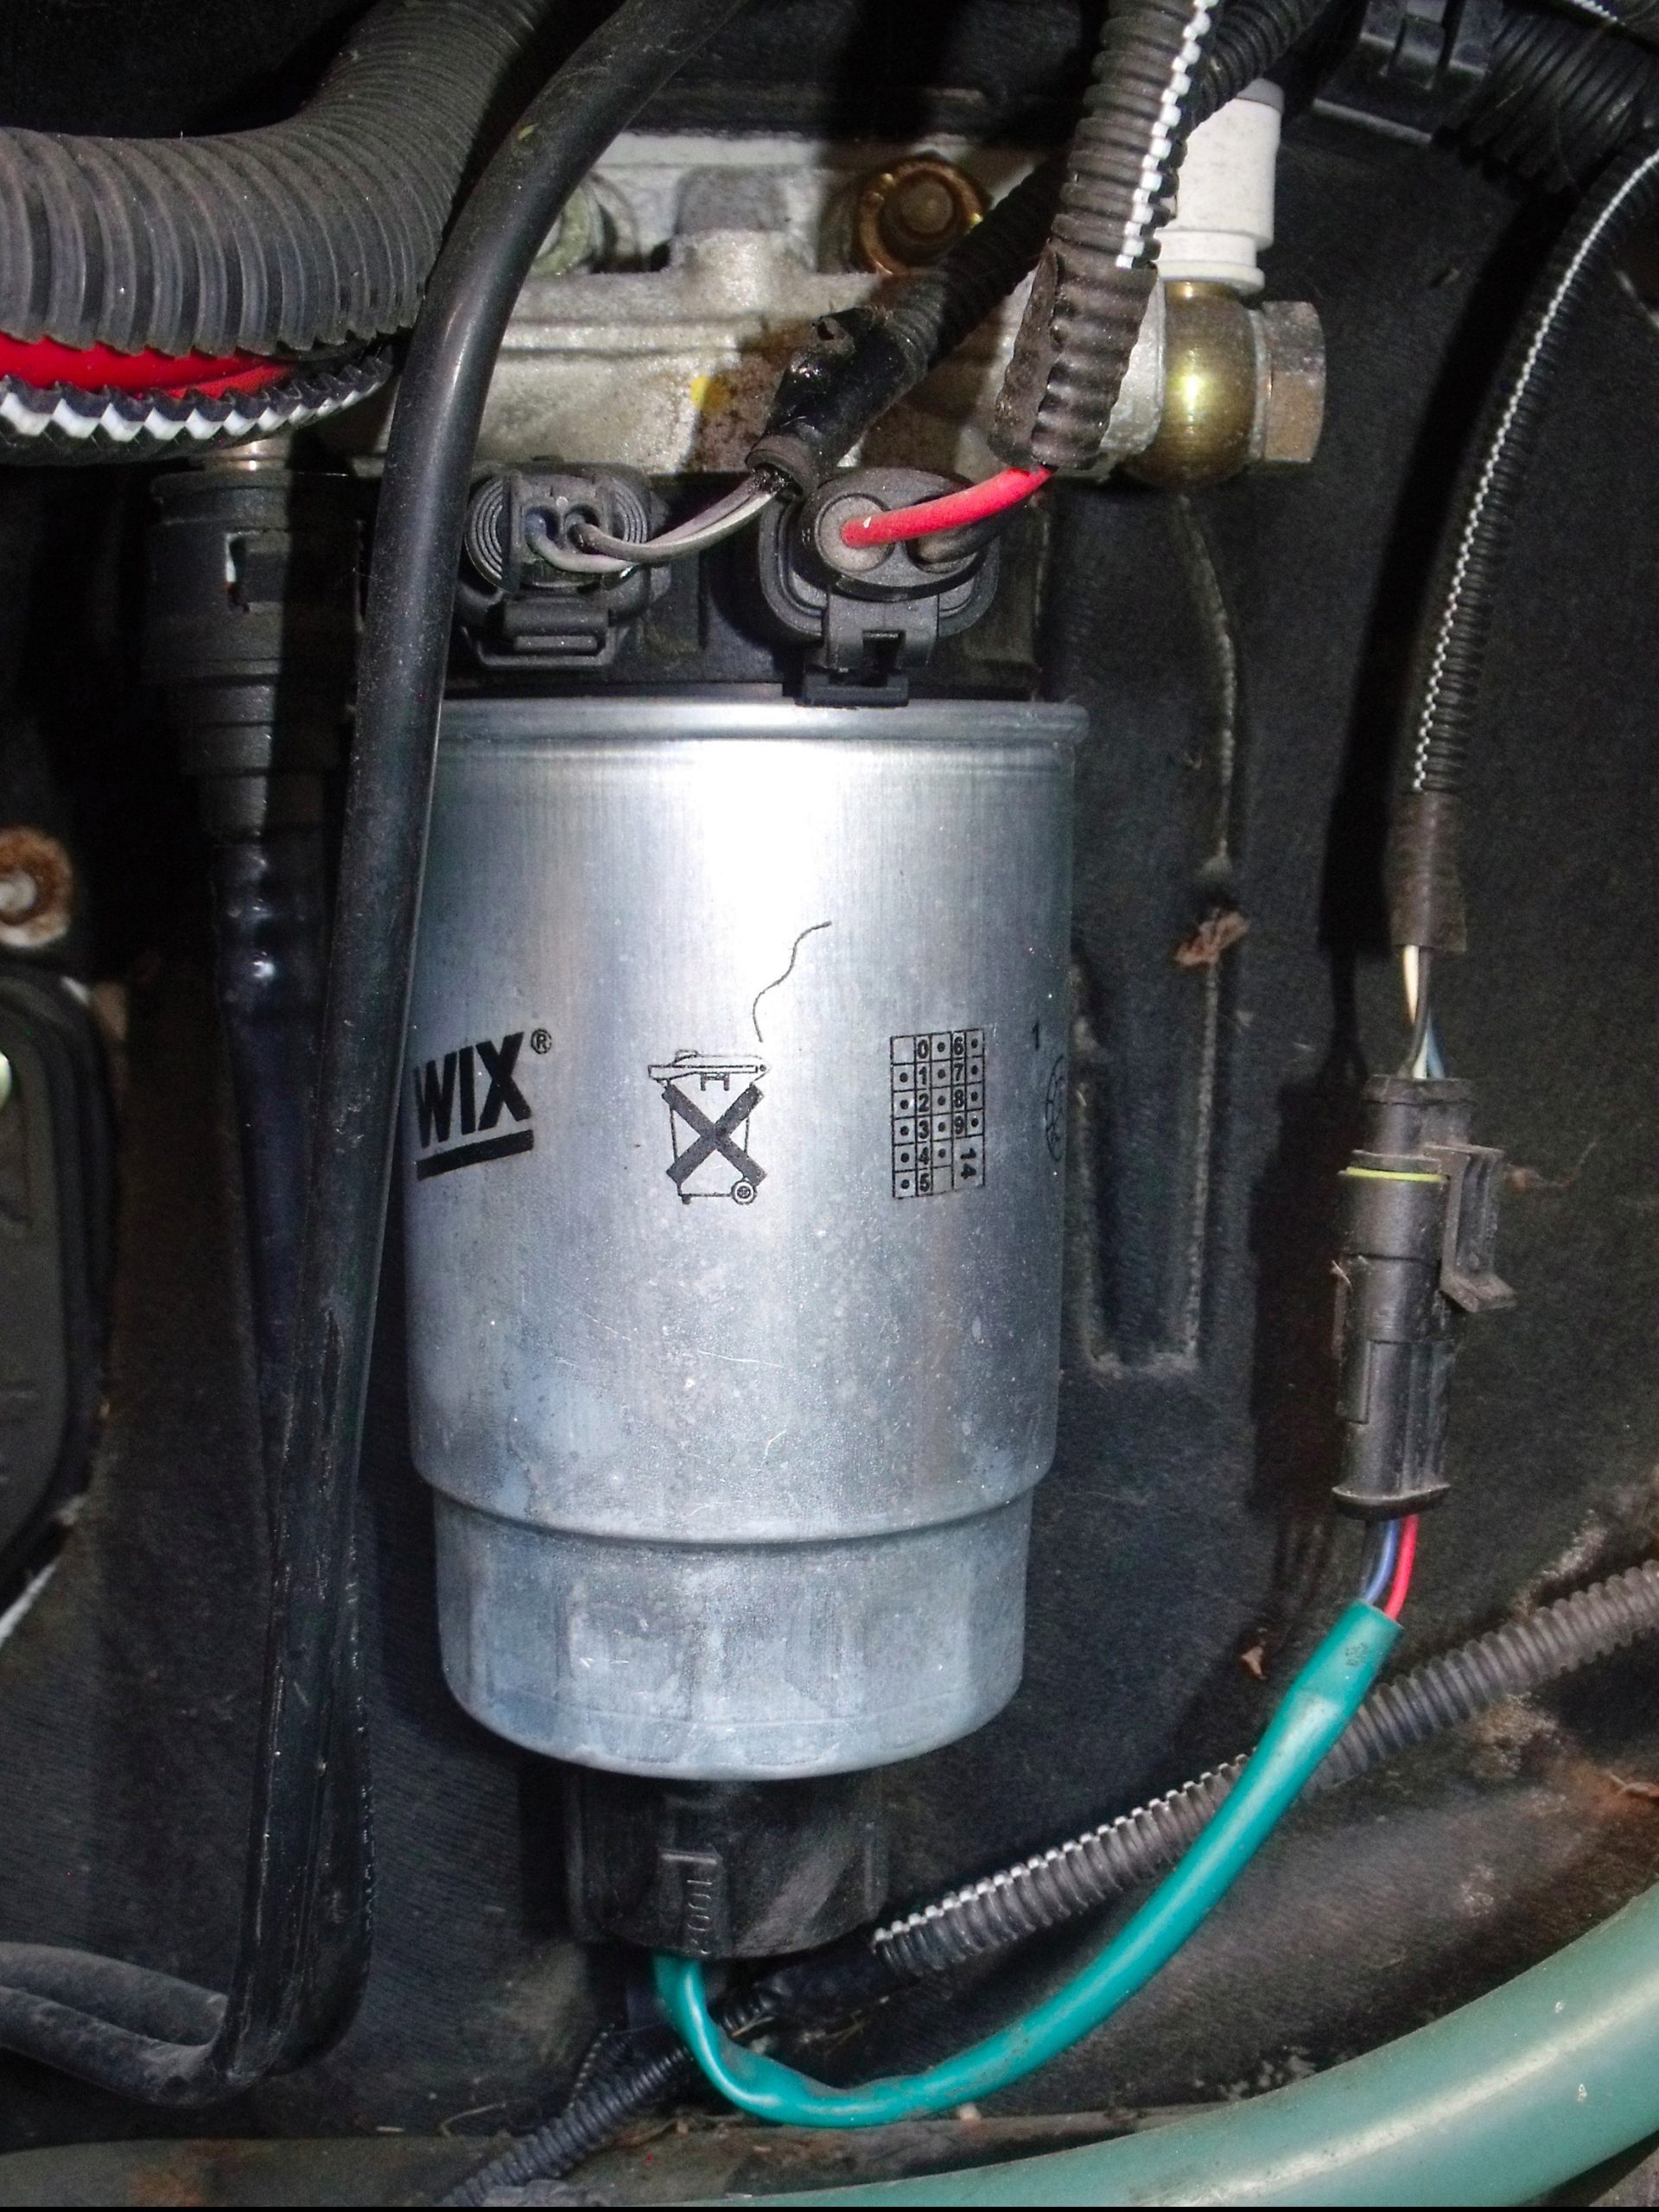
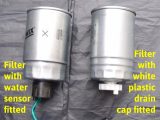
The fuel filter is of the screw-on-cartridge type. To remove it, first unplug the connector on the water contamination sensor screwed to the bottom of the filter cartridge.
Place a piece of rag under the cartridge to catch any diesel spillage, then unscrew it by hand – it will be full of fuel, so it should be kept upright until it’s clear of the vehicle.
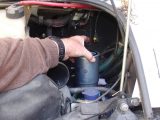
Tip the diesel into a container, then unscrew the water sensor from the bottom of the old fuel filter.
Replace the nitrile sealing washer with that supplied with the new filter, then screw it back into place on the new filter, taking care not to overtighten.
(Note that some vehicles may not have a water sensor, in which case the plastic drain cap should be left in position.)
Screw the new filter onto the bulkhead mounting by hand, again taking care not to overtighten it. Now it’s time to reconnect the water sensor.
Time to prime
Before going any further, turn the ignition on without trying to start the engine. Most diesels these days are common-rail, and have an electric pump in the tank (or elsewhere) that will prime the system.
Once the pumping action has stopped (it should be clearly audible), look around the filter cartridge for leaks.
Making sure that none of the removed parts are in the way of anything revolving, check that the engine will start and run – any air/fuel leaks are best sorted at this time.
Once satisfied, reassemble the air filter components with the new filter in situ.
Please note…
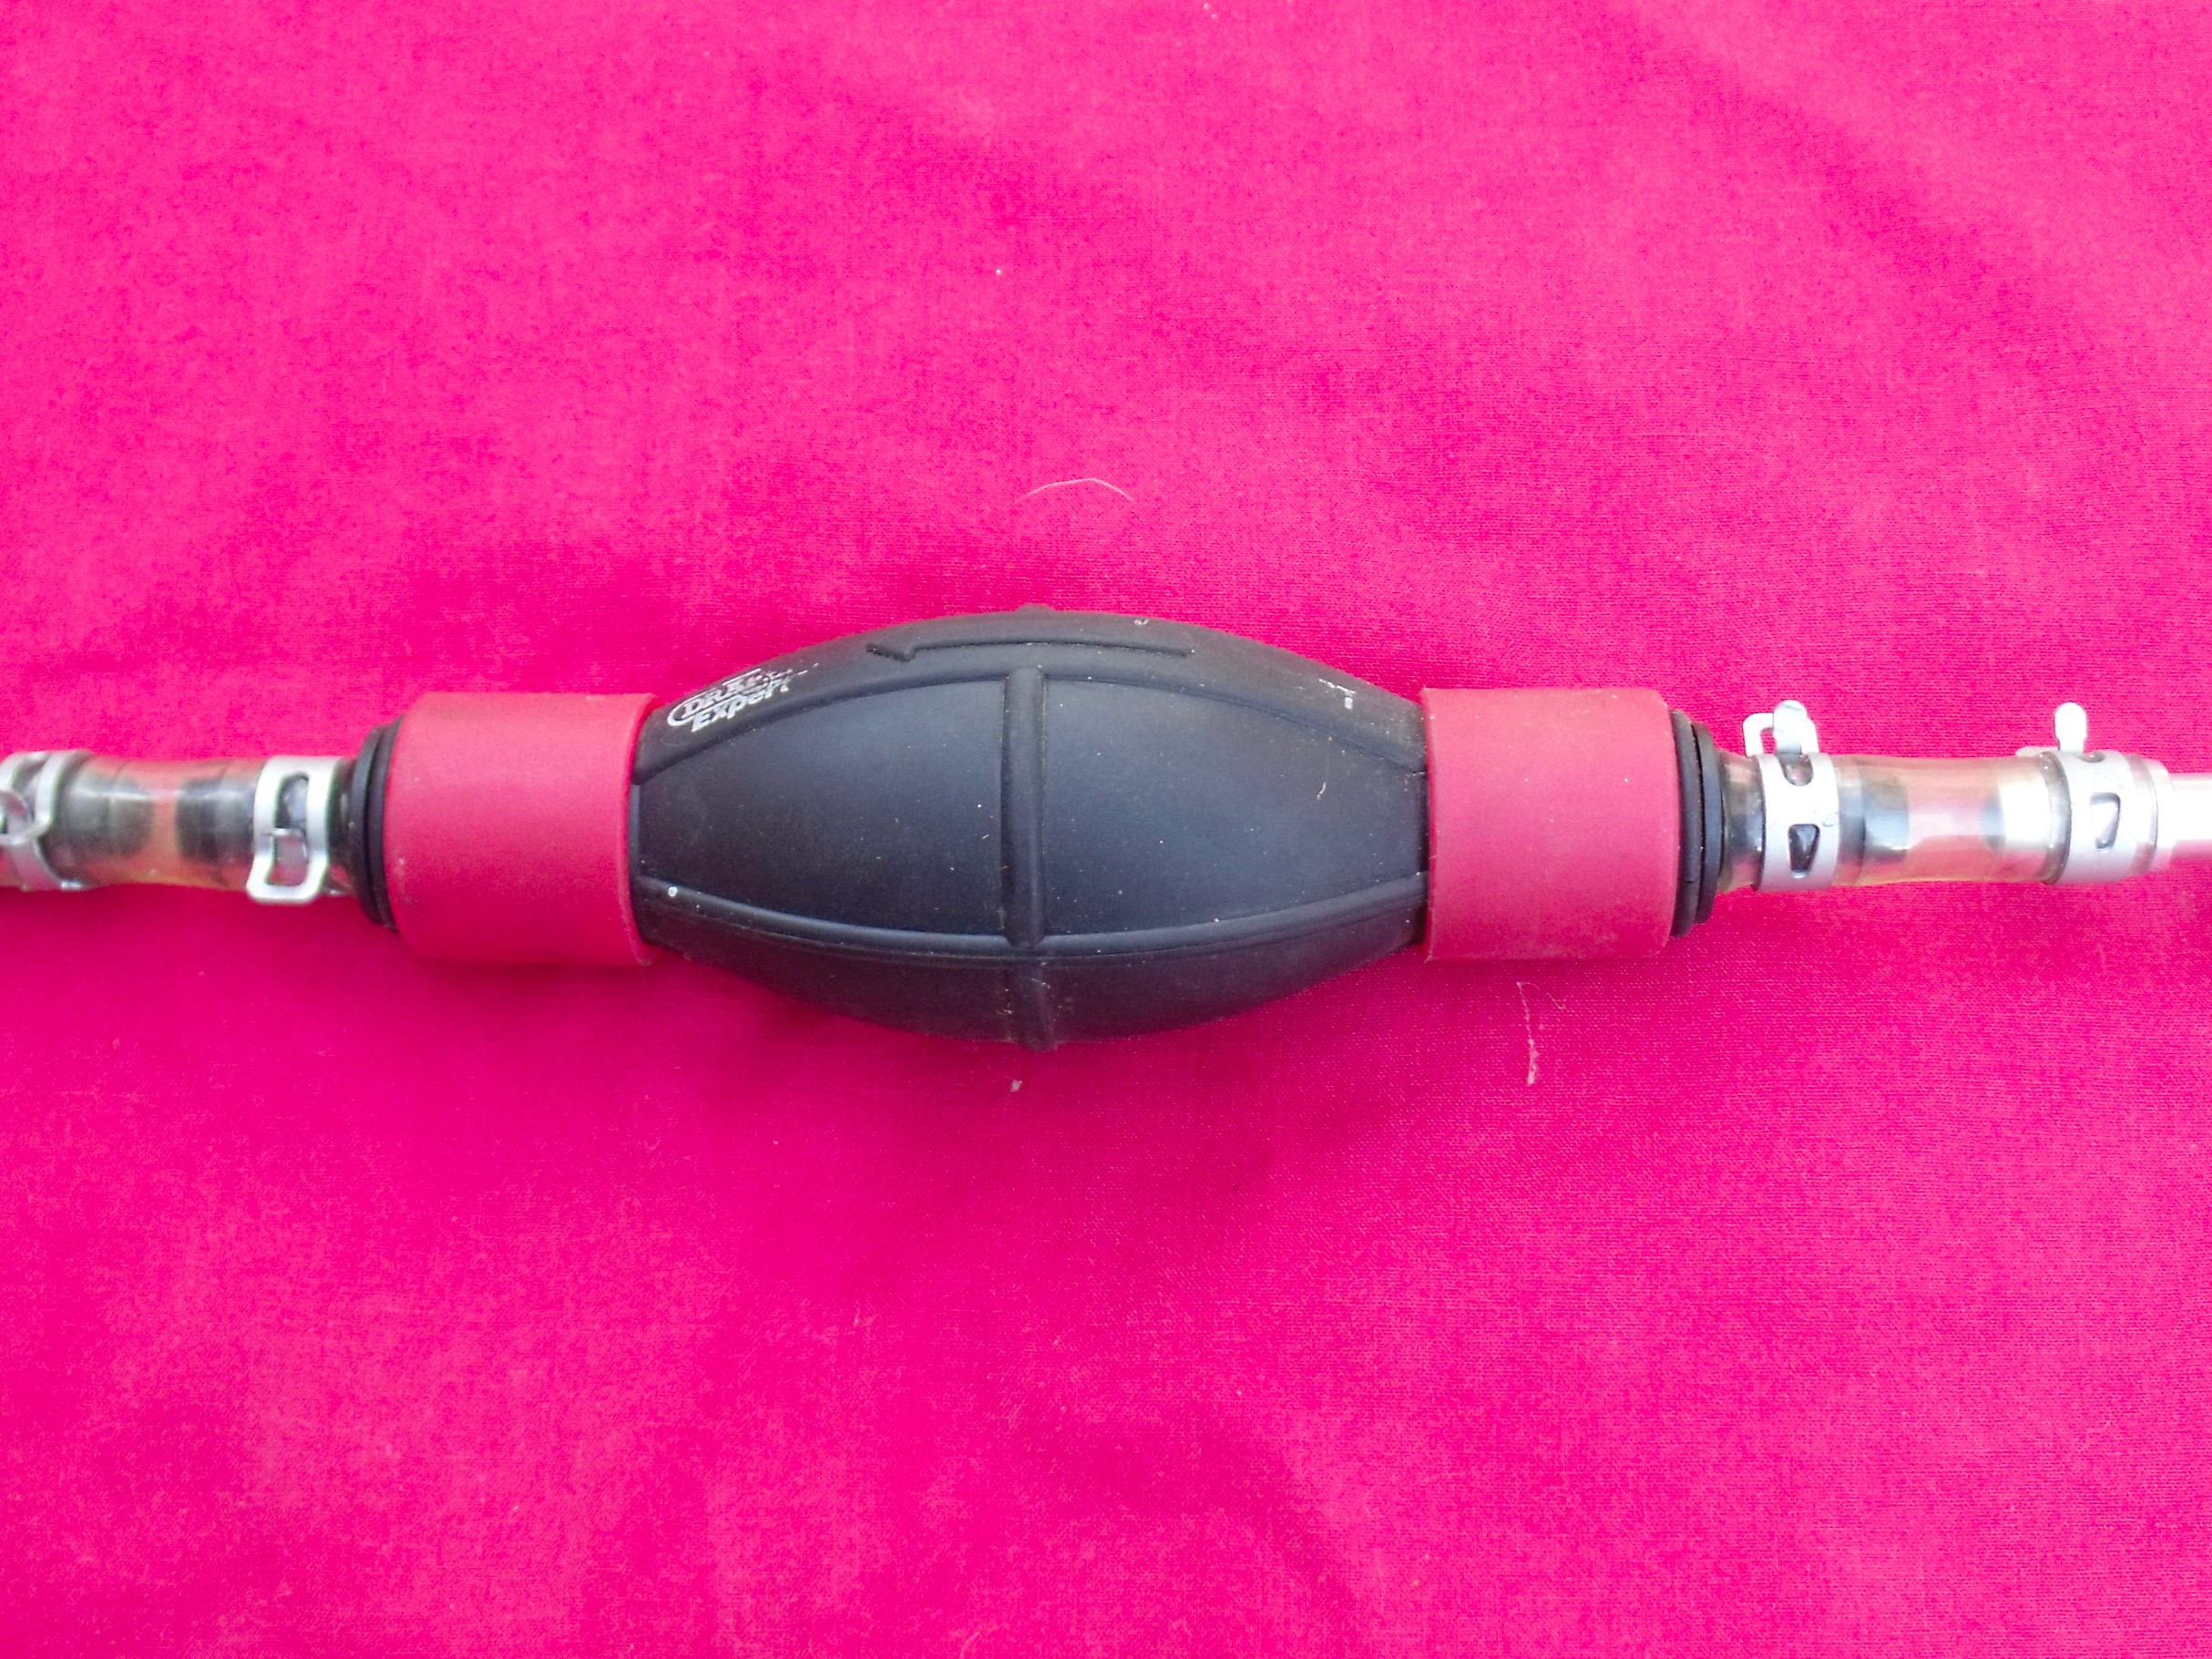
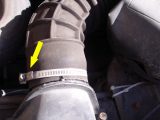
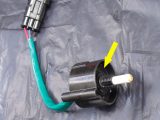
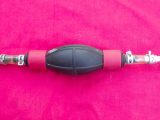
Older diesel engines may not self-prime. If this is the case, many of them (but not all) will have a bulb-style pump in the fuel line (see the final image above).
It should be squeezed a number of times until a halt in the flow of fluid is felt, whereupon an attempt should be made to start the engine.
Some engines can prove to be quite fickle, hence this procedure might need to be carried out a number of times before the engine fires.
Also, note that any waste diesel must be disposed of responsibly. Tipping it into the sewage system is illegal.
All too often they don’t receive the same attention as the main engine oil filter