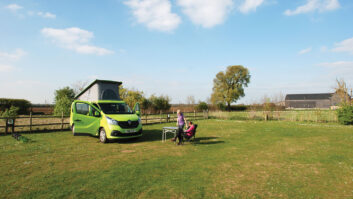


I recently managed to get away for a quick holiday in our motorhome and while we had a great time, a fridge failure in our ’van was decidedly uncool!
The good news was that we were able to manage fridge use in the last few days of the tour to keep the items inside relatively cold.
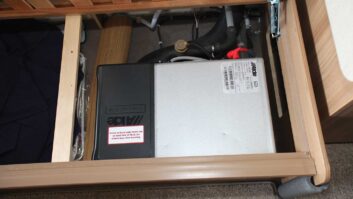
Still, it was annoying to have a three-way fridge that was unable to function on any power source (the electrical part was my fault).
However, the whole episode merely proved to me that before taking your motorhome away on a break, it pays to check over everything – not just the mechanical bits.
Have you checked yours?
What would we do without a fridge in our motorhome? Well, I suspect we’d find a way to manage… perhaps a bucket of cold water in the shade to keep the milk cool, or a coolbox with ice blocks from the site office, or bags of ice from a supermarket, or even a 12V cooler box would do the job. We nearly found out!
Our fridge chose to not work on gas. And as I haven’t yet finished wiring up the mains side of things, we were right out of options.
Thankfully, it was towards the end of the holiday and we coped by transferring frozen items from the freezer section to the fridge one at a time, spread over the last few days.
This, combined with only opening the fridge when absolutely necessary, meant we managed to see out our time away.
The diagnosis
The problem turned out to be two-fold. Firstly, the power supply leads to the igniter module had got a bit dirty over the years and had developed a high resistance, which in turn reduced the voltage to the point where the igniter wouldn’t generate a spark.
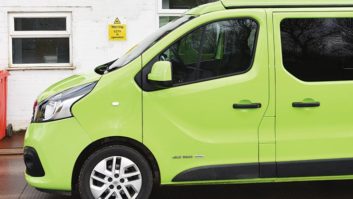
The second issue was that the igniter electrode and thermocouple at the burner head were very slightly out of alignment, meaning that even when it did decide to fire, the thermocouple didn’t get hot enough to hold the gas valve open.
A good service saw all functions fully restored, I’m pleased to say. But it’s worth thinking about how you would cope with a failed fridge when on tour.
The service
So how do you service a fridge? Assuming we’re talking about a three-way unit (one that runs on mains, gas or 12V power), it is relatively straightforward, but still best carried out by competent person.
If you’re lucky, the burner assembly will be accessible through the lower fridge vent, although a few converters have a habit of putting the vent too high to allow for servicing in situ.
If you can access the burner assembly, your first job will be to remove the windshield which is a simple sheet metal box usually held in place by one or two screws. This will now allow access to the burner head itself.
On most Dometic/Electrolux fridges, the union nut is 11mm and the burner body is 12mm, so the nut can fairly easily be slackened.
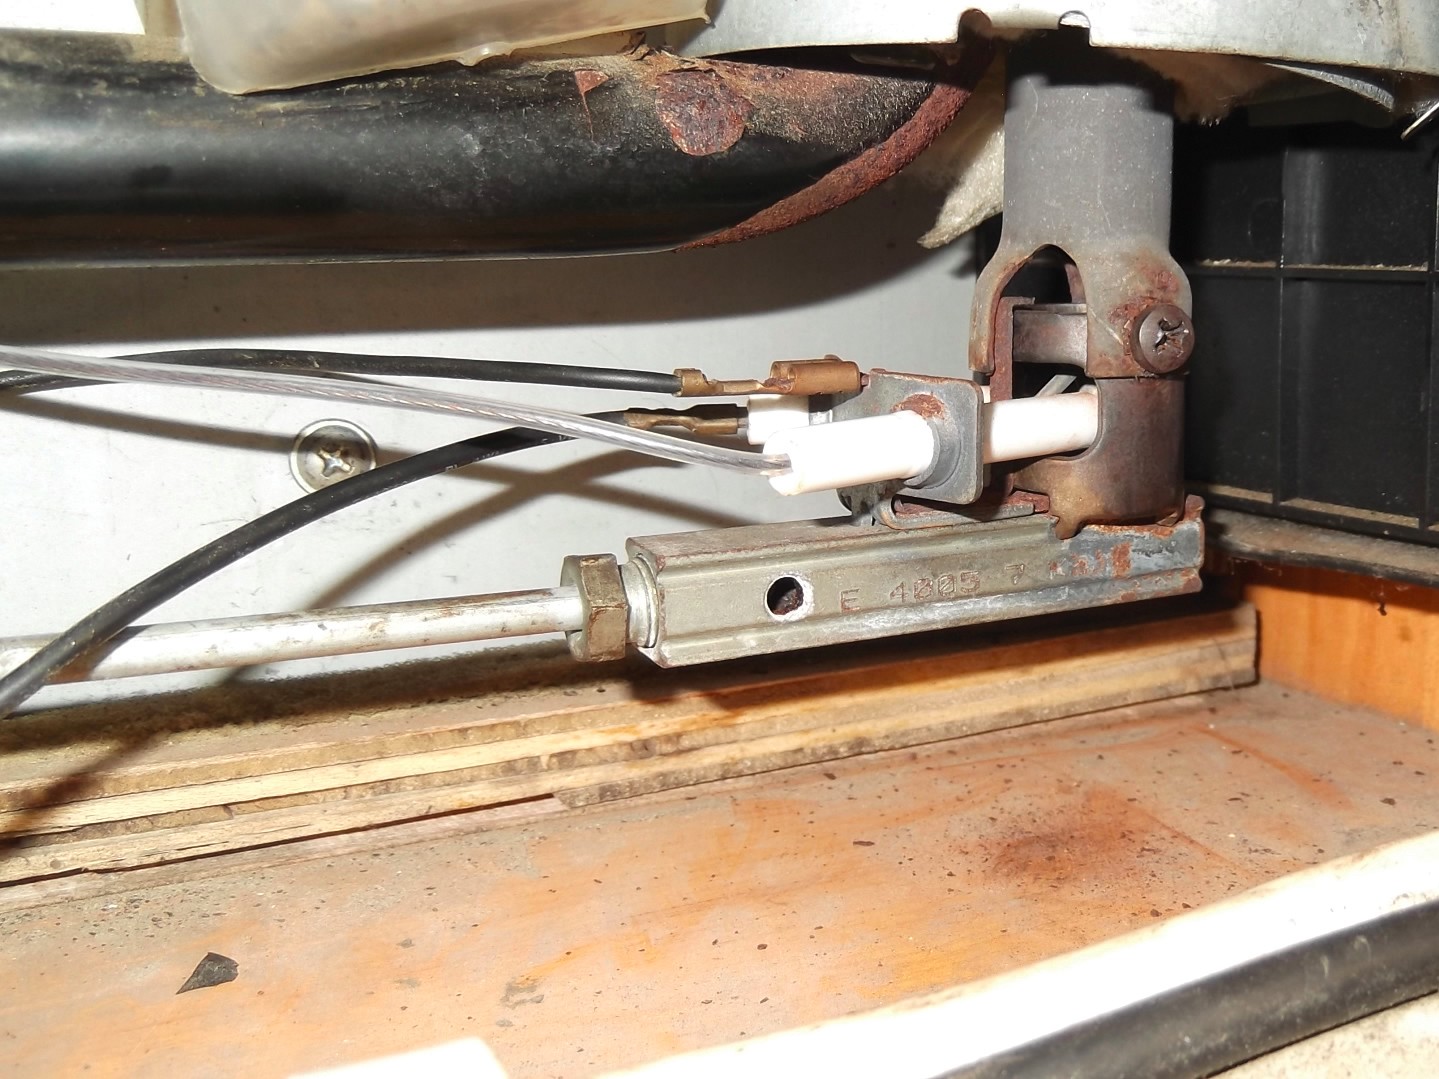
Then remove the Philips-head screw that holds the burner to the bottom of the flue, followed by the screw holding the igniter and thermocouple in place, and finally unscrew the gas pipe union nut. Be careful not to lose the tiny gas metering jet from inside the burner body.
Clean with care
The burner can be cleaned with a good solid blast of compressed air and the jet only needs blowing through.
However, do not poke anything into the jet hole, because it will enlarge it and ruin the gas/air mixture.
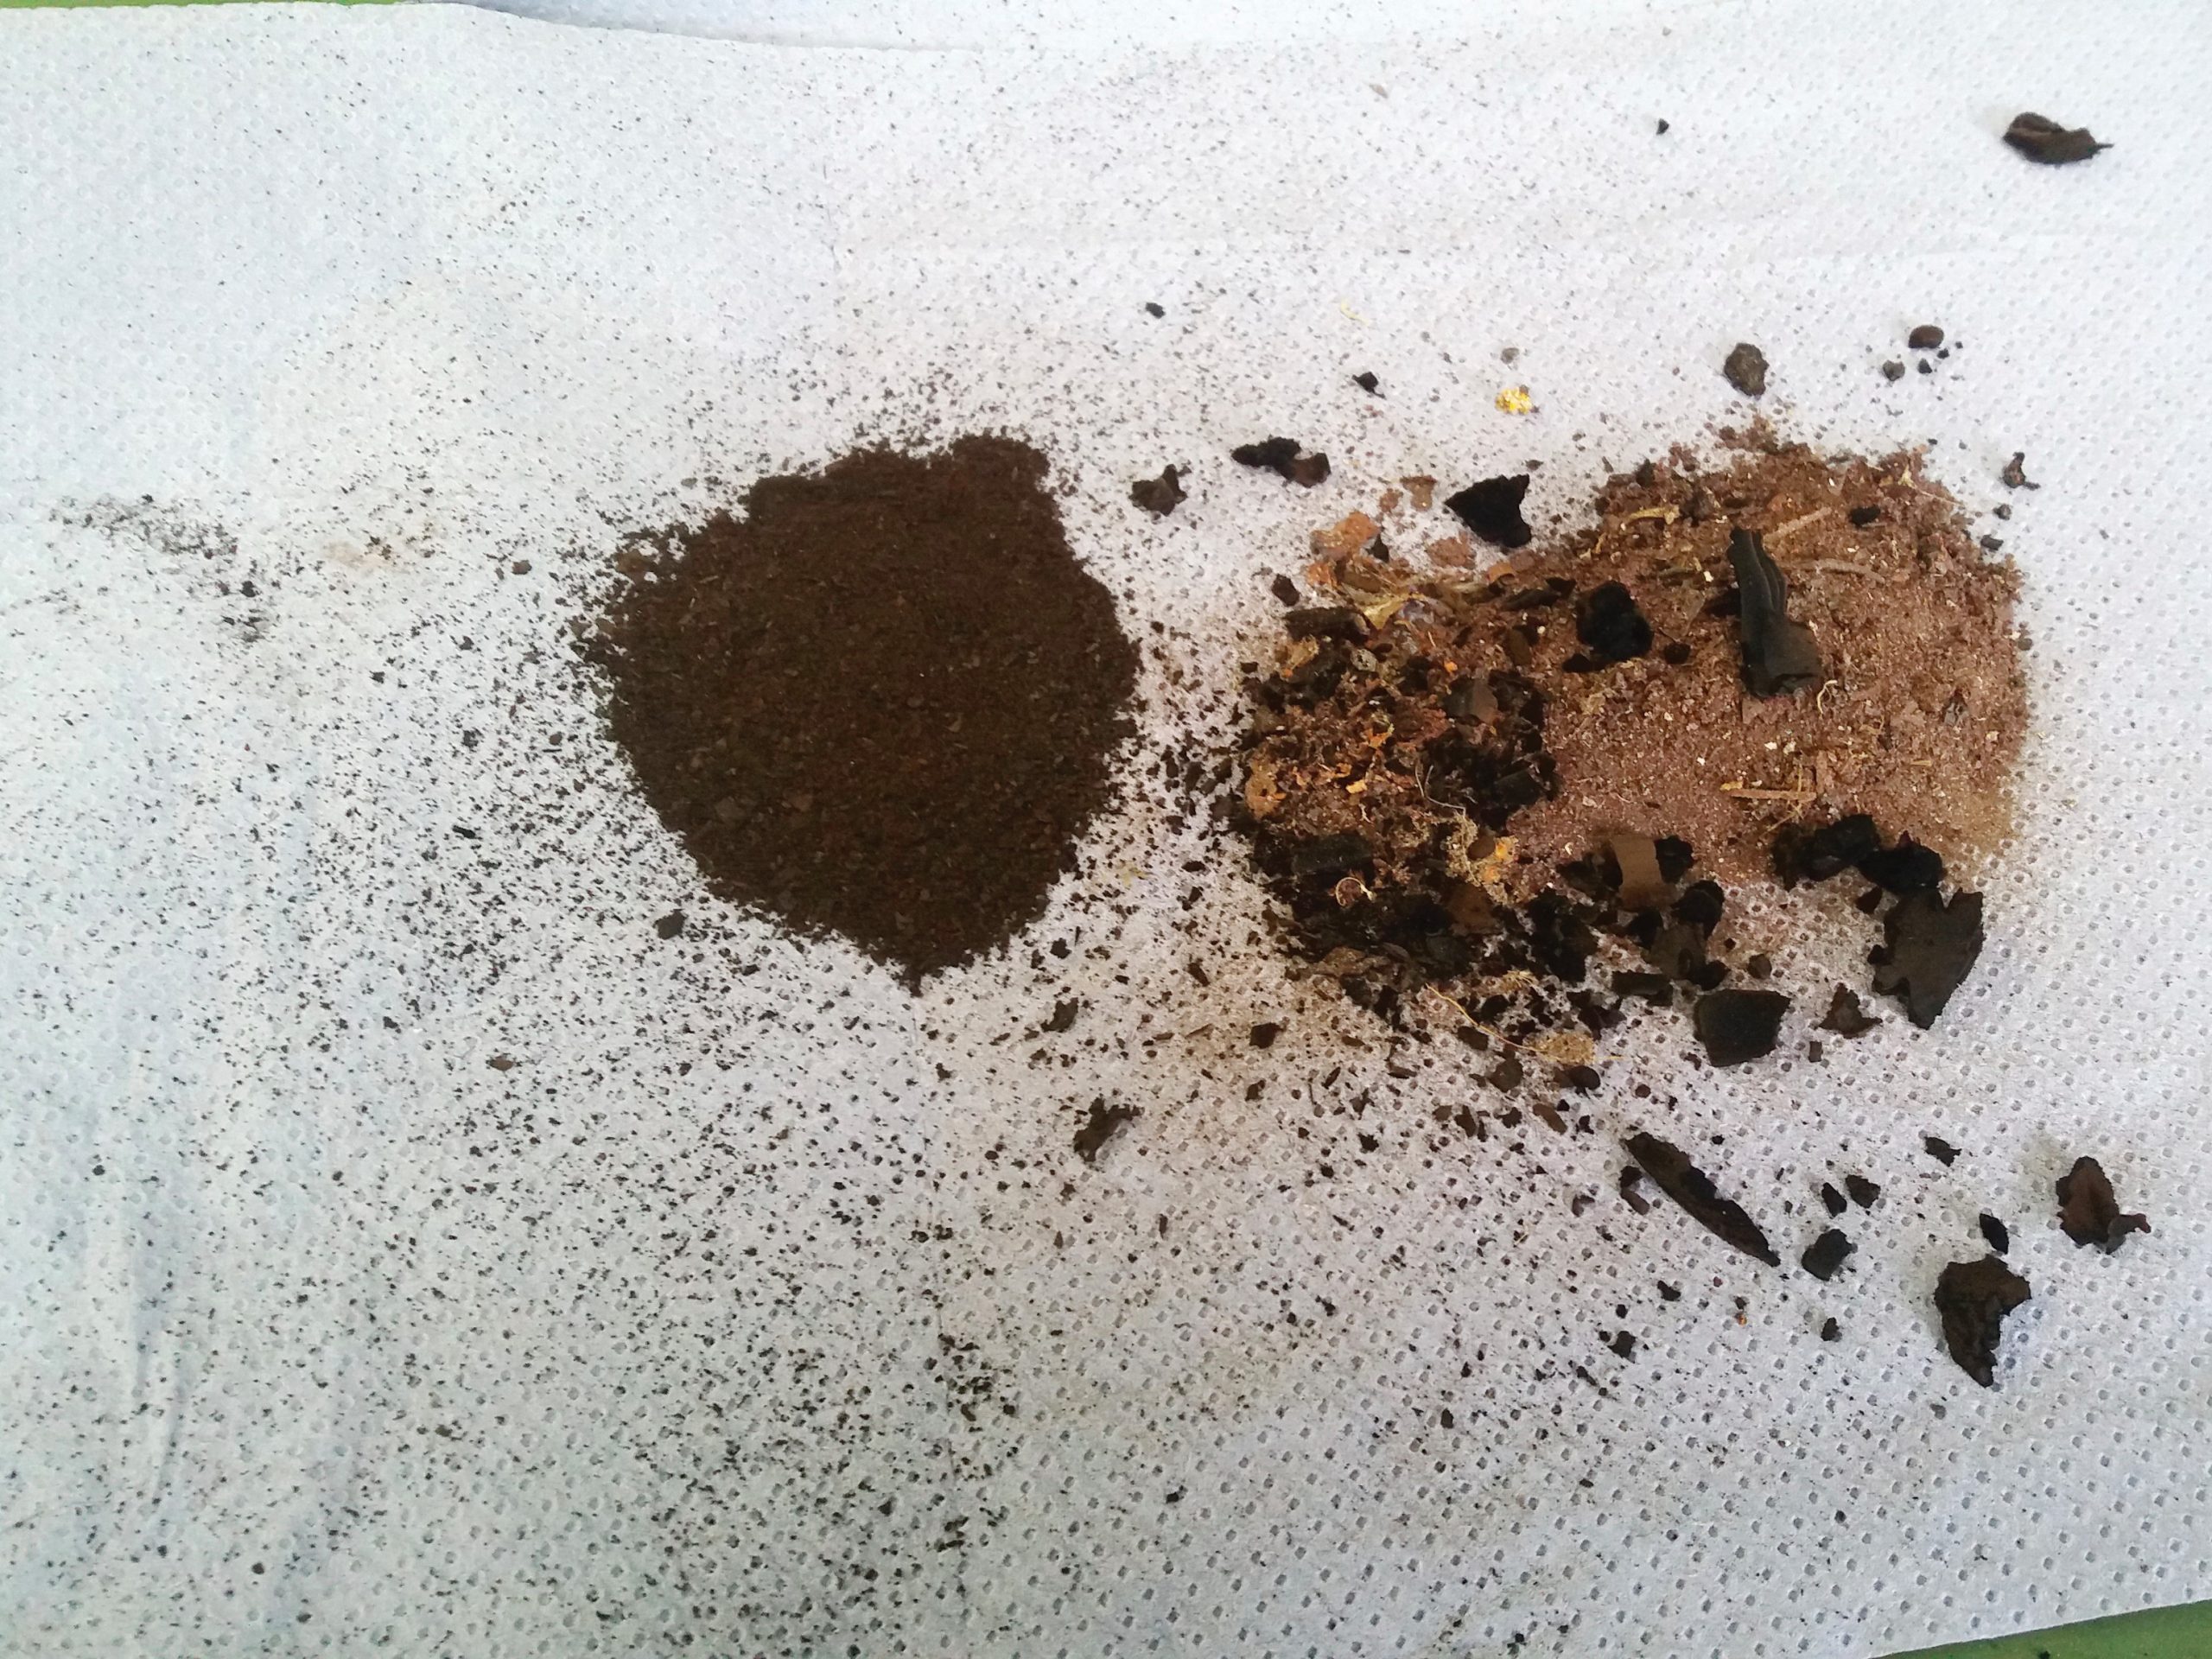
The flue also needs to be cleaned. One of the most common issues with three-way fridges is soot build-up in the flue.
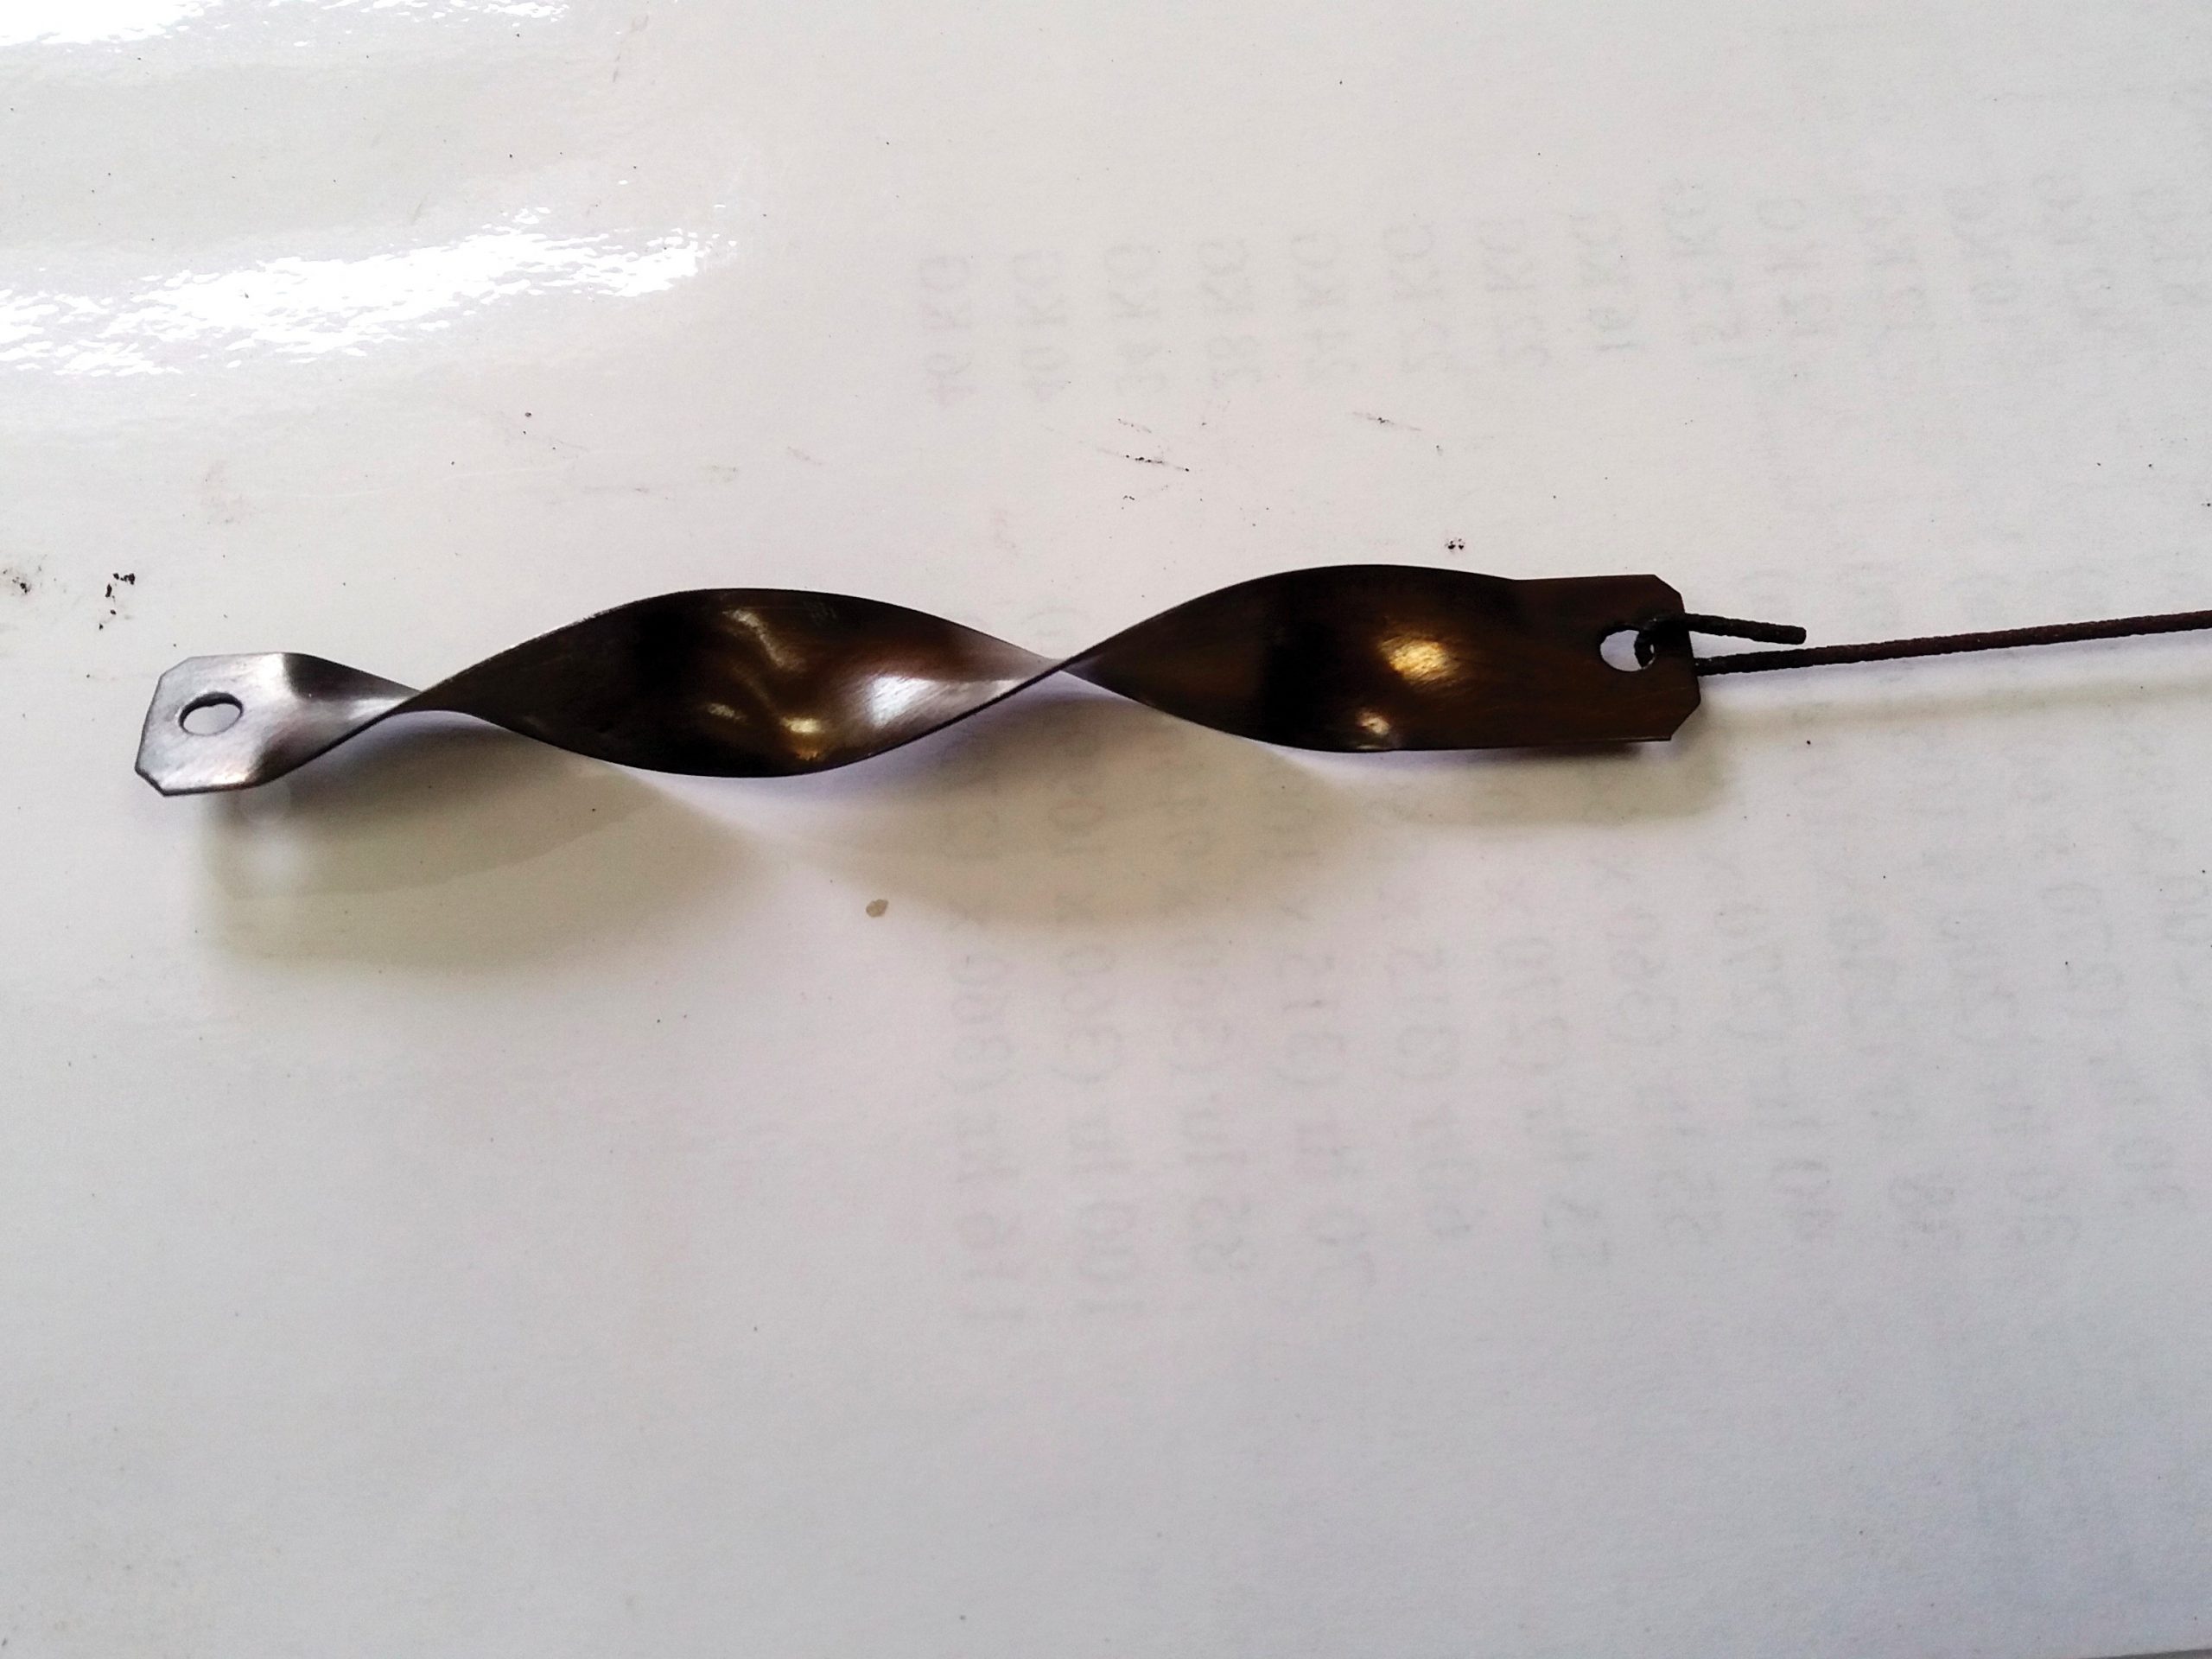
In the top of the flue is a twisted metal baffle plate which is there to cause swirl in the hot gases from the burner. This swirl slows the gas flow down and allows more of the heat energy to be absorbed into the cooling circuit.
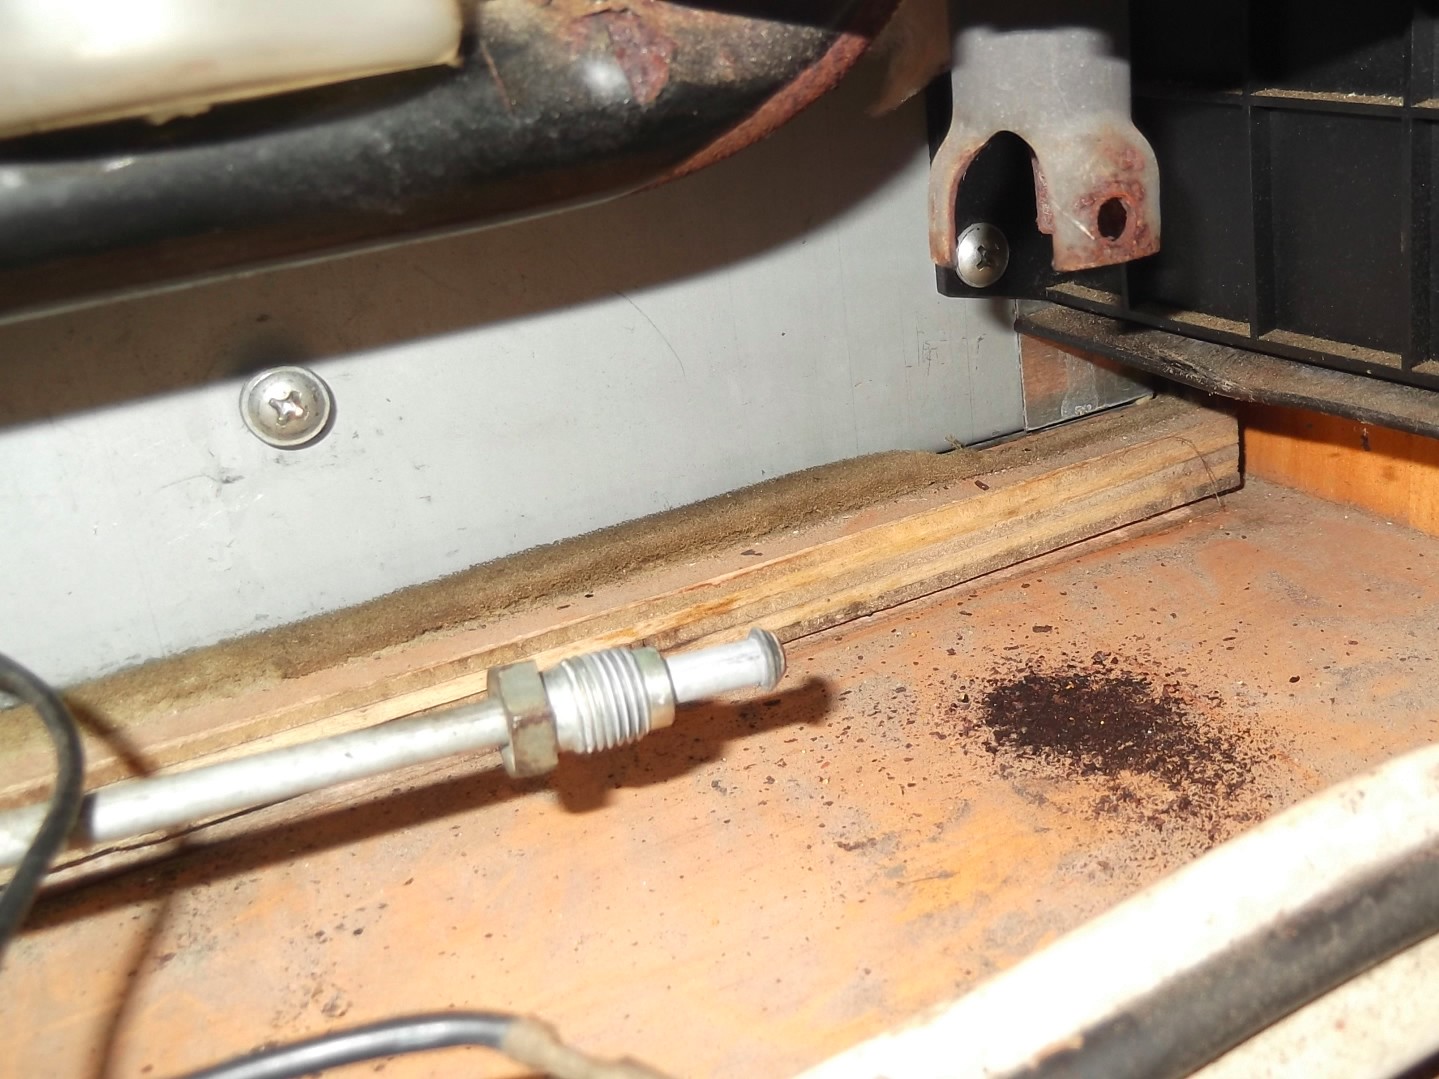
Sometimes you can get at the top of the flue and remove the lazy tee to gain access to the baffle but if not, it can be cleaned in situ with a long, thin flue brush – I use a small 20mm diameter bottle brush attached to a length of steel welding rod.
Feed the flue brush into the bottom of the flue and gently push it as far up as you can then withdraw it a couple of inches at a time, shuffling it up and down and twisting it as you go.
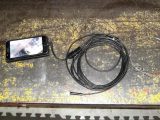
Once I’ve cleaned a flue I run a small ‘endoscope’ camera plugged into my mobile phone up to make sure it’s all clean and clear.
The reassembly is a reversal of the strip-down. Be careful not to damage the metering jet, and only tighten the feed pipe nut once the burner is securely screwed to the bottom of the flue.
Experts only
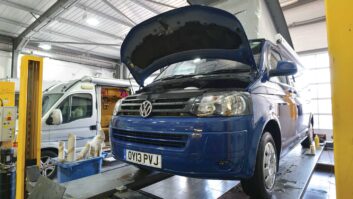
My final part of a motorhome’s fridge service is to run a flue gas analysis, which is much the same as the exhaust emissions test part of an MoT test.
However, it needs specialist equipment, which most of you won’t have access to, so I recommend fitting a CO detector (CO is carbon monoxide, CO2 is carbon dioxide and it is important to not confuse the two) somewhere not too far from the fridge as it is the most likely CO producer.
Bear in mind that the aforementioned servicing procedure should only be carried out if you really know what you’re doing, because mucking about with gas appliances when you don’t is a recipe for disaster of the highest order.
If you’re having a habitation inspection carried out professionally, ask if you can have the fridge serviced as part of the job – the official NCC AWS habitation inspection checklist lists a fridge service as a customer-requested item only.
If it can be serviced without removal then it is only a 15-minute job, so don’t get conned into paying more than a quarter of an hour’s labour on top of the standard habitation inspection charge.
I’d also suggest asking for a Flue Gas Analysis to be done and for a printout of the results.
A keen motorcaravanner, Practical Motorhome’s technical expert Diamond Dave runs his own leisure vehicle workshop. Find out more at Dave Newell Leisure Vehicle Services.
Remember that mucking about with gas appliances when you don’t know what you're doing is a recipe for disaster of the highest order