
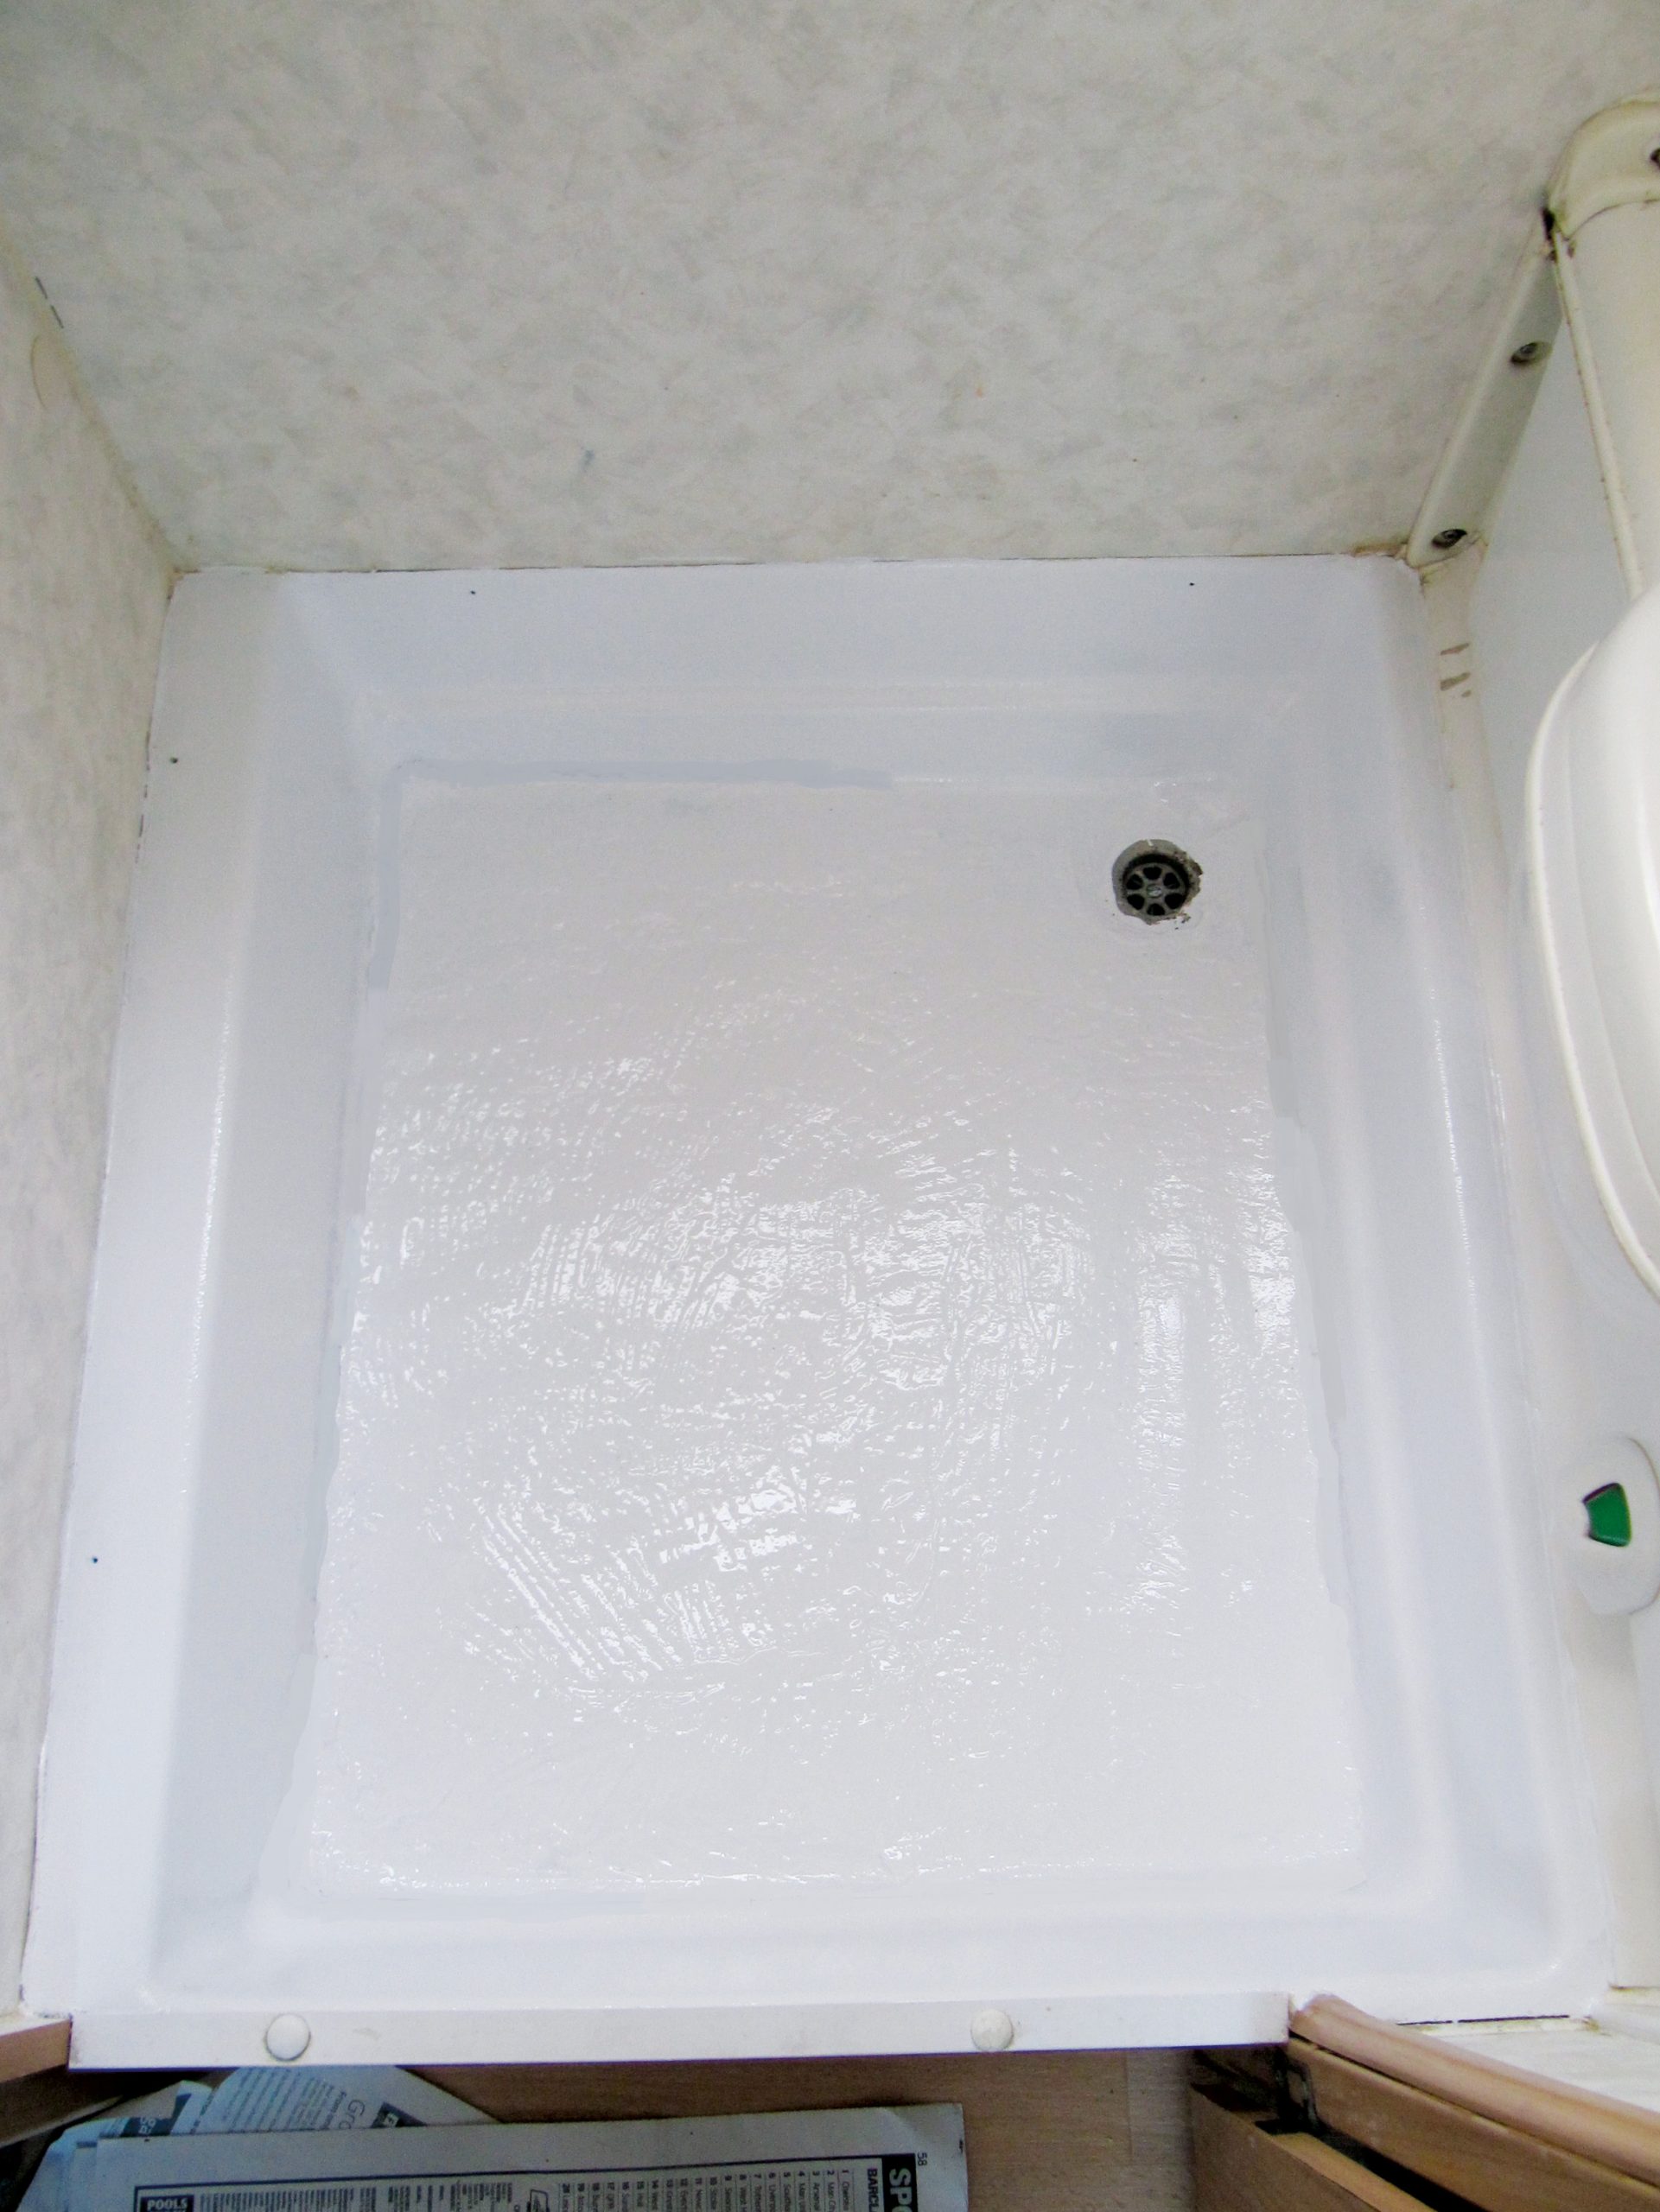
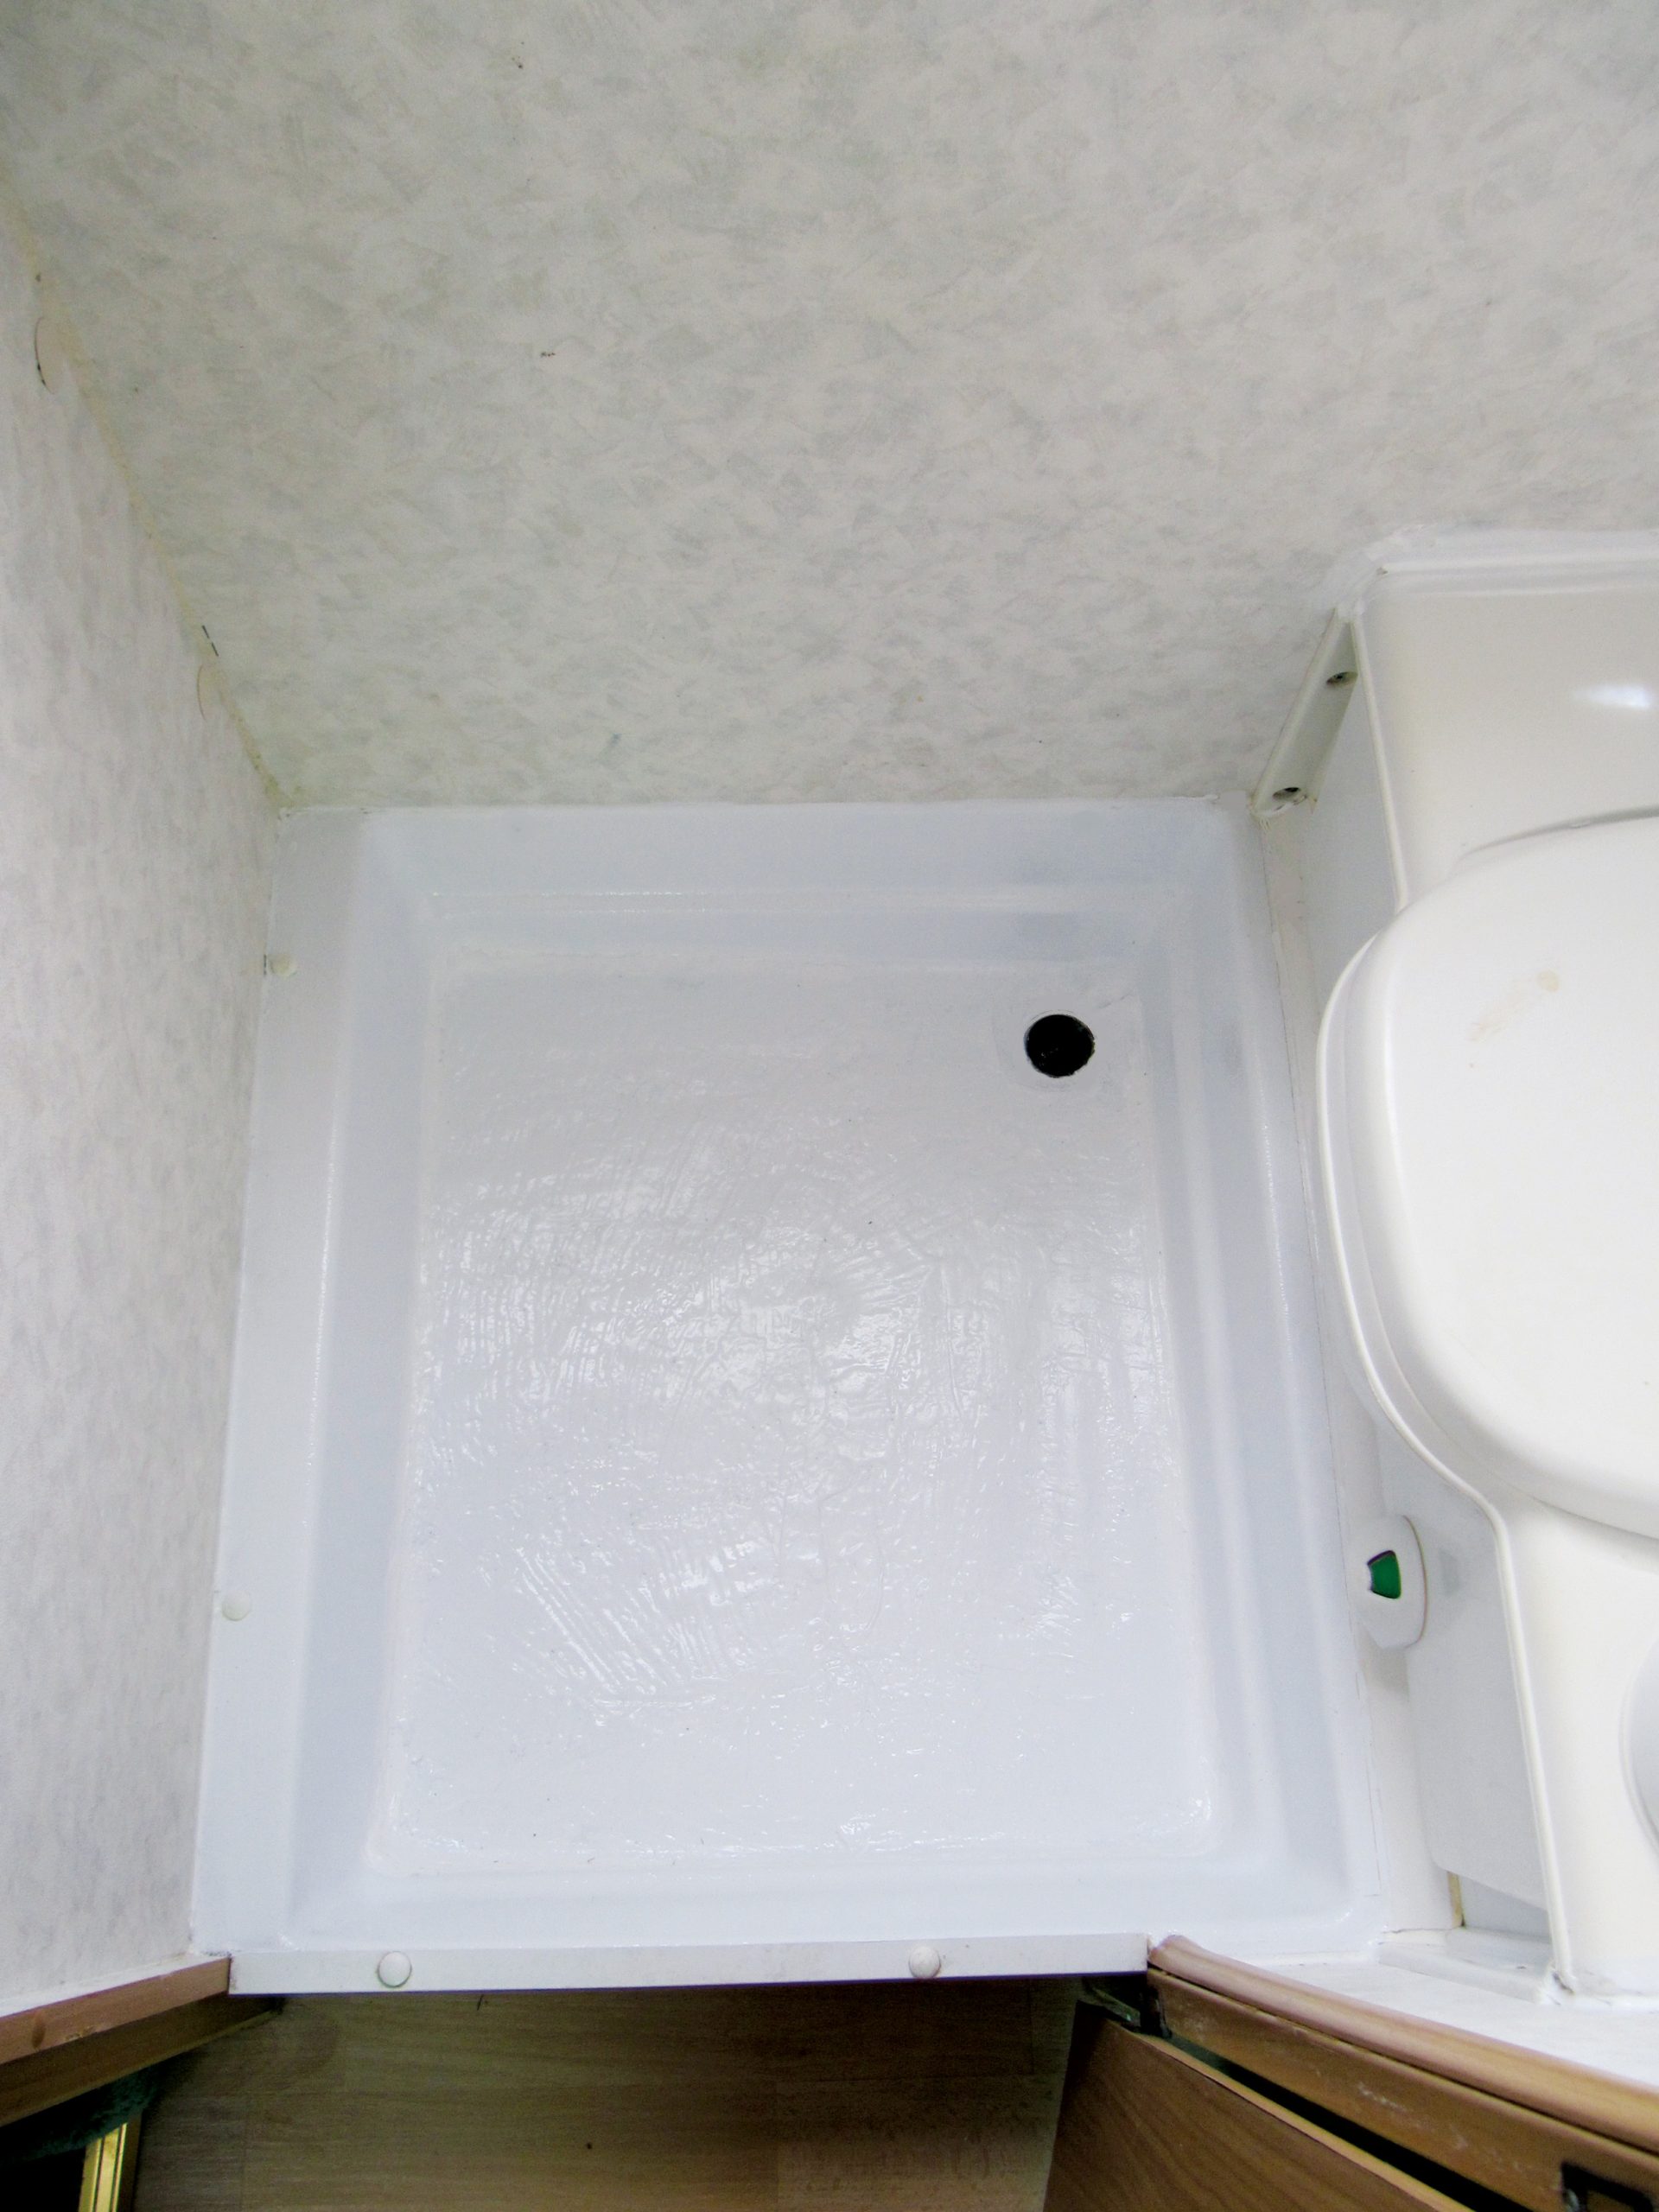

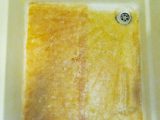
As the years pass, I’m not the only one to suffer signs of wear and tear; poor old Monty (our 1999 Ford Herald Squire 400E) is starting to feel his age, too. The latest indication was a couple of cracks across the washroom floor.
Monty’s washroom floor is also the shower tray. Fortunately we don’t use it for showering, so we didn’t have to worry about water seeping through and rotting the framework below. However, research showed that shower tray cracking is a common problem, due to ageing plastic becoming brittle, and inadequate underfloor support.
Further research led us to companies that specialise in replacing or repairing shower trays. We ruled out replacing ours, due to the expense and hassle. Having it repaired was an option; we were quoted from £350 for the job, which involved repairing the cracks and applying a polymer coating.
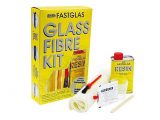
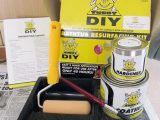
By chance, I found a forum post on the subject; the author had repaired his own shower tray using products from Tubby UK. He said that the job was easy enough for anyone with some practical skills. The product used is a two-part epoxy-based coating, which is applied to baths or shower trays using a roller. I took a look at the Tubby UK website; it seemed like a suitable product and a job that I could do myself.
Products and preparation
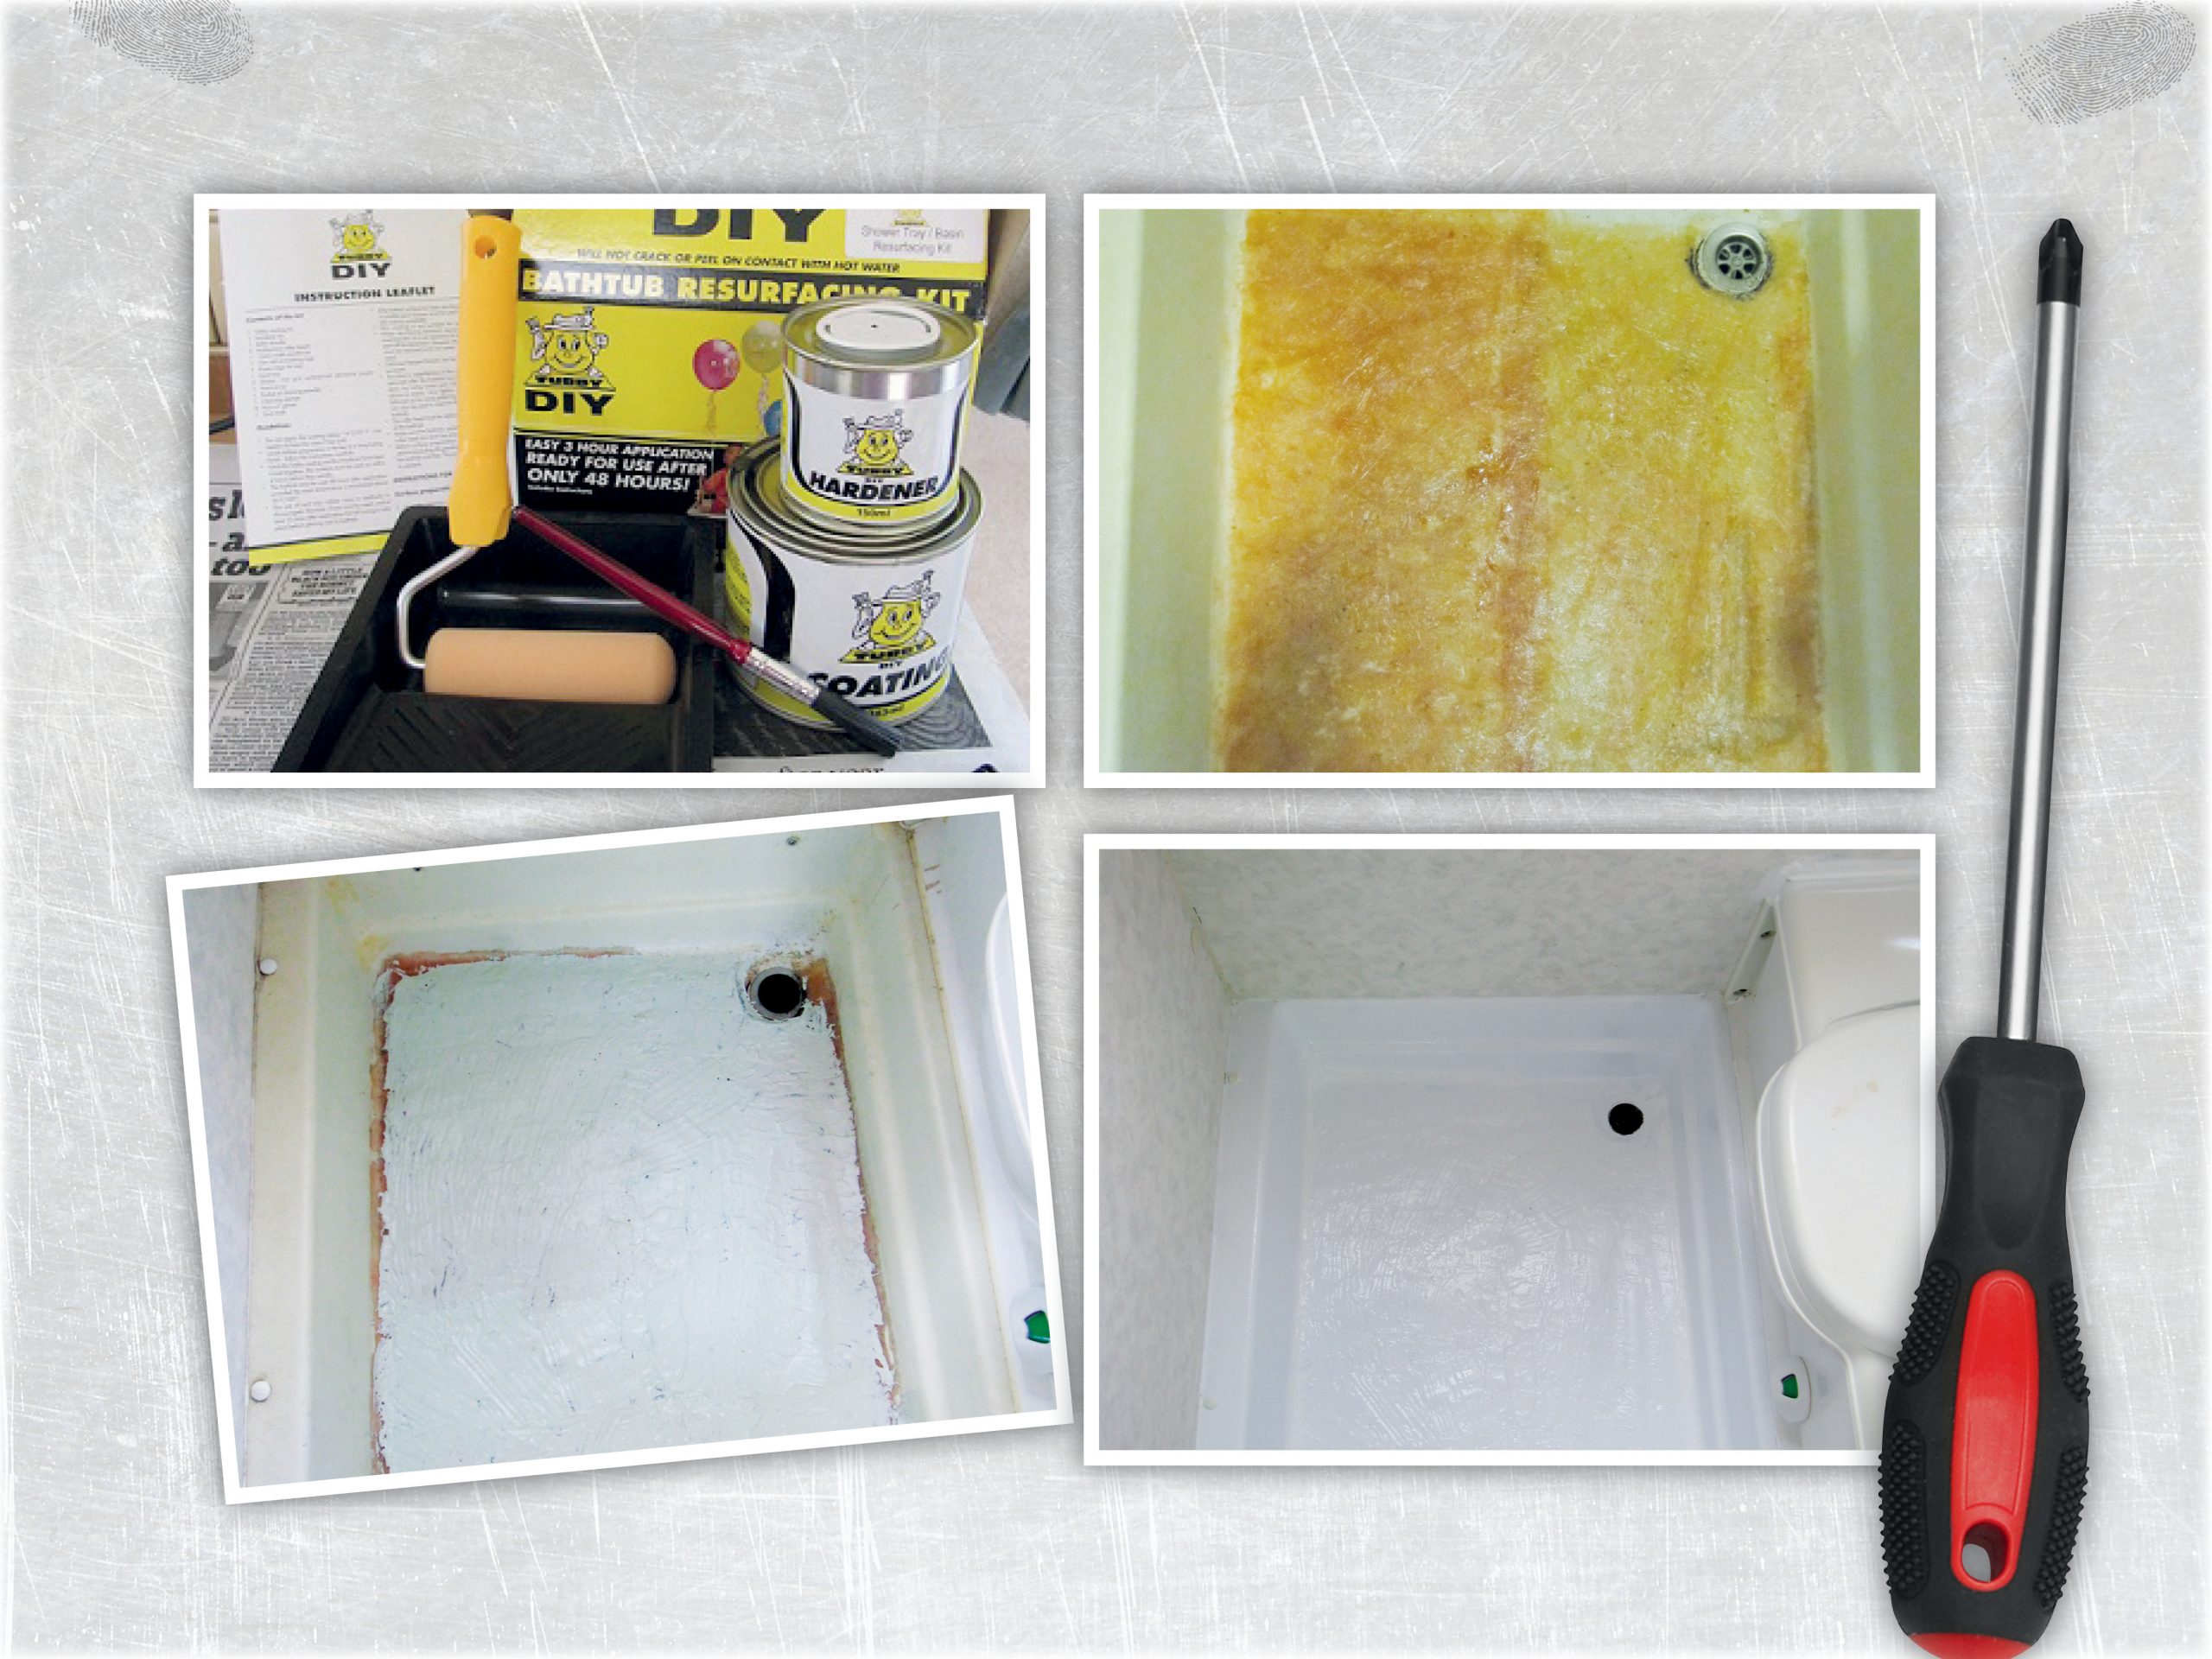
I emailed Tubby UK and described our problem; Grant Helm at the company quoted £57.62 for the Tubby kit, two tubes of filler and the postage. The kit also included the rollers and tray, dust masks, gloves, abrasive paper and masking tape.
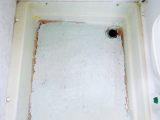
We couldn’t access the area below the shower tray to put in the recommended extra support, so Grant suggested applying a layer of glassfibre matting and resin over the tray to seal the cracks and provide a strong base. Then I’d have to put filler over the whole surface and sand it down, before applying the epoxy-based coating.
I’d need more filler, which Tubby could supply; the new quote was £73.50, including £7.50 postage. We bought a glassfibre kit from Halfords and ordered the Tubby products.
Before starting, I put on the latex gloves and a mask – both of which I wore throughout the process – and opened all the doors and windows to ventilate the area as much as possible. I cleaned the shower tray and, after making sure it was totally dry, I set about applying a layer of glassfibre matting and resin.
A resin to try
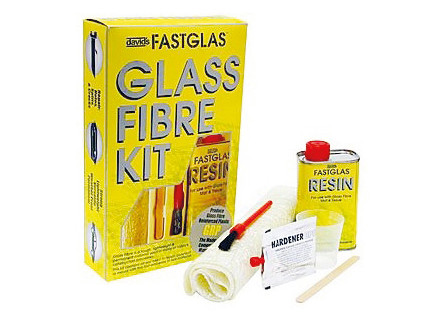
First I cut the sheets of matting to size and laid them in place, before mixing the resin. A given amount of hardener is stirred into the liquid resin, as per the recommended ratio. Once mixed it sets very fast, so I prepared a little at a time and applied it quickly, mixing more resin as I worked across the tray.
The resin is a thick, gloopy texture and I had to paint it on and work it into the matting evenly.
When the resin was completely dry, the floor felt very solid when pressed by hand but did creak and crack when we stepped on it; this is because the resin is brittle.
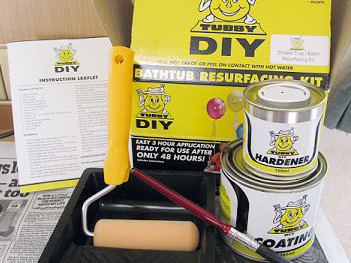
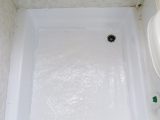
The next task was to apply the P40 filler. This is intended to provide a suitable base for the epoxy coating, to give more strength to the tray and to fill any gaps or cracks. As with the resin, hardener has to be mixed into the filler and applied in small quantities, using a spatula. I gave it a textured surface to emulate the original floor.
Once the filler was dry, I used the abrasive paper supplied to smooth off any rough areas, making sure to wear the dust mask provided. I then had to clean the whole area thoroughly.
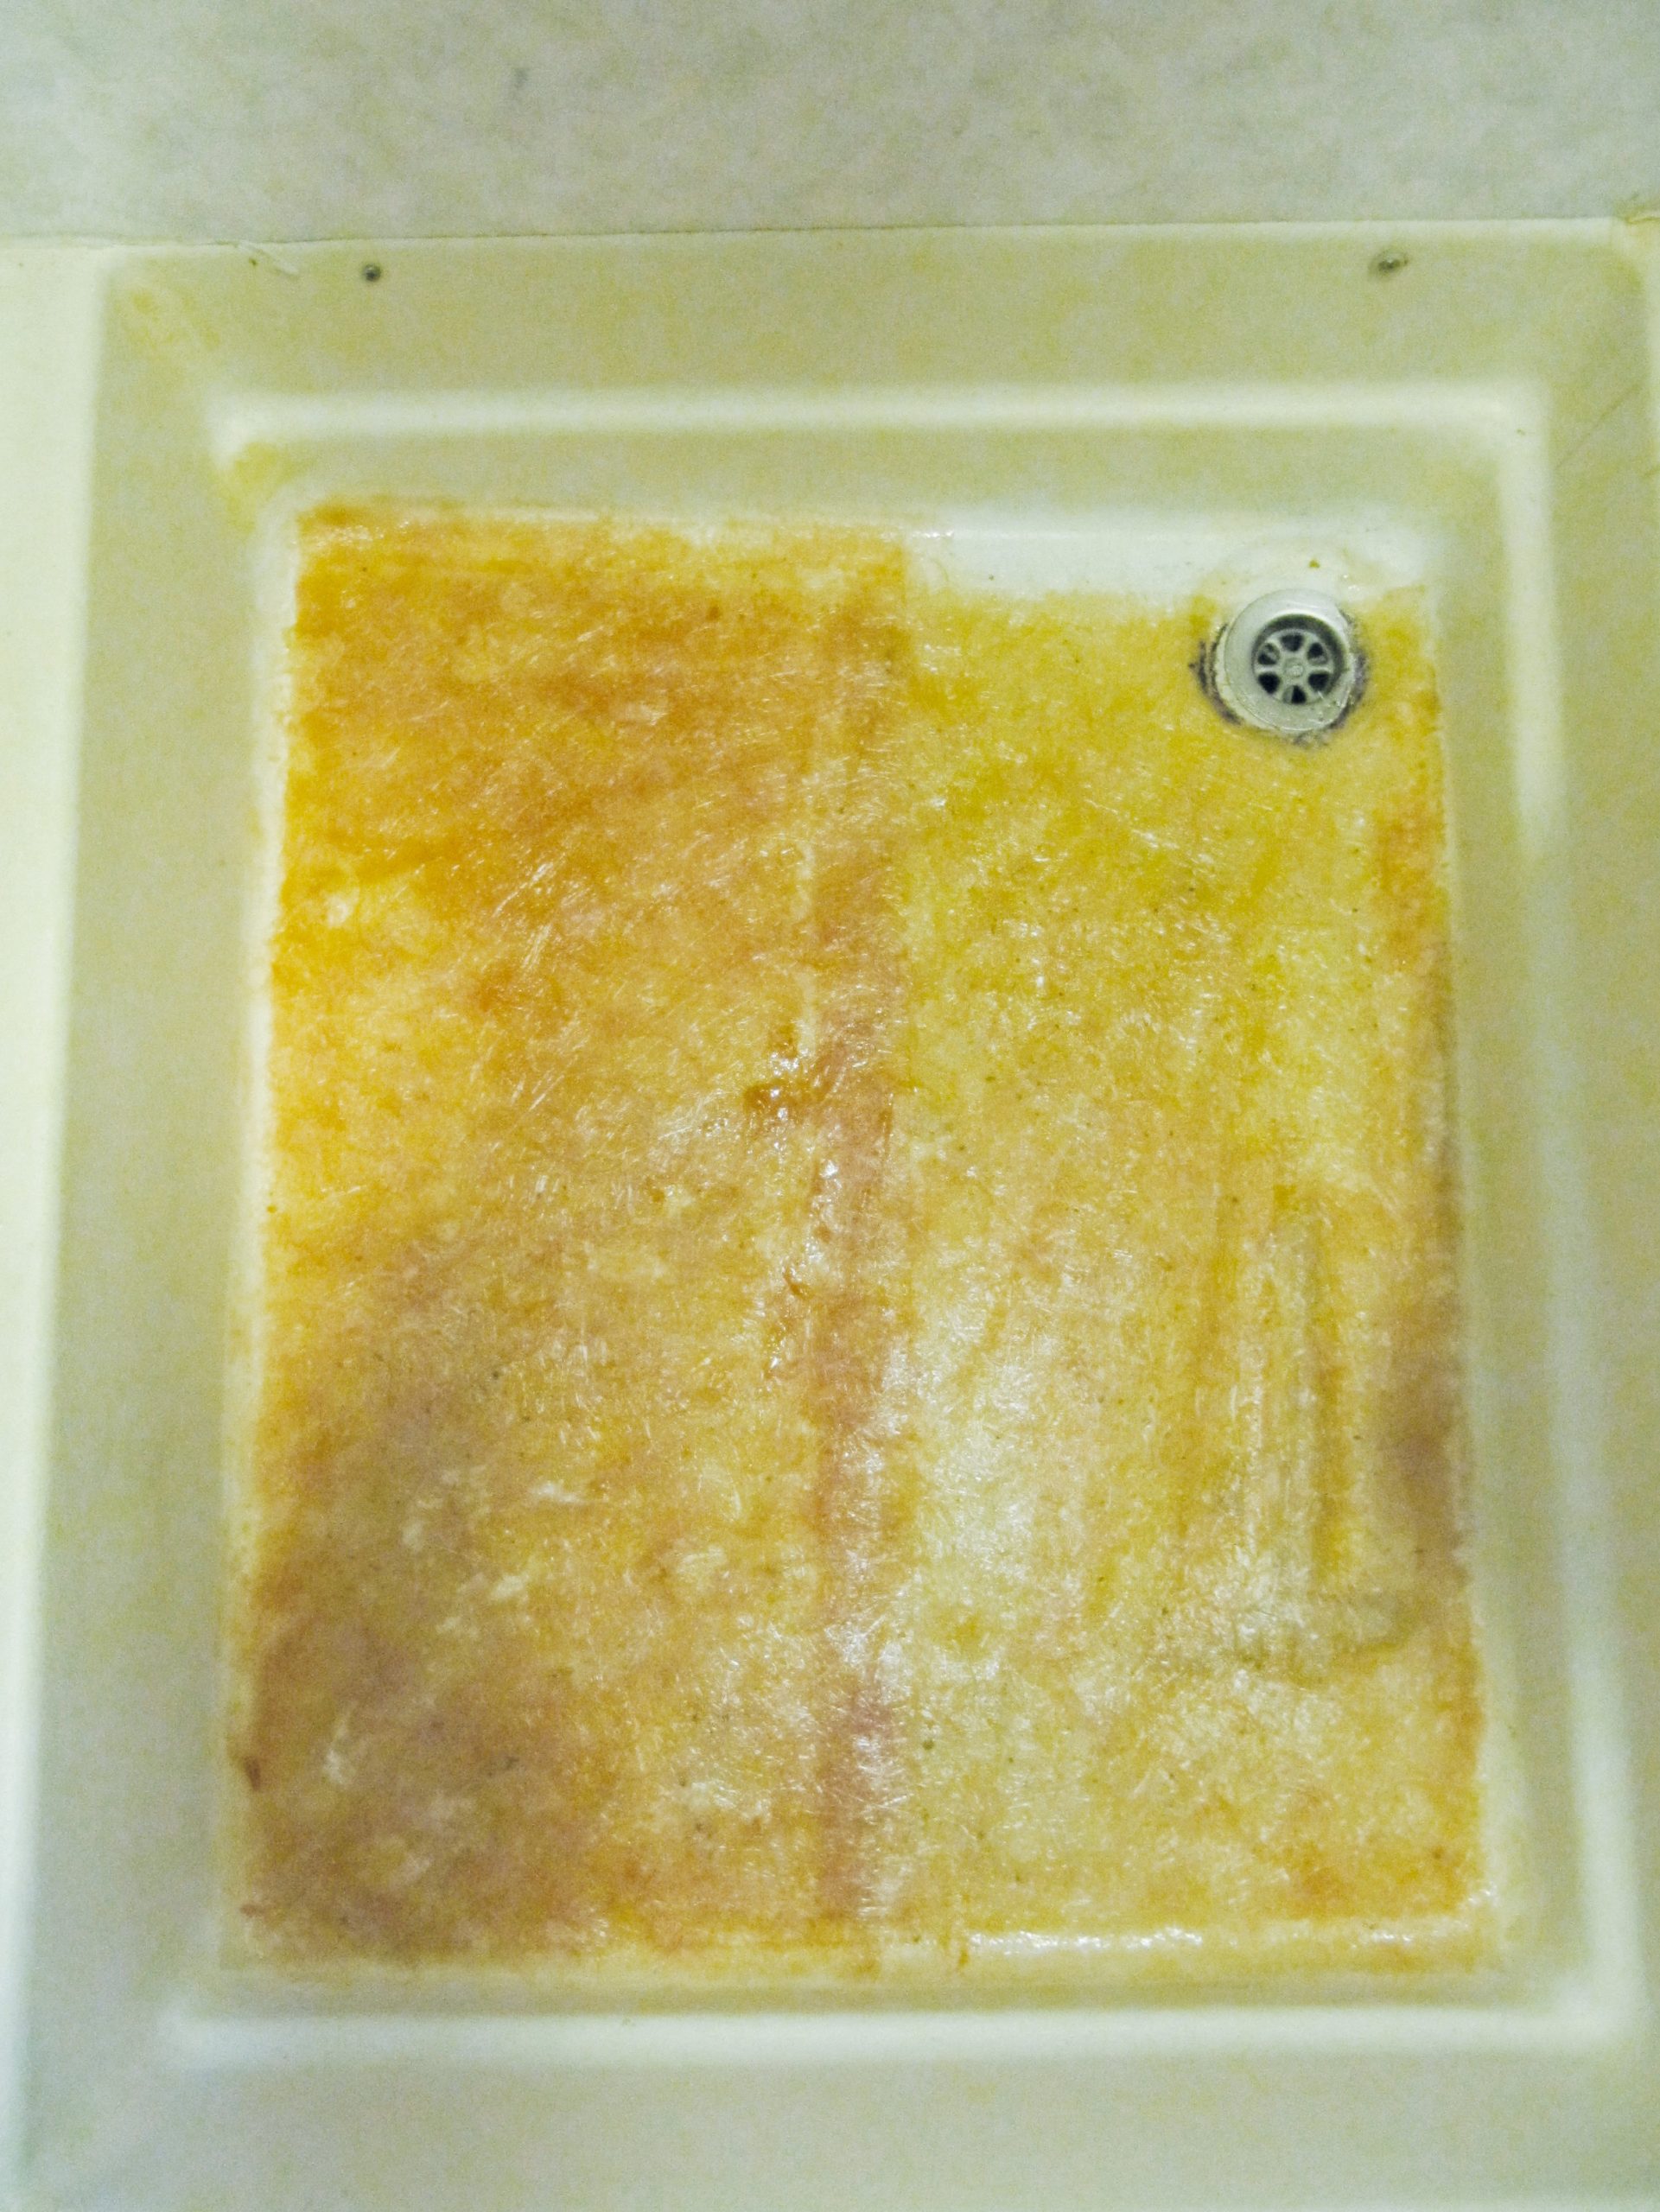
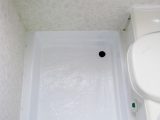
Next came the bit I’d been apprehensive about: applying the epoxy coating. But it was far easier than I’d imagined. I prepared the surface by wiping it with the provided adhesion promoter, then mixed the two-part resin and rollered it on. When it was dry, I applied a second coat.
The finishing touch, a couple of days later, was to go round all the edges with Sikaflex sealant.
Costs and materials
To repair your shower tray in the motorhome you will need to buy these materials: Tubby UK shower tray resurfacing kit £43, large P40 filler £16, a set of flexible spatulas £4, adhesion promoter £3, postage £7.50, David’s Fastglas glassfibre kit (Halfords) £13. This all adds up to a grand total of: £86.50.
What a bargain!
Grant suggested applying a layer of glassfibre matting and resin over the tray to seal the cracks and provide a strong base