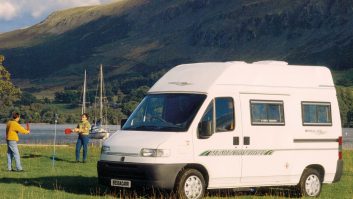


As motorhomes age, plastic parts become brittle, especially if they’re exposed to plenty of lovely sunshine on holiday. My 2008 Autocruise Wentworth has been mostly trouble-free for the last three-and-a-half years of my ownership, but this run of good fortune couldn’t last forever and very suddenly the water filler and filter unit broke.
Water filler failure
I’m no stranger to motorhome DIY, having owned more than one project ‘van in the past. So I think that making a few running repairs is a small price to pay for the lifestyle that we enjoy in our older motorhome.
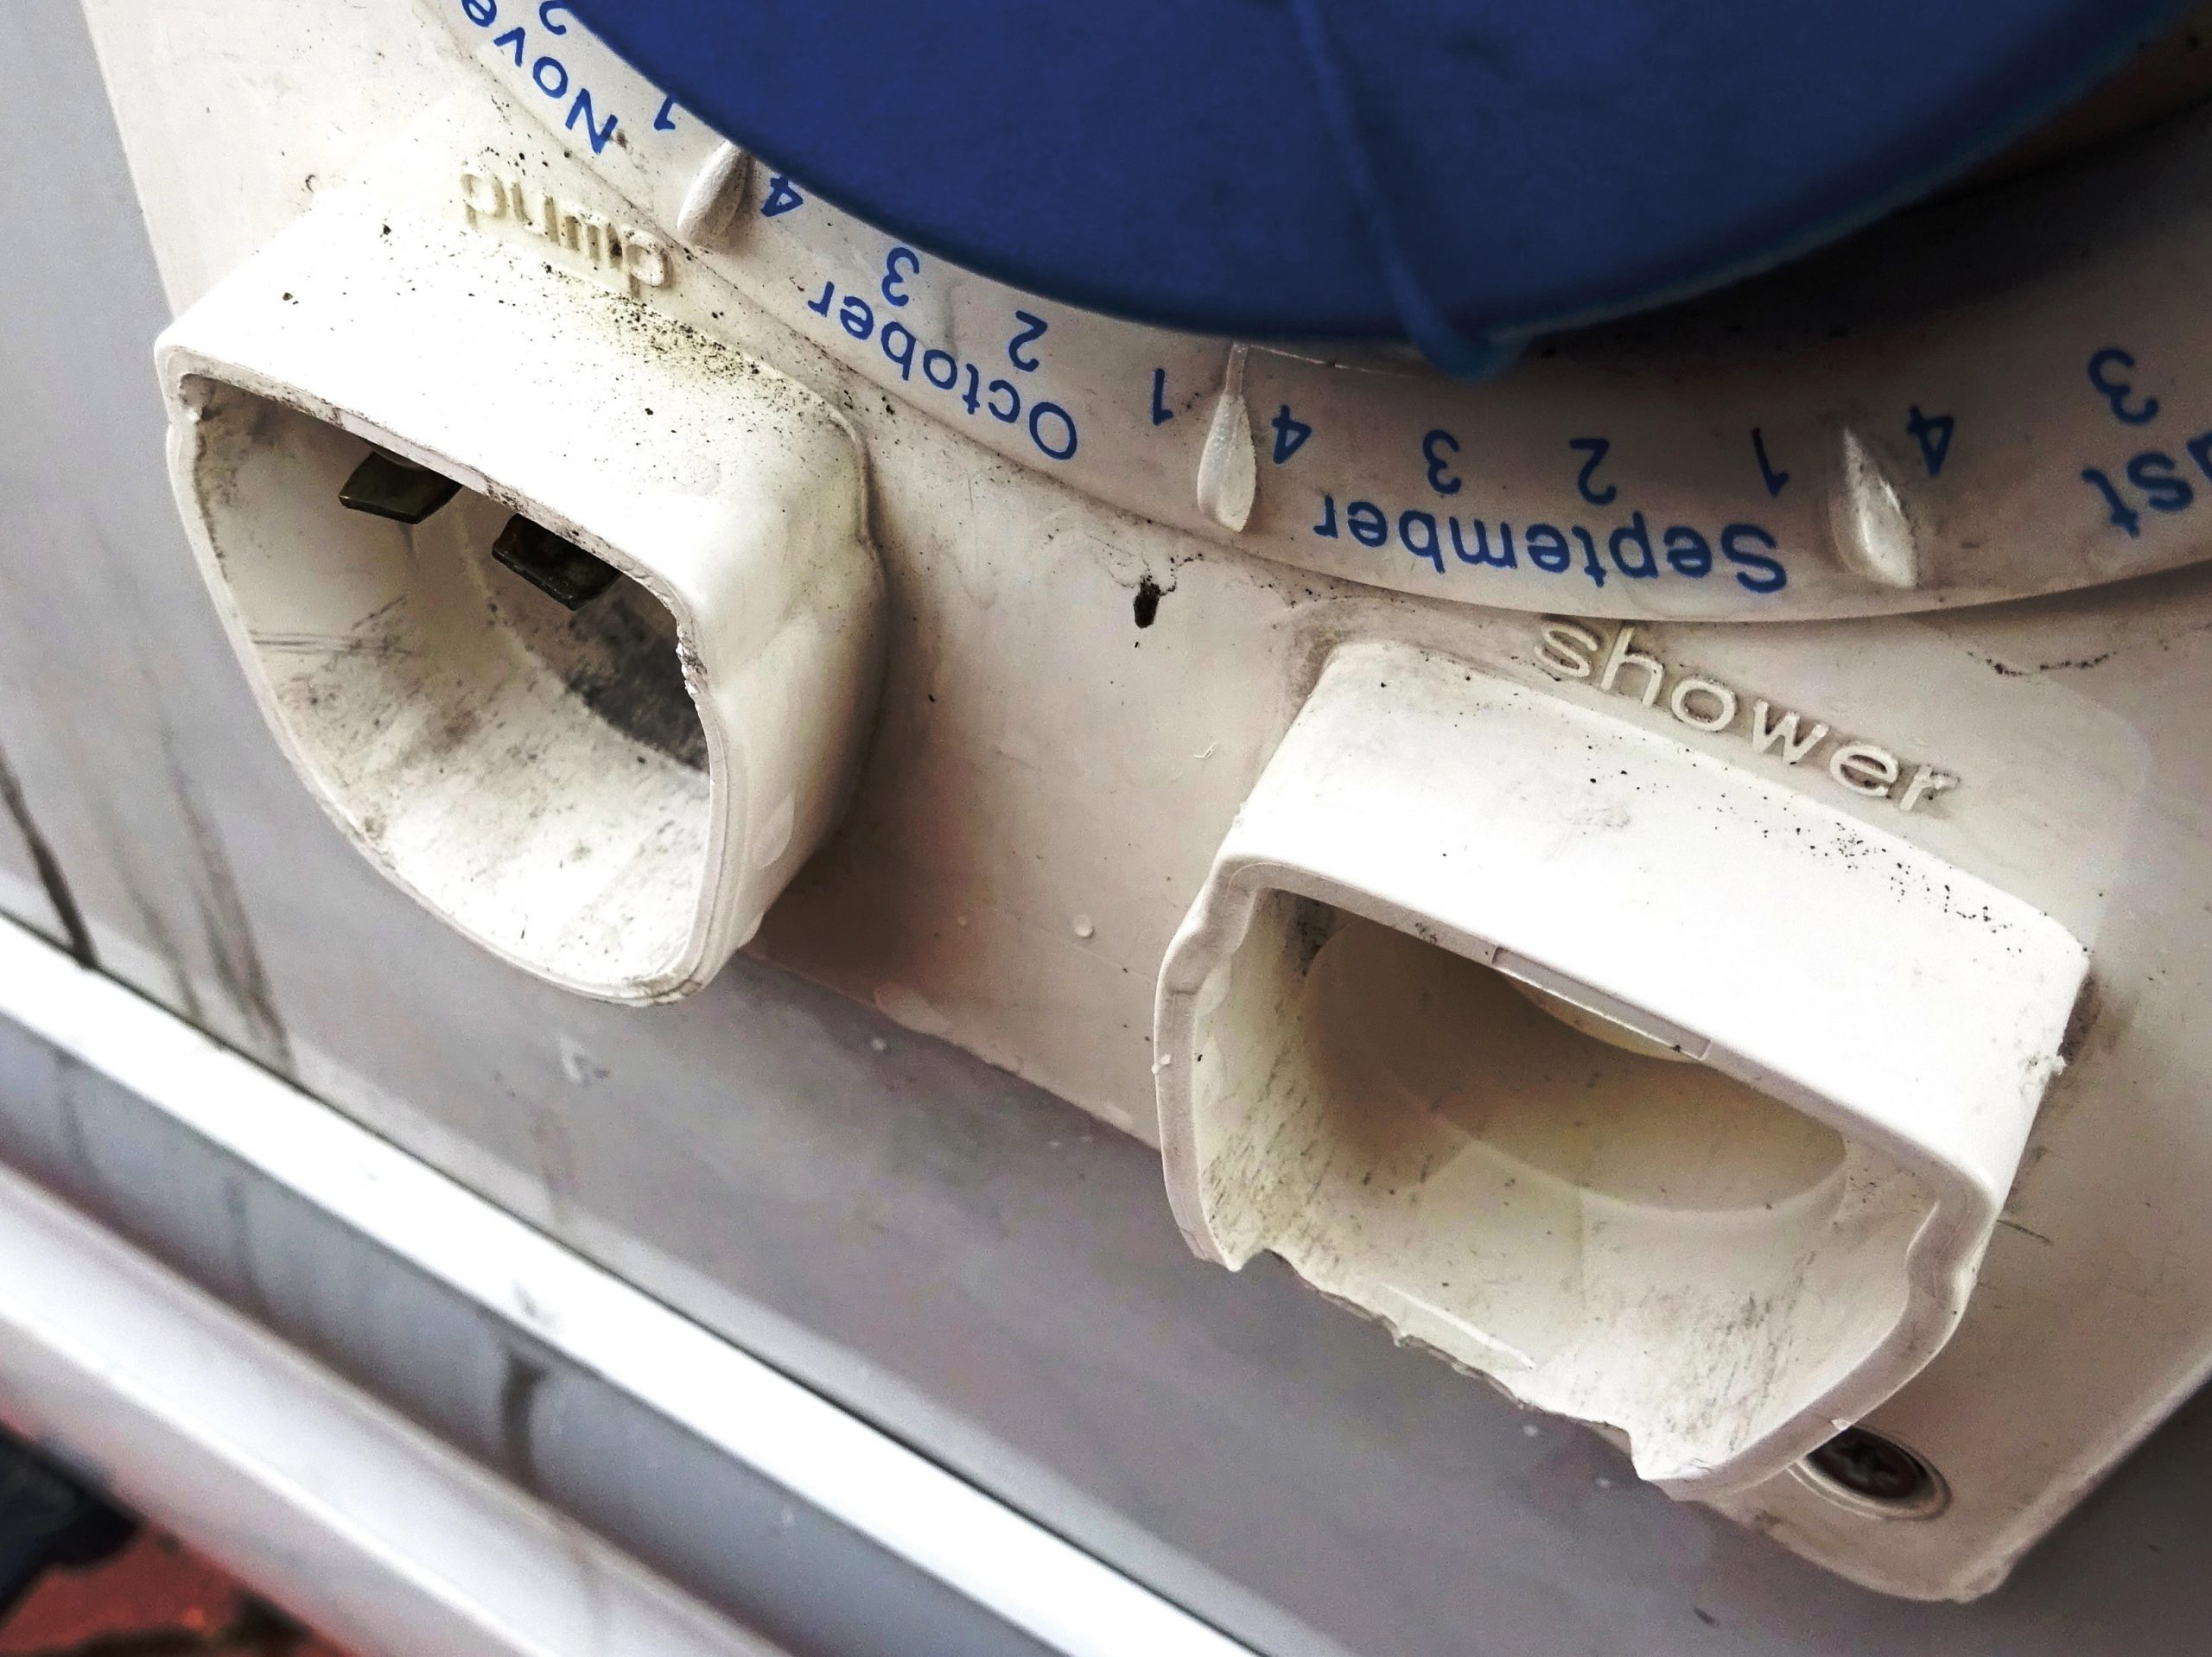
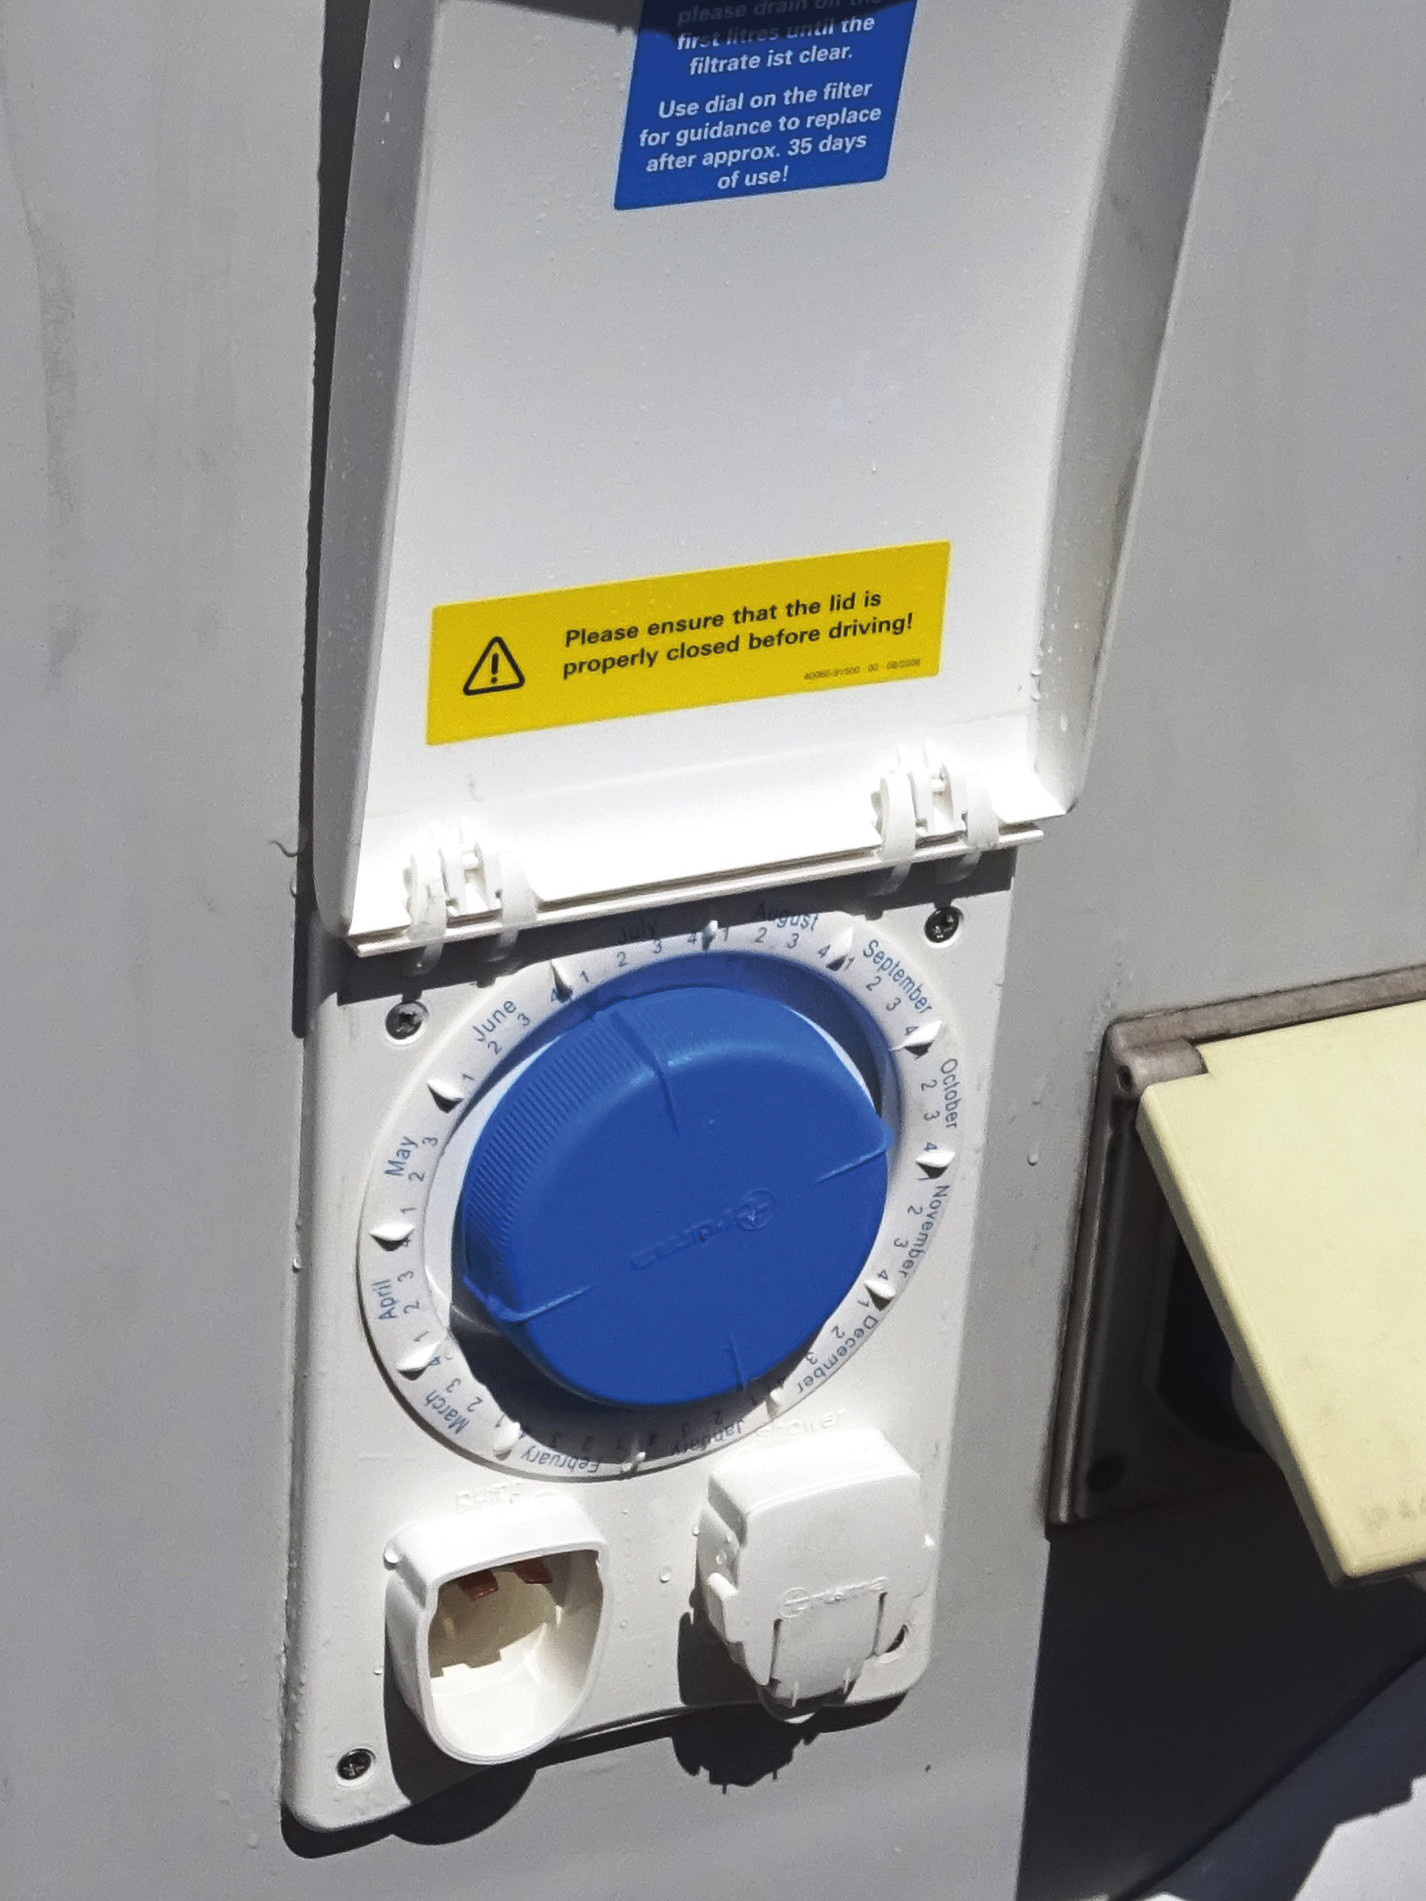
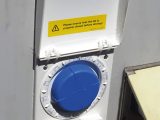
The standard kit on all Autocruise coachbuilt motorhomes is a Truma Ultraflow combined exterior water filler/filter and cold-water shower point. There’s a blanking plug for the exterior shower located at the bottom right-hand side of it.
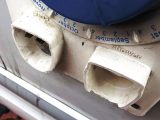
If you scroll through the carousel of photographs above, you’ll see exactly how the water filler unit failed. The lower lip of the aperture keeps the shower plug in place. It is under constant pressure and this, together with the white plastic becoming more brittle with age and UV light, meant that the lip broke off. With nothing to hold the plug in place, it self-ejected and caused a considerable water leak to the exterior of the ‘van.
Finding replacement parts
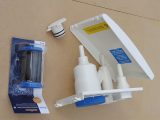
Replacing the complete water filler and filter unit is not cheap, so I tried several retailers. The sharpest price I found for a unit was from Leisureshop Direct, who charged £52.34 including delivery.
Before removing the old water filler unit, make sure you check that its replacement is identical.
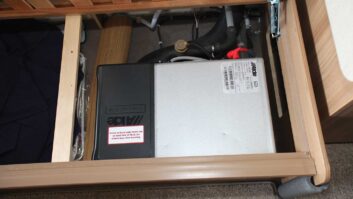
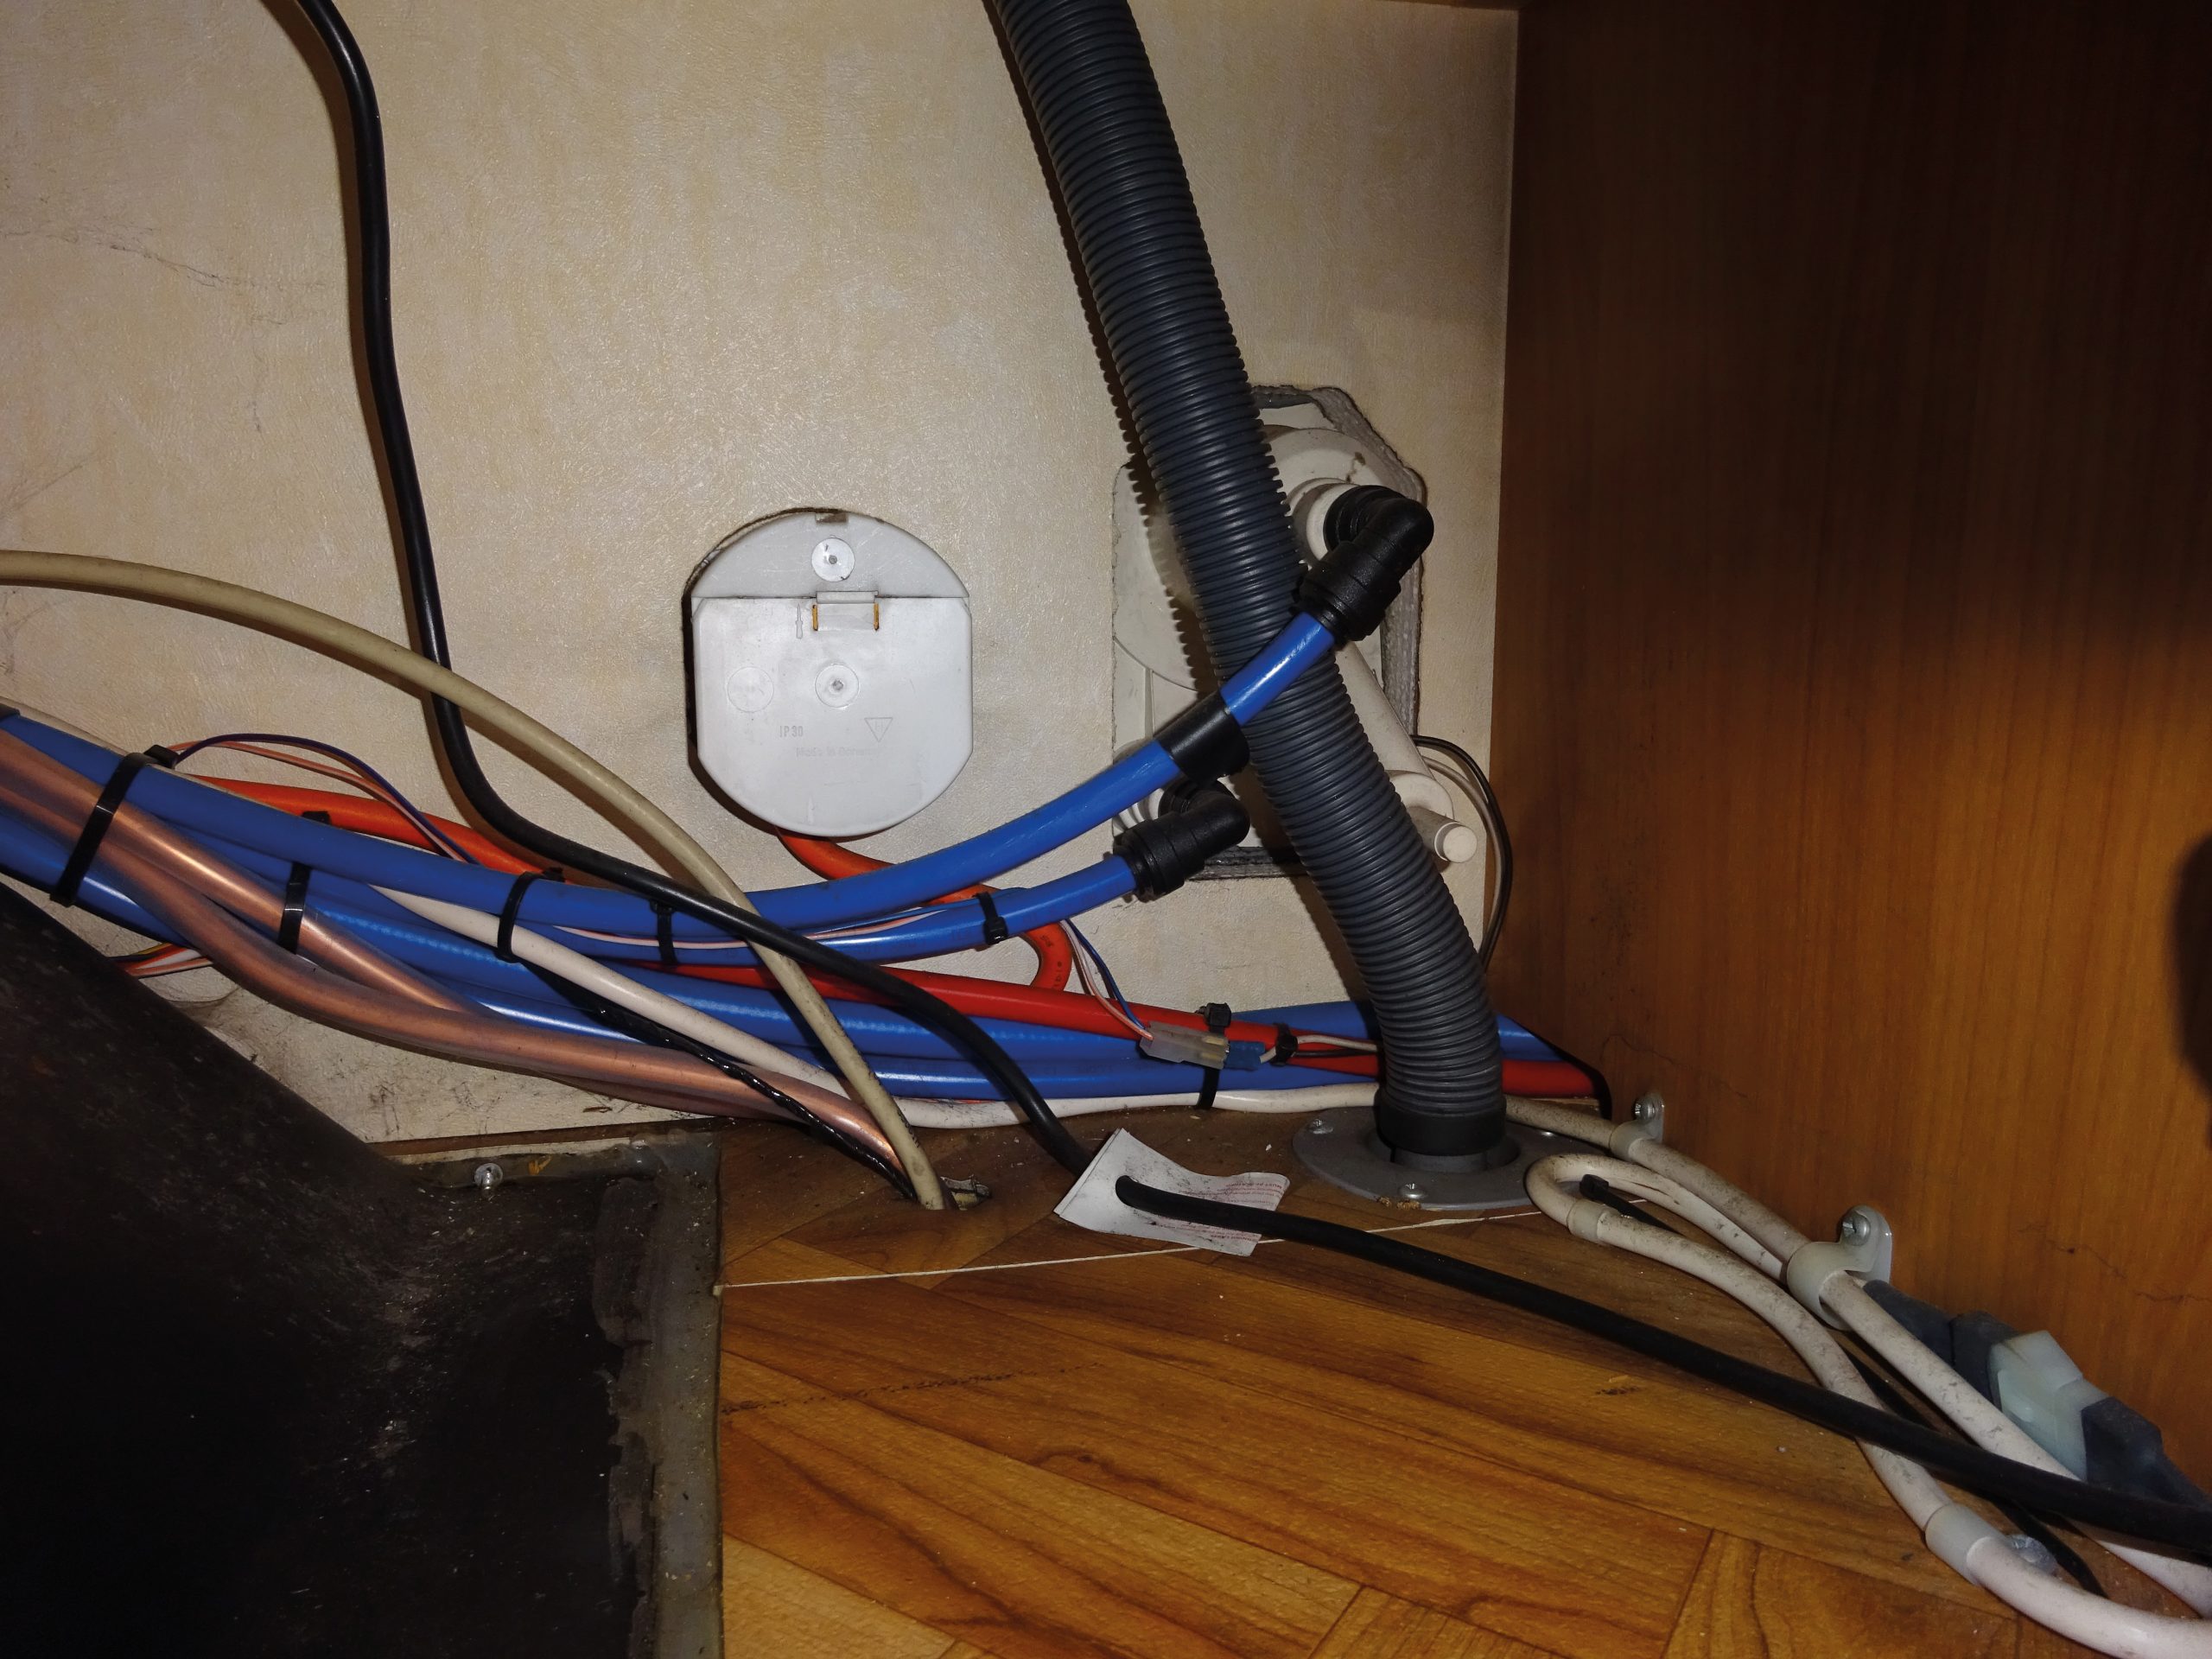
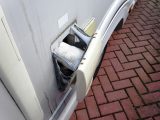
Accessibility is always an issue when you have to do running repairs to items on an older motorhome. Manufacturers probably install the water systems before finishing off the cabinetwork. In my Autocruise Wentworth I found that the access to the rear of the filler/filter unit was below the oven.
Remove the old part carefully
I had to release the piping by depressing the collar around the joint before I could remove it.
Next, I also had to lift the external cover and remove the four fixing screws before easing the unit away from the exterior wall. Only non-drying bedding sealant should have been used at the time of installation, but even this will grab hold like a limpet.
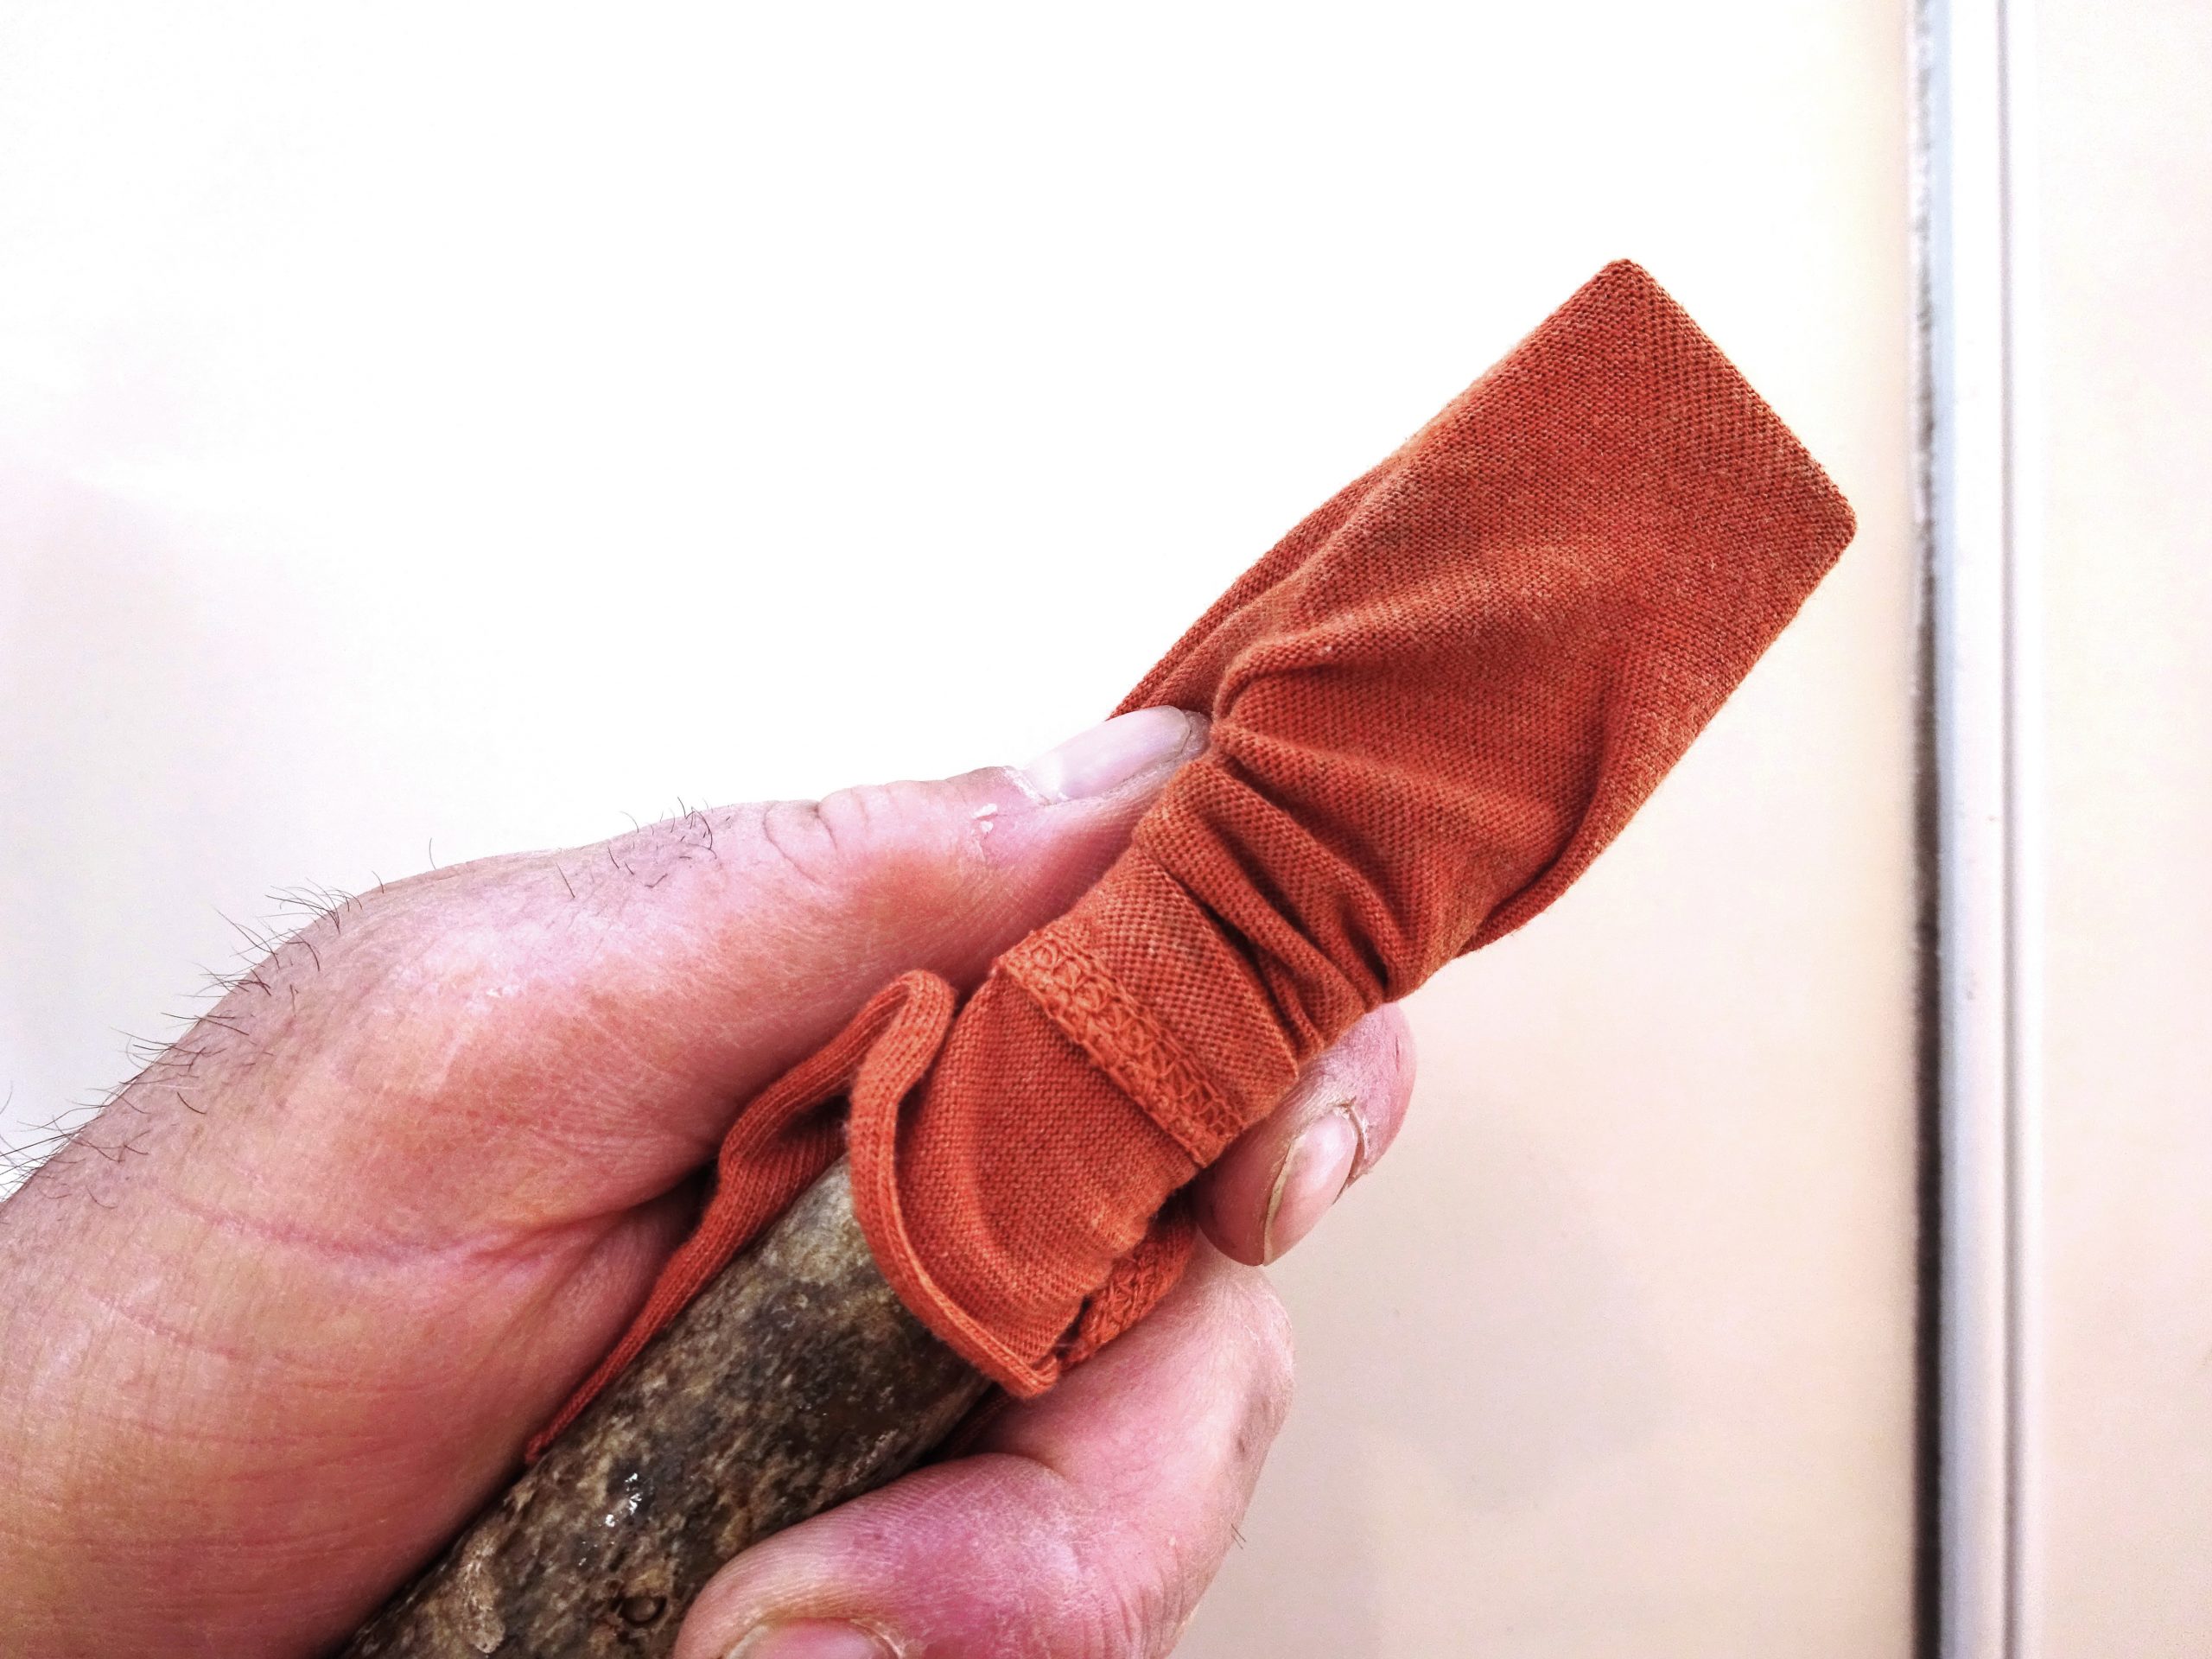
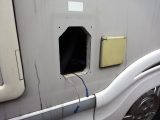
Do not force it. Get someone to push gently from the inside while you ‘cut through’ the sealant. I usually use an old plastic spatula to accomplish this, but it wasn’t rigid enough. I improvised with an old paint scraper – having rounded its sharp corners on a grinding wheel – and a close-weave cloth to protect the paintwork.
Remove all the old traces of bedding mastic from the coachwork: two types of sealant had been used – drying (adhesive) and non-drying bedding – white spirit and silicone eater did the trick.
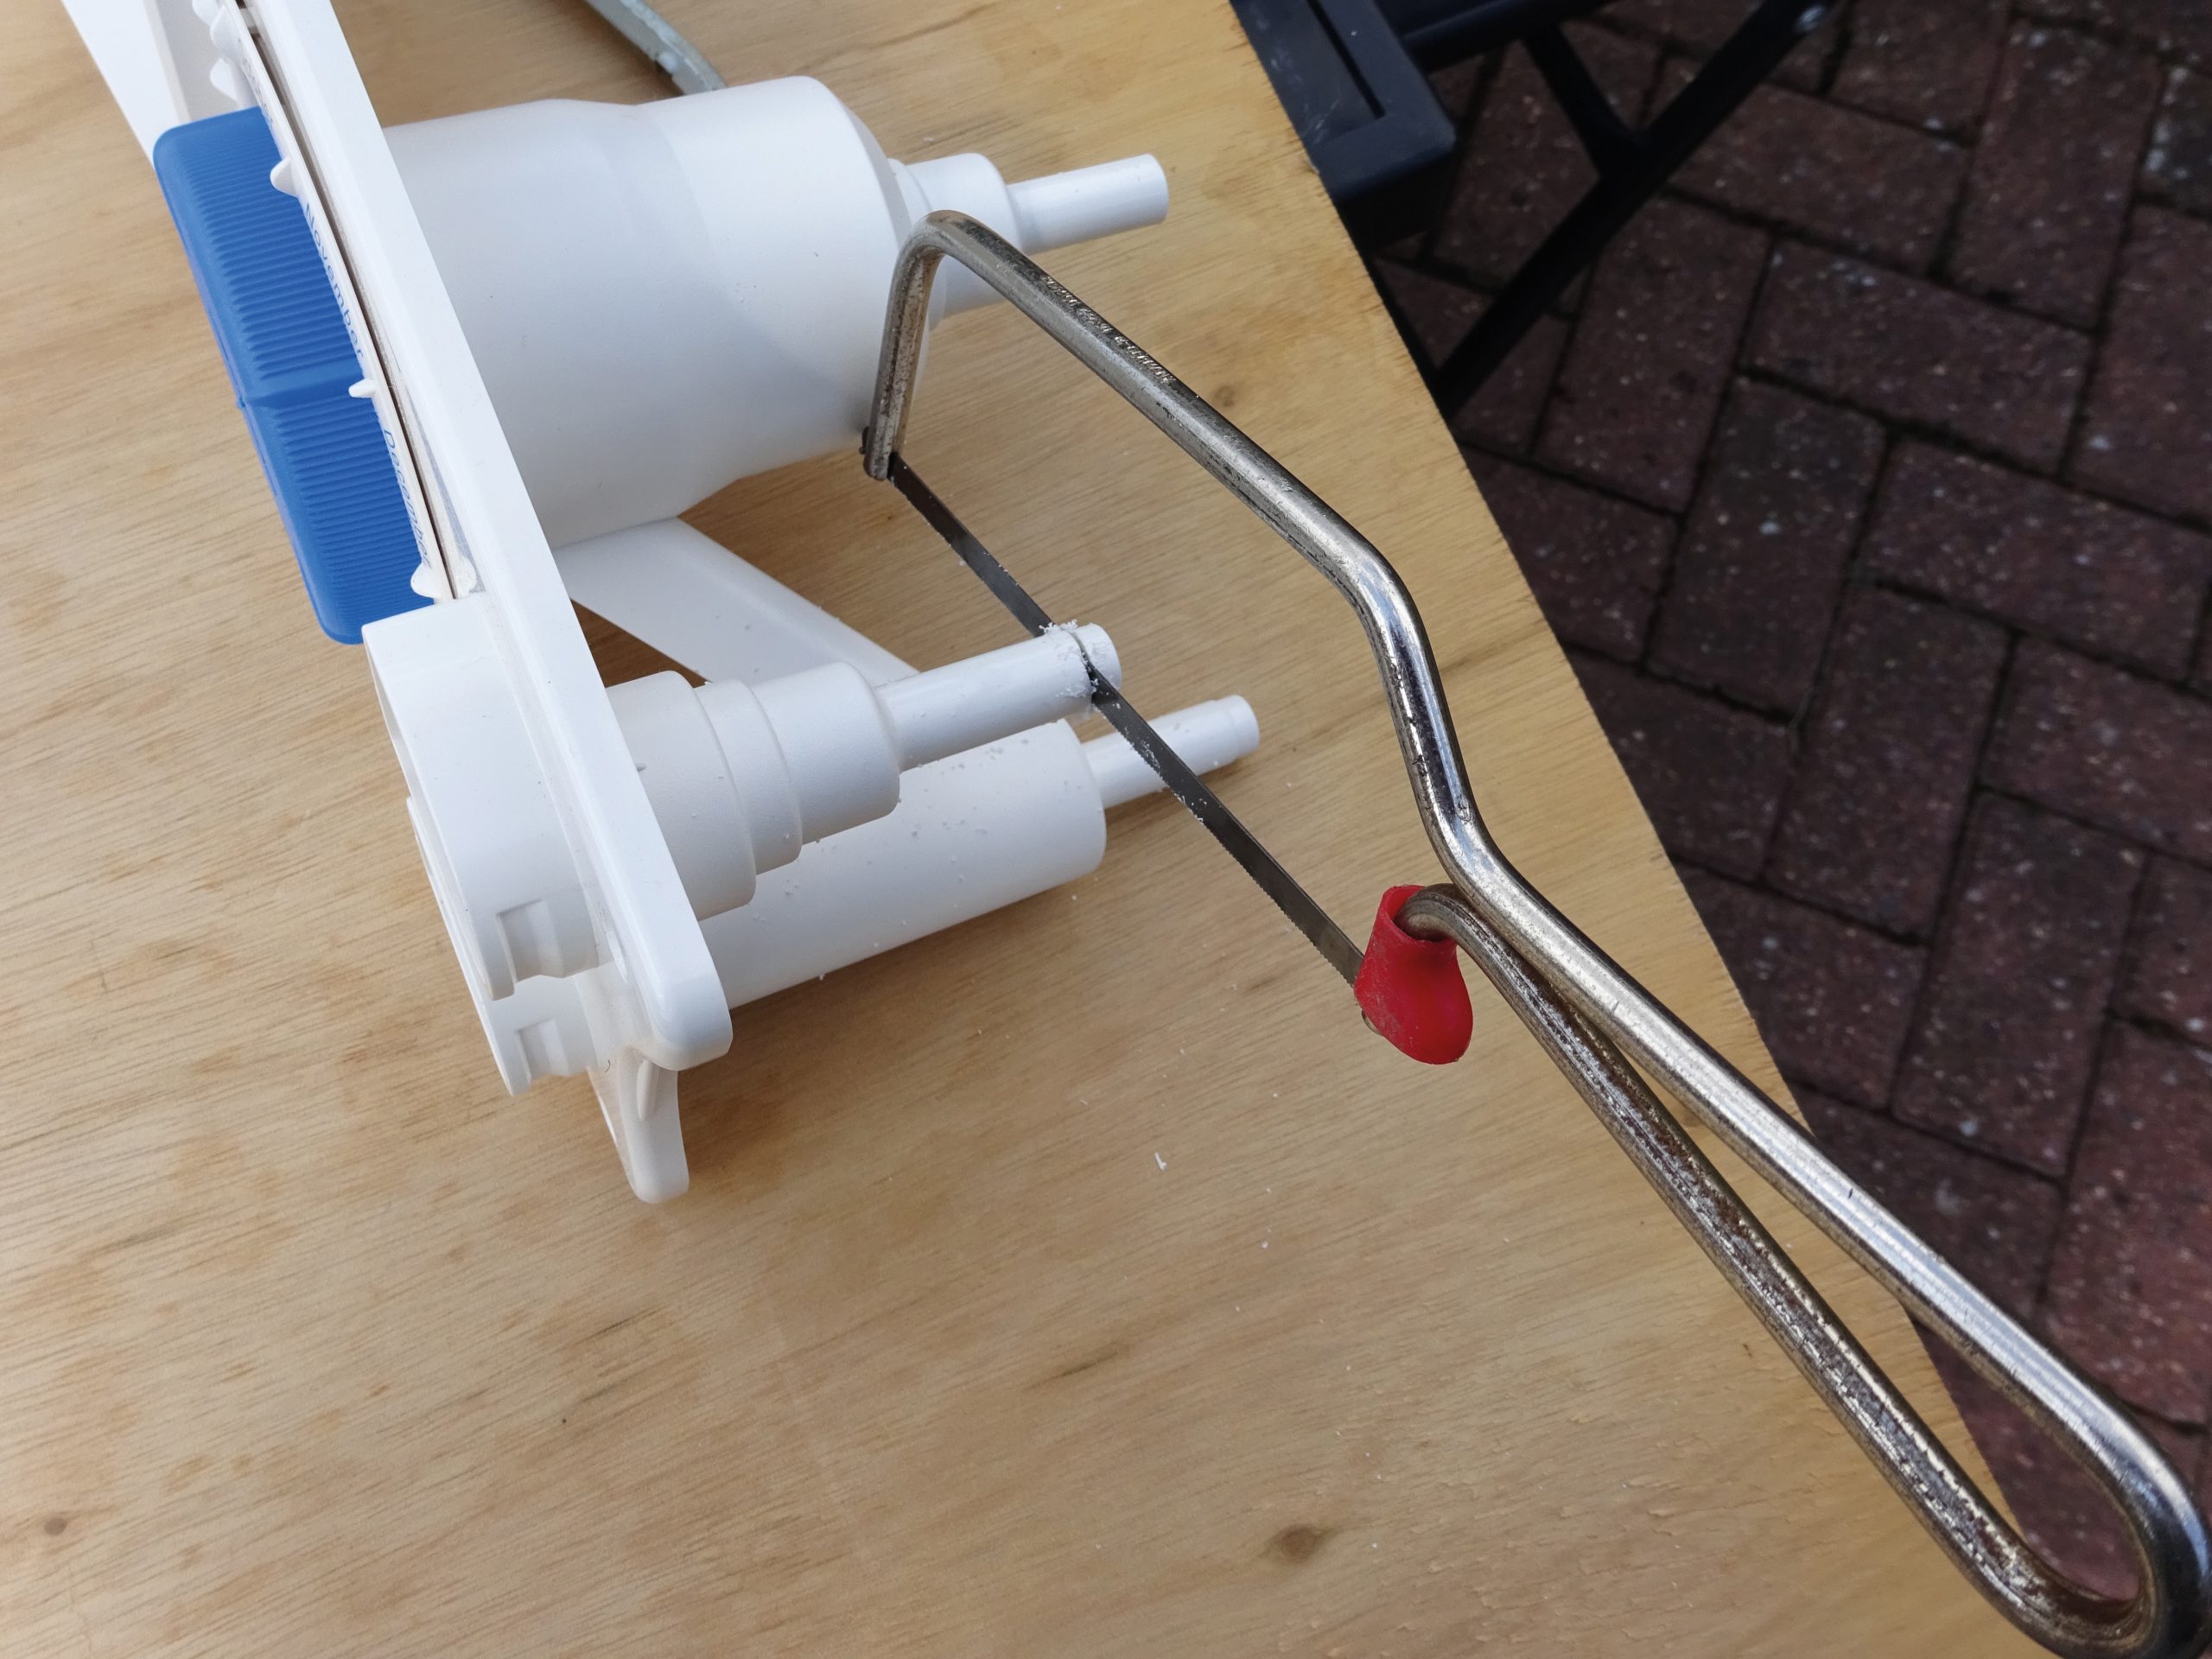
A blanking ‘stop-end’ may have to be cut-off. Use a junior hacksaw to make the cut and emery paper to remove any swarf. Re-assemble. Check for leaks from the internal plumbing and the external weather seal.
Finally, test the entire water system to make sure everything is working!
With nothing to hold the plug in place, it self-ejected and caused a considerable water leak