
Motorhome roof vents are taken for granted. They do their job overhead, where they’re out of sight and out of mind – until they leak.
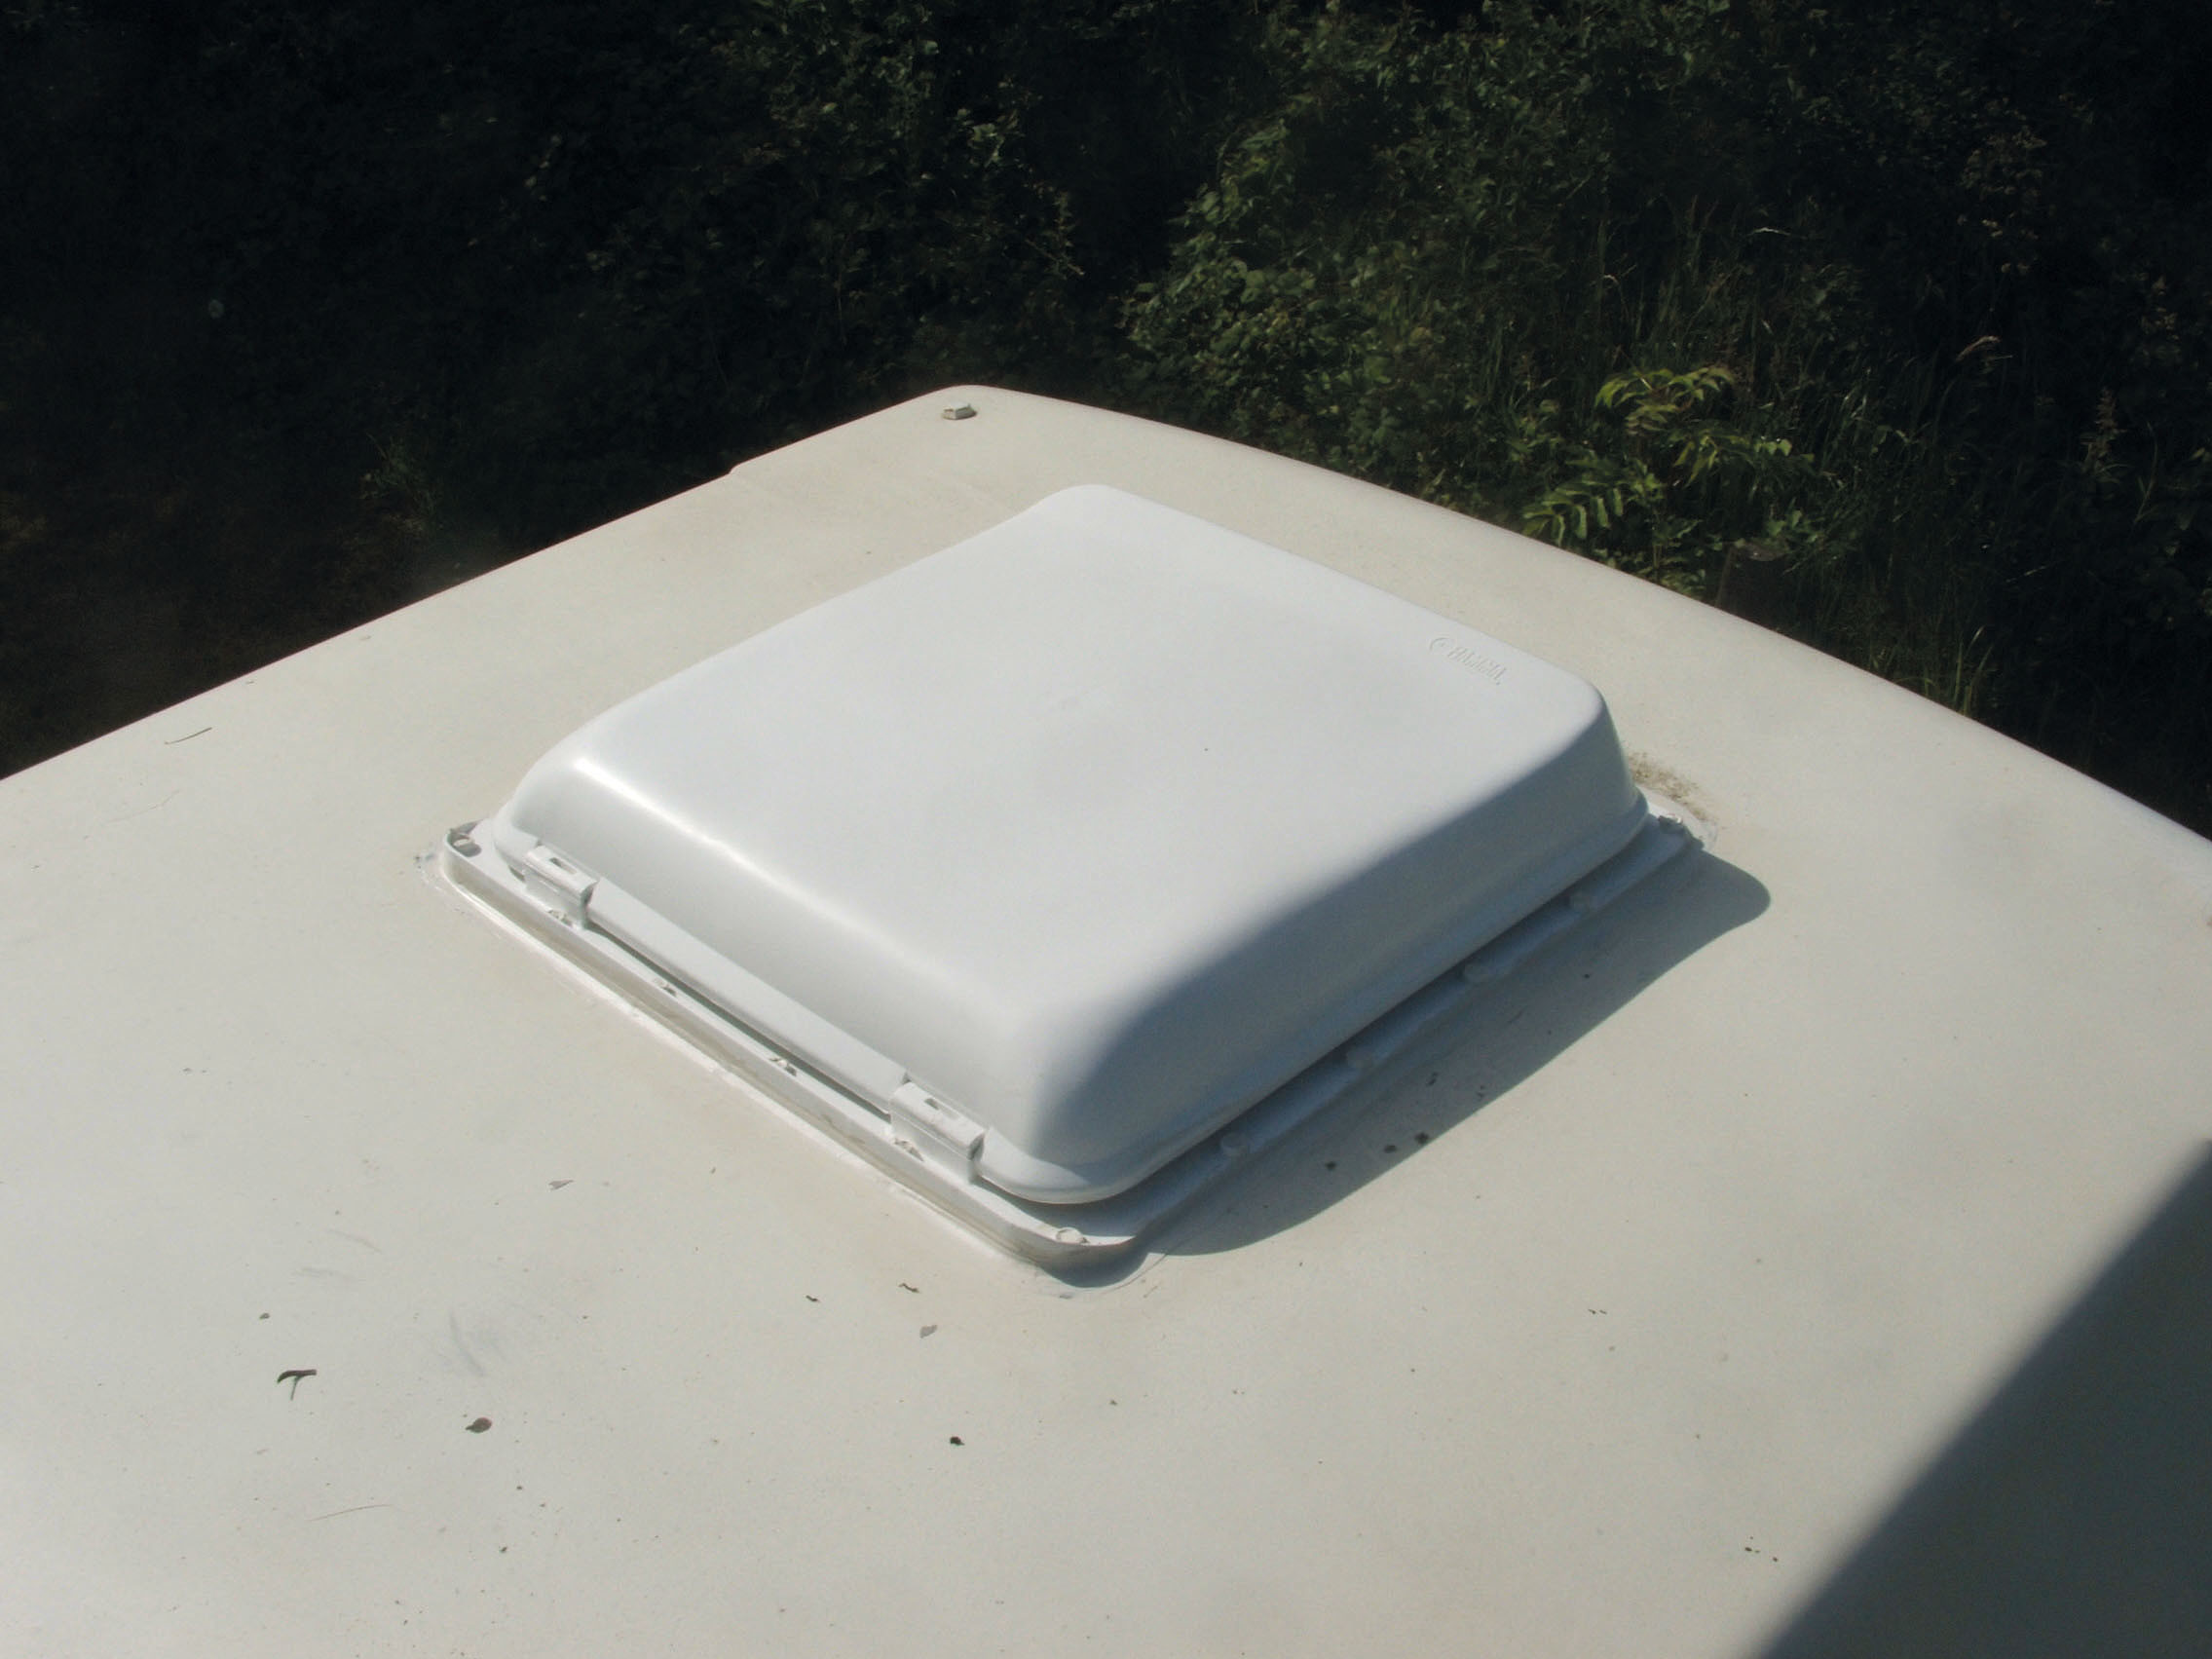
The two vents on my Westfalia T25 had given good service but as I cleaned the high-top camper, it was evident that the weather had taken its toll. The vents weren’t actually leaking, but it was just a matter of time before they did.
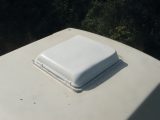
Many vents are fitted in similar ways to those on this VW T25 van conversion, whether in glassfibre, plastic, wood or aluminium.
First I removed the old vent
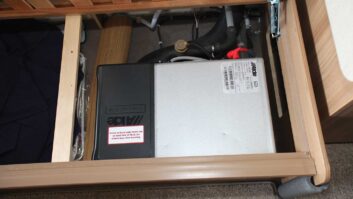
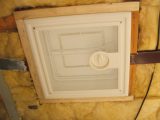
I had to remove the interior strip around one vent to know what size replacement to order. It was fixed to the frame with vertical screws. I first eased out the finishing caps that hid them using a small screwdriver and then removed the screws. Then I measured the distance between the frames and ordered replacements to fit.
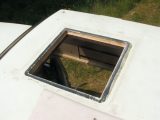
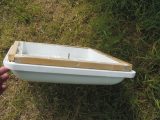
The next step was to remove one of the vents. (If you have more than one, replace one at a time and keep one as a reference.)
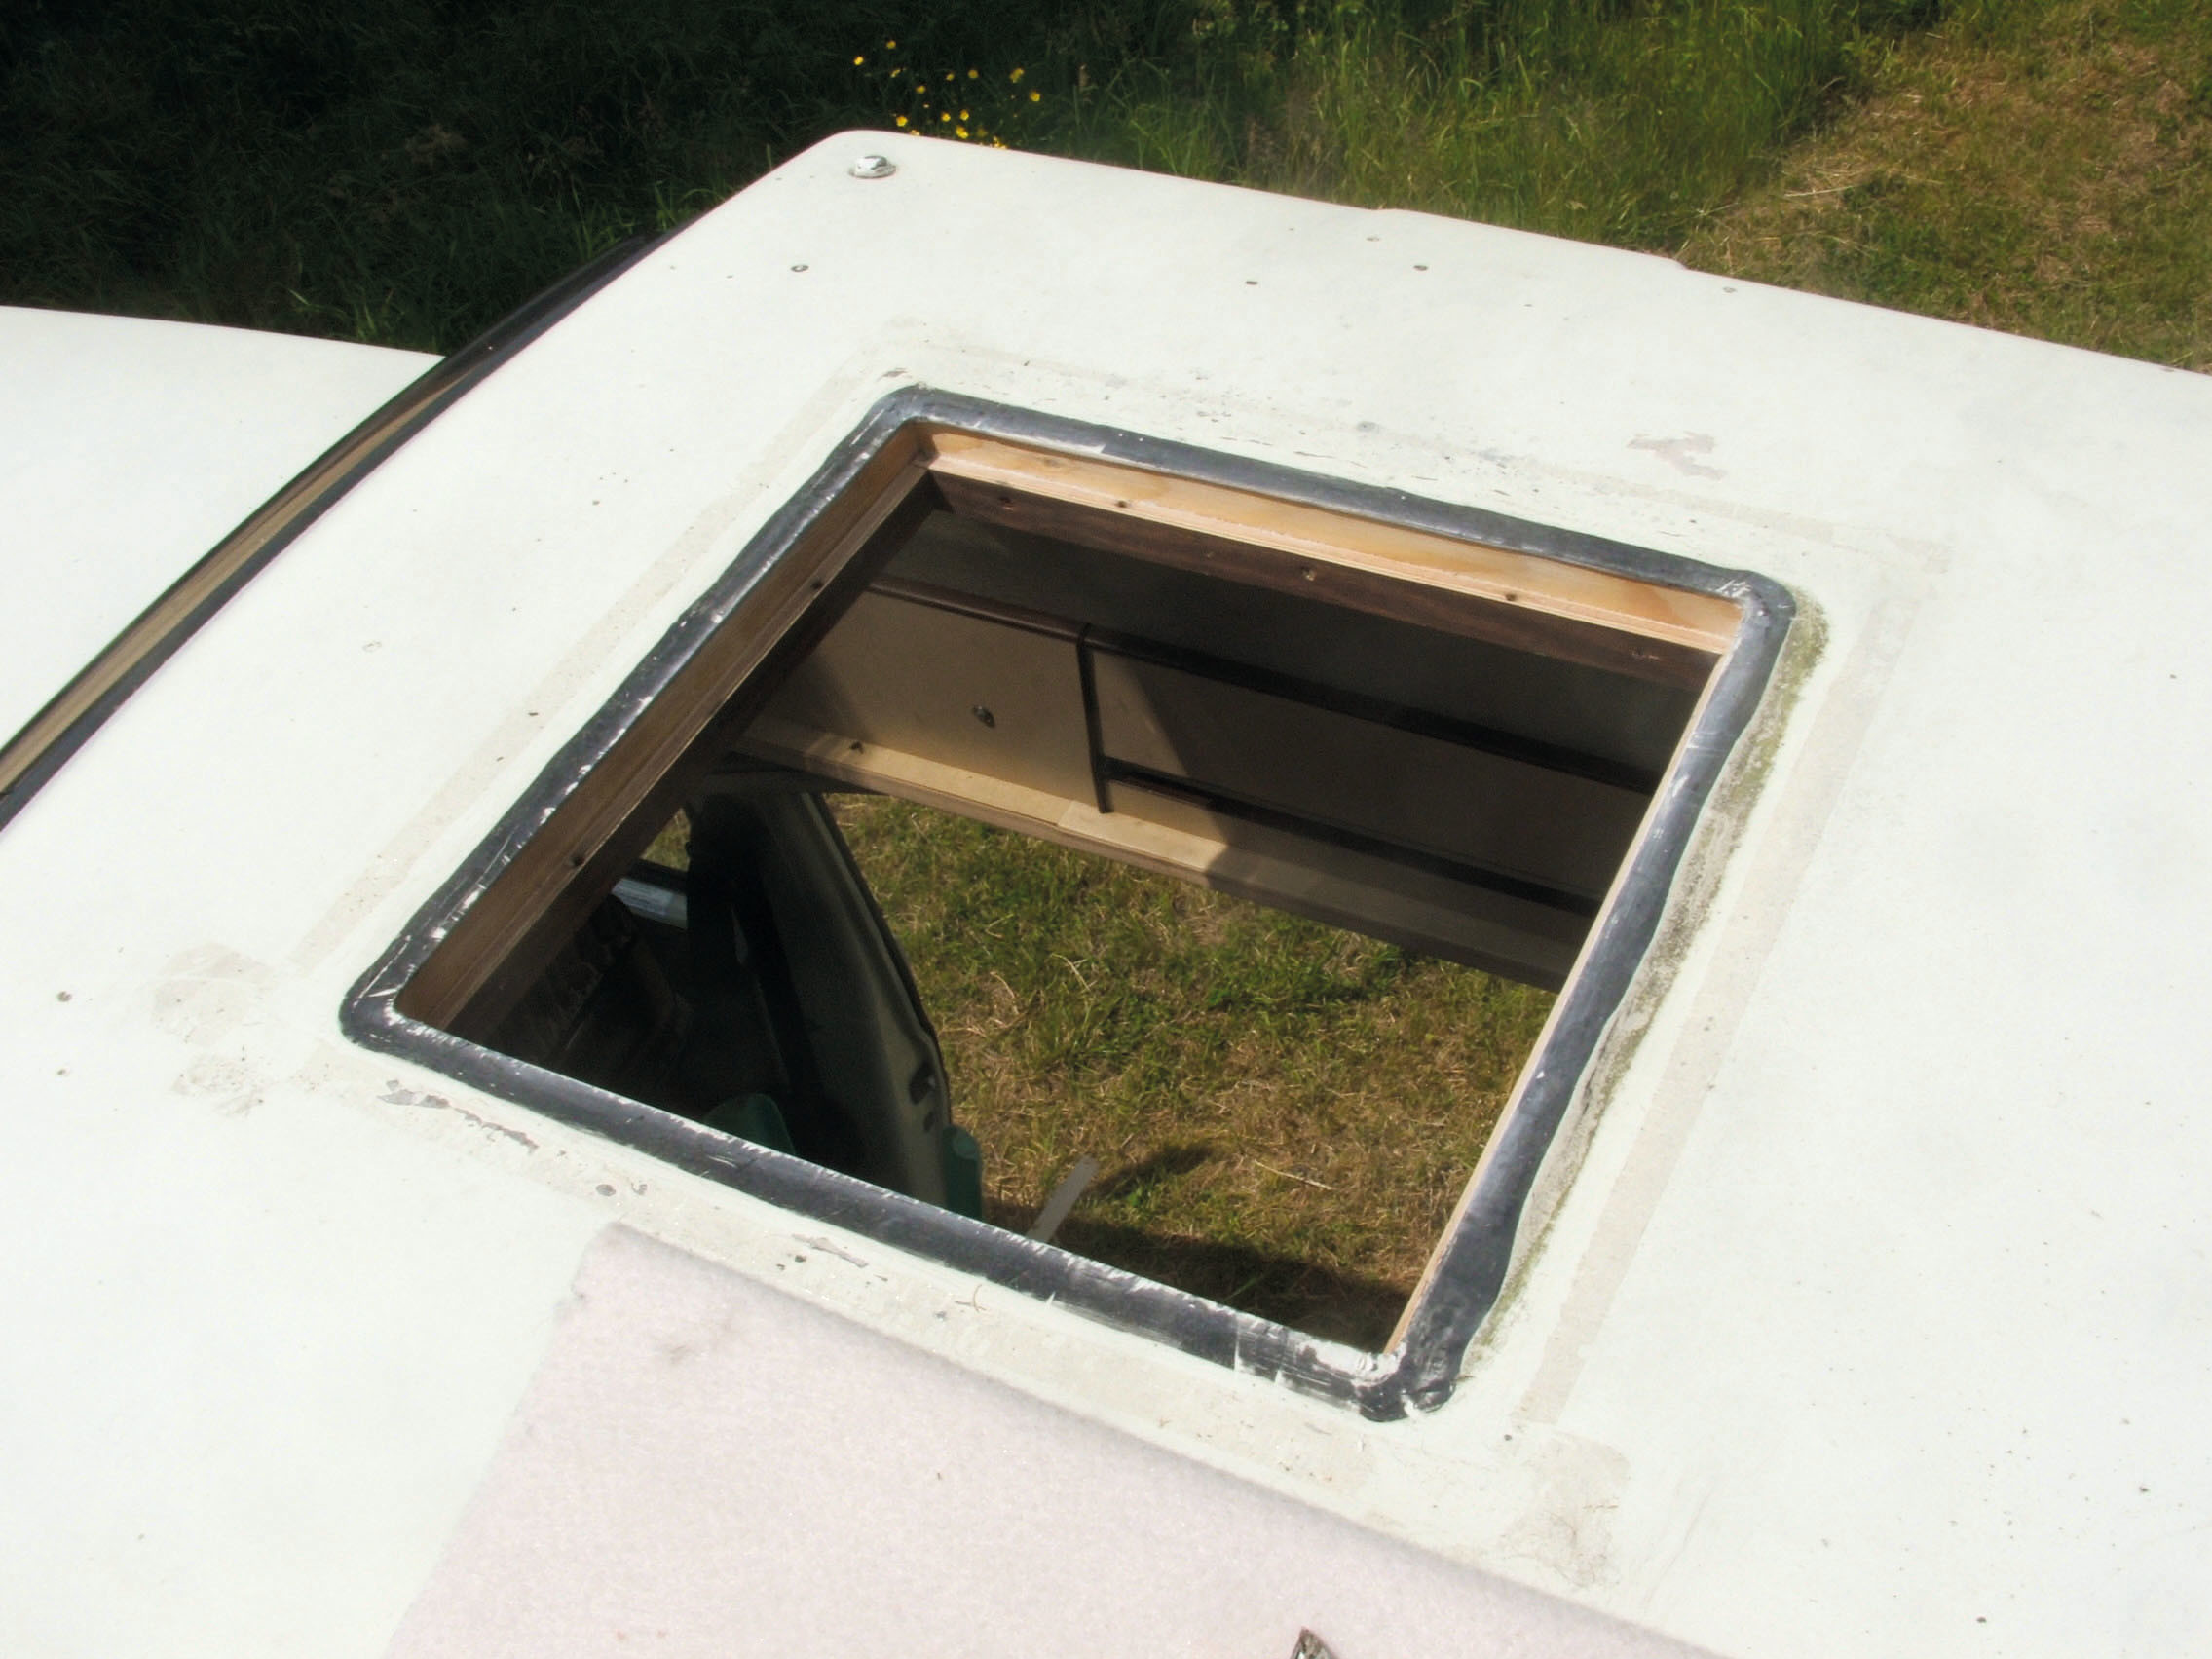
The exterior frame was held with eight screws inserted vertically from inside through the wooden frame. When these were removed, the vent assembly was gently pushed up through the roof; this left the mastic seal in place, but it still had to be cleared away.
First, to protect your hands from cuts, wear Kevlar gloves, which are readily available. Using a new Stanley knife blade without the holder, cut the sealant along the roof. The same type of sealant would be used on metal and timber sheets as on the T5’s glassfibre roof.
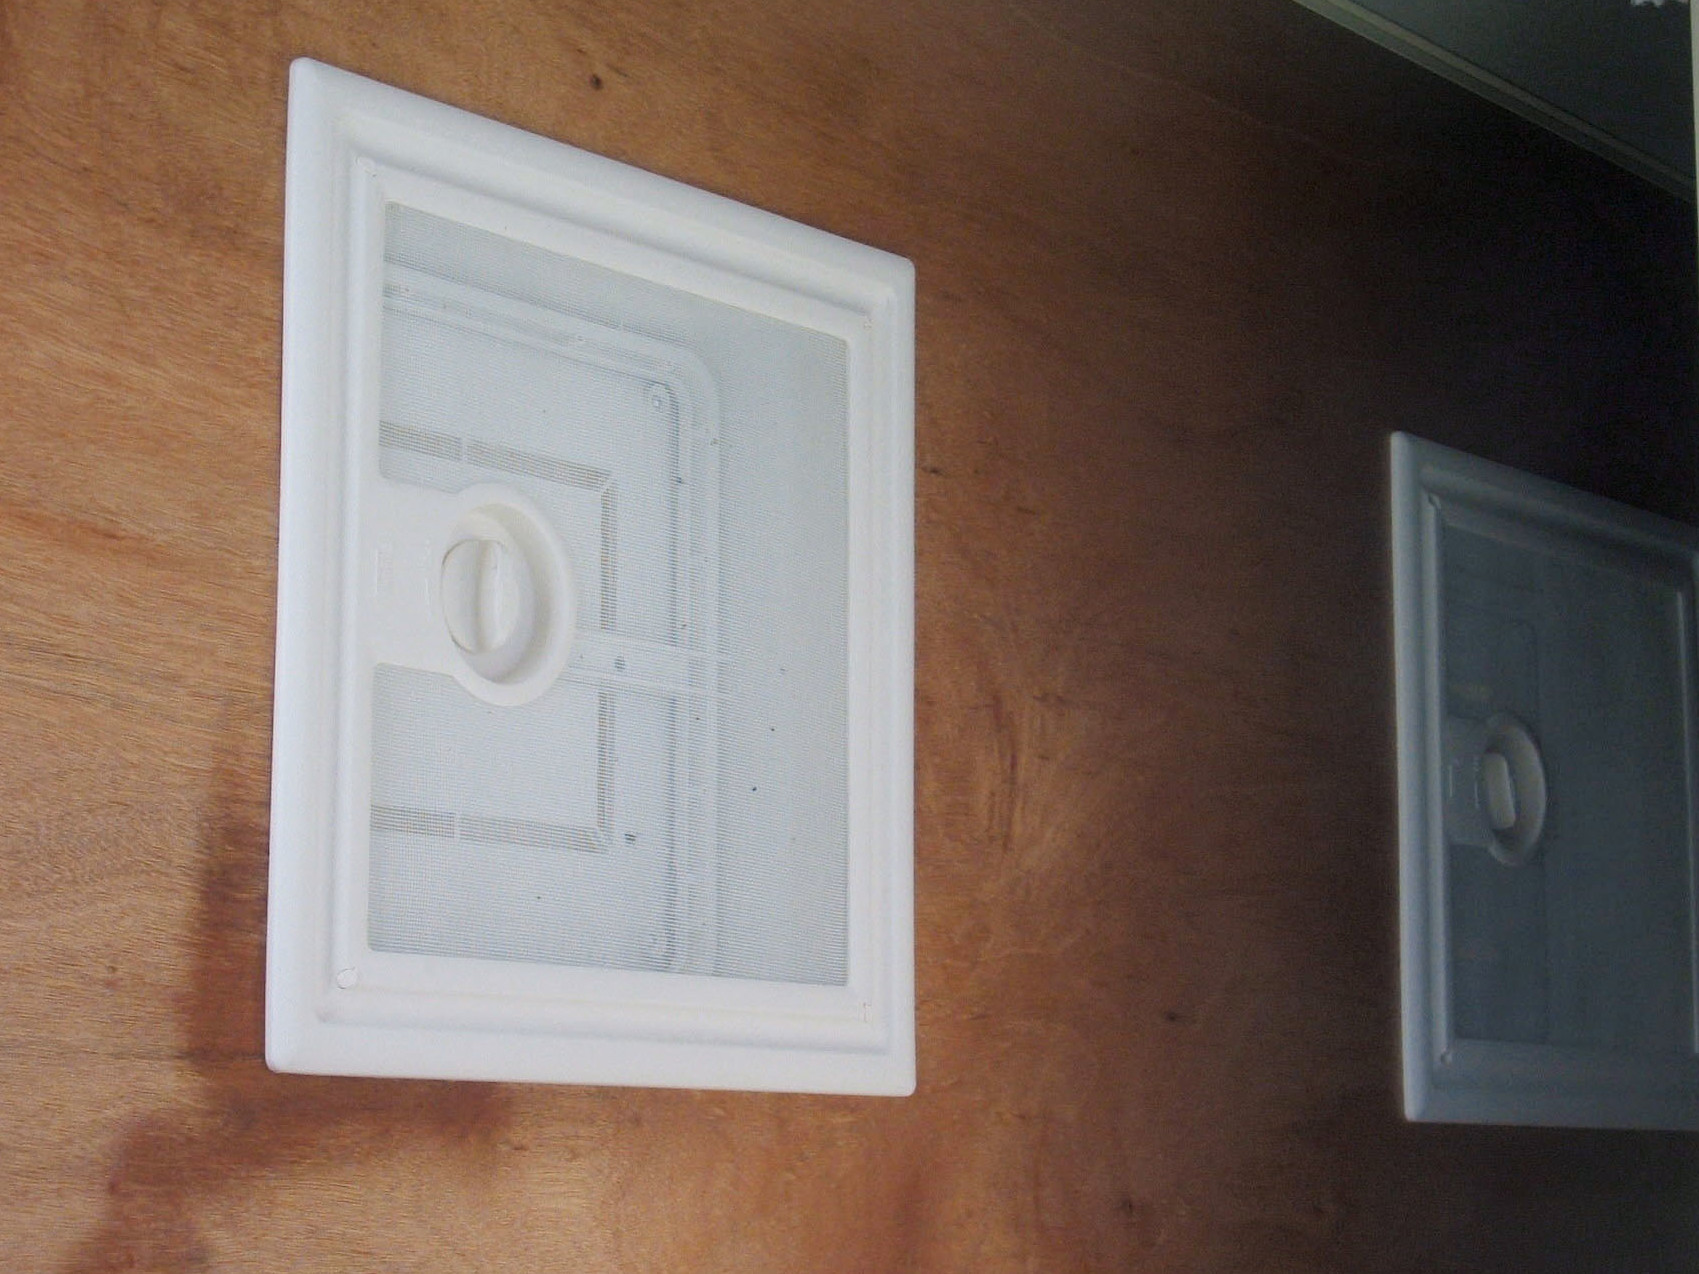
Then I prepared to fit the new vent
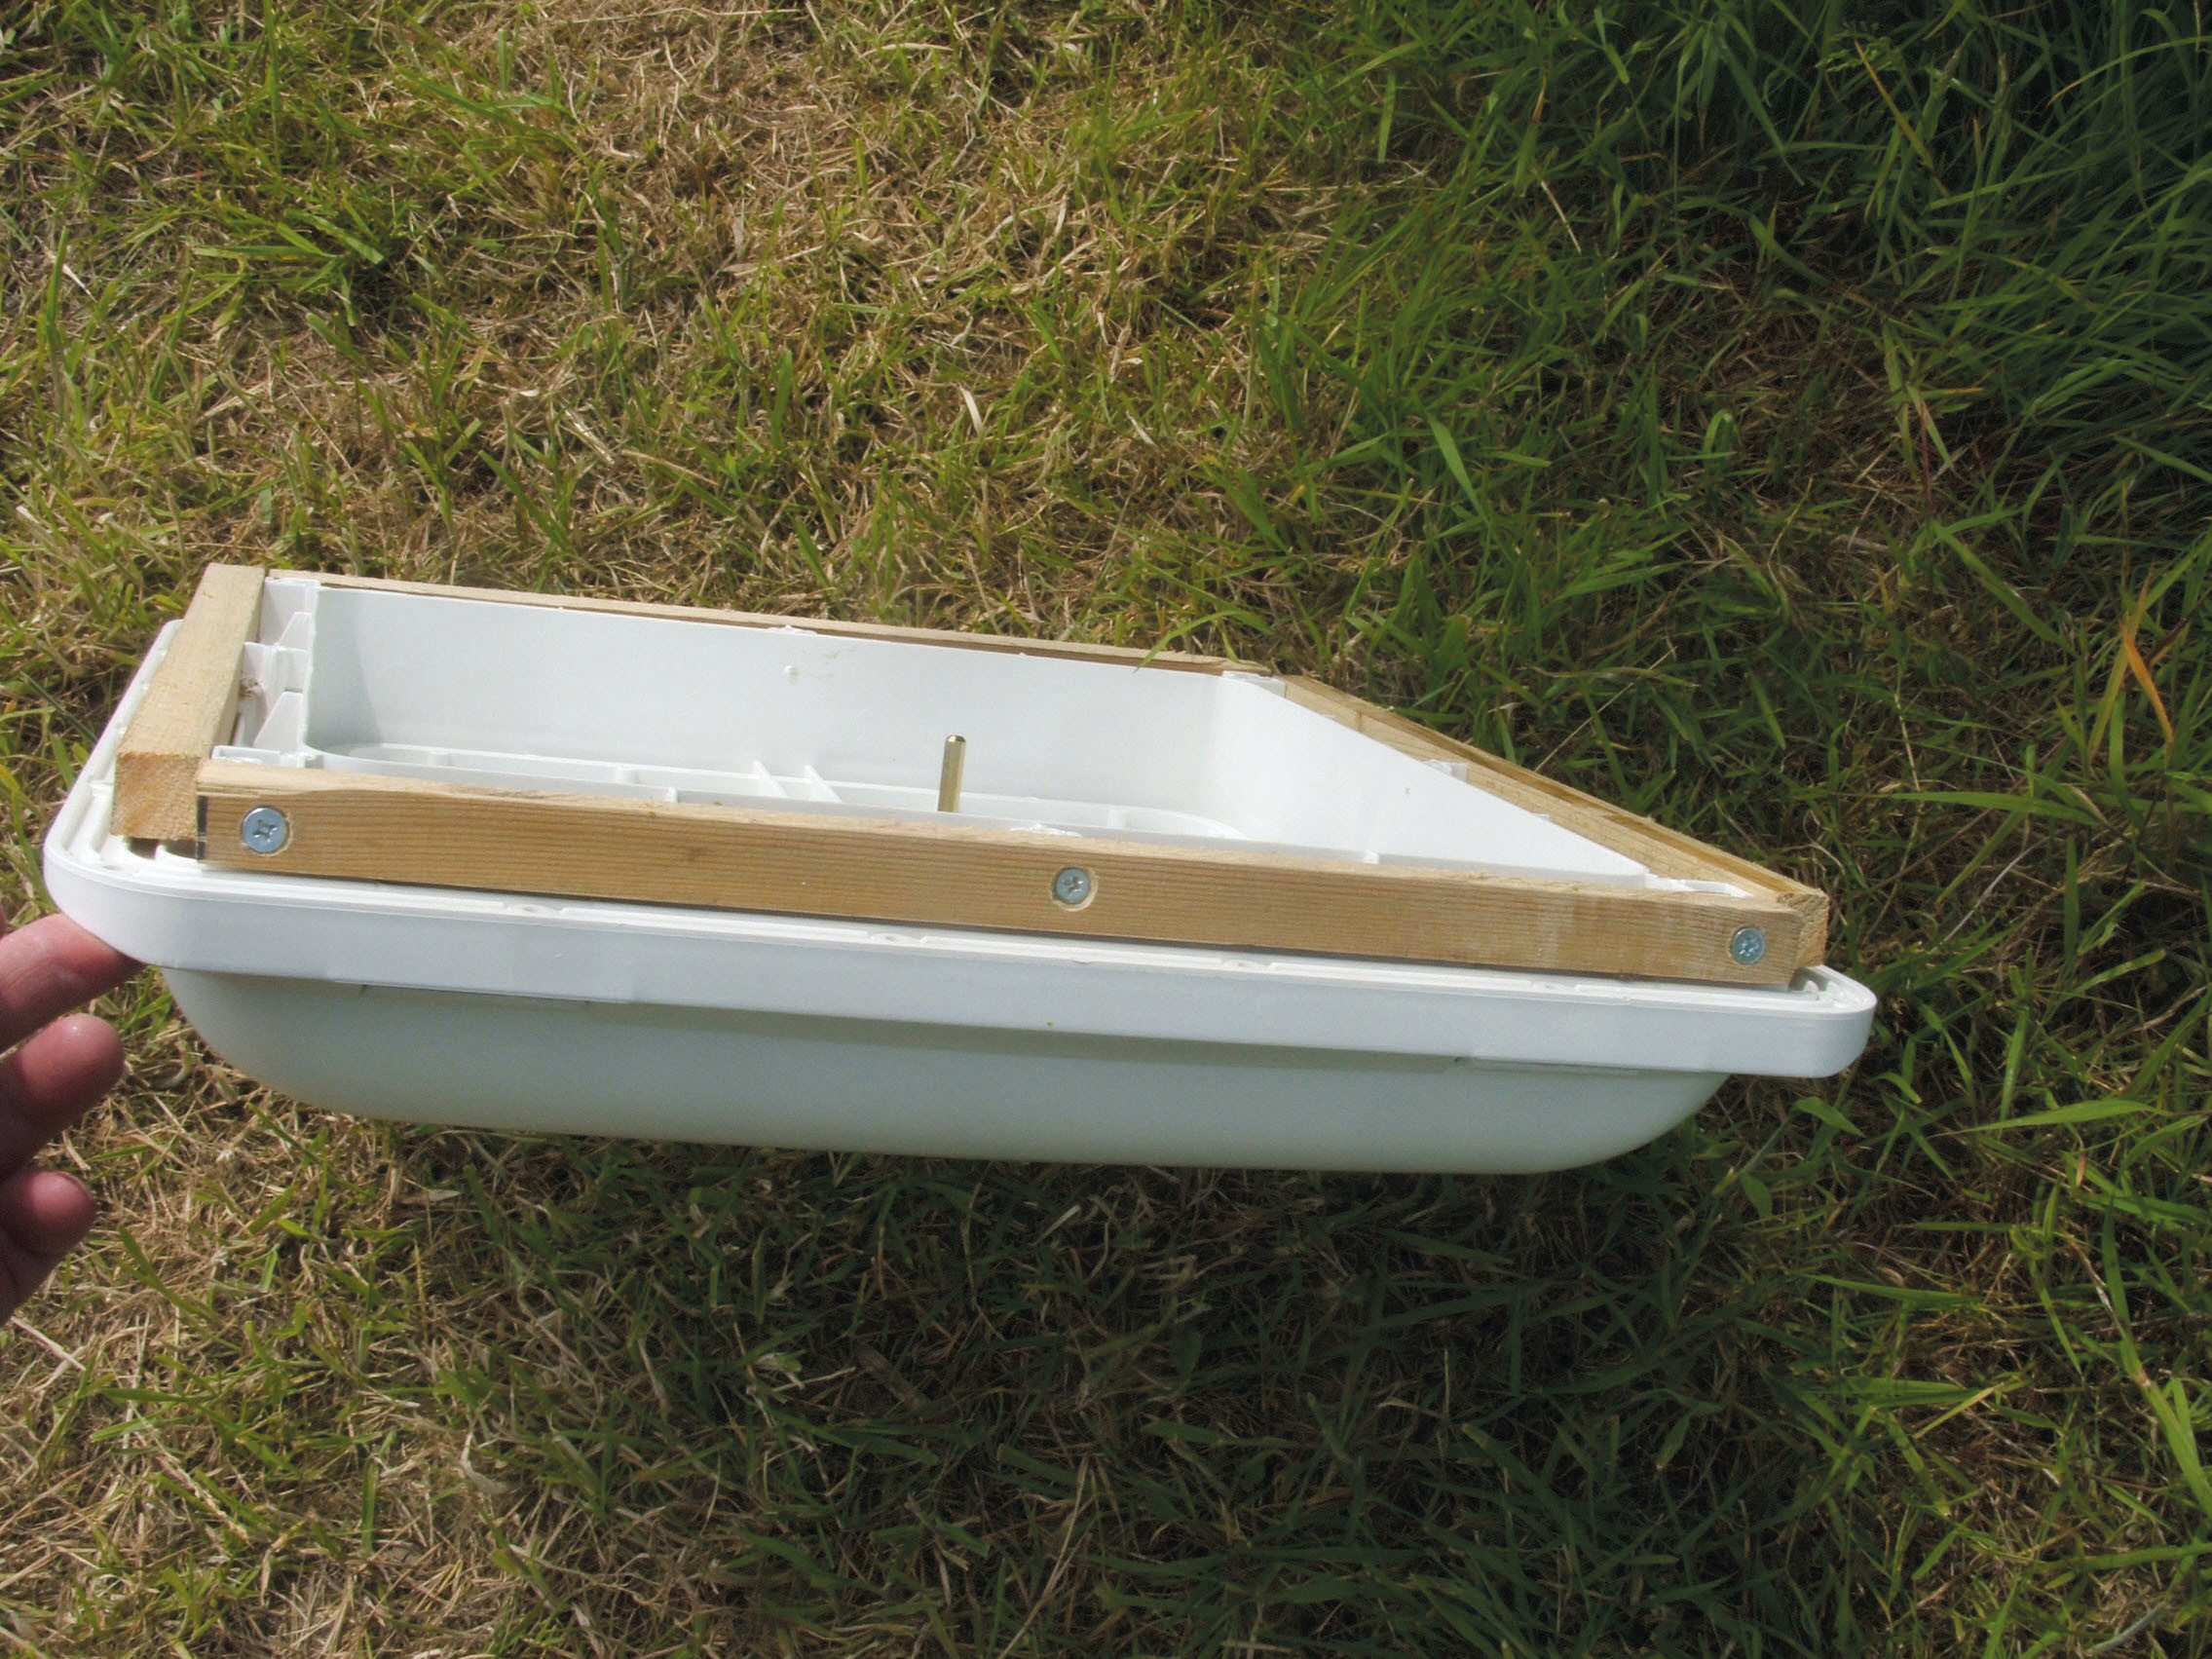
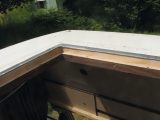
After cleaning the roof, I was ready to fit the new vent. I tested it for size and found it was smaller than the aperture. This had been remedied for the original vent by a spacing lumber attached to each side. For the new one, I cut four pieces of 25 square mm profile lumber and used self-tapping screws to fix one to each side.
I then dry fitted the vent assembly in the opening to ensure that it went in properly with the wood packers and to set the height correctly.
Next I marked the screw holes
Once I was satisfied that it was placed properly, I marked the holes for vertical screws that I would insert from below and equal distance between the frame and the roof. These had to be equidistant between the frame and the roof. I marked these in the 25mm-thick roof frame using a thin nail and drilled small pilot holes.
I used a special sealant
The vent had to be pulled back out so a bead of sealant could be put around the perimeter of the hole. I used a non-setting/bedding silicon sold by a caravan accessories shop. This type of product allows for some vibration and a small amount of movement.
The vent was carefully placed in the aperture so it sat just proud of the roof. The screws were driven through the pilot holes from below and gently tightened in a diagonal sequence to set the frame in the sealant until they were all firmly in place. I removed excess sealant using white spirit to leave a clean, rounded finish.
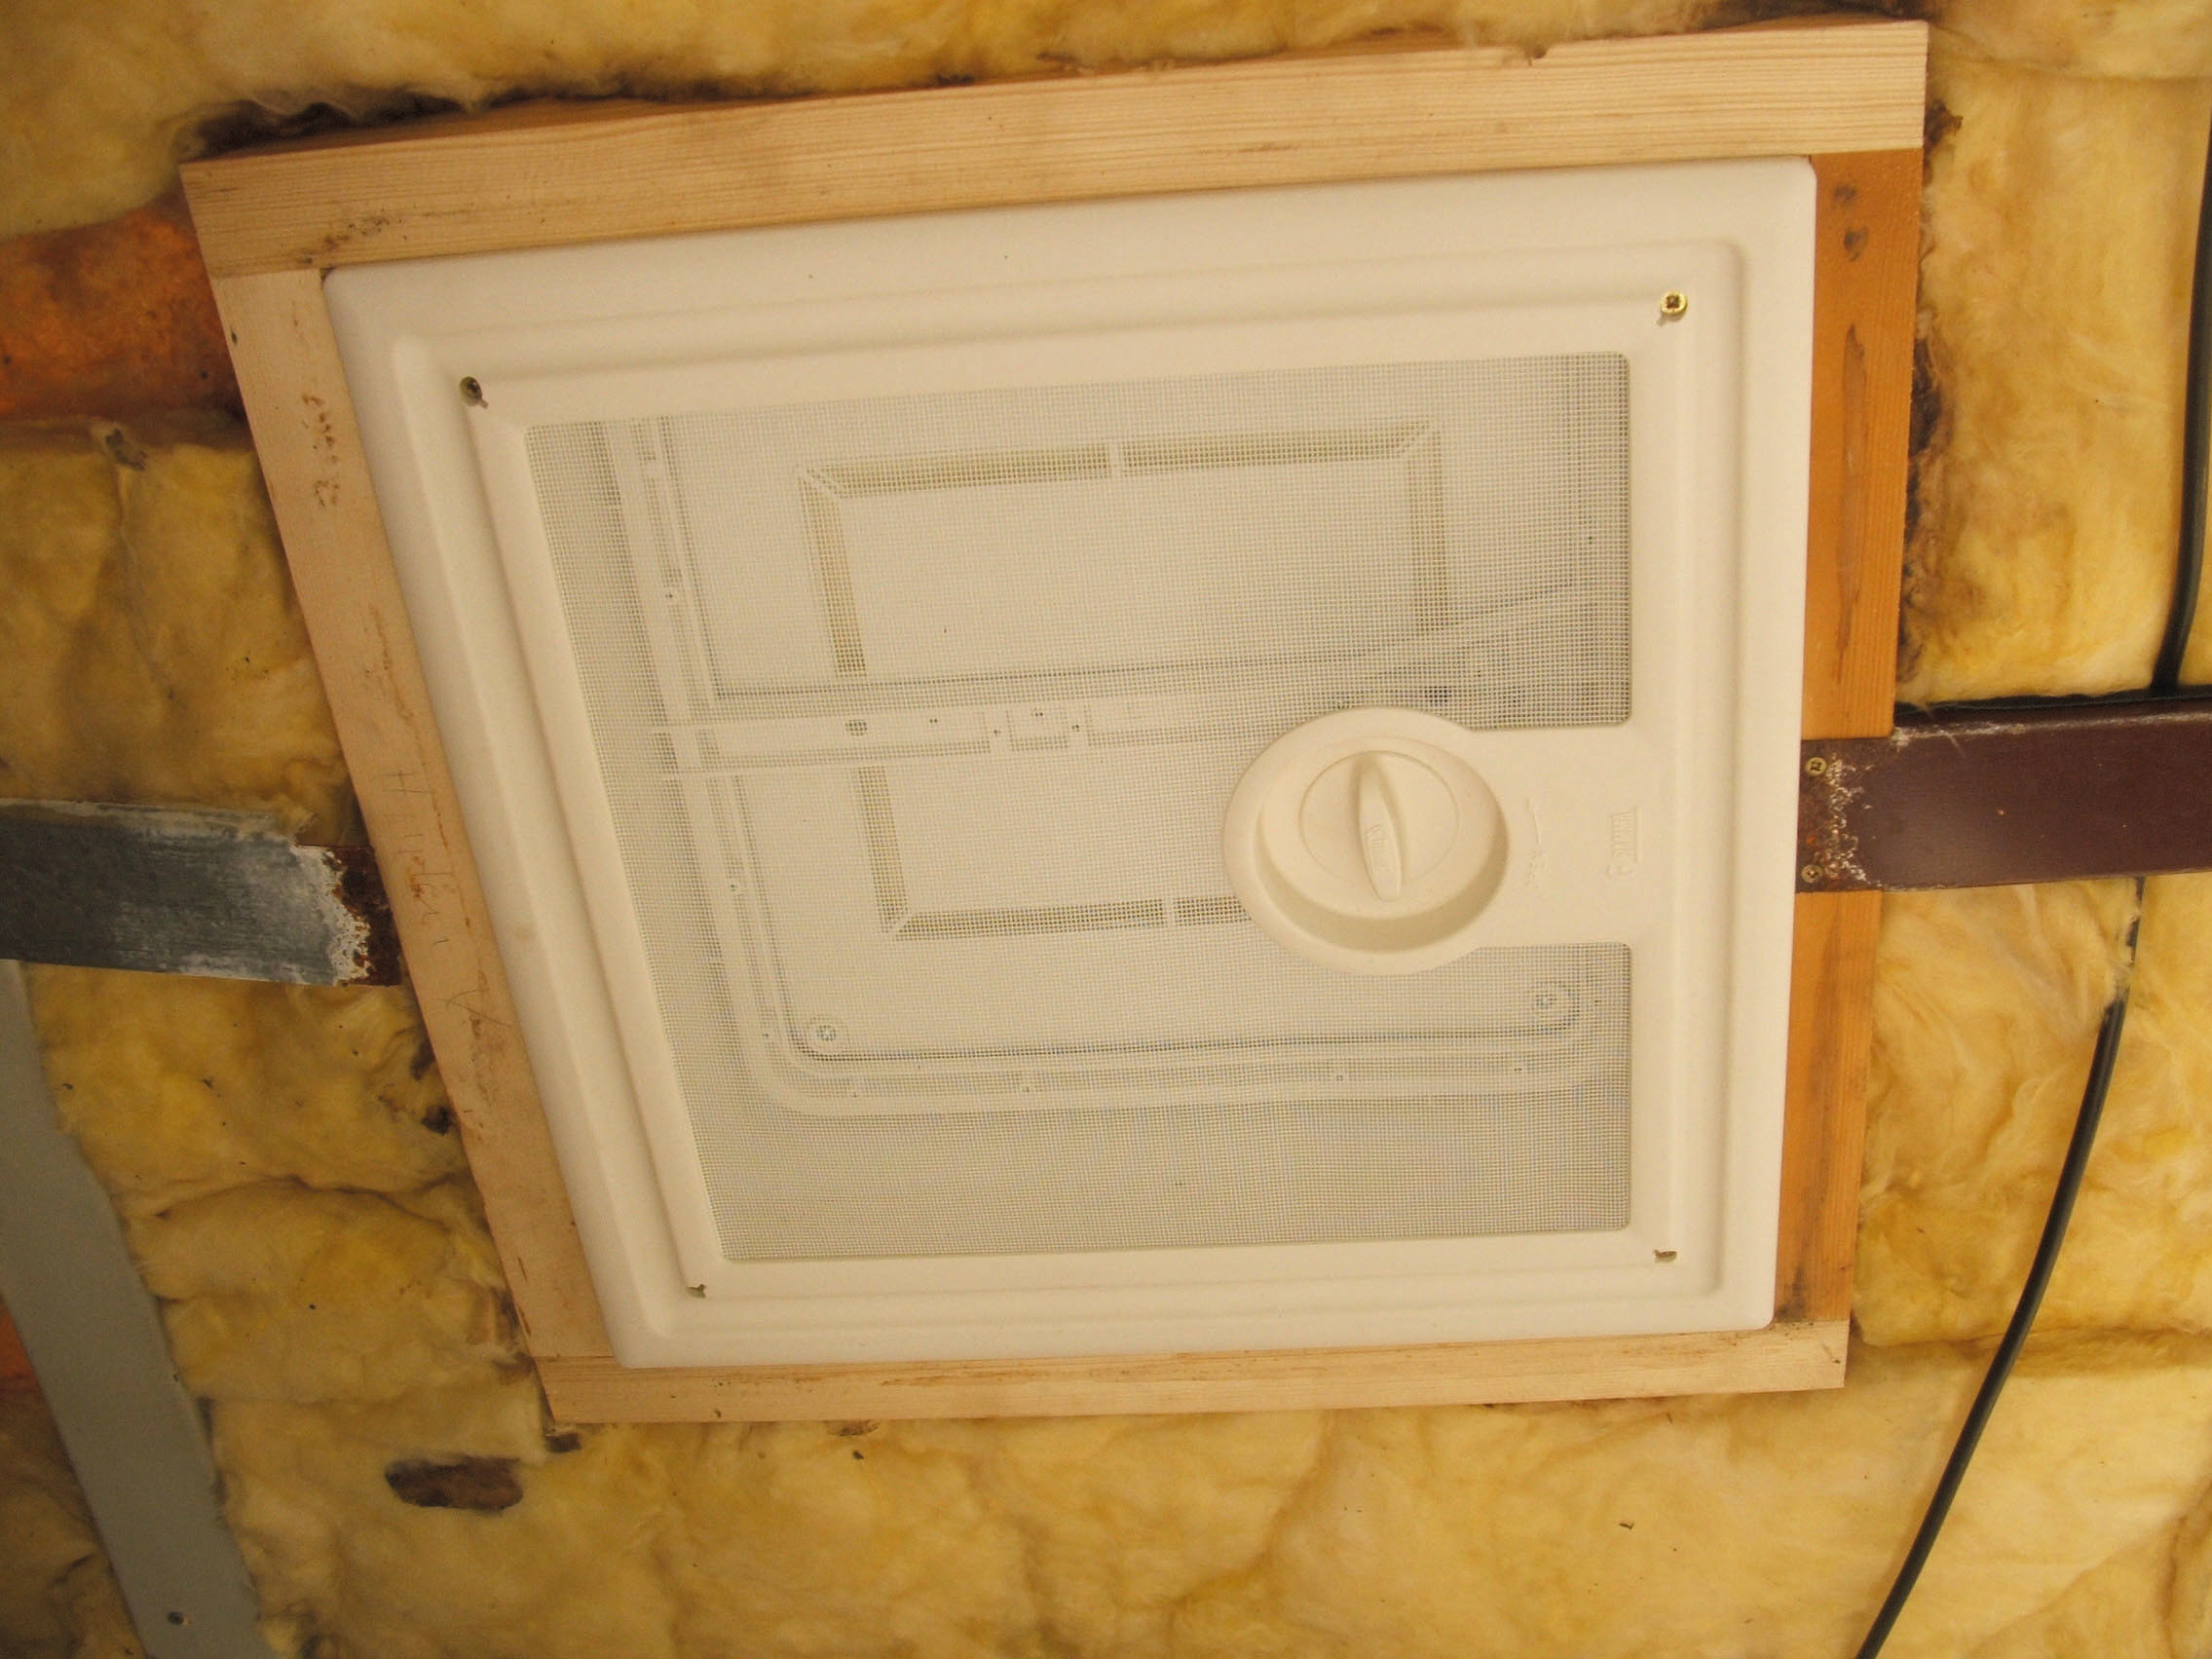
Finally I went the extra mile
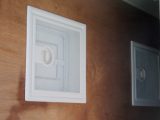
I fitted the finishing frame and flyscreen to complete the roof interior. The van got a new roof at the same time. Follow this sequence and your vent will be leak-free and will look much better – even if it is out of sight!
I tested the new vent for size and found it was smaller than the aperture