


Nearly all ’vans have two types of window and that has several implications. For instance, acrylic-plastic windows in the habitation area need different care routines from the automotive safety-glass windows in the cab. Most manufacturers of vehicle cleaning aids have products designed to deal with dirt and dead bodies from an air force of insects stuck to windscreens. But be careful: some products must not be used on the softer, flexible, acrylic-plastic panes that serve the residential area in your ‘van.
Four ways to avoid motorhome window damage
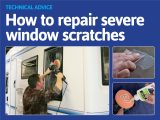
In spite of its many benefits, acrylic plastic can be irreparably damaged by chemicals that might have no detrimental effects when used on a vehicle’s safety-glass windows. For instance many drivers add a small amount of methylated spirits to the water in their windscreen washer bottle for two reasons. First, ‘meths’ is a good cleaning compound; second, it helps prevent water in the container freezing in winter.
- Unfortunately, some owners have used meths on their acrylic windows. Don’t! A chemical reaction causes a plastic pane to later develop a mass of hair-line cracks, known as ‘crazing’, and there’s no cure apart from replacing the pane. And that’s not the only cause of crazing.
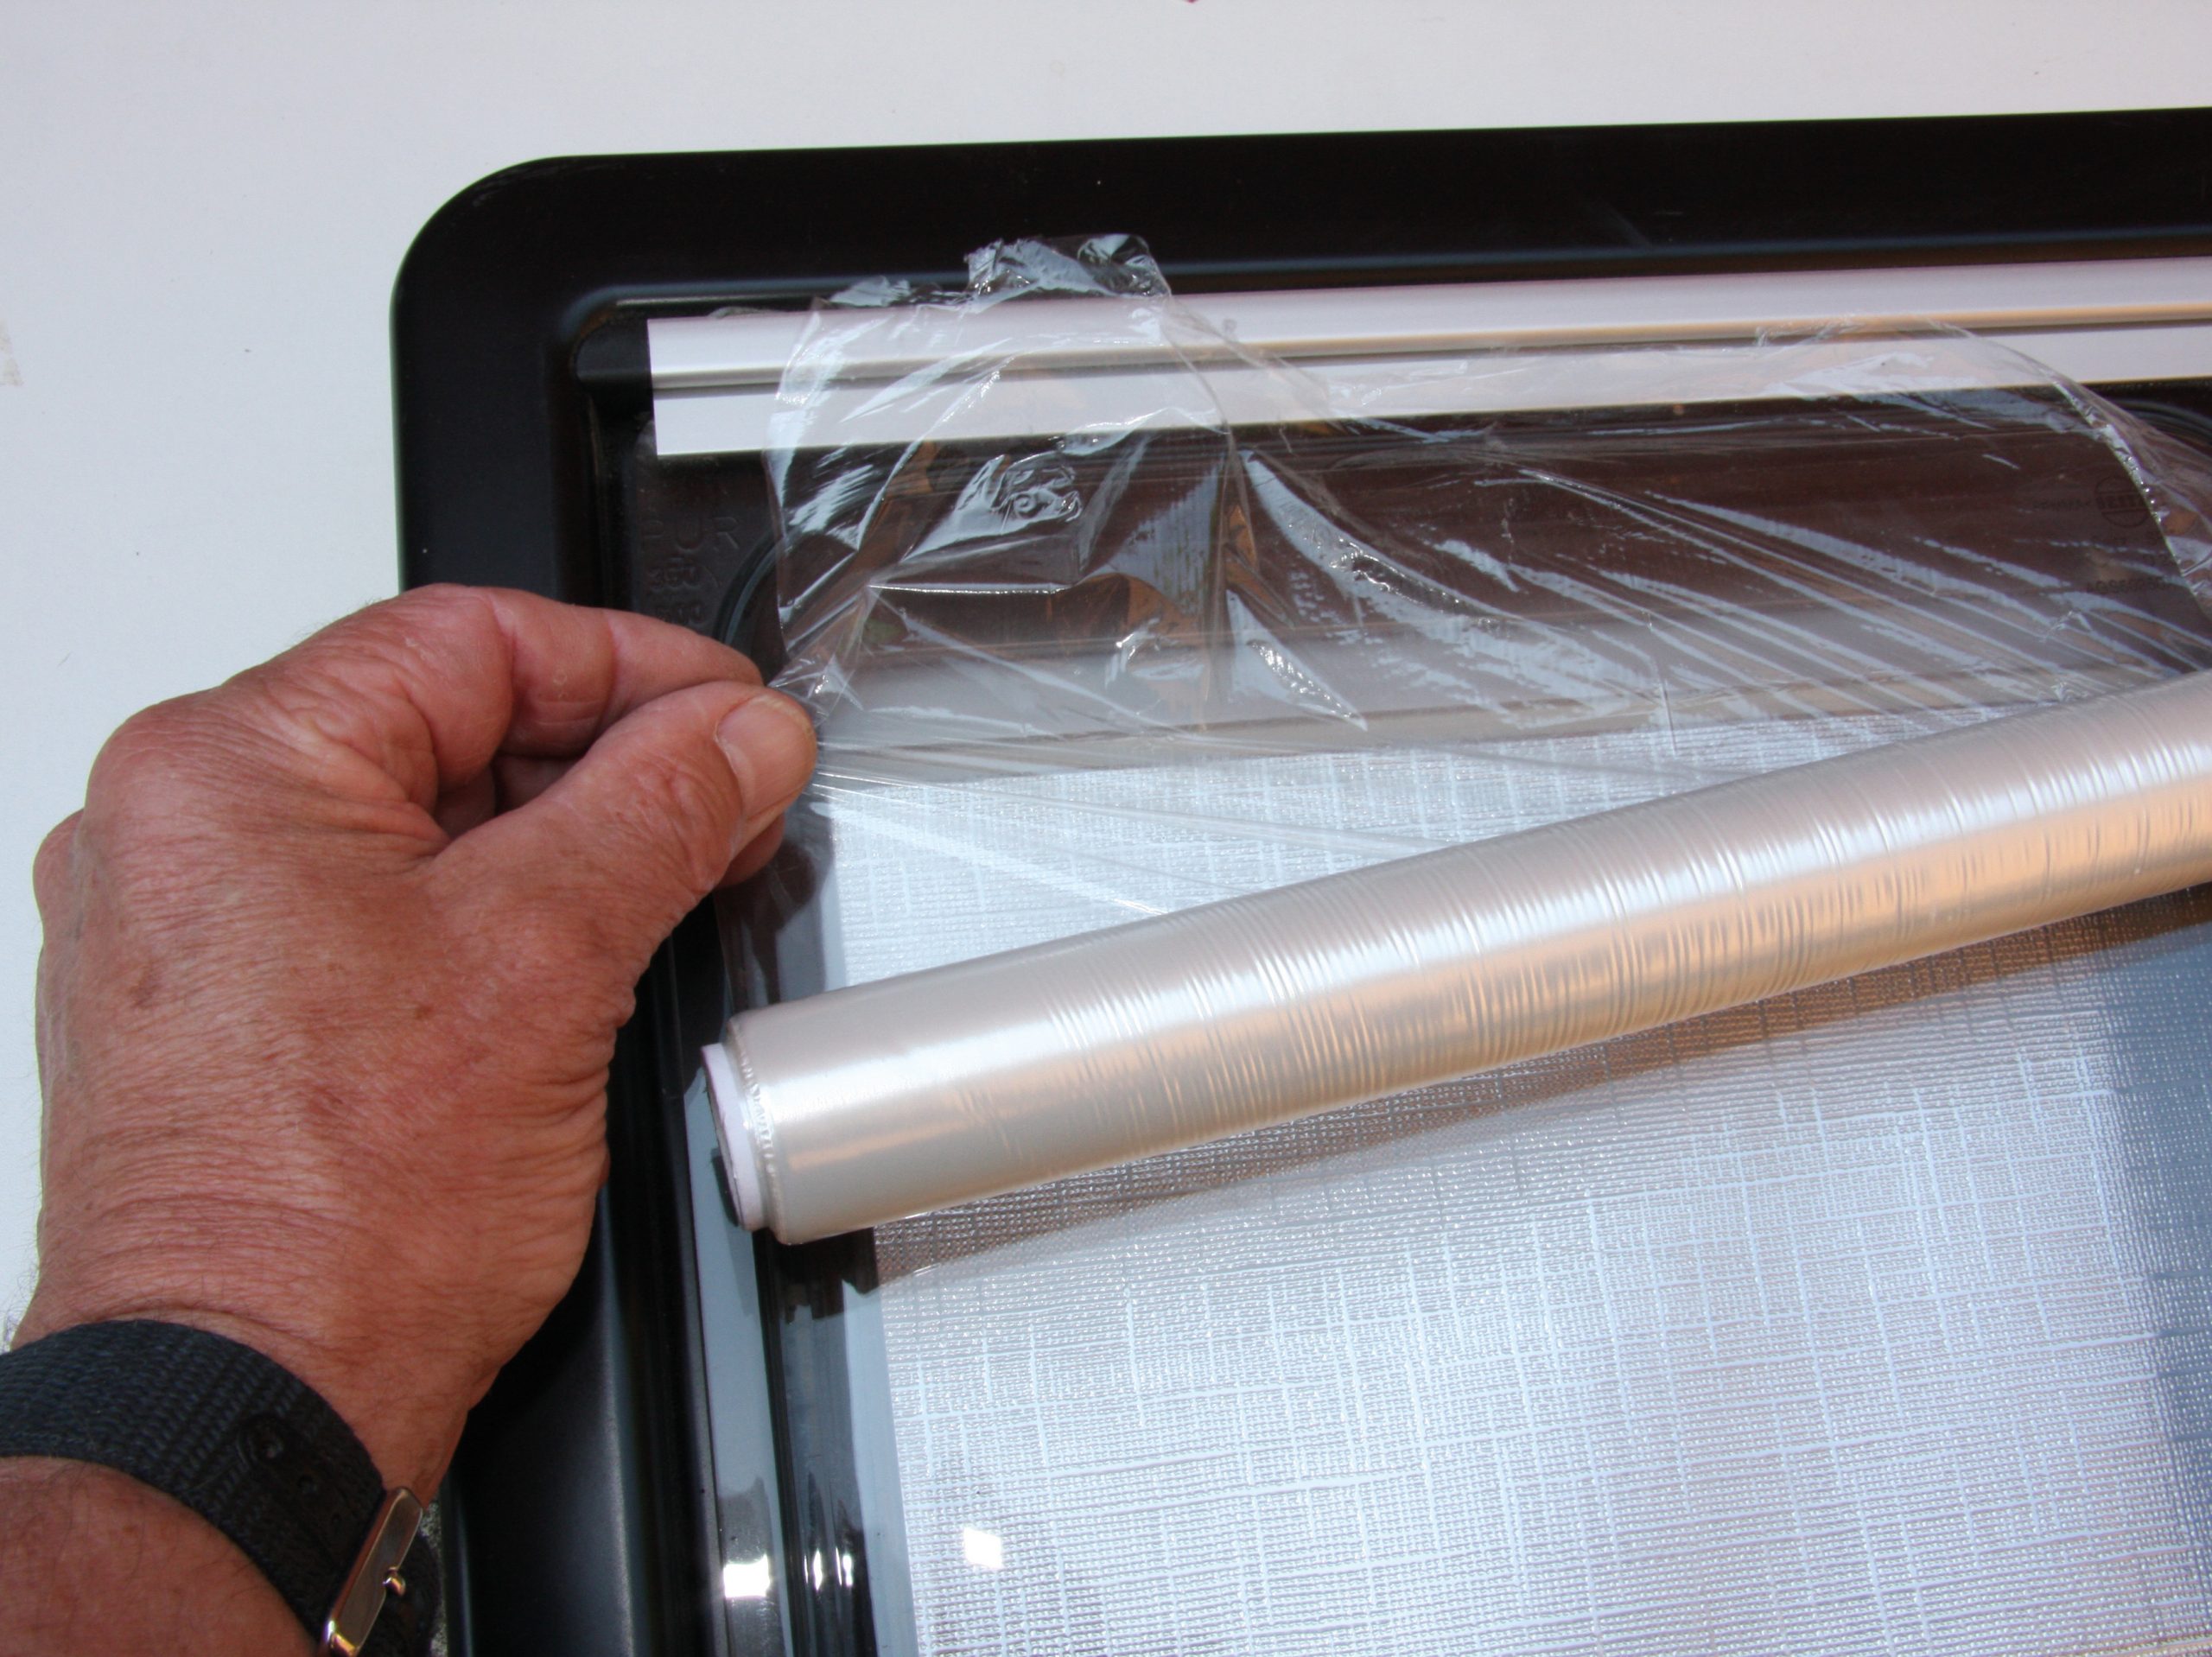
- Recognising that winter covers can blow about during long storage periods and leave scratches on windows, some owners came up with the idea of adding a protective layer of kitchen ‘cling film’. Its ability to adhere to a surface is undeniably good but it is believed that its chemical adhesive can also lead to crazing.
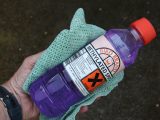
- In a similar way, owners who apply sticky badges to their windows have also found that localised zones begin to show signs of crazing. So only use products on acrylic windows that have been purposely formulated to carry out a job without causing damage. And don’t let your dealer apply servicing stickers on a window either.
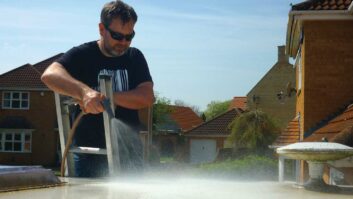
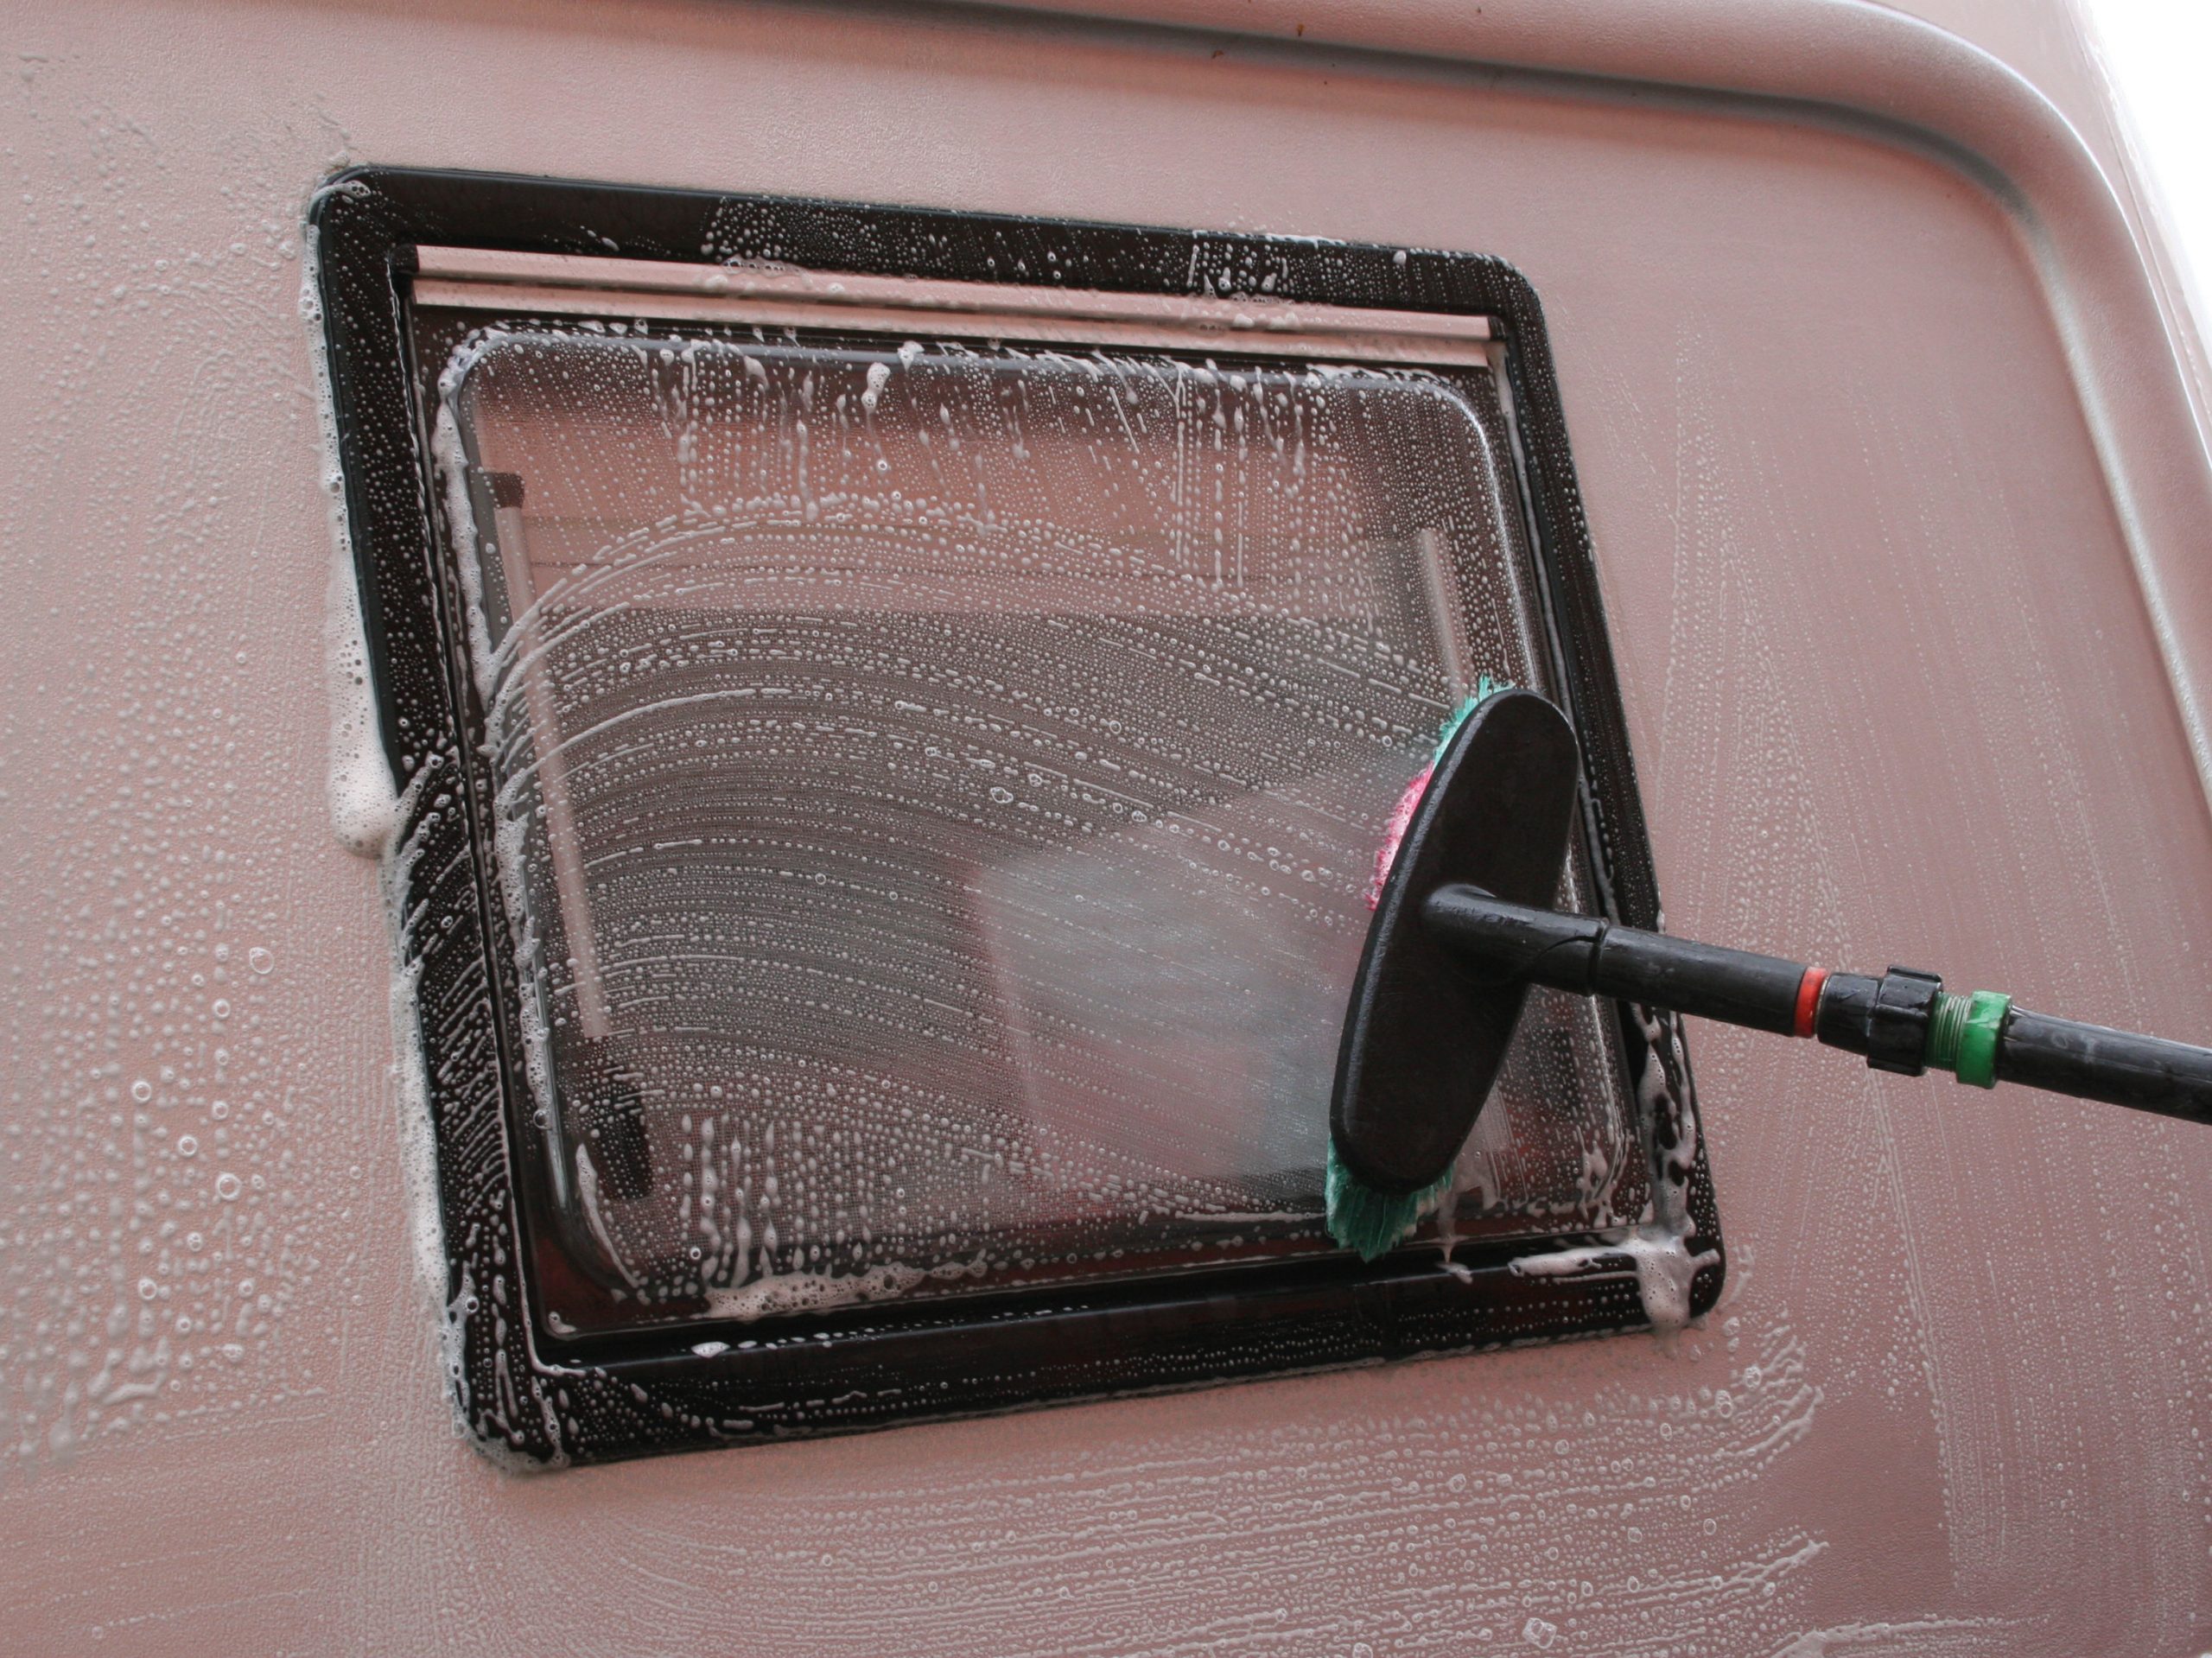
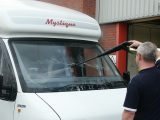
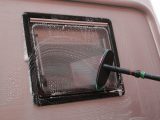
- Another cause of unwanted leaks and cracked windows is the use of a high-pressure washer by someone who doesn’t realise that a forceful jet of water can cause damage. Even professional valeting experts sometimes fail to reduce the pressure or increase the operating distance when hosing a ’van’s plastic windows. Suffice to say, replacing acrylic windows is surprisingly costly. Equally, you often have to wait several weeks to get replica products delivered.
Eight tips for cleaning acrylic windows
So what should you keep in mind when cleaning an acrylic type of window?
- Some vehicle window polishes are only suitable for automotive safety glass.
- Old tee-shirts might seem useful for cleaning but their fabric often contains lint, which is abrasive.
- Instructions on containers are important to read.
- Cleaning treatments deteriorate over time.
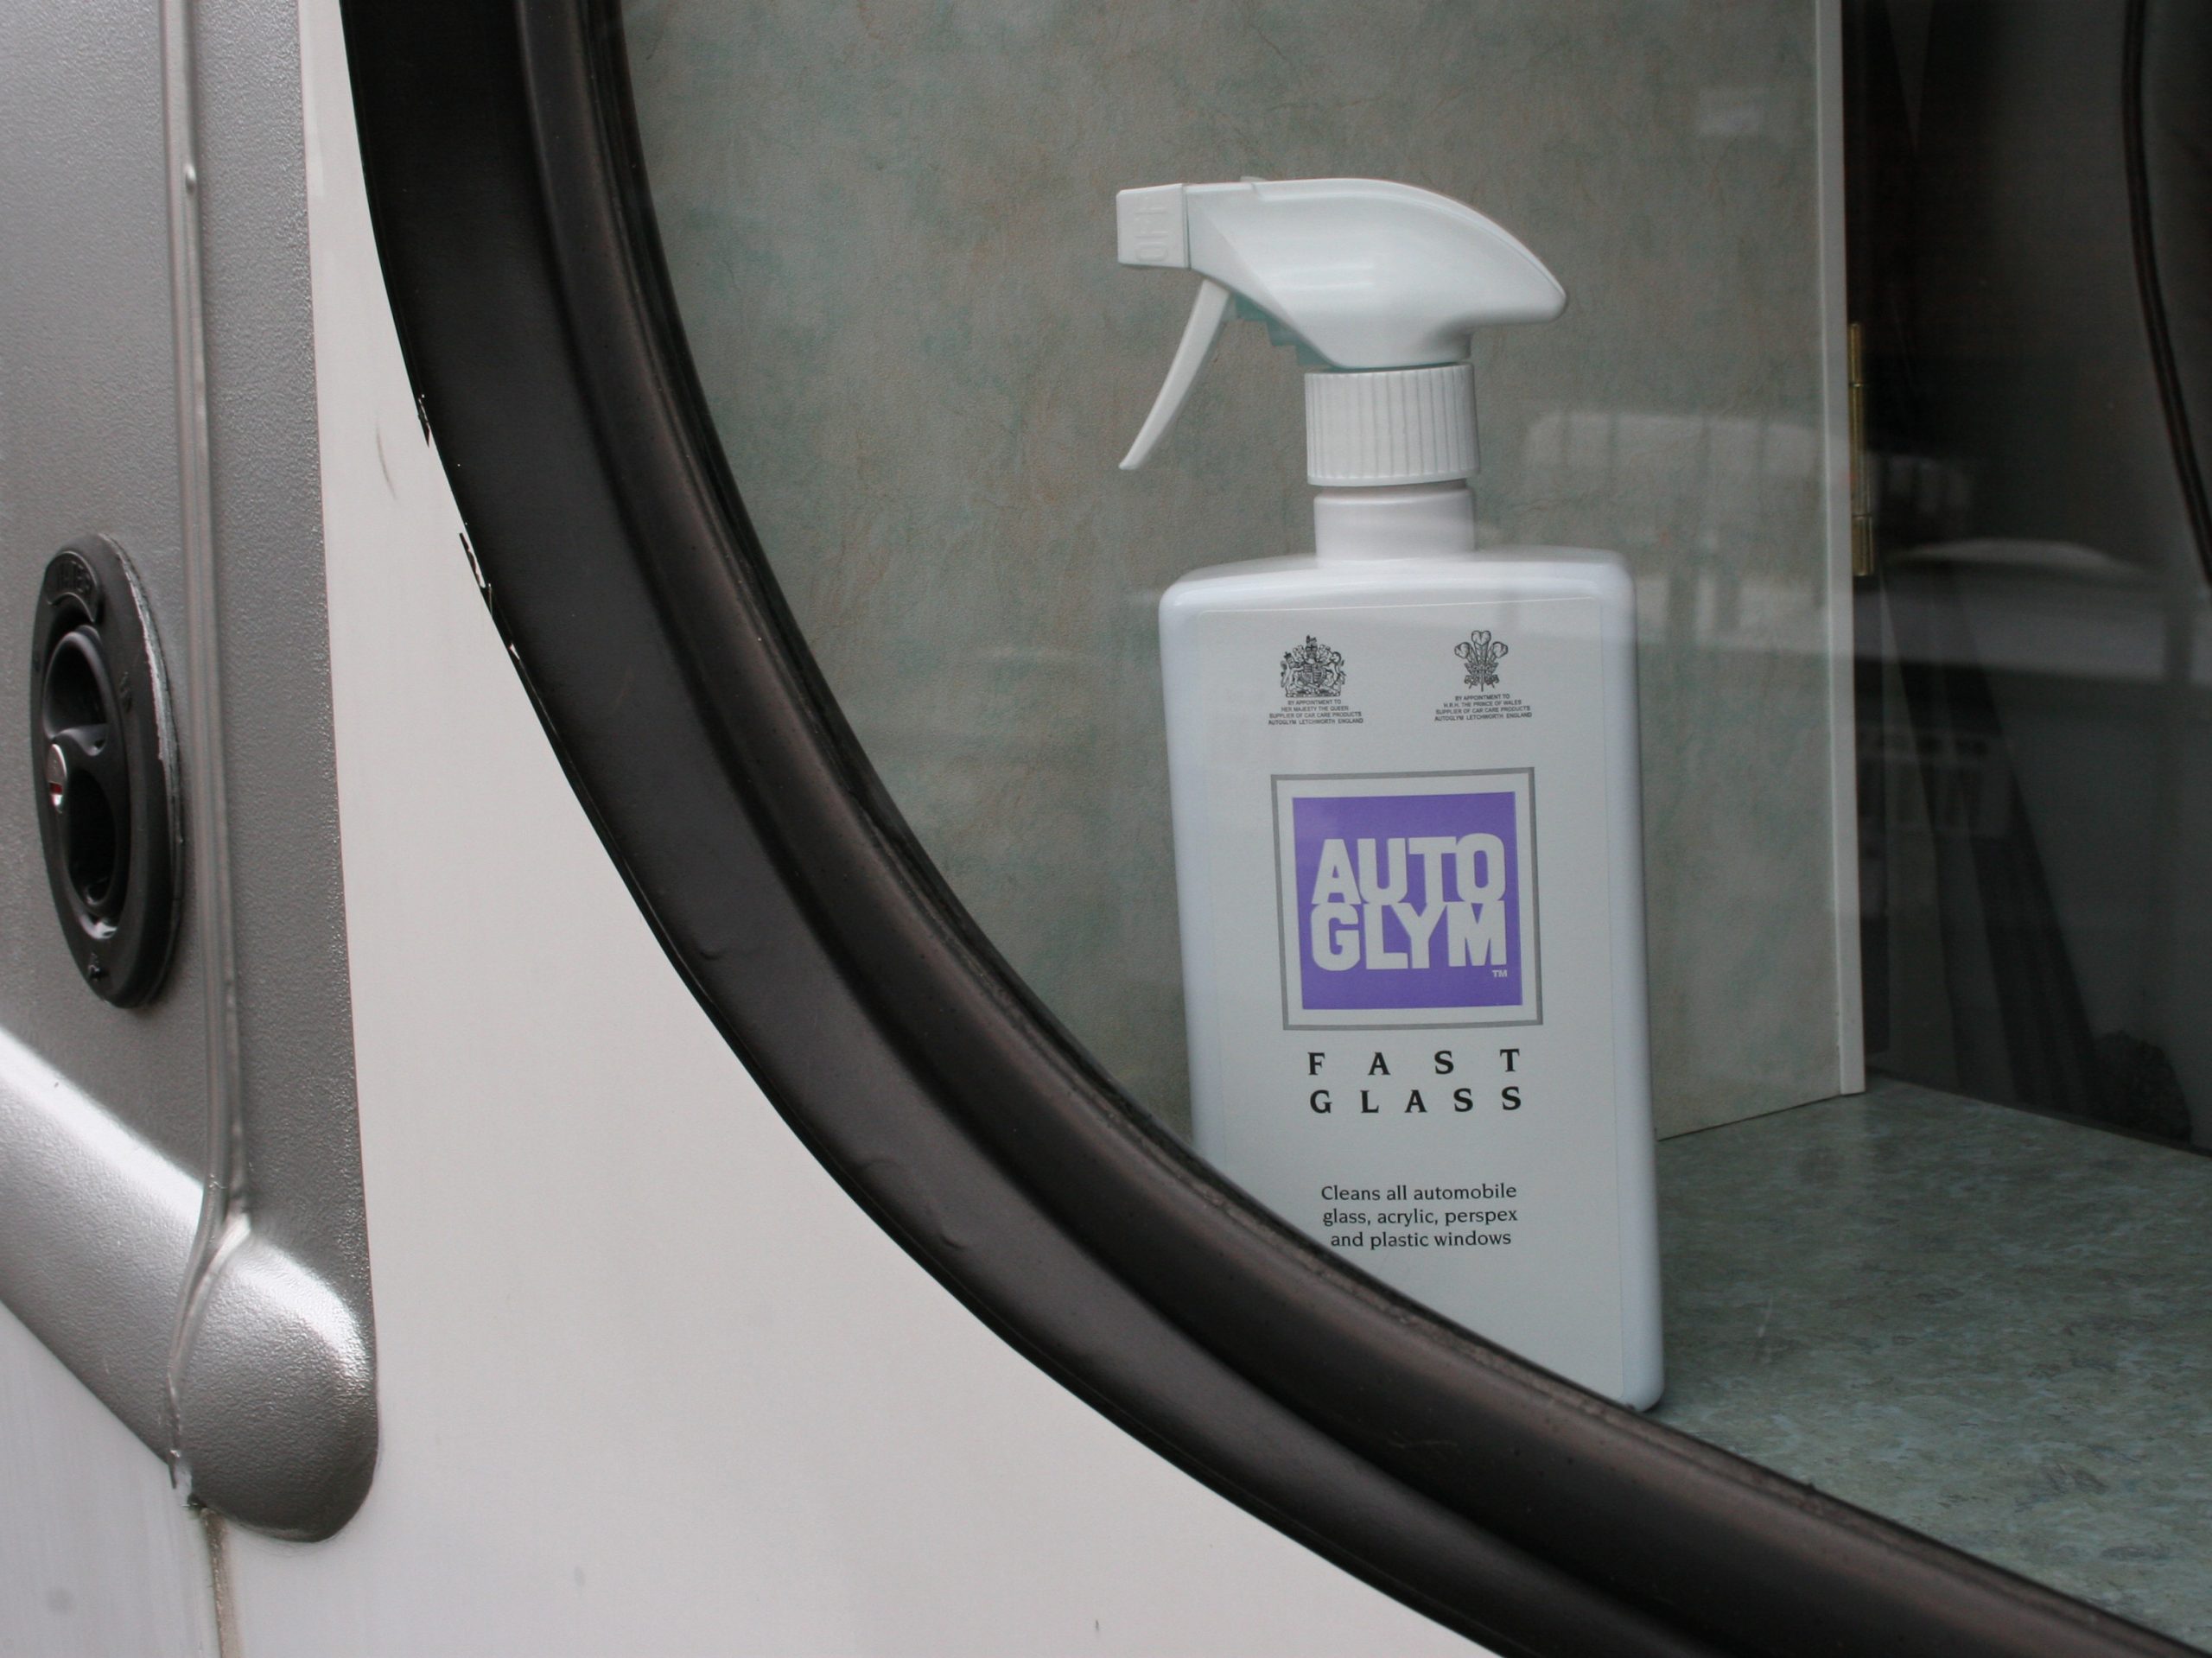
- AutoGlym has several products designed for use on vehicle windscreens, but the one called ‘Fast Glass’ has been specially formulated to suit acrylic plastic panes.
- If using one of the popular extending brushes to clean your windows, make sure it has a soft head and hold it under a hose before use, so that any residual particles are flushed away.
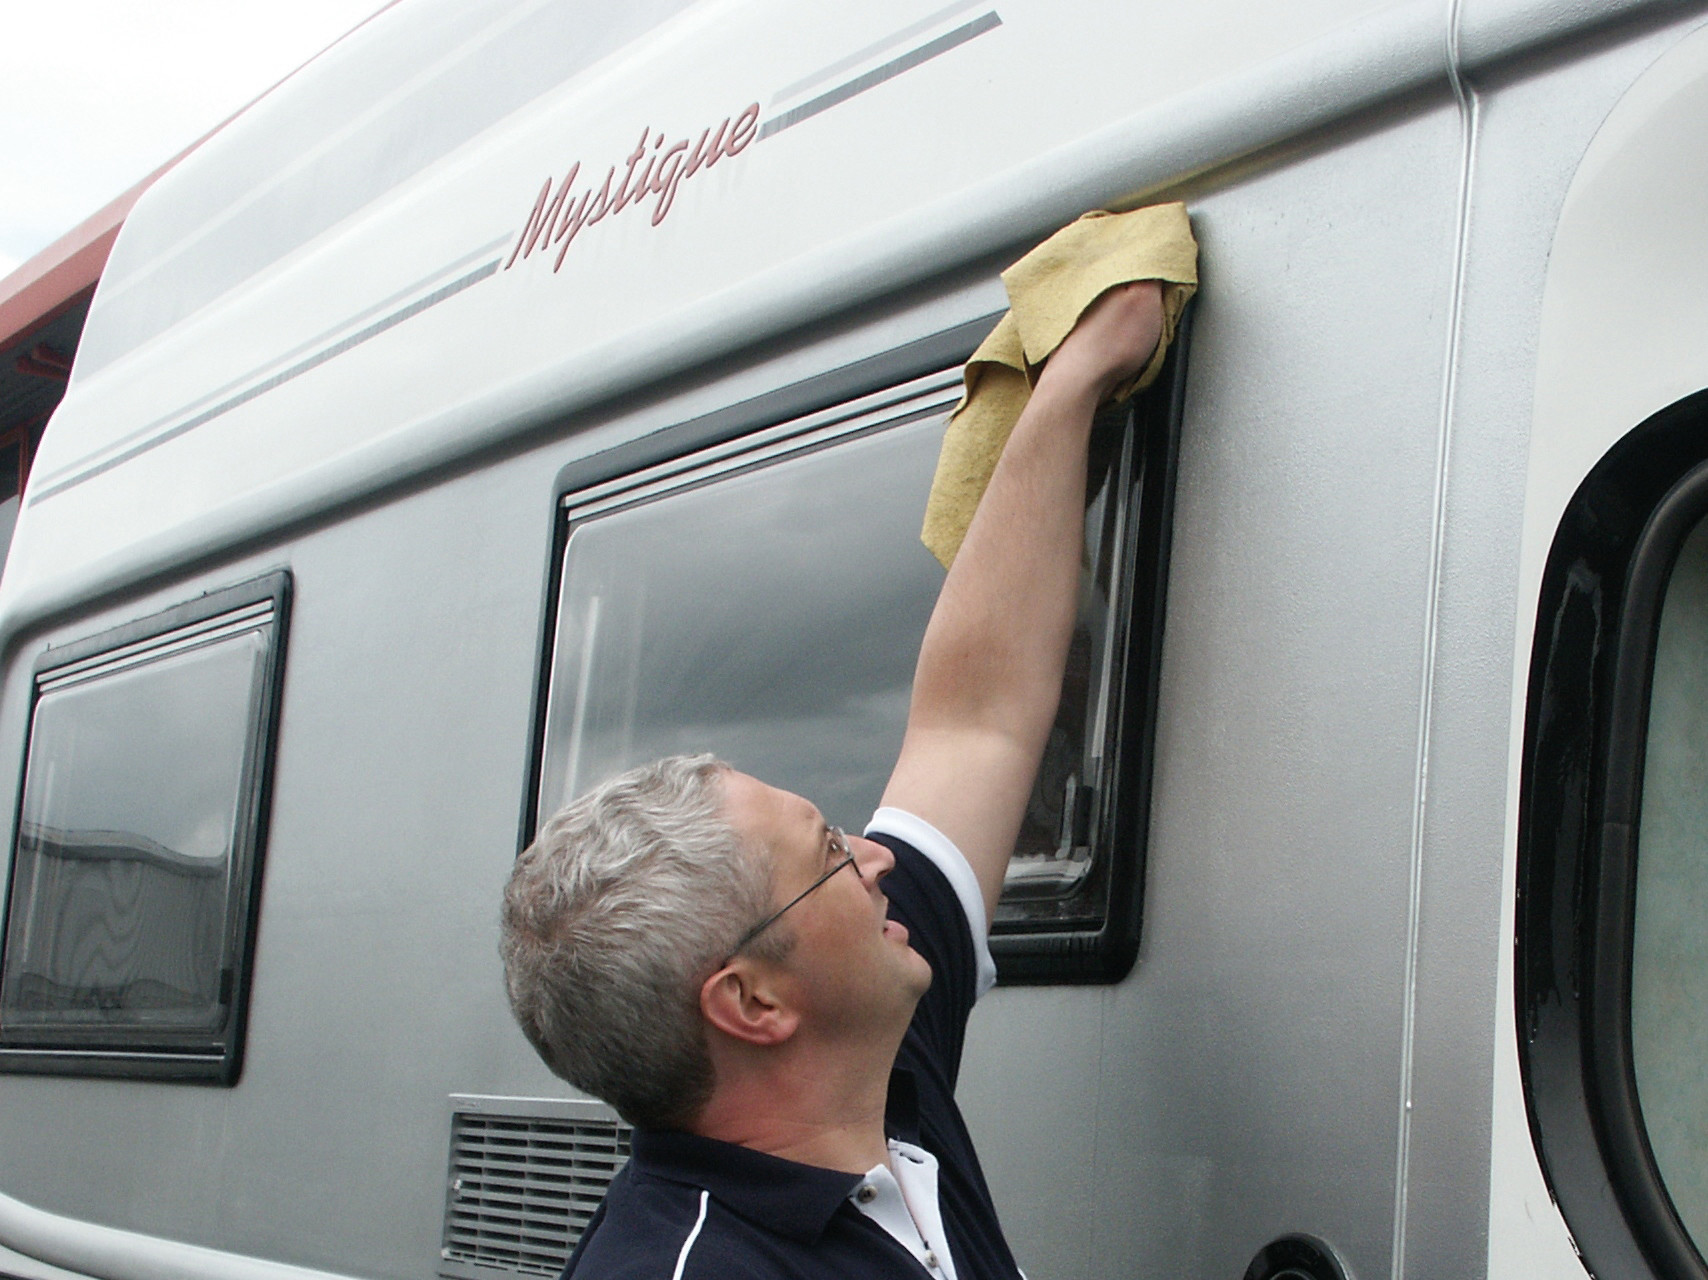
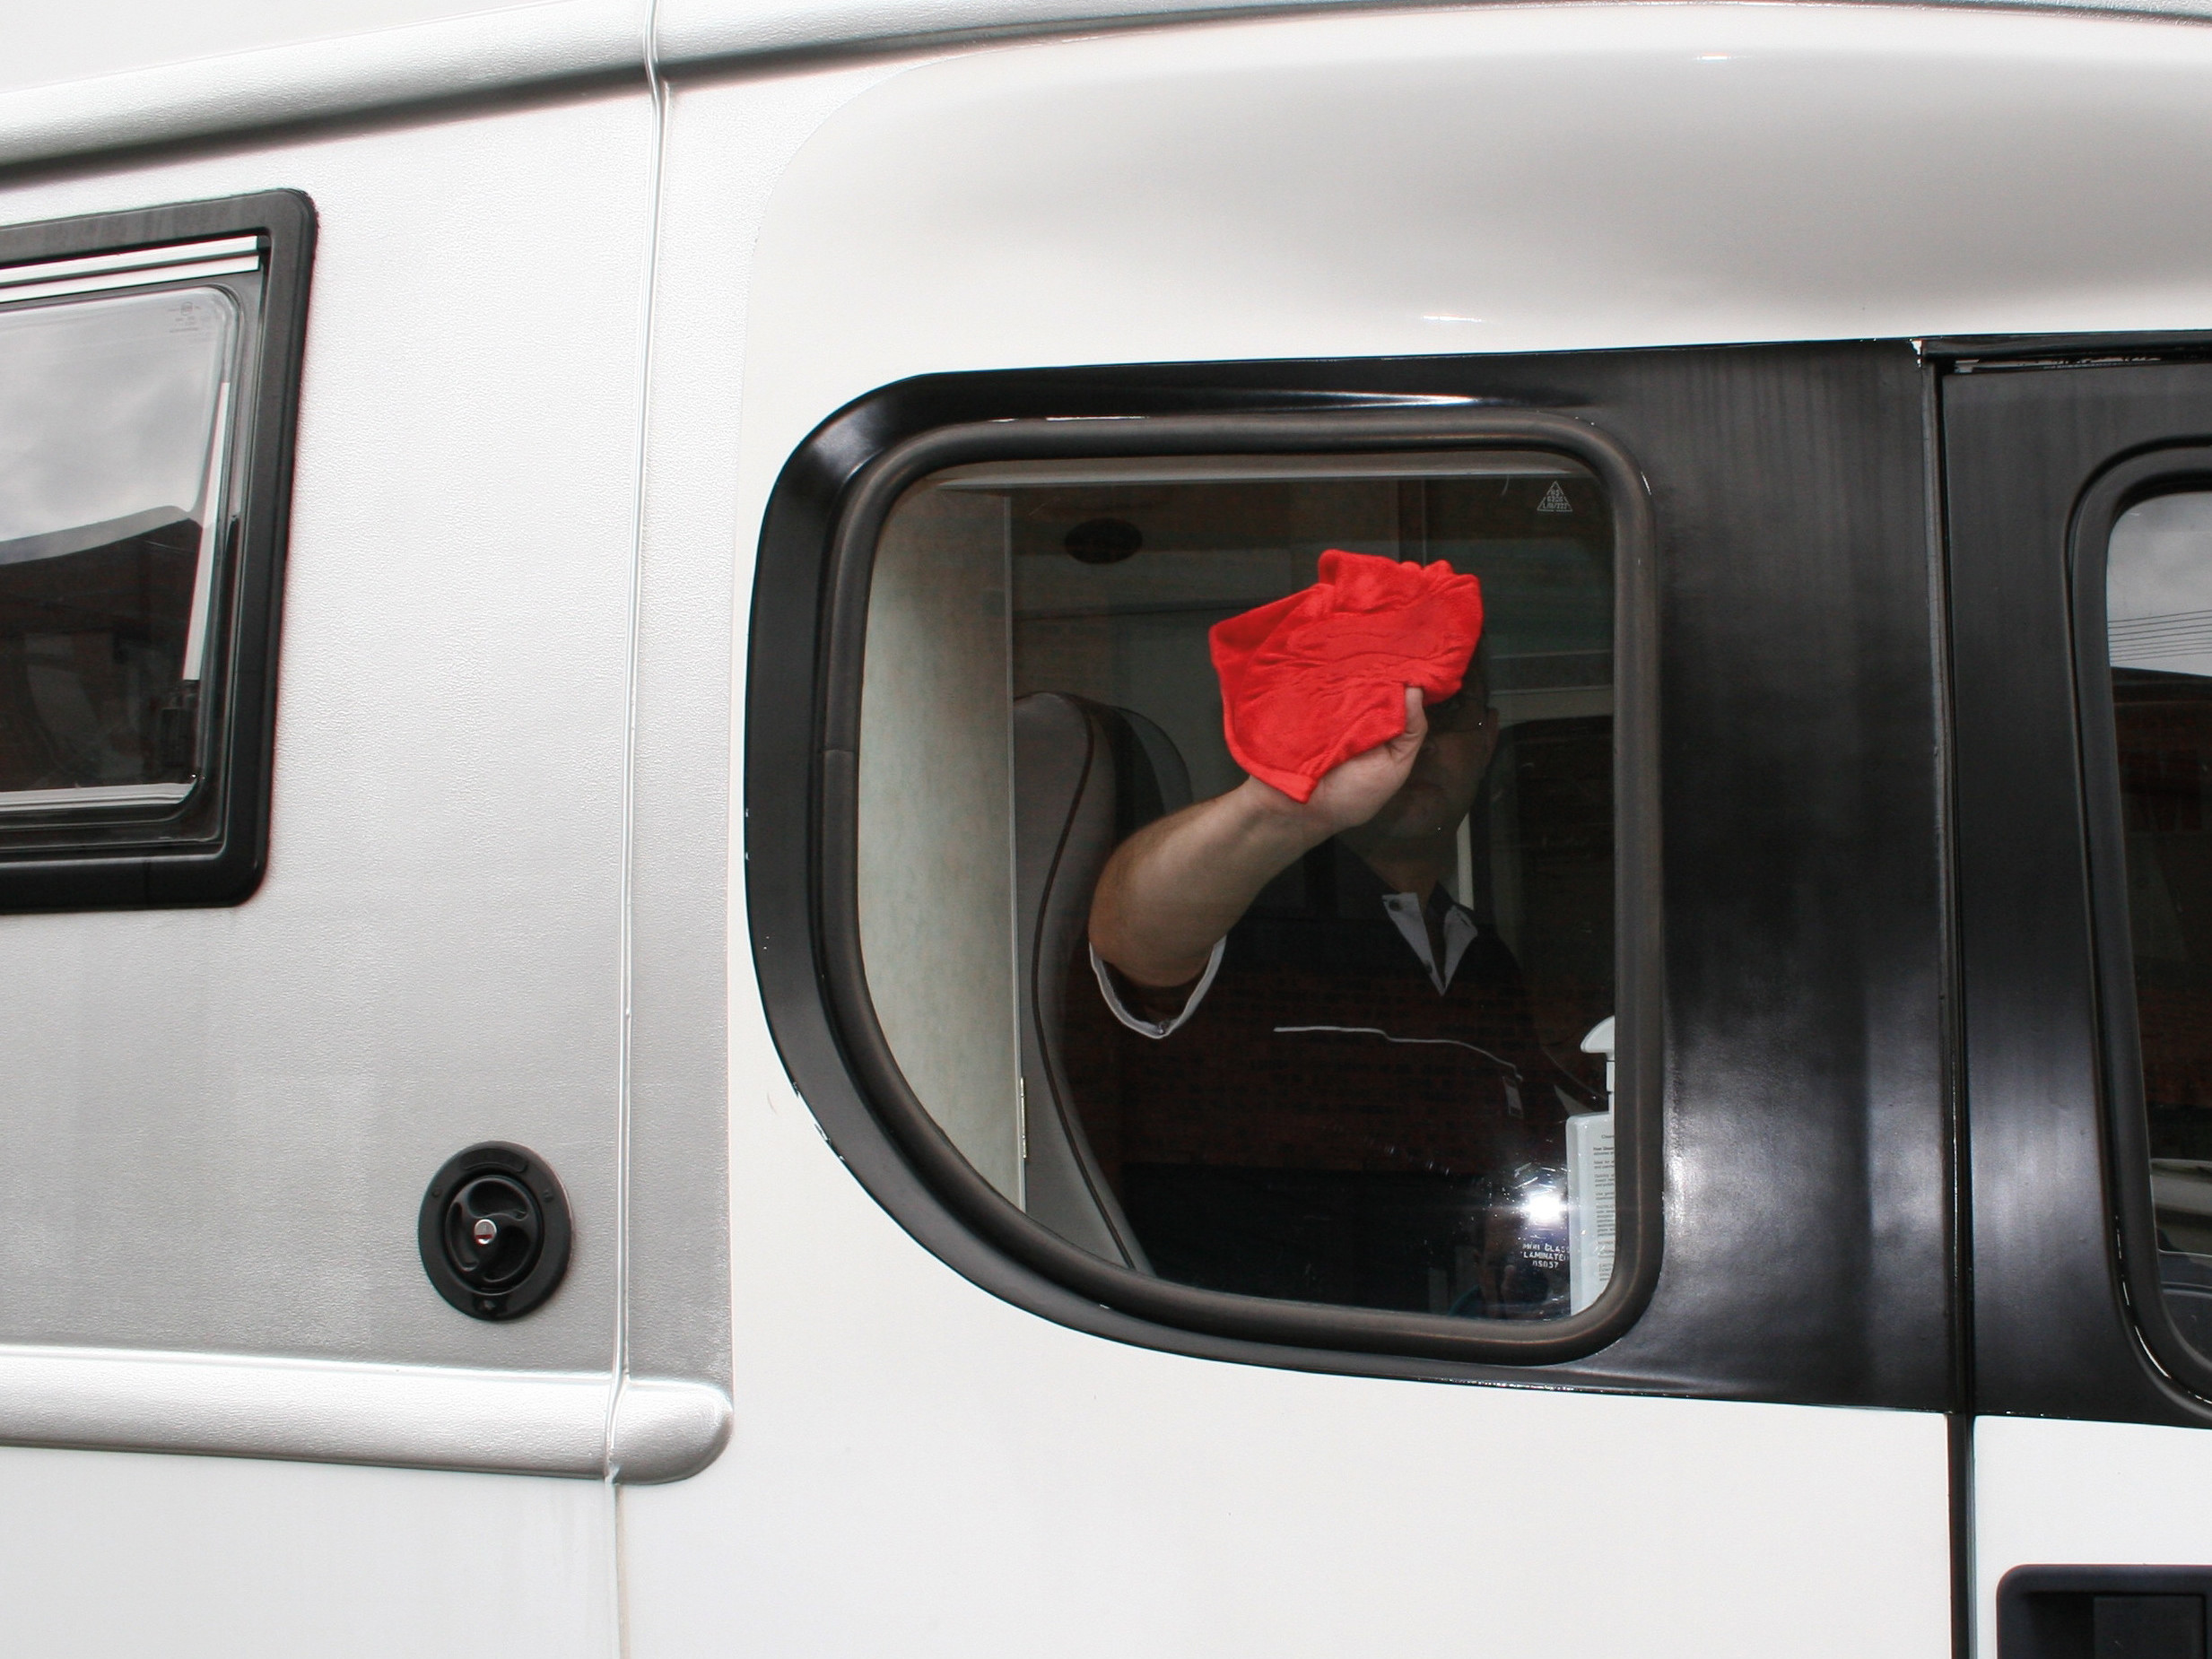
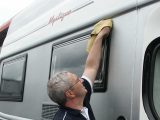
- After removing dust, grime and cleaner from a window with generous applications of water, a chamois leather (or an imitation product) is effective for the final polish.
- Some window cleaning products have recommended kitchen paper for polishing-up acrylic surfaces but micro-fibre cloths are now being used by more and more valeting specialists.
Four ways to remove surface scratches
The narrow lanes of the West Country and other rural venues have their charm, but they tend to lose it for motorcaravanners confronted by a large vehicle coming towards them. Pulling hard into a verge in an attempt to pass invariably leads to an annoying brush with a hedge. Scratched acrylic windows are often an unavoidable result of rides in rural locations.
In recognition of this, window manufacturers and vehicle cleaning specialists both sell scratch-removing compounds. However, several owners have complained recently that these treatments don’t achieve successful results on badly scratched surfaces.
In reality, light abrasive pastes cannot be expected to produce results on a window that has deep score marks from aggressive brambles and other types of thorny vegetation. That’s when a more rigorous renovation strategy needs to be employed – as described later.
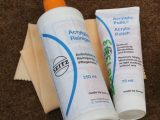
- Many motorhomes are fitted with Seitz windows and their manufacturer also supplies products like the acrylic polish pictured; however, the compound is only intended to remove light scratches.
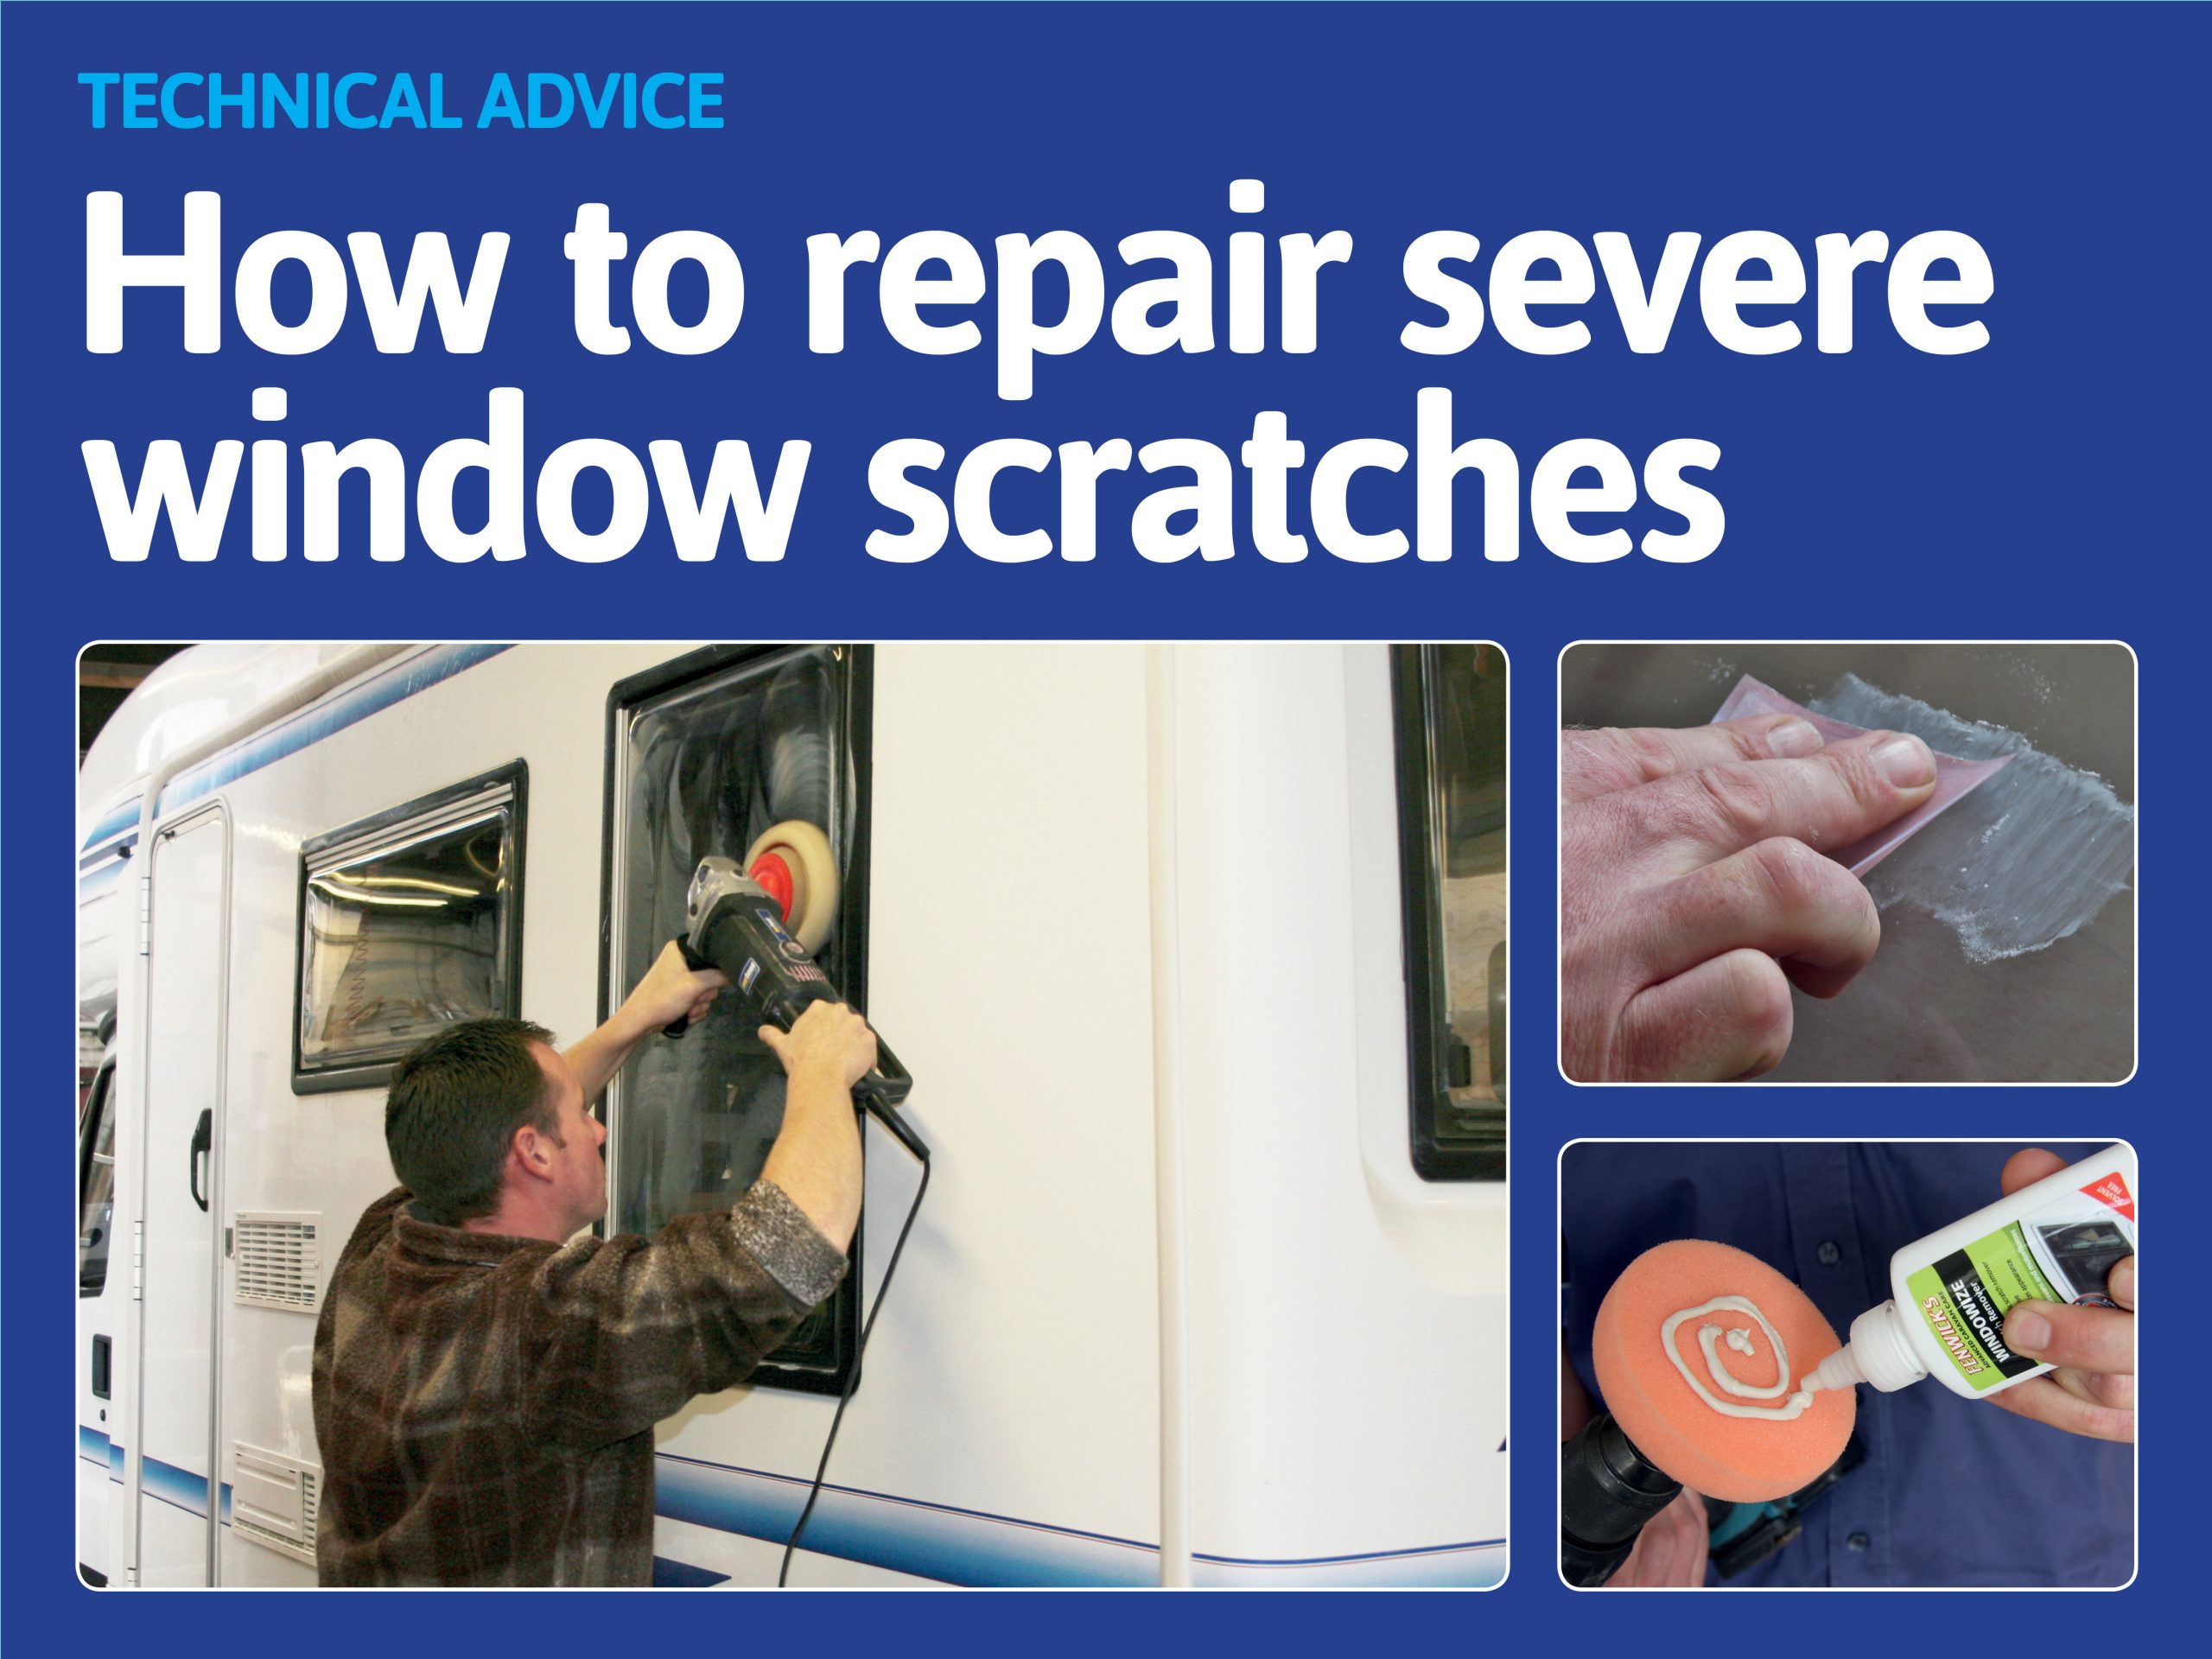
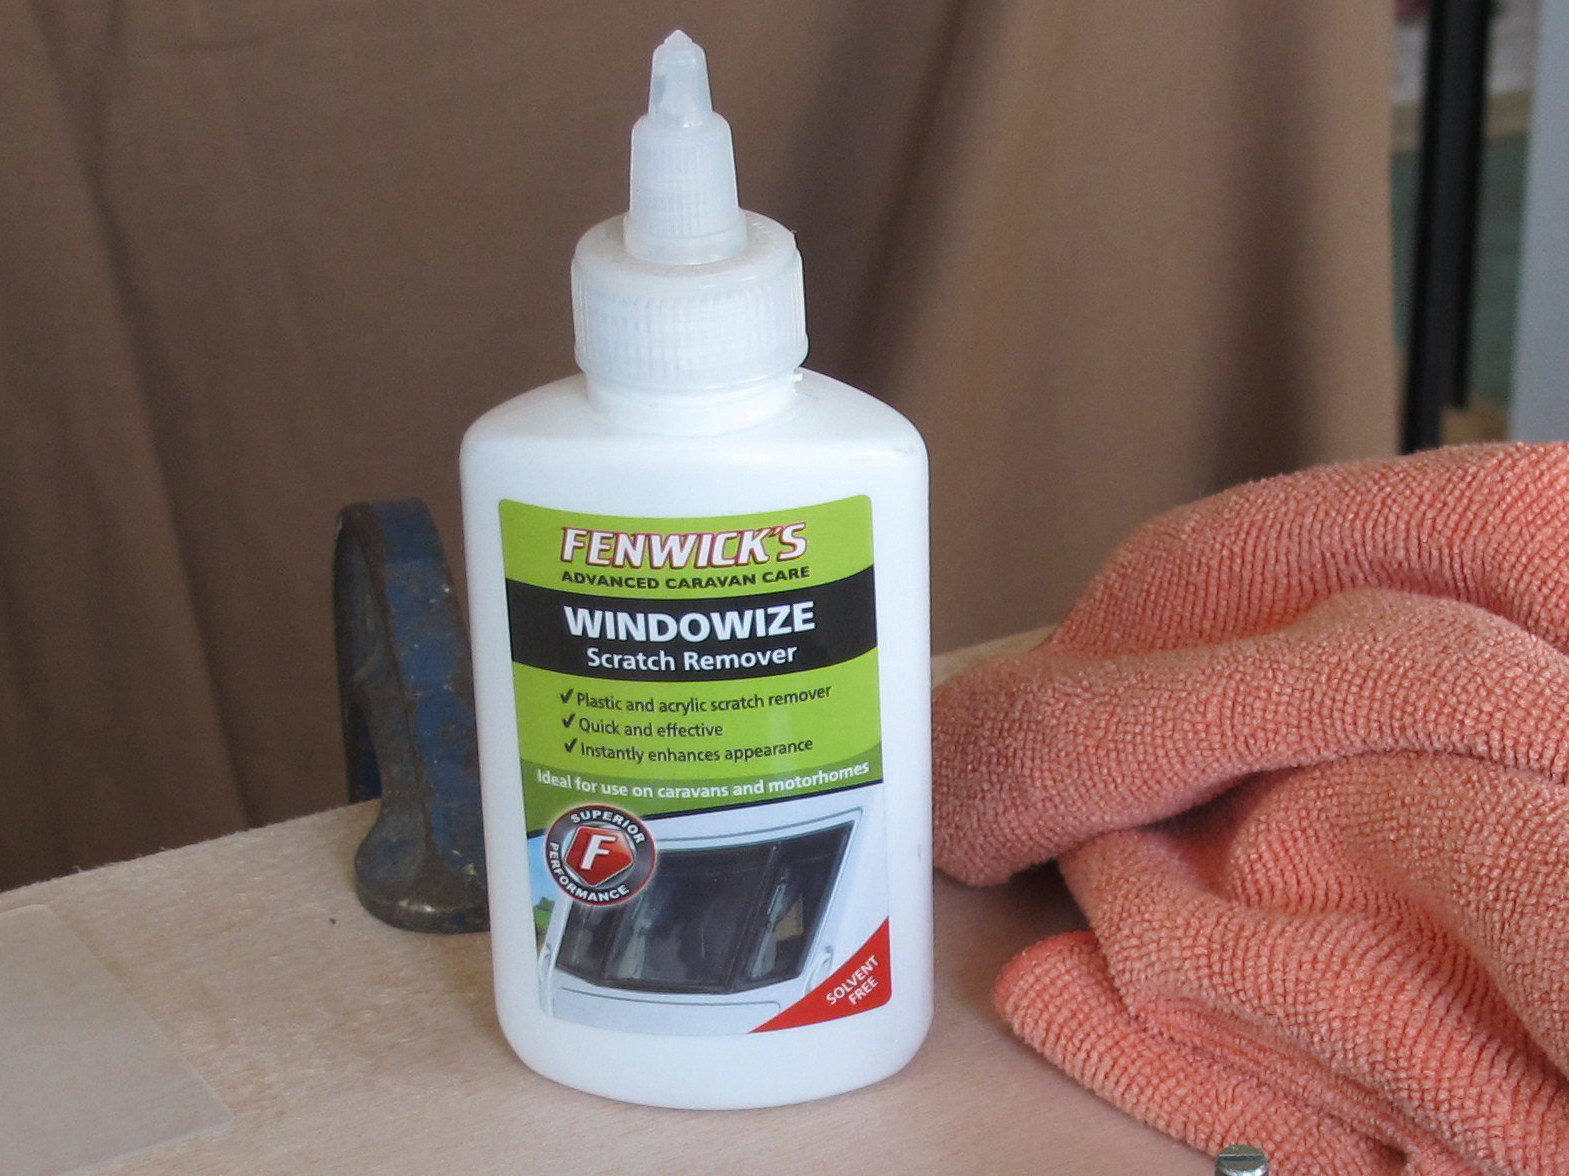
- Fenwick’s Windowize Scratch remover can remove light scratches, too, but the firm also supplies kits to deal with deeper damage as shown in the photographs.
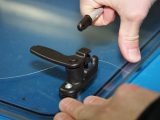
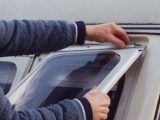
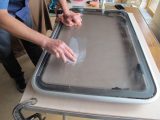
- Although it’s possible to remove scratches on a window left in situ, it is often better to remove it completely for repairs on a bench. To do this requires the stays to be disconnected.
- Even though there are different types of hinging window, most can be removed by opening the unit to its limit and then sliding the pane out of its retaining groove.
14 steps to remove deep scratches
In order to help owners with deeply scratched acrylic plastic windows, Fenwick’s – specialists in motorhome-care products – is selling kits that might interest a motorhome owner experienced in DIY. Alternatively, get your dealer to do the work for you.
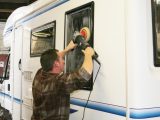
In order to demonstrate both procedures and the successful results, Fenwick’s carried out the accompanying step-by-step instructional session.
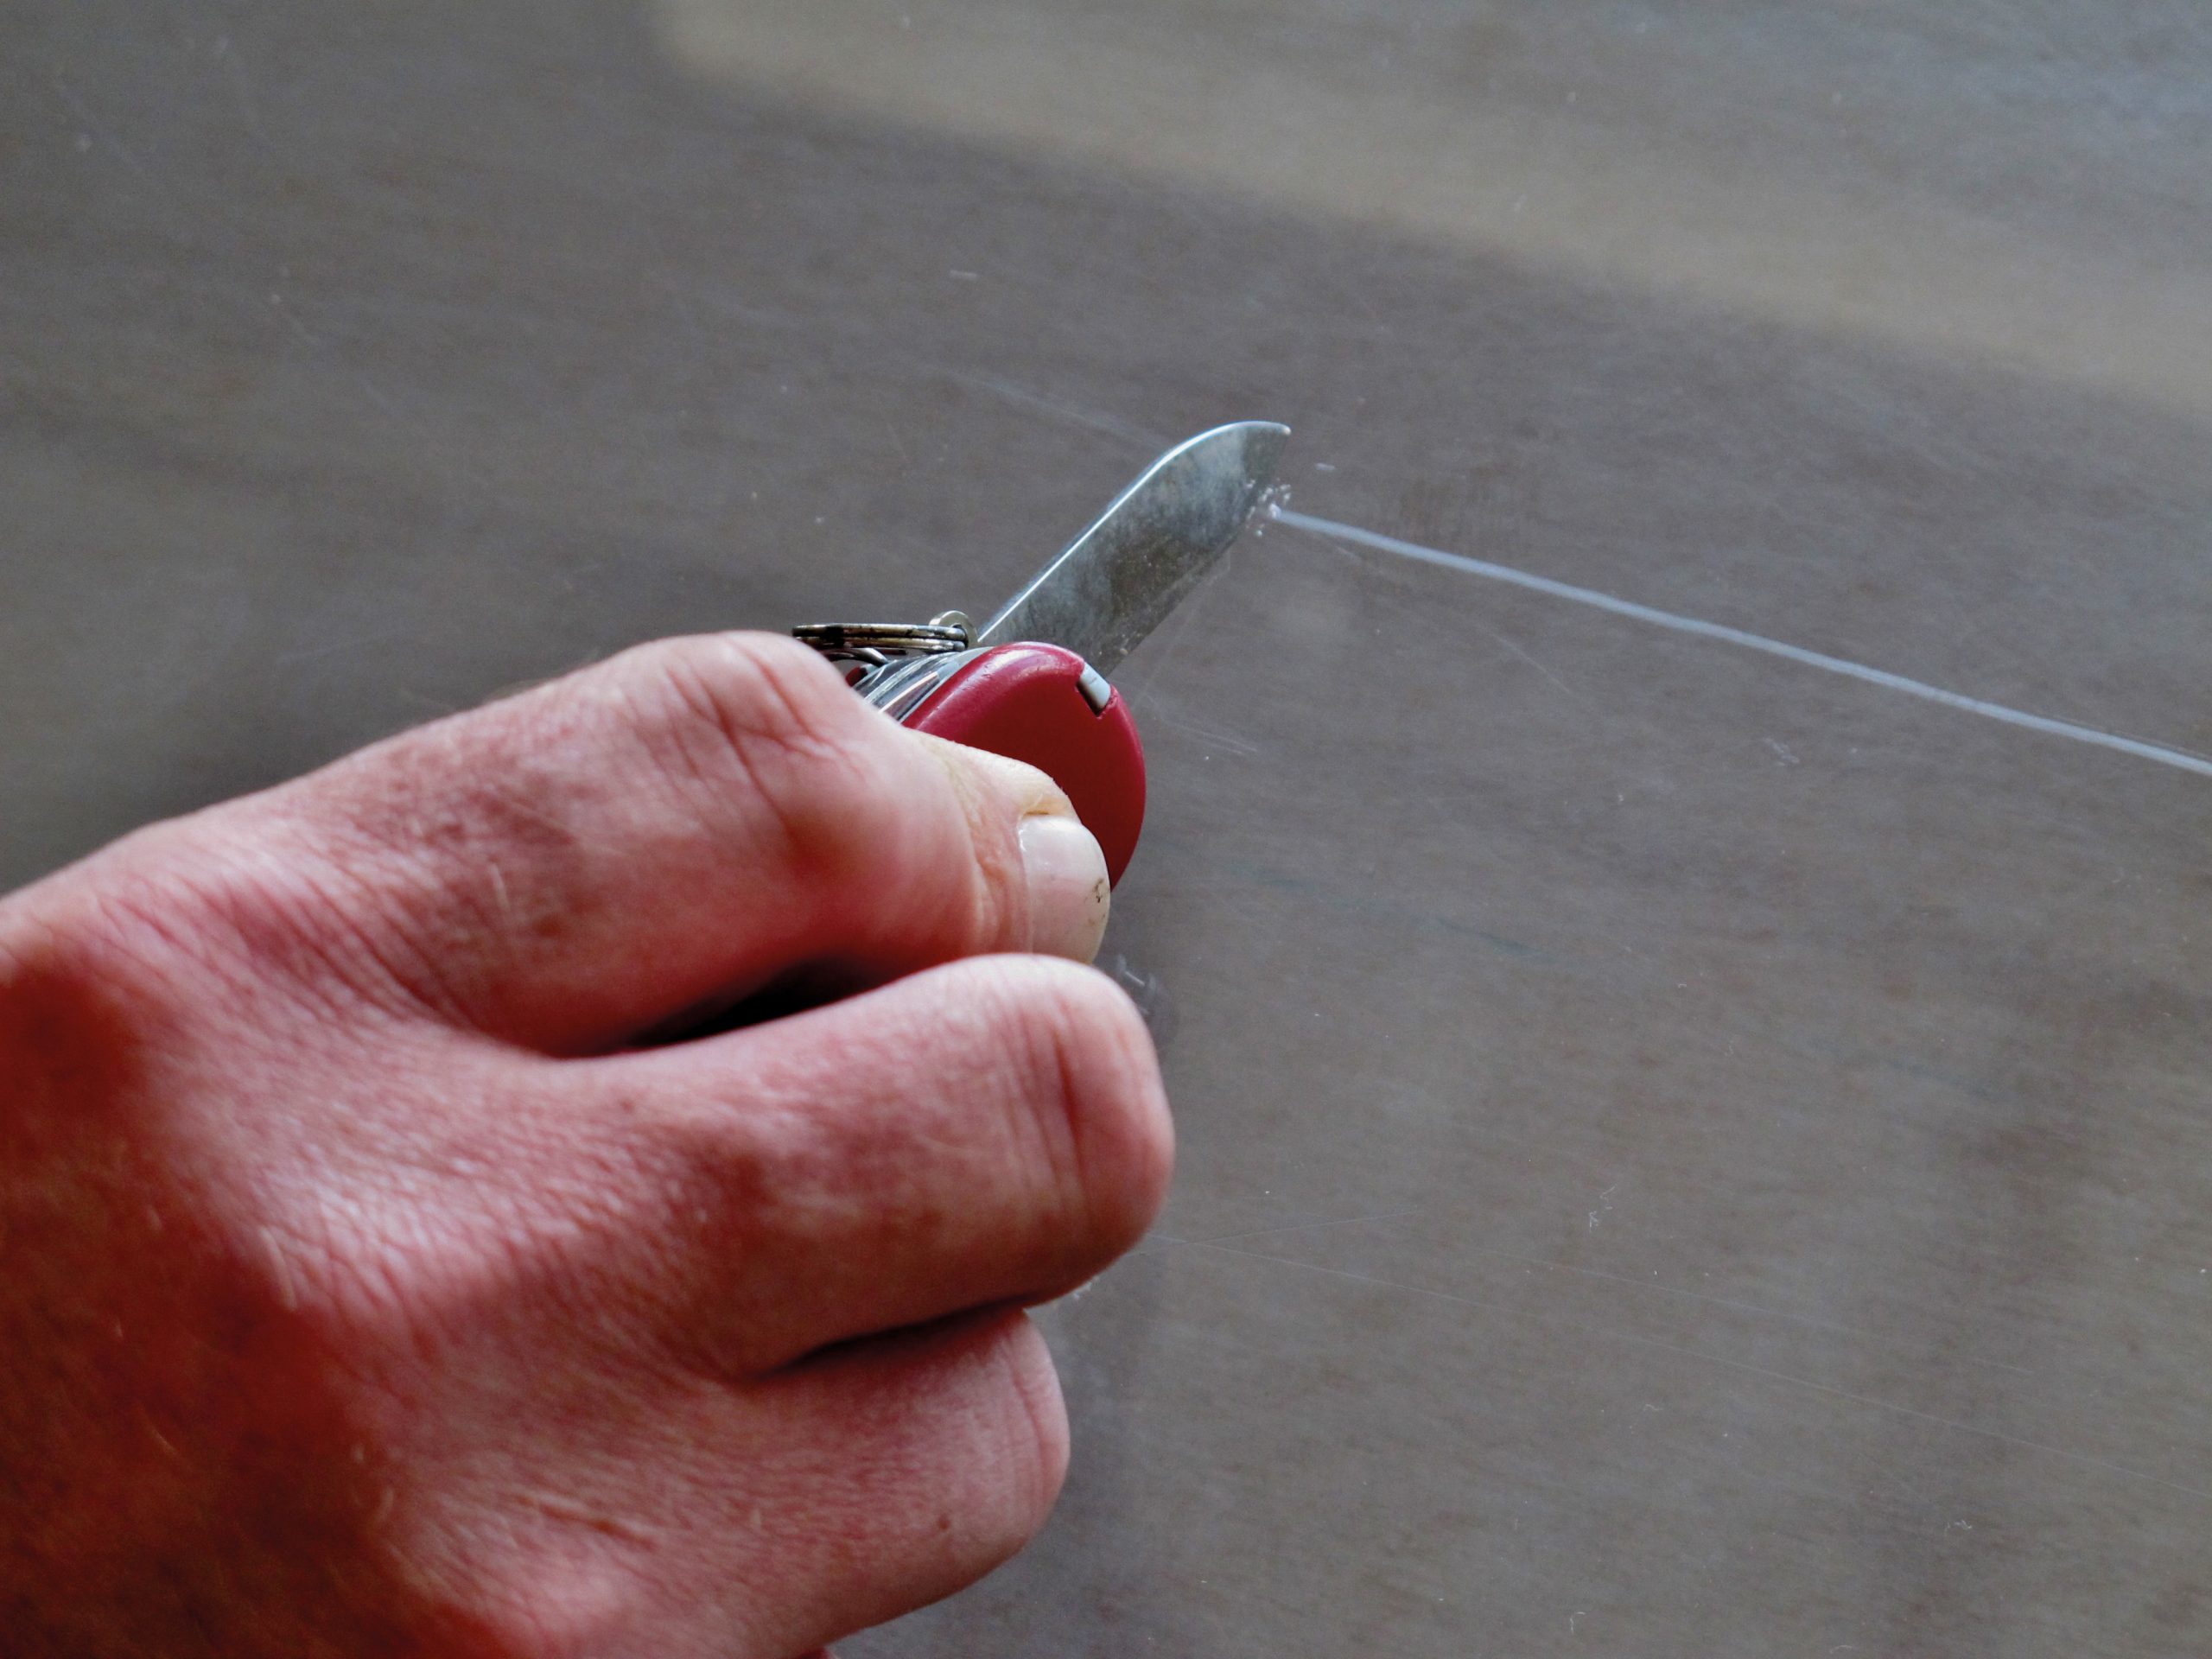
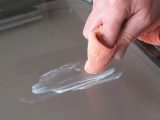
- It might seem destructive, but the demonstration commenced by cutting a deep groove in an acrylic plastic pane using a penknife. Treatment then necessitated removing a lot of plastic.
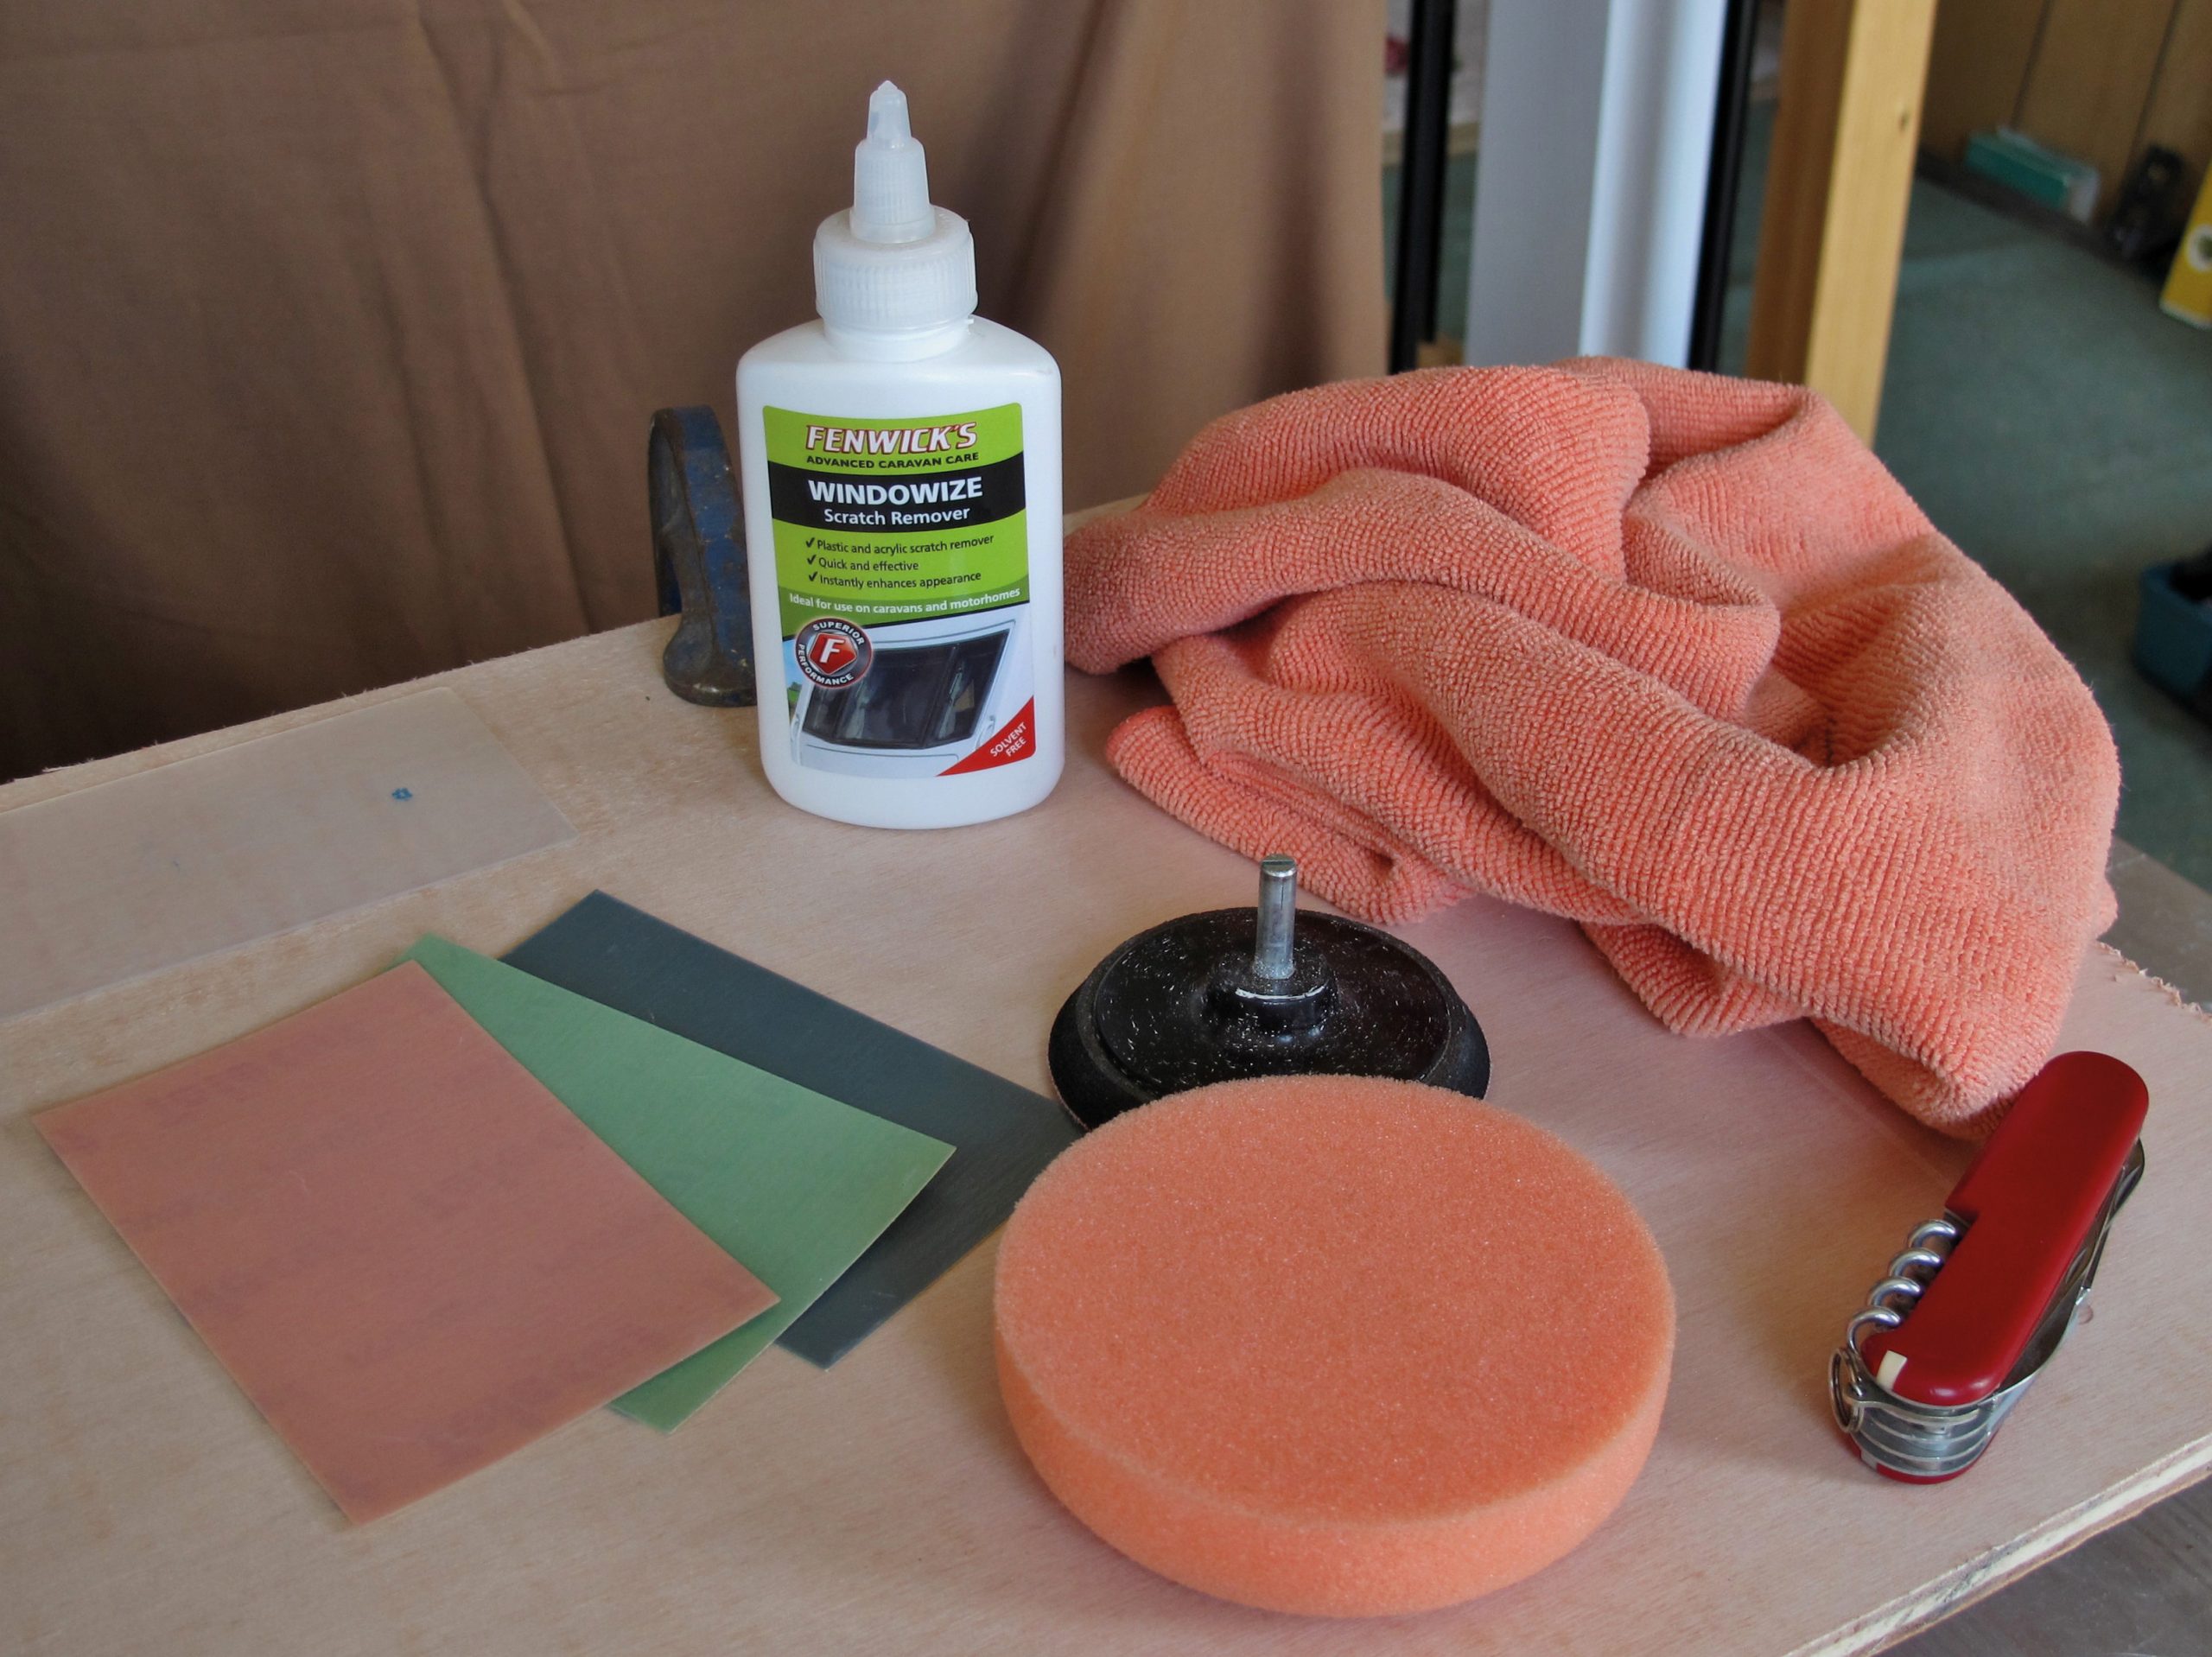
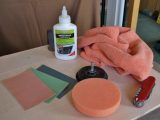
- Fenwick’s has assembled a kit of three grades of abrasive papers, a micro-fibre cloth, a container of Windowize Scratch Remover and a rotary pad for use in a slow-running electric drill.
- The three grades of abrasive paper are used in a dry state but they mustn’t create heat. A sticky-plastic backing plate is supplied and work begins with the 2000 grade pink paper being applied across the mark.
- The sticky, plastic backing plate – about the size of a credit card – was switched to the finer 2500-grade paper, which was then rubbed along the groove. After removing all dust, the process was repeated with the 3000-grade paper.
- Passing a fingernail across the zone where the groove was made confirms if the surrounding area has now been suitably reduced in thickness. Finally, a much larger area is rubbed using the fine paper.
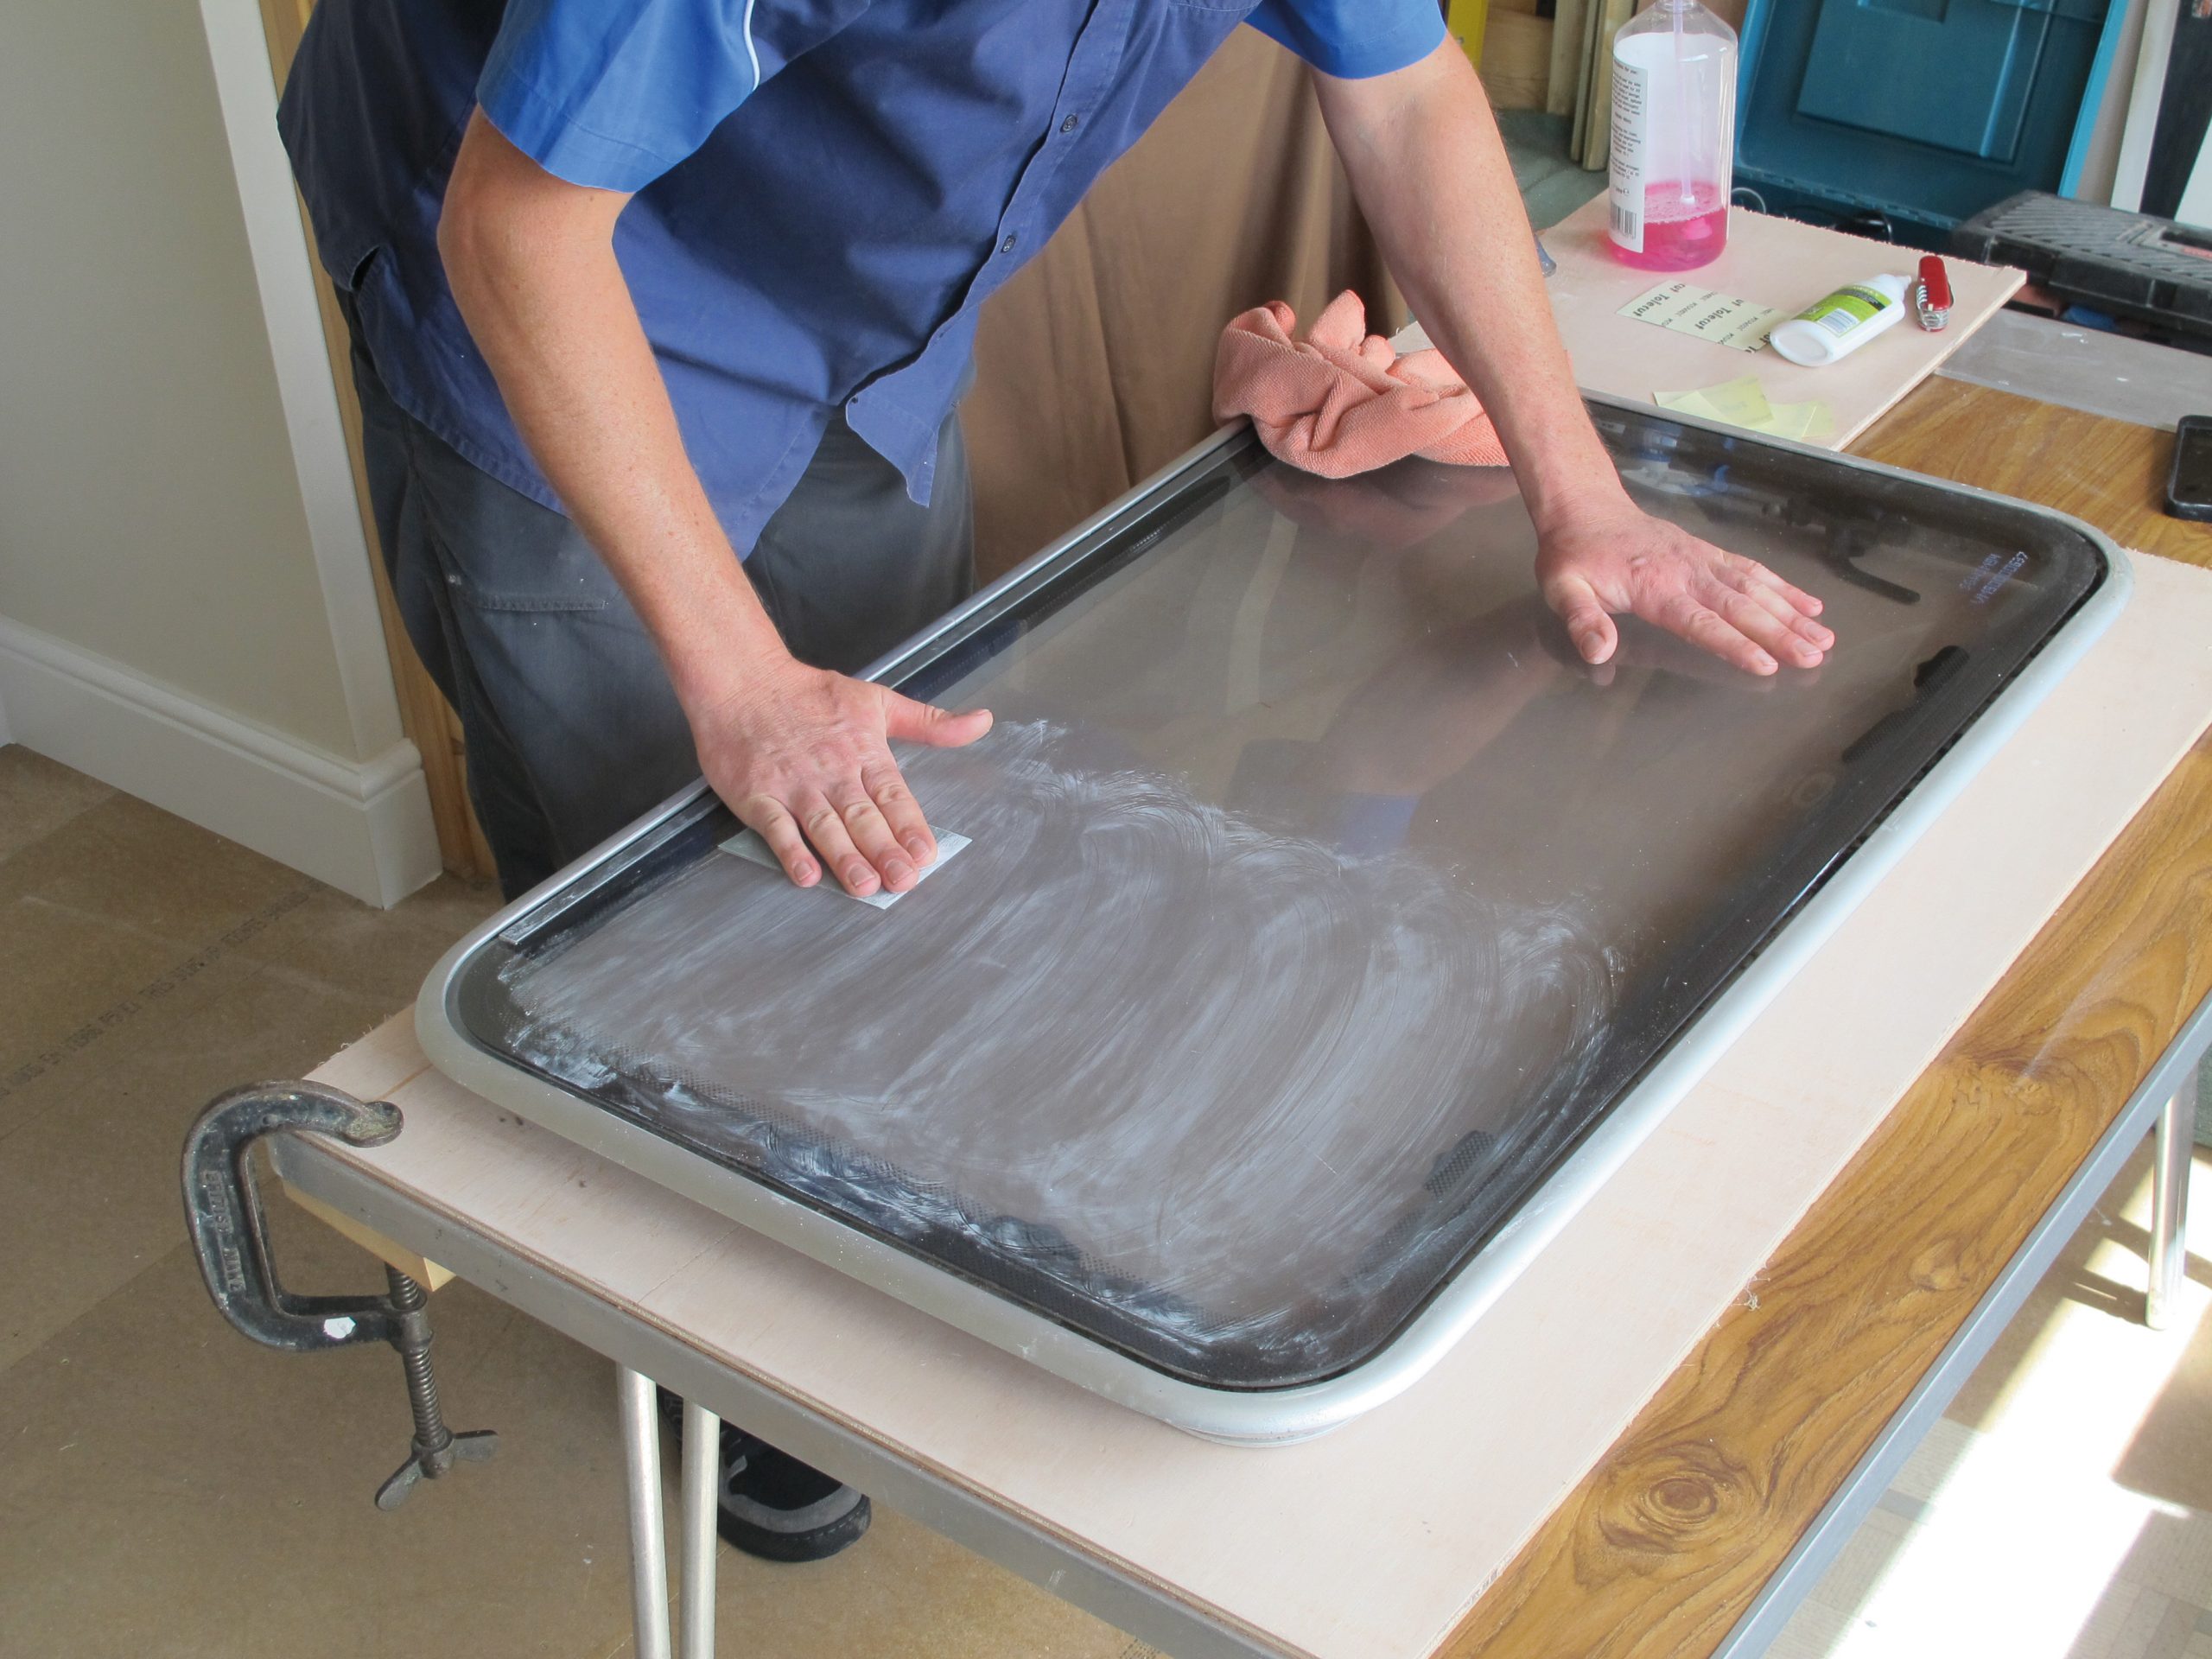
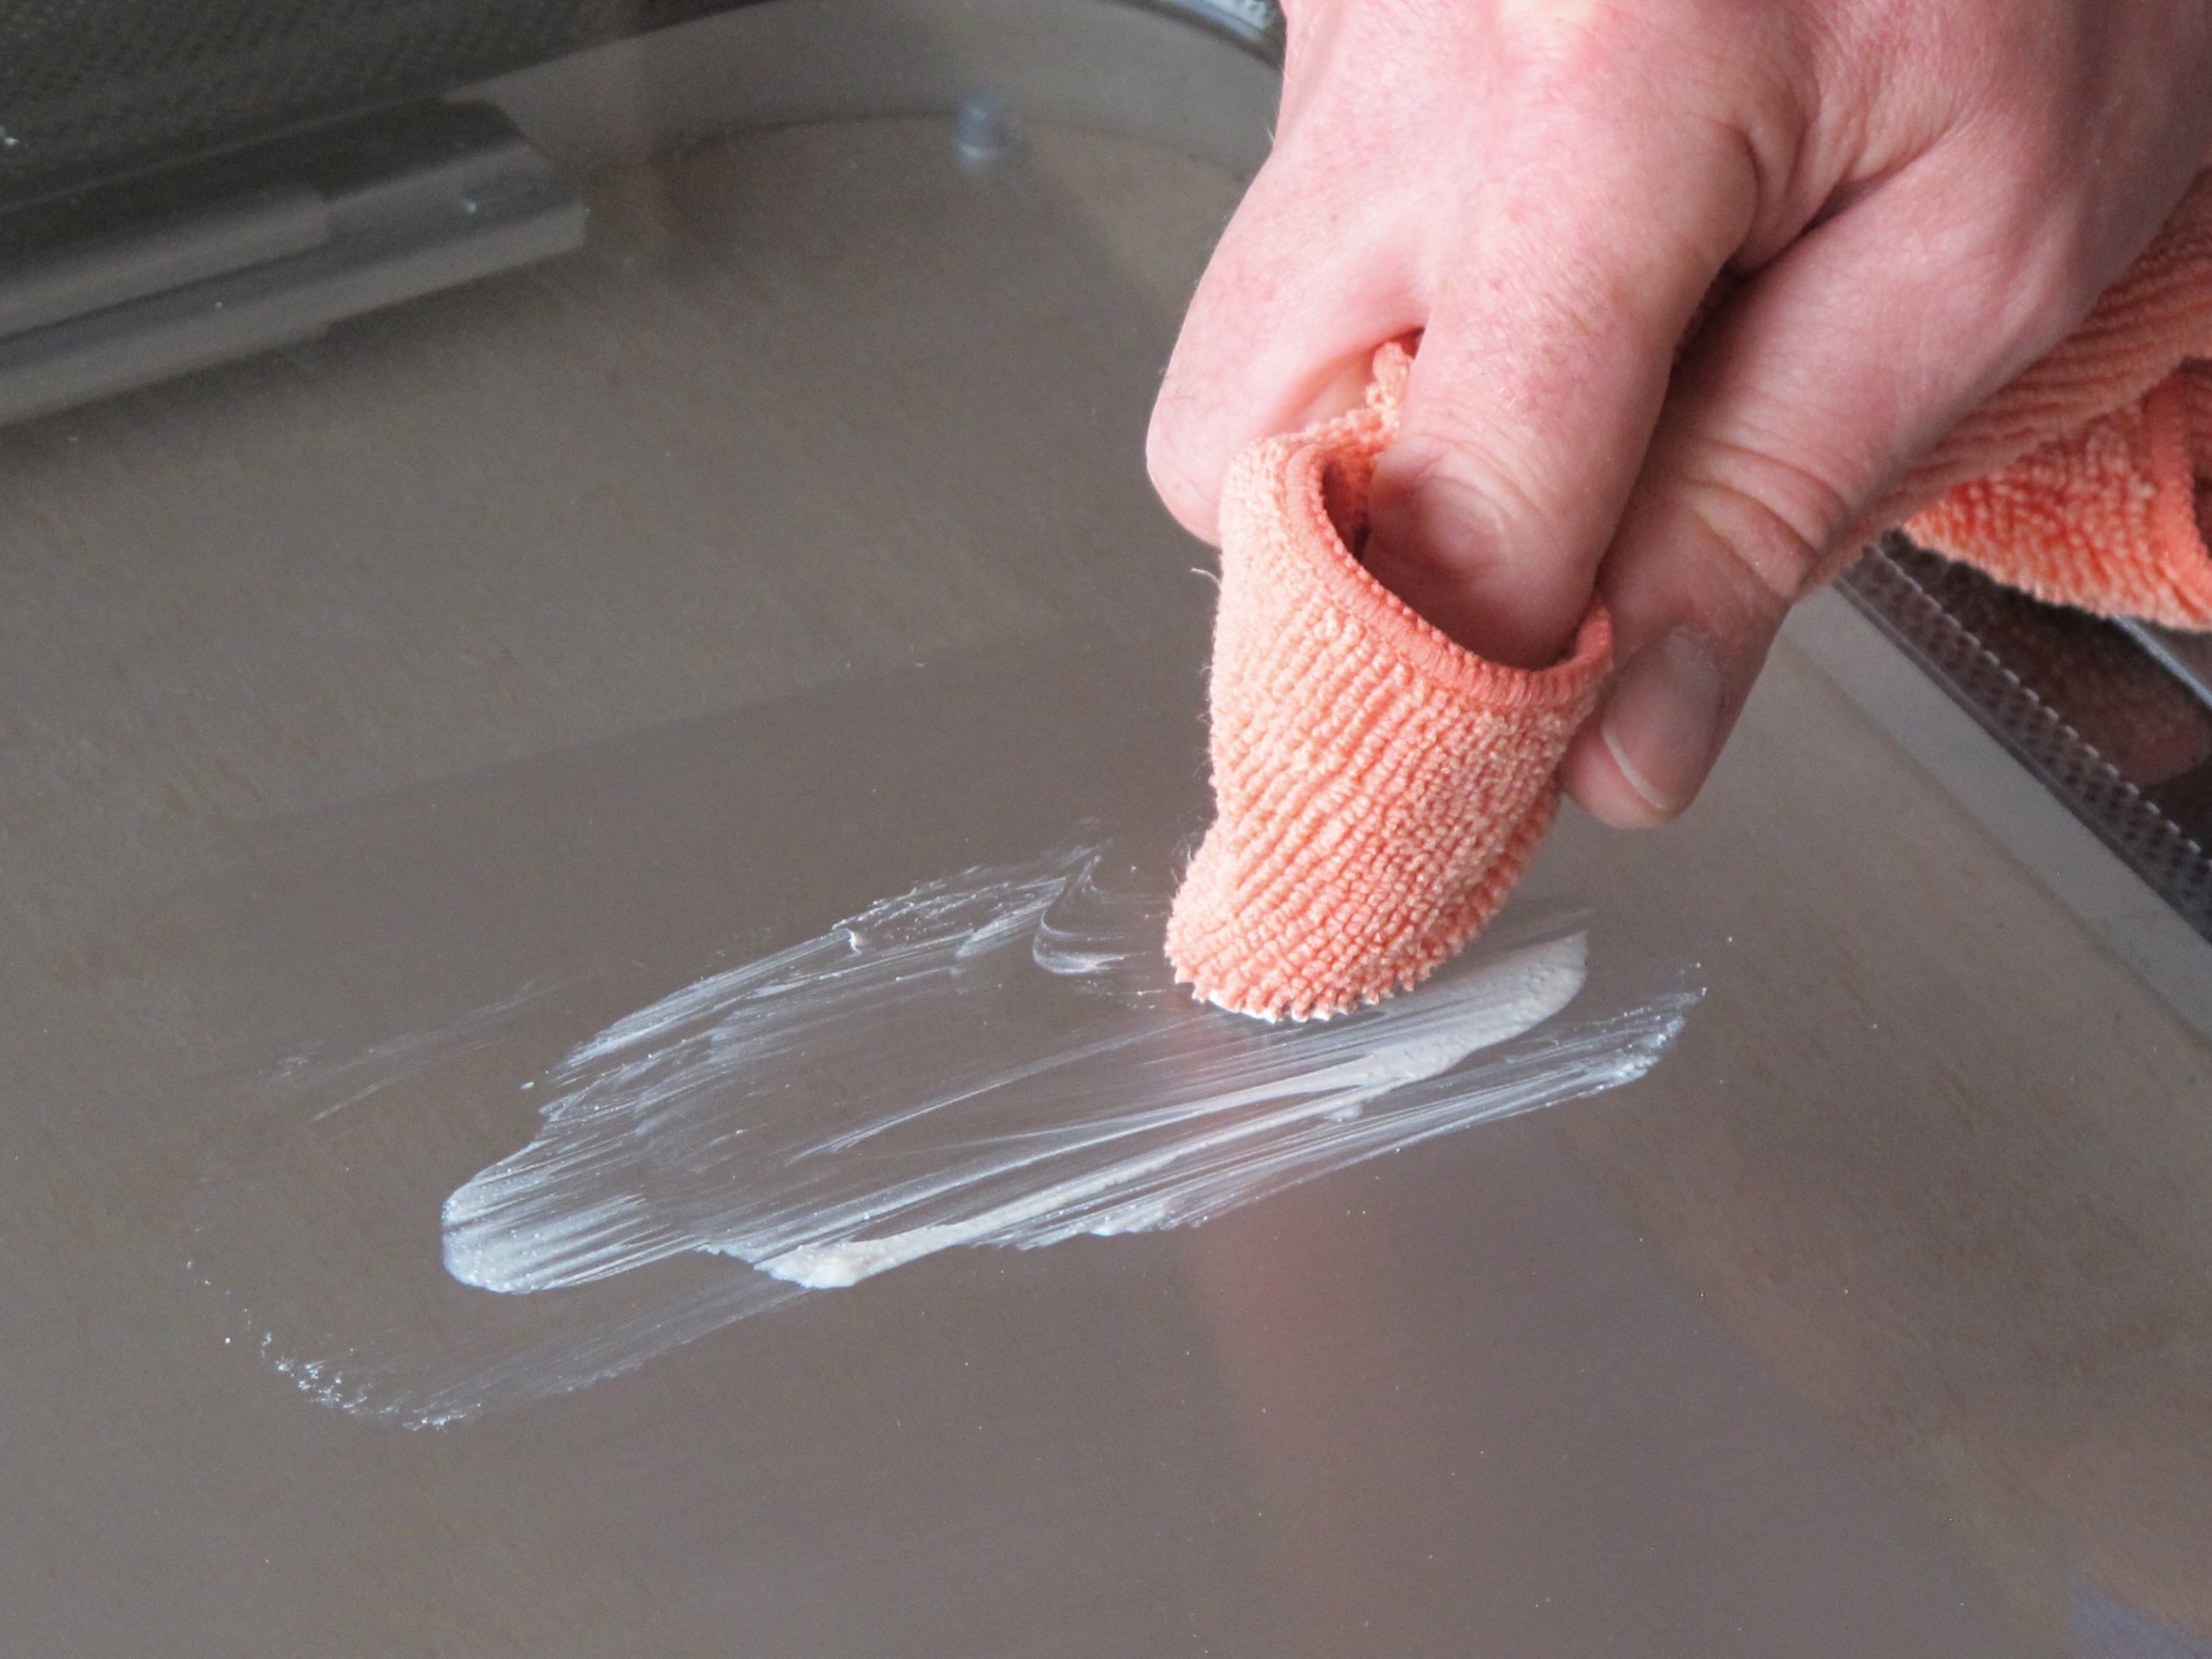
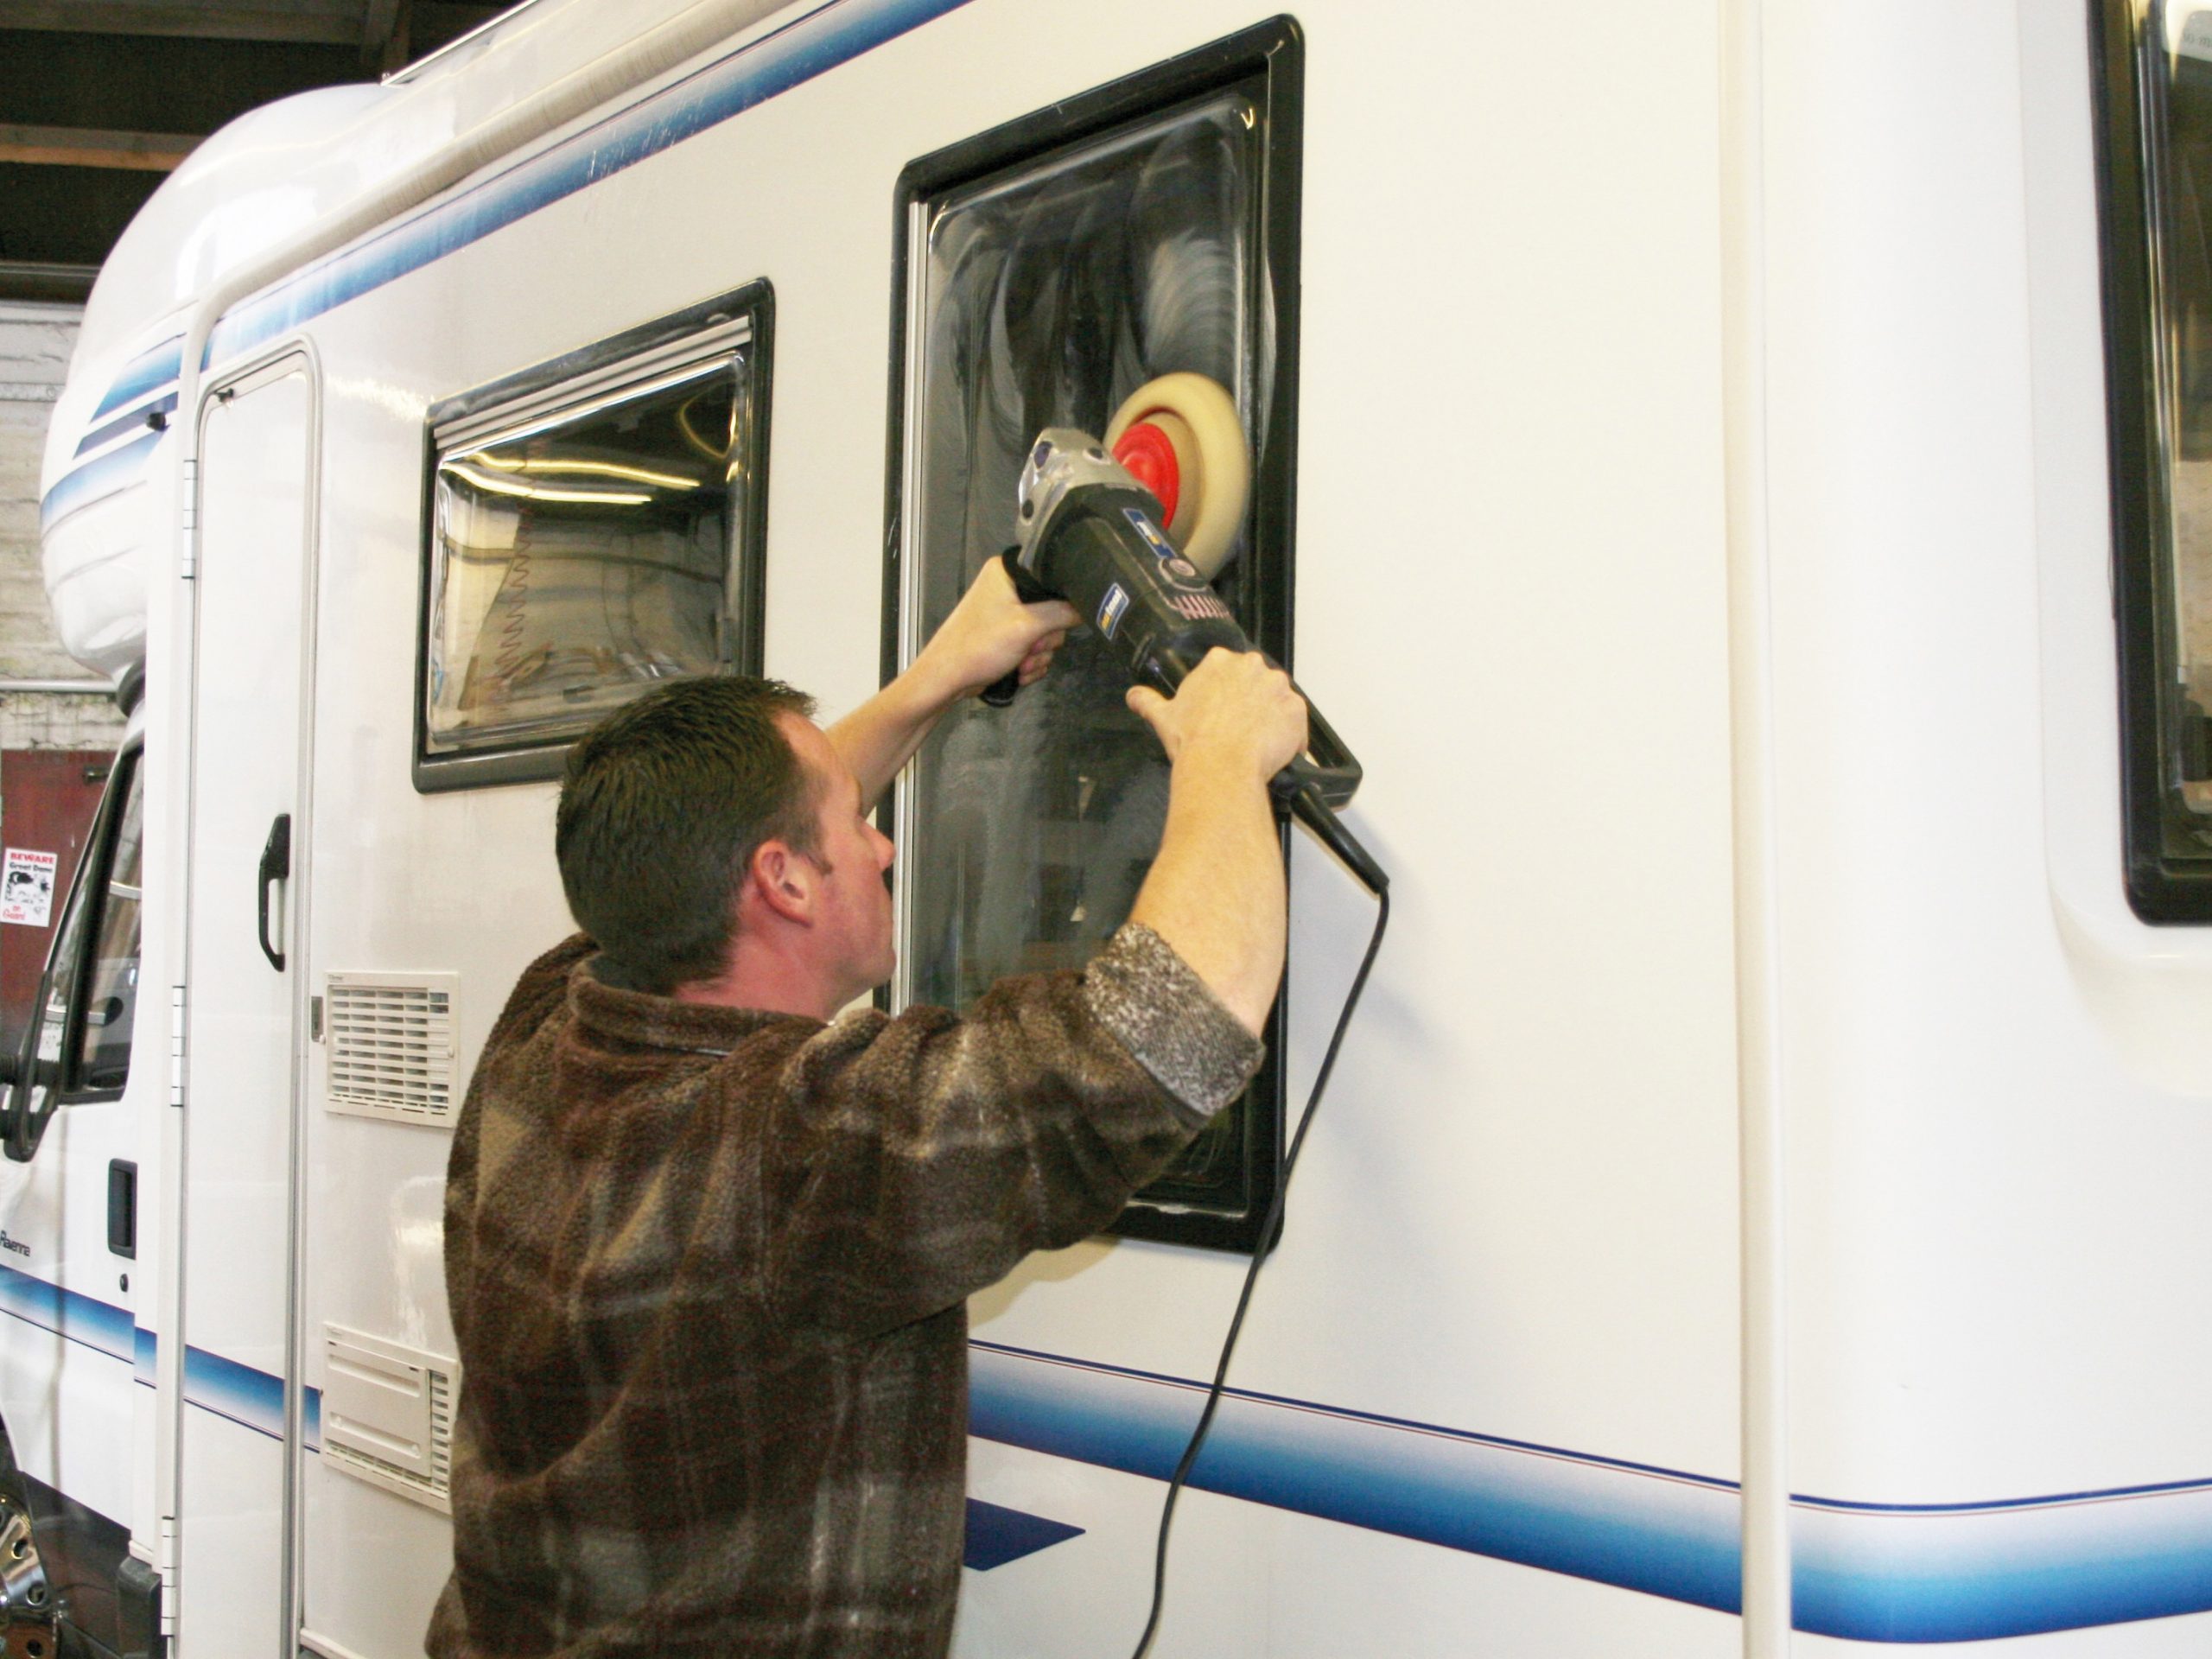
- Although pressure is needed when polishing, the area must never get hot from the applied friction. With the groove no longer evident, it is now time to polish the area either by hand, using Windowize on the micro-fibre cloth in the kit, or with a machine.
- If you don’t own an adjustable drill with a slow rotating setting, the polishing process can be done by hand even though it will take considerably longer to complete. Once again, make sure that over-enthusiasm doesn’t generate surface heat.
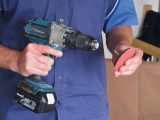
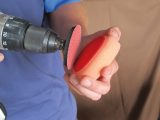
- For the purpose of this demonstration, the mechanical operation used a cordless drill with a slow speed setting. The rotation backing plate included in the kit is designed to fit most types of standard chuck.
- The barbed backing plate couples with a 95mm- (3.75in) diameter foam mop and if this is treated as recommended, it will carry out a considerable number of scratch-removal operations before needing replacement.
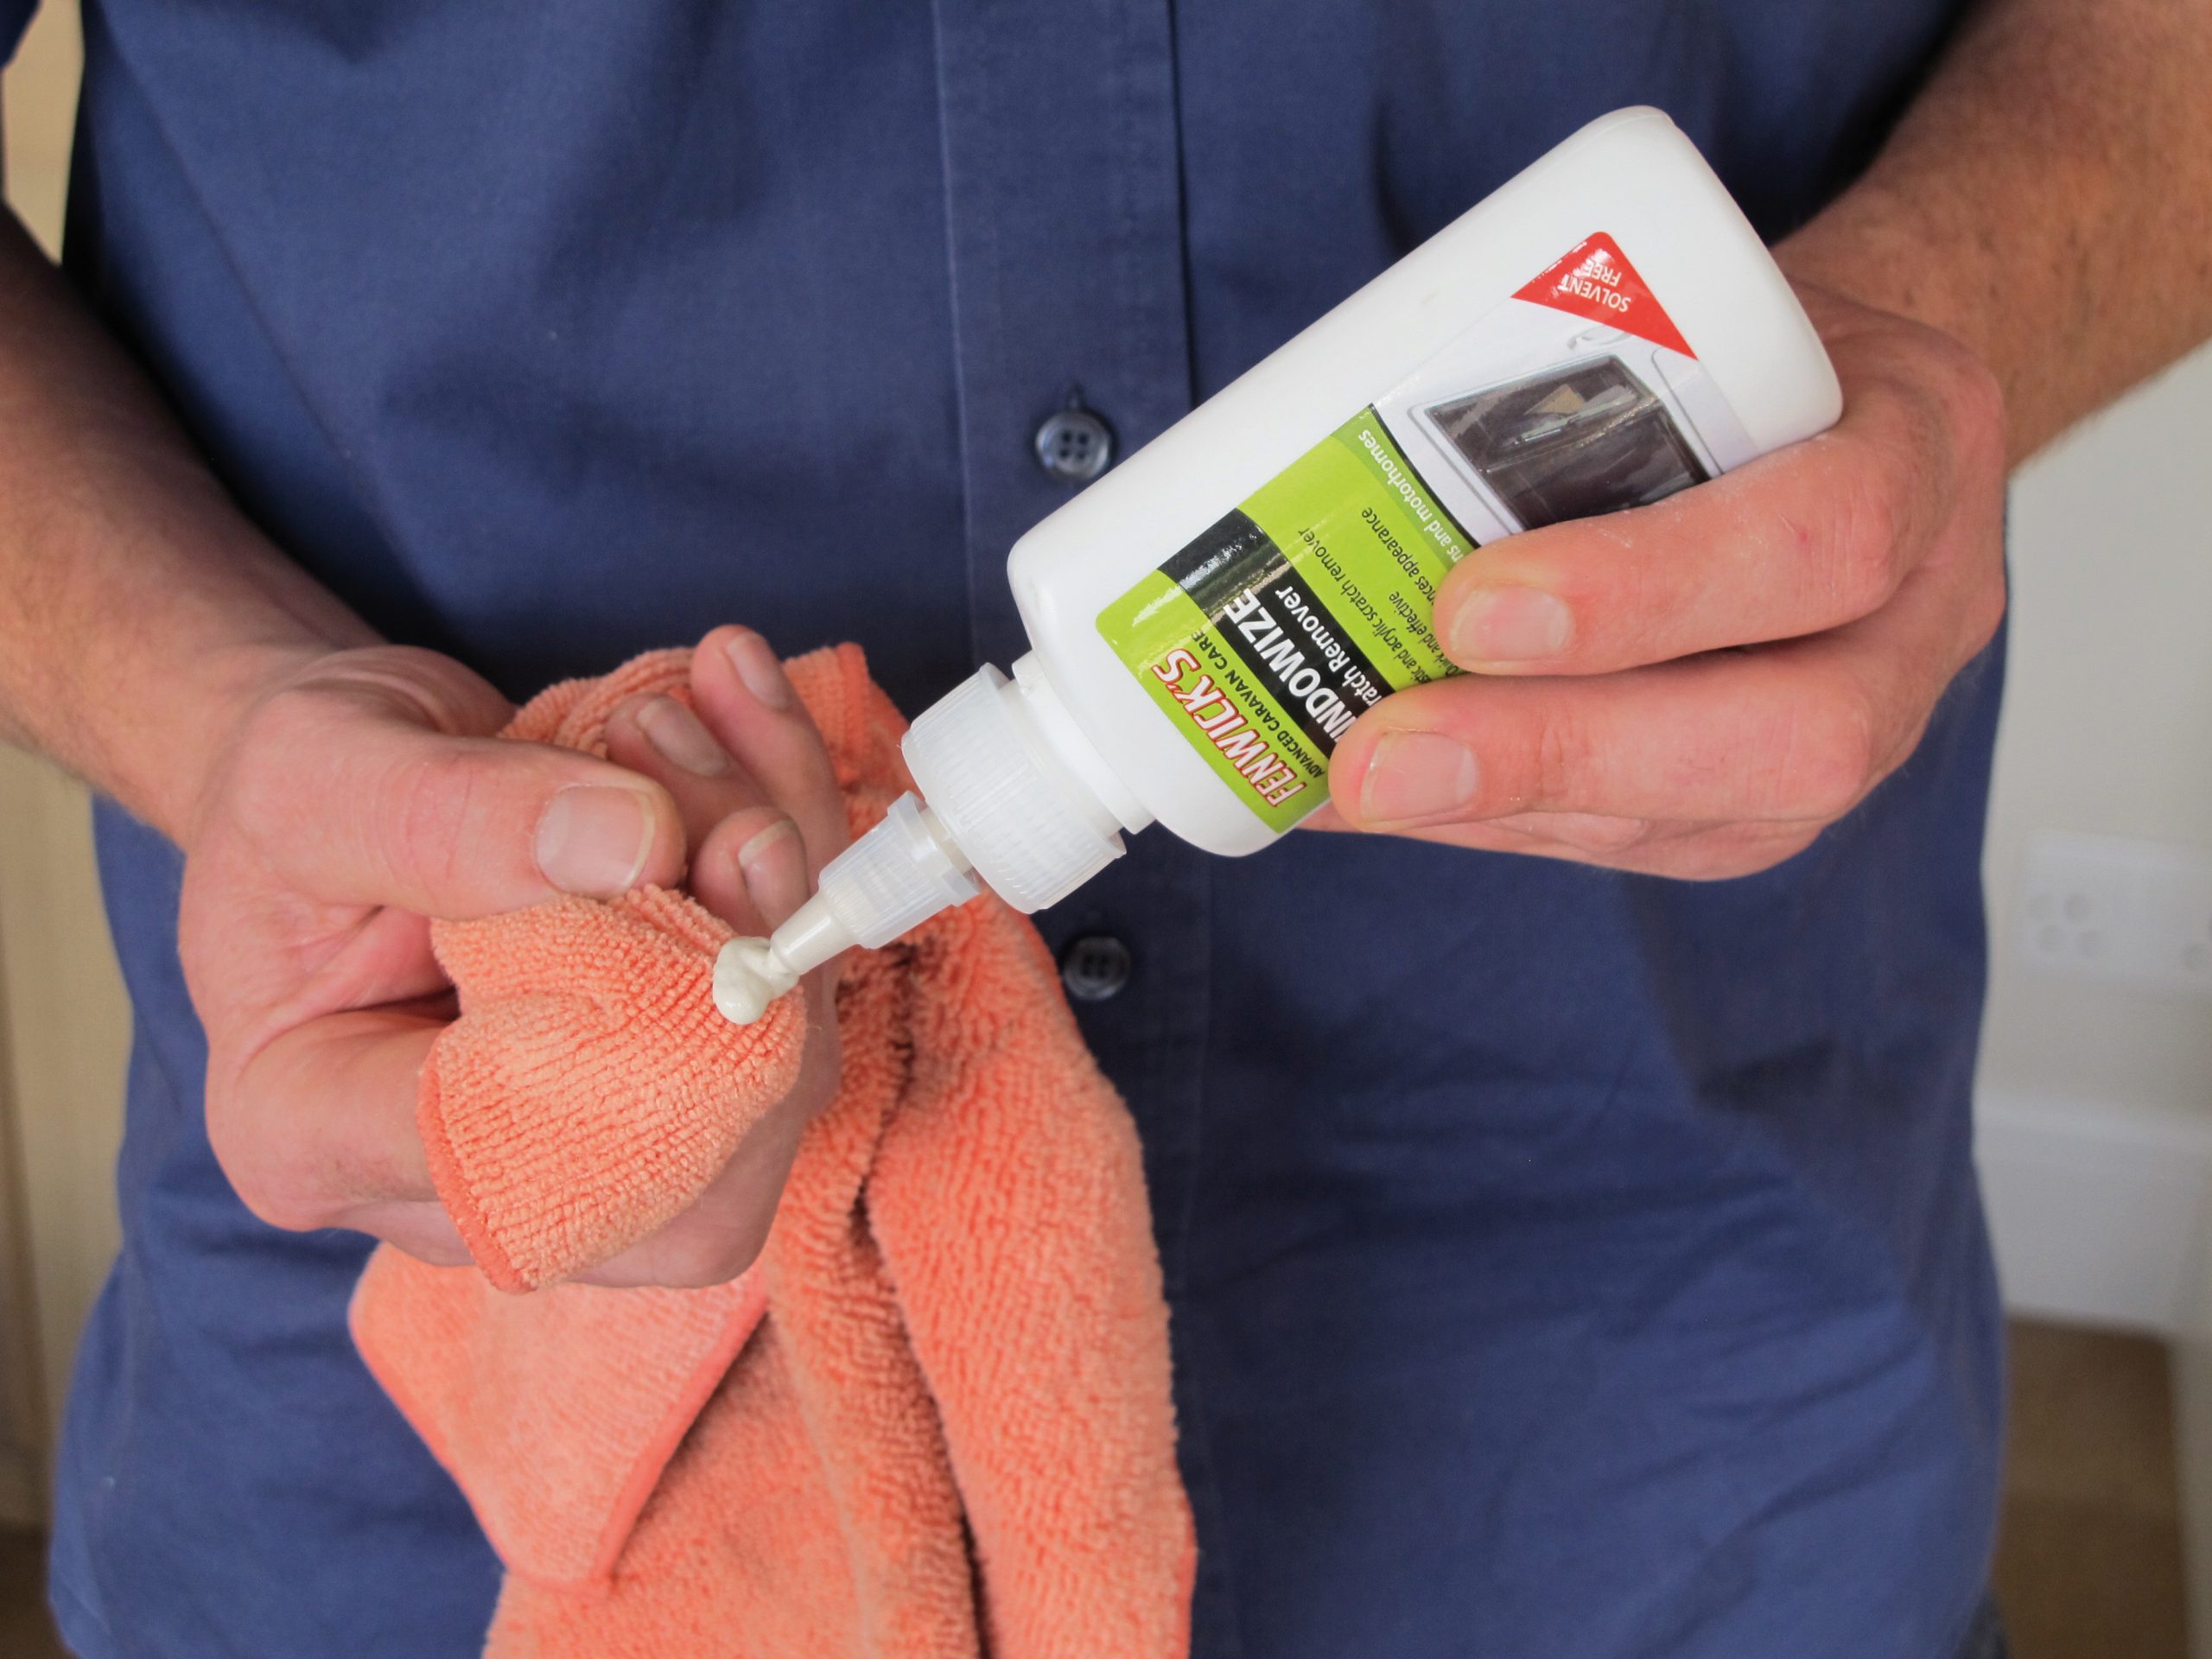
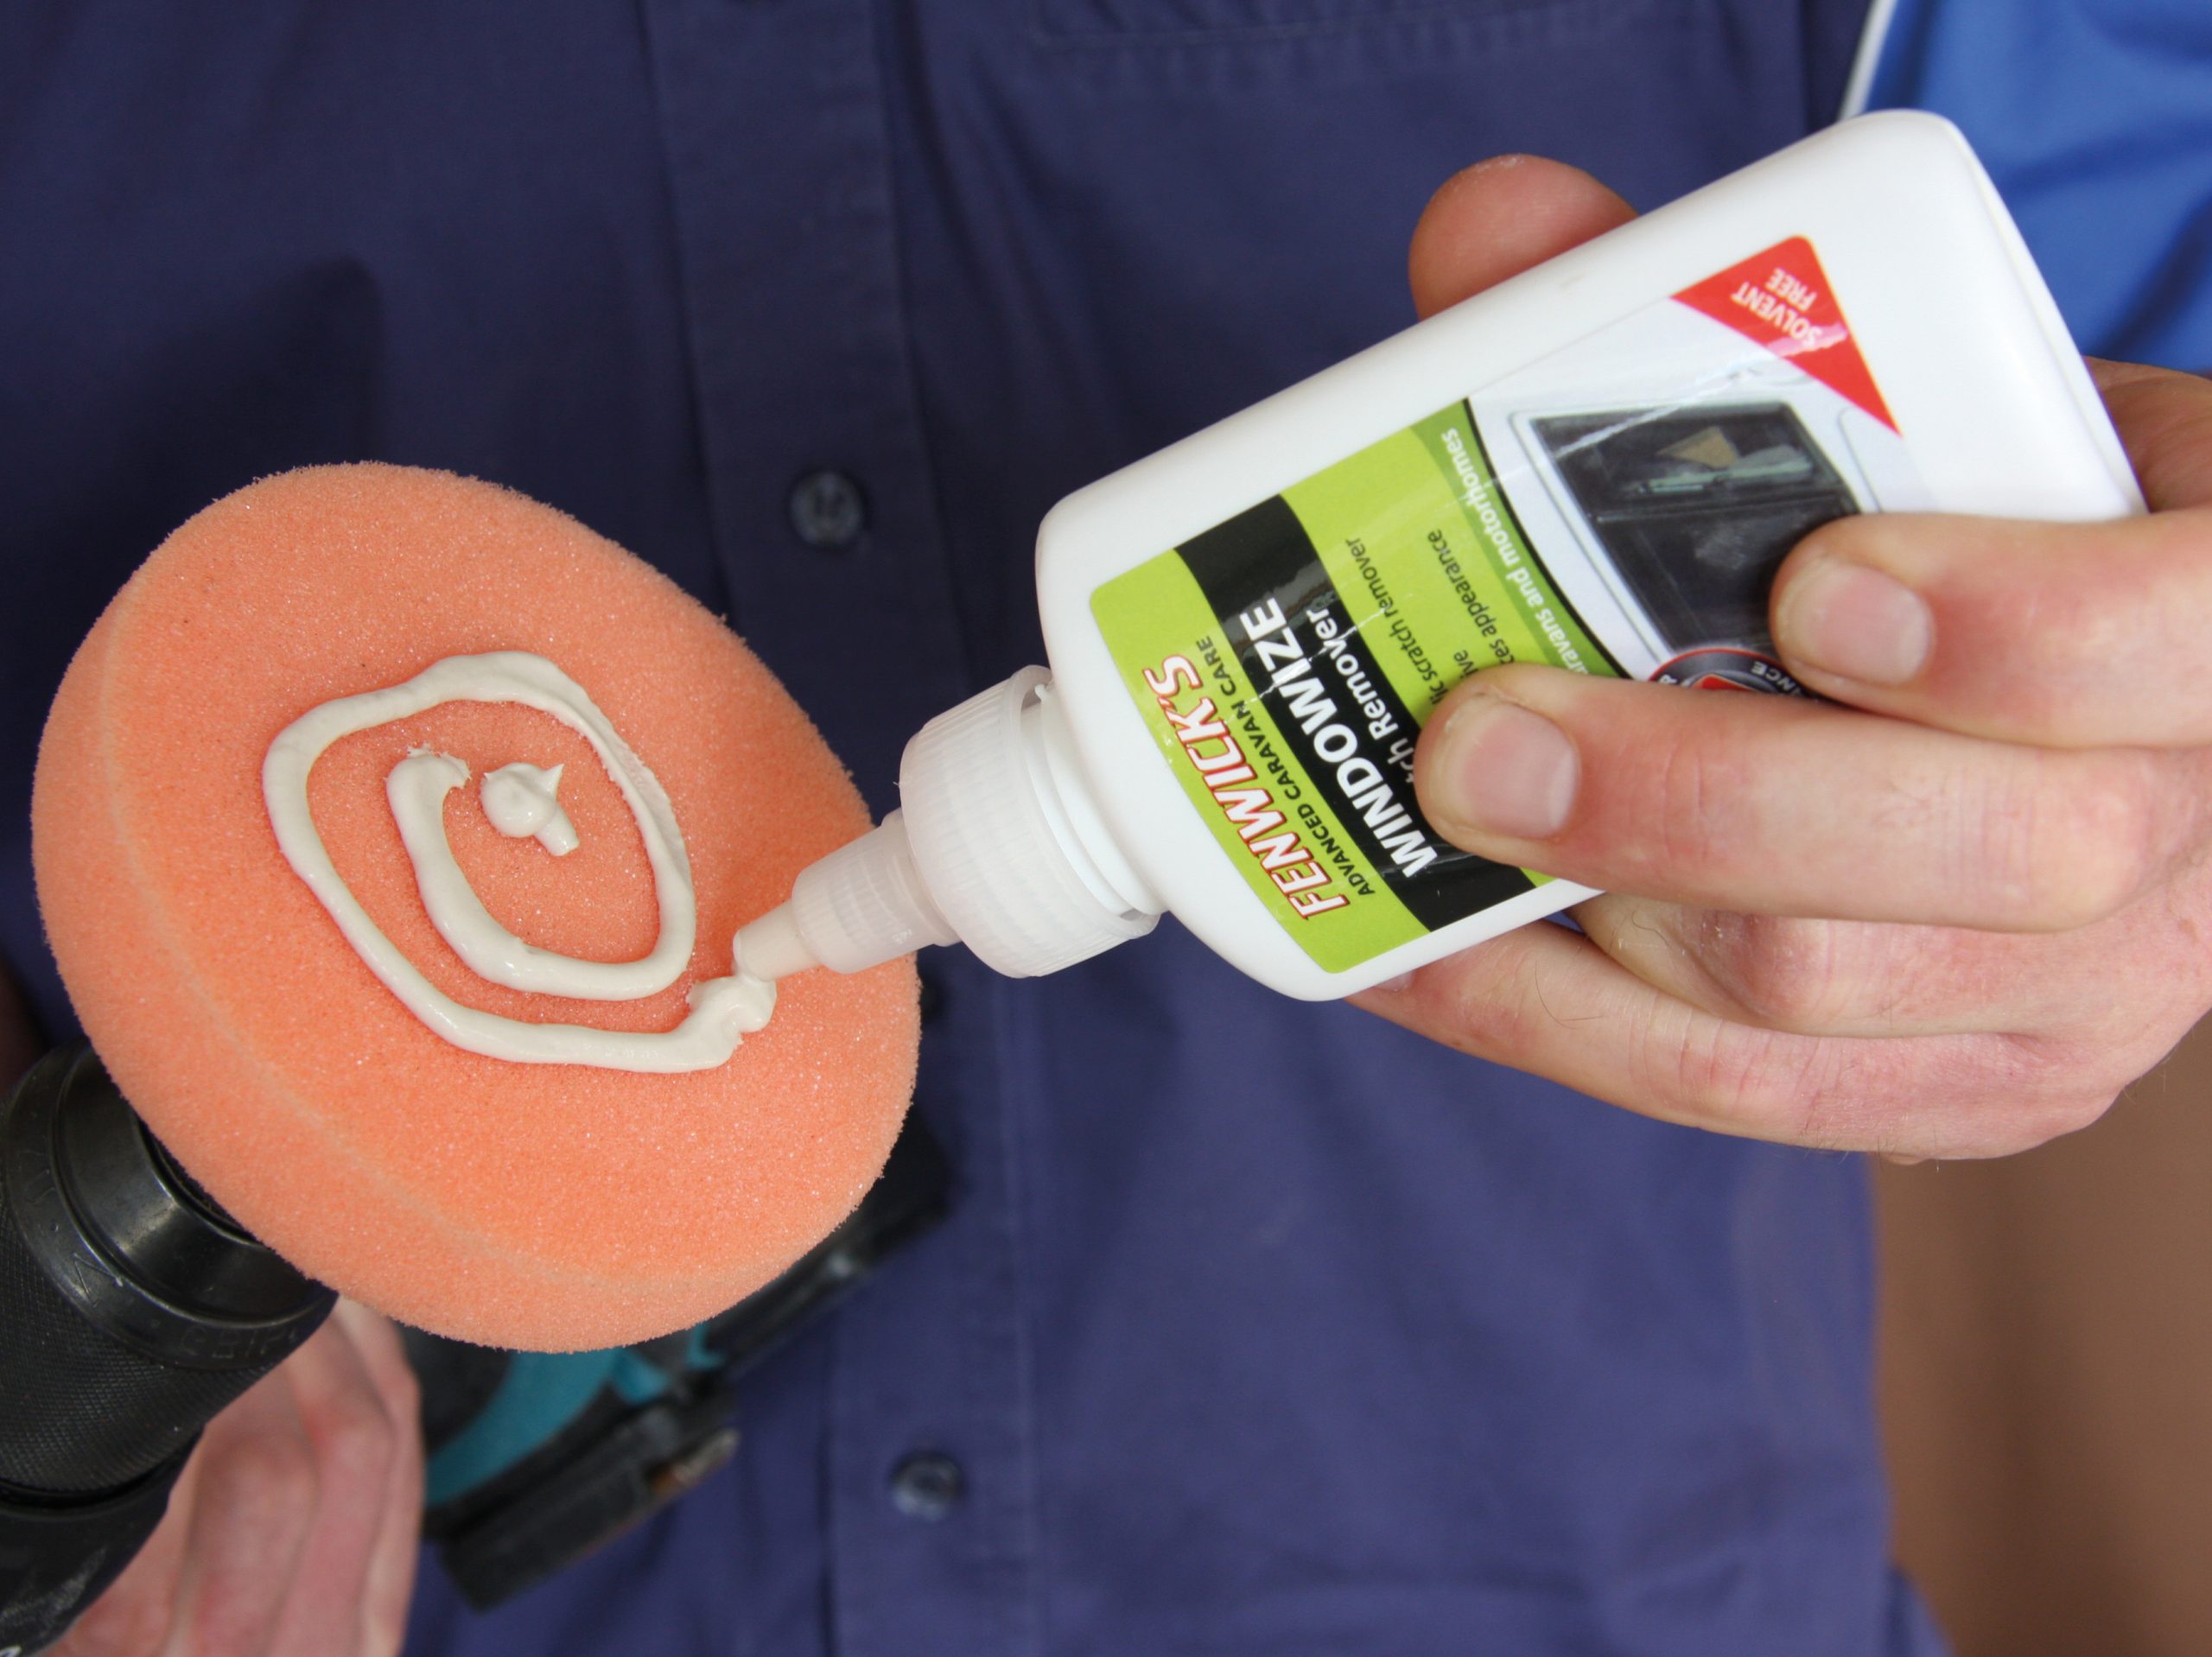
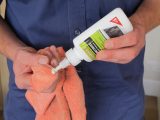
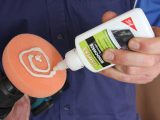
- An advantage over the manual application of Windowize is that a greater amount of the paste can be used at each operation. Instead of dispensing pea-size blobs on a rag, apply a circle of polishing paste as shown.
- Before commencing the polishing operation, the spiral of Windowize must be spread into the pores of the mop. This is achieved by holding the drill vertically and rotating the mop on the pane’s surface for a few seconds.
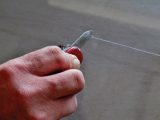
- With Windowize spread on the mop, spray the pane using an atomising container – sold in garden centres – filled with water. This will spread a fine mist on the pane’s surface to aid cooling, act as a lubricant, and prolong mop life.
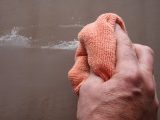
- As the shine builds up, use the micro-fibre cloth to remove any dust that starts collecting on the surface. Then, for the final polish, wipe the area with one of the special cloths used to clean the lenses of spectacles.
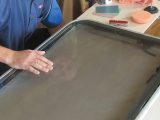
- Finally, it’s time to survey what you have accomplished. Of course, the deeper a scratch, the greater the amount of surrounding acrylic will need to be removed. However, with patience and a kit like this, you’ll be surprised by what is achievable.
See how it’s done
Watch John Wickersham’s video giving you a step-by-step guide to repairing windows on the YouTube channel of our sister magazine Practical Caravan.
The Windowize repair kit is from Fenwick’s in Cheshire.
Micro-fibre cloths are now being used by more valeting specialists