


When digital cameras first became popular, one of the great attractions for amateur photographers was that you could see the results there and then. If the photo came out exactly how you wanted it, then fantastic. And if it didn’t? Well, you could delete the image, freeing up valuable storage space on the camera’s card or in its memory.
But then what? Simply taking the shot again, in the same way, would just lead to a practically identical image to the one you just disposed of. Just as with film photography, a good mix of tips, plus a smattering of understanding of the fundamental basics, can often make all the difference between capturing the moment successfully or not.
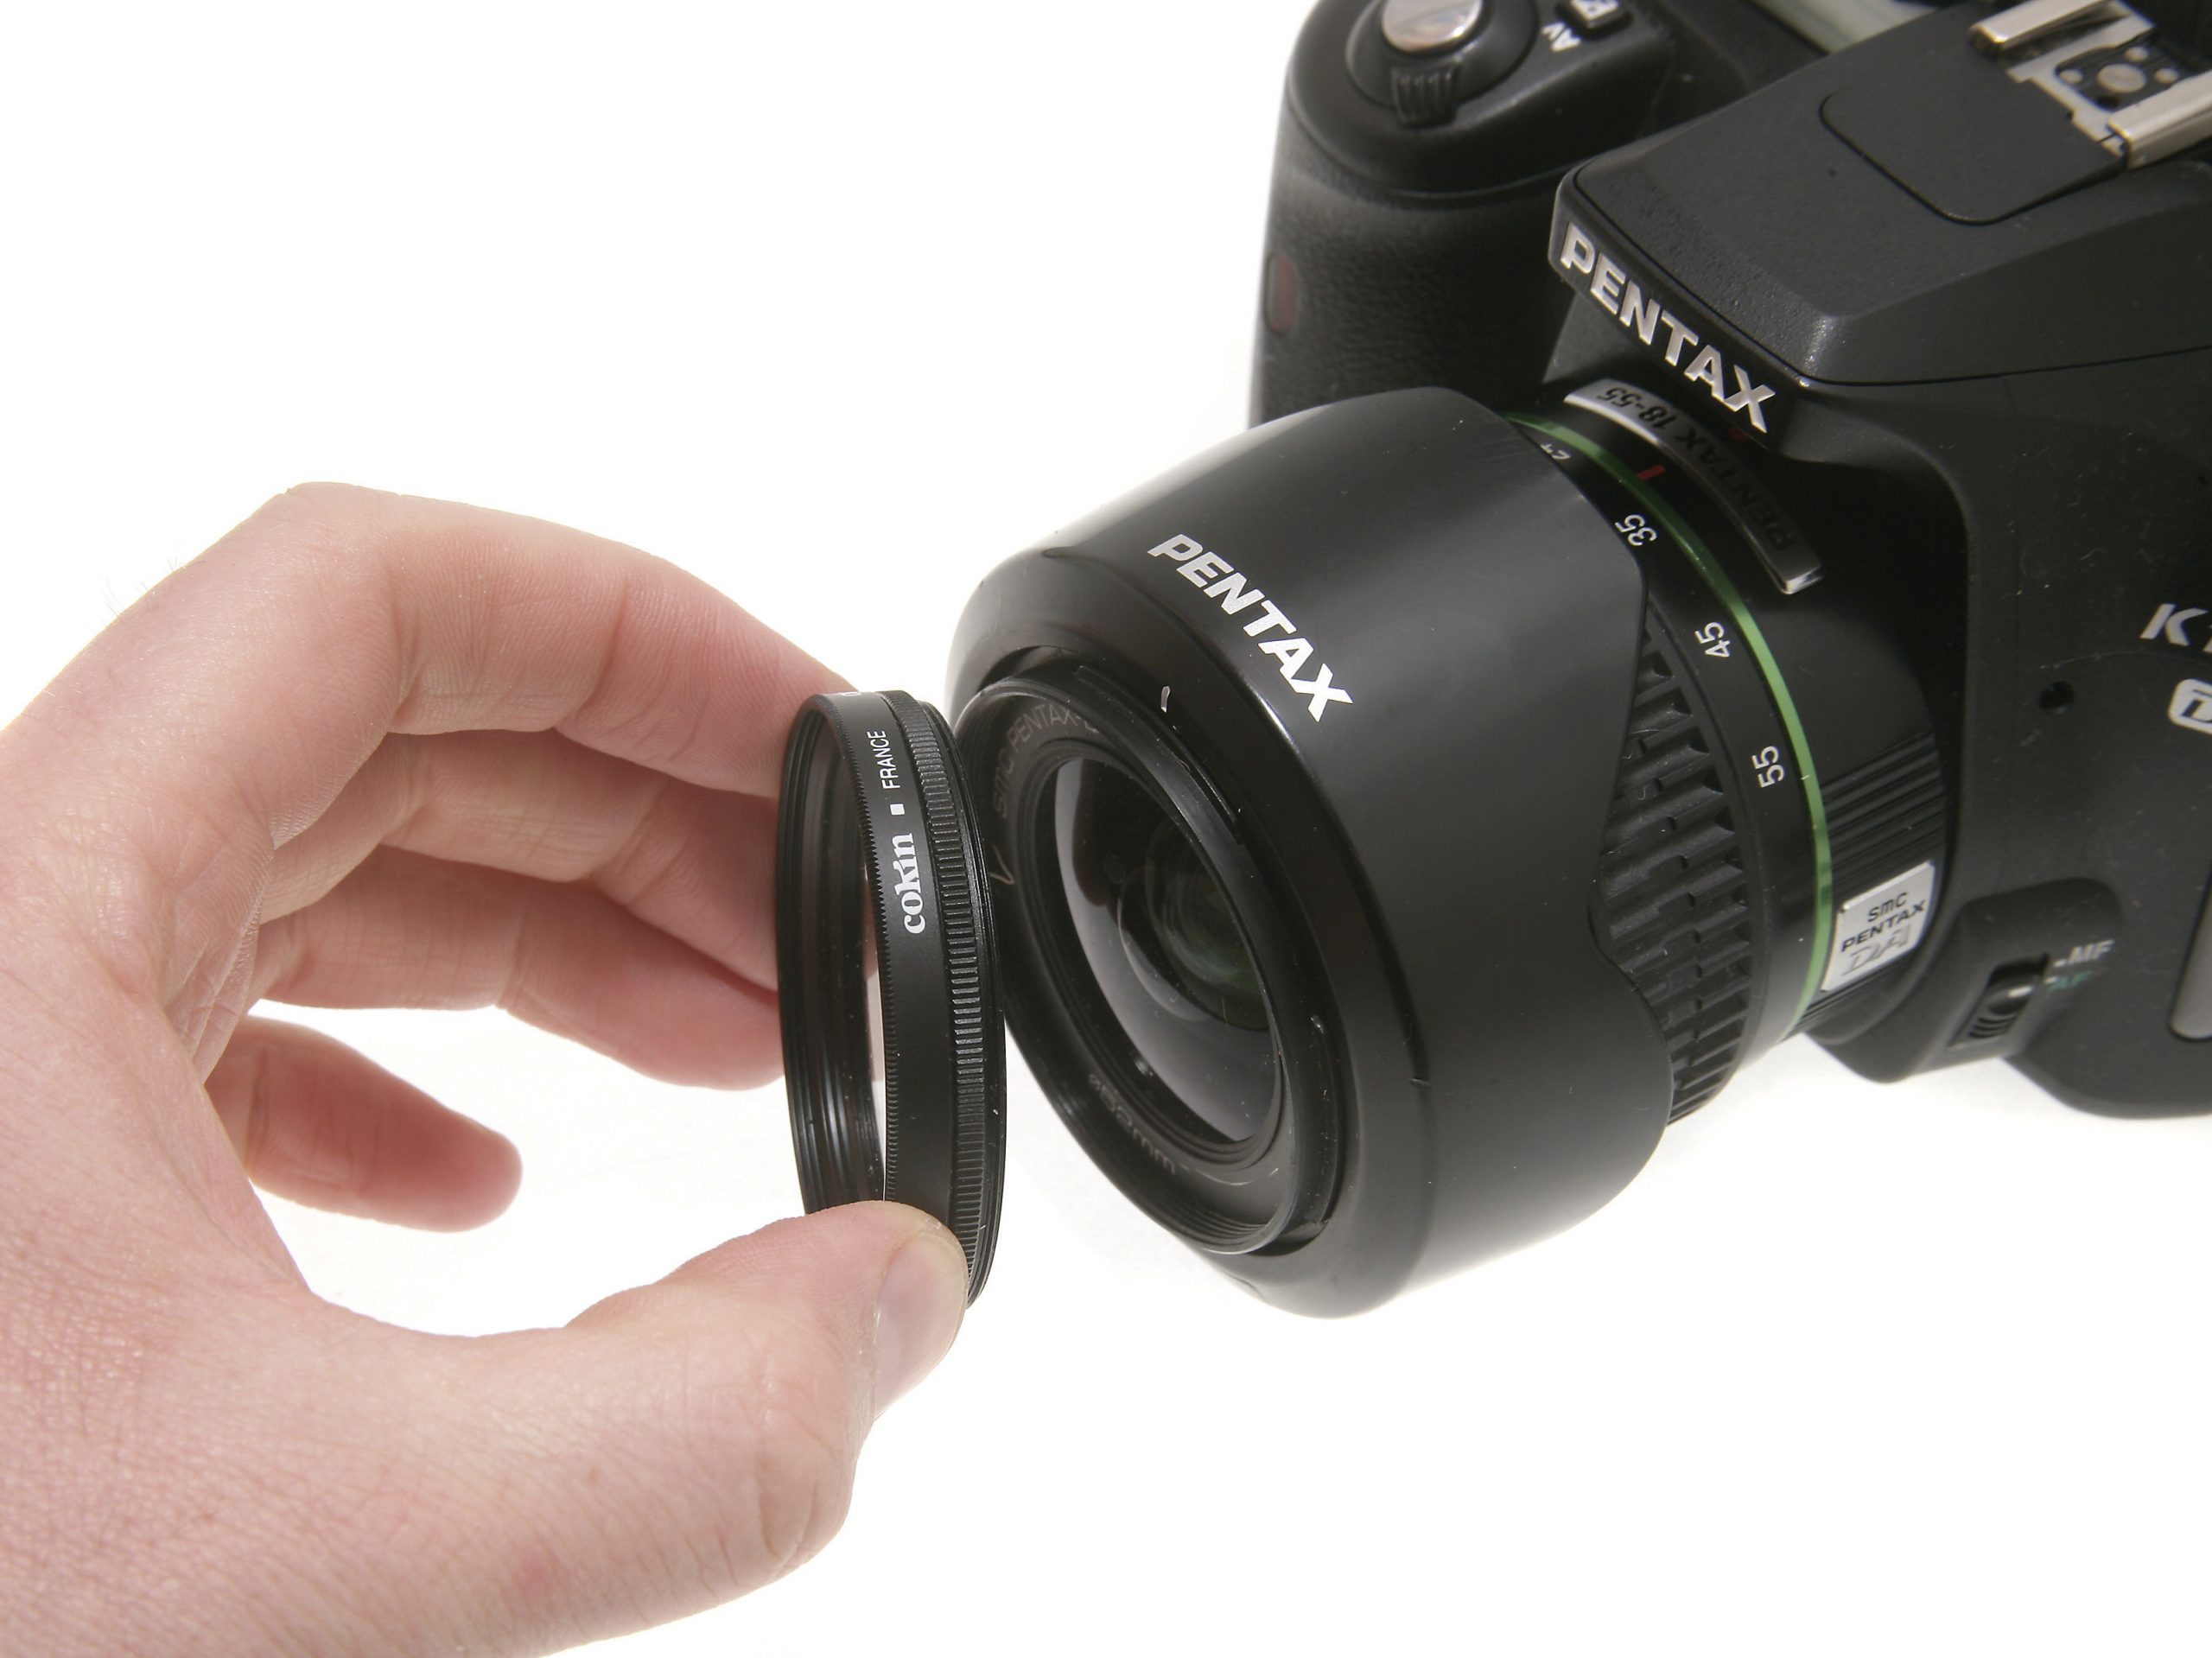
Most of today’s cameras – whether compacts, DSLRs (digital single lens reflex) or smartphone based – allow comprehensive control over critical photographic functions such as the sensor’s ISO speed, shutter speed, aperture, and even exposure compensation. Most of the time, fully automatic shooting delivers the goods. But, often, a little tweaking is required to make the image exactly as you want it.
Shutter speed
All humans shake slightly, which means it’s impossible for anybody to hold their phone, or camera, perfectly still for any length of time. As any camera movement while you’re taking a picture will cause blurring, experienced photographers stick to 1/60th of a second as a minimum shutter speed. In such a tiny snippet of time, any hand movement will be so minimal that the camera is effectively still.
If using zoom lenses, remember that the magnification will also emphasise any movement, so increase the shutter speed proportionally. If 1/60th second gives you sharp images with no zoom, then you’ll need 1/600th of a second at 10 x zoom to retain the same level of sharpness.
With SLRs (single lens reflex), the rule of thumb is to use a shutter speed in line with the zoom’s setting. If, for example, the lens is opened out to 300mm, don’t consider a shutter speed slower than 1/300th of a second.
In automatic mode, few cameras change shutter speed to compensate for zoom levels. Similarly, in low light conditions, cameras often select excessively slow shutter speeds with no warning – which will produce unusably blurred results. If slow shutter speeds are unavoidable, a tripod is essential to ensure the camera is kept perfectly still throughout the shot.
Aperture
Most amateur photographers know that practically all cameras contain a device, similar to the iris in a human eye, which limits the amount of light falling onto the image sensor. It’s also widely known that this ‘iris’, called the aperture, also alters the amount of an image that’s in focus.
Put simply, when you focus on an object, there’s an area in front of, and behind, the point of focus in which everything will also appear focused rather than blurred. This area is called the depth of field, and its size depends on the aperture’s setting. If the aperture is wide open (signified by low ‘f’ numbers, such as 2.8 or 4), the depth of field is very short. When the aperture is closed down to a pinhole (such as ‘f’ settings of 22 or 32) the depth of field increases.
In reality, though, most of us find depth of field hard to master, which is largely because the aperture is not a simple sharpness or blurring control as is often expected. The distance between the camera and the point of focus, plus the amount of zoom selected, dramatically alters the effects of the aperture. If, for instance, focal distance is less than a metre, and plenty of zoom is used, the difference in depth of field between, say, f2.8 and f32, may only be a few millimetres. In contrast, if the focal point is hundreds of metres away and the lens is fully backed off to a wide angle setting, then the aperture setting will make a huge impact on the amount of the image that’s sharp or blurred.
Using the aperture creatively requires years of experience and practice, but here are a couple of rules anyone can master right away. First, if the focal point is close to the camera, the depth of field will be short but pretty equal behind and in front of the point selected. When there’s more distance between the camera and the focal point, the depth of field becomes longer and ‘moves backwards’, too. Roughly a third of it will remain at the front of the focal point, but the other two thirds will be behind.
If you spot on your screen that a near or distant object you want to appear sharp has just fallen out of focus, rule two becomes handy. Moving the f number on two full settings will double the length of the depth of field. Be careful, though, as most cameras these days divide aperture sizes into halves or thirds, meaning you may have to move the f number on four or six settings, respectively.
Snap or masterpiece?
Most of the time we take pictures to capture the moment and preserve memories, but sometimes sights appear that are perfect for more serious photography attempts.
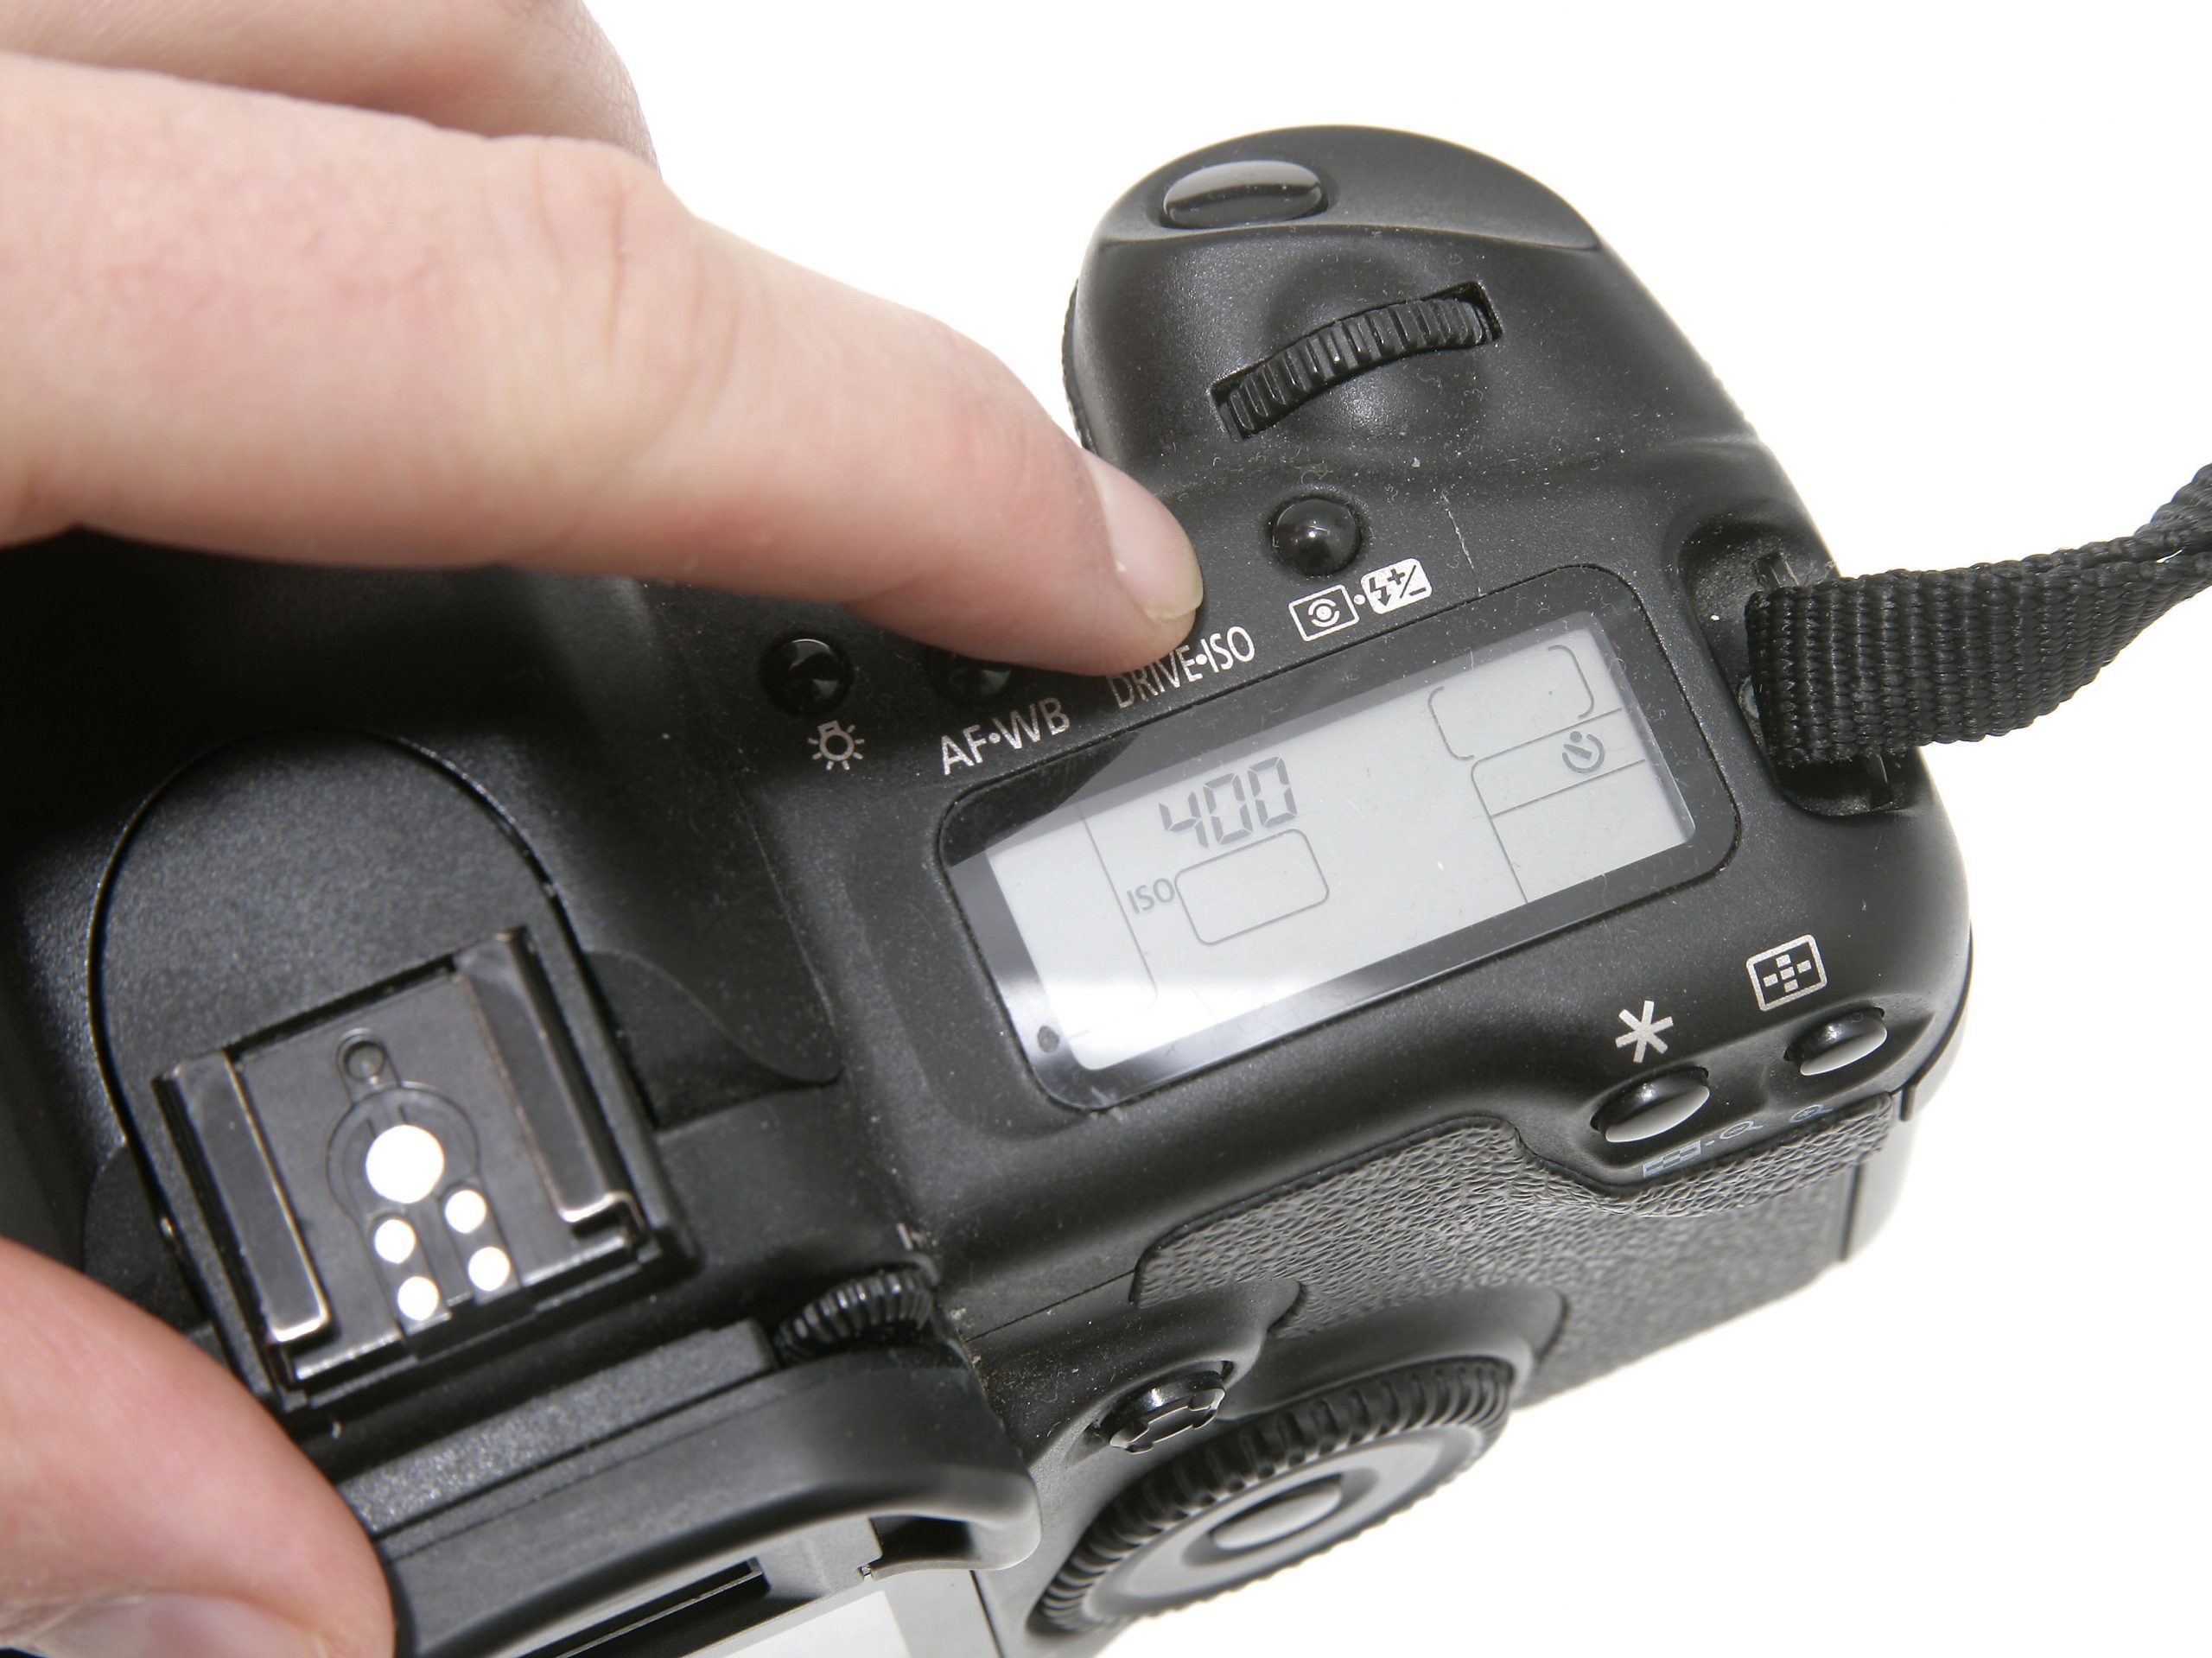
If capturing a beautiful scene, with the intention of producing a large print or canvas when you get home, ensure that the camera’s ISO setting is 400 or lower.
In normal usage, many modern cameras produce acceptable images up to ISO1600. Inevitably, though, higher ISO settings always lead to a loss of image quality, simply because of the sensor having its sensitivity cranked up to the extreme. As larger prints emphasise any graininess, digital noise or other imperfections, slower sensor speeds are much more suited to the job.
Delete or keep?
A digital camera’s rear screen is both a photographer’s best friend and their worst enemy. That’s because the screen has to be bright enough to be seen in strong daylight, even though this makes images appear much brighter than they really are when viewed in dull light. Similarly, a perfectly exposed shot may appear dull if ambient light is incredibly bright – such as on a sunny summer day.
The screen can be helpful, if used properly. Magnify the image and ensure critical areas of the shot are well focused. Similarly, check an image’s darkest and lightest areas, also under enlargement, to ensure both have retained detail.
Preventing dull images
Today’s cameras cannot tell whether high levels of light coming in are caused by bright ambient light or because you’ve filled the viewfinder with a large, bright object, such as a motorhome. This means that if a scene is significantly lighter or darker than normal, the camera’s auto exposure will struggle to cope.
Lighter-than-average scenes, such as a snowy field, a beach, or a couple stood in front of a large, white ’van, will be rendered excessively dull. Similarly, if you fill the camera frame with a jet-black classic car, the camera will assume that ambient light is low and lighten the image – turning the car dark grey and making any bright areas burn out to white.
Exposure compensation allows you to tell the camera that the picture needs to be brighter or darker than average. Experience dictates how much compensation you need to use, but the beauty of digital is that the results can be checked and the picture retaken with the level modified until it’s spot on.
With light subjects, aim to make the majority of the lightest areas as bright as possible without losing detail (check under magnification), even if this means allowing the brightest gleams to burn out to white. With darker pictures, make sure only the darkest shadow areas (again, check under magnification) are allowed to turn jet black and devoid of detail.
So here’s to your next tour. And wherever you decide to take your ‘van, we hope you’re now able to snap with confidence and take better holiday pictures than ever before – have fun experimenting. And remember to read part two!
A digital camera’s rear screen is both a photographer’s best friend and their worst enemy