


In the ninth part of our Getting Started series, Jack gives the duffer’s guide to ‘wiring’ a ‘van for 230V and prepares Peanuts for the winter
Last month we made new door cards, which improved the ’van’s looks for just £15, thanks to finding free vinyl fabric in a lucky ‘skip-dive’.This month, we hook up to the mains and prepare for winter.
Be careful – electricity is dangerous stuff! Here is an alternative to the traditional set-up for a hook-up. If you can open a window, you are expertly qualified to do this.
Install electricity
[tl:gallery index=1 size=230×277]Buy a mobile mains supply unit from a supplier such as Towsure (www.towsure.co.uk, 0114 250 3001) who, as I write, are selling a three-outlet unit for £34.95 plus £5.95 delivery. Place the unit inside the ’van. Open a window. Pass through the cable and plug. Finally, plug in to the hook-up post.
It really is that simple! Now you can use mains inside any ’van, awning or pup tent. The unit is weatherproof, has two mini circuit-breakers, an ‘earth trip’, a reversed-polarity warning light and three mains sockets. And you can keep it if the starter ’van goes off to that great campsite in the sky.
If Towsure’s price is still too steep, then do what I did and buy a second-hand unit from somebody who has tried and disliked camping under canvas. This one had been used for a week and then left in a conservatory for two years while the vendor tried unsuccessfully to persuade his partner to give camping another go.
We bought that and a fire blanket (still in cellophane) for £20, from a small advert in our local supermarket. Sometimes you have to buy the job lot of camping equipment advertised. When this happens we resell what we don’t need and give any unwanted tents to disaster appeals. Once we’ve ‘broken even’ financially, anything else goes on Freecycle to find a good home (www.freecycle.org/group/uk).
Preparing for winter
[tl:gallery index=2 size=230×277]The older the vehicle, the less resilient it will be to winter weather, so take steps to make it easier for the ‘old darling’.
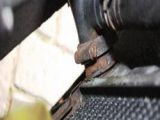
Always assume anti-freeze needs replacing; it is a good chance to flush out the system anyway. Peanuts should have a drain tap on the engine block, but of course it hasn’t now! So, in common with most vehicles, the only way to drain the system is to disconnect the bottom radiator hose.
Top tip The day before you intend to do this, spray the bound-to-be-rusted-solid jubilee clips with WD40 or similar to give you a chance of undoing them the next day. Also, buy replacement jubilee clips – they don’t cost much.
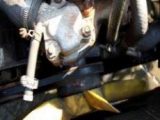
Undo the bleed valve
[tl:gallery index=3 size=230×277]On our ancient Sherpa we also need to undo the bleed-valve on the side of the thermostat housing. Mixing the anti-freeze with water is straightforward, but when replenishing the system leave the bleed valve open until coolant comes out of it. Then run the engine until it’s warm but not hot, and bleed it again.
Top tip Wear an old pair of gardening gloves, because steam might escape under pressure if there’s an air-lock – and there usually is!
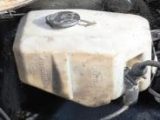
Replace screenwash
[tl:gallery index=4 size=230×138]Don’t just top the windscreen washer reservoir up: remove it and give it a good clean-out before replenishing it with screenwash solution.
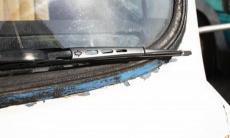
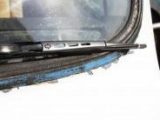
Fit new wiper blades
[tl:gallery index=5 size=230×138]Check and replace wiper blades. We did this at the beginning of the season (£5.99 for two). Jalopies and bangers of this age wear wiper blades rapidly; the cause is usually a worn linkage that allows the blade to hit the windscreen surround. This wasn’t helped by Bird Brain’s (BB’s) attempt to paint the ’van blue. In fact, Peanuts has been white, blue, white again, then BB-blue and finally white(ish) again.
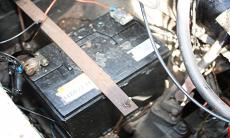
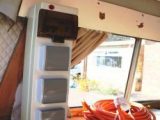
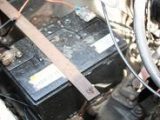
Maintain the battery
[tl:gallery index=6 size=230×138]I remember reading that a lead-acid battery is only about 60 per cent efficient when the temperature falls below freezing. The starter battery takes a real pounding in poor weather. We replaced ours earlier in the year.
Top tip When checking the electrolyte, look carefully at the ‘screwdriver slot’ in the refill caps. Many get mangled because folk use a screwdriver with a straight end, whereas more than half the manufacturers fit caps with dished slots that are designed to be opened with a two-pence piece, which has a curved edge!
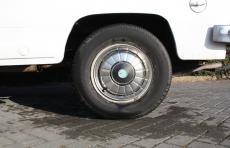
Check the tyres
[tl:gallery index=7 size=230×148]It takes less than 20 minutes to check all the tyres thoroughly and it might just save your life. Check the age, pressure, tread depth, and the condition of the sidewalls, including the reverse (blind) sides – and don’t forget the spare. Also, folk have been in touch regarding the (non-standard) wheel trims, saying that they are ‘familiar’ but that they can’t place ’em. I thought that they were from a Rover and my local expert ‘Harry the Trim’ confirms this, adding that they were from a 1970s Rover 2000/2200 saloon. The Rover Viking longship badge in silver on black and bronze, with a chrome surround (pictured), should have been in the middle of each trim. Next time I’m passing his vehicle dismantlers (mustn’t call them ‘breakers’) I’ll see if he can identify the model they came from.
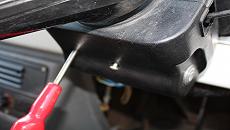
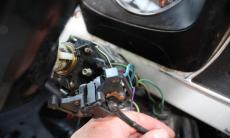
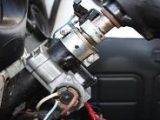
Dodgy indicators
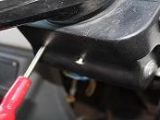
[tl:gallery index=8 size=230×145]When Kate came back from her last tour, she said the indicators had a mind of their own. When I hear any of the following phrases, a cold fear grabs me: “It’s not important, but by the way…”; “It’ll only take five minutes…”; or, “There can’t be much wrong with it…” – because the opposite is almost always true.
1. My first job was to remove the plastic protective shroud.
[tl:gallery index=9 size=230×130]
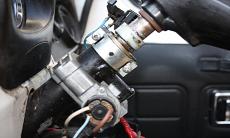
2. Usually I’d undo the clamp holding the switch mechanism next to the column, but this time it fell apart in my hands.
[tl:gallery index=10 size=230×138]
3. The body of the switch had split. The unit is a triump of long-lasting manufacturing (34 years) over naff design. I’m amazed that the headlamp beam selector and horn still operated. I’m not sure what I’ll do yet – but it will take longer than five minutes!
[tl:gallery index=11 size=230×138]
Jack says …
Peanuts would be ready for winter if it wasn’t for those indicators, but we’ve taken her off the road until they’re sorted.
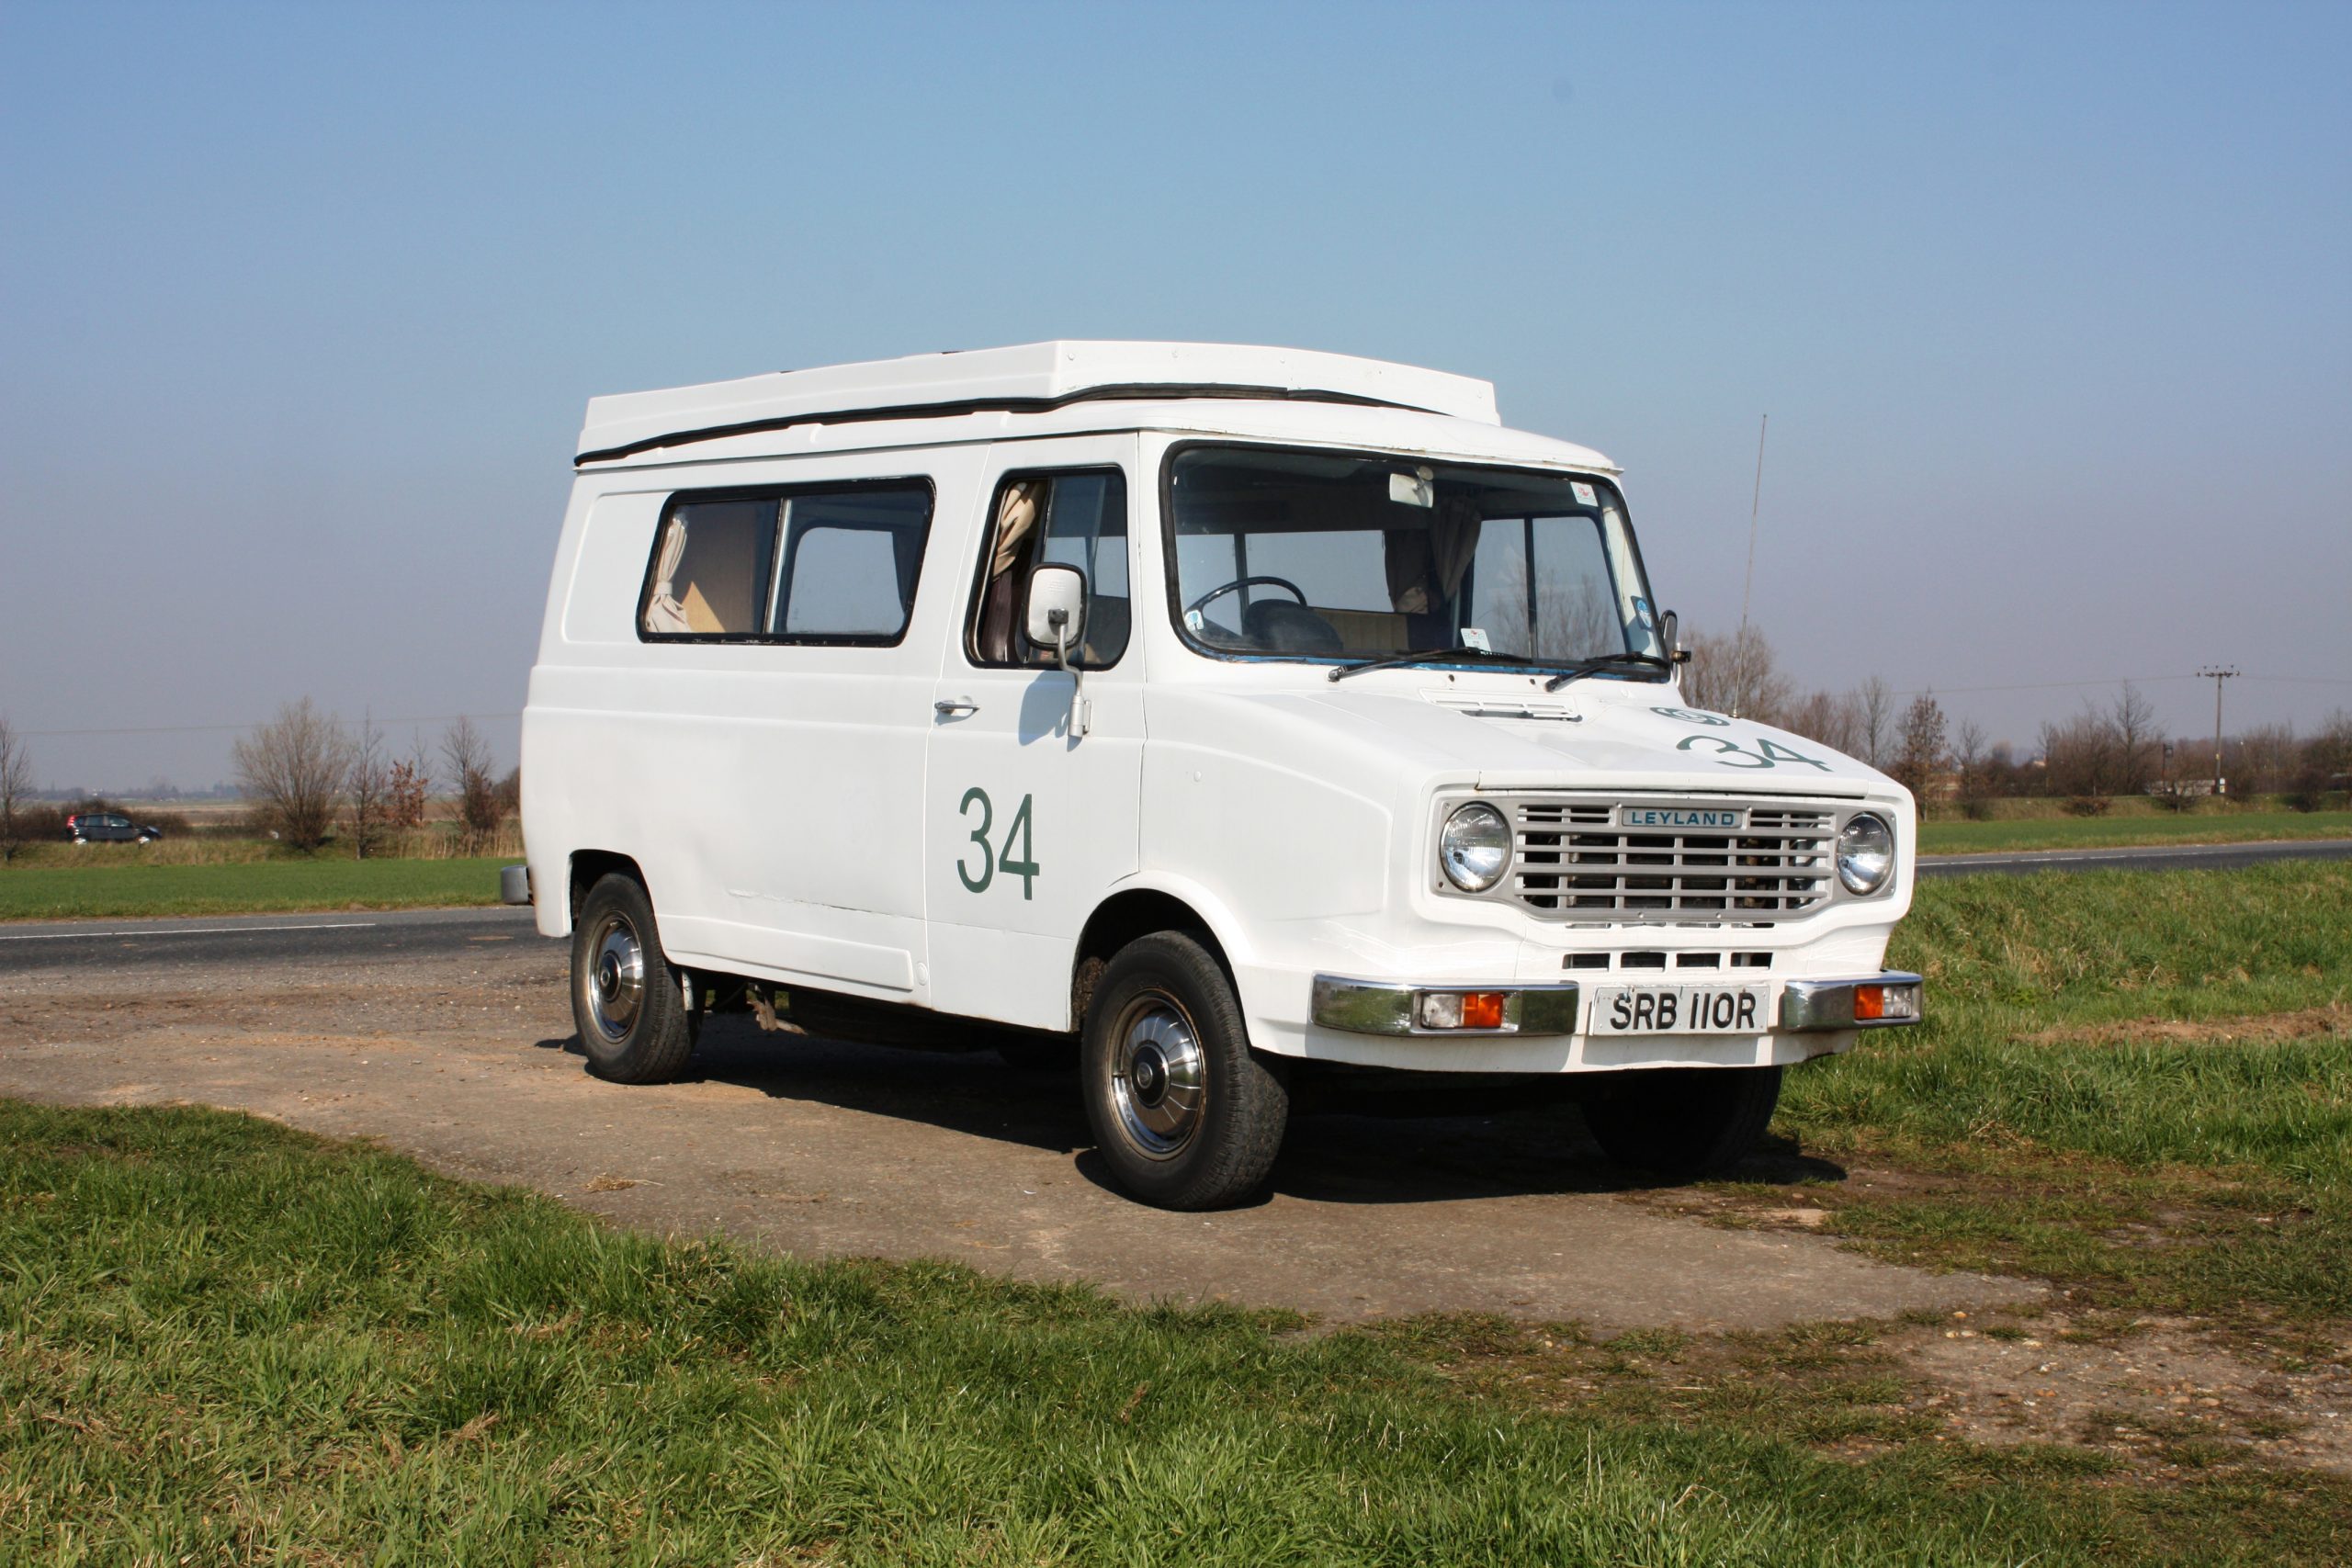
Project Peanuts: the story so far
In our ‘Project Peanuts’ series, Gentleman Jack set out to show that you can live the dream for less than £2000. This 1977 Auto-Sleeper Leyland Sherpa cost just £825; Jack is managing it for single mum Kate and her son Kyle, who enjoy regular camping trips away in it. Each month, Jack carries out essential tasks, providing DIY advice and ownership tips.
Starter ‘van to-do list
Shake down DONE
Urgent mechanical repairs DONE
Mechanical safety check DONE
Repair elevating roof DONE
Habitation safety check DONE
Service and refit gas and 12V equipment DONE
Fit new rear door cards DONE
Upgrade soft furnishings DONE
Power upgrade 230V and 12V DONE
Refinish cabinetwork
Bodywork make-over
Safety equipment upgrade
Time spent
Previously 41 hours
This month 4 hours
TOTAL SO FAR 45 hours
Money spent
Fixed costs:
Motorhome purchase £825
One year’s road fund licence (tax disc) £205
Insurance £176.24
MoT test £39.95
Repairs and upgrades:
2 x wiper blades £5.98
Top-up fluids £10.00
Workshop manual £5.96
Overdrive actuating solenoid assembly £81.50
Roof seals £19.97
Brass hings and screws £6.25
New ‘van battery £70.00
Brake adjustment £40.00
Gas and 12V ‘consumables’, including three-way manifold, new fuse box, etc £72.74
Wood, glue, screws and screw covers £15
Anti-freeze, new jubilee clips, second-hand 230V unit and fire blanket £41.97
TOTAL SO FAR £1615.56
Missed the earlier articles? Click on the links below to catch up:
- Part 1: buying a van – your options
- Part 2: more buying tips and insurance
- Part 3: safety check, towbar and rear step
- Part 4: essential roof repairs
- Part 5: making safe old DIY horrors
- Part 6: refitting the hob, fridge and some wiring
- Part 7: general improvements to the interior
- Part 8: making new door cards
Ask Jack …
If you have any queries relating to this series, feel fee to contact Gentleman Jack at [email protected].