

In the fifth part of our Getting Started series, Jack carries out a habitation safety check and is shocked by some of the Sherpa’s hidden DIY horrors
Last month, we introduced B-B (Bird Brain) our (printable) name for whichever operative(s) undertook the bodges we keep finding. Until now, the bodges have just been irritating, but this month’s horrors are potentially lethal.
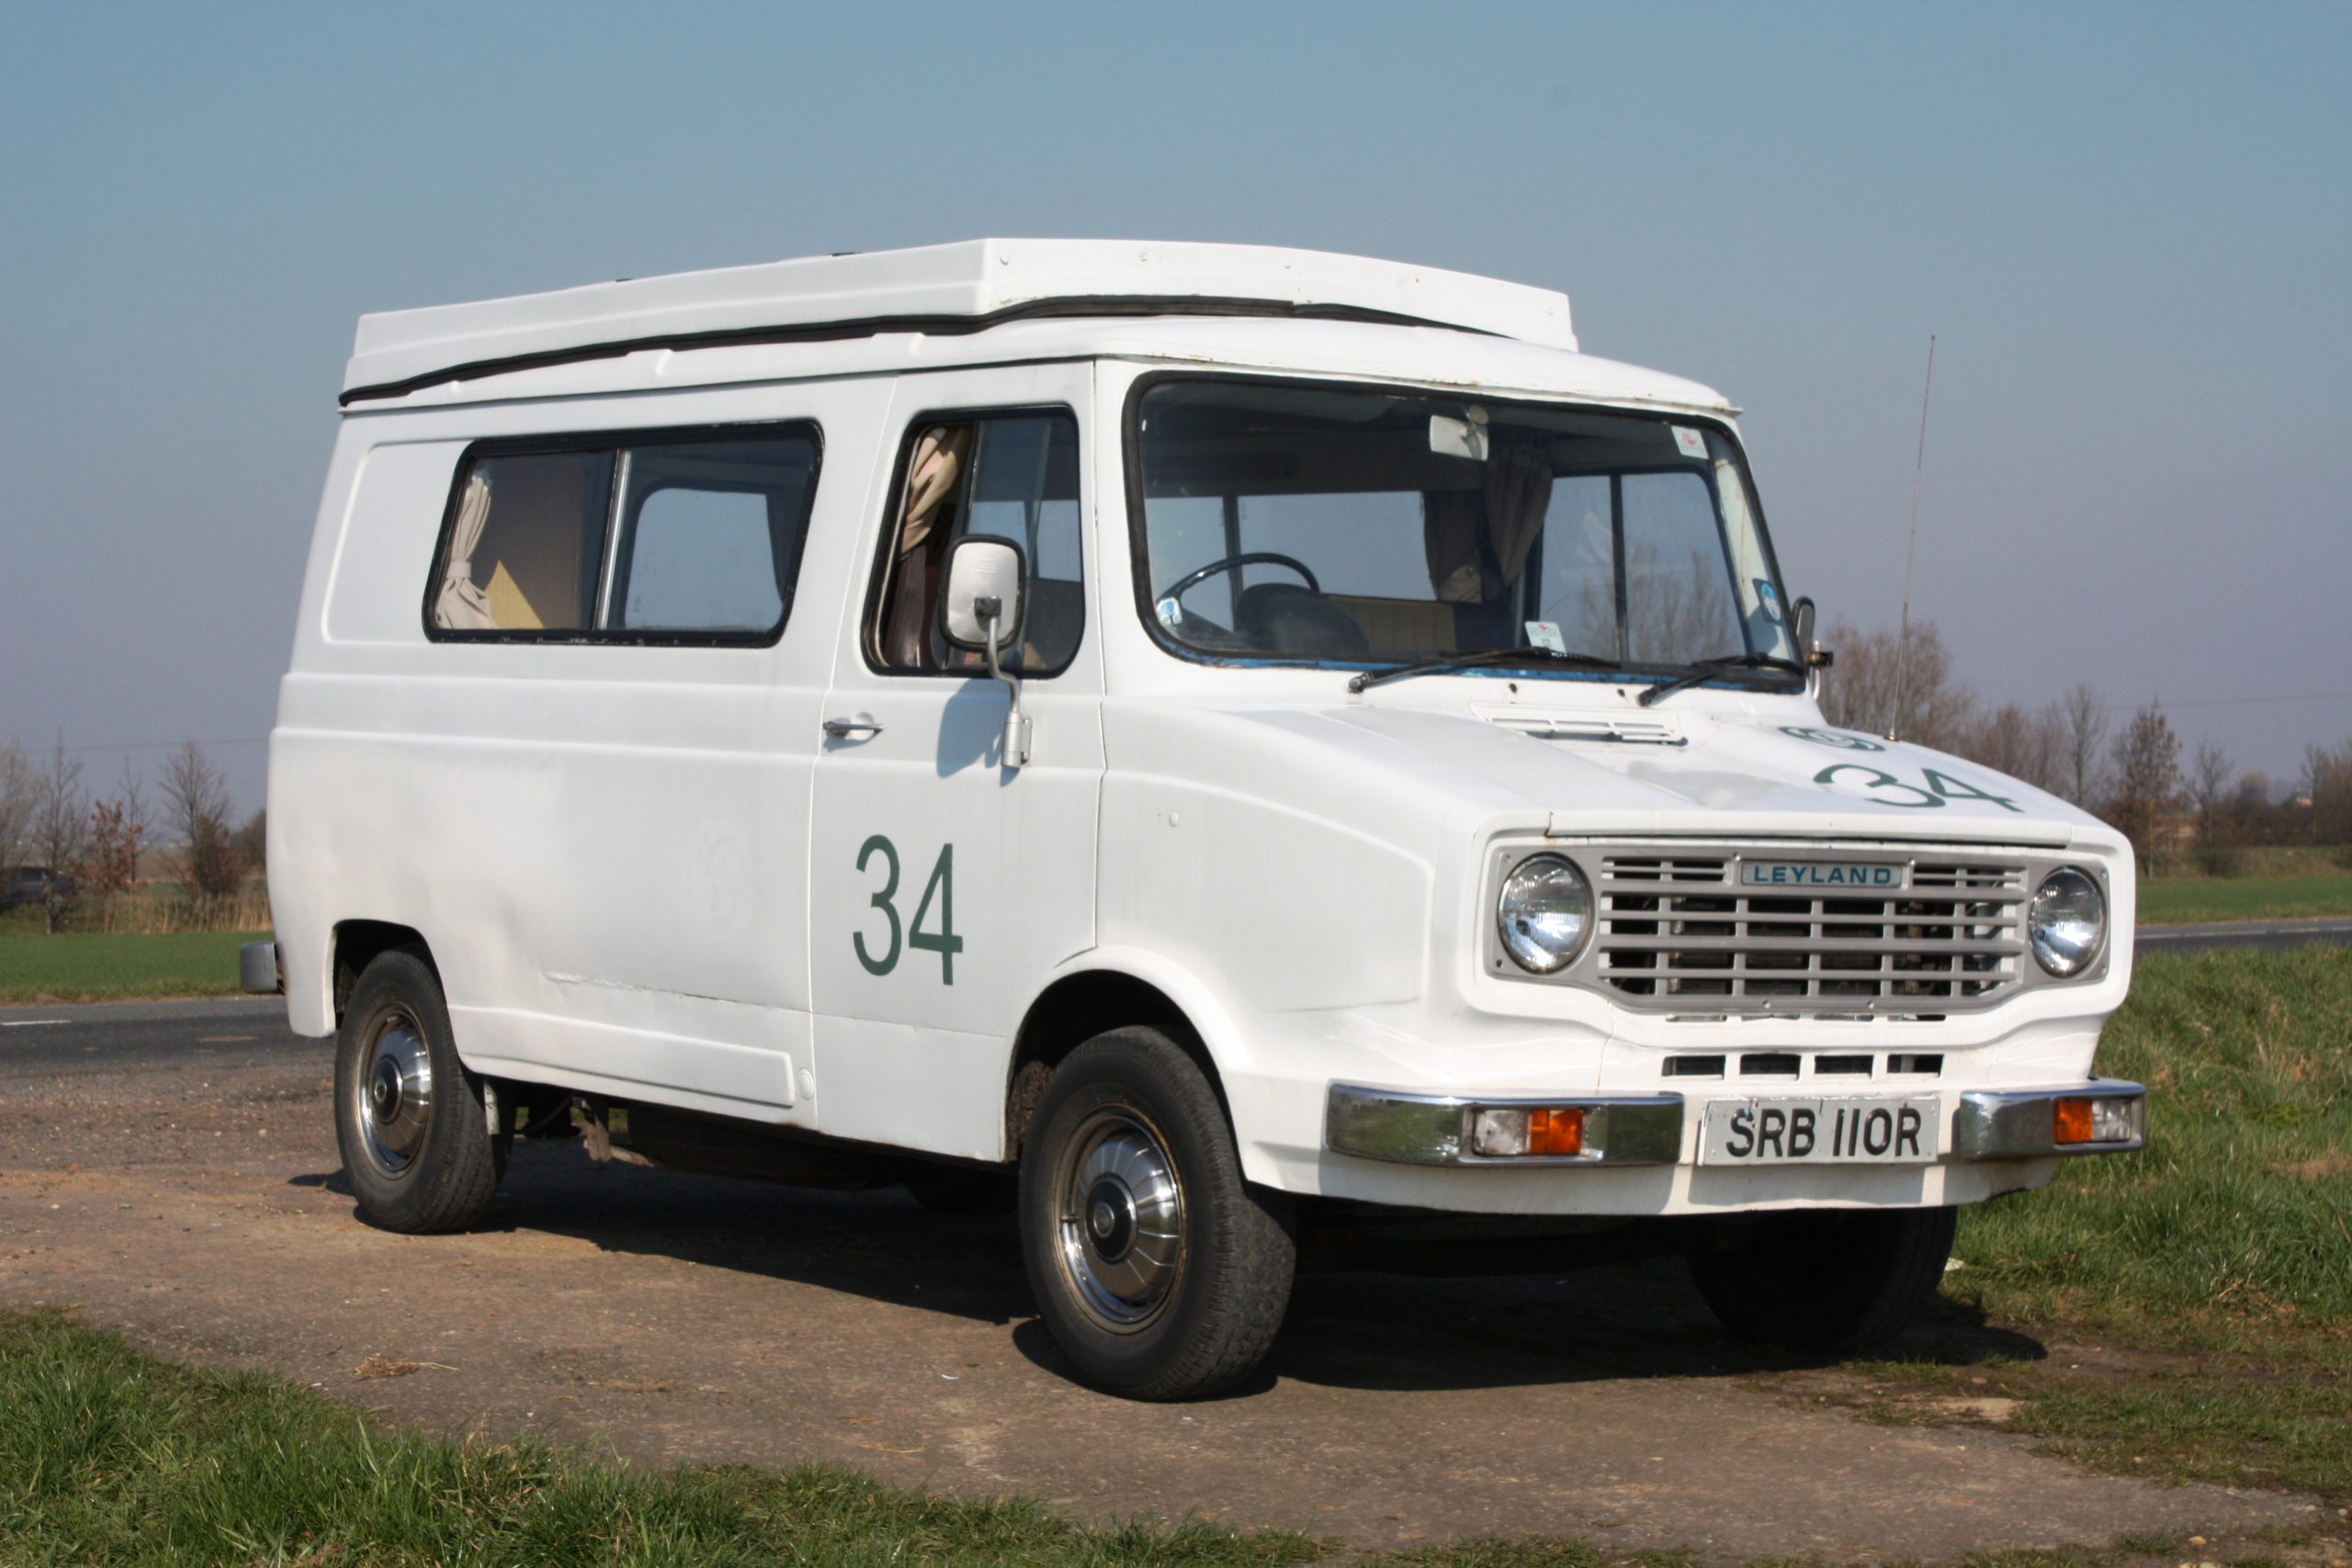
Restoring the cushions
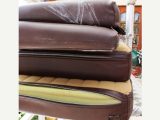
I mended the broken zip on one [tl:gallery index=1 size=215×129]of the seat cushions by simply sewing it up as we were short of time (again). I made life a bit easier for myself by clamping together the zip, ahead of the stitching, with a couple of small bulldog clips.
As the hand-sewn stitches are going to be under some strain I used carpet twine, a curved needle and the upholsterer’s ‘closing stitch’. This comprises one stitch overlocked, then a running stitch followed by another overlocked stitch and so on.
If you’re using cotton thread, tie a knot (a stop) every 50mm or so to prevent the whole seam opening if the thread subsequently breaks.
B-B hadn’t bothered to remove the cushions from the ’van when they had inexpertly painted the interior in gloss white paint either. The good news is that you can remove decade-old paint, providing you have lots of patience.
First, crack the paint surface by pinching the material between your thumb and forefinger. Then, run your thumbnail over it to remove any flaky stuff. Next, use a pan scourer and white spirit to clean off the remaining paint. Use gentle, circular movements when using the scouring face and don’t press too hard as you’ll mark the fabric. On particularly stubborn spots, allow the white spirit to soak in before scrubbing again.
To remove the lingering odour of white spirit, prepare a 50 per cent solution of a heavily perfumed liquid soap in an egg cup. Brush the solution onto the cleaned surface with a paintbrush and allow it to dry completely. Then, vacuum any residue off and wash it again with an upholstery shampoo.
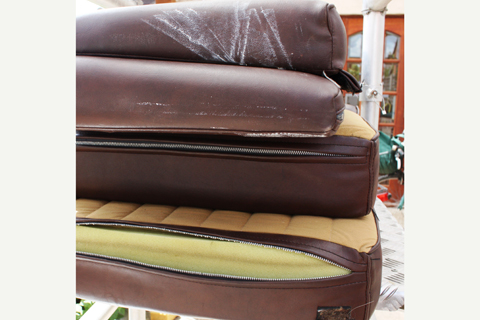
Dodgy gas storage
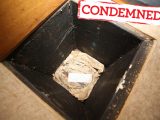
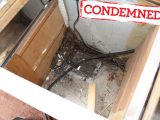
The fact that Peanuts came [tl:gallery index=2 size=215×129]with a full gas bottle and a regulator impressed us but the way it was stored didn’t. Auto-Sleepers’ wonderfully-constructed underfloor gas cylinder storage bins with built-in gas escape (‘drop-out’) holes in the bottom were compromised by some B-B placing newspaper over the vents in a bid to stop the cylinders rattling. Doh!
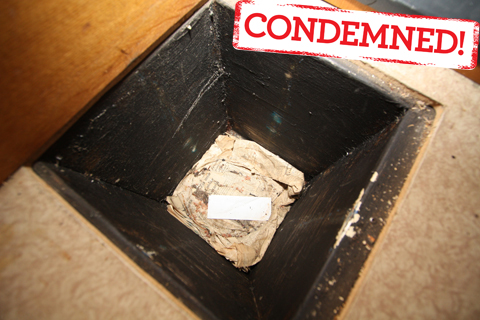
Chaotic piping
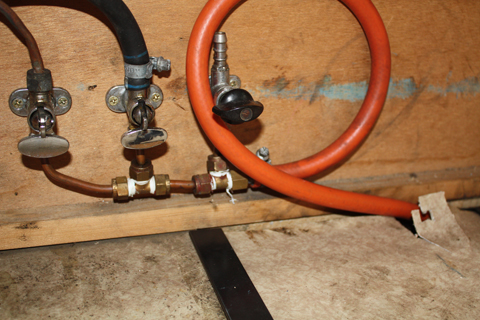
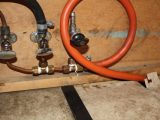
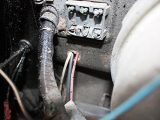
The distribution ‘manifold’ [tl:gallery index=3 size=215×129]arrangement is a master class in how not to do it. The piping is kinked, the couplings have the wrong-sized olives, inappropriate thread sealant has been used and as for the ancient flexible tubing… well, it’s not worth thinking about.
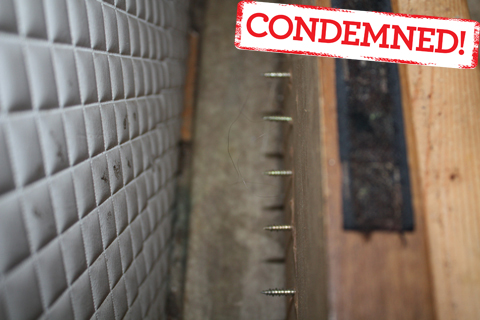
For some reason the B-B had bypassed the rigid exterior gas cylinder plumbing – and flexible tubing is [tl:gallery index=4 size=215×129]now emerging from a gash in the locker lid. Over-long screws have been used to secure the gas manifold taps to the seat box. This is what caused the rip in the nearside backrest cushion.
Potential gas leak
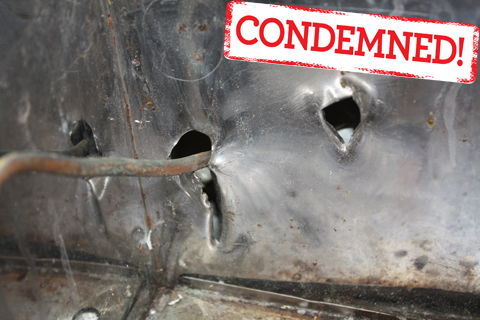
The gas hob and grill looked [tl:gallery index=5 size=215×129]like it was in reasonable condition until I removed it to check the piping. Presumably B-B used a tin-opener to fit the stove. Where the pipe passes through the metal shield a heat-proof plasticised rubber grommet, brass protector, or threaded bulkhead fixing, should have been fitted to stop the edges of the aperture from damaging the pipe and causing a leak.
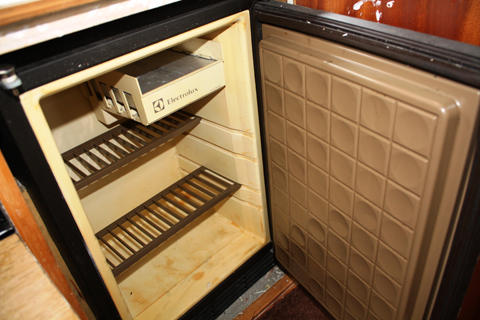
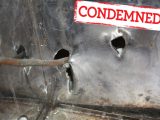
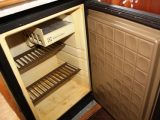
Faulty fridge fitting
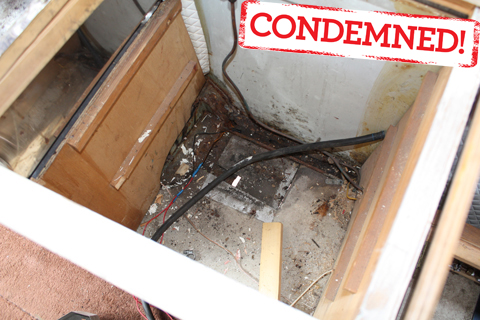
I had a similar shock when I [tl:gallery index=6 size=215×129]lifted the fridge out of its recess to inspect it. This time B-B had covered up the gas drop-out vent in the floor behind the fridge (presumably because it was causing a draught) and had failed to secure the fridge properly. The flue’s lazy-T connection was on the point of separating – if that had [tl:gallery index=7 size=215×129]happened, it would have allowed potentially lethal fumes to escape into the ’van’s interior.
The fridge and hob have both been removed for servicing and all the piping and fittings are now firmly in the recycling bin.
Flat battery
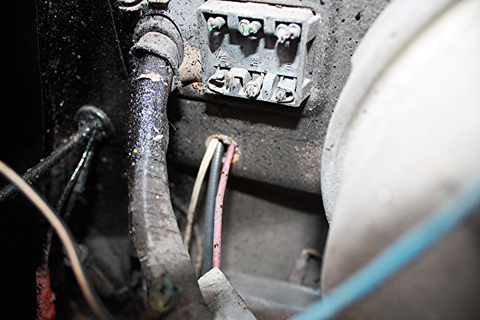
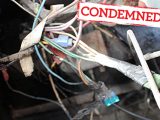
Just as Kate and Kyle were [tl:gallery index=8 size=215×129]leaving for a weekend away, Peanuts’ battery kept failing. Although it is elderly it had started to go flat in under an hour, which suggested that it had a short circuit. On closer inspection we found several, which were being caused by (another) grommet-less hole; this time it was rubbing the insulation away.
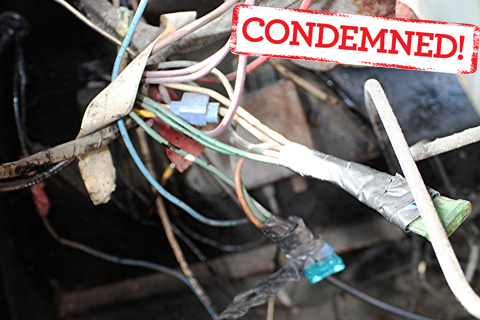
I then ripped all the residential [tl:gallery index=9 size=215×129]wiring out after finding that in places bell wire had been used. Apart from anything else this was a considerable fire hazard.
There was some good news, though: it passed its MoT. It failed first time round, because the front brakes needed to be adjusted. My local garage/MoT station sorted it and only charged for an hour’s labour. They removed the drums, shoes and adjusters; cleaned and lubricated the mechanism; reassembled everything and then re-tested the ’van.
The technician said that the imbalance was caused by lack of use. This shouldn’t be a problem in the future: we’ve already driven Peanuts further in four months than it was driven in its previous three years!
Jack says…
“I’m exasperated at what B-B had been up to, but in the future we’ll be able to relax in the knowledge that the 12V and gas systems will be safe and up to the latest standards. I was justified in banning the owners from using the gas system until I’d had a chance to inspect it. ‘Potentially lethal’ was my damning report. The highest priority jobs are now to refit the gas and electrical systems, and I’d better get on with them: Kate has already booked time off work for her and Kyle to have several weeks away surfing on the south coast.”
PROJECT PEANUTS: THE STORY SO FAR
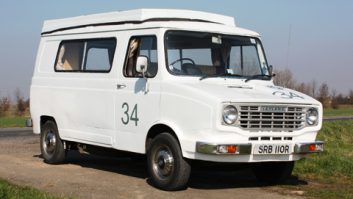
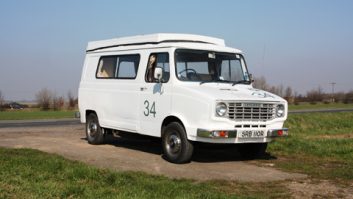
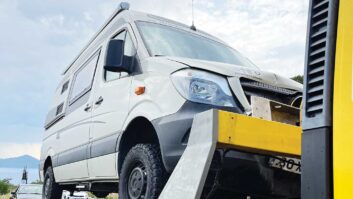
Gentleman Jack set out to show you can live the dream for less than £2000 in our ‘Project Peanuts’ series. This 1977 Auto-Sleeper Leyland Sherpa cost just £825; Jack is managing it for single mum Kate and son Kyle, who enjoy trips away in it, now it has 12 months’ MoT. Each issue, Jack carries out essential tasks, packed with DIY and ownership tips. For series parts one to four, visit our website.
To do list
- Shake down DONE
- Urgent mechanical repairs DONE
- Mechanical safety check, lubrication service DONE
- Habitation safety check DONE
- Repair elevating-roof, fit new rear-door cards DONE
- Refinish cabinetwork
- Upgrade soft furnishings
- Makeover for bodywork
- Upgrade safety equipment
- Upgrade power (both 230V and 12V systems)
[tl:gallery index=10 size=460]
Missed the earlier articles? Click on the links below to catch up:
- Part 1: buying a van – your options
- Part 2: more buying tips and insurance
- Part 3: safety check, towbar and rear step
- Part 4: essential roof repairs