


A fresh coat of paint on steel wheels can help to transform the looks and value of an ageing ’van.
Scruffy road wheels seriously devalue a motorhome, making it look old before its time. However, a few hours of work can reverse all that, giving the vehicle a new, younger look and at the same enhancing its resale value.
Steel wheels can be renovated for a few pounds, and some care and patience. By preparing and painting one wheel at a time, the ’van can still be driven, too, with the wheel being worked on carried as the spare.
Wheels can be brush-painted or sprayed using aerosols, but the real work is in the preparation. Our step-by-step sequence shows how to achieve a good-as-new finish. All the materials used here are available from car accessory shops.
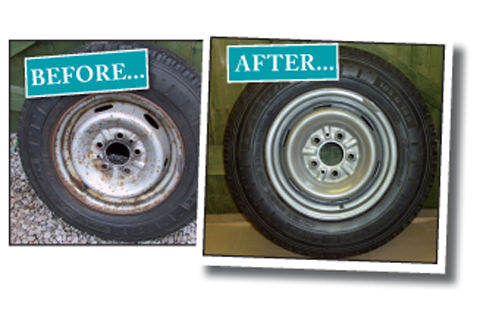
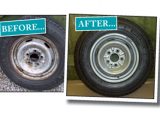
Before and after
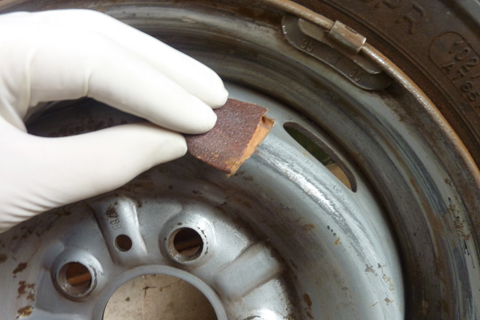
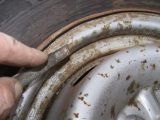
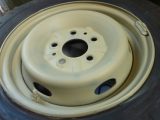
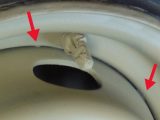
Rust is breaking out from beneath the [tl:gallery index=1 size=215×129]paint all over the wheel on the left, but after undergoing our step-by-step renovation, you can see that the same wheel looks as good as new again (right), preserving your ’van’s value.
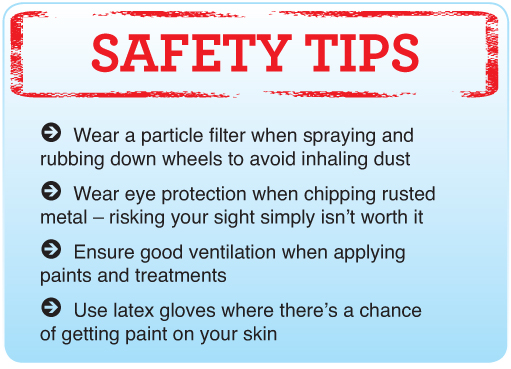
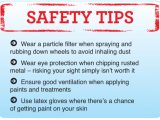
Before you begin…
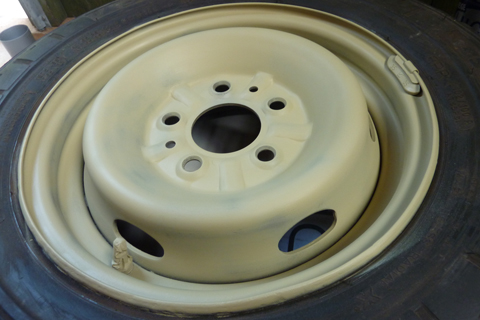
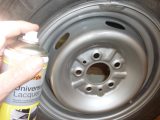
[tl:gallery index=2 size=459×369]
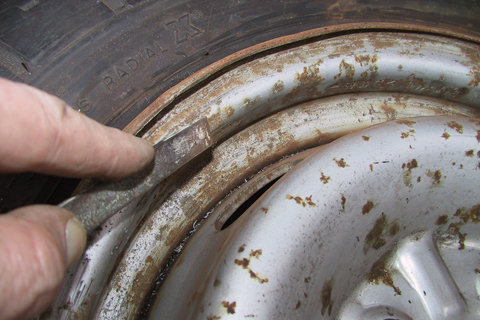
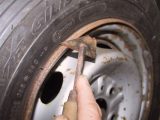
Getting started
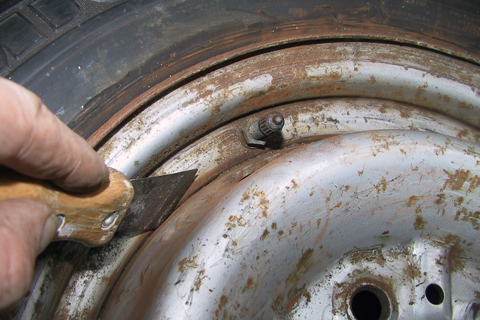
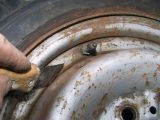
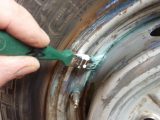
1. First, wash off any oil and [tl:gallery index=3 size=215×129]grease. Then, gouge out rust from the rim edge against the tyre bead. A sharp, three-pointed paint scraper is ideal for the job.
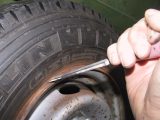
2. For resistant patches, use a [tl:gallery index=4 size=215×129]blunt chisel to jab at the encrusted rust to break it away from the rim edge.
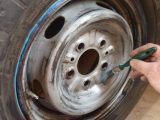
3. Use the chisel edge to carefully [tl:gallery index=5 size=215×129]scrape all of the areas of raised rust off the whole of the wheel’s surface.
4. A fine decorating scraper is an [tl:gallery index=6 size=215×129]ideal tool for cleaning the joint where the two wheel sections are welded together.
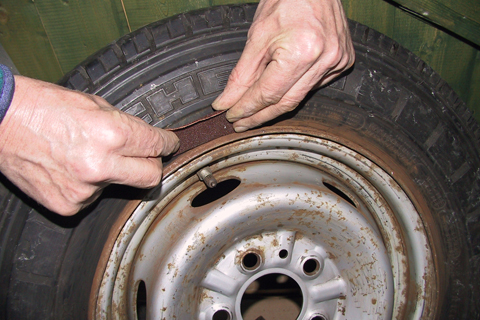
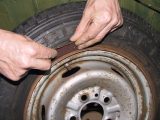
5. Fold a piece of coarse emery [tl:gallery index=7 size=215×129]cloth and use it to clean and smoothe the rim edge of the wheel, getting it in to the tyre bead.
6. Clean the wheel, using the [tl:gallery index=8 size=215×129]emery cloth to level rust spots and feather paint to the metal.
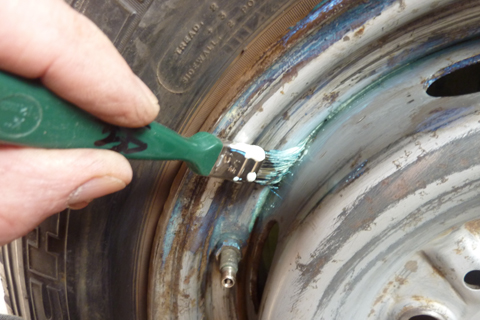
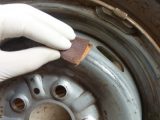
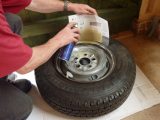
7. Dust and clean with a rag and [tl:gallery index=9 size=215×129]thinners. Apply a rust converter fluid, stippling it into the gaps. Cover all rust and bare metal areas.
8. Most converters are white. This [tl:gallery index=10 size=215×129]one turns blue as it dries. When it’s black, the remaining rust is converted, and halted.
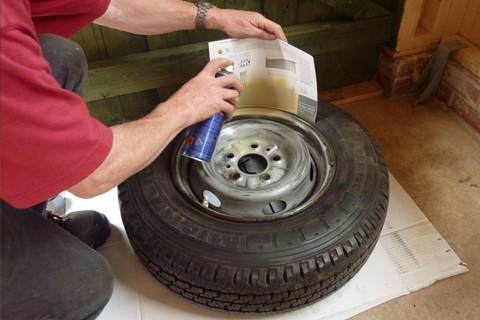
9. Mask the tyre valve. Spray with [tl:gallery index=11 size=215×129]high-build primer around the wheel. A sheet of paper in the tyre bead keeps paint off the tyre.
10. Apply the paint in bursts, [tl:gallery index=12 size=215×129]covering slowly to avoid runs. Allow to dry between coats.
11. The primer shows rust and dirt [tl:gallery index=13 size=215×129]that’s been missed (eg, here in the wheel joint). Remove debris, brush and re-spray affected areas.
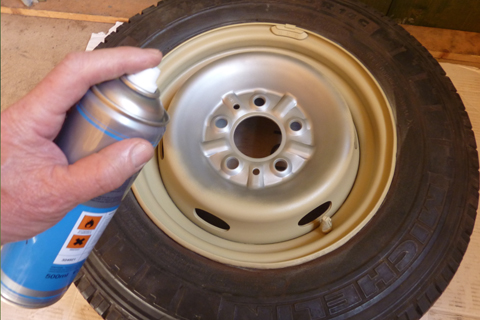
12. Allow the primer to harden [tl:gallery index=14 size=215×129]before adding the colour coat. Practise on the centre of the wheel, then do the edge, masking as before.
13. Apply a coat of clear lacquer [tl:gallery index=15 size=215×129]when dry. Remove masking tape with tweezers. Dry overnight – don’t power wash for four weeks.