A spot of DIY maintenance on your motorhome’s seatbelts might prove to be a life-saver for you and your loved ones on tour.
Seatbelts are life-savers, but they do wear out and develop problems. Defects on the driver’s belt are likely to be noticed in use, but passengers, especially children, may not notice the belt hasn’t locked correctly, or that it’s jammed or the material is damaged. Frequent checks provide peace of mind in knowing the belts will work in an emergency.
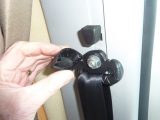
Anchor points
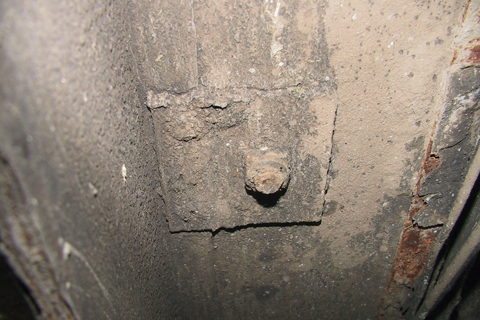
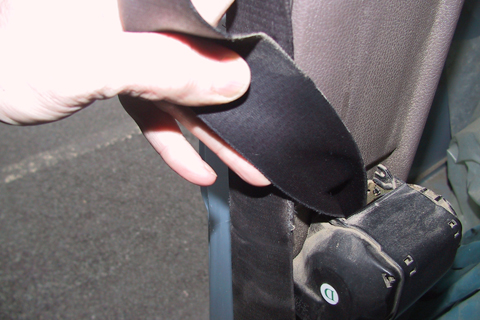
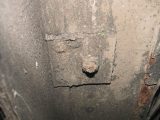
Check the anchor points are[tl:gallery index=1 size=215×129]securely fixed, and also ensure the body section to which they are bolted. Any corrosion underneath the mounting point (especially floor mountings) might weaken the fixing. So if you find surface rust here, treat it quickly with rust convertor and then give it a top coat of good paint (such as Hammerite) to preserve the metal’s strength. Repairing badly corroded [tl:gallery index=2 size=215×129]metal is a specialist job, though.
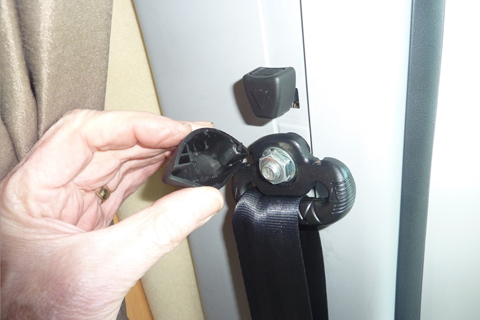
Anchor points at the shoulder position may be designed to pivot, or could be height-adjustable. If so, check that they are secure in all positions and that they are free to pivot.
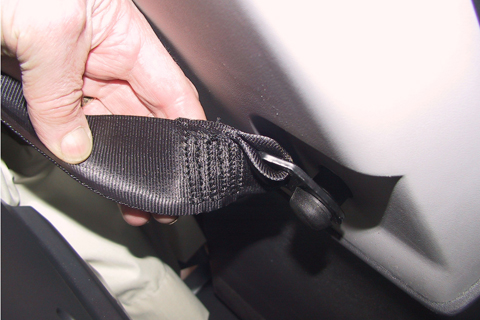
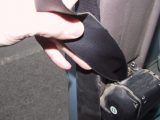
Reel mechanism
With the vehicle on level ground,[tl:gallery index=3 size=215×129]slowly pull each belt out to its full extent, noting that it pulls out smoothly. Then pull hard and fast on the webbing (simulating a crash force) to check the mechanism locks instantly. Hold the belt to stop the buckle flying and allow it to retract back into the reel. It should retract all the way back without sticking.
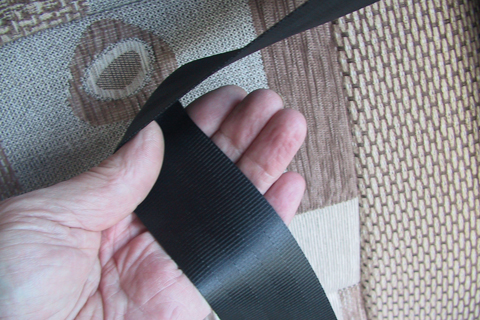
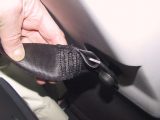
Webbing
Examine the stitching at the [tl:gallery index=4 size=215×129]anchor points, buckle and clasp. Pull the webbing fully out while checking both sides and edges for cuts, abrasions, pulled stitches and fluffing of the material along the edges. A slight cut in the edge of the webbing might seem immaterial in
normal use but, when the webbing has to withstand the force of an accident impact, a cut or edge abrasion can be the starting point of a disastrous failure.
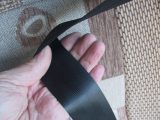
At any time webbing can be [tl:gallery index=5 size=215×129]damaged by pets, or by getting trapped in a shut door or in a seat mechanism, or it might chafe where it passes through a shoulder-mount guide. Make sure you check it frequently.
Damaged webbing should be replaced, never repaired. If doubtful about the significance of any damage, check with an MoT tester.
If the belt webbing needs cleaning, fully extend it and wipe it over with warm water and soap, not detergent. Keep the belt extended until dry.
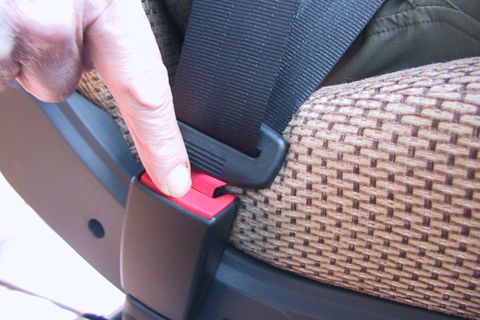
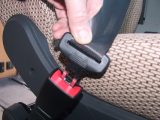
Buckle and tongue
Check the flexible buckle stalks for broken strands (if they are not obscured by trim panels). Wire stalks are usually sheathed, and can be tested by gently twisting while listening and feeling for broken strands. The stalk should be springy to bend. If it bends easily in one particular place, there’s a chance the wire is damaged.
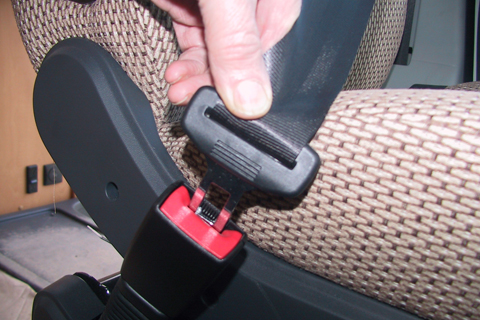
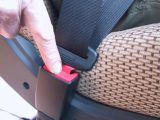
Check that the buckle fastens easily, then check that it has locked securely by attempting to pull the belts apart. When you press the release button, [tl:gallery index=6 size=215×129]the tongue should automatically spring out clear of the buckle.
Each seatbelt assembly should be comprised of matching components. Replacement of individual parts from a different type could lead to belt failure, so check each seatbelt in the vehicle
has similar parts.
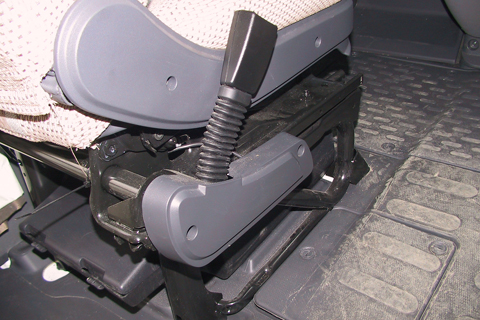
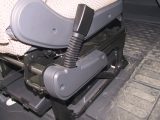
Seat units
Seatbelts will not be effective if[tl:gallery index=7 size=215×129] the seat itself is loose, or has cracks in the frames, or has defective locking and adjusting mechanisms that could allow it to break free or distort in an accident.
If any seatbelt component is attached directly to the seat structure or frame, instead of the body of the vehicle, check the whole seat and all its fixings to the vehicle. Effectively, the seat becomes part of the seatbelt assembly. Sometimes the buckle may be attached to the seat frame. Always confirm that the seat itself and its slide/tilt adjusters are not loose or broken.
[tl:gallery index=8 size=460×314]