


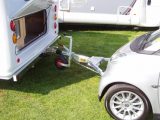

We take it for granted that a trailer hitched-up behind the motorhome will still be there at journey’s end. However, it’s not unknown for trailers to become detached from the towcar, or for the towing gear or its chassis attachments to fail.
Towing equipment has a tough life. Pulling a trailer on a straight road may seem effortless, but the extra load caused by bumps and potholes passes back and forth through the towing gear between vehicle and trailer. The towing structure is pulled one way during acceleration and the opposite way during braking. It’s twisted through bends and severely tested during tight low-speed manoeuvres.
The towing structure is now checked as part of the MoT test: the examiner will look for excessive towball wear and will check the security fittings are of the correct type and in serviceable condition. He’ll also look for signs of cracking or significant corrosion on the tow frame and the vehicle structure to which it’s attached.
The MoT test is only a visual check and doesn’t consider the trailer or reliability of the electrical connections. However, we can test these ourselves and make our own DIY check on the towing structures. If we find corrosion, we may need the MoT inspector’s experience to assess its significance, but at least we’ll be prepared for repairs. It’s worth carrying out these checks occasionally during the season to help ensure safety and reliability.
Safety tips
- Before working under a vehicle, put it on level ground with the handbrake on and a gear engaged. Keep the ignition key in your pocket
- If the vehicle needs jacking up, support it on strong axle stands on firm ground. Take care not to dislodge the vehicle when tugging on spanners
Towbar maintenance
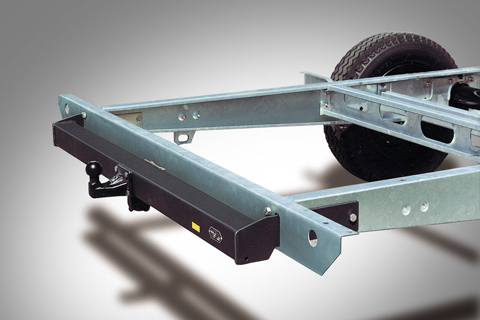
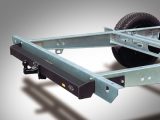
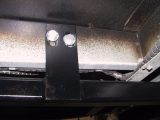
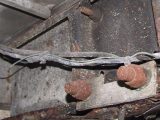
[tl:gallery index=1 size=215×129]1. Check the chassis for corrosion around the tow-frame mounting points. Even a galvanised chassis can rust, in time. Professionally made towing gear will be properly welded, but check along the edges of the welds for developing cracks.
[tl:gallery index=2 size=215×129]2. Closed box sections of the tow-bracket’s structure can rust inside. Removable rubber plugs on this camper tow bracket facilitate internal inspection.
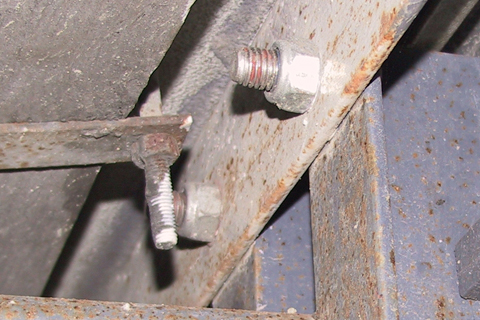
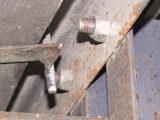
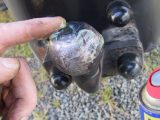
[tl:gallery index=3 size=215×129]3. Nuts should have locking devices to prevent them vibrating loose. This nut has a nylon insert. Others may have spring washers under them.
[tl:gallery index=4 size=215×129]4. Some frames have elongated bolt holes to assist initial fitting. Signs of movement might indicate grounding that has deformed the tow frame, or caused looseness.
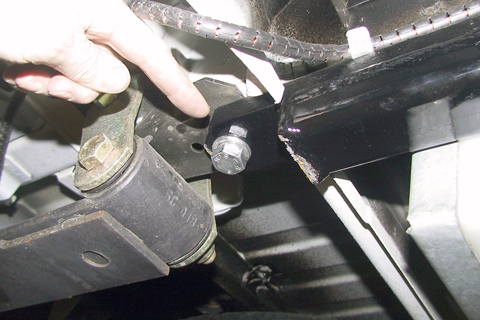
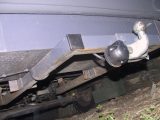
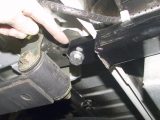
[tl:gallery index=5 size=215×129]5. Check where the tow frame is attached via a suspension bolt: it increases the load on an already stressed mounting. Check all nuts and bolts to ensure they’re tight.
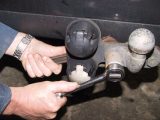
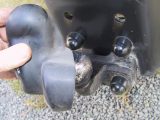
[tl:gallery index=6 size=215×129]6. Ensure that the bolted ball-hitch is secure on its mounting. Also, be sure to check that the rear nuts are self-locking or have spring washers fitted (as pictured here, using a spanner and socket wrench).
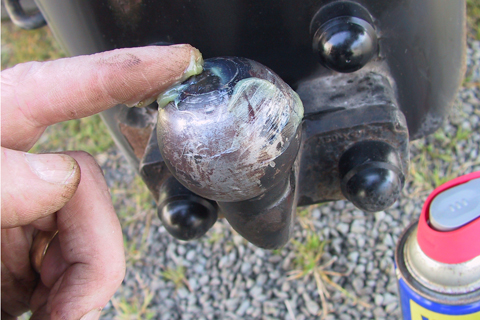
[tl:gallery index=7 size=215×129]7. A light smear of waterproof grease (from all good accessory shops) on the tow ball will help reduce wear and corrosion. Bear in mind that ‘trailer knock’ suggests excess wear on
the tow ball.
[tl:gallery index=8 size=215×129]8. Always fit a cover over the hitch head to prevent damage and dirt. Clean the inside of the cover first, before fitting it.
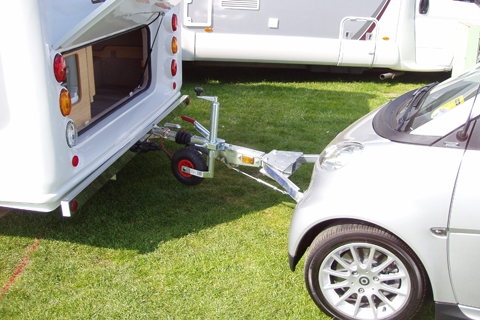
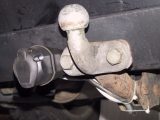
[tl:gallery index=9 size=215×129]9. If you have a detachable hitch fitted to your motorhome, ensure the mounting socket is kept clean and rust-free.
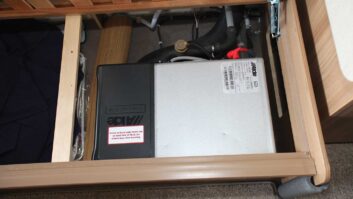
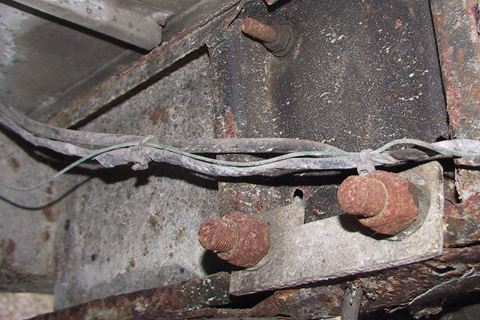
[tl:gallery index=10 size=215×129]10. Check trailer cables underneath the ’van are well-secured and not fraying or trapped against other components. Twist the cables to find breaks in the outer casing that expose the wires to damage, leading to electrical shorts, overheating or a drained battery.
[tl:gallery index=11 size=215×129]
11. Ensure that all of the cables leading to the electrical socket are secured in place. Here, they’re tied neatly to the tow frame, out of harm’s way. It’s important that they do not work loose and become snagged on any ground debris in transit.
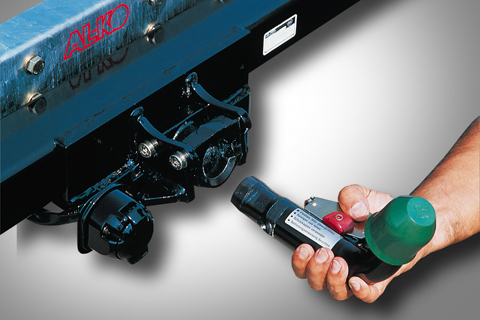
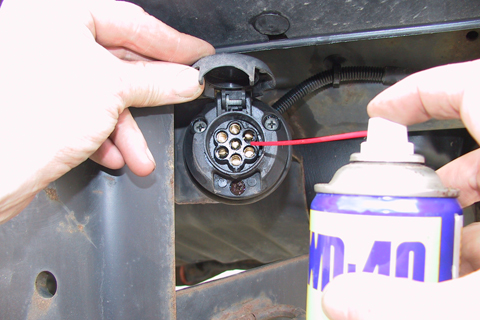
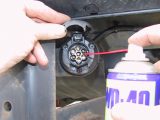
[tl:gallery index=12 size=215×129]12. Use a small brush to clean the contacts in the socket and the trailer plug. Apply WD40 to dissolve corrosion and give a protective coating. Plug in the trailer electrics to test the circuits – it’s better to find problems this way than at the last moment.
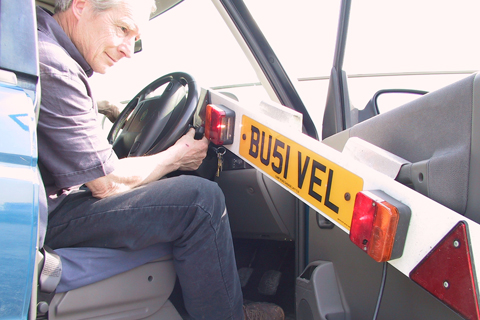
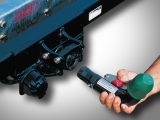
[tl:gallery index=13 size=215×129]13. If you use a trailer board, its easy to bring it round to the cab to check the road lights are in good working order. Try all lights on together and look for dimming of tail lights when the indicators are on: this suggests you may have poor earth paths.
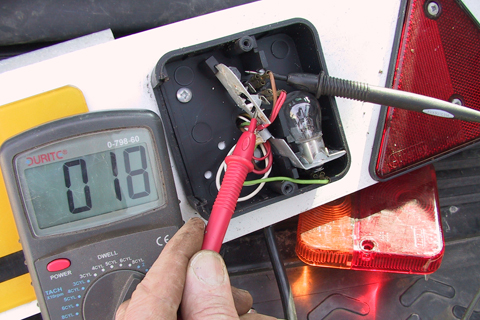
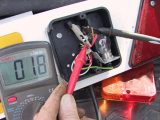
[tl:gallery index=14 size=215×129]14. If the trailer lights are faulty, use a multimeter to trace circuit breaks and test earth connections.
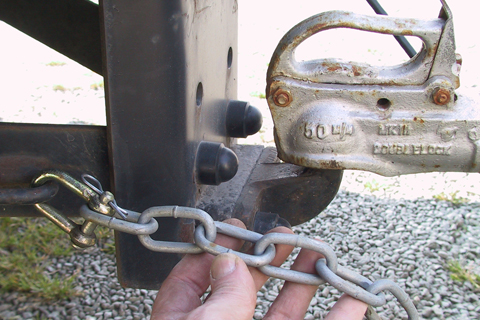
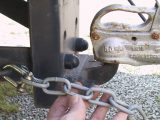
[tl:gallery index=15 size=215×129]15. The safety chain should hold the trailer to the ’van if all else fails. Check the anchor points are sound, the chain free of cracks, the cables free of kinks or fraying, and that shackles, clips and lock pins are serviceable.
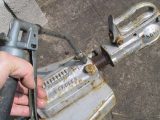
[tl:gallery index=16 size=215×129]16. Keep up the routine maintenance on the trailer, including greasing the hitch and wheel bearings. It needs to be as reliable and safe on the
road as the motorhome towing it.