


Some years ago, I fitted an Alde Smart Control unit to our ‘van. This enabled us to remotely control the heating, using my mobile, and I must admit that after my cynicism wore off, it was used to great effect, especially in cooler months.
Perhaps the best memory, for me, was a trip to the October Caravan & Motorhome Show, when I was camped on the C&MC’s temporary site.
The EHU was only 6A, so if I wanted the heating to work effectively, I would need to use the gas, too.
Anyone who uses Alde heating on gas will know, it consumes it at a fair clip. With the Smart Control, I could turn off the heating when I went out in the morning, then turn it on again, via my phone, half an hour or so before I was due to return to the ‘van.
One product, two systems
However good it was, Alde Smart Control has now been overtaken (in my mind at least) by Truma’s iNet.
Although this is a Truma product, Alde and Truma are sister companies, so the iNet has been developed to work with both Alde and Truma systems.
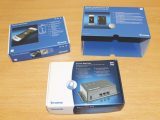
We recently changed our ‘van, and one of the show deals was having the iNet and LevelControl included.
Although our iNet came installed, it is very easy to retrofit, provided you have a Truma ‘iNet Ready’ control panel (it will say so on the front), or an Alde control panel (post-April 2018); older control panels can be upgraded).
LevelControl is an add-on to the iNet and allows you to monitor the level of gas in your cylinder.
So what’s involved in installing iNet and LevelControl, and what equipment will you need?
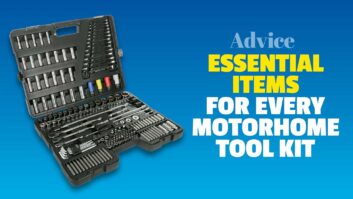
Tools and materials
The tools required for the job are few:
- Selection of screwdrivers (terminals in the fuse holder and securing iNet box)
- Wirestrippers and crimps (for connecting to power positive and negative feeds)
- Cable ties
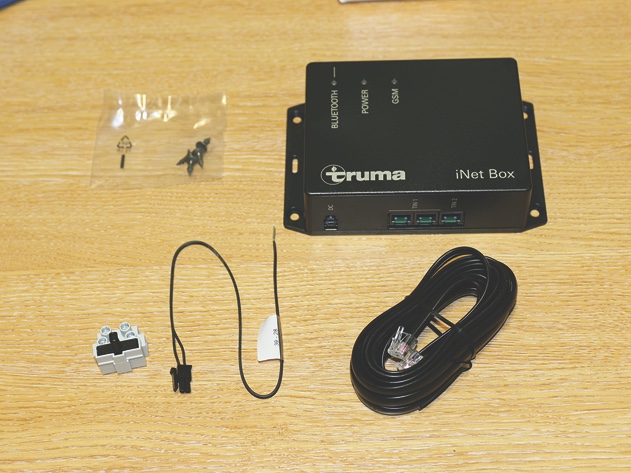
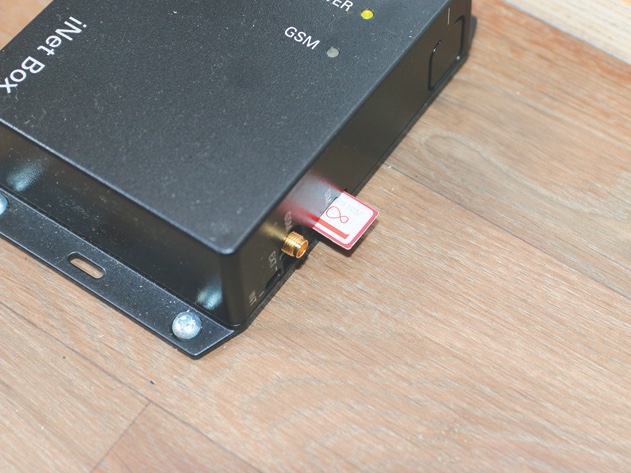
- GSM-capable mini-SIM card
Fitting the Truma iNet
We’ll look at the Truma installation first. Disconnect any mains supply and the 12V battery before you start.
Before assembly (this step applies to both Truma and Alde), insert a GSM-capable mini-SIM card into the slot in the side of the iNet box.
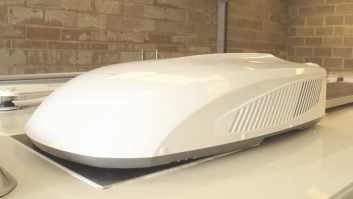
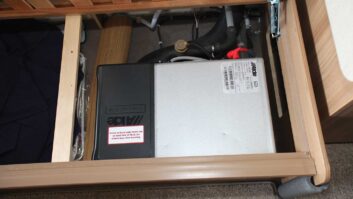
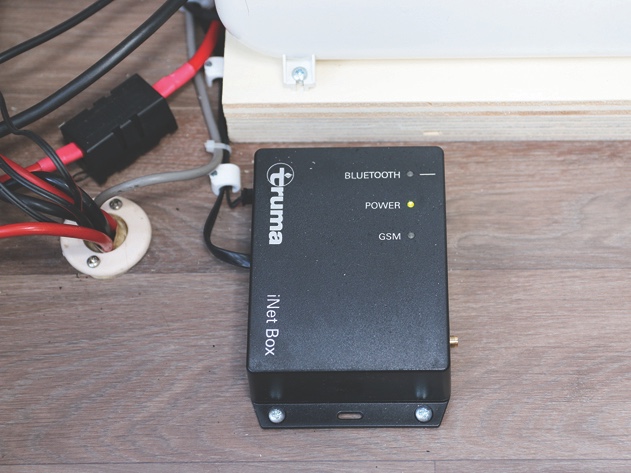
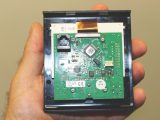
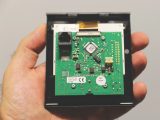
Truma recommends the iNet box should be mounted as near to the control panel as possible, so inside a nearby overhead locker is ideal.
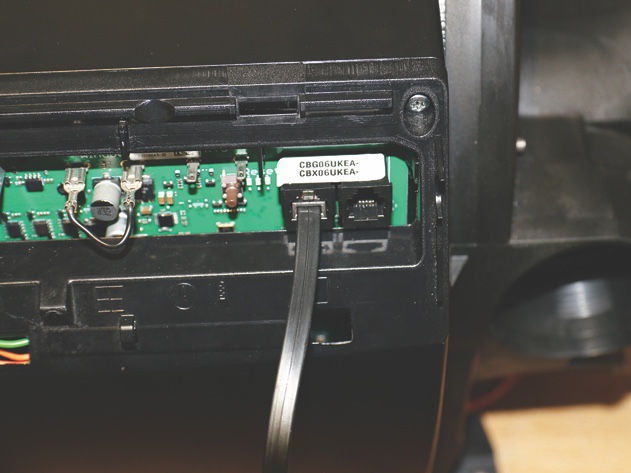
You’ll need to unclip the front of the control panel to gain access to the rear. Unplug the data cable from the socket at the top left corner. If your model has two sockets (Swift Command), it’s the one marked ‘Tin’ (still uppermost), not ‘Bus’. That cable needs to feed through to where the iNet box will be mounted.
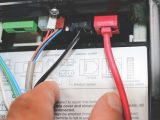
Next, you need a permanent 12V feed, and ideally not one that switches off at a main control panel.
As the control panel has one, Truma recommends tapping into that for powering the iNet box, using the cable and fuse holder supplied in the kit. That way, cable lengths are also kept to a minimum. Feed the plug on the end of the power cable to where the iNet box will be mounted.
A 3m data cable is supplied with the kit. One end of this needs to be plugged into the ‘Tin’ socket on the back of the control panel, the other to where the iNet box will be mounted.
If the cable is too long and can’t be hidden, Truma supplies cables of any length, so give them a call. But don’t be tempted to use a computer cable.
Now replace the control panel. The two data cables in the overhead locker can be plugged into the iNet box, using the two ‘Tin 1’ sockets (note that it doesn’t matter which cable goes into which socket), and the power supply plugged into its slot.
Finally, mount the iNet box using the supplied screws.
The Alde system
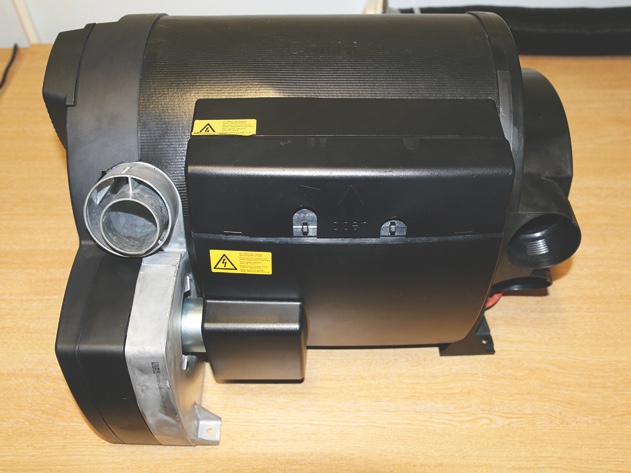
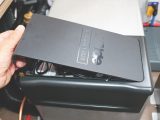
If anything, the Alde system is even easier, although as in our case, the iNet box is best placed near the boiler unit.
You’ll need to find a permanent 12V feed (you could connect to the battery if convenient). Unclipping the top on the Alde unit reveals various sockets, one of which is marked ‘Tin Bus’.
One end of the data cable needs to be plugged in here, the other into the iNet box (either of the ‘Tin 1’ sockets). Replace the top on the Alde unit and secure the iNet box.
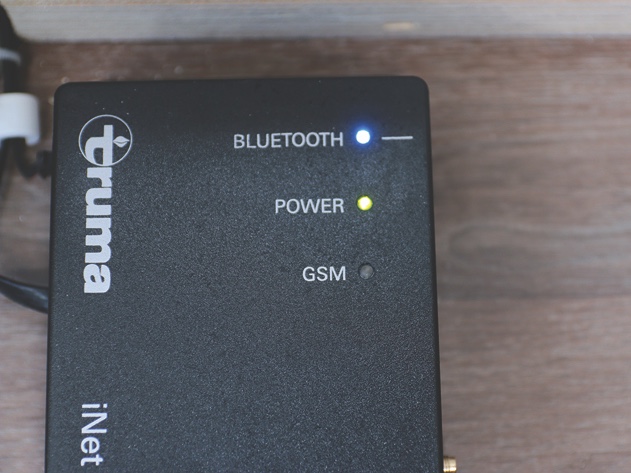
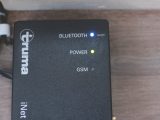
In both cases, reconnect the power. Initially, the green LED on the iNet box will flash, before remaining constant.
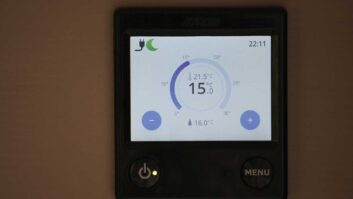
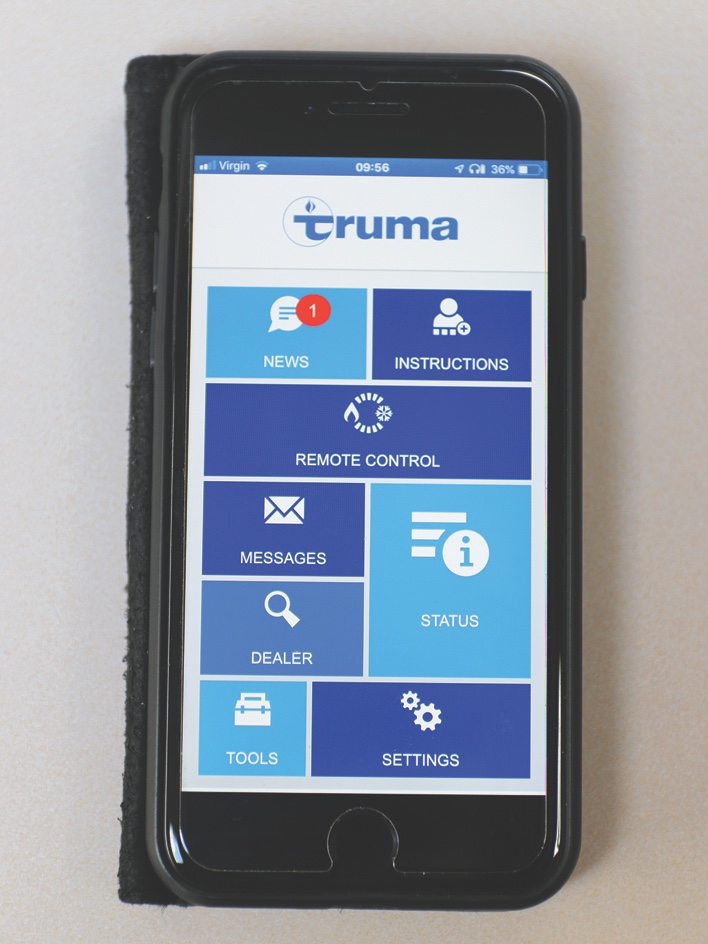
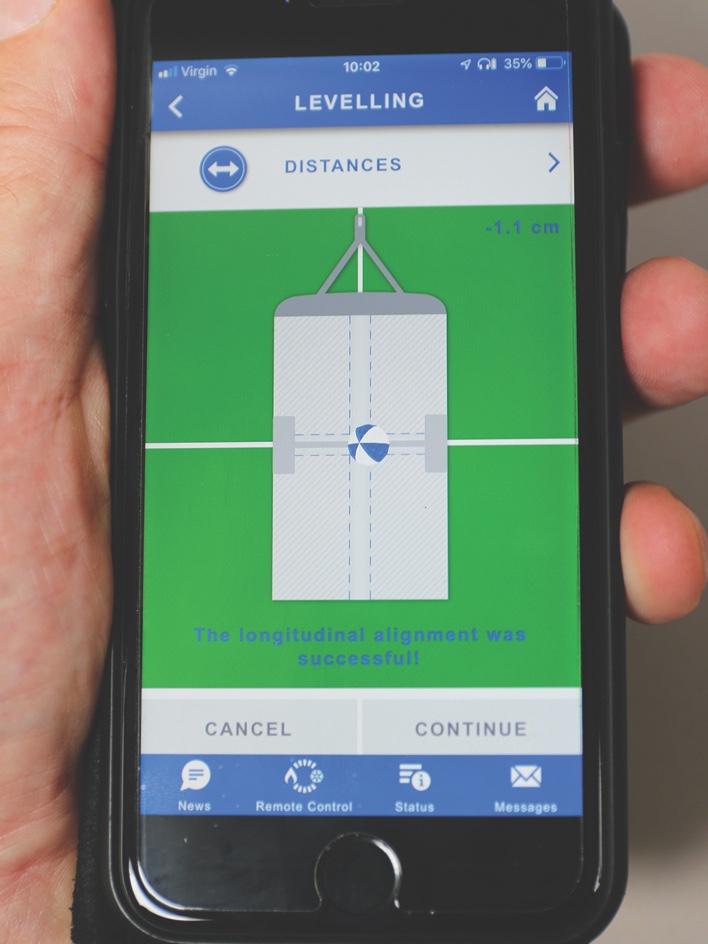
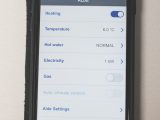
Next, download the Truma app (Android or iOS), which leads you through the instructions to get the iNet working. Then you have control via Bluetooth if you’re close enough, or by GSM if not. Two useful features in the app are Level and Sun Alignment, which are in the Tools section.
LevelControl
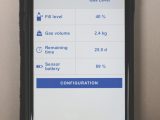
As well as controlling the heating and air-con, monitoring temperatures and battery voltage and so on, a useful addition to the iNet is LevelControl.
This device attaches to the bottom of a steel gas cylinder (Truma provides means for attaching it to aluminium cylinders, too), and connects via Bluetooth to the iNet box. The app leads you through installation.
Using LevelControl on a trip to France recently, I kept an eye on our consumption. In fact, we left with two full 6kg cylinders, and only used 3.6kg of one. But you’d get a warning before you ran out It’s brilliant!
If you’ve enjoyed reading this article, why not get the latest news, reviews and features delivered direct to your door or inbox every month. Take advantage of our brilliant Practical Motorhome magazine SUBSCRIBERS’ OFFER and SIGN UP TO OUR NEWSLETTER for regular weekly updates on all things motorhome related.
Future Publishing Ltd, the publisher of Practical Motorhome, provides the information in this article in good faith and makes no representation as to its completeness or accuracy. Individuals carrying out the instructions do so at their own risk and must exercise their independent judgement in determining the appropriateness of the advice to their circumstances. Individuals should take appropriate safety precautions and be aware of the risk of electrocution when dealing with electrical products. To the fullest extent permitted by law, neither Future nor its employees or agents shall have any liability in connection with the use of this information.
The iNet has been developed to work with both Alde and Truma systems