


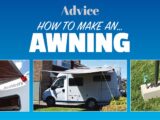


Ask any motorhome owner and they’ll most likely say the same thing – an awning is one of the most useful accessories to take on tour, not only offering protection from the rain but also providing shade and useful storage.
In short, the best motorhome awnings are something of a touring essential.
When you’re choosing one, you could buy yours from the number of manufacturers supplying roll-out awnings which come as self-contained units that attach to the side of your ‘van. These will deploy by using a rotational handle or, if you have the budget for it, a remote control.
However, depending on the size required and the level of sophistication you choose, the costs of these can quickly add up, especially when you factor in the fitting cost – after all, not everyone will fancy attacking their ‘van with a cordless drill, let alone messing with the electrics to attach an awning to the side of their motorhome.
A way around this will be knowing how to make a motorhome awning yourself. Here, I’m explaining how you can make a rudimentary, but perfectly functional, awning without having to make any modifications to your ‘van at all.
While I have a Fiamma awning on the habitation door side of my ‘van, I’ve been to many sites – particularly French Aires – where there’s space all around the motorhome.
In such an instance, you’ll find the awning described in this article can be set up on the opposite side of your motorhome, essentially giving you an extra awning for additional protection from the elements, as well as storage for chairs (see: the best camping chairs) and other touring gear.
Note that this project relies on the use of powerful suction pads. Logic therefore dictates that the awning can only be deployed on ‘vans with a flat, smooth exterior. Some older models have a dimpled exterior, which would render the suction pads ineffective.
The suction pads, according to the manufacturer, will withstand a 20kg loading, which will, with the four I have used, be sufficient to support the tarpaulin in moderate wind conditions.
If greater security is needed, more eyelets can be let into the tarpaulin edge and more suction pads deployed. An additional point of consideration is that areas of the exterior that have any stuck-on wording or decorative flashing should be avoided, because the suction pads might lift these.
After a different type of awning? Our guide to the best air awnings for a motorhome will help you find the one for you.
Parts required
For a four-suction-pad awning:
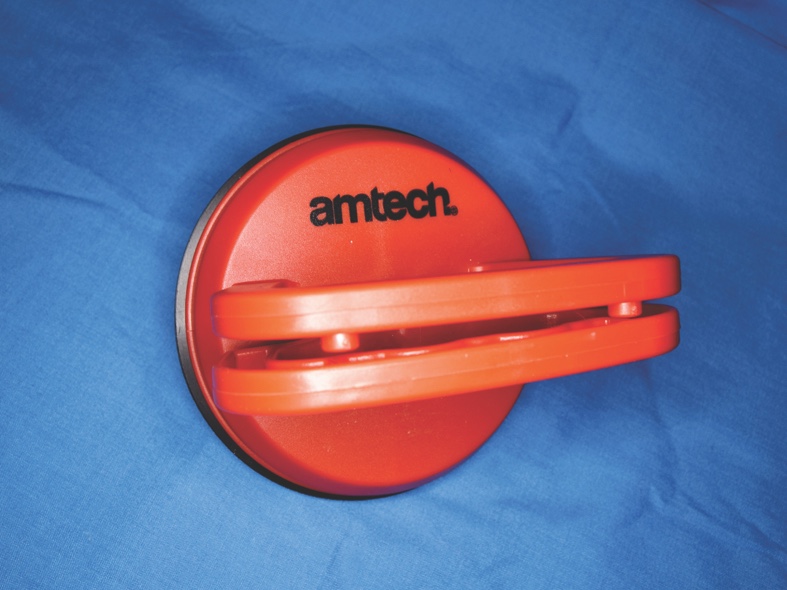
- Four dent-puller/sheet-glass-handling suction pads 120mm diameter
- Aluminium ‘L’ section 60 x 25 x 300mm (or strip if horizontal option is adopted)
- Tarpaulin to suit. Mine was a 3 x 3m. Choose a good quality type (260gsm or better). Mine has a silvered side, which helps to reflect the sun.
- Four tent pegs
- Two tent poles (mine are collapsible 2m variants)
- Two nylon guy ropes (I used Hi-Vis yellow cordage)
- Pole bases (I made these myself using scrap wood)
- A variety of bolts, washers and wiring nuts as shown. These will be exposed to the elements, so I used stainless steel
Tools
- Conventional tool box (screwdrivers, pliers and so on)
- Hacksaw
- Bench vice
- Drills
A step-by-step guide to making your own awning
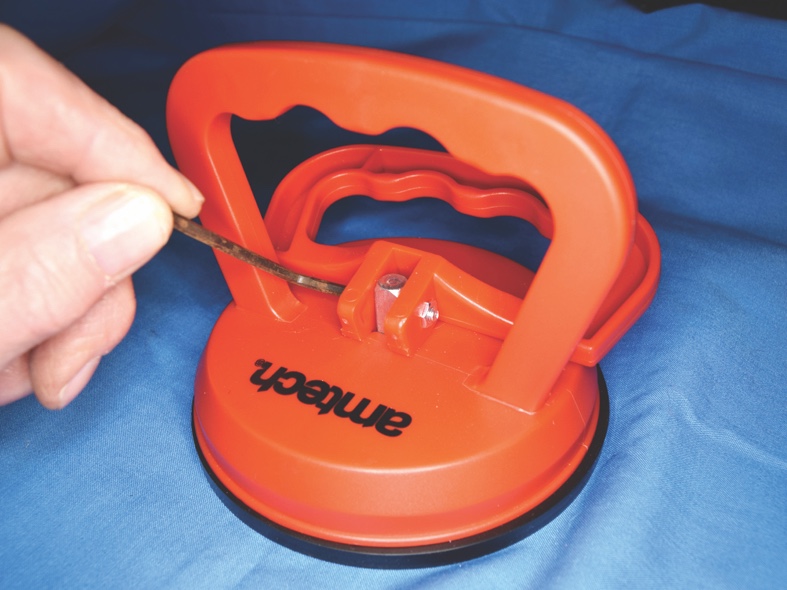
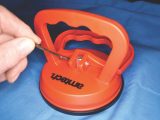
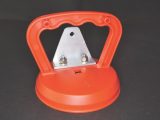
1. This project used four dent-puller 120mm suction pads.

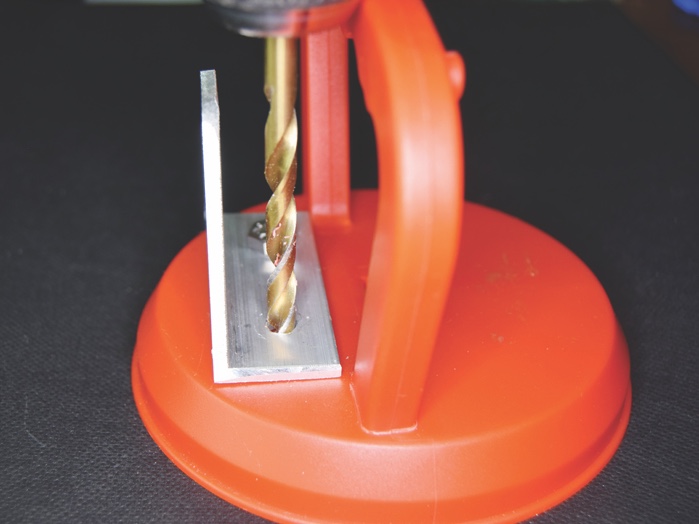
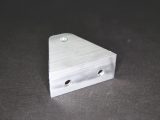
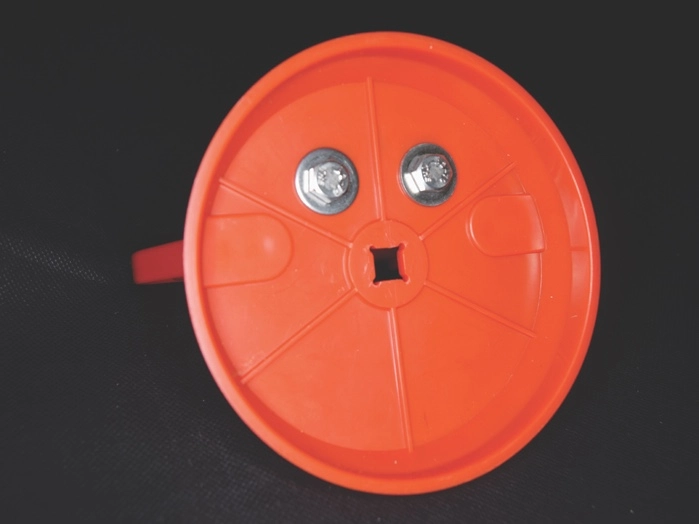
2. Use the bracket as a template and drill 6mm holes as shown. Make sure that the pimples on the handle are as shown.

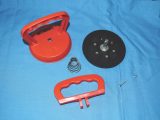
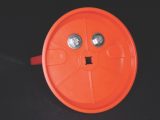
3. These are the component parts of the stripped-down suction pad.

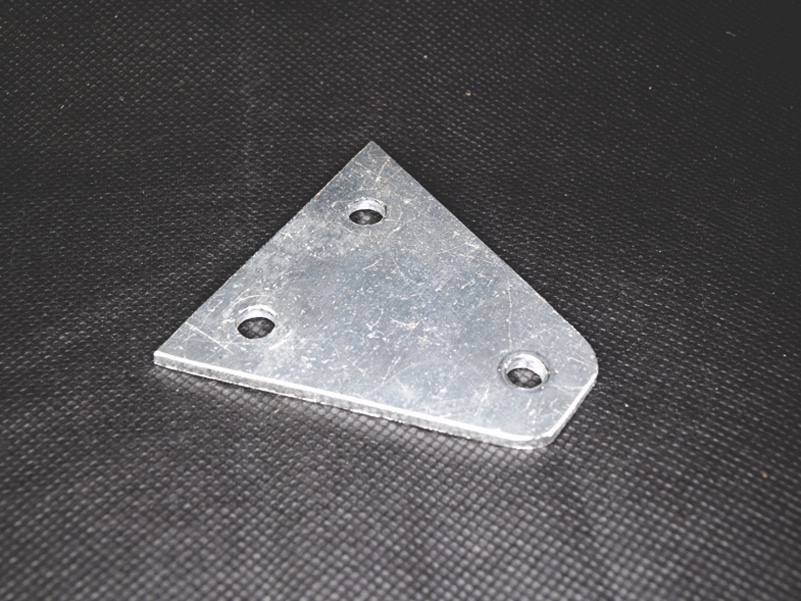
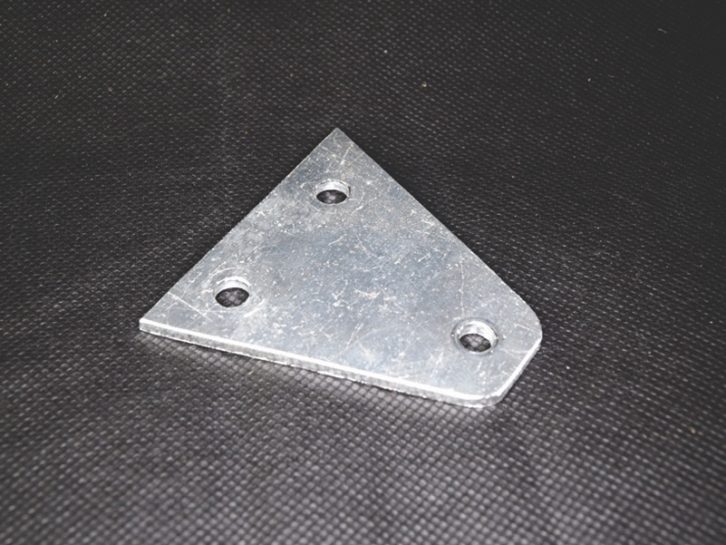
4. Bracket for suction pad that is to be used on a vertical surface (holes are 6mm diameter).
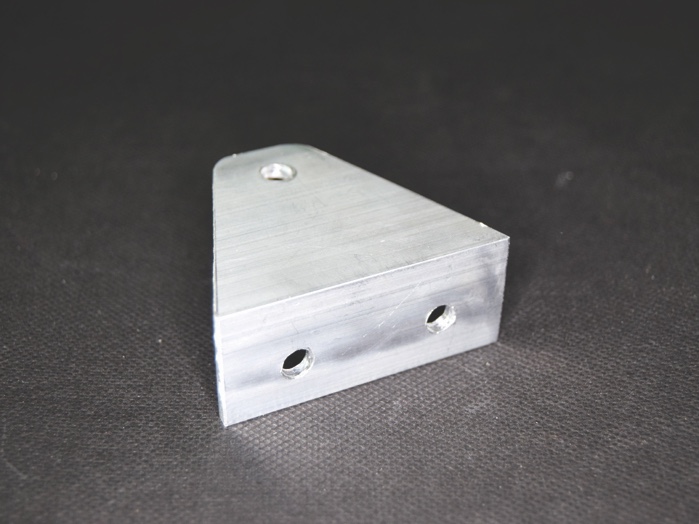
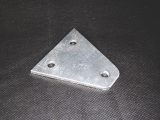
5. Use the bracket as a template and drill 6mm holes as shown. Make sure that the pimples on the handle are as shown.

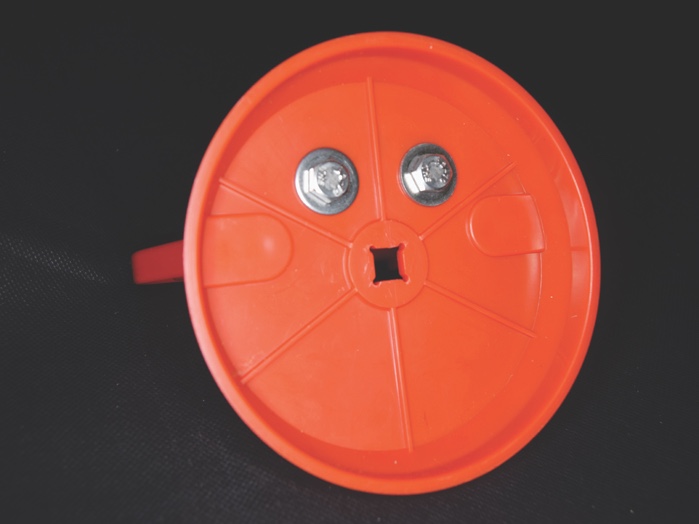
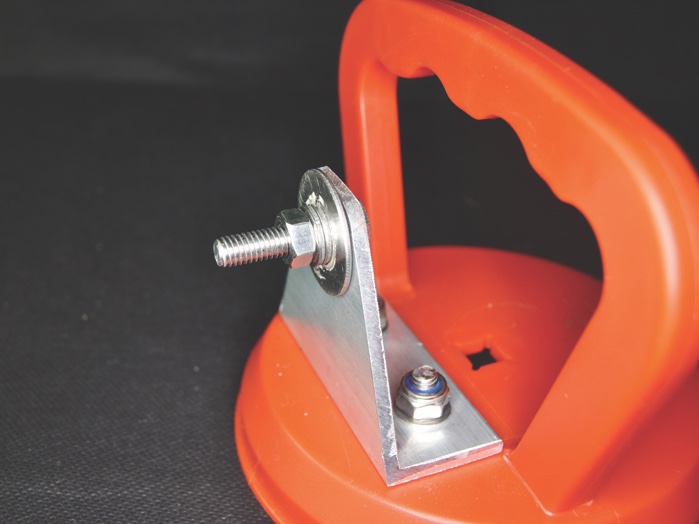
6. Next, push two M6 x 16 bolts through the suction pad housing with 15mm washers, as shown here.
7. Then secure the bracket using M6 locking nuts and washers.

8. Clamp a 25mm penny washer and two M6 washers using M6 x 25 bolt and M6 nut, as shown here.
9. Horizontal version can be used to secure tarpaulin to flat roofs and so on.
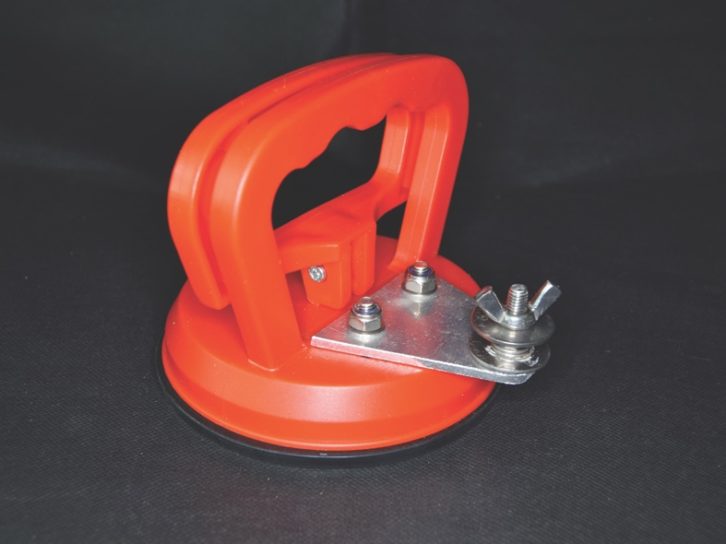
10. Eyelet clamped by a 25mm penny washer and M6 wing nut. Eyelet should be free to turn; if not, add more washers

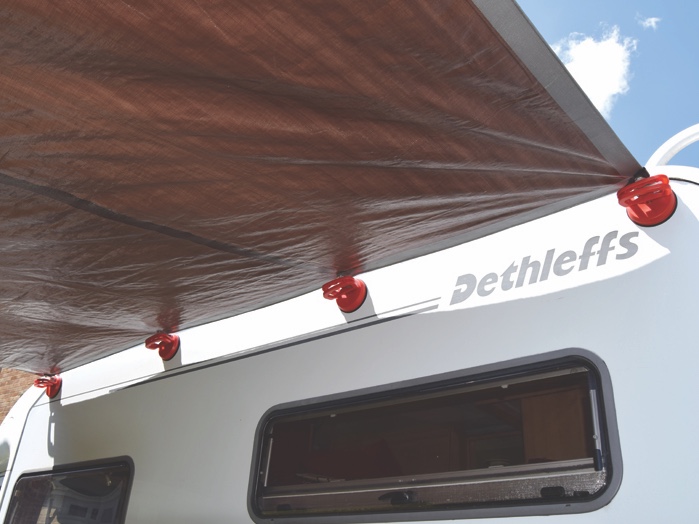
11. Suction pads deployed along the side of the ‘van. Wipe area to be used with a damp cloth before attaching.
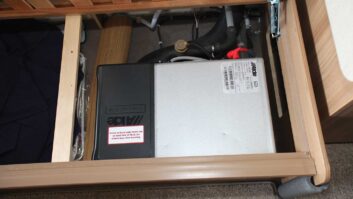
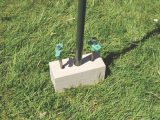
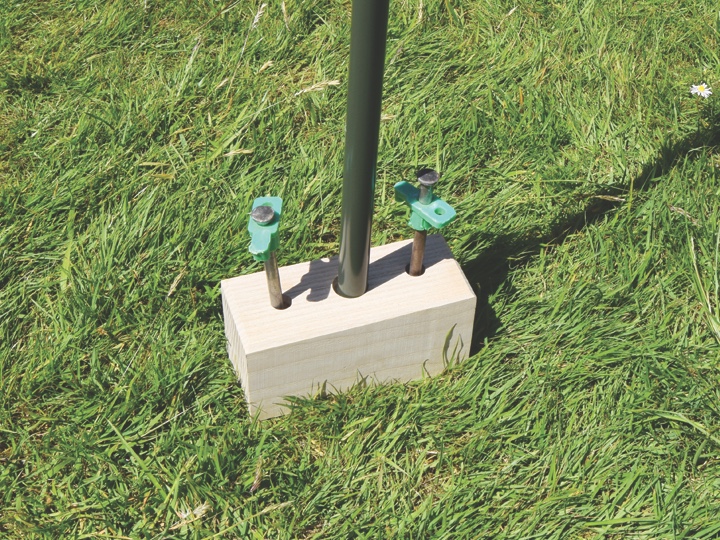
12. Wooden block securing base of pole.
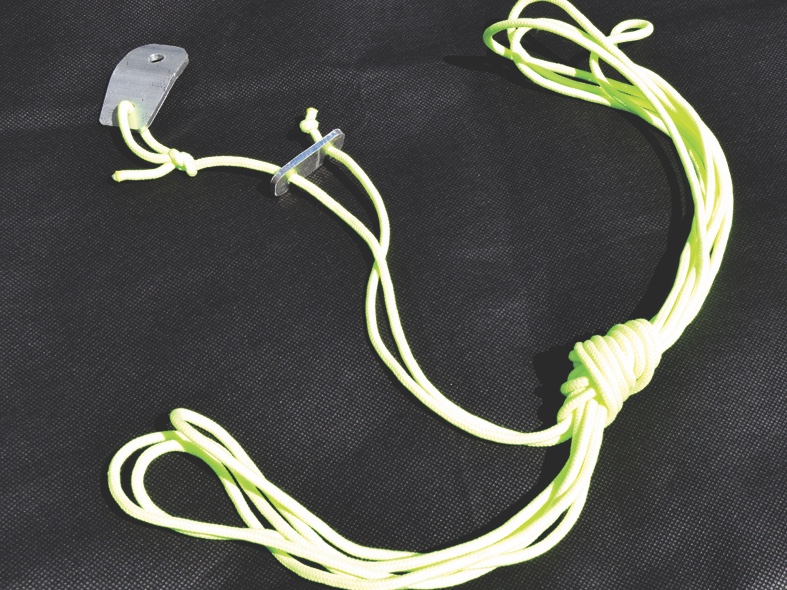
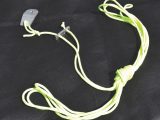
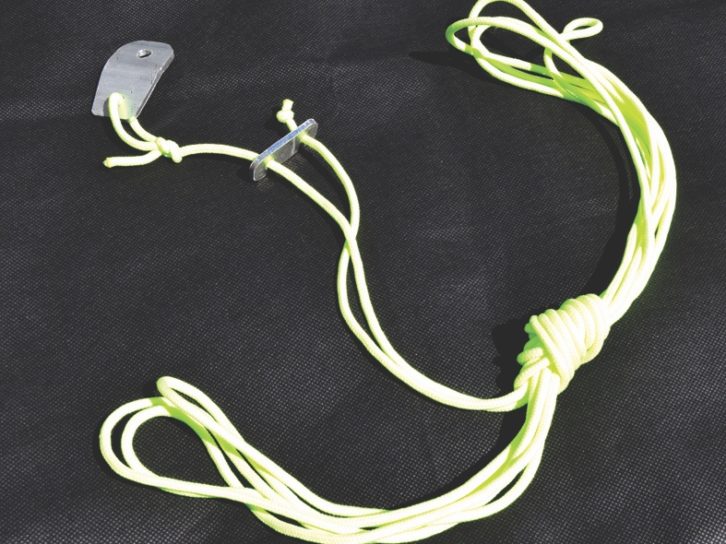
13. Guy rope showing end designed to go over the pole spike and the tensioner.
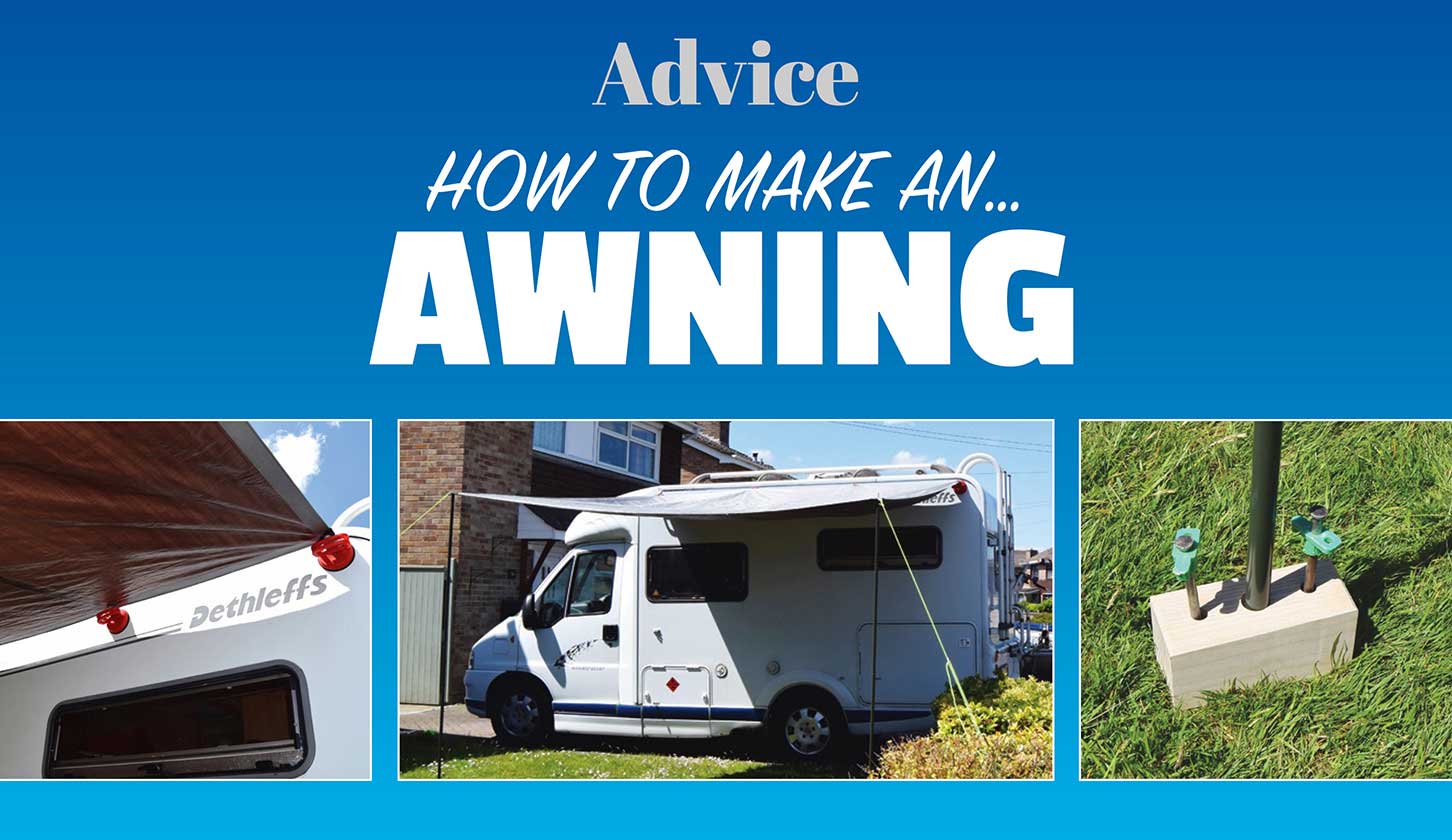
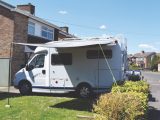
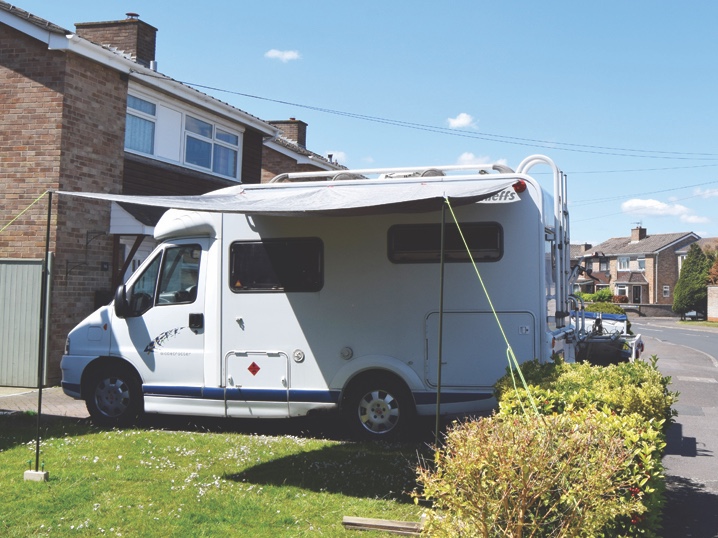
14. The fully deployed awning, with no drilling into ‘van sides required!
Future Publishing Limited, the publisher of Practical Motorhome, provides the information in this article in good faith and makes no representation as to its completeness or accuracy. Individuals carrying out the instructions do so at their own risk and must exercise their independent judgement in determining the appropriateness of the advice to their circumstances. Individuals should take appropriate safety precautions and be aware of the risk of electrocution when dealing with electrical products. To the fullest extent permitted by law, neither Future nor its employees or agents shall have any liability in connection with the use of this information. Double check any warranty is not affected before proceeding.
If you’ve enjoyed reading this article, why not get the latest news, reviews and features delivered direct to your door or inbox every month. Take advantage of our brilliant Practical Motorhome magazine SUBSCRIBERS’ OFFER and SIGN UP TO OUR NEWSLETTER for regular weekly updates on all things motorhome related.