


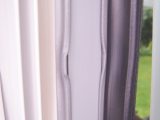


Owing to their similarities, motorhomes and caravans usually share the same window manufacturers. Some of the most well-known are Dometic-Seitz, Heki and Fiamma.
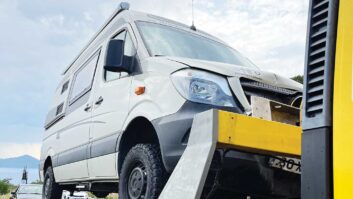
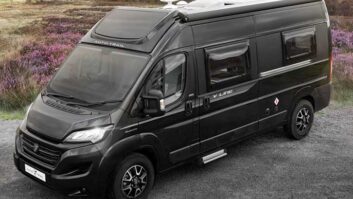
However, older ‘vans (like mine) were fitted with windows made by a company called Birkholz, which has long since ceased manufacturing them.
A quick look at online forums will highlight the problems this causes when trying to source replacement windows (size compatibility with current ranges) and spare parts.
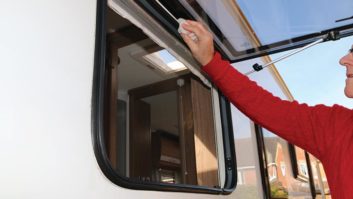
Catch operation
In the main, these windows are quite robust and give long service, but those fitted to my motorhome are of the three-point catch variety, using one central lever to operate all three catches simultaneously.
To do this, the lever drives a PVC strip in a channel which, in turn, moves the left and right catches.
As already mentioned, the activation strip is made from PVC, and those of you with an understanding of plastics will know that PVC has an Achilles heel – it can become brittle over time.
Added to that, when PVC is cold, its malleability decreases, making it more likely to fracture.
This article details the replacement of the PVC with nylon, which has better thermal/ageing characteristics, coupled with good self-lubricating properties that enable it to slide more smoothly in the guide channel.
The nylon I’ve used here is Nylon 6, procured from a wholesaler (Amari Plastics, although others are available). I bought a complete minimum-order sheet (1m x 2m, 1.6mm thick) because trying to buy strip with the dimensions required is non-viable. And, although buying the whole sheet cost me £42, it has enabled me to repair the five windows in my motorhome at an average cost of £8 per window (with quite a bit left over, too). An aerosol can of PTFE will also be needed.
Procedural tips
- The old PVC, as explained above, is highly likely to be brittle and might break even more when being removed. This is undesirable if it can be avoided, because the PVC has to be used as the pattern for cutting the new strip. Heating it with a heat gun or hairdryer will make things easier.
- When cutting the new strip of nylon, it is essential not to go oversize – it is very difficult to remove any excess from the side of the strip once cut.
- Check that the new strip will run smoothly in the channel before cutting the apertures.
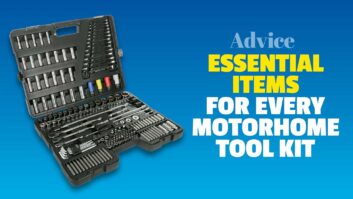
Tools required
For this job, you’ll need a marking gauge, craft knife, shears/scissors, Torx screwdriver and various items from any conventional tool box.
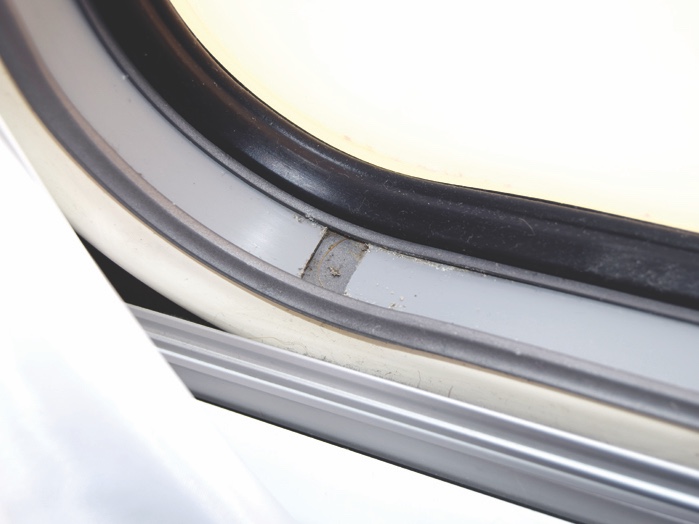
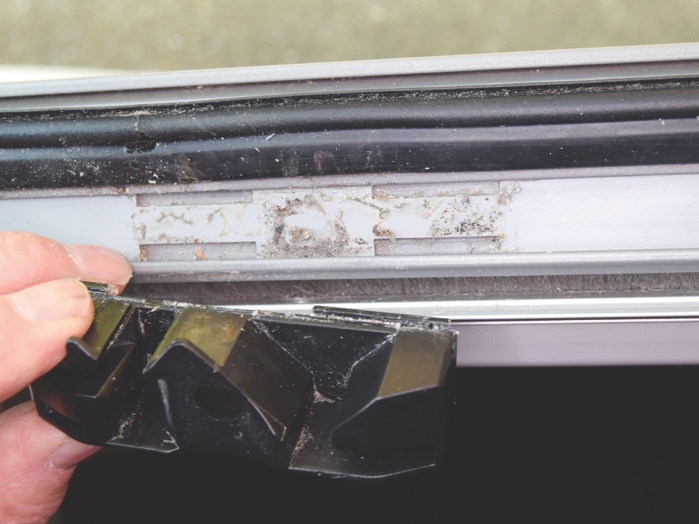
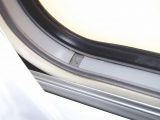
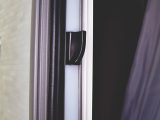
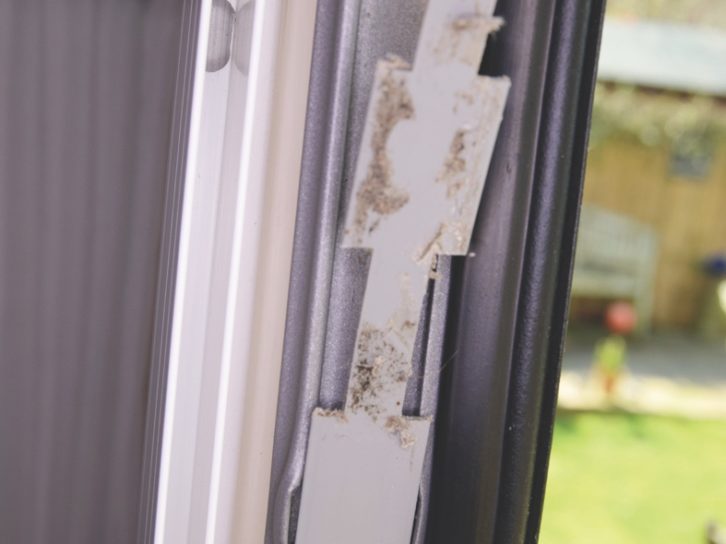
1. A split in this PVC strip has rendered the left-hand window catch inoperative

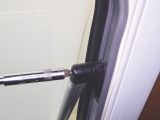
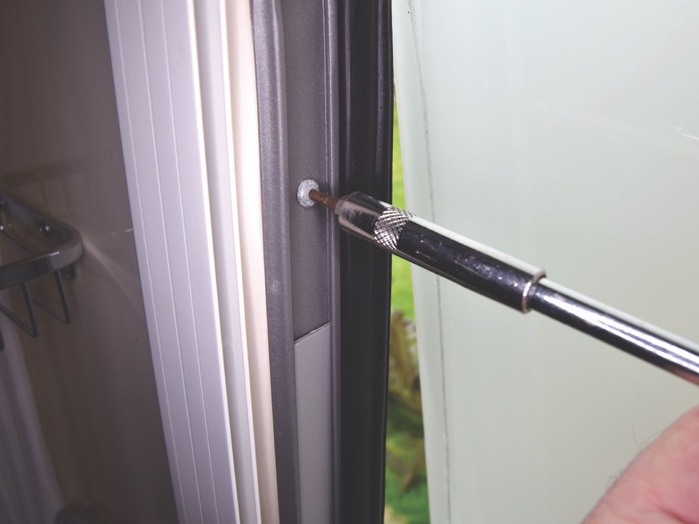
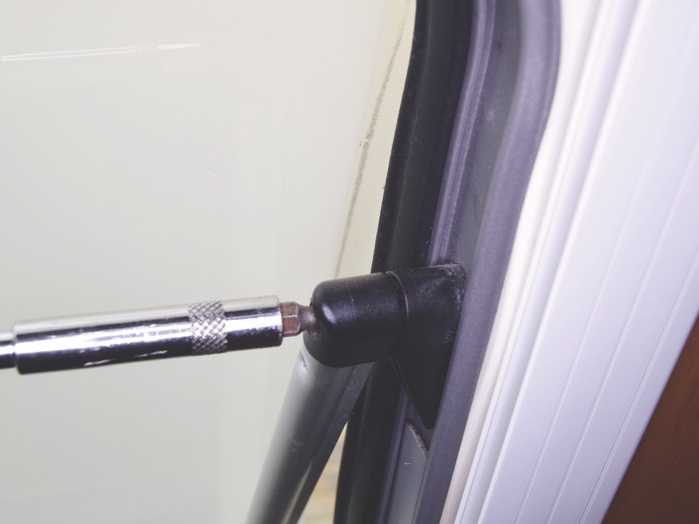
2. Remove the end-stop screw from the left-hand side of the window frame.
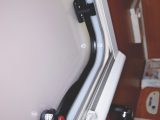
3. Next, remove the window stay-bracket from the right-hand side of the frame.
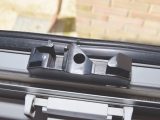
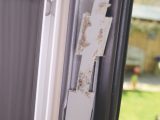
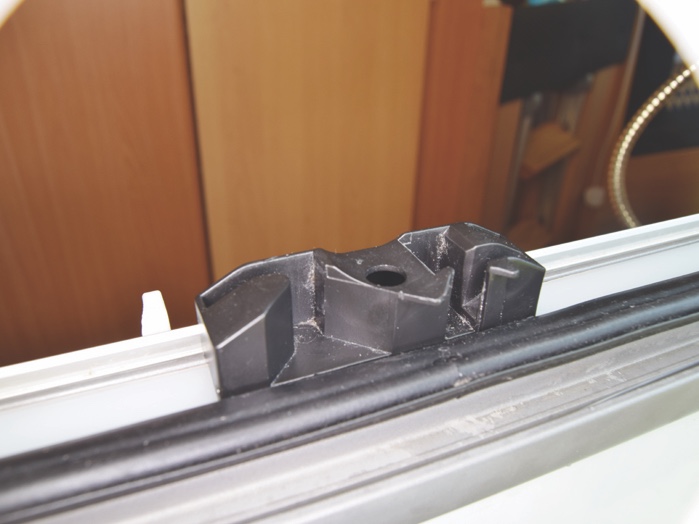
4. The central sliding block is now ready to be removed from the window frame.
5. Using two screwdrivers, push to release lugs, then pivot block out from runner.
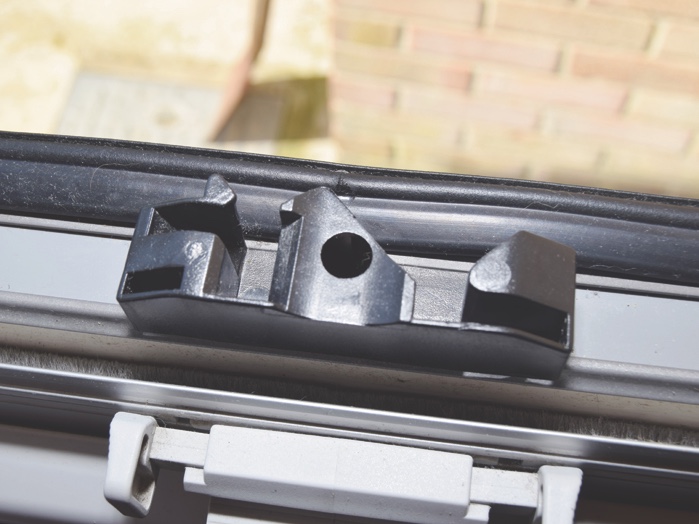
6. Block removed, showing four recesses driving strip when the catch is operated.

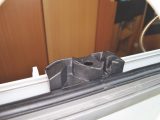
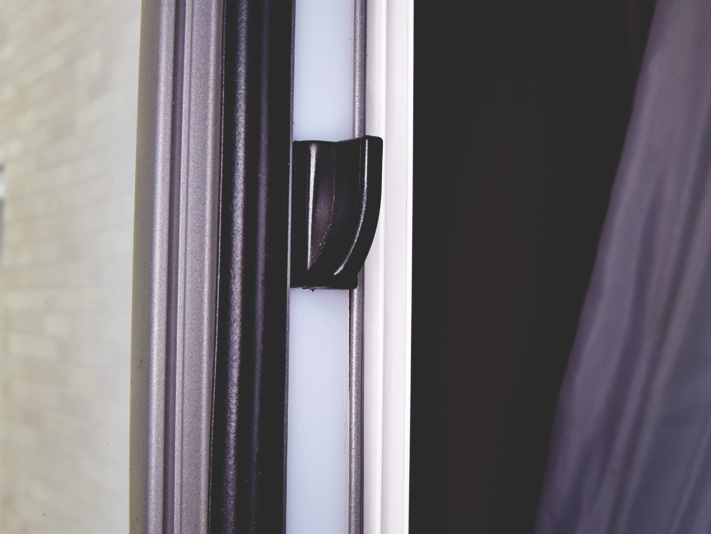
7. To remove side catches, push inwards with screwdriver then pivot from runner.
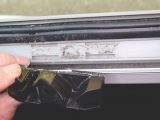
8. Widened section of track on left-hand side to facilitate withdrawal of strip.

9. Damaged PVC strip is then removed via the widened section of the track.
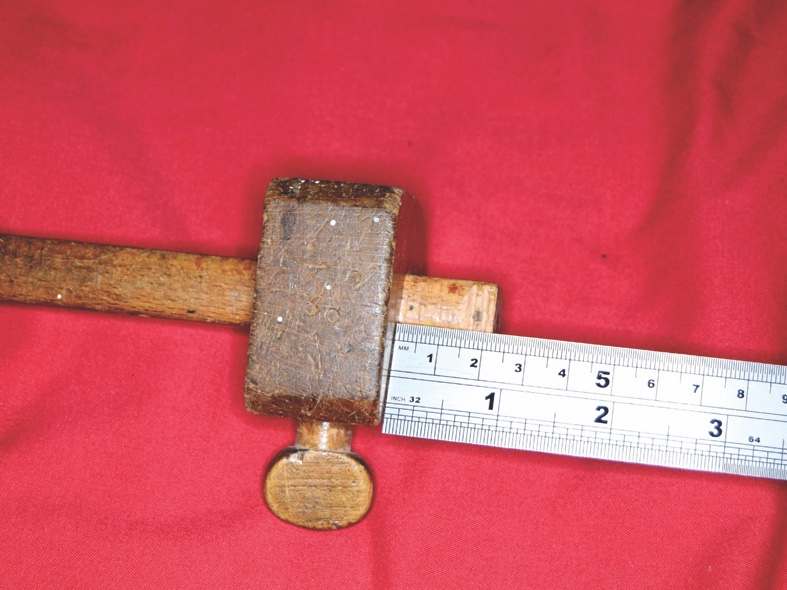
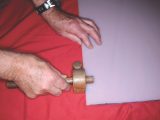
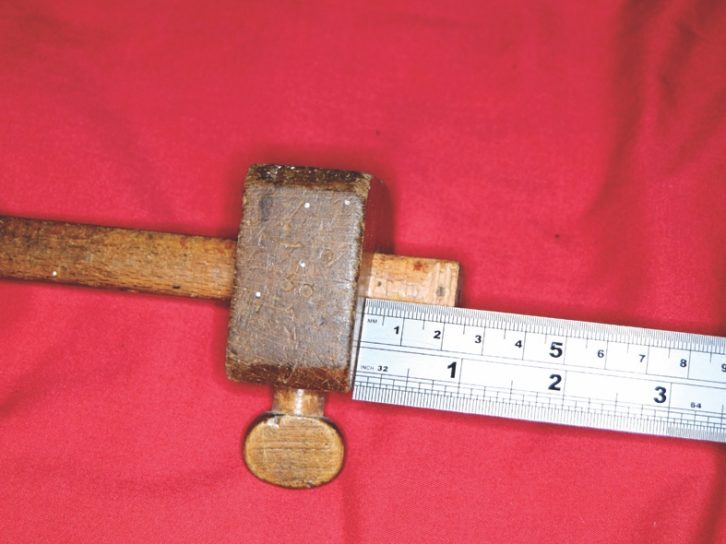
10. Set your marking gauge to the required width (17mm in this example).
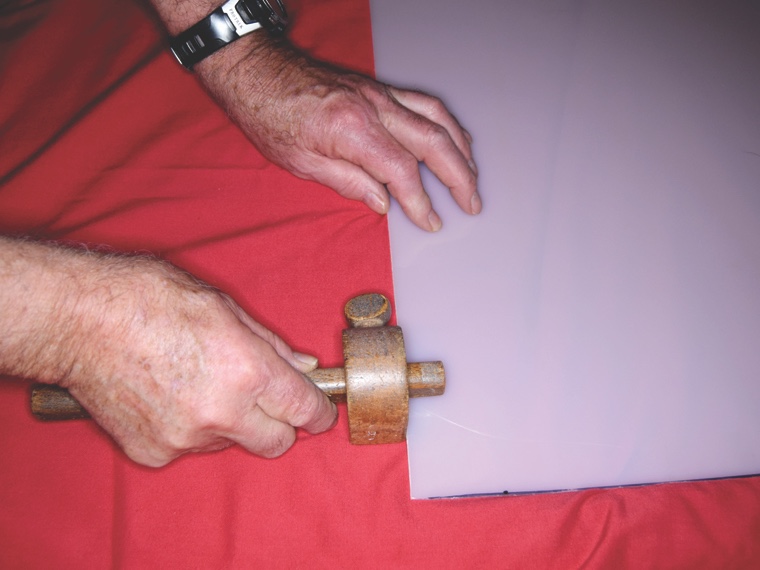
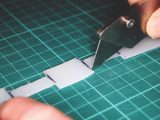
11. Next, carefully mark up the edge of the nylon sheet.

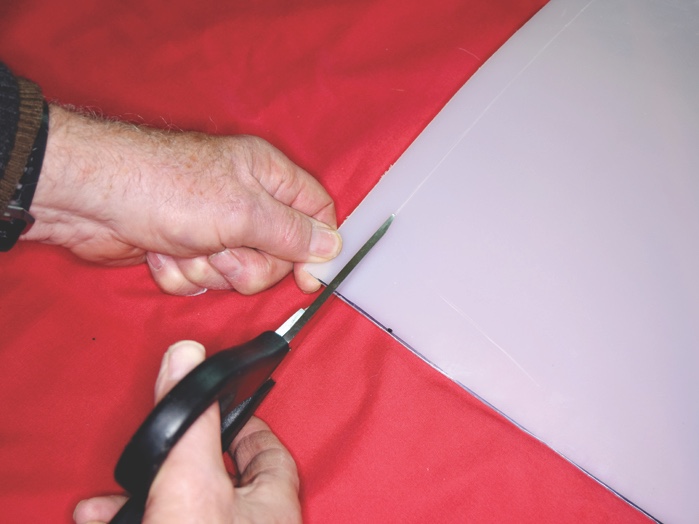
12. Using sharp scissors or shears, cut along the marked line.

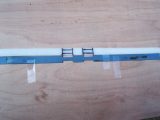
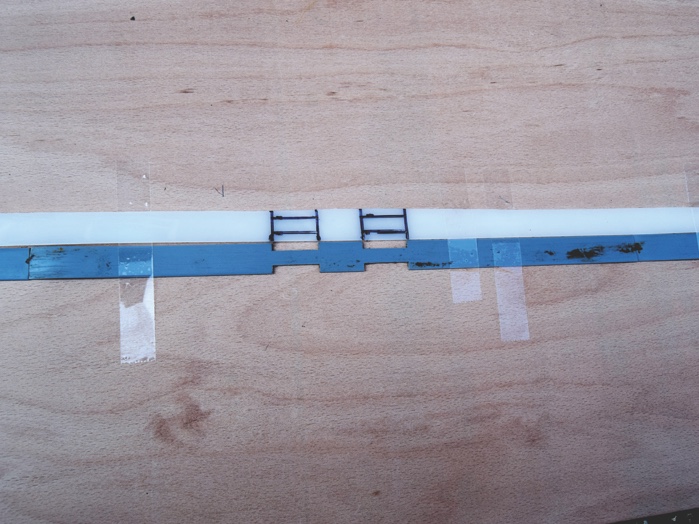
13. Reassemble PVC strip next to nylon strip, then mark aperture cutting points.
14. Using a craft knife, carefully cut out the apertures as marked

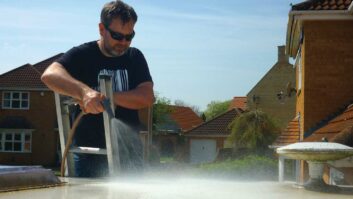
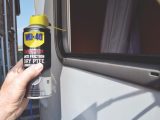
15. Using white spirit and a small brush, clean the inside of the guide channel.

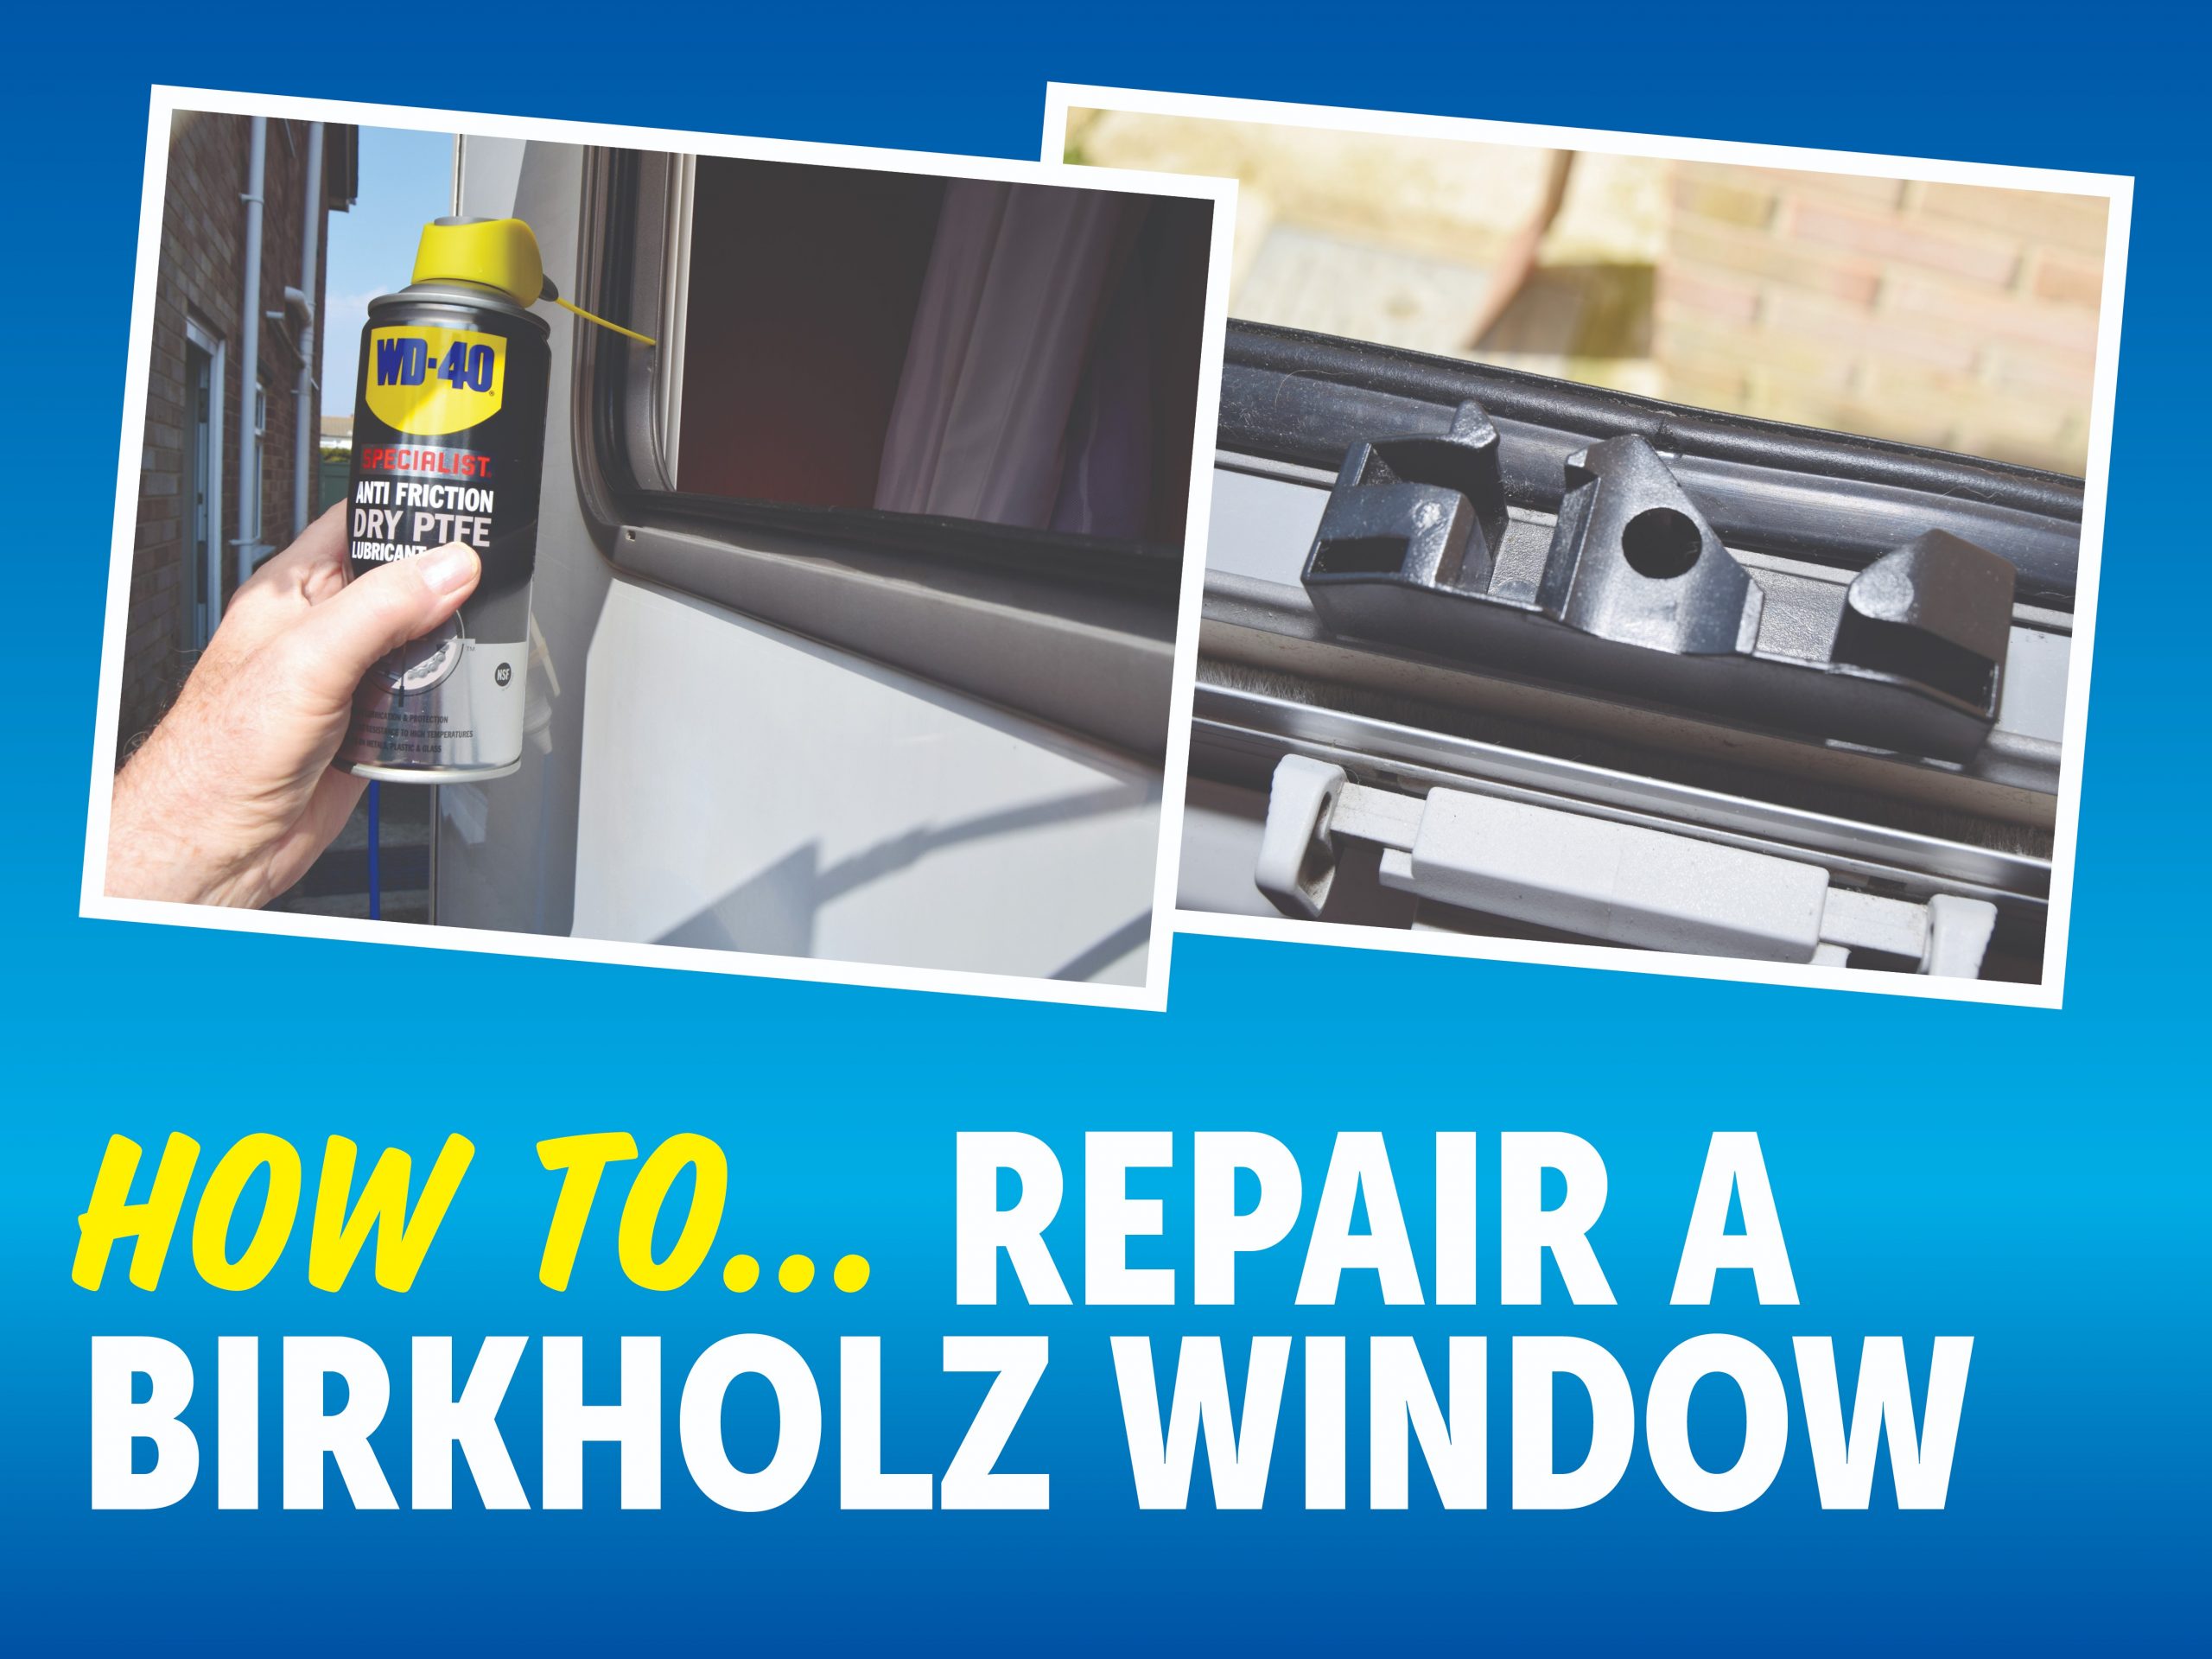
16. Then apply PTFE spray to the inside of the track and allow to dry completely.

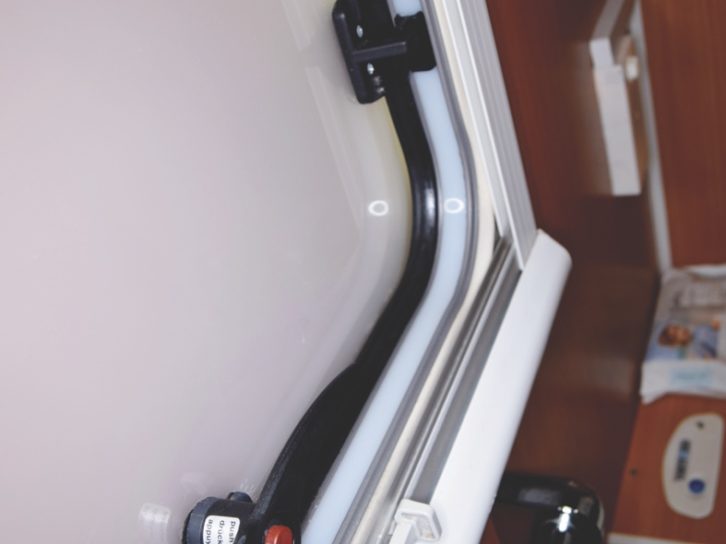
17. Insert nylon strip into channel; clip in drive block and side catches. Replace stay-bracket and end-stop screw.
Older 'vans (like mine) were fitted with windows made by a company called Birkholz, which has long since stopped manufacturing them - replacements are therefore difficult to come by