


Camper van ownership is meant to be relaxing, but we were feeling the pressure of a deadline.
We had plans to spend a week in Wilma, our T25 VW camper van at a music festival and then on to the Dorset coast. And alongside the previously mentioned electrical fixes, there was one problem which urgently needed attention before our break.
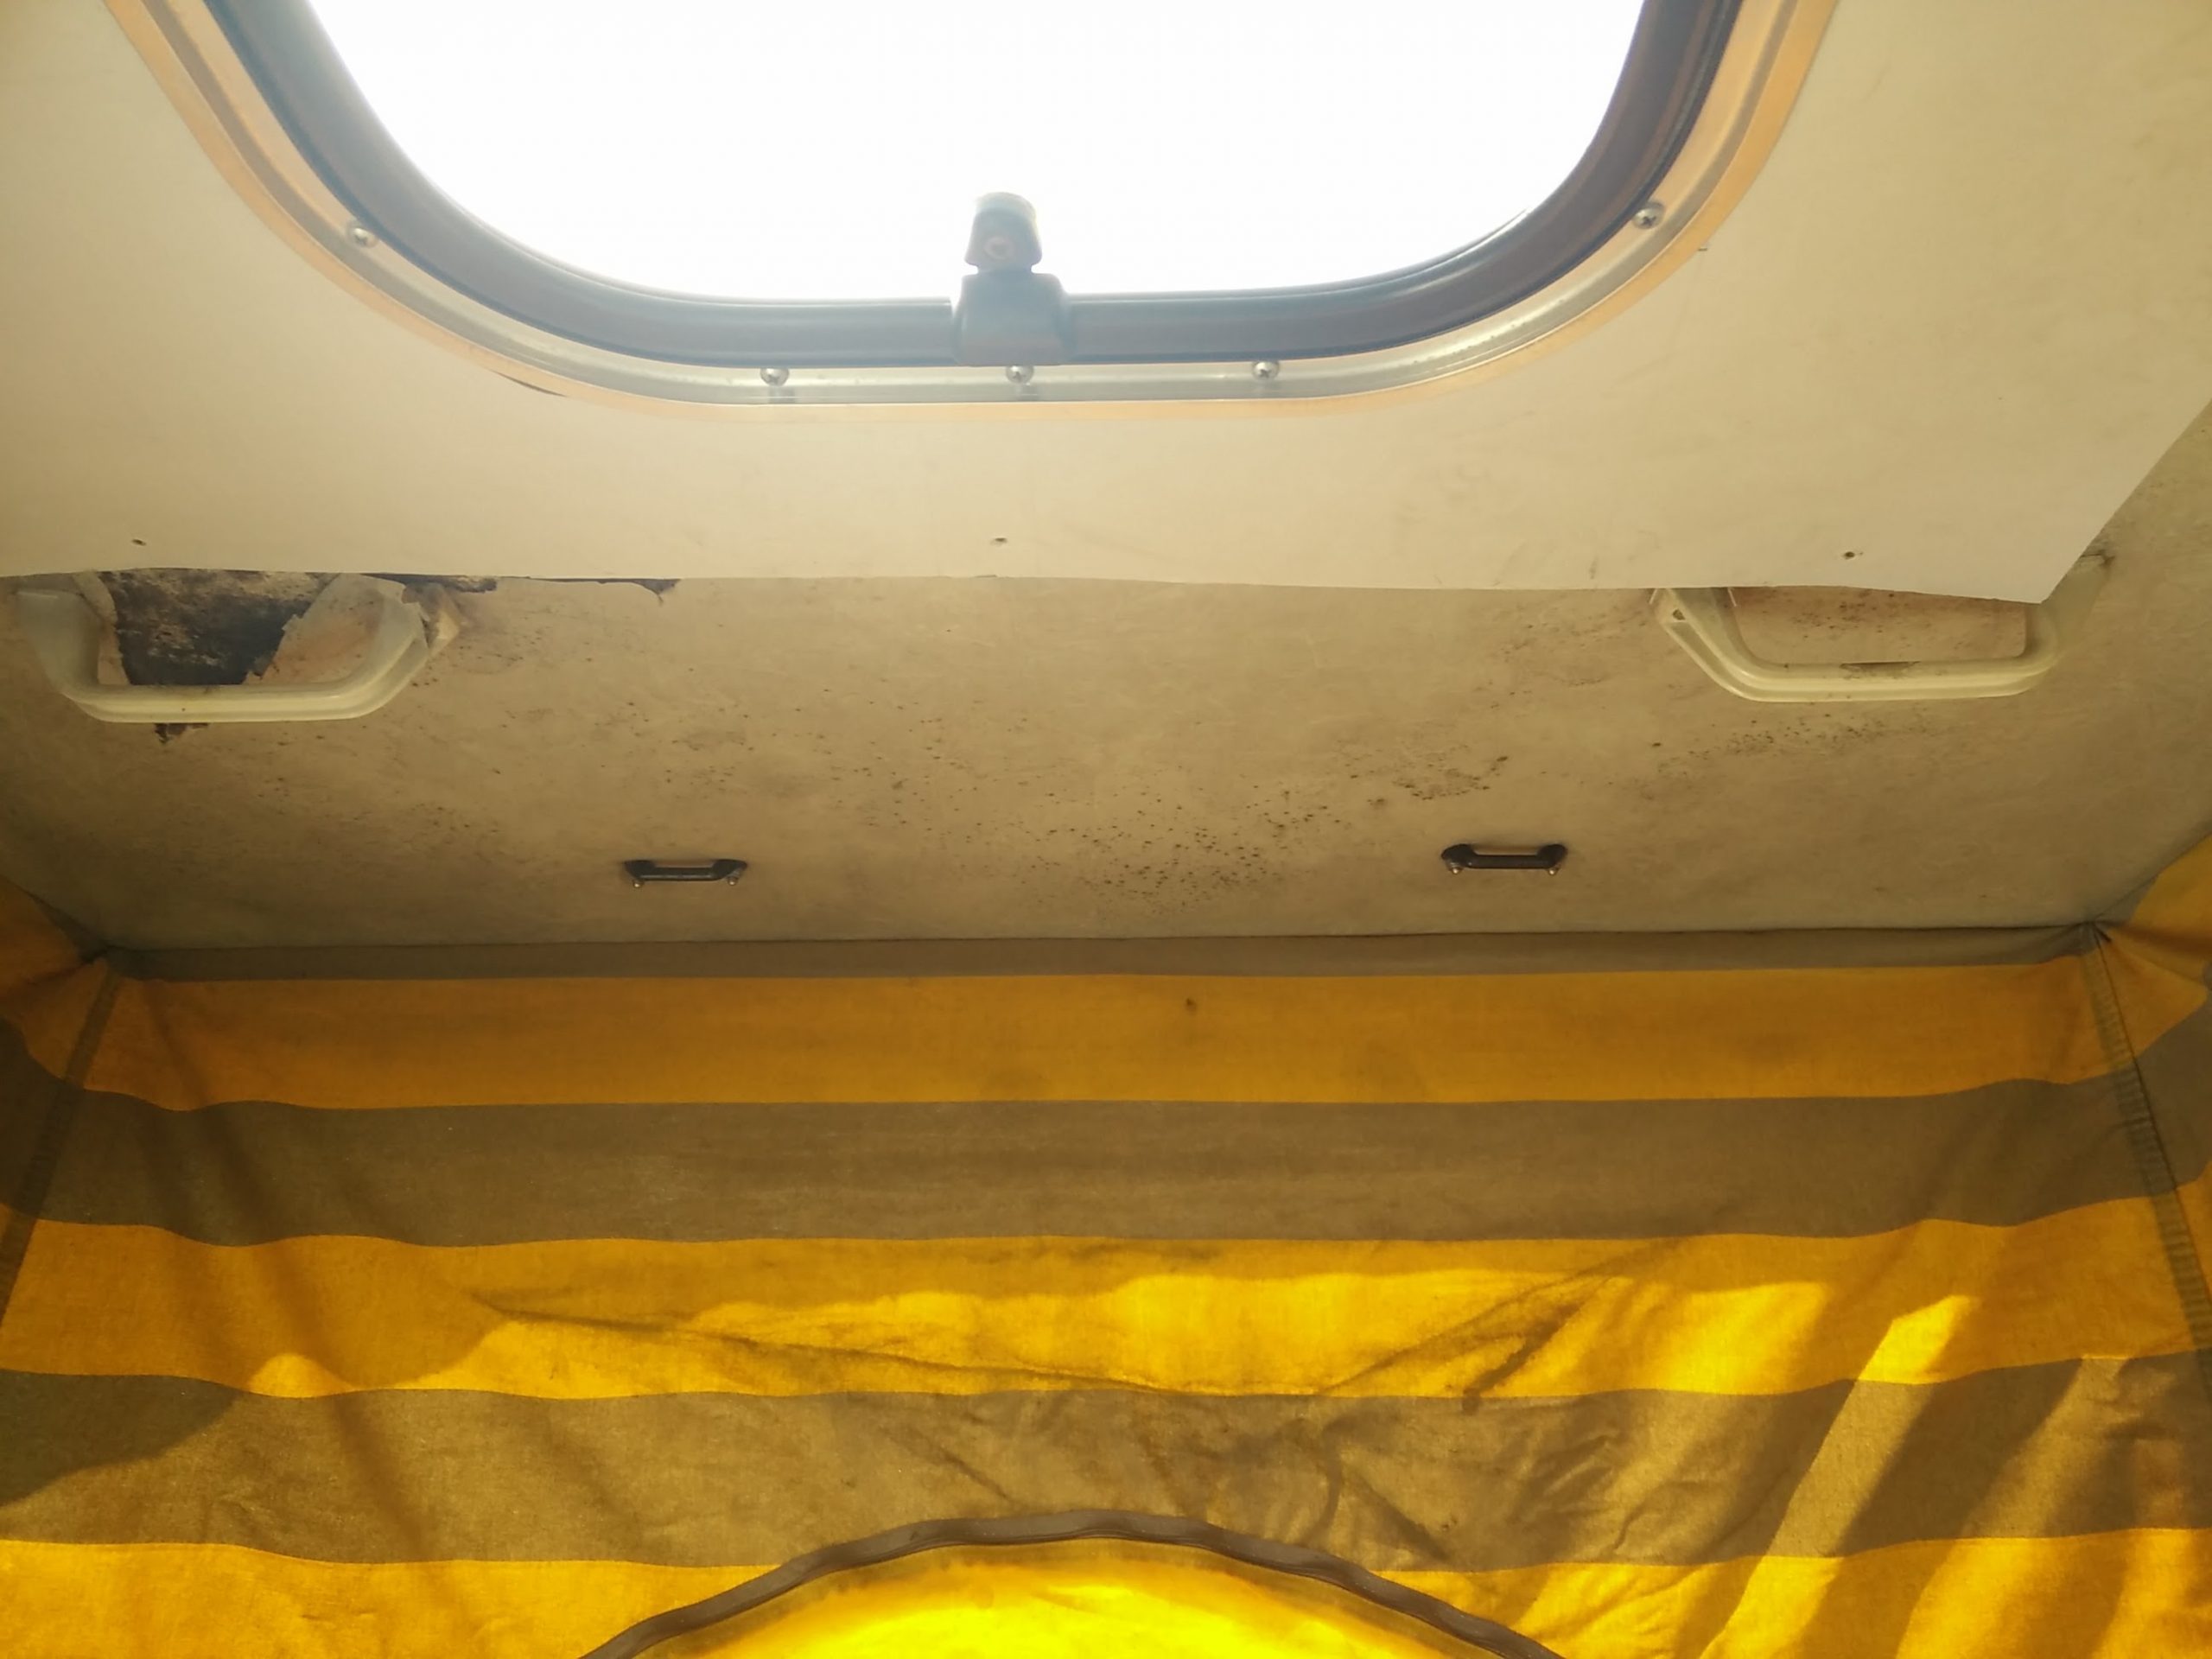
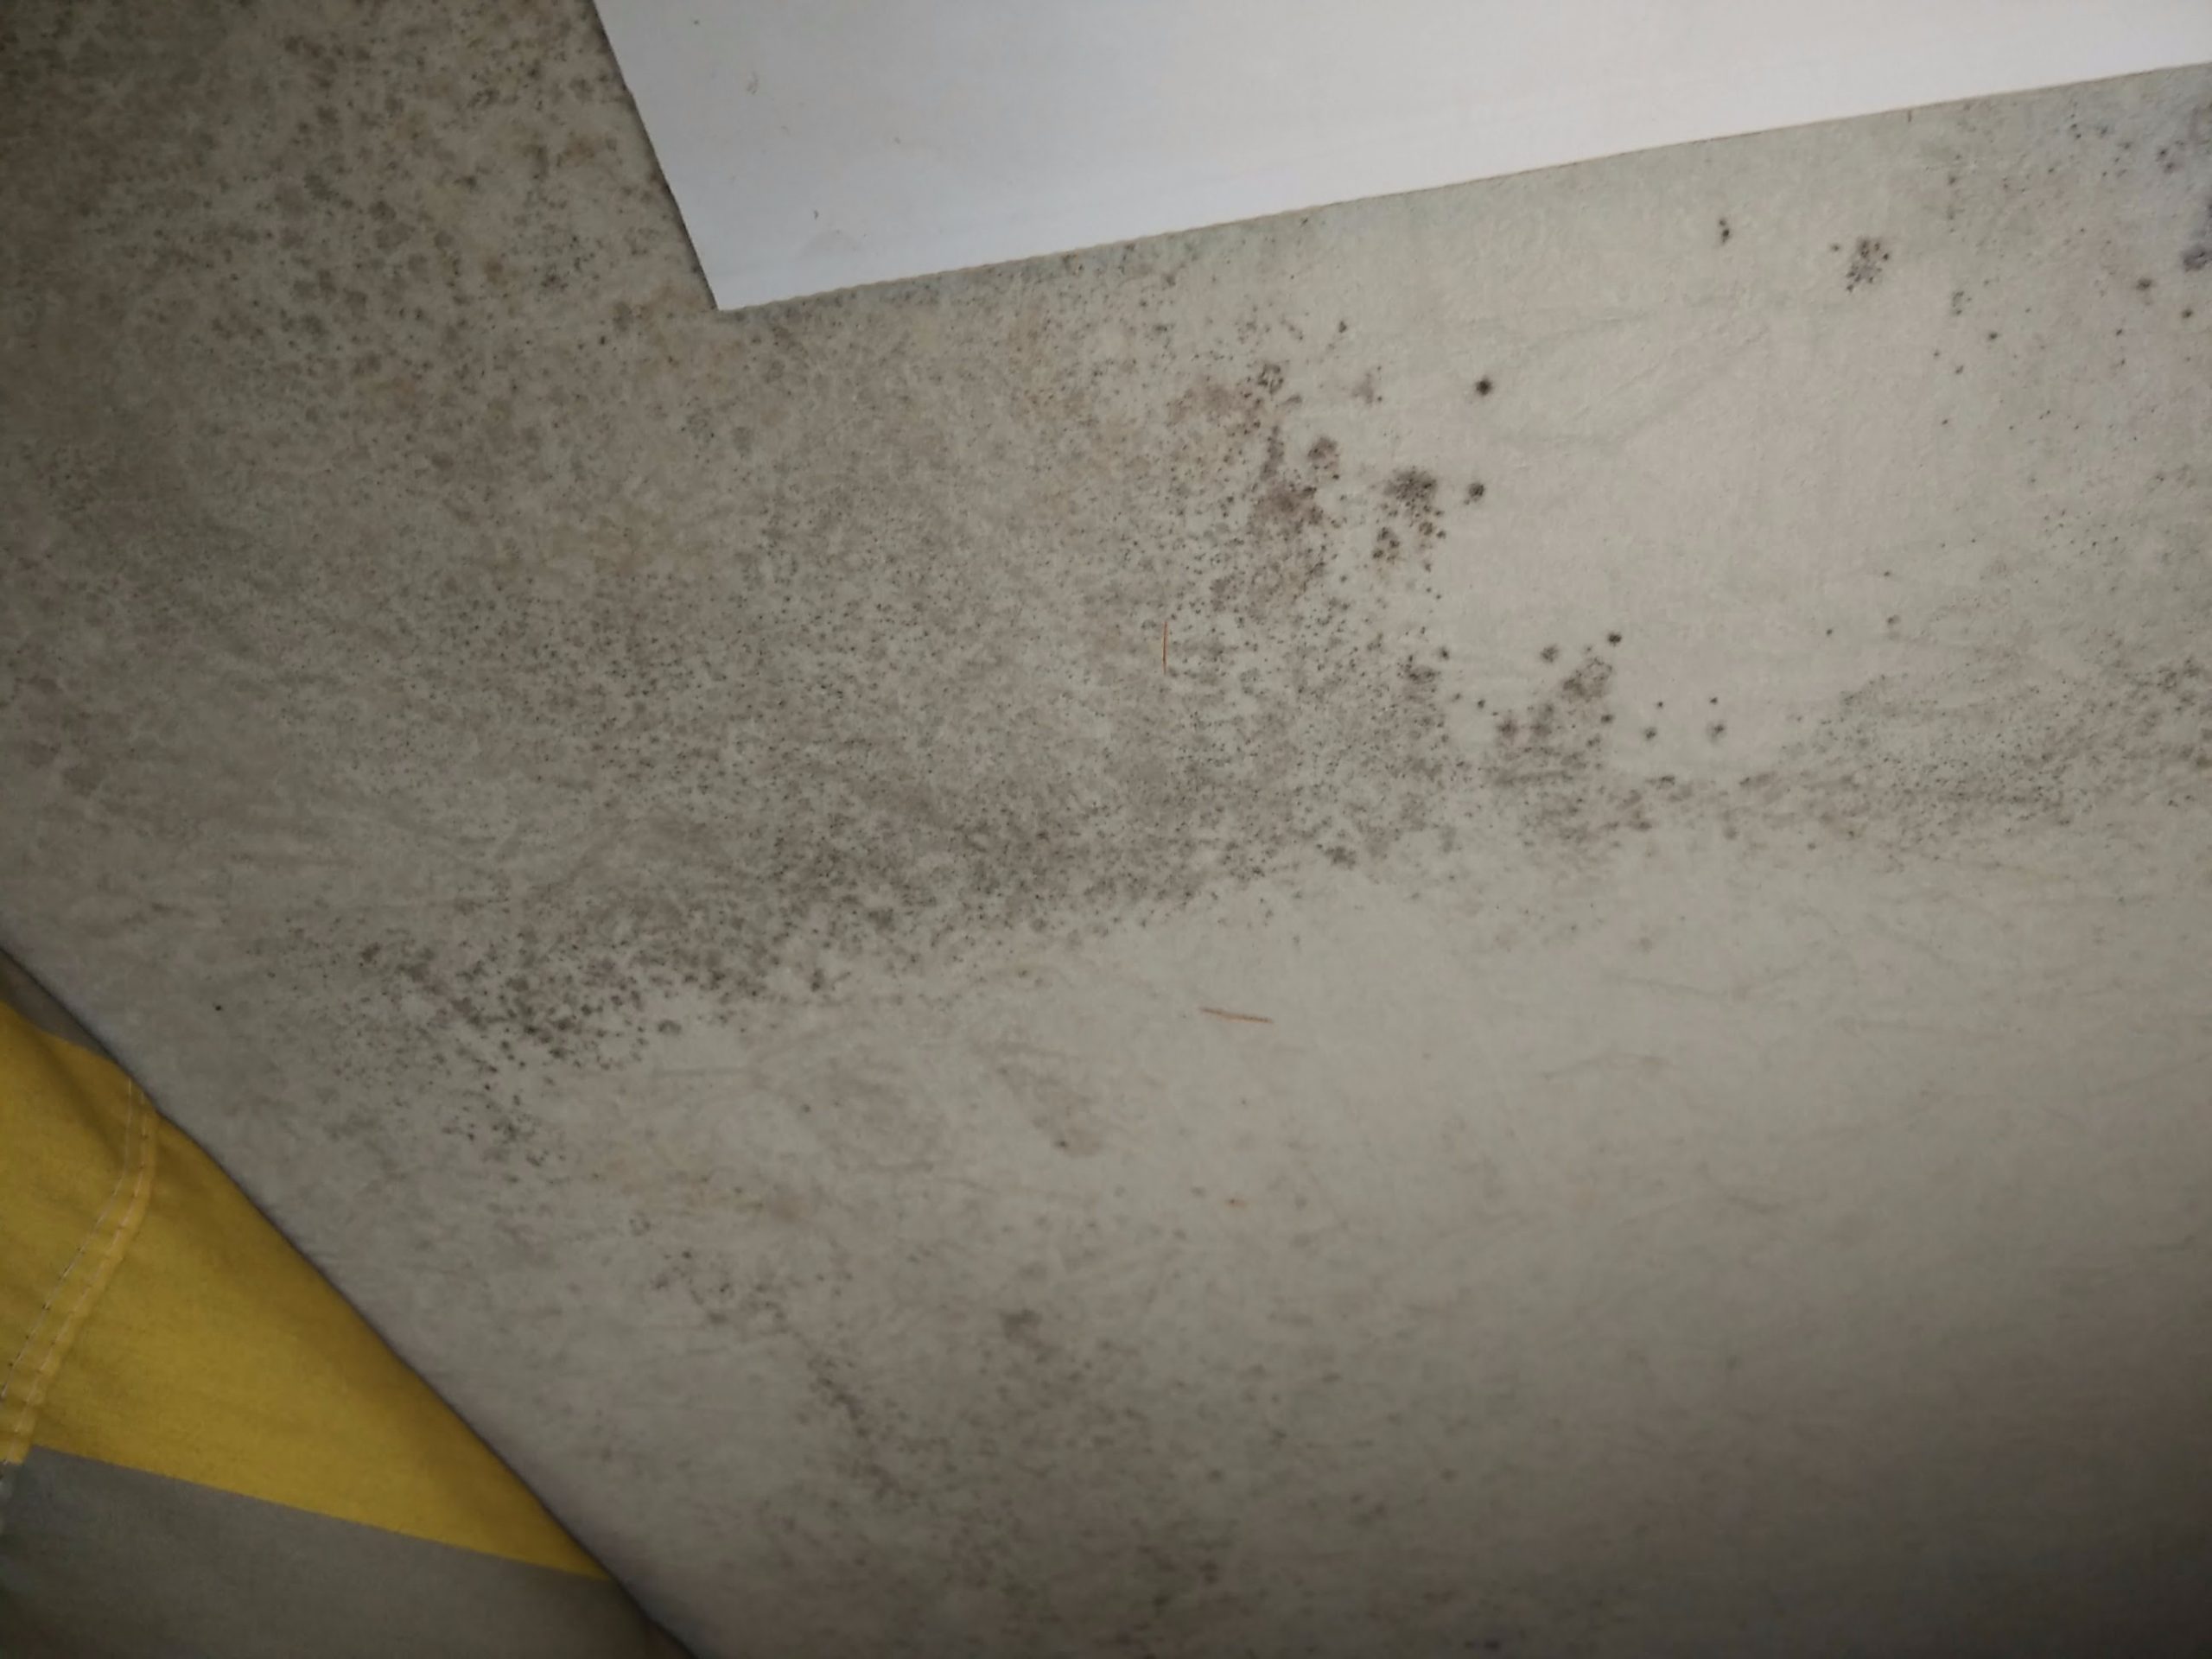
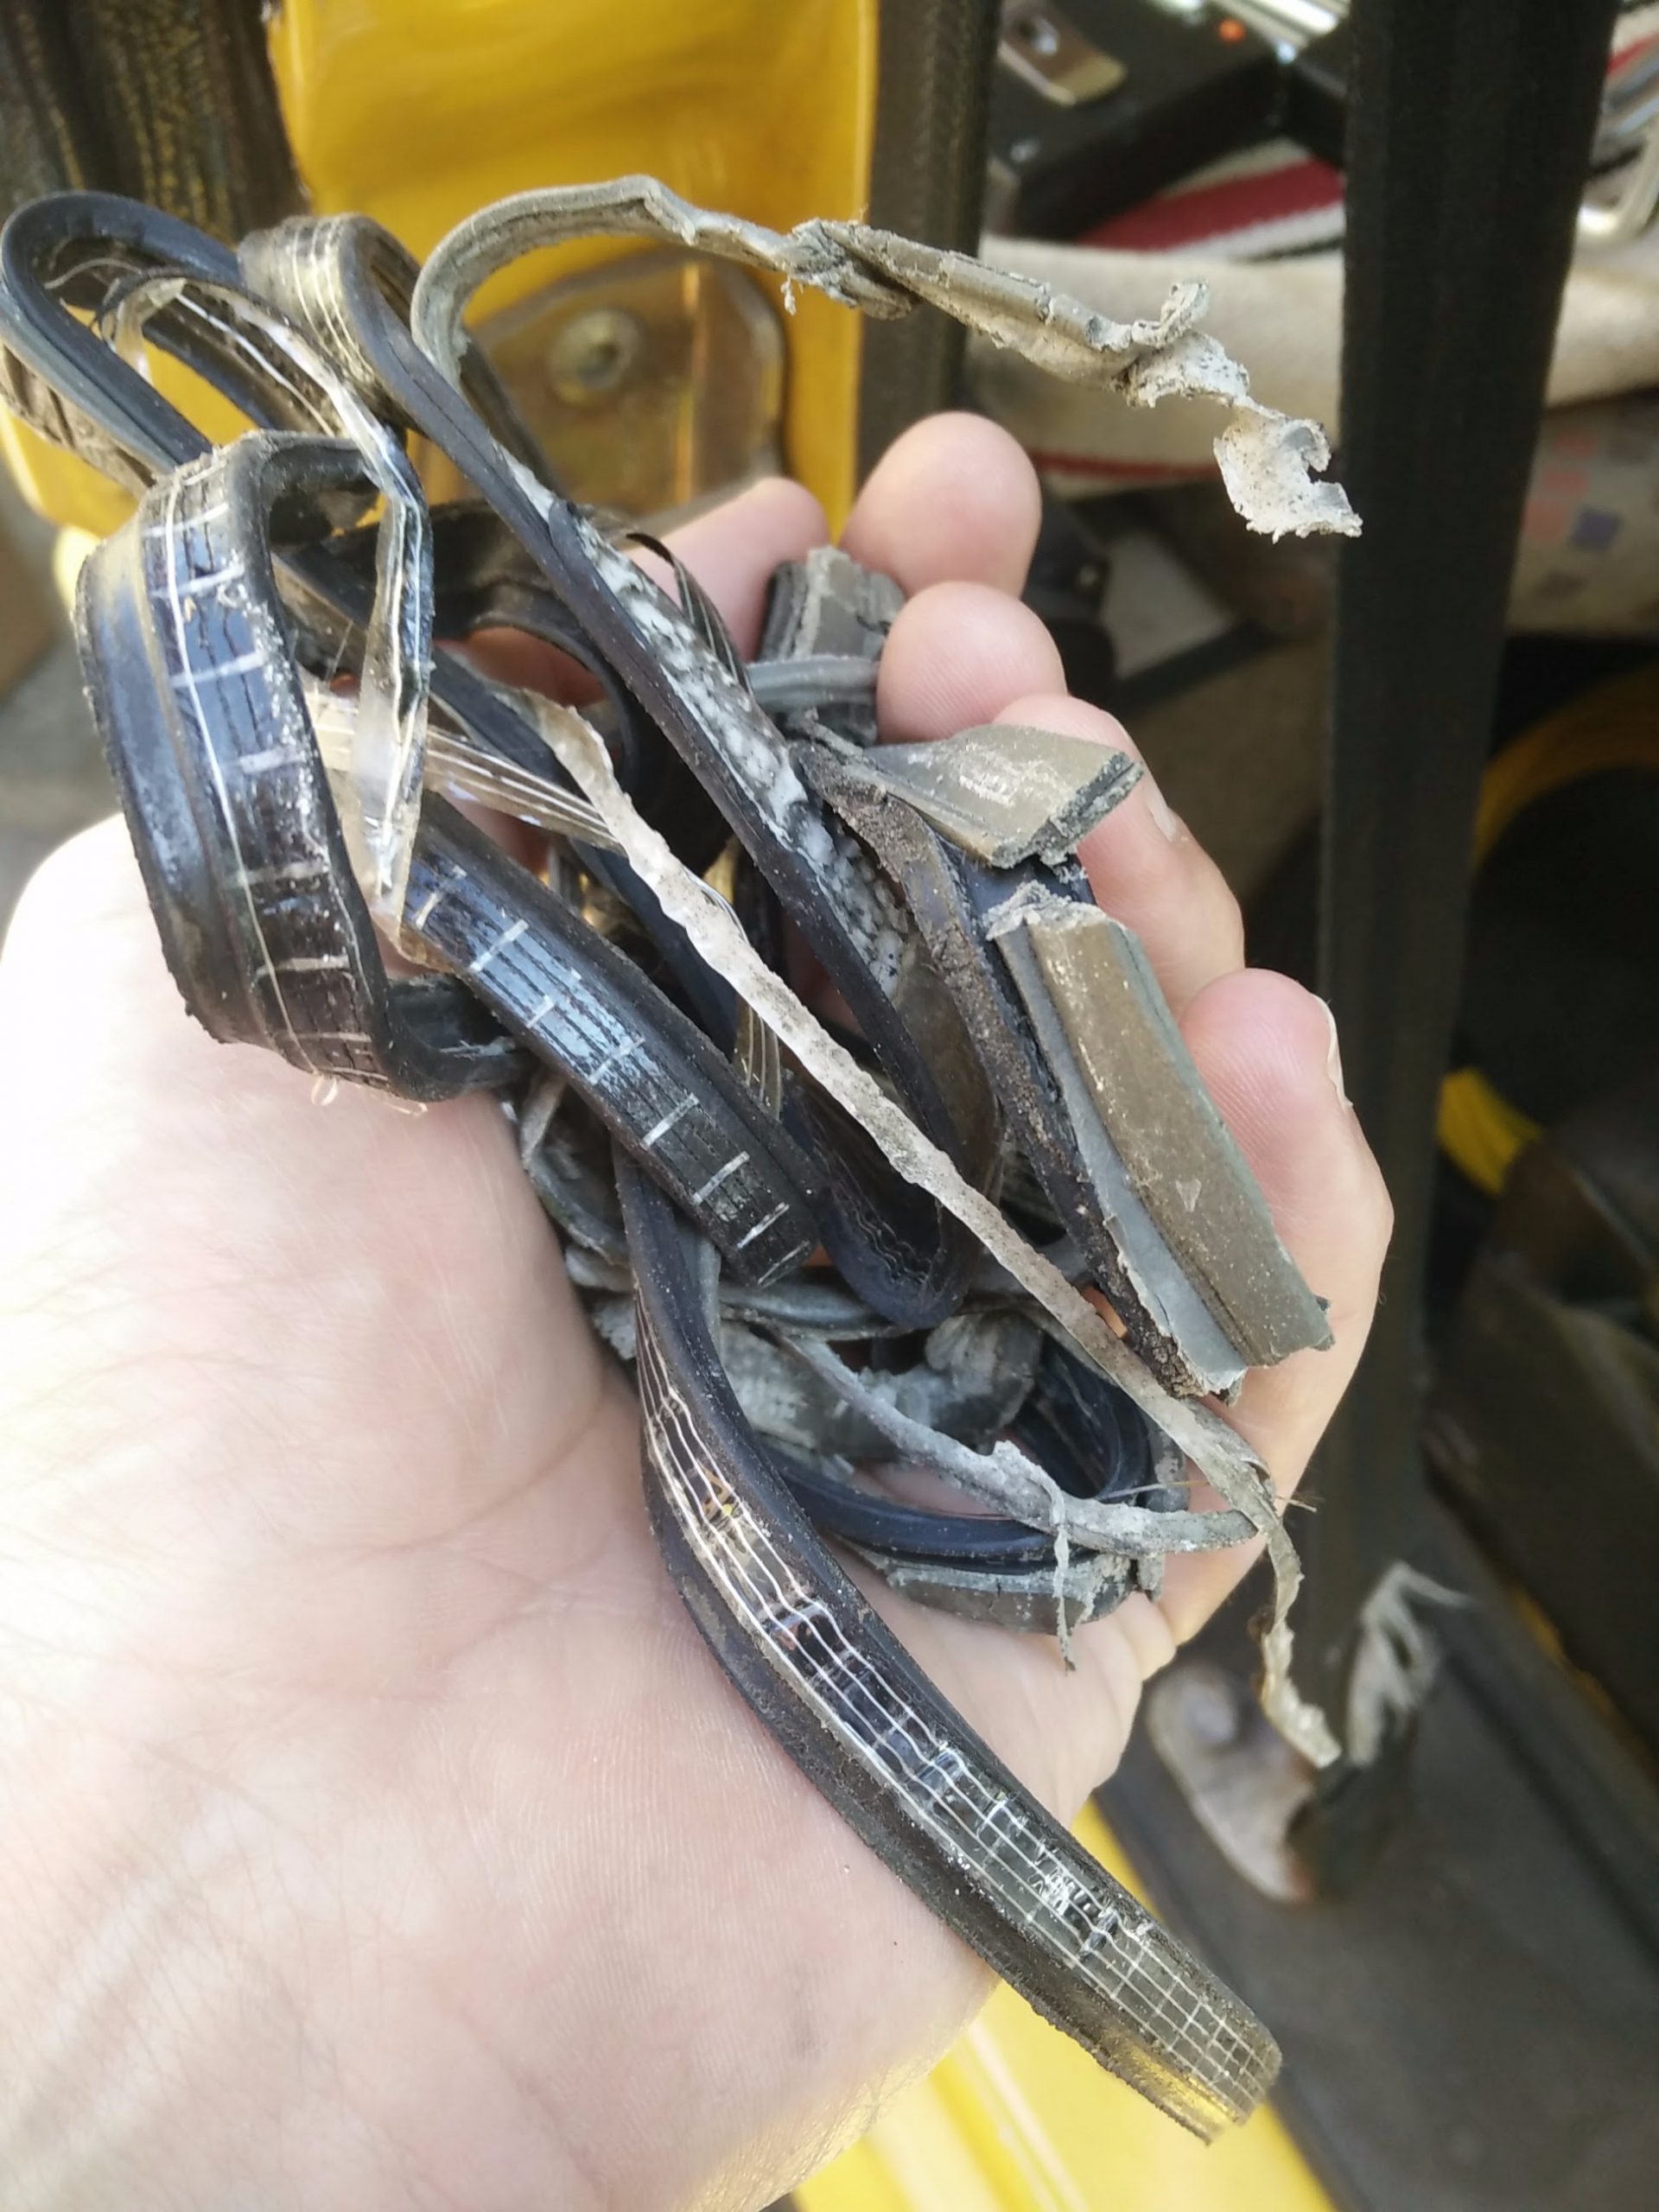
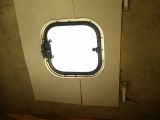
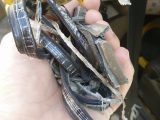
The roof leaked. And the damp had shredded the fabric headlining and was shedding bits of black foam every time the door was slammed. Plainly a bit of tidying of both was needed to make the ’van more pleasant to spend time in.
At a glance, the jobs looked pretty simple: remove the old rooflight, find some way of tidying the headlining, and then put it all back together. Things never quite go like that, though.
First things first
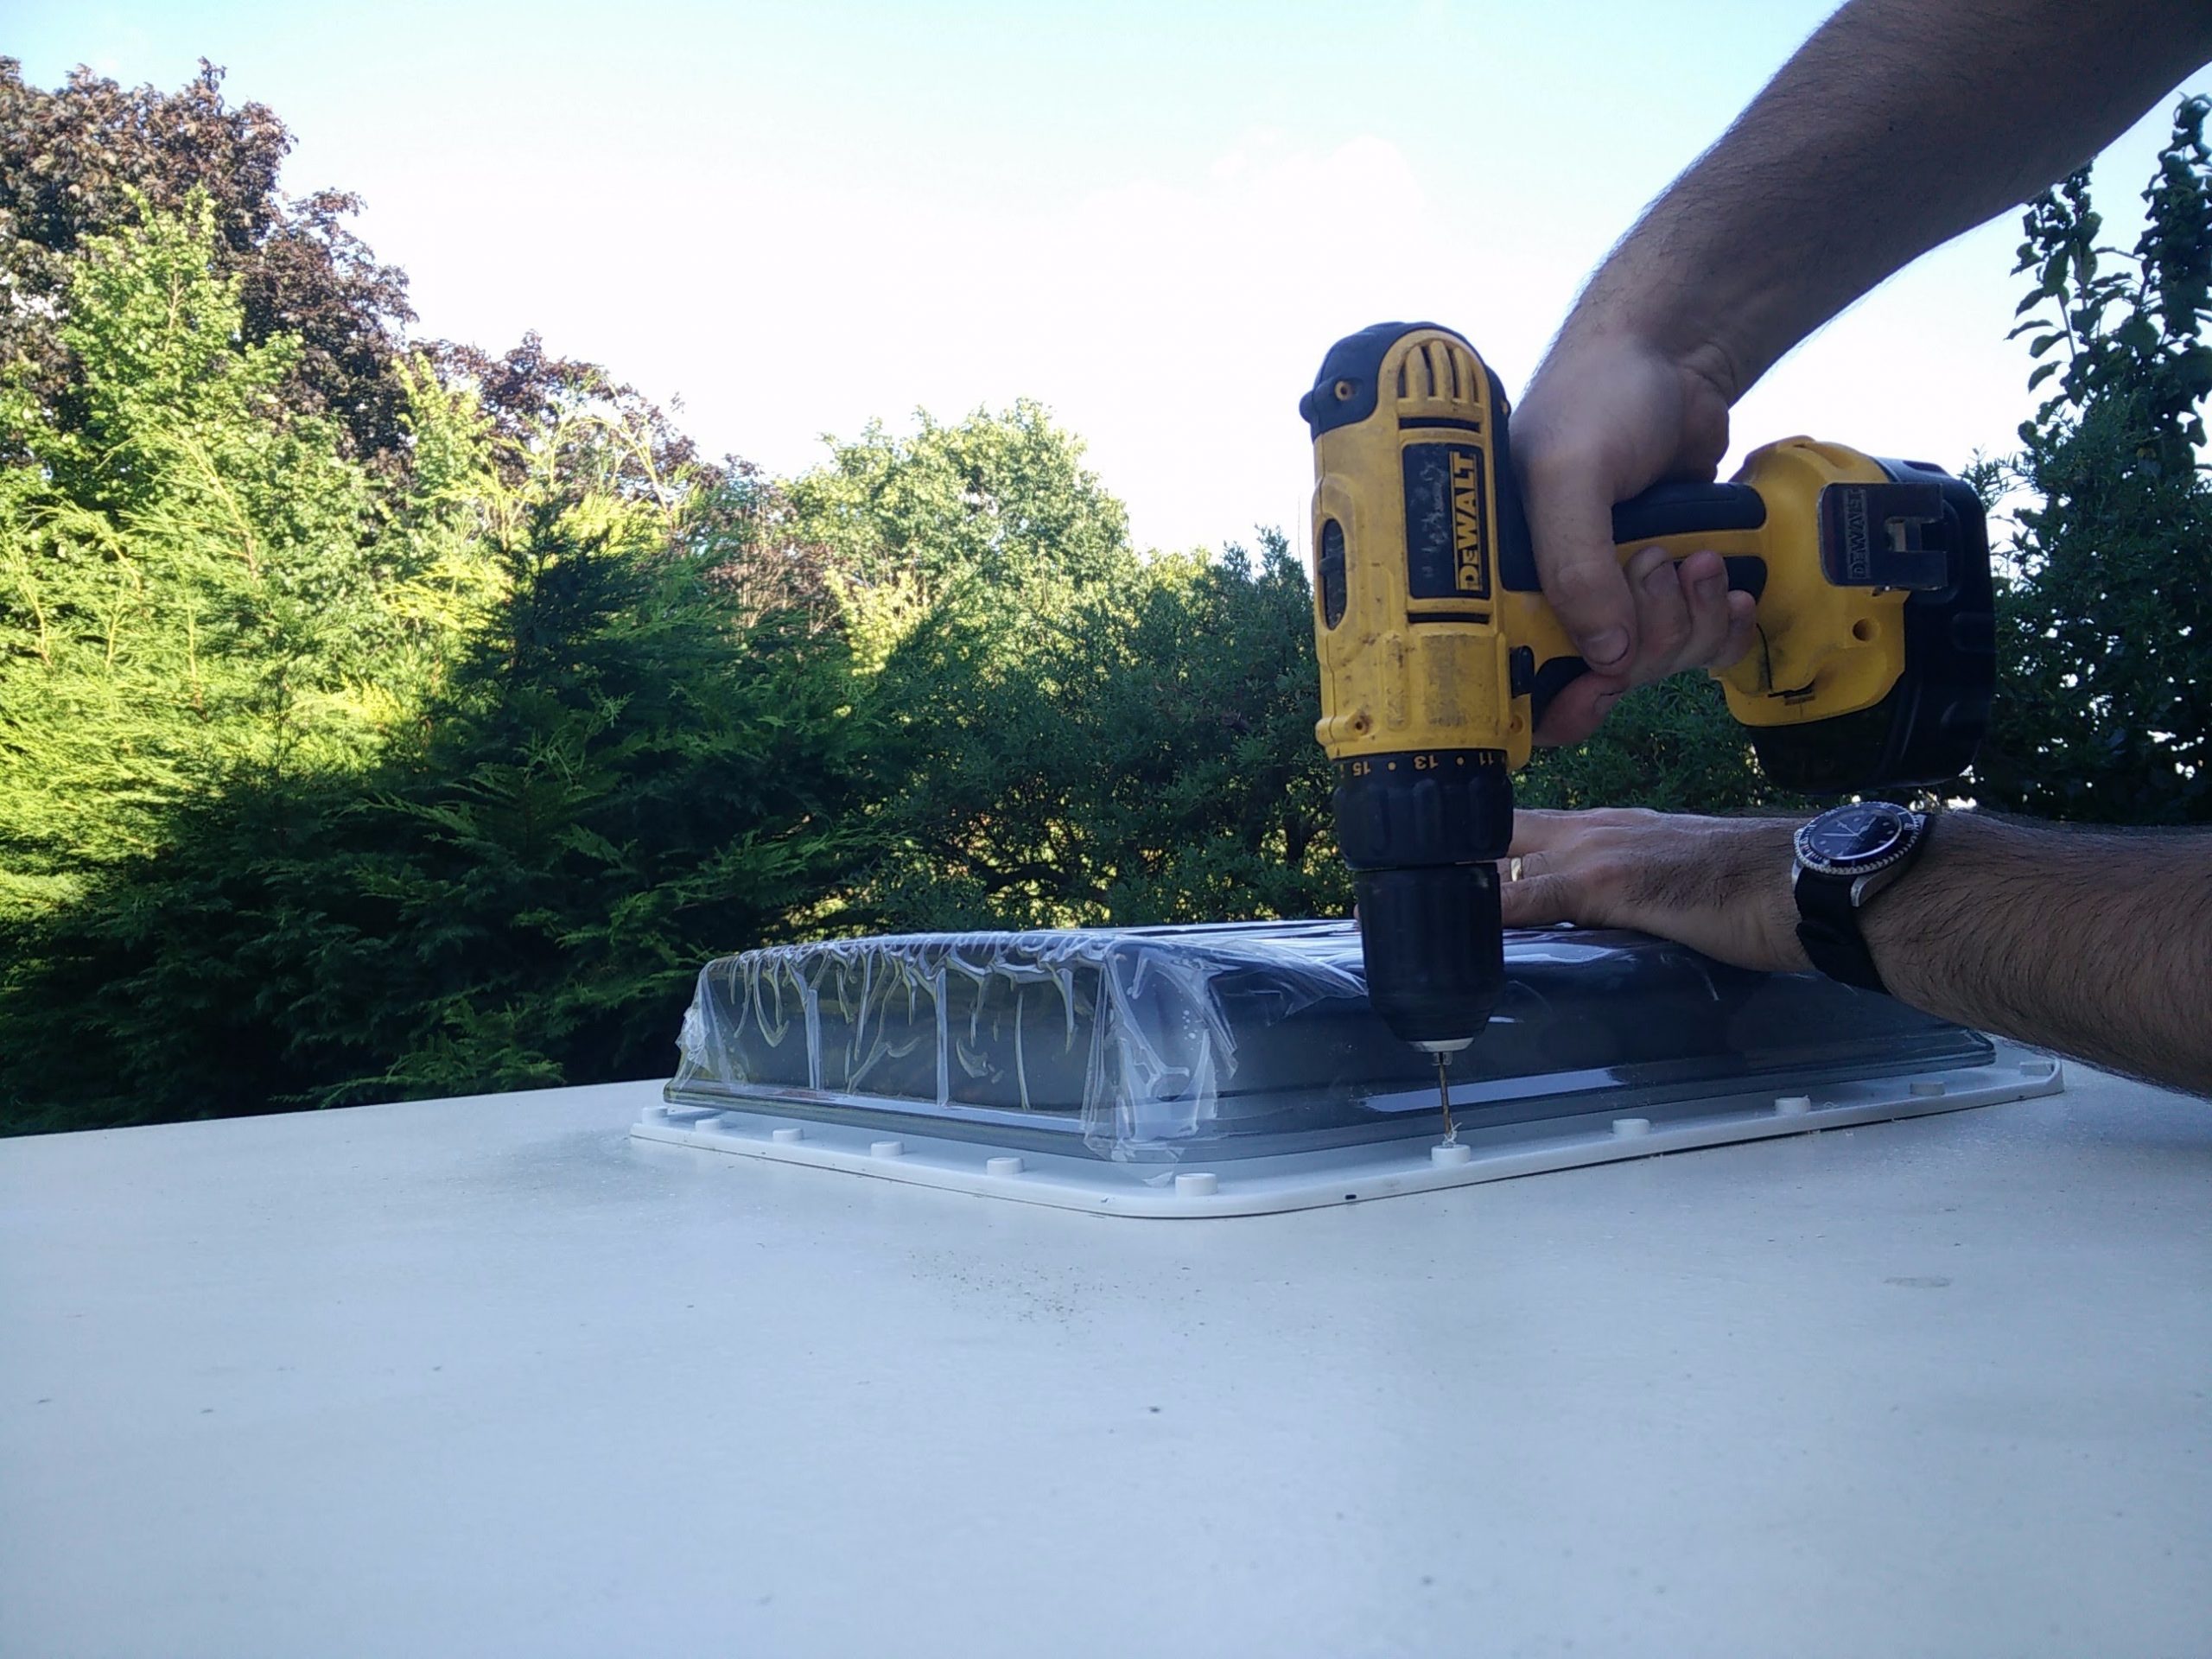
Removing the rooflight was simple as it was broken. I lifted up and unhooked the glass, then got the screwdriver out to remove the frame. This was held in by screws from underneath which went through the roof cavity into captive threads on the top layer of the frame.
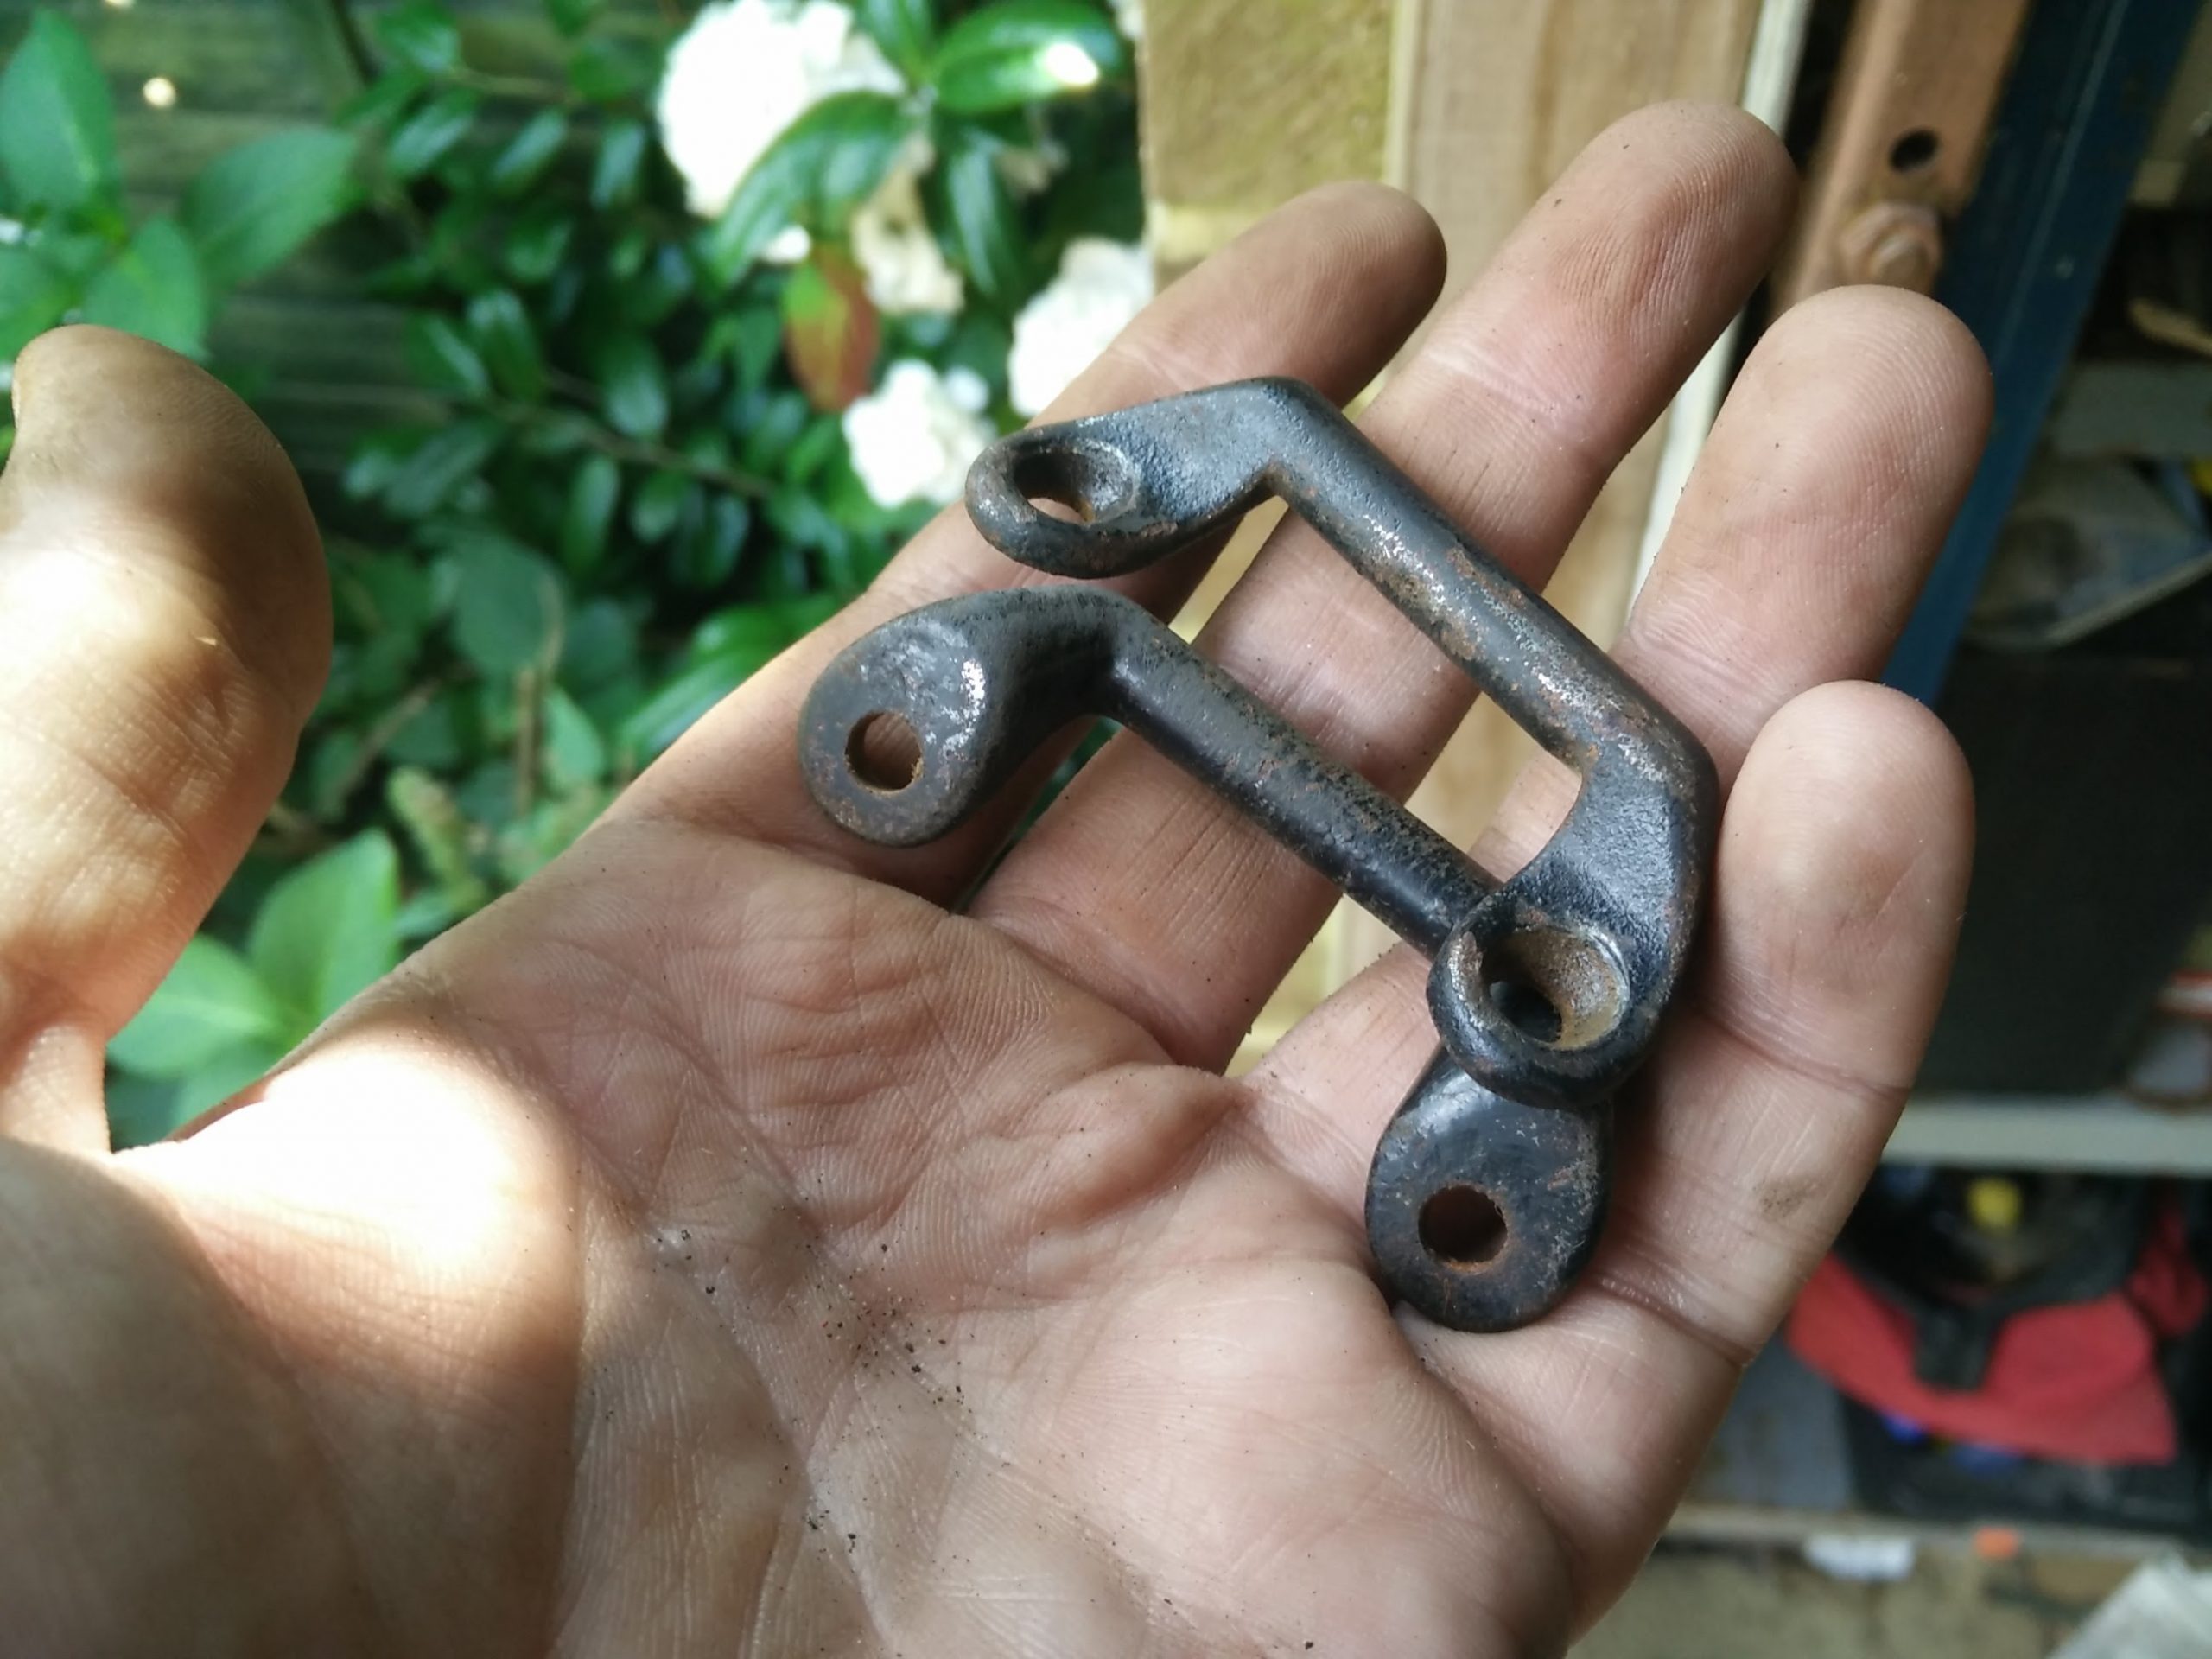
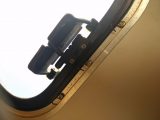
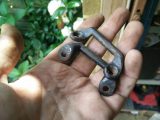
The first sniff of bodgery here was that only half of the screws were screws. The others were Torx-headed screws, some of which had been slackened off to fit some crude hooks, presumably to support a crude blind. Nice work.
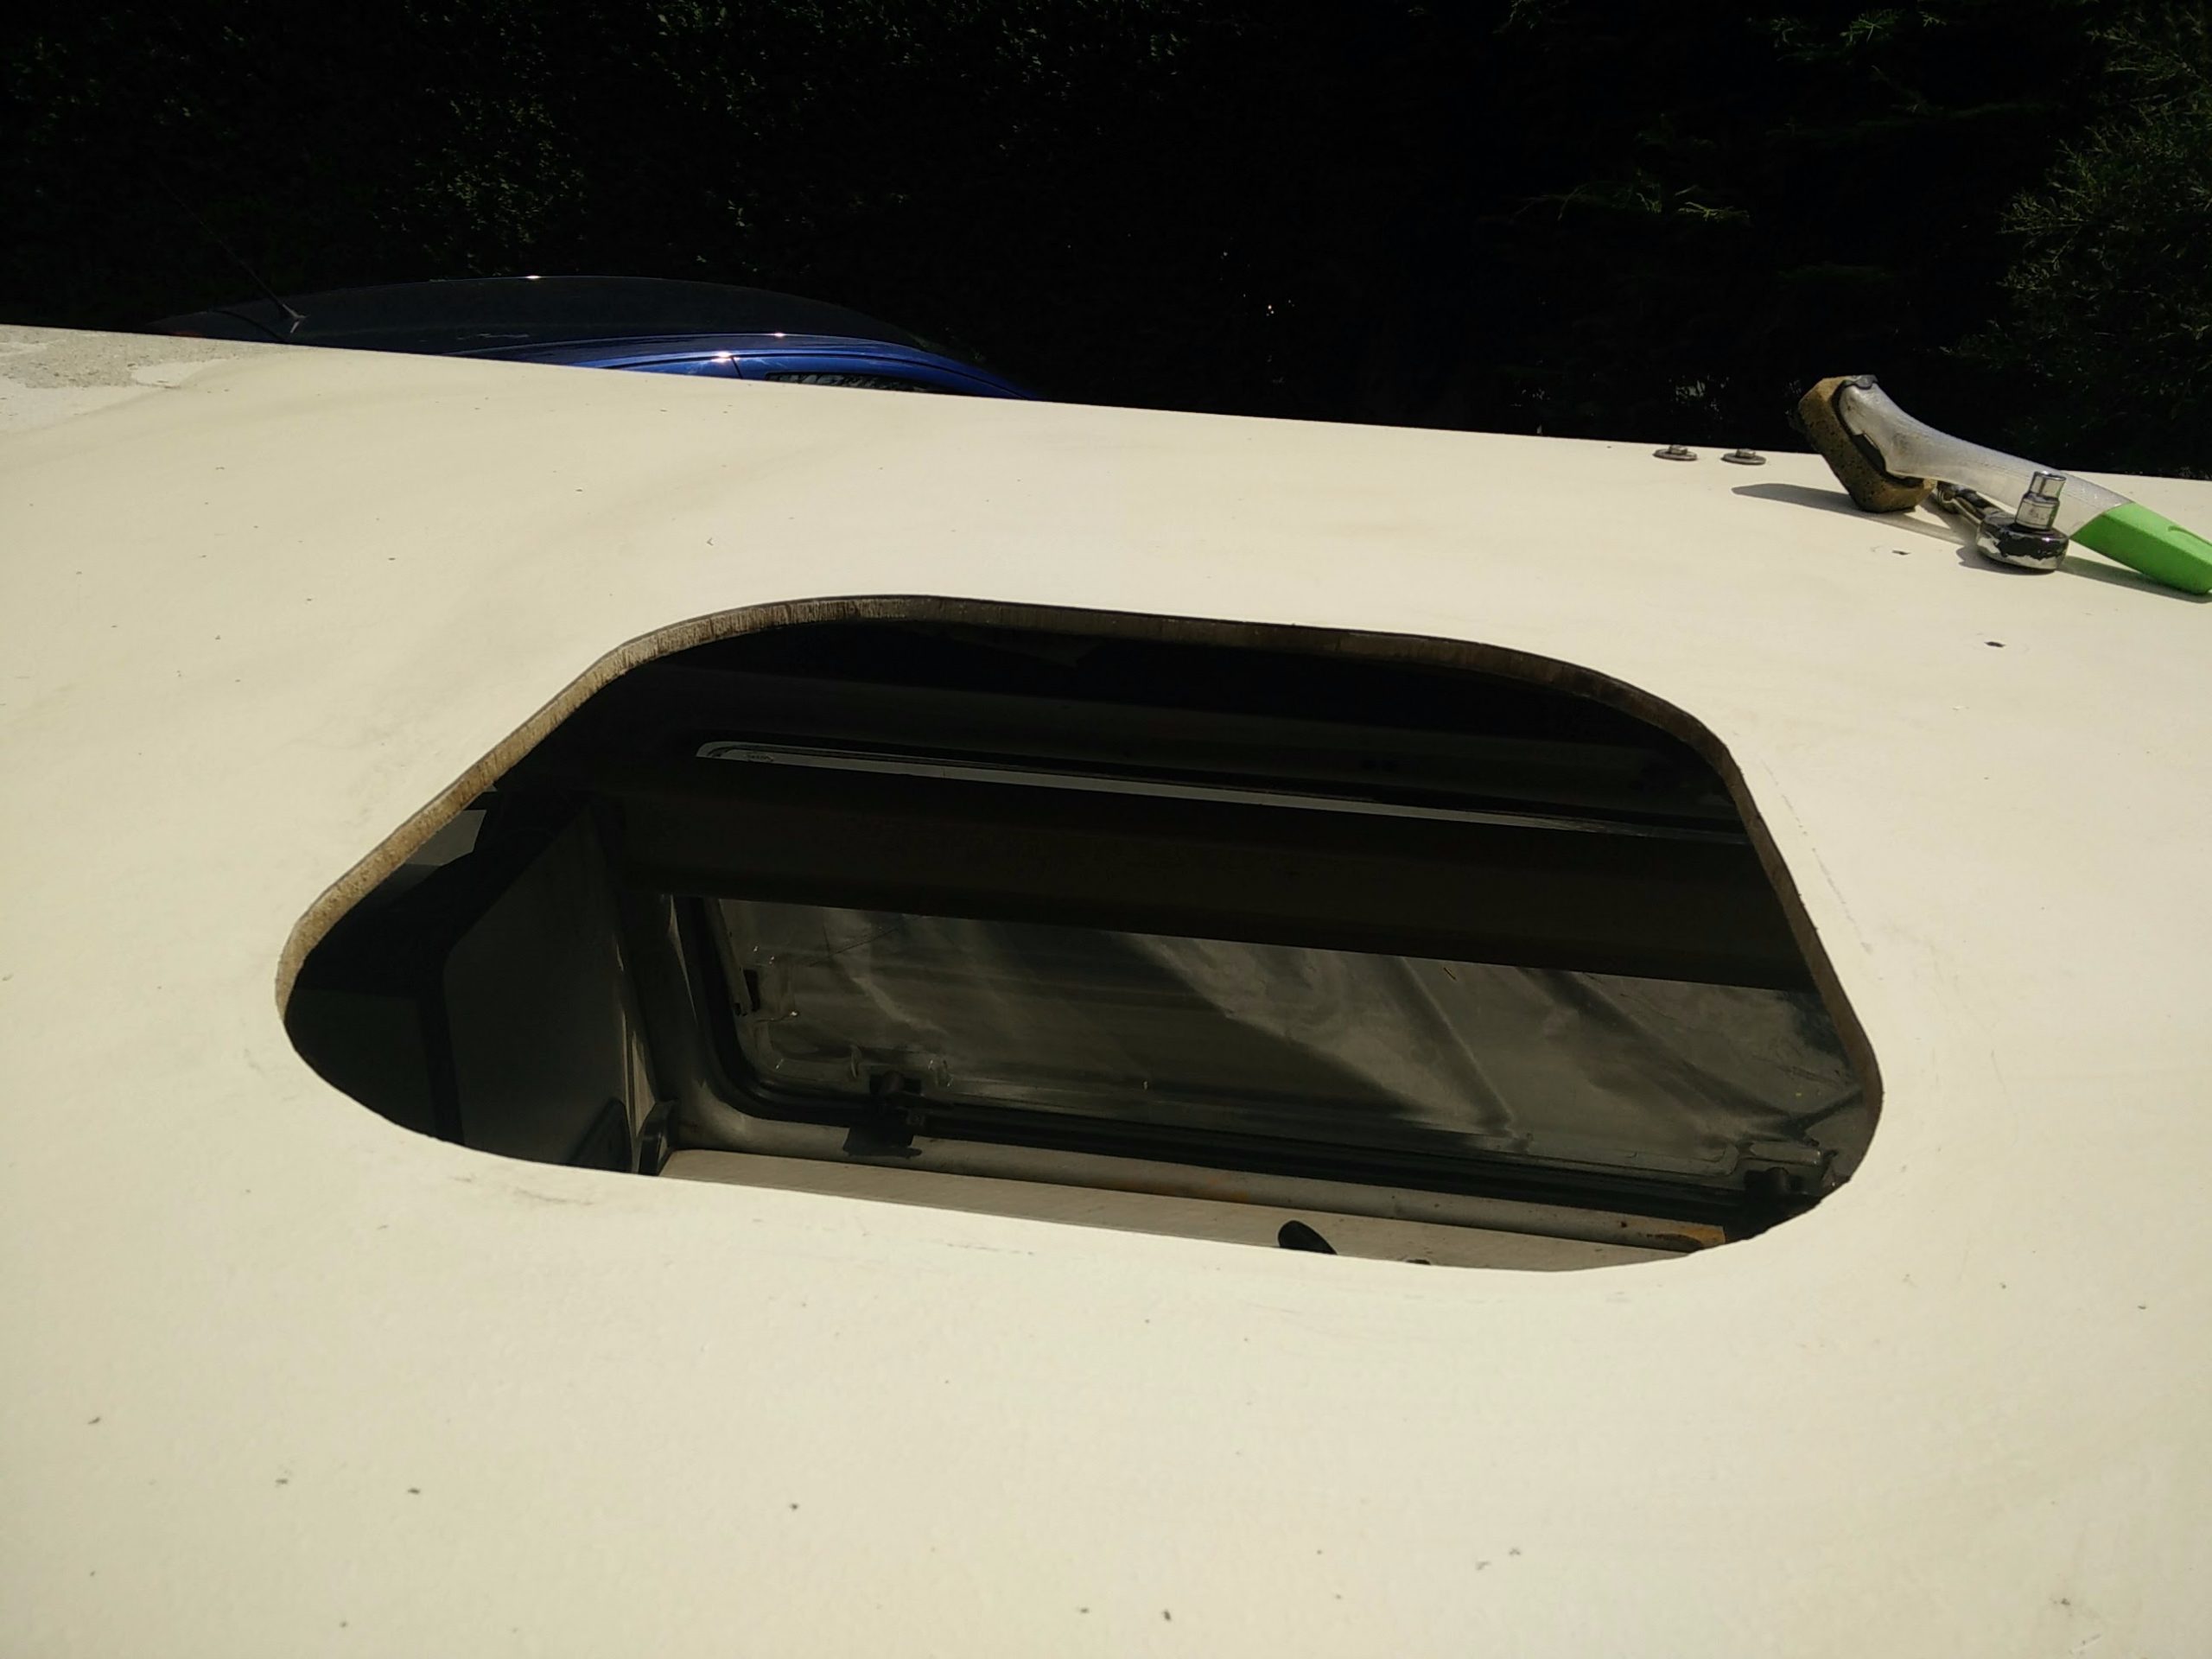
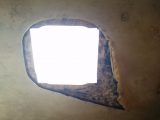
With the screws removed, the two sides of the frame came apart and we could see the rooflight aperture for the first time. There were three types of sealant in evidence which immediately suggests iffy repair work. The only way to seal leaking rooflights is by getting both surfaces clean and resealing. You can’t apply sealant to sealant. It does not work.
Seeing as we were fitting a new rooflight, it didn’t matter. But the replacement gave us a couple of headaches.
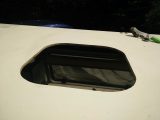
Firstly, the old rooflight was not something you see in caravans and motorhomes normally. It was single-glazed and very low-profile, while the roof cutout corners had very shallow radiuses. It looked like something from a boat.
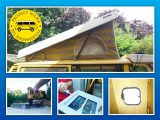
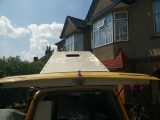
Our new rooflight was a Fiamma unit which is far taller, narrower at the widest points of the existing cut, but wider in the corners. We were anxious to remove as little amount of material from the roof as possible, so we cut out the corners, positioning the new rooflight as central in the existing hole as possible.
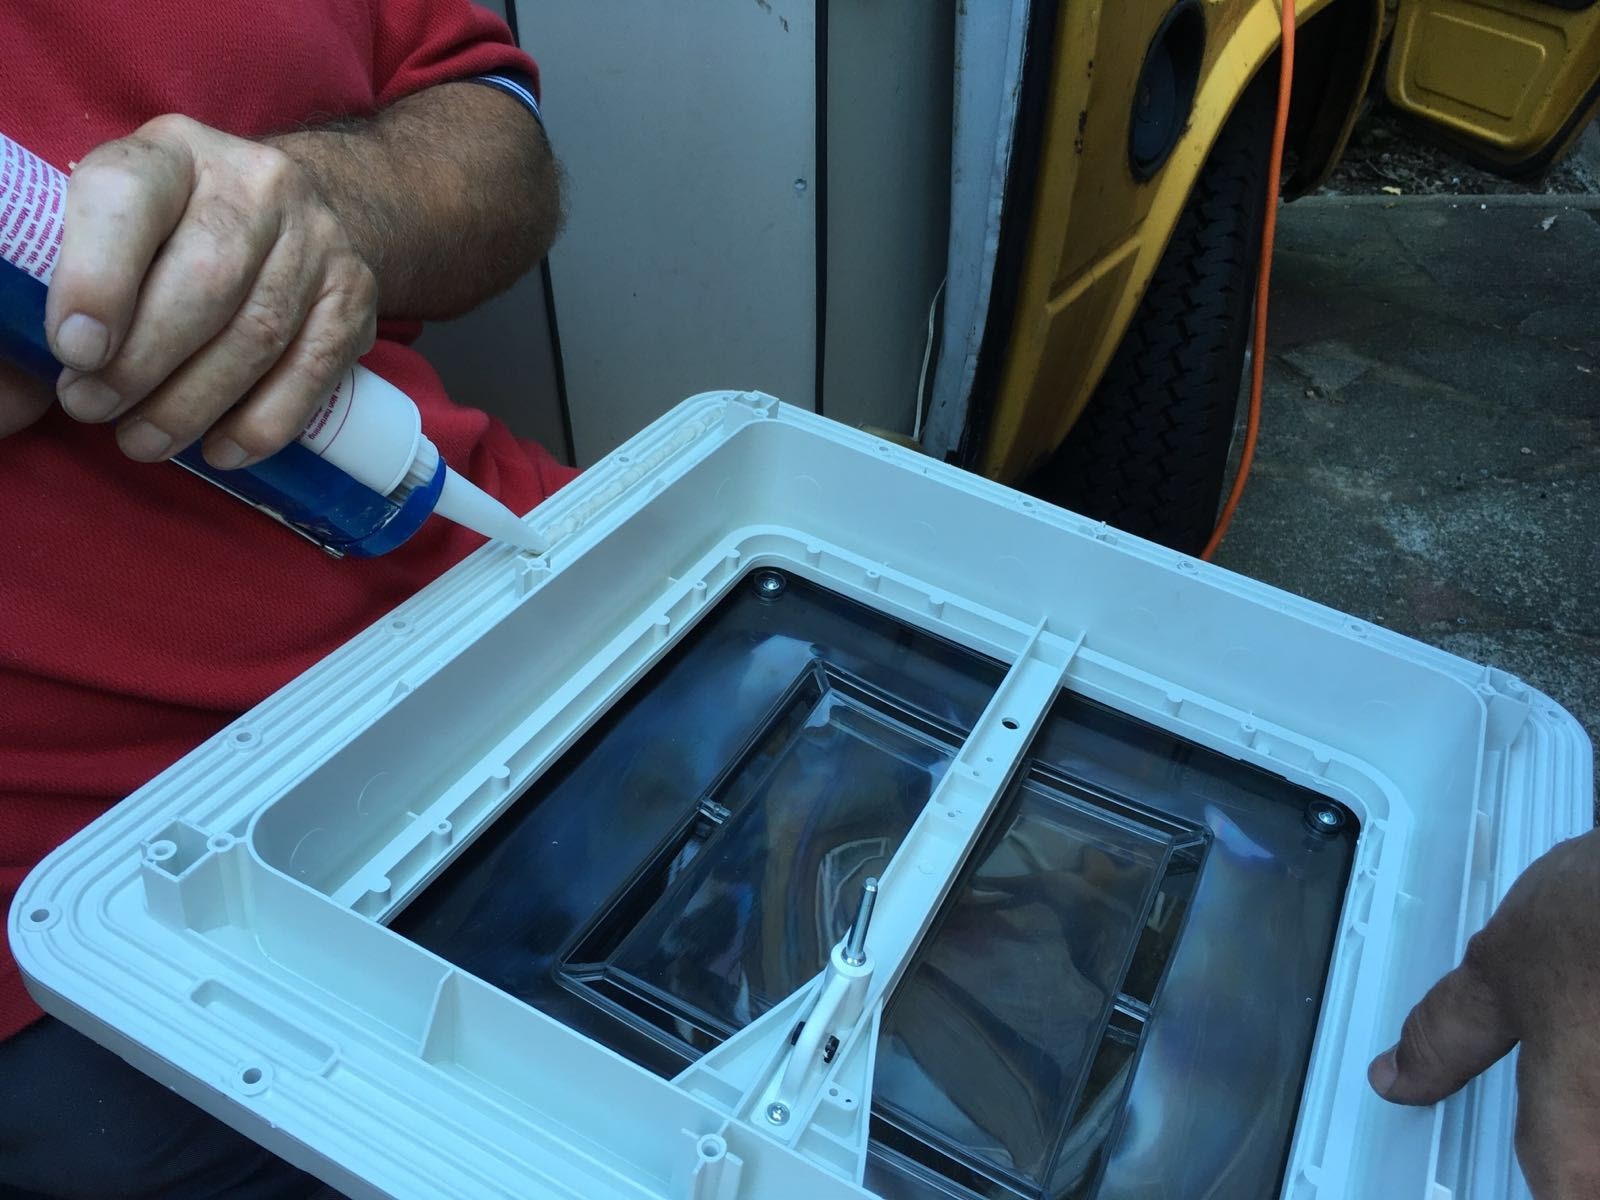
The rooflight was fitted in position using a non-setting bedding mastic. We used Carafax IDL99 as it is available cheaply on eBay (roughly £10 per tube) and is used by lots of professional workshops, which is recommendation enough for me.
A liberal amount of sealant was applied to the relevant surfaces of the rooflight, and also to each of the stainless-steel self-tapping panhead screws which clamp the roof into place. It was a laborious task as we were working on a trestle, and wanted to tighten the screws on alternate sides of the fitting to ensure we didn’t distort the plastic frame. Each screw was started with a cordless screwdriver, but final tightening was done by hand to prevent over-enthusiastic tightening damaging the roof or rooflight.
With the sealant applied, we then used pan-headed stainless-steel screws to secure the rooflight and drive out excess sealant from the join.
Getting on top of the problem
We needed to tidy the rooflining inside the camper van. The roof construction is very simple. It is essentially a sandwich of GRP, plywood and more GRP with a decorative foam-backed grey fabric on the inside.
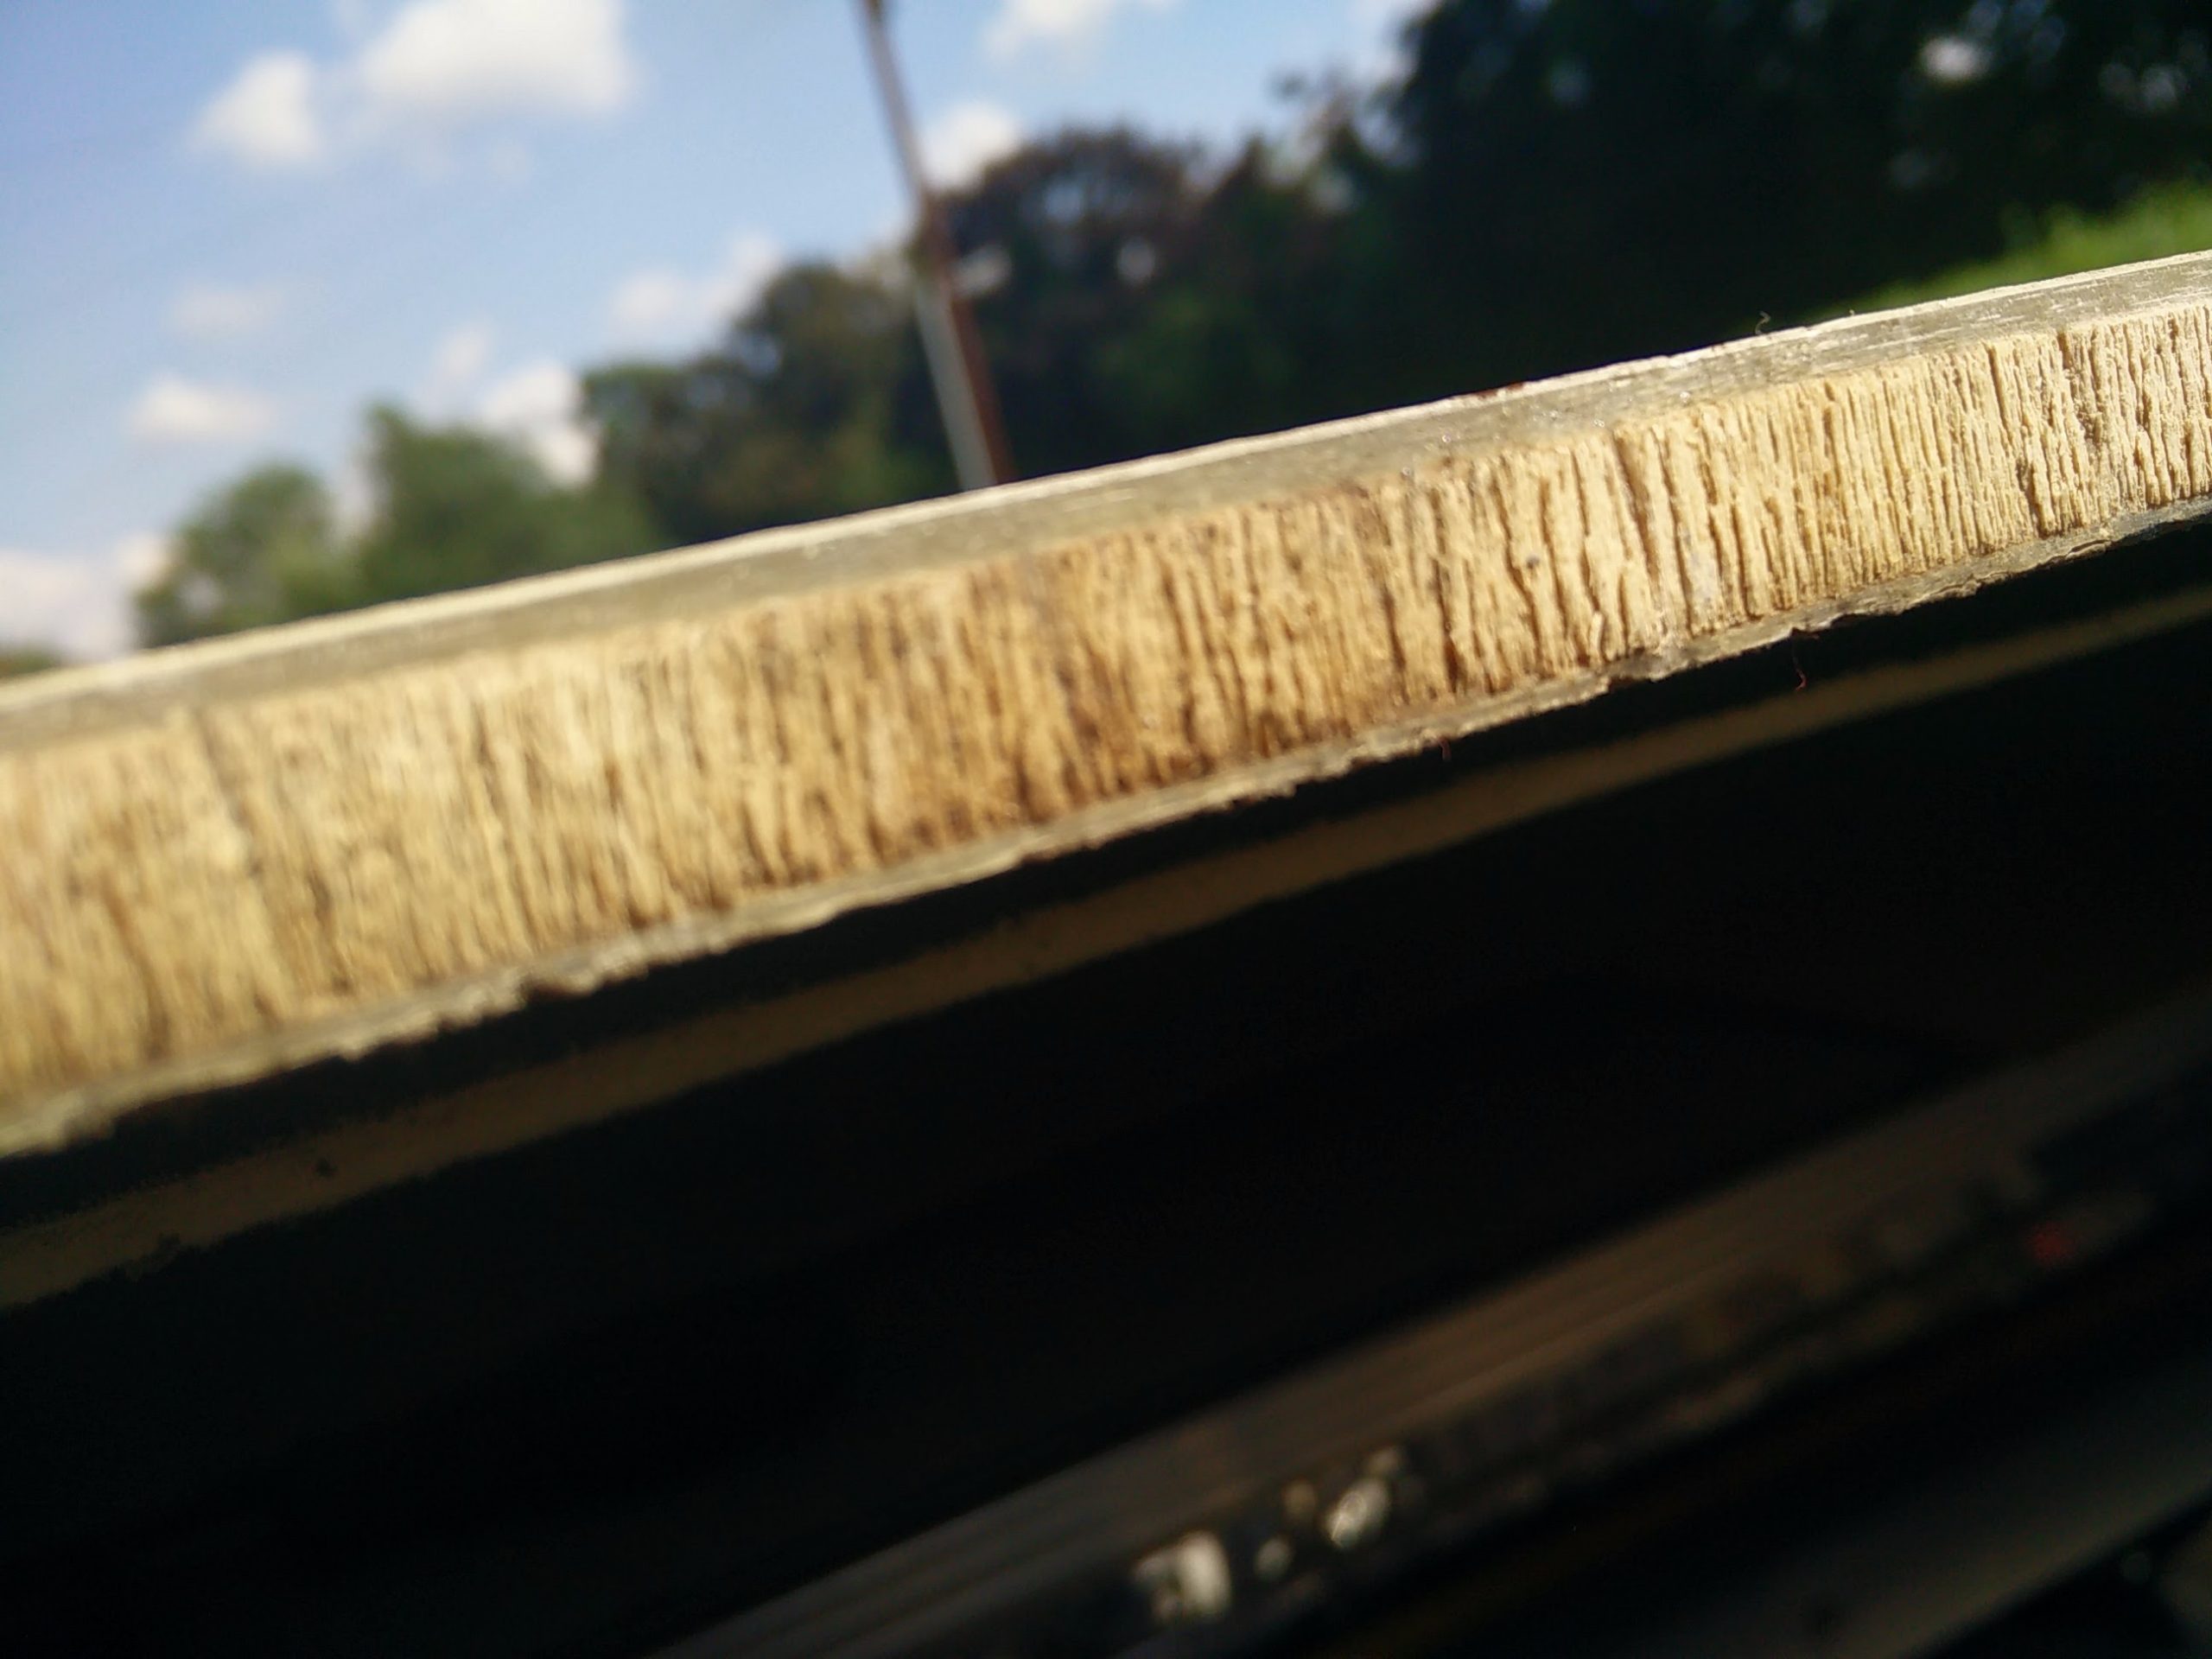
The good news was that the timber inside the roof was fine, despite evidence of moisture having got to it. It is a good quality marine ply and had shaken off the moisture. It had dried out too. The leak damage was confined to the fabric interior covering, which was a mess.
We cut away all the most ragged bits of the old fabric rooflining to give us as good a surface for the new roofboard as we could manage. We also removed the roof grabhandles and the brackets for the tie-down straps, giving us a flat, clean surface to start covering up.
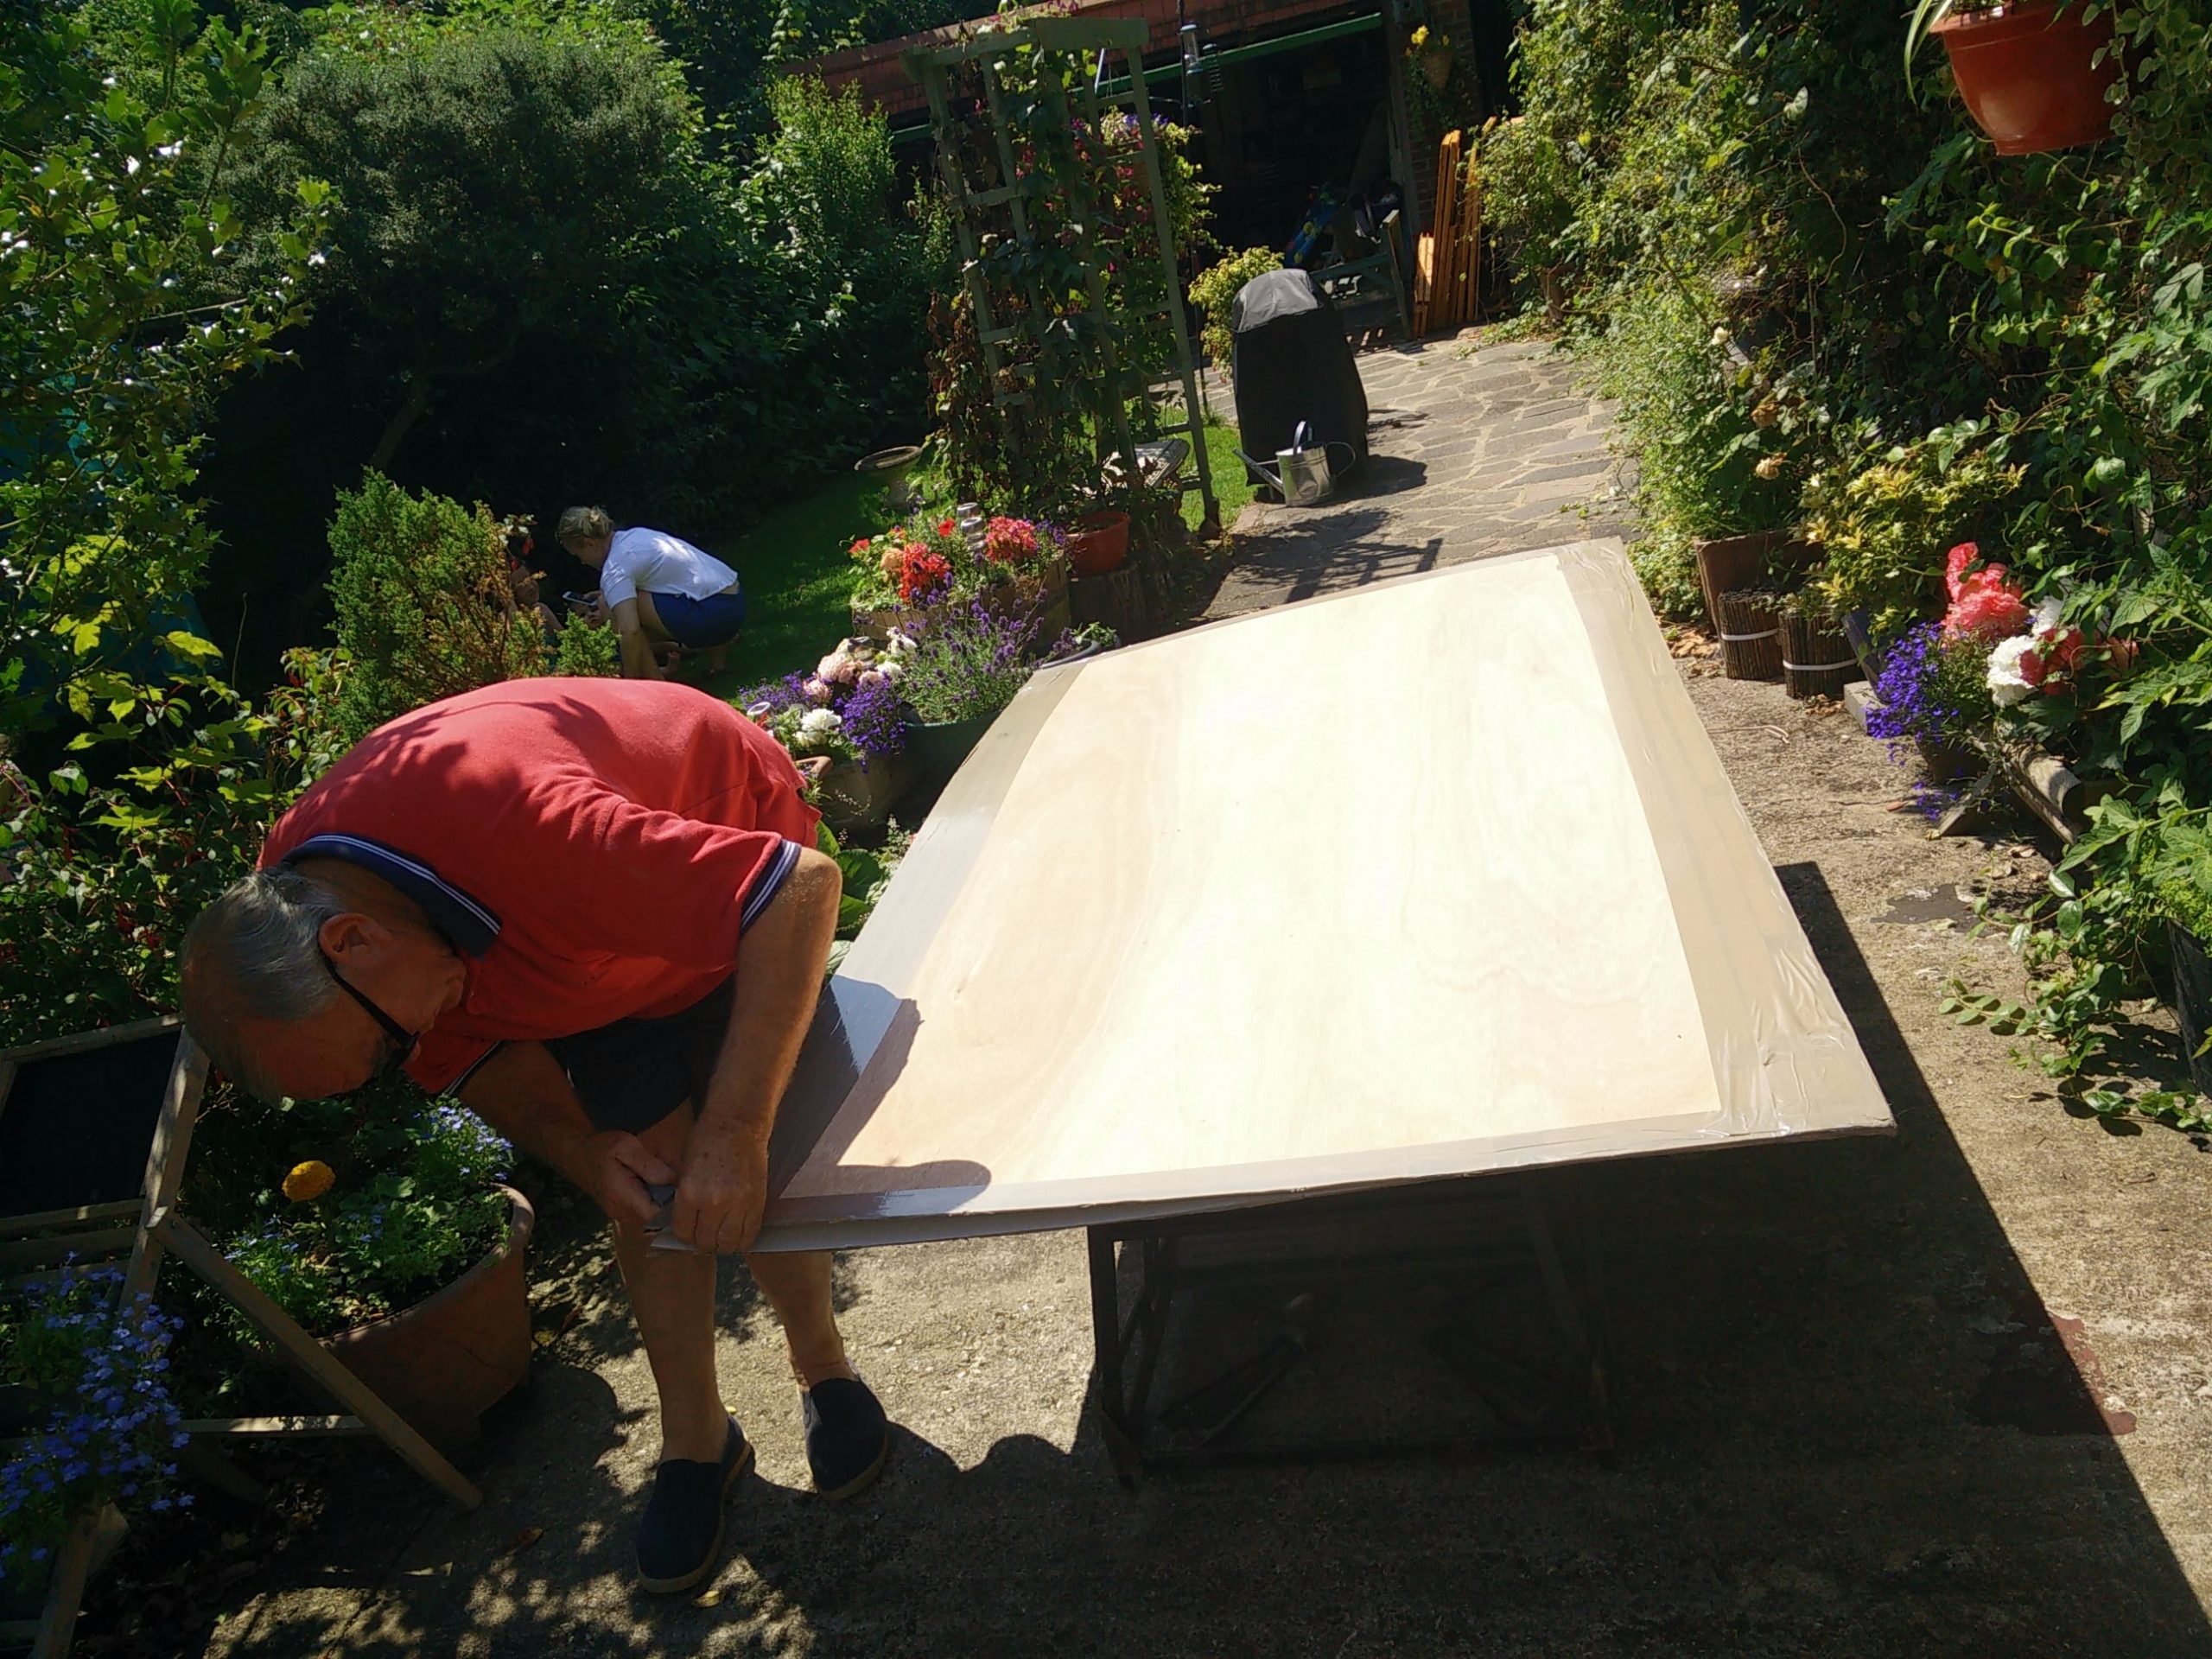
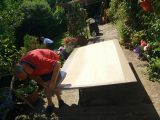
We measured the roof inside and then set about cutting the sheet of wallboard roughly to size on the ground outside. Space is sufficiently tight inside the ’van that you need the board to be roughly the right shape before you start offering it up.
However, given that there are so few ‘hard points’ for measuring to the edges of the fabric roof, we had to get the roof in place to mark the cuts. Once it was basically the right shape, we manhandled it into the roof area, marked the cut out of the rooflight and then removed it again to refine the shape.
After the roof had been offered up twice, we were happy that the roofboard was basically the right shape and would fit. Another couple of problems reared their head, though.
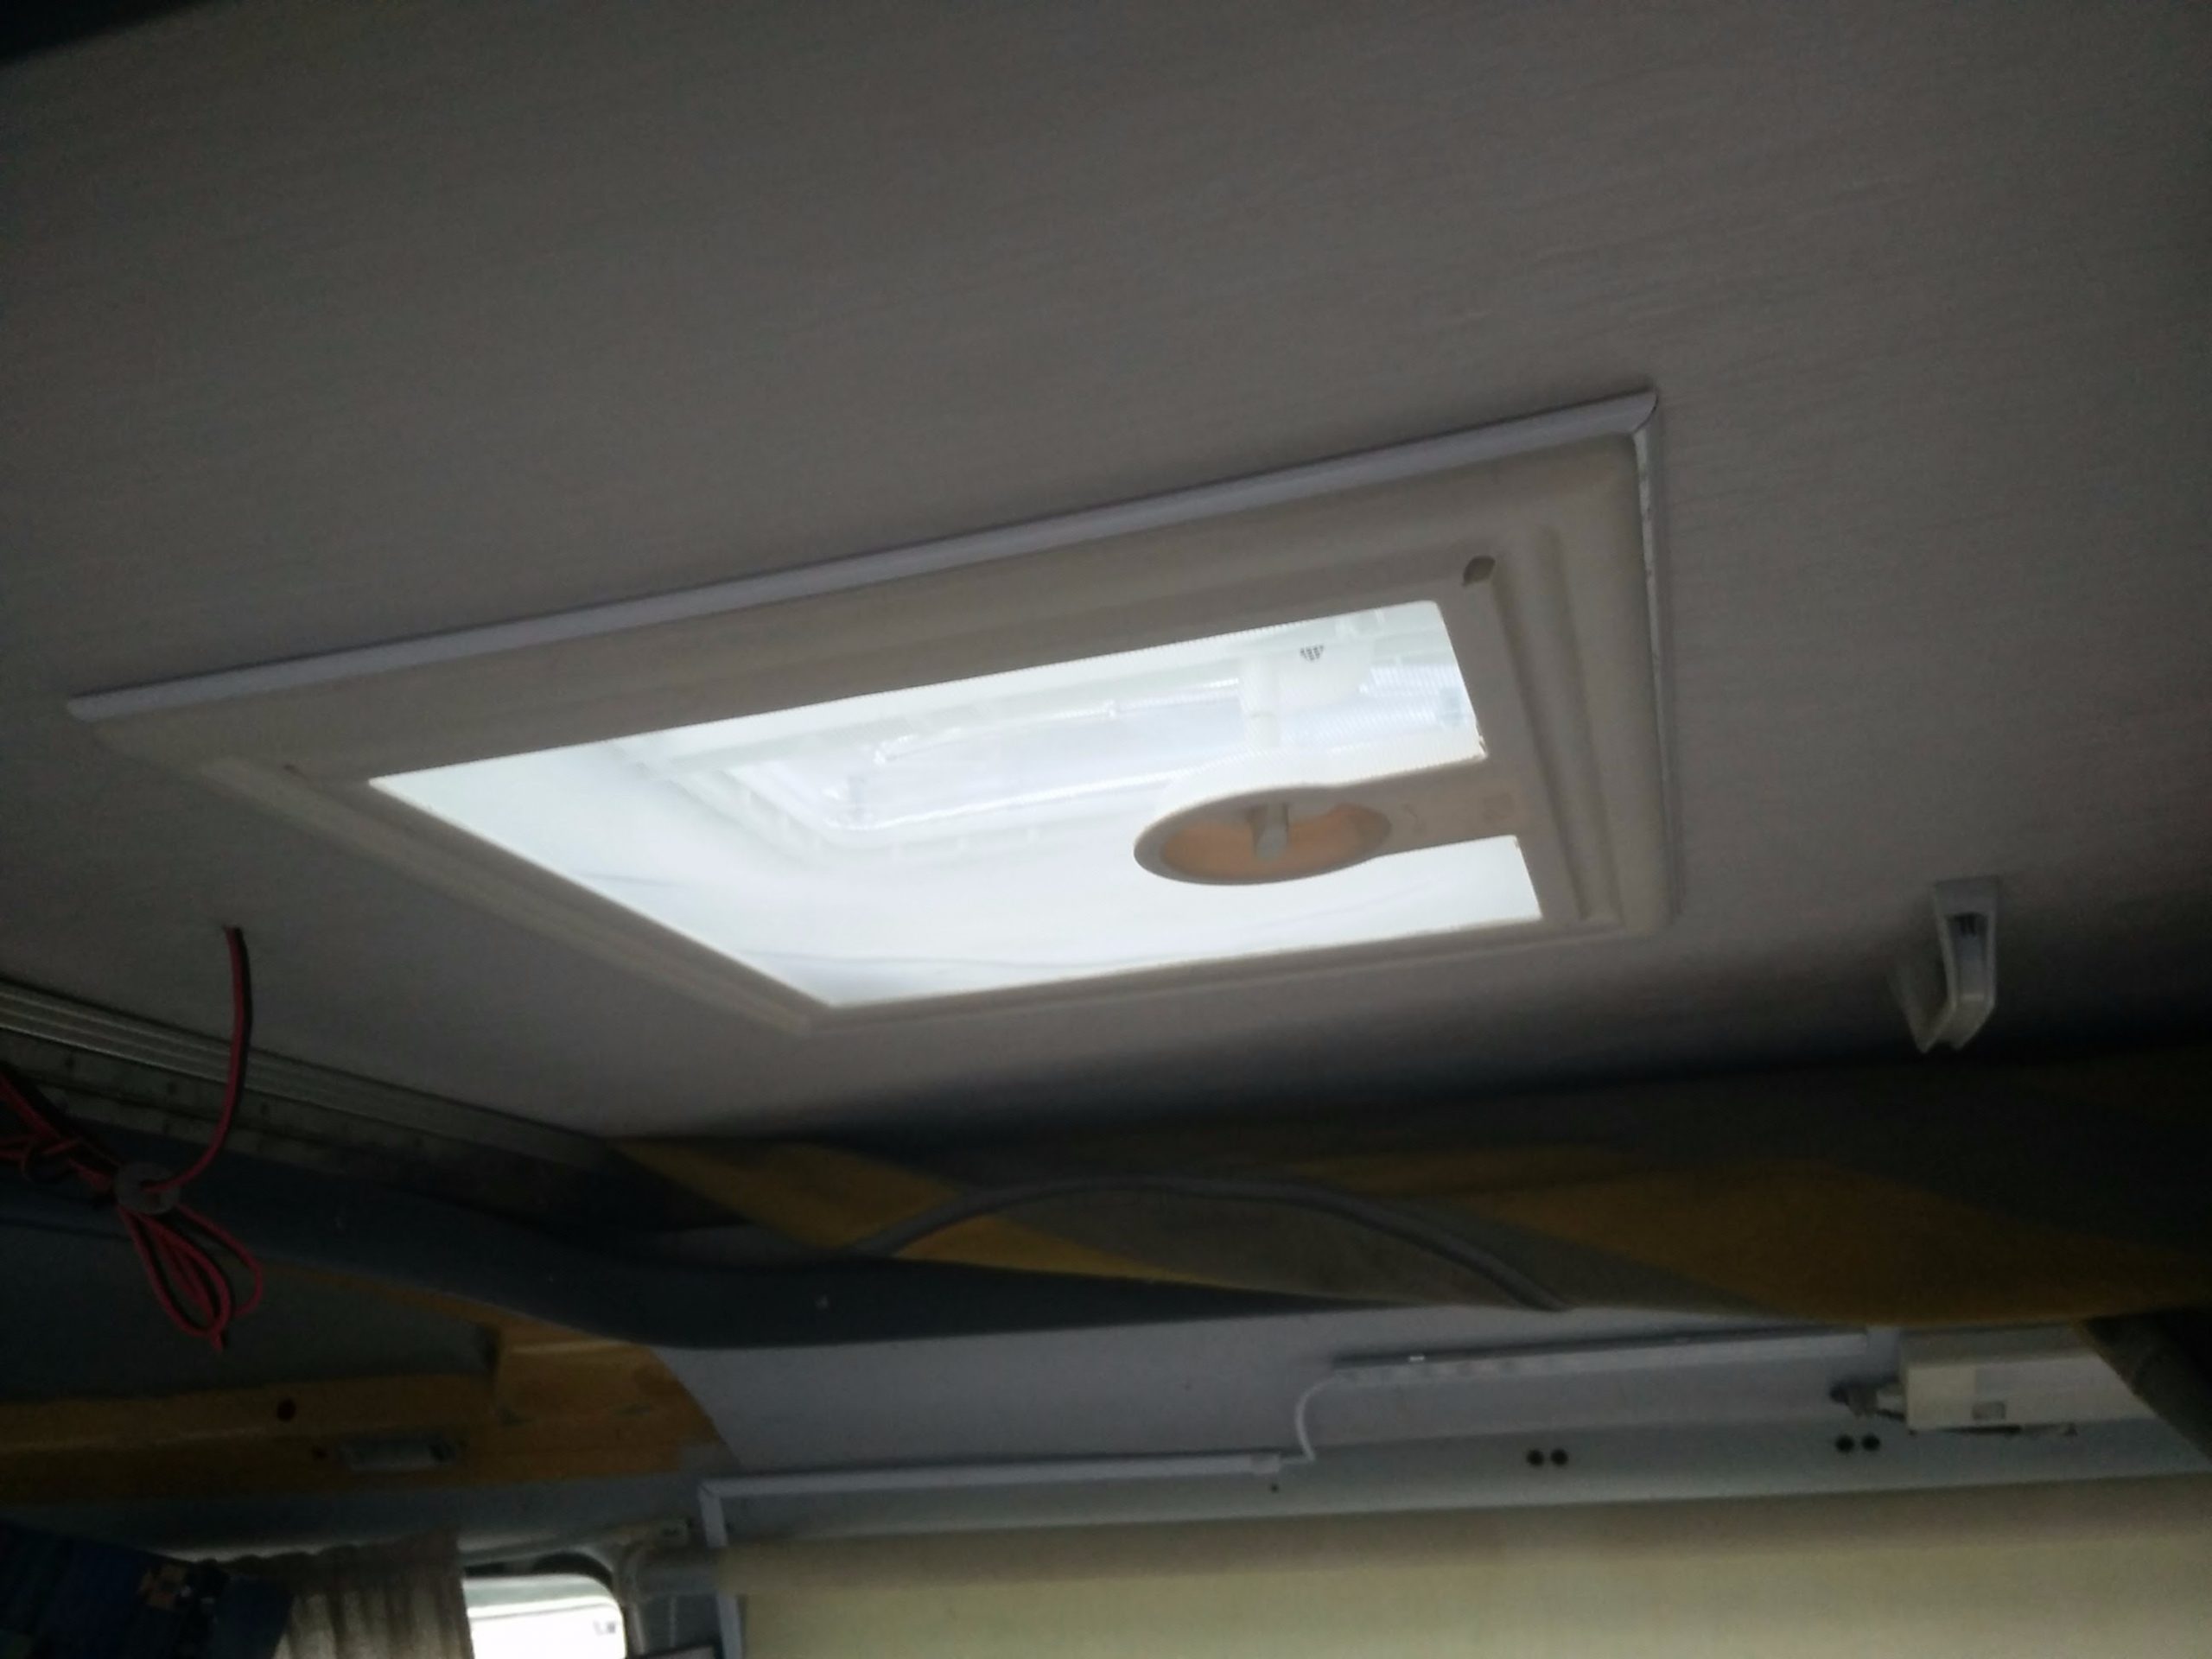
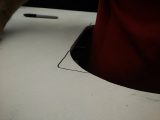
Firstly, we wanted to add a light to the roof, but we had not yet bought it. That was solved by running a length of cable behind the roof and poking it through a hole. We could connect it all later.
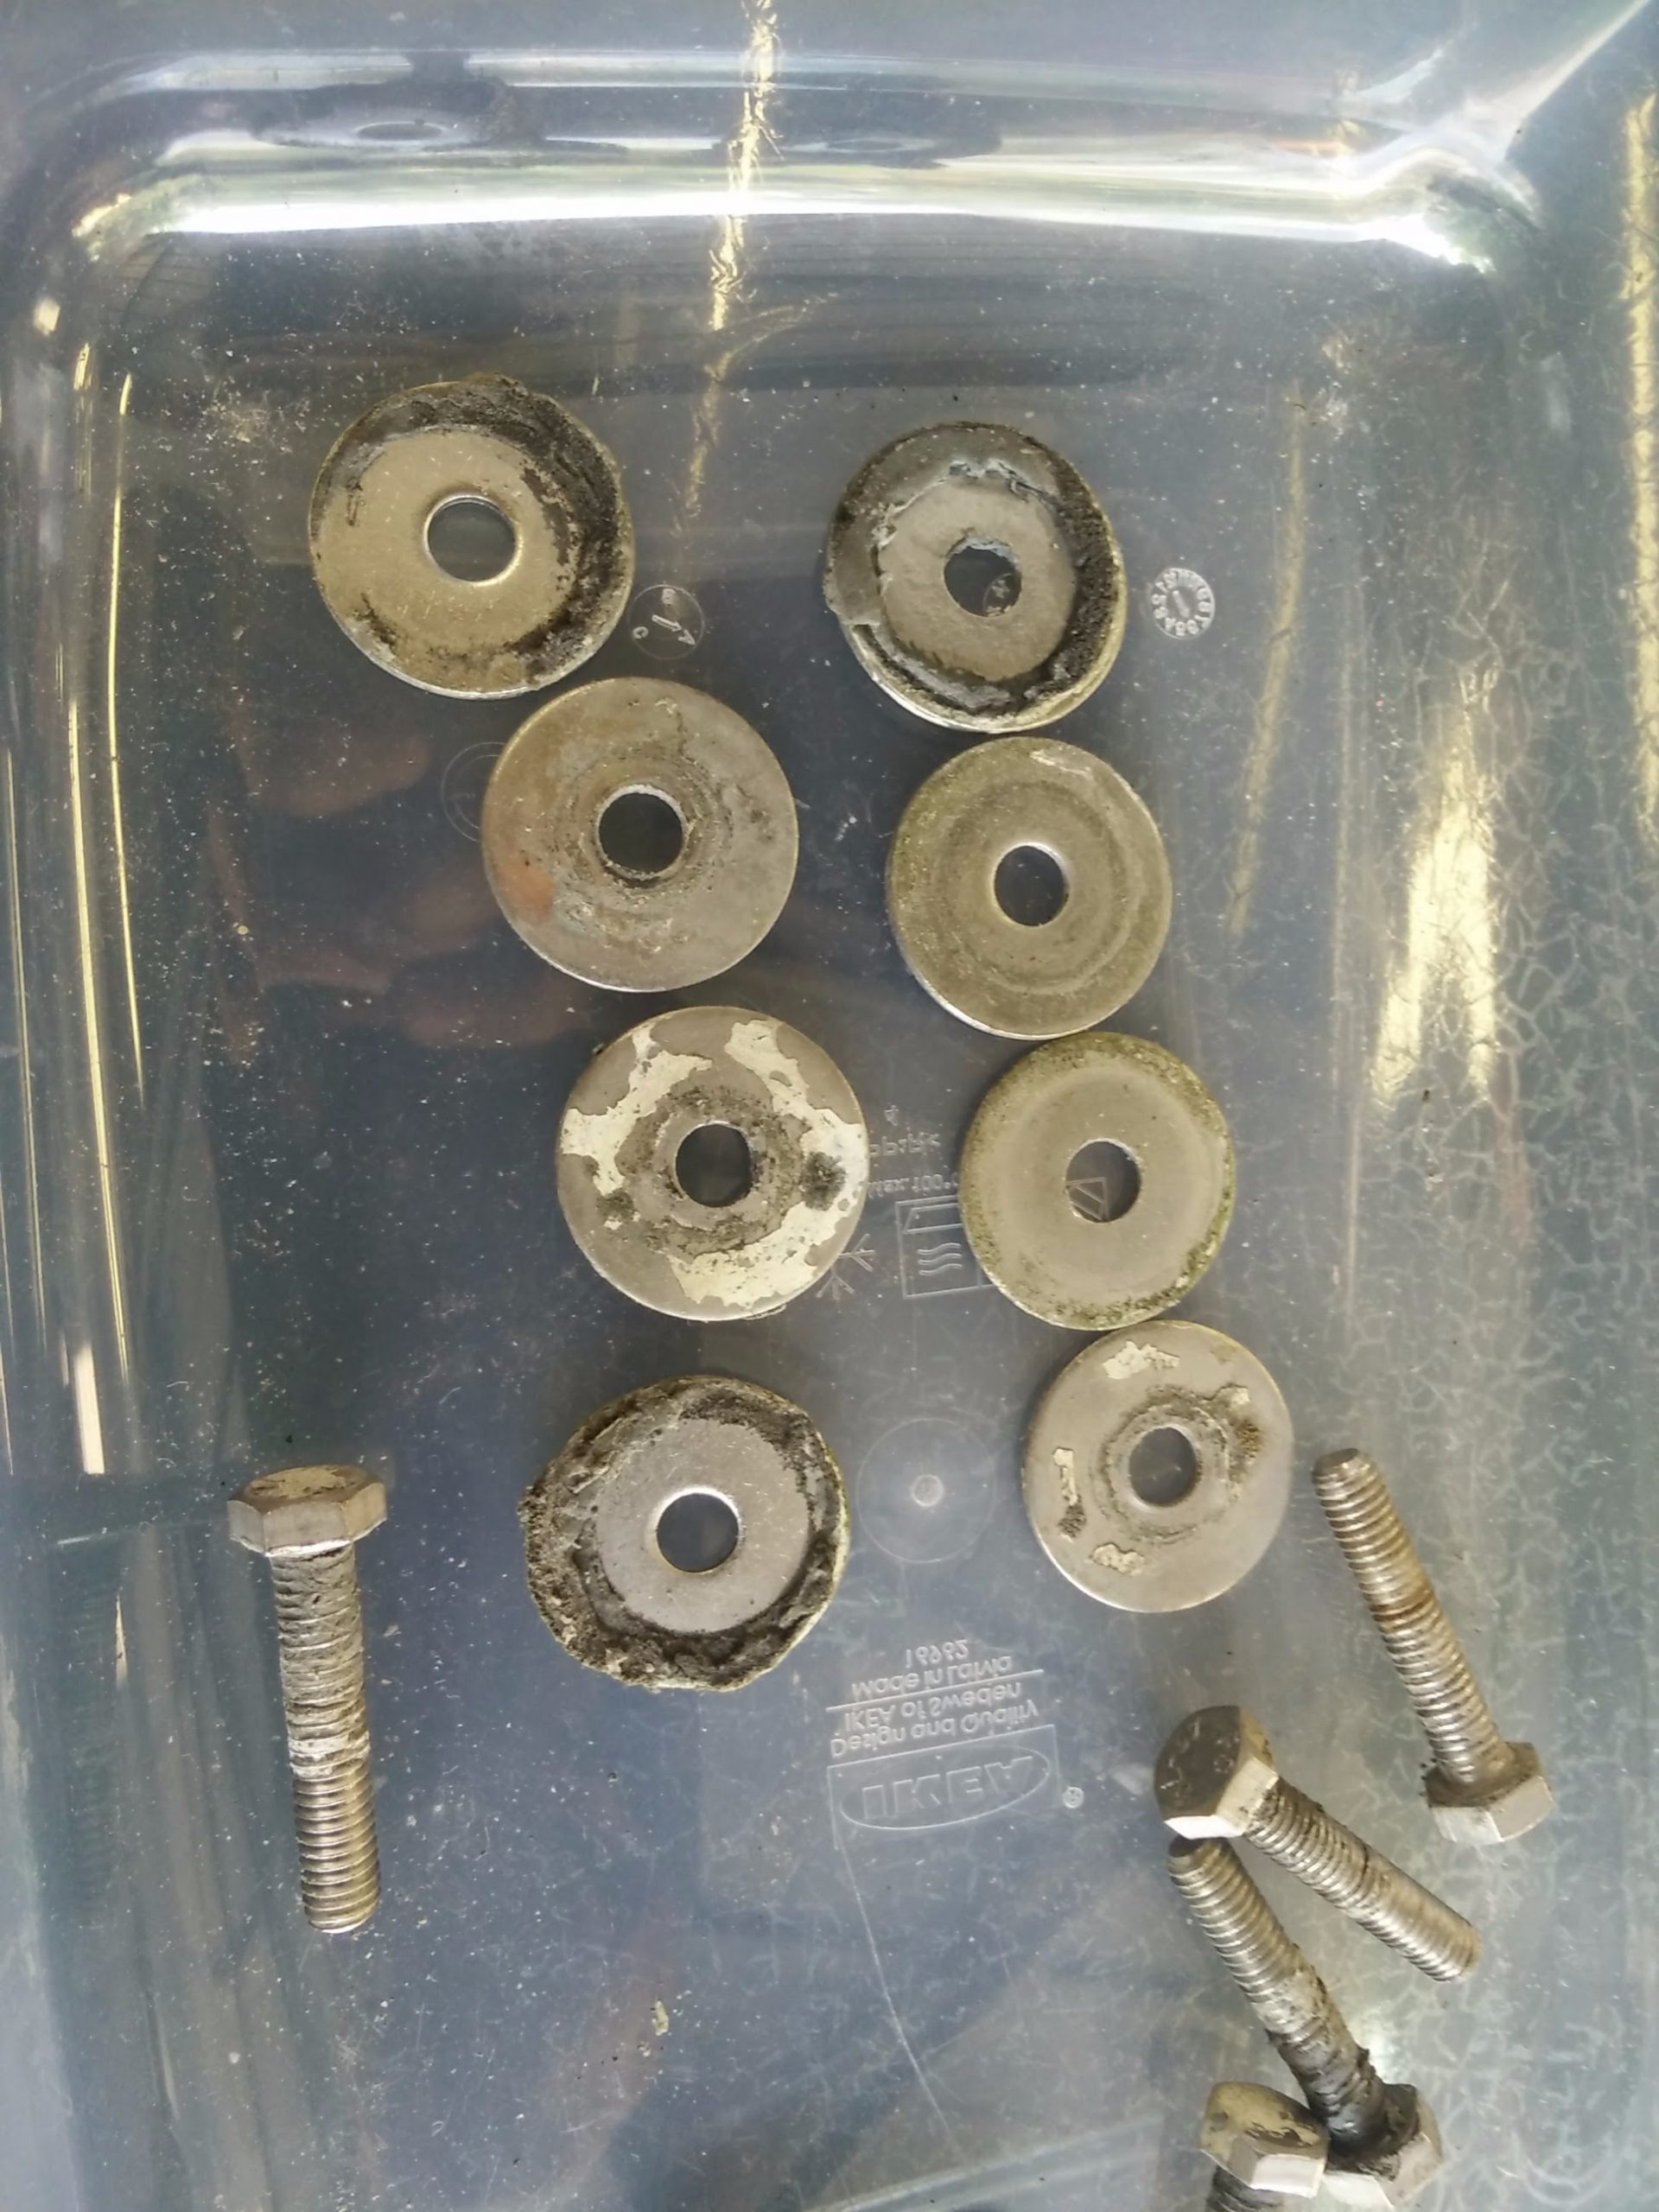
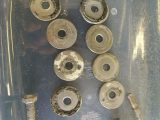
Trickier was securing the new ceiling panel. At the front edge of the roof, there were two grabhandles bolted through the roof, locking the new panel in place. In the centre of the roof, there are 28 or so screws holding the new rooflight in place which held the new panel in situ. At the back, however, there was nothing to hold up the roof.
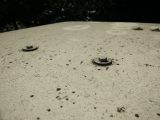
In a fit of over-engineering and blind faith in modern sealants, we decided to drill holes in the roof to sandwich the new ceiling board to the roof. We bought some stainless-steel 4mm bolts and big washers to pop through from the outside, but inside, a bare nut and washer would look pretty industrial.
The answer was some nice domed nuts which prevent any rough edges snagging the sleeping bags of those dwelling in Wilma’s roof bed. The bolts were bedded in sealant on the outside to prevent water ingress.
A little problem which caused problems was the added thickness of the roofboard. This meant the original grabhandle fixing bolts were too short. An unexpected run to Toolstation on a Saturday afternoon sourced appropriate length bolts, again in stainless-steel to minimise the chances of rust causing problems later on.
With the longer bolts in place, the roof panel was done and was a massive improvement on the ragged original, but the final job was to tidy up the edges of the rooflight inside the ’van.
The end is in sight!
Normally, the Fiamma Vent 28 Crystal we chose to install is fitted to coachbuilt caravans and motorhomes which have far thicker roofs than Wilma. The minimum roof depth is 85mm and our Reimo roof was a mere 60mm.
This meant the decorative finisher inside the VW camper van was left with an ugly gap. Looking around the garage, we found some plastic foam-backed trim used to tidy up the gaps when new windows are fitted to houses.
With some careful measuring and cutting, we managed to make a frame up inside the ’van to fill the gap. This, too, was held in place with the sealant as there is little need to remove the trim in the future, and the non-bedding nature of it means it will allow a little flexibility as the roof is raised and lowered.
With that done, our Wilma was back in service! And she had a lovely new ceiling and an opening rooflight which no longer leaked.
The total cost for the makeover was £70 for the rooflight, £20 for the sealant, £40 for the caravan wallboard and around £30 for sundries, which was inflated by the various bolts being sold in packs of 10, and that we opted for stainless-steel, rather than plated-steel fixings.
There were some electrical fixes to finish, but we were now dangerously close to hitting that deadline.
The roof leaked, and the damp had shredded the fabric headlining and was shedding bits of black foam every time the door was slammed