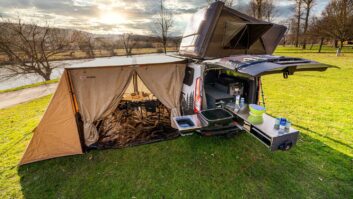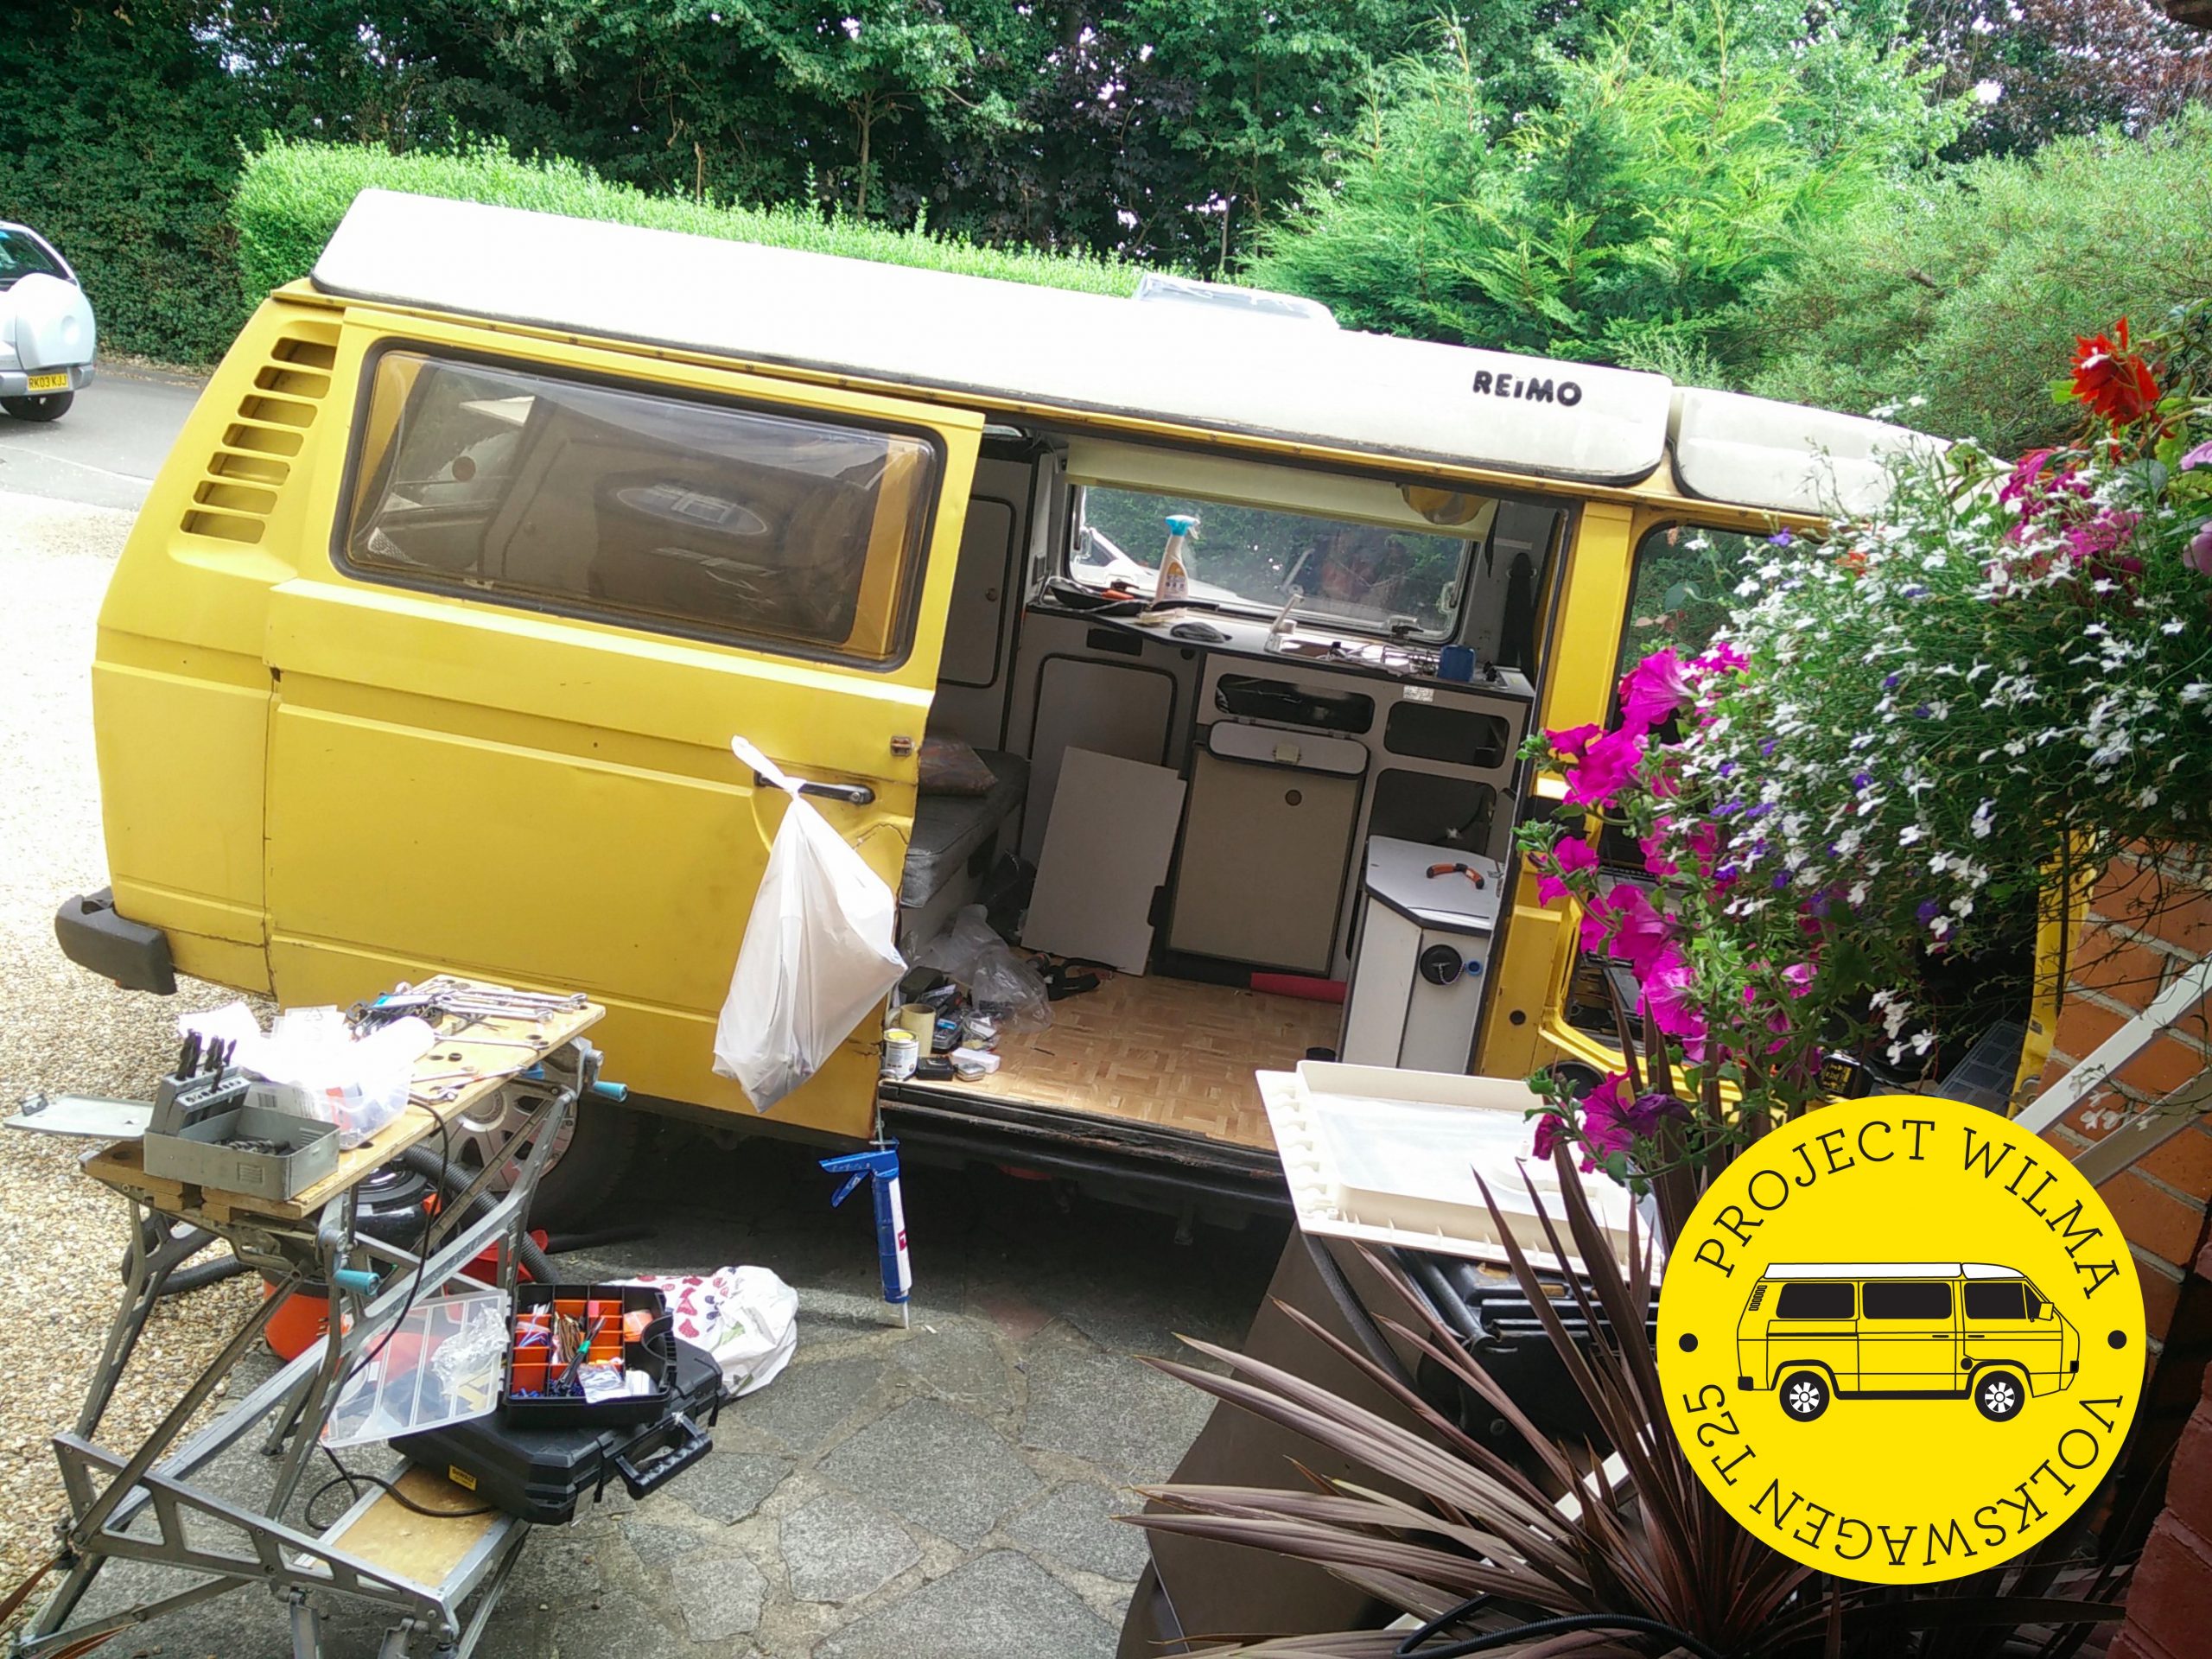


Old camper vans are basically only as good as the care they receive. The T25 Volkswagen camper vans which survive have long outlived the life cycle imagined for them when they were trundling out of the factory. And that means there have been lots of opportunities for people to interpret, improve, fix and, on the evidence we have seen, bodge various issues in an attempt to keep things going.
Here are the top seven bodges that have been uncovered on Wilma, our project T25 VW camper van, since the various improvement works have been started. They aren’t VW-specific, and in many cases are indicative of issues likely to be found on any camper of a similar vintage.
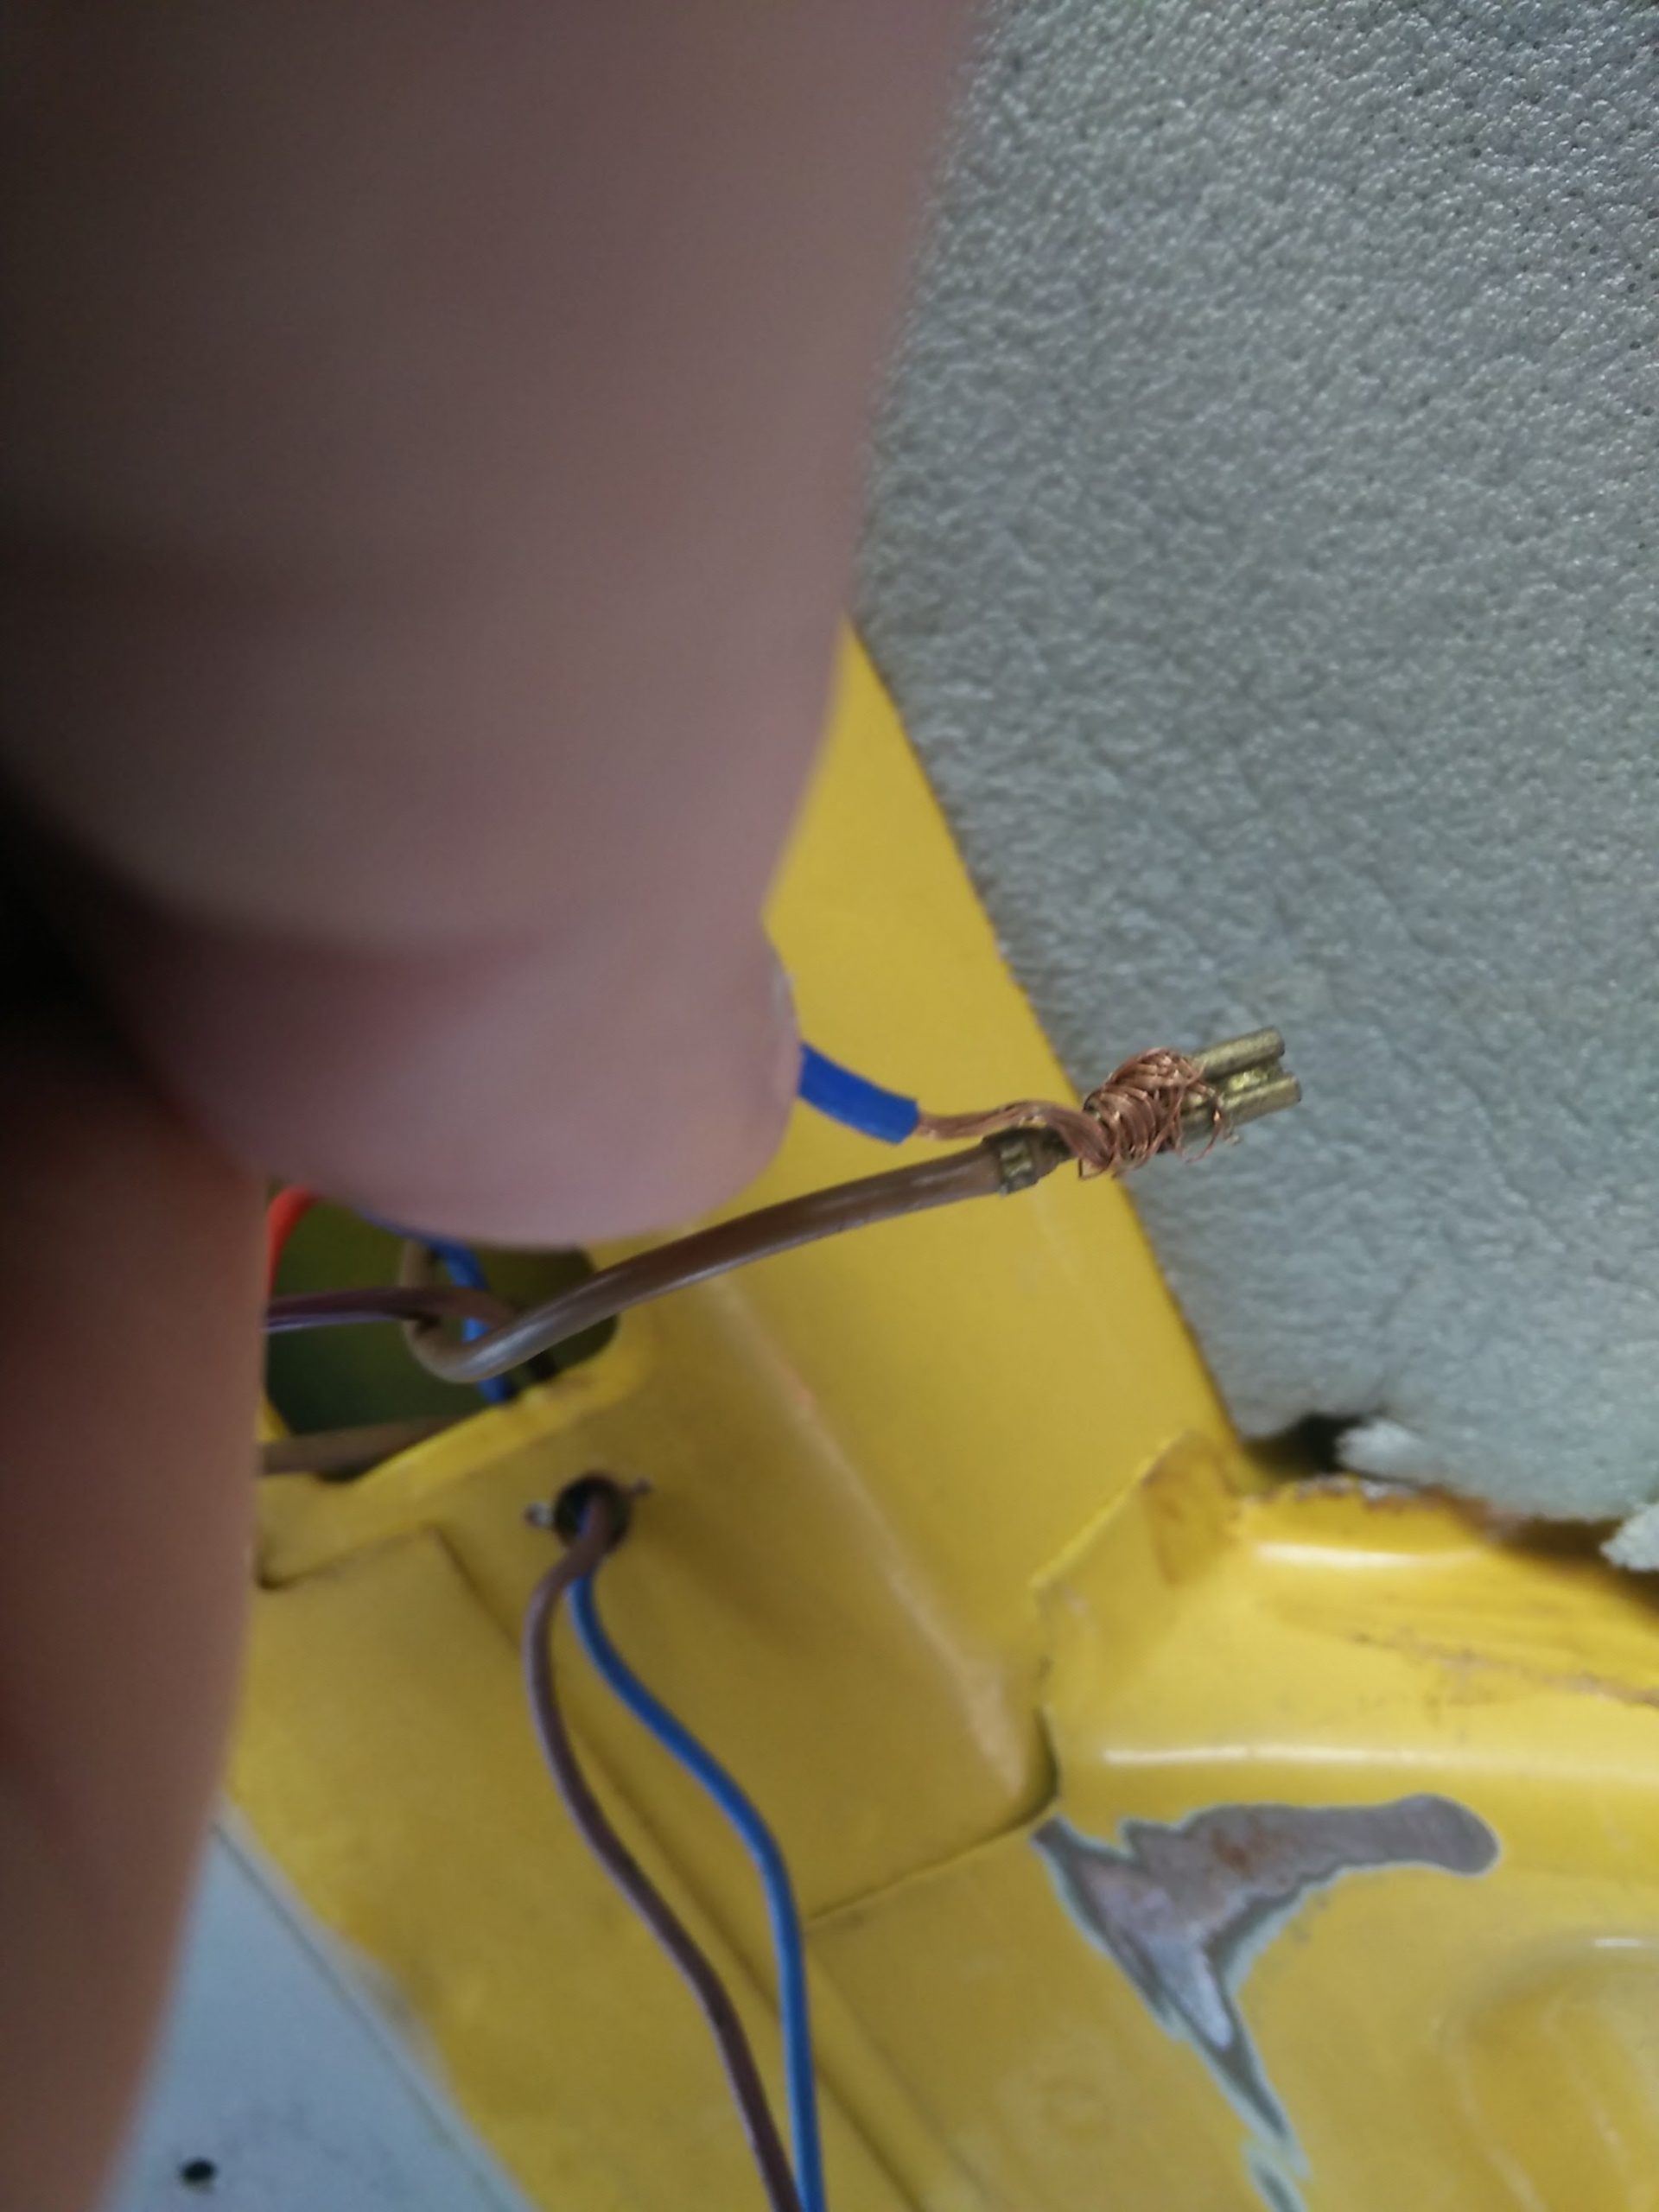
1. Twisting cables together
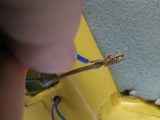
Nothing makes the heart sink more than seeing two 12V cables twisted together, rather than being properly secured. The correct way to join two cables would be using crimp terminals at the very least. If you are competent with a soldering iron, use that to attach terminals properly. Twisting cables together at best gives an iffy connection, which will shake apart over time and be unreliable. At its worst, it can cause resistance, heat up, blow fuses or worse. This example was found in Wilma, piggy-backing the kitchen fluorescent light into the van’s courtesy lights. Useful if you want the kitchen light to come on every time you get in the van. I didn’t.
The fix: use proper terminals or preferably, run a dedicated cable for the interior lighting.
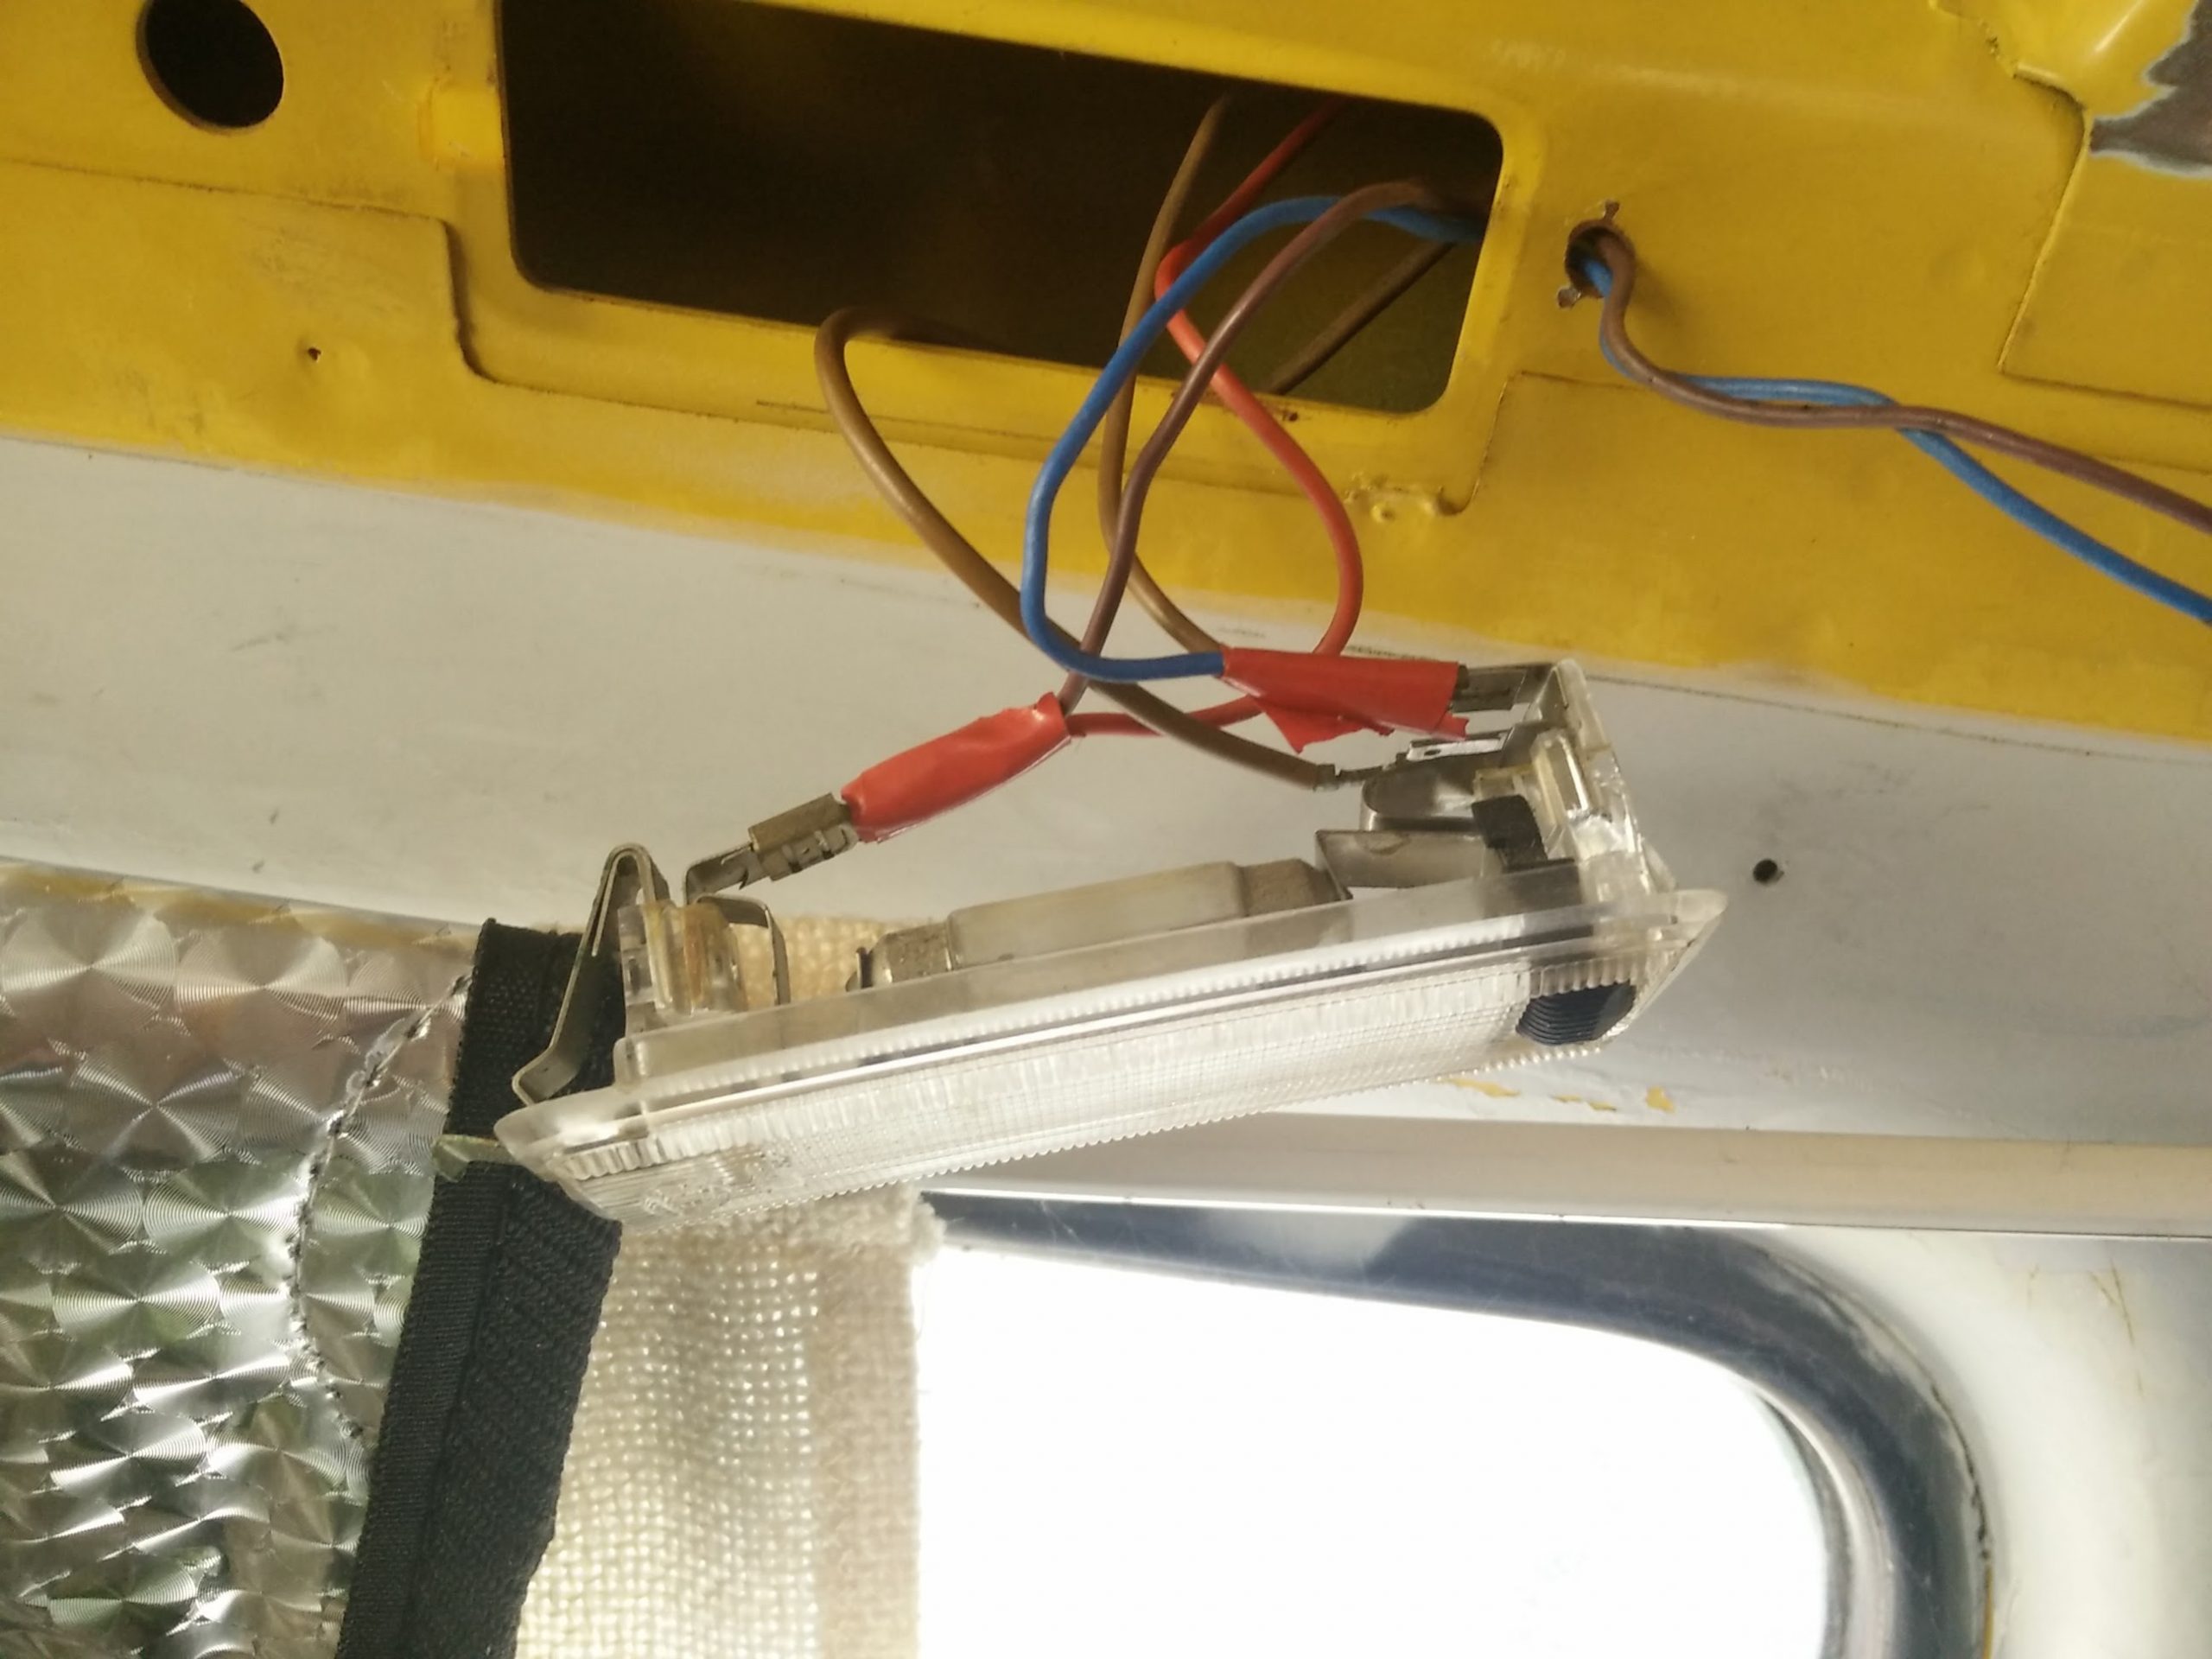
2. Patching up a broken light fitting
Actually the fluro tube on Wilma didn’t work anyway, so after unpicking the comedy wiring, I took a close look at the fitting. The retaining nut that fits over the light switch was missing, which is sure sign that someone had been meddling with things. The nut is needed to keep the light fitting together and to stop the on/off switch disappearing when you push it. On closer inspection, the light was being held together with gaffer tape. On the plus side, it was white, so at least it looked nice. Taking this off, I was able to remove the diffuser from the light fitting and I was almost impressed at the level of bodging ingenuity. To stop the switch retreating into the light fitting, Mr/Mrs Bodge had cut a tiny slice of wine cork and pushed it behind the switch to stop it moving.
The fix: without the cork and tape, the light fell to bits and was replaced by a new one for around £10.
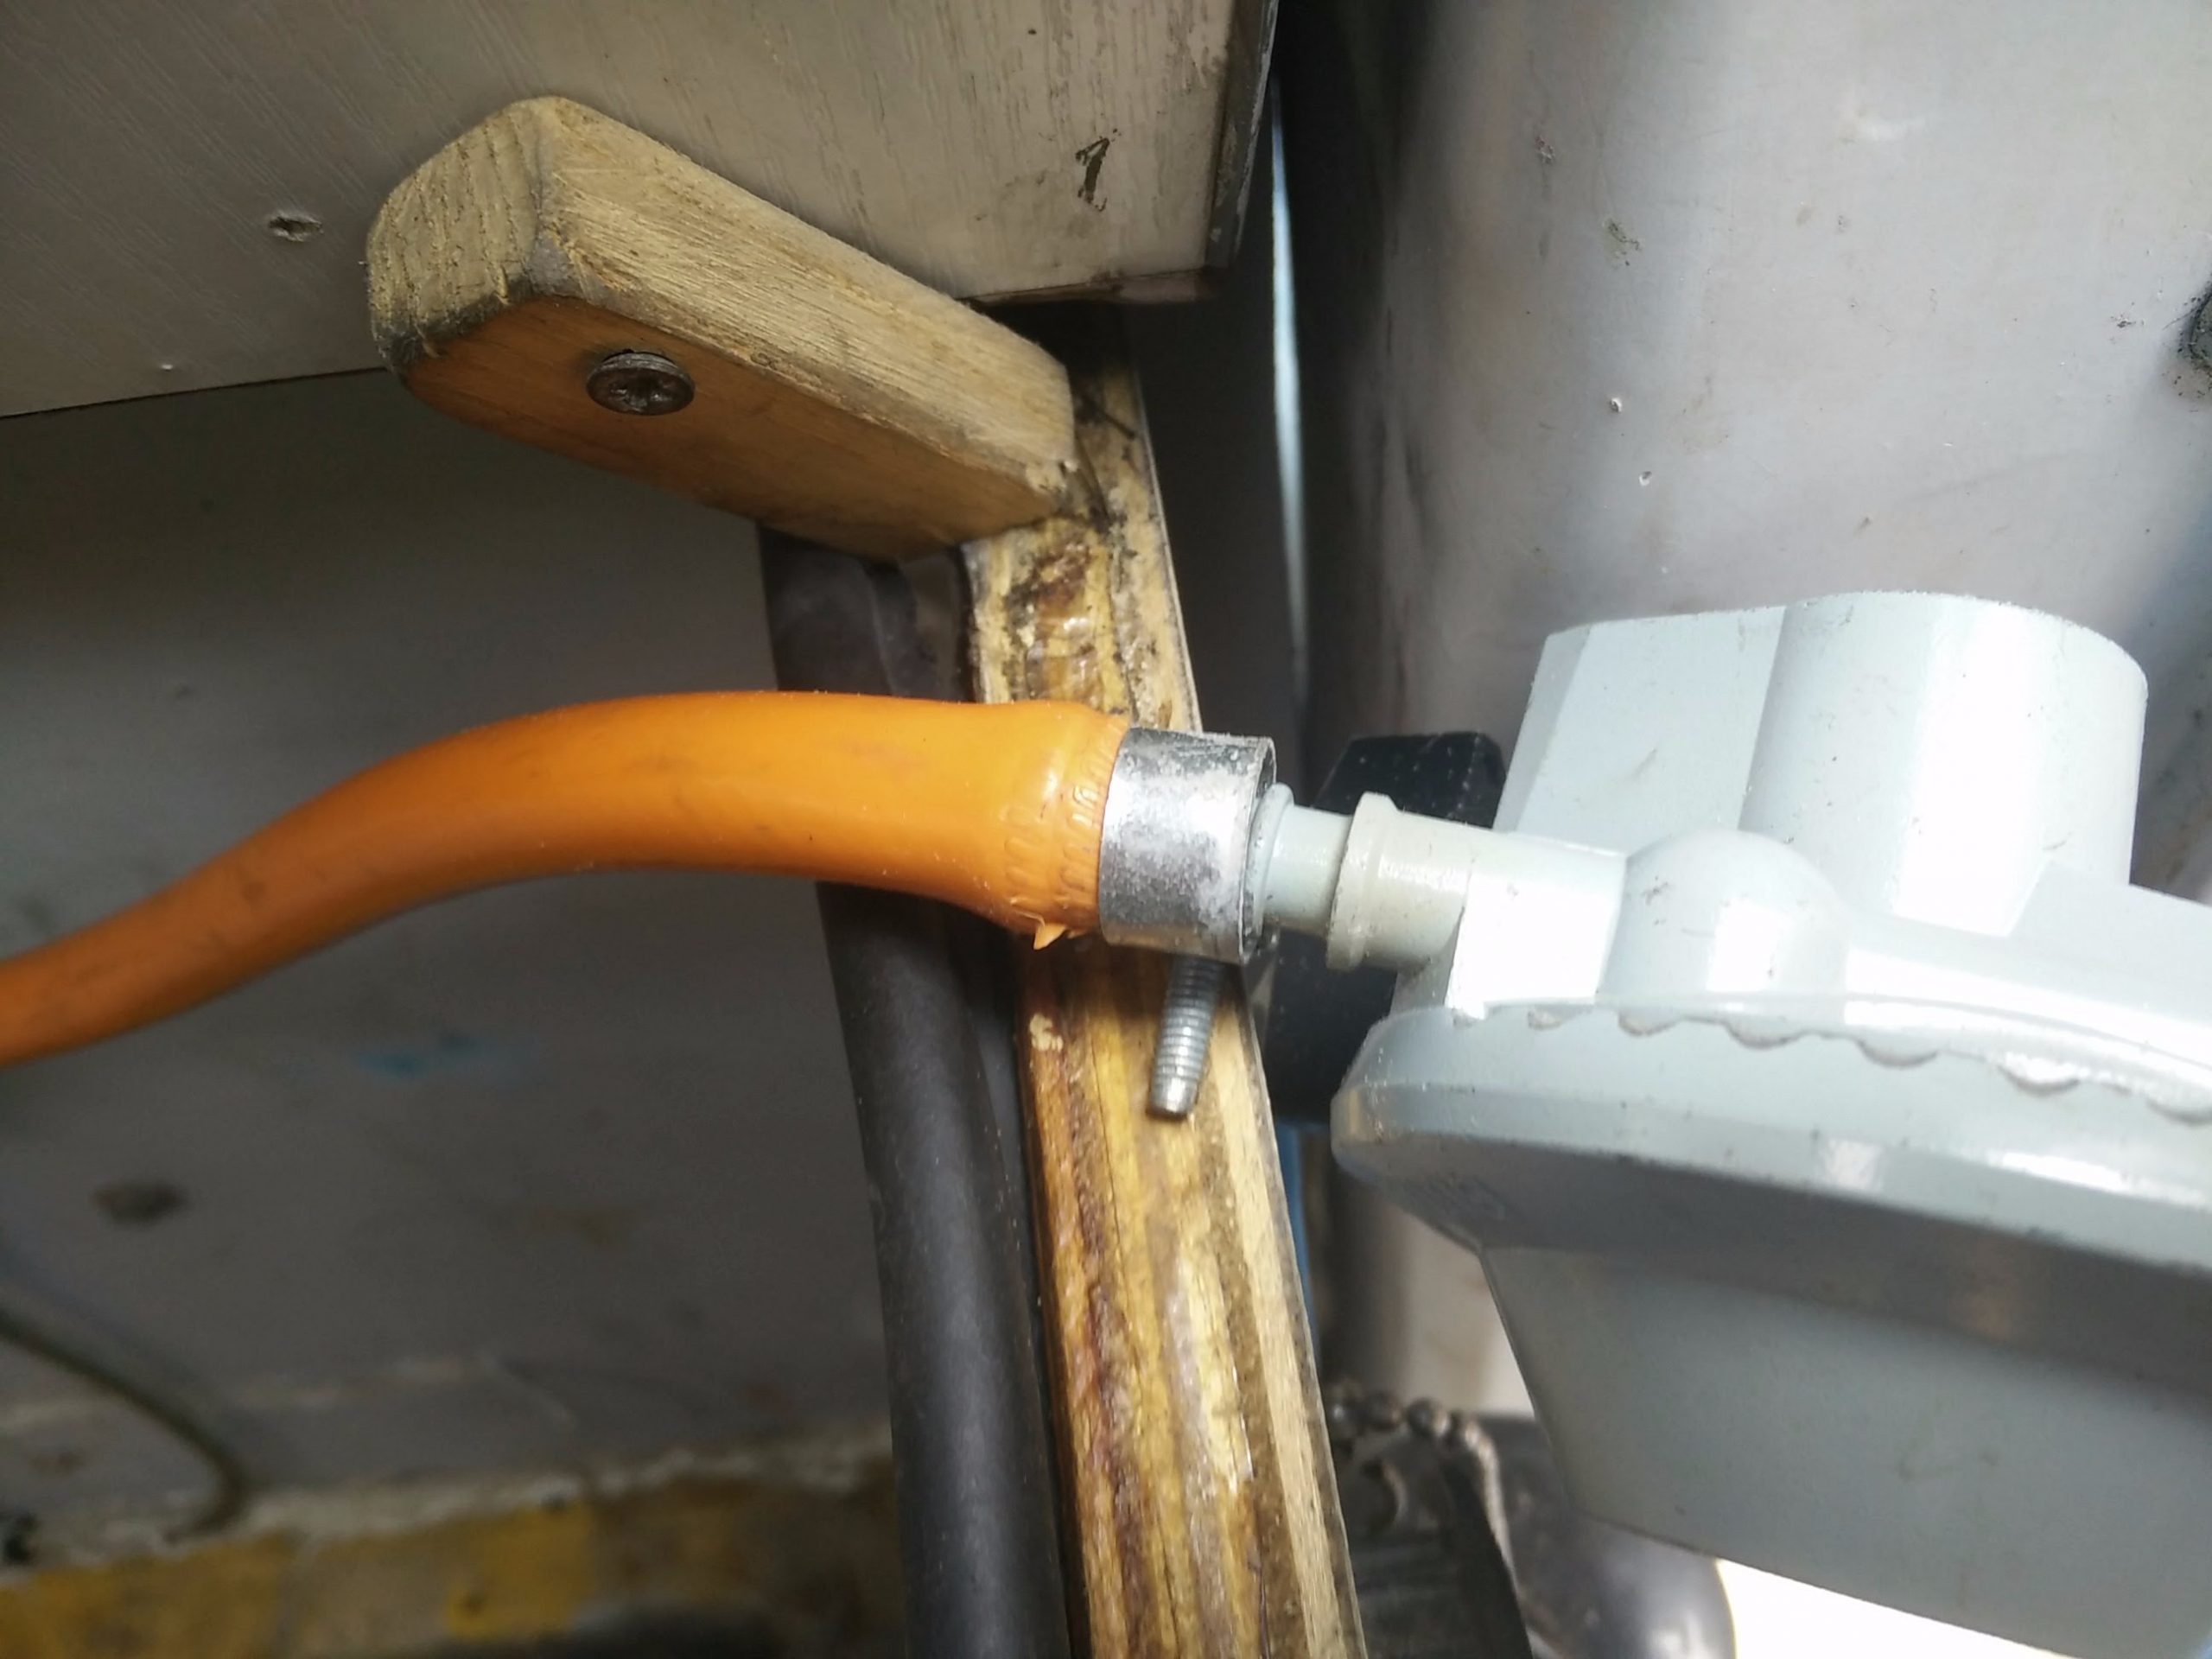
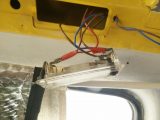
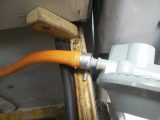
3. Poorly made gas connections
There are a few things you don’t take chances with in camper van maintenance – and gas is one of them. In Wilma’s gas locker, the flexible gas hose was too short to comfortably reach the top of the gas bottle. Undeterred, our intrepid bodger just stretched the hose until he got what he needed. This caused the regulator to pull through the worm drive clip which stops the gas escaping. The hose itself was not only short, but very old too, so it was replaced by a new length, with enough slack in it to comfortably fit on the cylinder.
The fix: refit the regulator, ensuring the clip secures the hose to it properly.
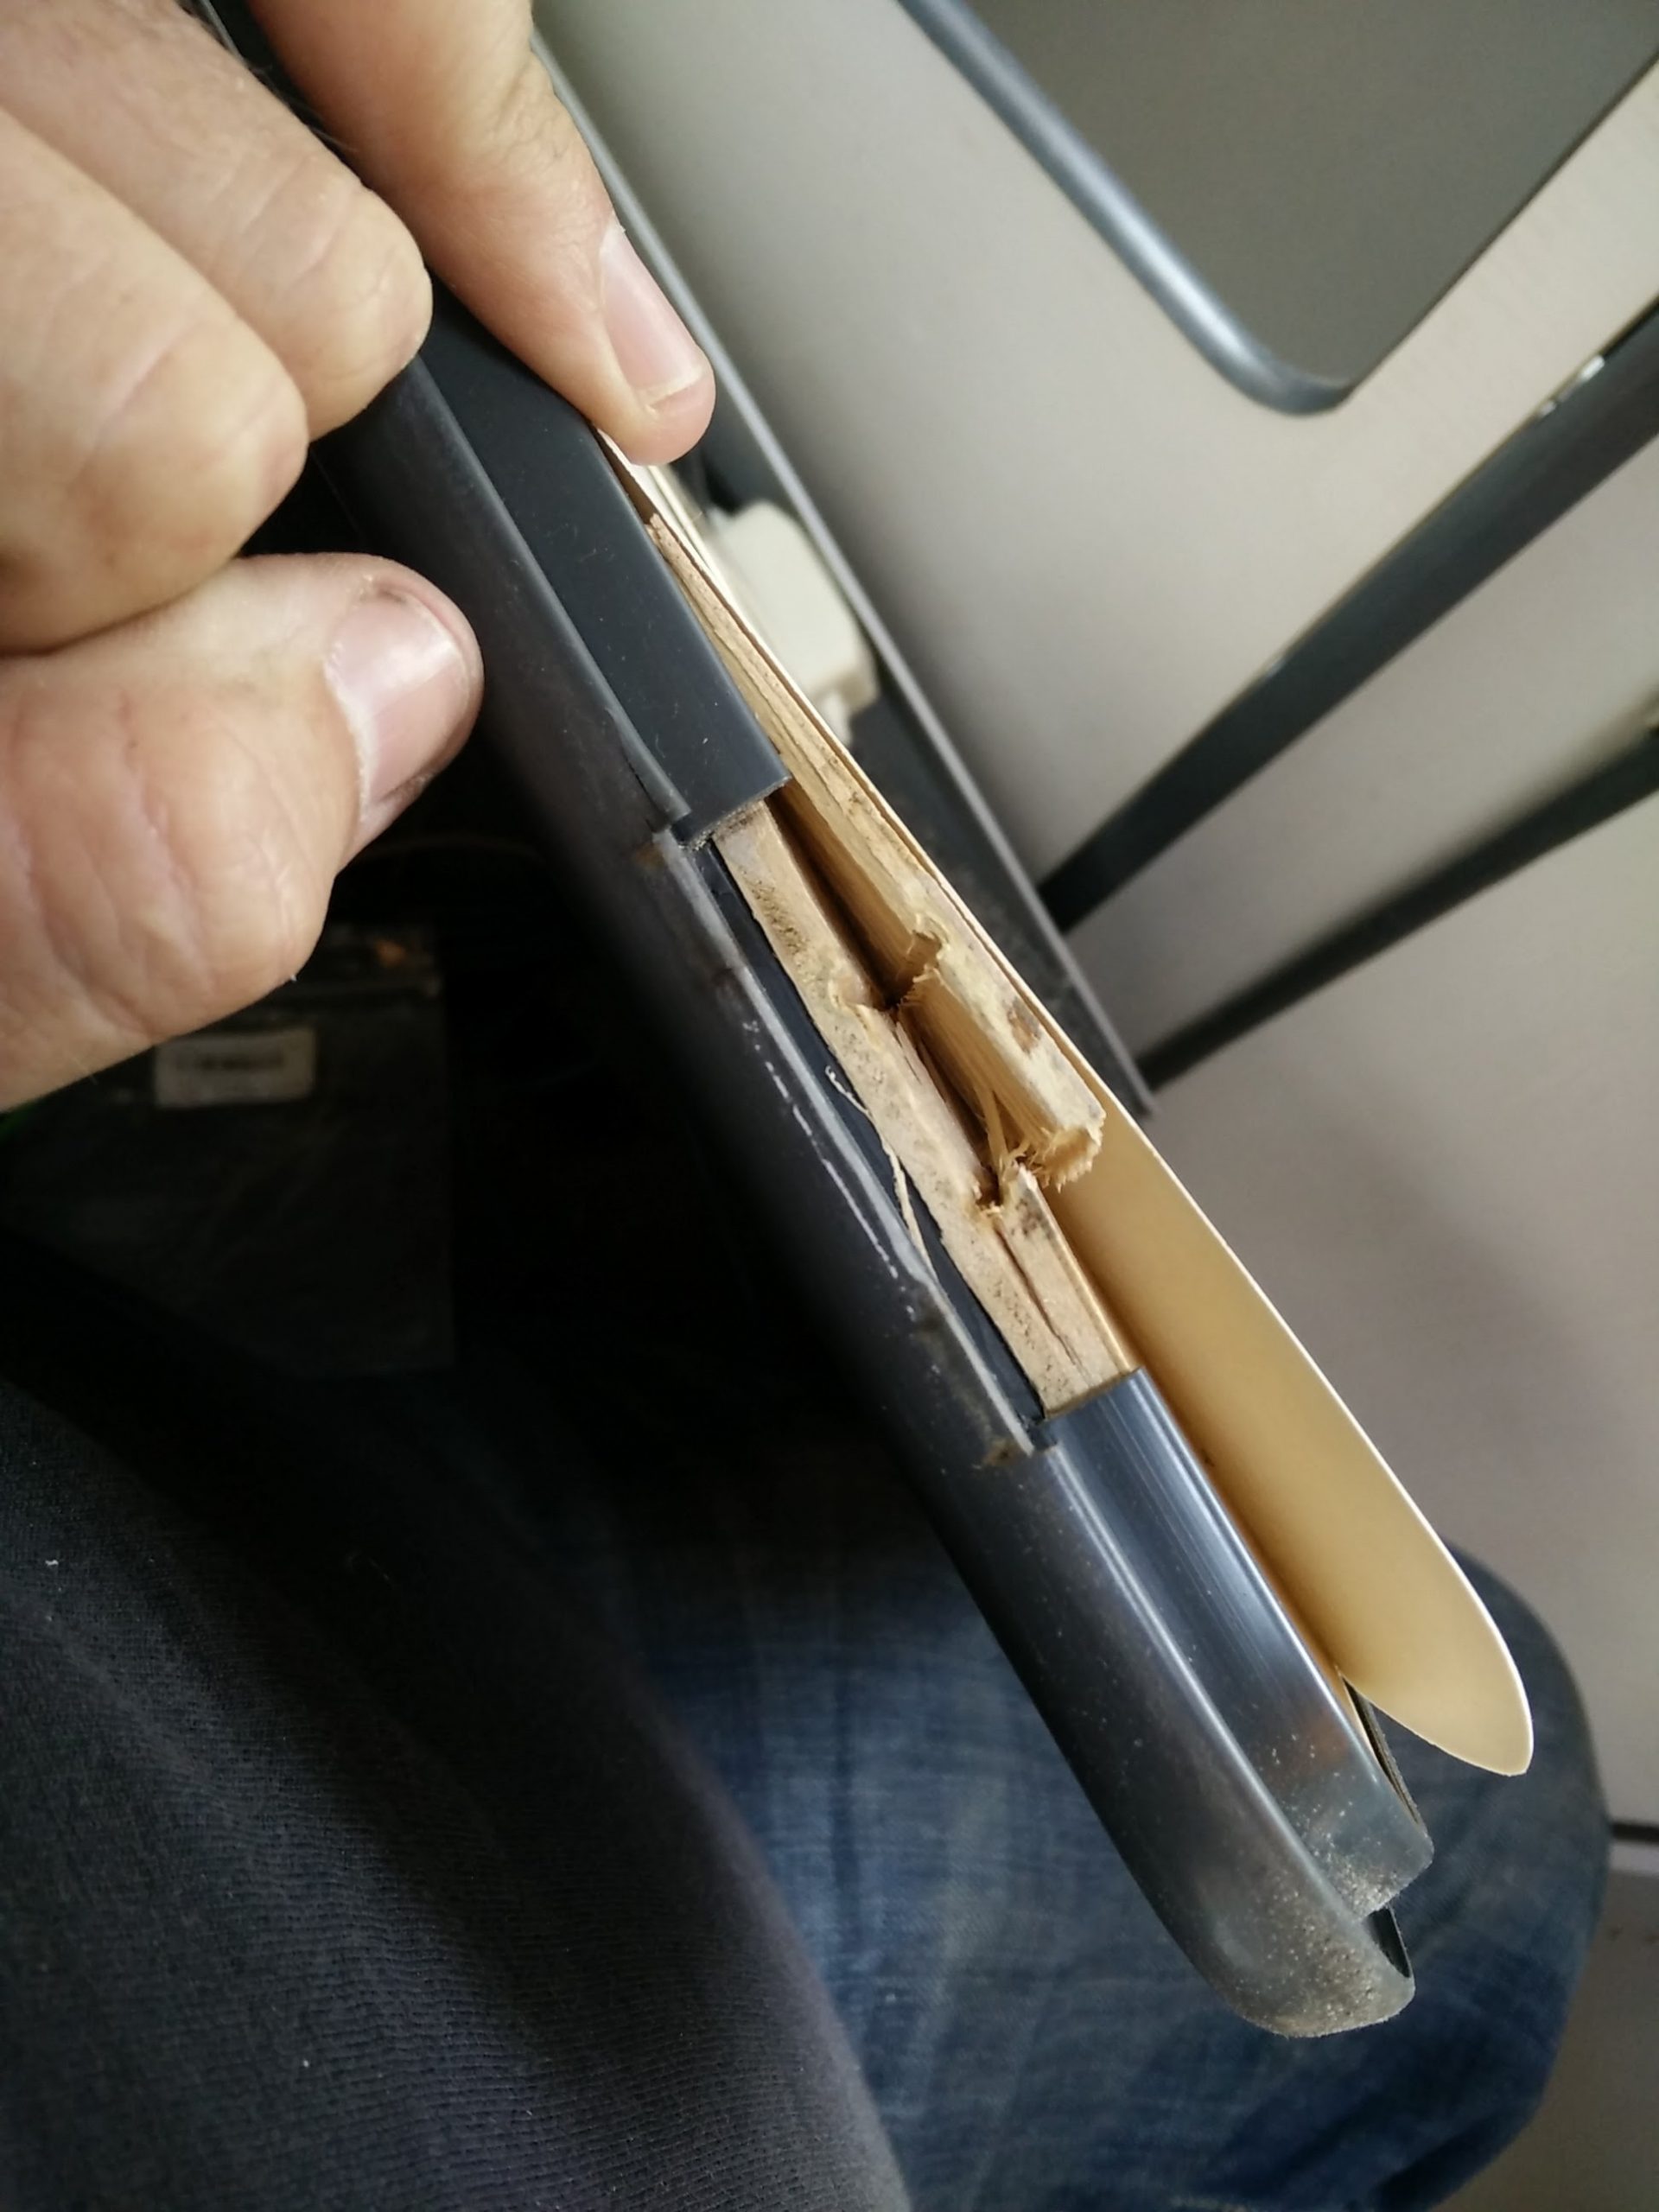
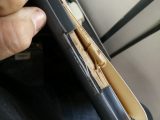
4. Poor furniture repairs
The furniture in Wilma is made of lightweight plywood, in common with many camper conversions. This is suitable for the job, but all the shaking around as you drive means it is important to keep on top of things like loose cupboard door hinges and latches, as having them slop about causes damage to hinges and so on. If the screws holding the door start to get a little loose, nipping them tight should minimise problems. If they are left sloppy for too long, they will elongate the holes, and then the screws won’t tighten properly. So they need tightening further. If you leave it, the screws won’t tighten. The enterprising bodger about town might drive in some really long screws with a power screwdriver, which will fix things temporarily, but will likely damage the plywood until it eventually splits and the interior doors fall off.
The fix: check fixings for tightness regularly. We had to glue the plywood back together, clamped it while the glue took hold, drilled pilot holes for new screws and straightened up the mauled hinges.
5. Bypassing the fusebox
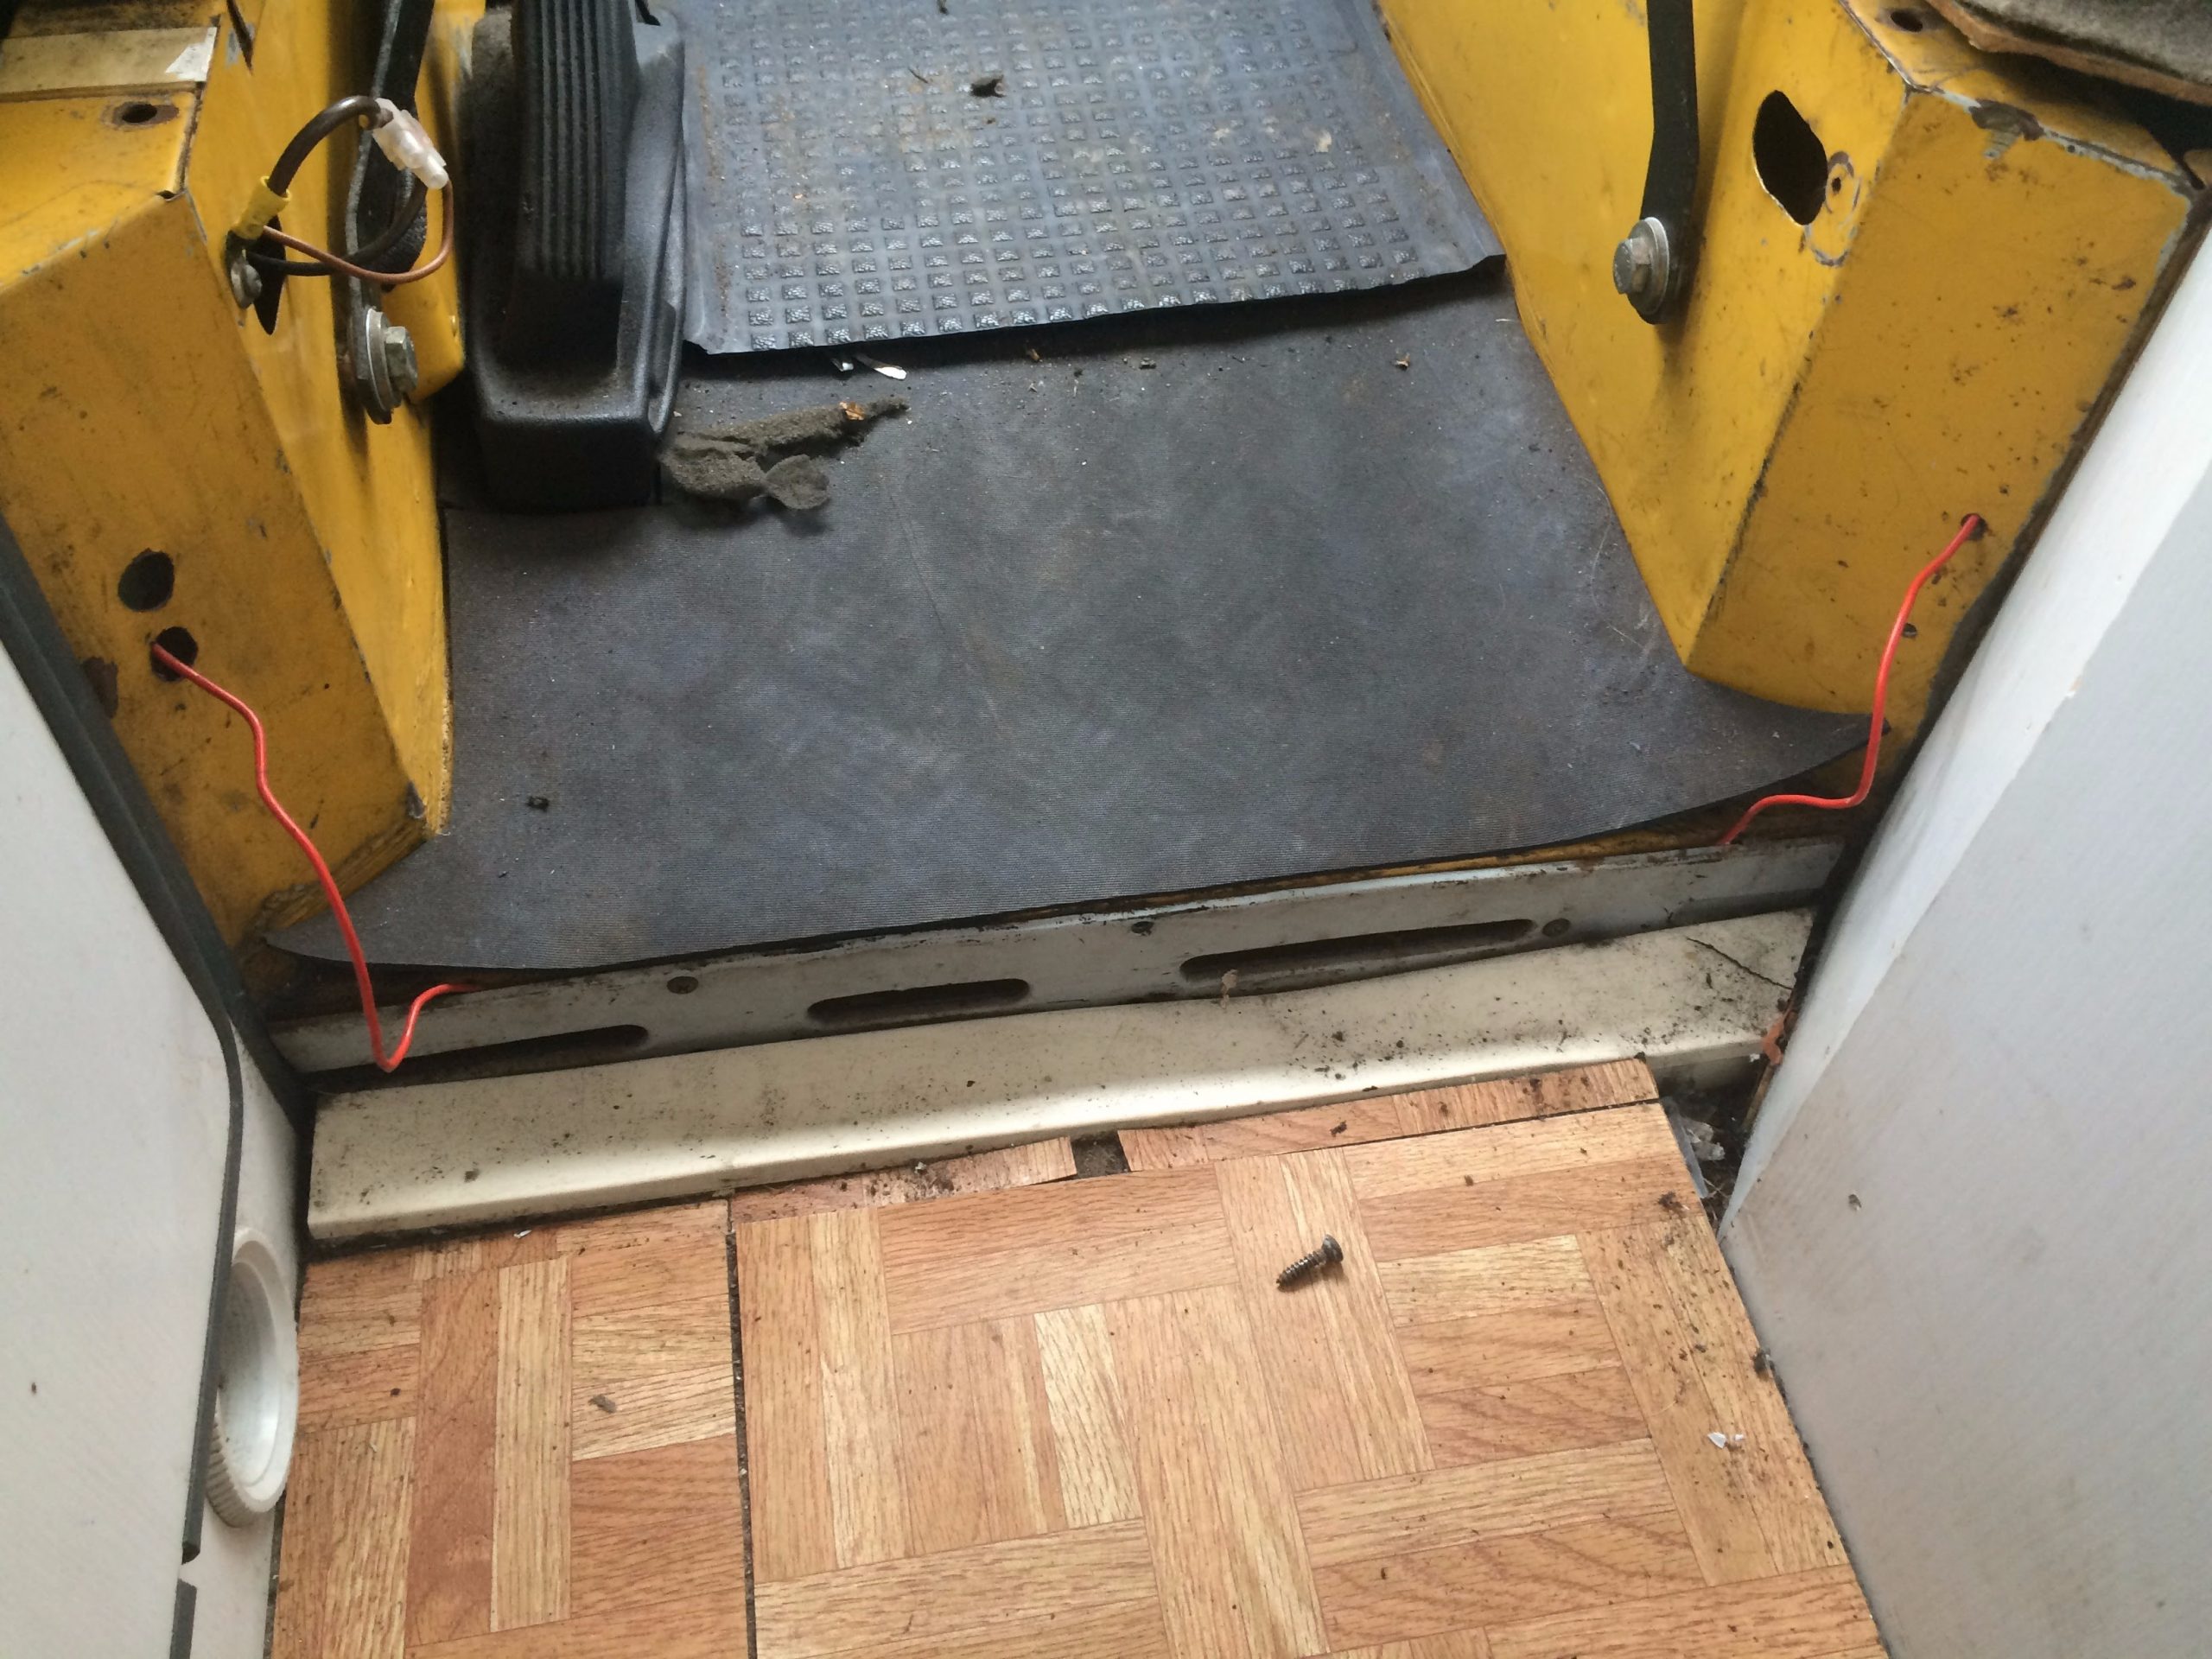
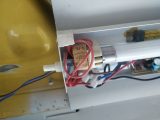
In the event of 12V electrical supply issues, there are two schools of thought: you can investigate what the problem is and fix it, or you can simply run all new cables to everything, bypassing the existing wiring and rendering all the various systems in the camper van obsolete. No water pump, no 12V fridge supply and the interior lights running (as mentioned previously) off the vehicle courtesy lights. The 12V DIN socket in the rear was running from a long, unfused wire straight from the battery. Nice.
The fix: remove the temporary wiring loom, remove the auxiliary fuse box and recommission the original wiring, find the problem (a melted fuse box) and repair it properly.
6. Passing unprotected cables through bulkheads
The Bodgemaster General had a tricky one on his hands here. He needed to run a long, unfused supply cable pretty much around the ’van, to reach the DIN socket, but he needed to get it from the battery box, behind the passenger seat, to the kitchen opposite. There are proper grommeted glands through the VW’s floor but that would take time and involve lying on the ground outside. Instead, he hit upon the idea of simply drilling a dirty great big hole in the battery box, and threading the thin-walled cable through the jagged metal hole. Problem solved.
The fix: running cables through bulkheads means the cables need protecting, so the cable was ditched in favour of a more elegant solution via the fusebox, but the cables leaving the battery box are now sleeved, to protect them against damage to the insulation and the resultant firework display.
7. Trying to seal a leaking rooflight in situ
When sealant stops, well, sealing, the only thing to do is clean it all off and apply clean fresh sealant, otherwise, it won’t do its job. In Wilma our VW, rain bought a steady stream of drops onto the camper van’s floor. Investigation revealed that the rooflight catch was broken anyway, so a new one was required. That wasn’t the reason for the leak, however. The old rooflight had a rubber seal, which had been overlaid with silicone and some sort of self-adhesive strip. It didn’t work.
The fix: remove the rooflight, clean all the old sealant from the roof and the rooflight, reseal with a suitable bedding mastic and refit.
I’ve left out some of the more detailed bodges, such as fitting a long-reach spark plug where a short-reach one should go, doing a partial engine rebuild on the cheap and bolting a new exhaust back-box onto an otherwise rotten exhaust. Suffice to say, Wilma is gradually becoming more reliable, more pleasant to stay in and, best of all, safer.
We’re about to set off on our first trip of any distance and we are quietly confident that it will go better than our first long-distance sojourn – fingers crossed! We’ll keep you posted.
There are a few things you don’t take chances with in campervan maintenance – and gas is one of them